akflyer
Administrators-
Content count
5,493 -
Joined
-
Last visited
Posts posted by akflyer
-
-
.025" wire 20-30 CFH on the flow. Do you have a separate control for wire speed and voltage? Welding the thin tubing just takes practice and a developed eye. It gets especially fun when you start welding different thicknesses together. -
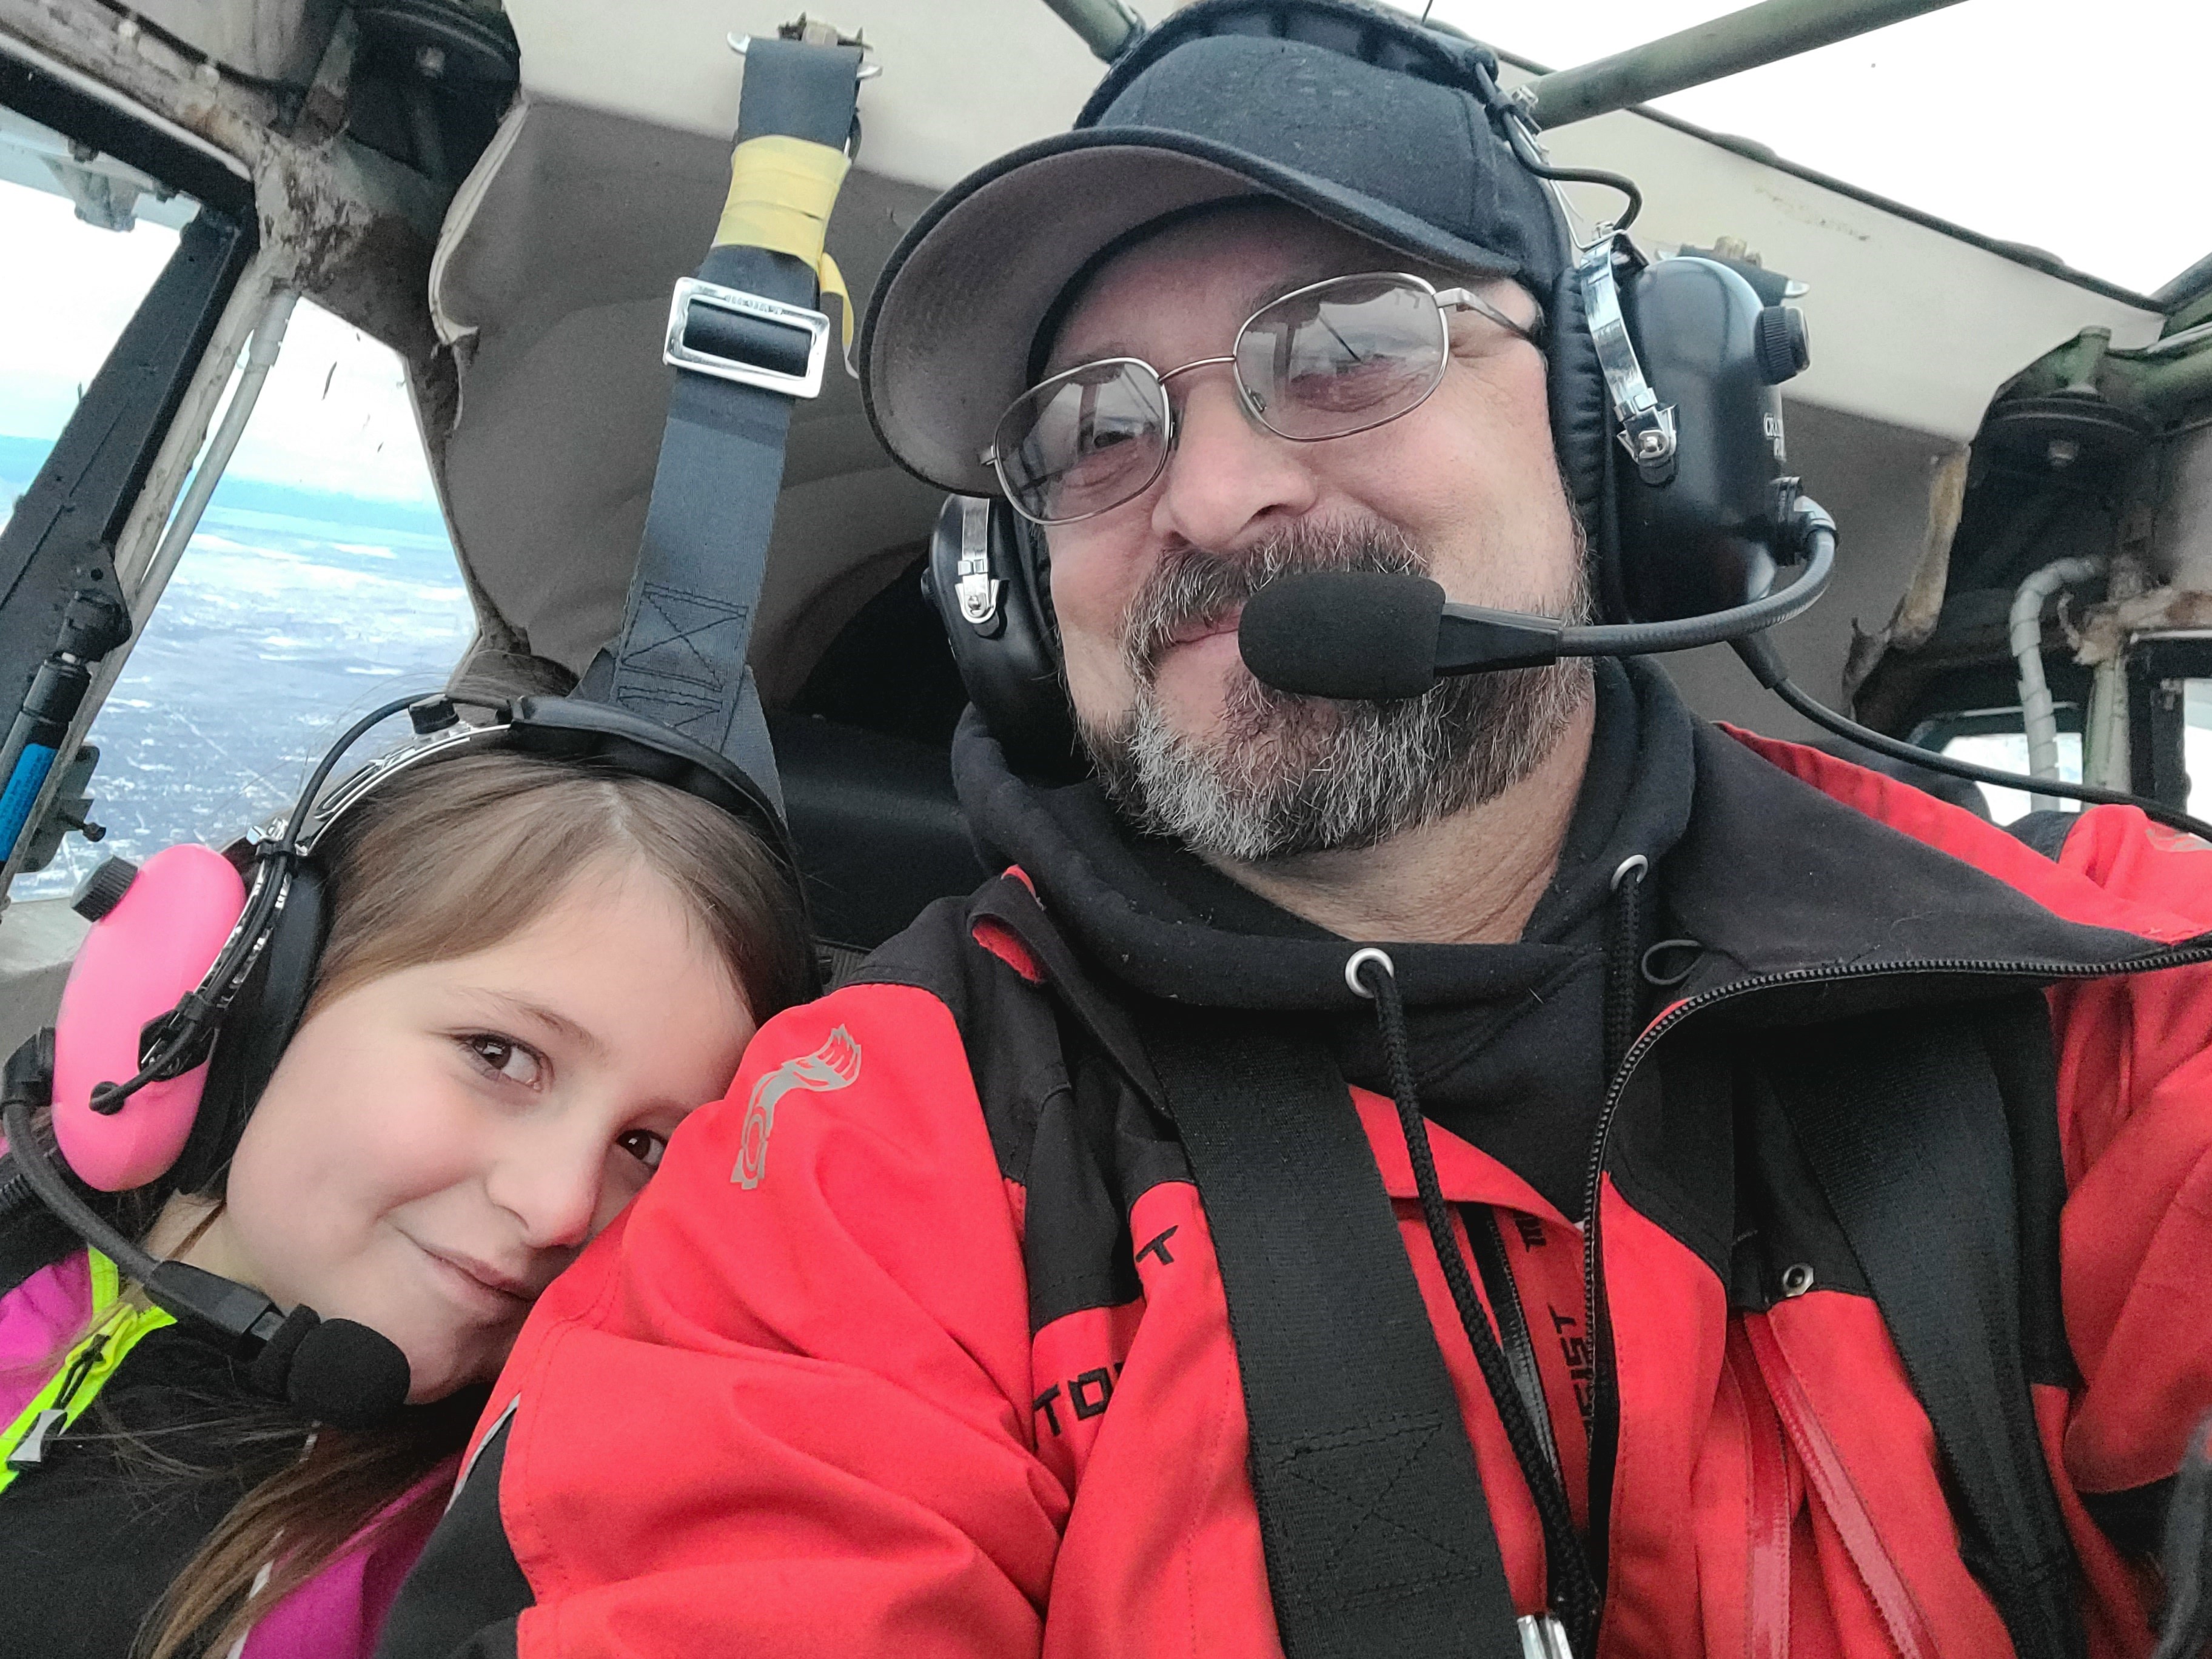
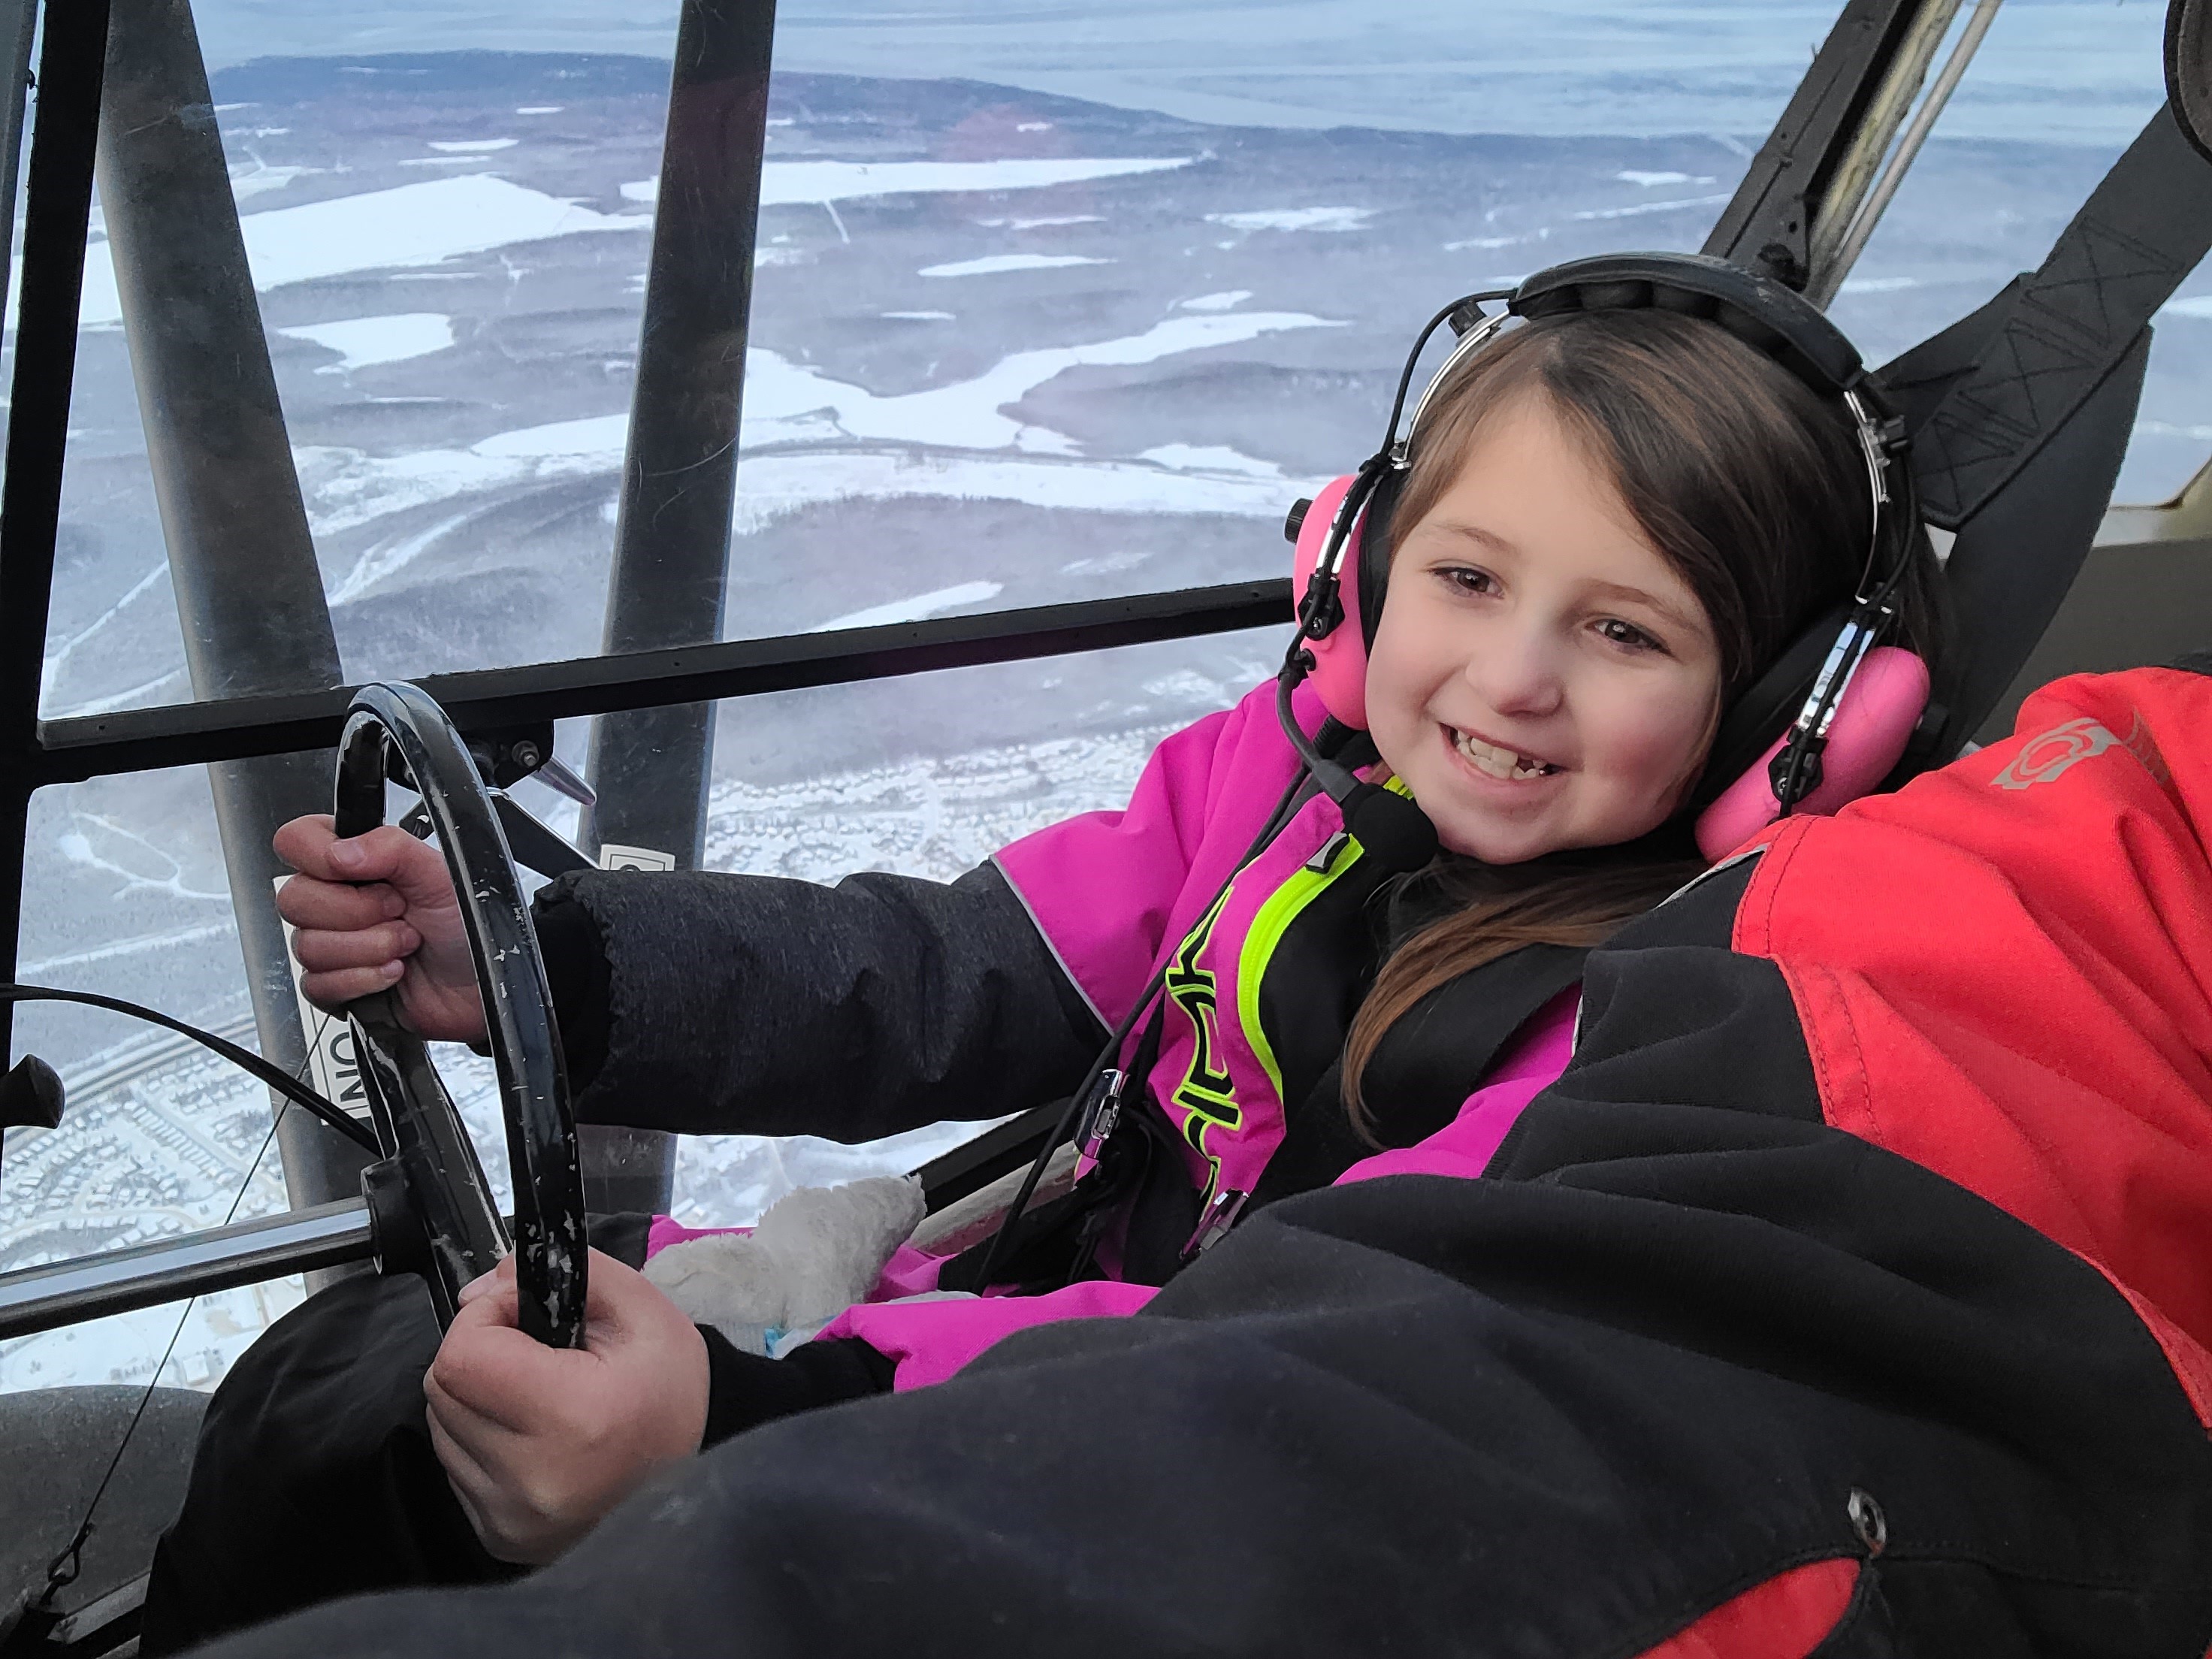
Got in a little flight time last hitch home to deliver an engine mount. The kid "flew" us for about 20 min and had a blast. Not enough snow yet to put the ski's on. Gotta love winter flying. 2 hrs to preheat and preflight for a 2 hr flight


 7 people like this
 -
shadow dick pics1 person likes this -
Dig the tail tug. Moving the batter to the back will help. Might also make a mount for a pillow block bearing on the end of the motor shaft to give it some good support. Might make the motor bearing last longer. I love this idea as I have been eyeing an old snow blower for the exact same thing! -
one thing I see that you might think about. On gear that tall, especially with the big tires, you might want to put that angle at the top of the step plate so you can put you whole foot onto it instead of just that tiny ledge. I can see some busted body parts especially on skis with big boots on.
-
Gear Looks great Randy. You know I can't say no to ya, I have a vested interest in seeing this bird in the air! Just by chance, did you run a tube through the axle tubes to assure they are straight? What do you think about putting a web between the axle tube and the gear leg like the cub beef up? If ya like the idea, I have some 4130 plate at the house that would be perfect for it and I can add that in after I weld up the rest of it. I think you will like that taller gear so you can get that AOA. With that big wing and the yamayeehaa in the nose this should be an awesome STOL bird!
-
I have the "manual" for the coyote (actually mountain eagle) and it is piss poor at best. Contains a few drawings and basically says study this shitty drawing and assemble. I will try to get it scanned in but its incomplete and pretty much completely useless. -
Hello everybody,
The reason for starting this topic is that I just purchased Avid Flyer MkIV. It is supposed to be with Heavy Hauler wing but
the seller said it to have Heavy Hauler's wing length and speedwing wing profile.
Does anybody have any idea where to get e.g. speedwing profile to make comparation since papers that came with the plane don't have such drawings? Suggestions?
Cheers,
Kekkuli
The speed wing does not have the undercamber in the wing. If they built it to HH specs (more ribs and heavier spars) then you really have the best of both worlds. The full length speed wing will fly almost as slow as my HH wing. I could get my buddies MK IV with the extended speed wing in and out just as short as my C HH.
Leni, I have a set of Aerobatic wings. At first, I though of extending them, but the washout is rung out at the tips already. I am considering building another Aerobatic wing set, but with full length spars and with around 1.5 inched of washout instead of the 2 inches. What are your thoughts?
I wouldn't build a set with more than a half inch, maybe 3/4 at the most.
-
dig the build thread, gonna be a bad ass bird. Clean up on isle 3 as requested.1 person likes this -
Jim posted up the biggest thing you need to do. Have not seen any failures in the wing carry through. The seat truss area for sure needs to be beefed up.
2 people like this -
Sorry to hear of your loss. Its so tough when we loose one of our own. Thoughts and prayers to you and the family.
-
I am putting a G5 in my pacer as we speak. Gives me all I need to toss the vacuum pump and old outdated instruments. -
I was thinking about my misuse of terminology on my previous post. Obviously, I meant to say angle of incidence, rather than angle of attack. It seems like my Model 1 could use a bit more angle of incidence, since the angle of attack is such that the tail touches first, even with the bigger tires. I've considered doing what TJay suggested, changing the angle of the little wing, I mean the horizontal stabilizer, to decrease the stick pressure in level flight, I just haven't gotten around to it. I'll probably make that adjustment when the fishing season slows down. I have a whole list of things I want to do to it, still. Like stretching the tail...
Stretching the tail will make that tail hit first even worse. Are you using full flaps for landing? You can either drop the leading edge of the horizontal stab down or put a trim tab on the elevator and tweak it till she flys hands off at cruise. A couple turns around the pattern will get you dialed in.
What is your CG at? Get it back around 16 or 18" and the plane will fly MUCH better and land SLOWER.
-
The very first thing you should be doing at altitude is figuring out the numbers on your plane. There are so many factors that go into the differences of the indicated airspeed from plane to the next that my numbers are pretty much worthless to you. YOU need to figure out at what speed YOUR plane stalls at. Do this at altitude then you wont have to worry about it anymore. Stall recovery is really simple in these planes, just relax back pressure and your flying again.
1 person likes this -
If it was me I would use the speed wing ribs at the full wing length. The speed wing profile gets you more top end and looses little if any on the bottom end if built full length. Duplicating the ribs is pretty easy so you will have enough to go full length. -
It is a very rudder dependent airplane and it will make you use your feet. If your used to flying a spam can you will sling the ball all over the place the first hour or two then you will get it figured out. Lead turns with the rudder going both in and out of the turns. If you push the stick over you better be pushing same rudder. Other than that these are very docile planes.5 people like this -
The less you put in it the better it will perform. I hate the 1.75" of twist that was in my avid, it left a lot on the table on both ends of the envelope. I would not build a wing with more than .500" washout in it. -
The fabric used is the same same. Might have a different stamp on it but its the same type of fabric. I recently used the stewarts glue and eco fill for the first time and it was great to work with, then shot the top coat with polytone to match the existing paint. The IA is the one that had me do it that way in his hangar during an annual on the pacer. Worked fine and he does it all the time.
-
A foam brush with a bit of poly tone on it and you can tough that up and like Larry said, it will melt into itself. Have I said lately how much I love poly for the ease of field repairs?1 person likes this -
Maybe getting a cowling meant for the rotax would ease your install issues and not make it nose heavy. 4" is a long way to move it forwards. -
FWIW, independent shippers are begging for haul back loads and the prices for freight is stupid cheap right now. My brother is having an engine for his grader delivered to my house from Washington or Oregon for 350 bucks..
-
how far is he willing to travel for one? Not sure if I will ever get to mine or not and for the right price it might be able to be had. -
I don't think that would be an issue. There are 2 seals back to back. One to keep oil in the rotary valve area and the other to keep coolant out. If the coolant seal leaks I'm thinking the coolant will wind up in the crankcase and won't go through the oil seal for the rotary valve. Thinking about it though. If the rotary valve seal is leaking, all of the oil from the bottle could wind up in the crankcase.
lots of documented cases of the issue Jim described. That one of the main reasons for the ceramic seal on the blue heads.
1 person likes this -
had that happen twice. Both times the back up electric pump saved my ass. running along fat dumb and happy then silence. Deafening silence. hit the boost pump and primer and fired right back up. Caught it a couple times when the fuel flow meter started dropping and hit the boost pump and things went back to normal. Were you running with both tanks on?
Snow and no snow
in Avid fox flyers pics and vids
Posted
Great pics as usual Randy. I get back home the 24th, hopefully we can hook up and get in some flying time and not just work time!