Activity Stream
Posts Activity Stream
-
-
Kitfox issued a SB a long time ago about welding a little triangle of sheet steel at the joint of the pedestal and the torque tube - Doug Holly posted his broken cable attach tube at the pedestal, and I believe a repair he made.
EDMO
-

Guest
SCORE!
-
I'll never understand paying so much for something and working so hard on it just to let it die.....
1 person likes this -
Congratulations! The McFarlanes are nice people, they had a Taylorcraft fly-in at their strip one year and I flew the 172 in to see some of my old T-craft buddies.
So what this means is that you can do the greatest thing that an airplane homebuilder can ever do... build an ultimate airplane just the way you want it, using everything you learned on your B model... while still having fun flying all the while you're building.
Good deal !
-
Robert,
Sorry, I'm thinking things through while paint is drying, the fuselage is wrapped in plastic in my spray booth/garage so I can't get a pic yet.
You are spot on though, and a Clevis pin is a great solution! I didn't think of that! I can't believe how tight that clearance to the boot cowl is though! I will post a pic in a week or two.
Ed,
These are the 4130 tubing style pedals and you are right, it doesn't take much to bend or break them. On my other plane I was landing and noticed I was using full right rudder and still having issues keeping it from going left. I looked at the pedal and the tubing had actually ripped open starting at a welded intersection...not good!
Thanks guys!
Ron
-
Robert,
I think that would work, just use duct tape not masking...Ha! Just kidding I know what you meant.
I have to give credit to Ivan Allen, another Magnum builder, he showed me the flaring trick and it worked really well. I used UPOL light weight filler for the bigger filling jobs, but for smaller filling jobs UPOL Glazing Putty in the squeeze bottle is great! It cures really fast and is waterproof.
Good luck,
Ron
-
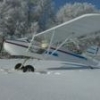
I hear ya. I destroyed this Avid I just got in 3 hrs today. Sad to think of the hundreds of hours and thousands of dollars these guys spent on the original build. I have all the kit info. They paid just over $19k for the kit with motor. Flew it a handful of times and sold it 23 years later for the price of about 5 tanks of fuel. Sad to think there are many more that were never saved.
1 person likes this -
Looks good Larry. The fun part will be putting it back together for the last time. I'm looking forward to seeing that happen.
-
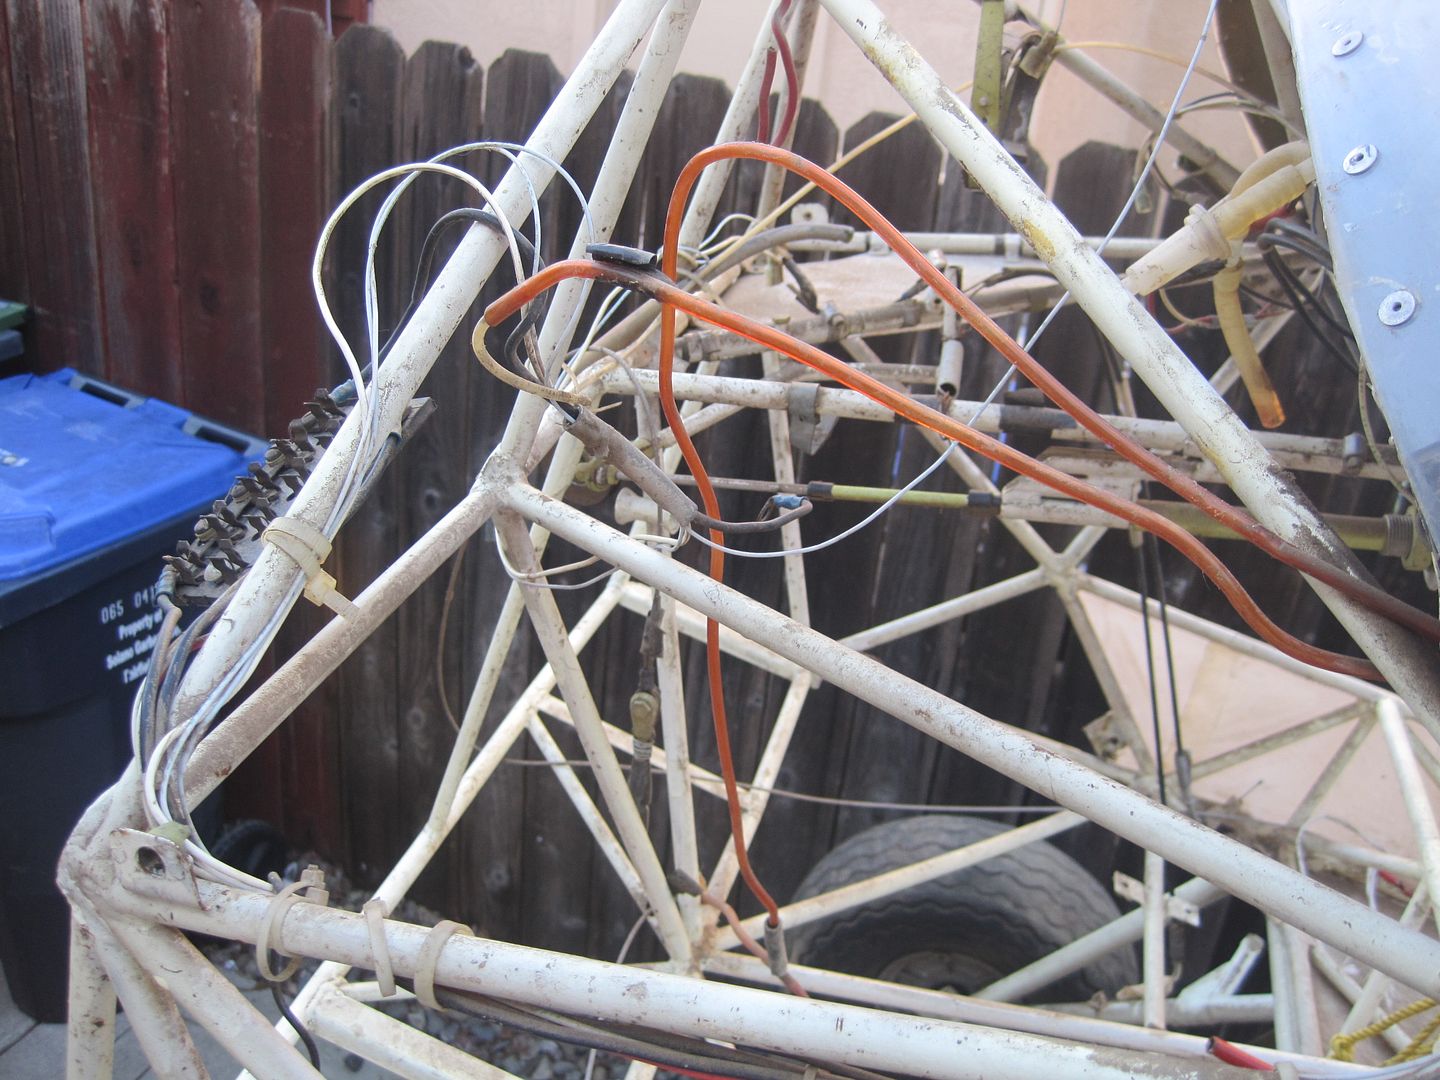
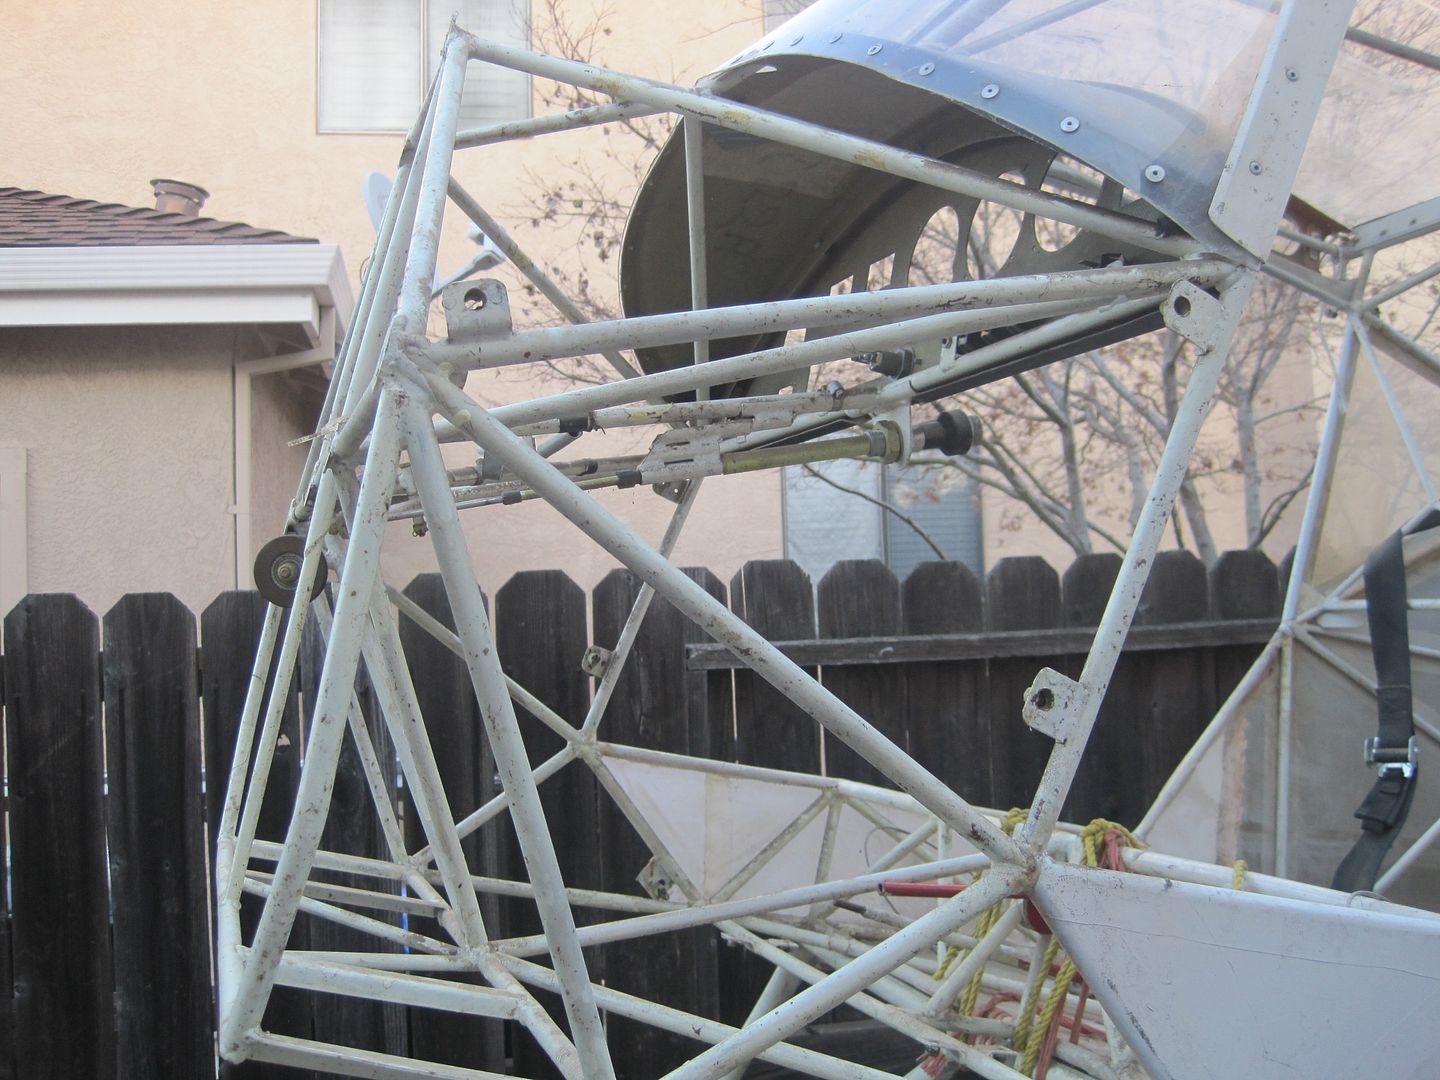
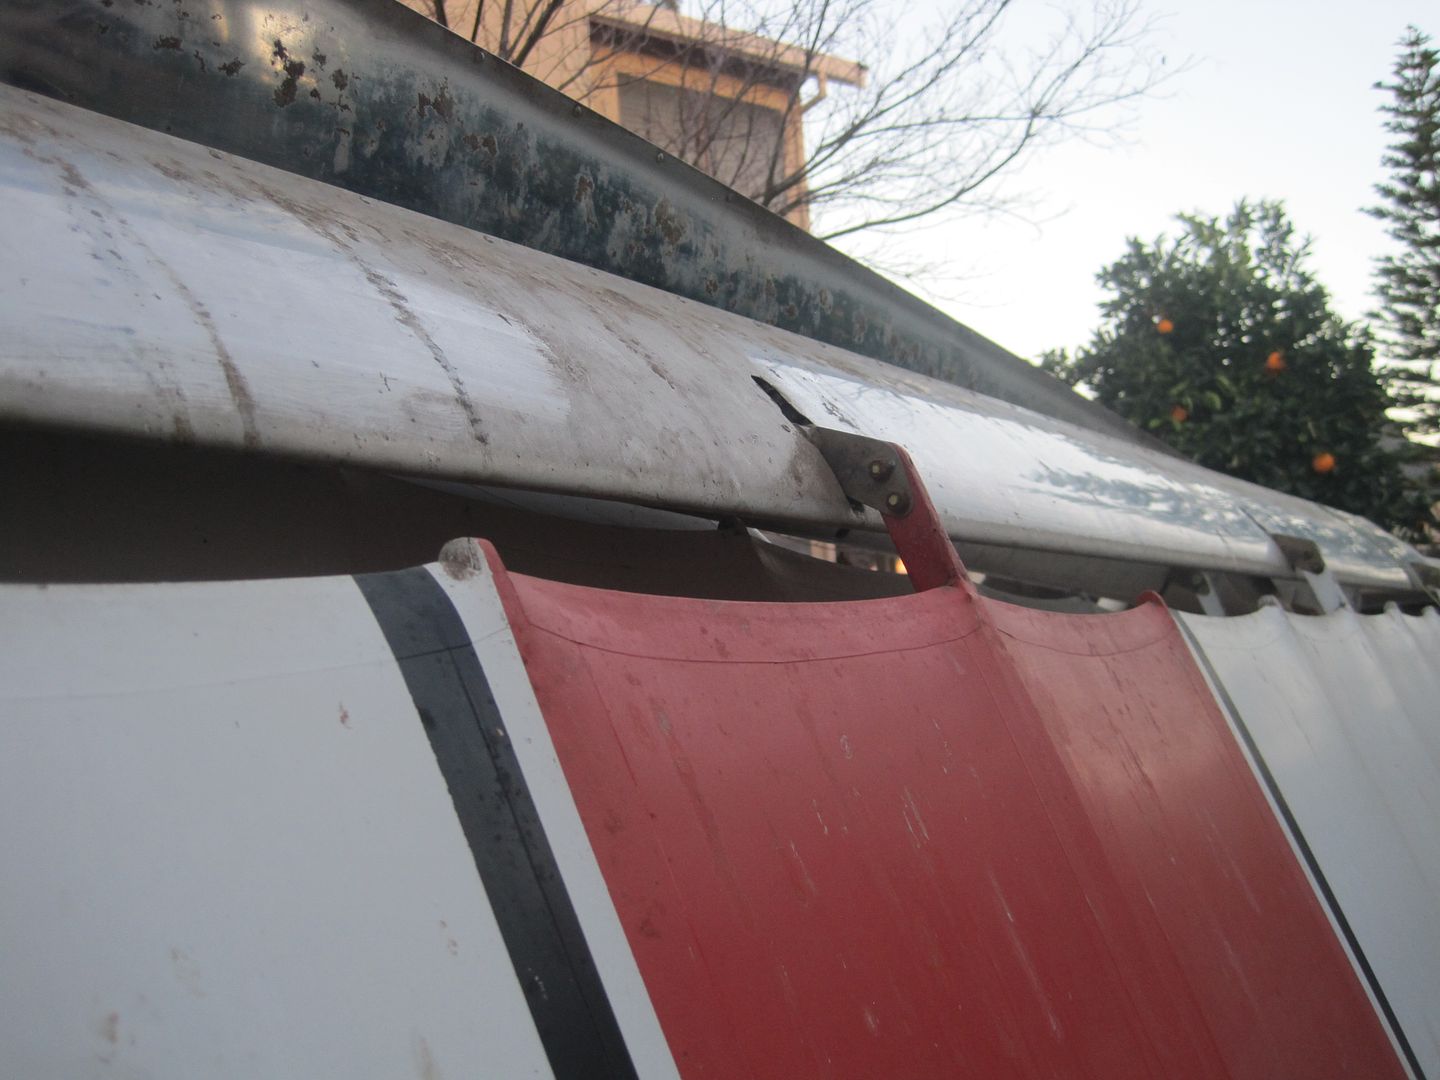
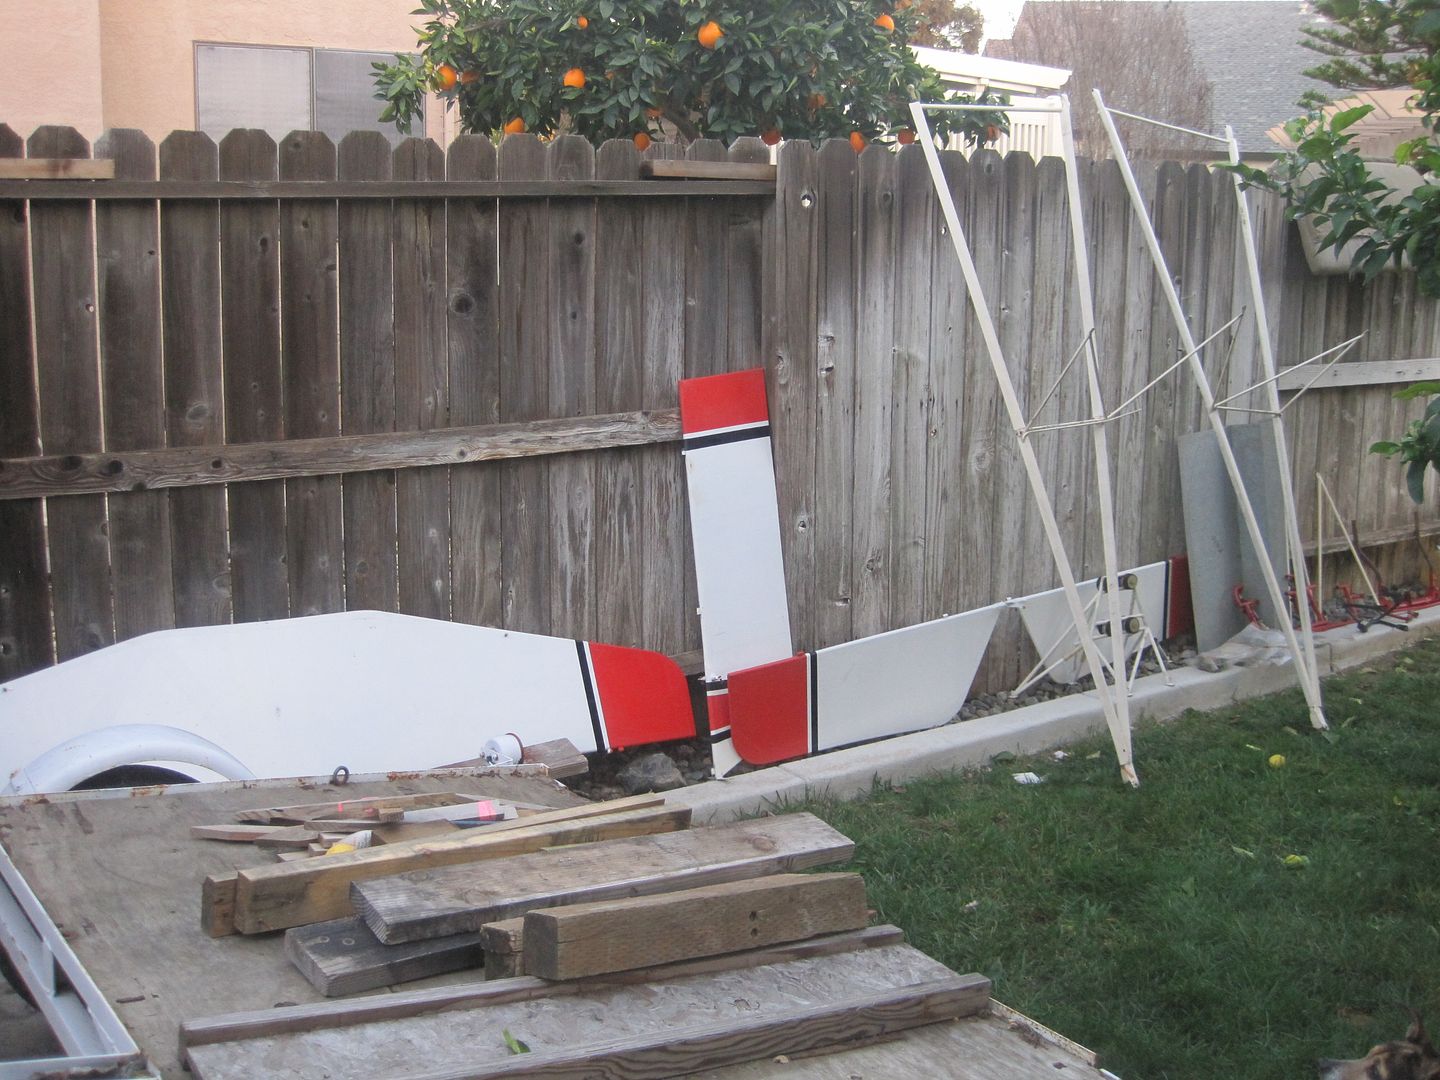
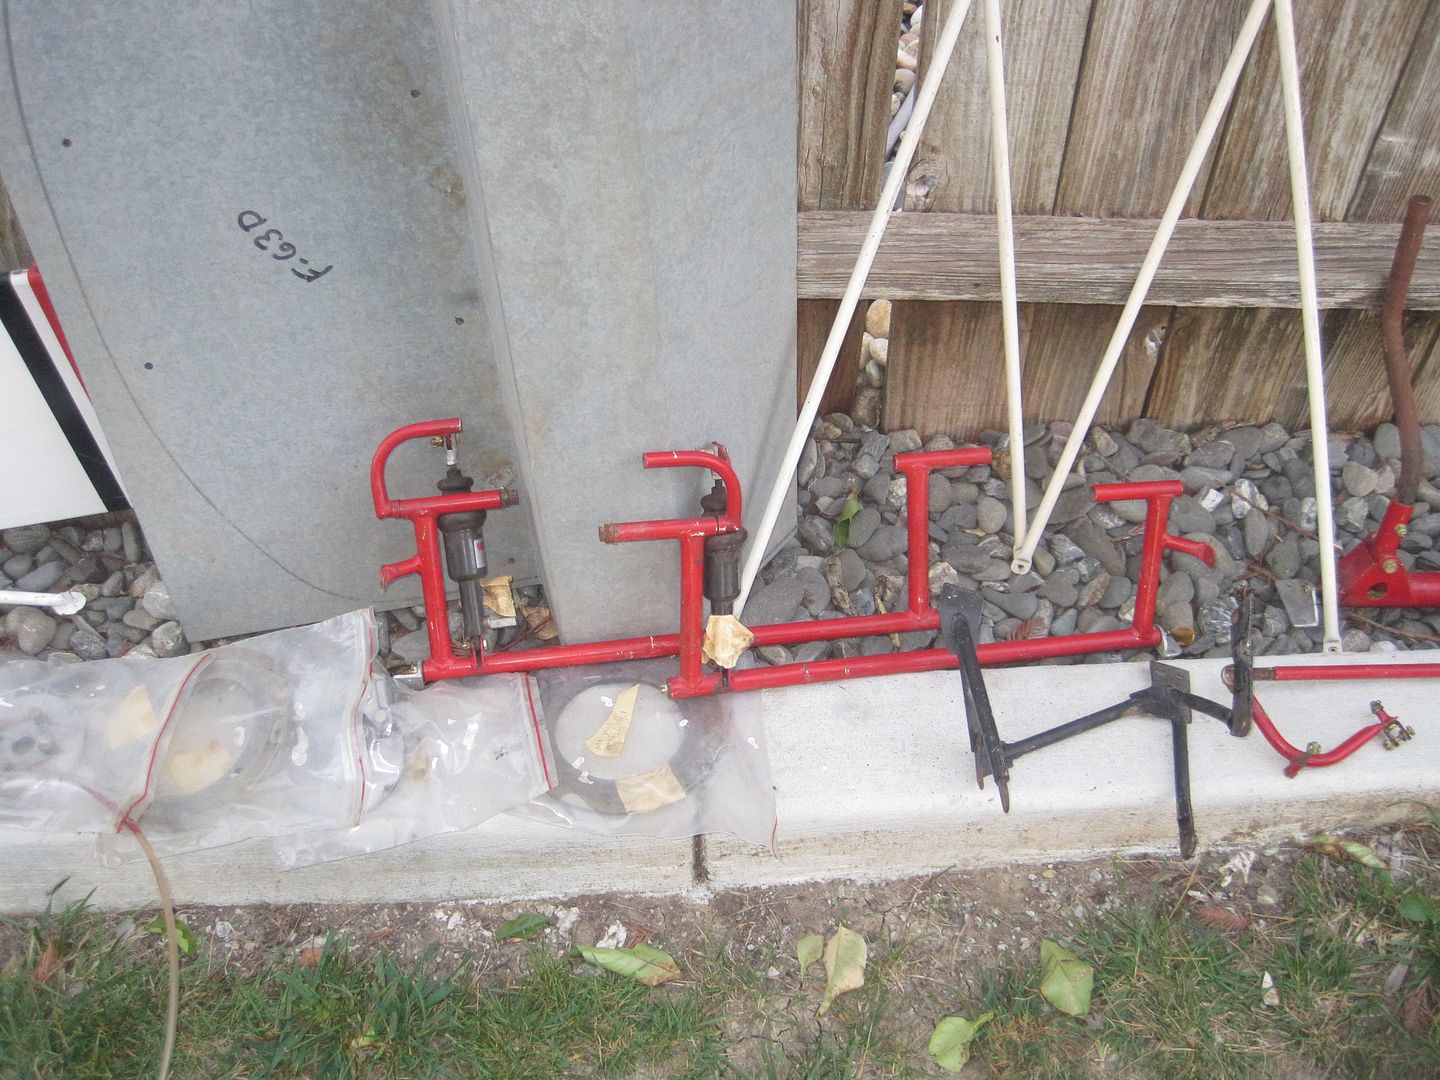
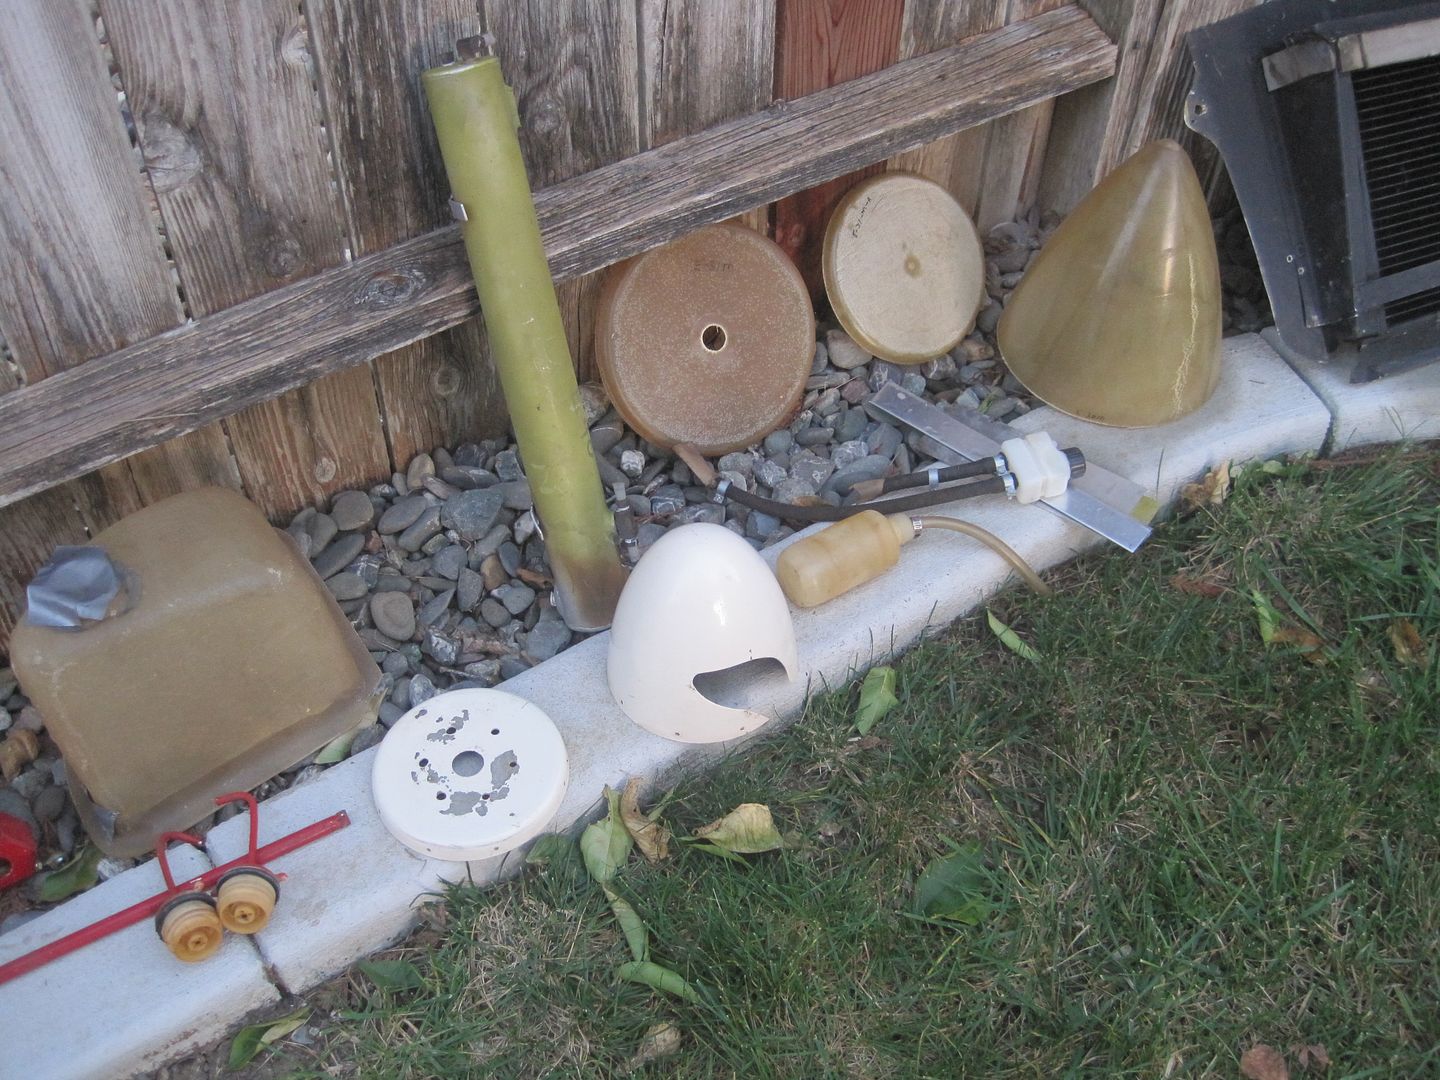
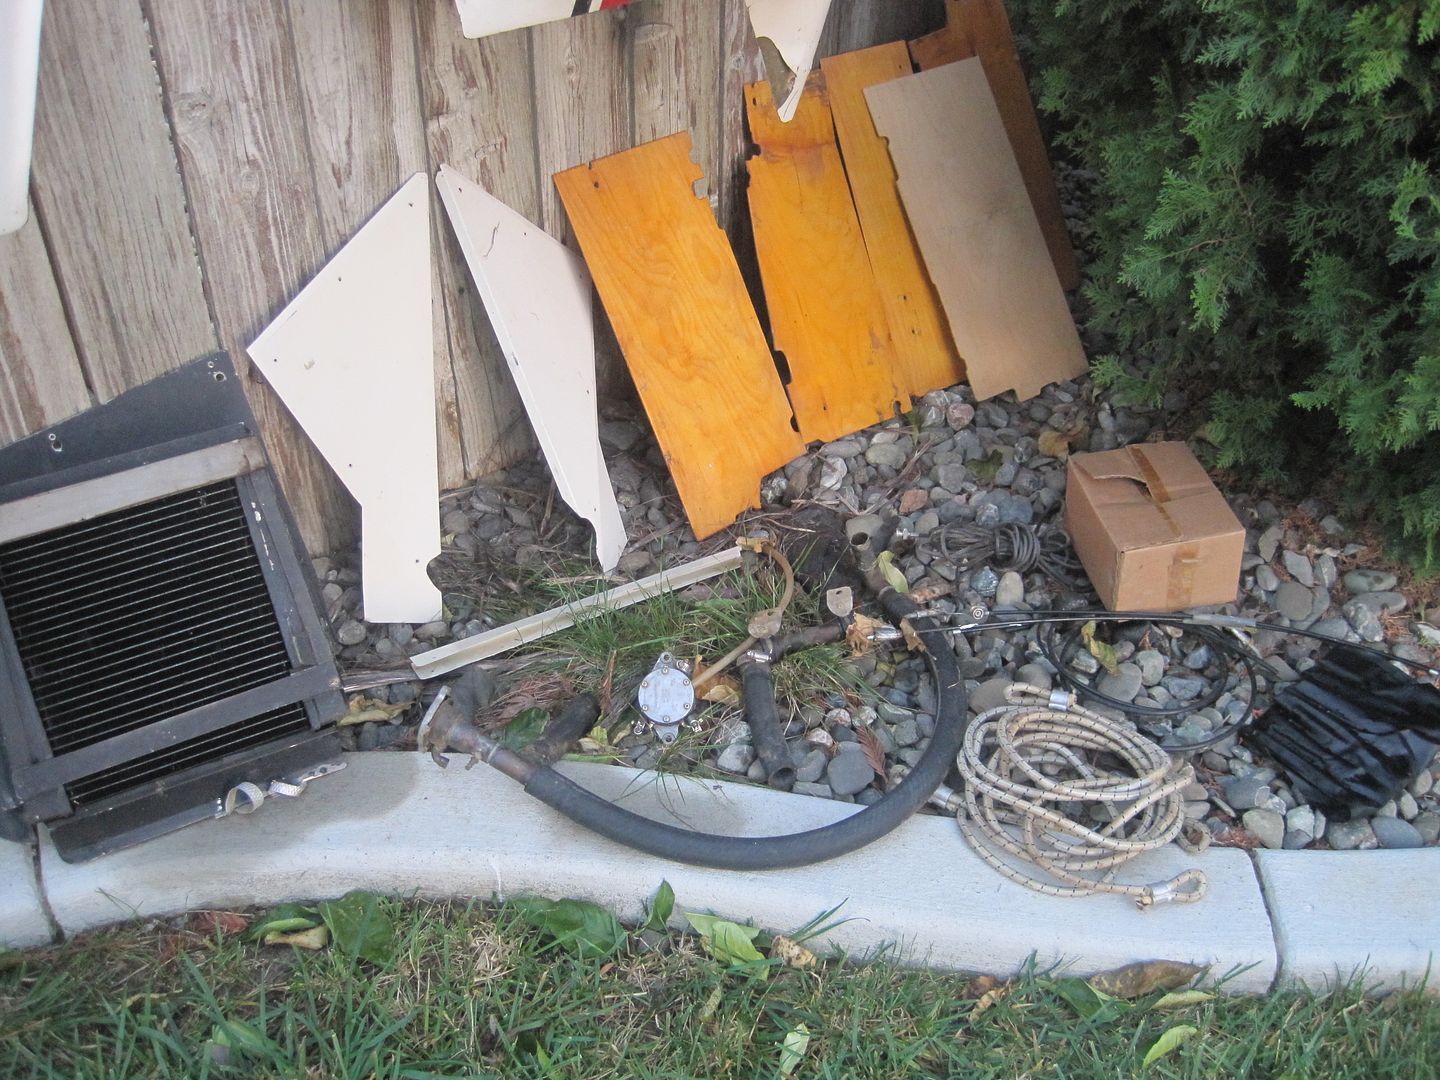
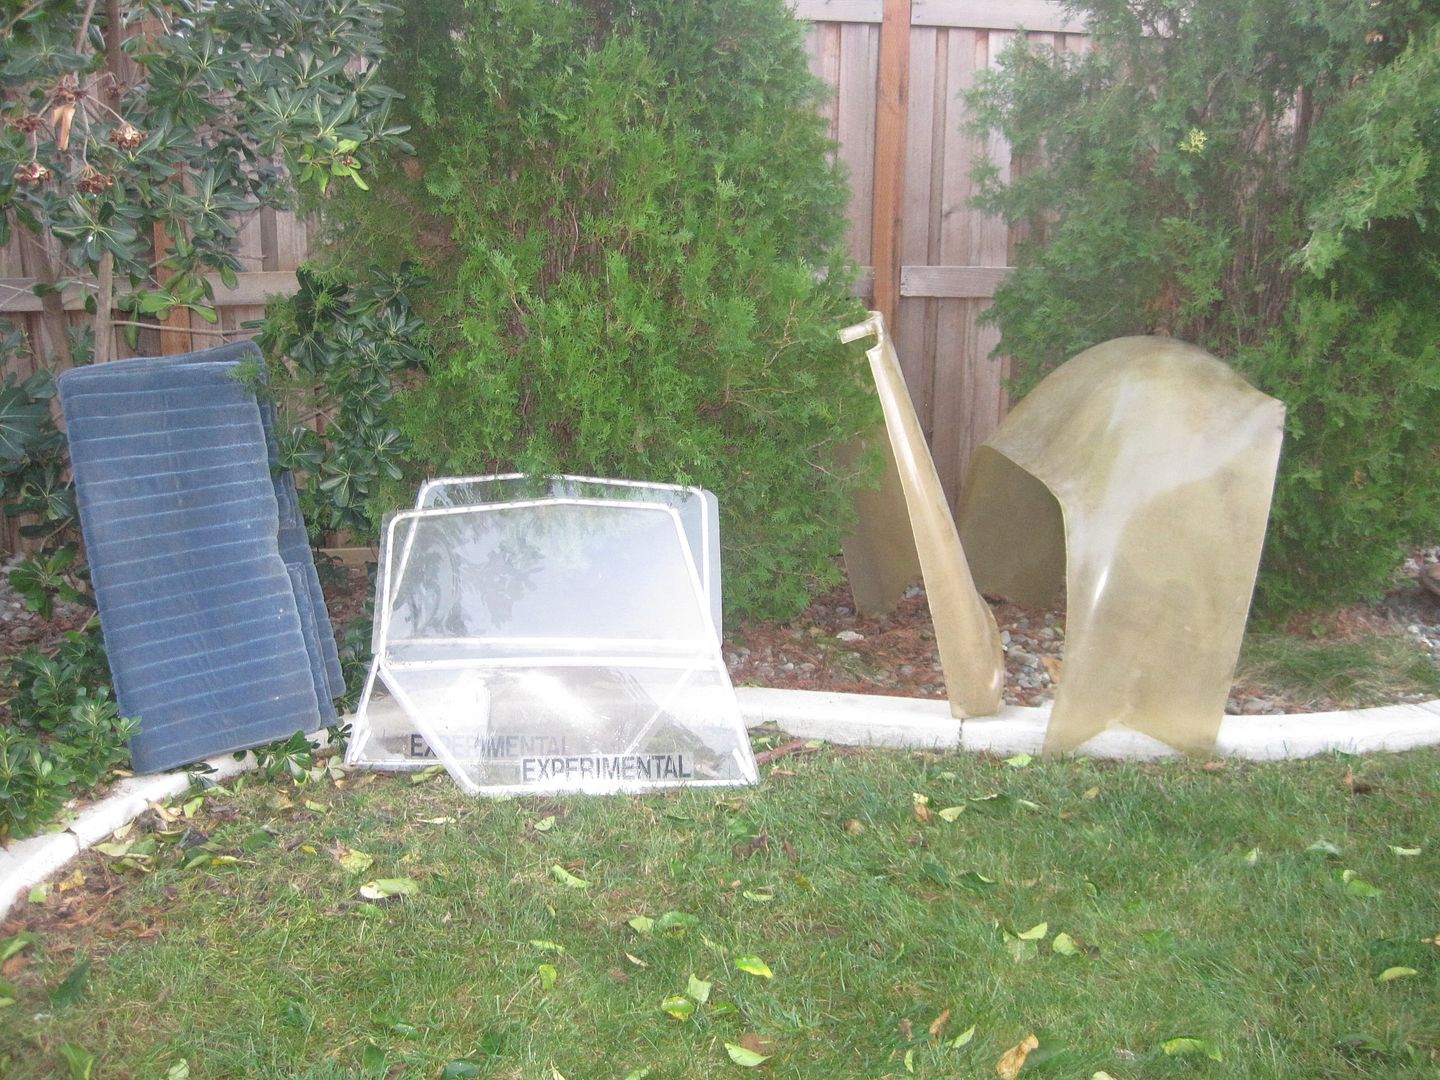
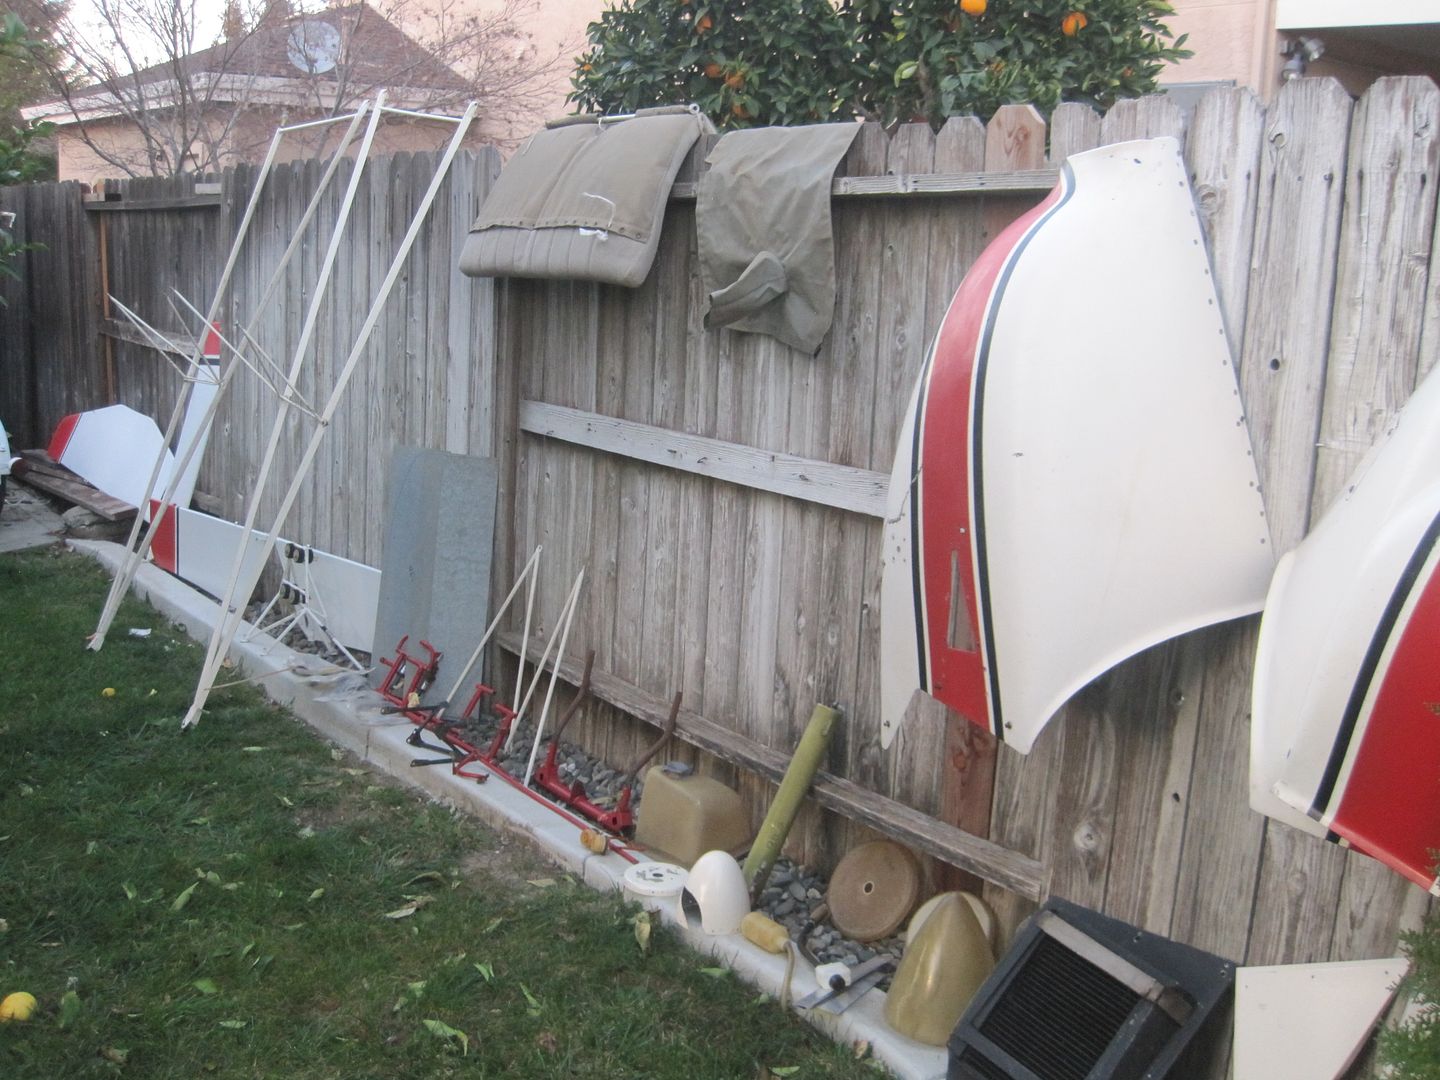
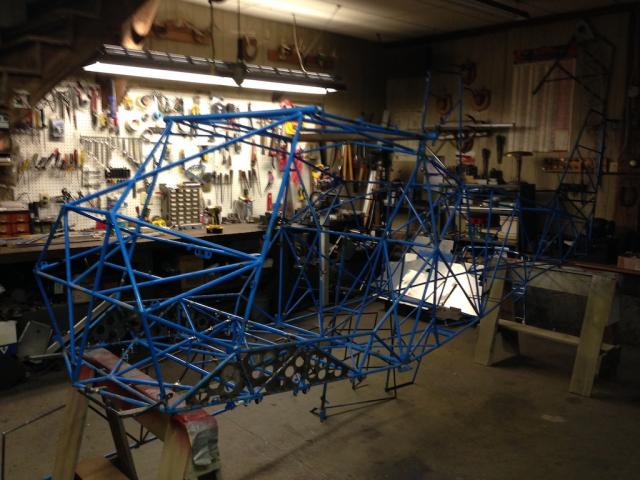
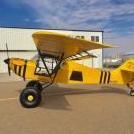
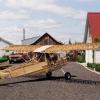
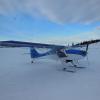
Spent the afternoon cleaning the barn dust and mouse shit off everything today. Did a quick inventory and I am pretty pleased with what I ended up with. More corrosion on stuff that I'd like to see and I'm worried one wing may be junk due mice living the spar but won't know anything for sure until it's all opened up. Here are some pics of today's progress.
Before
After
These Flaperons look a lot closer to the wing than mine
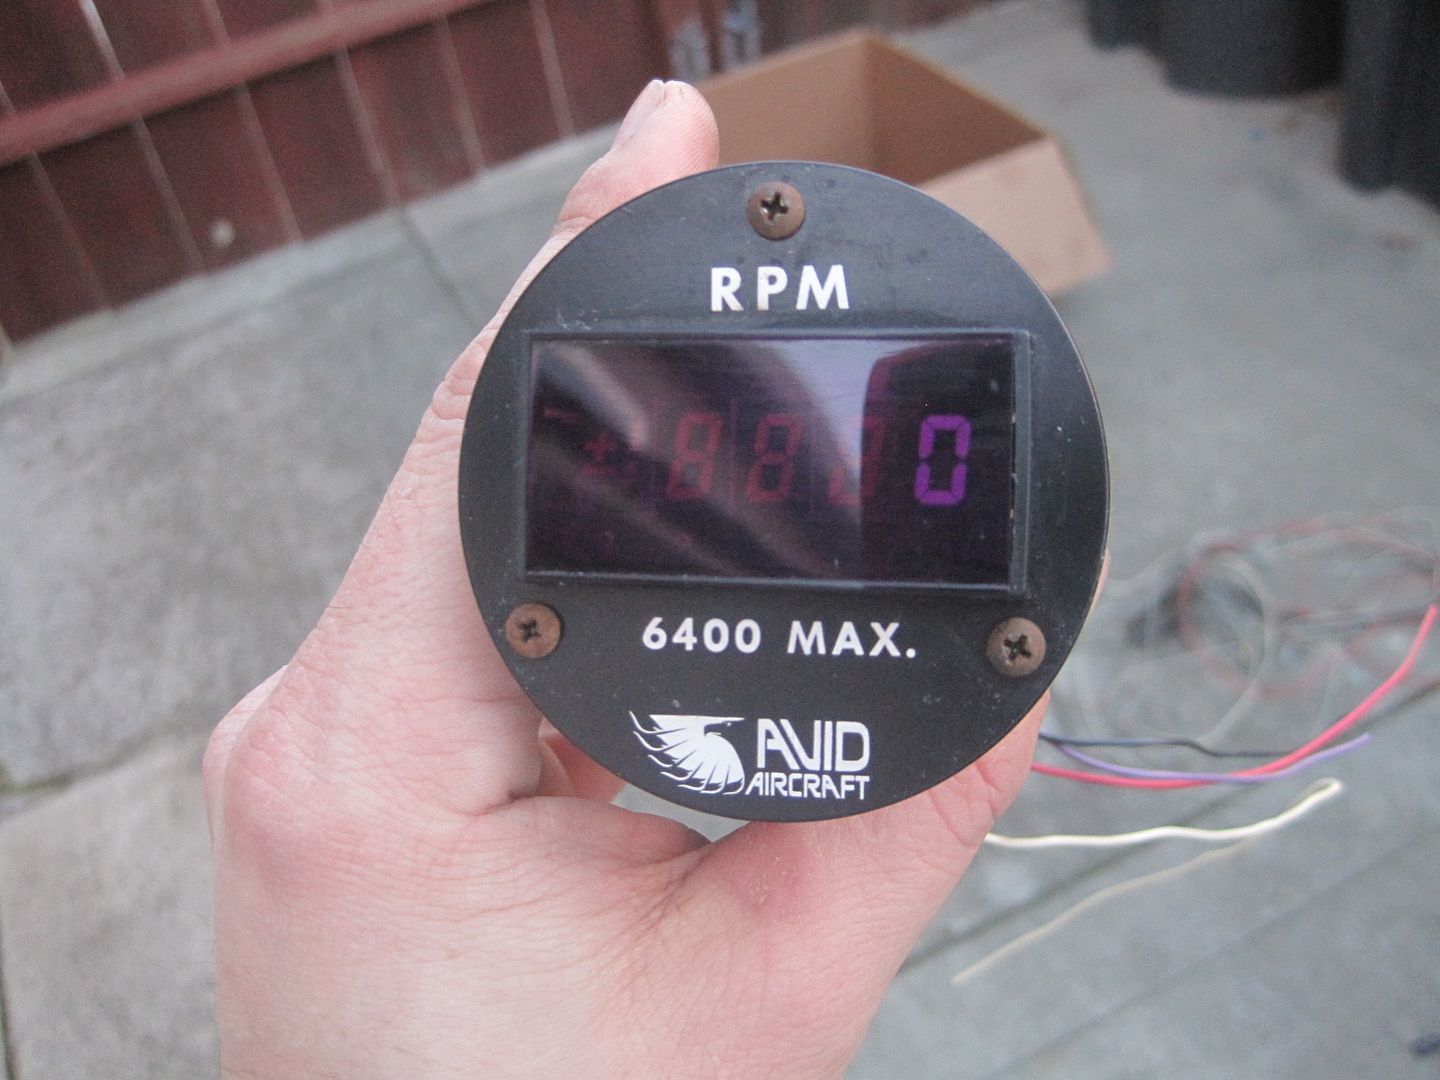
Has anyone ever seen an Avid Digital Tach??
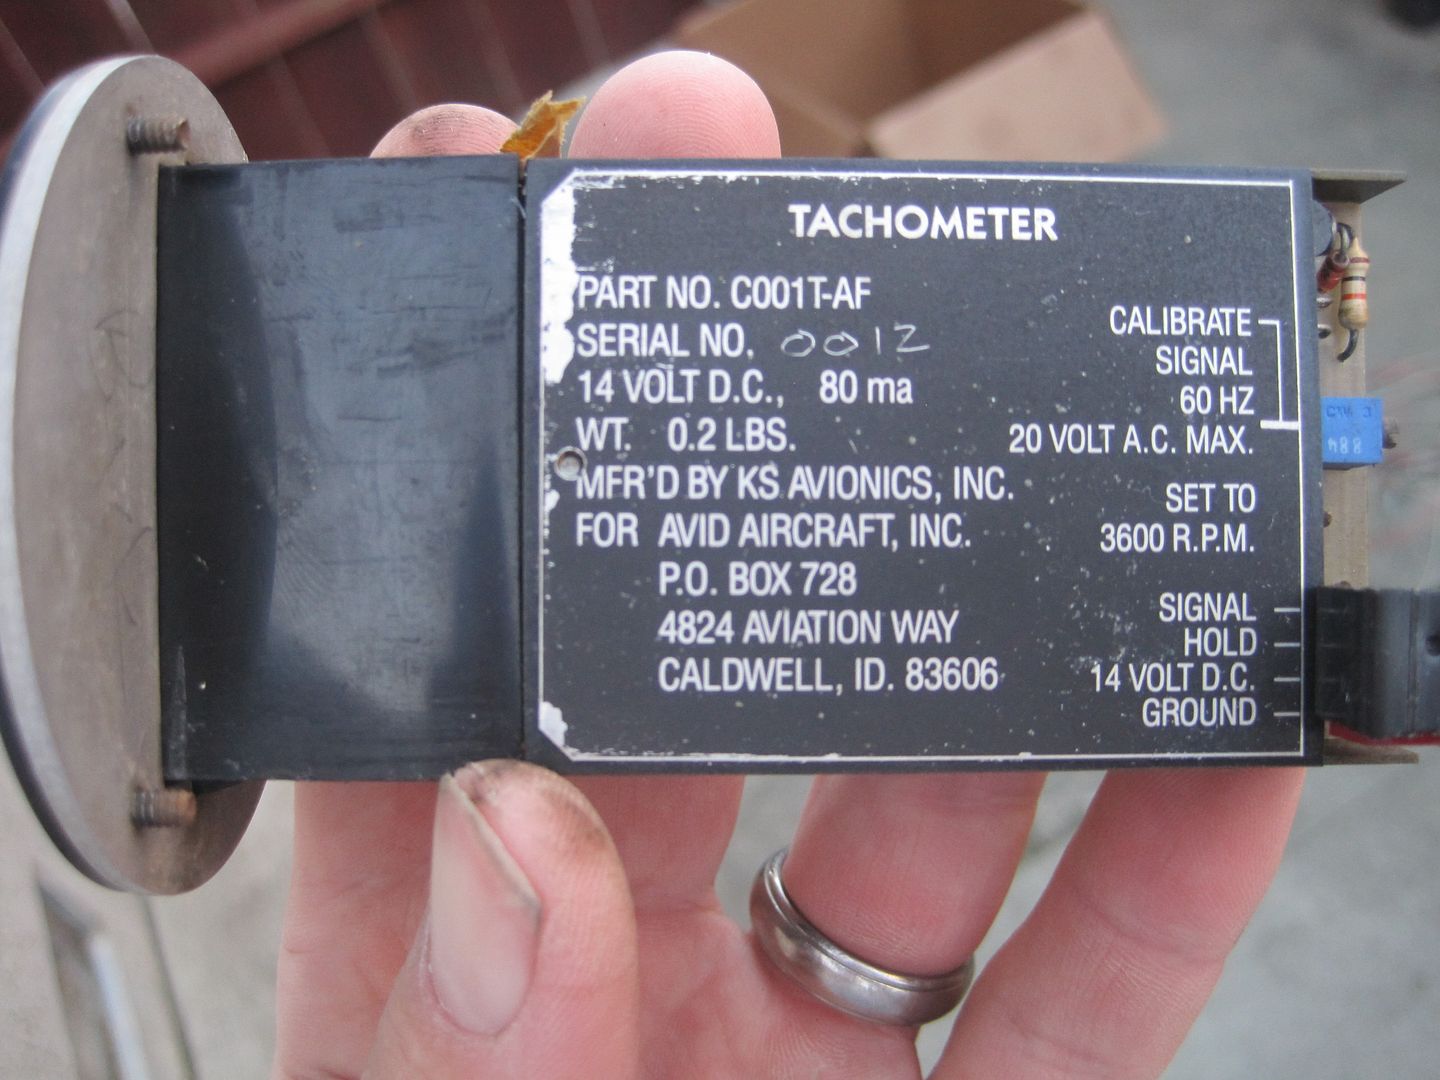
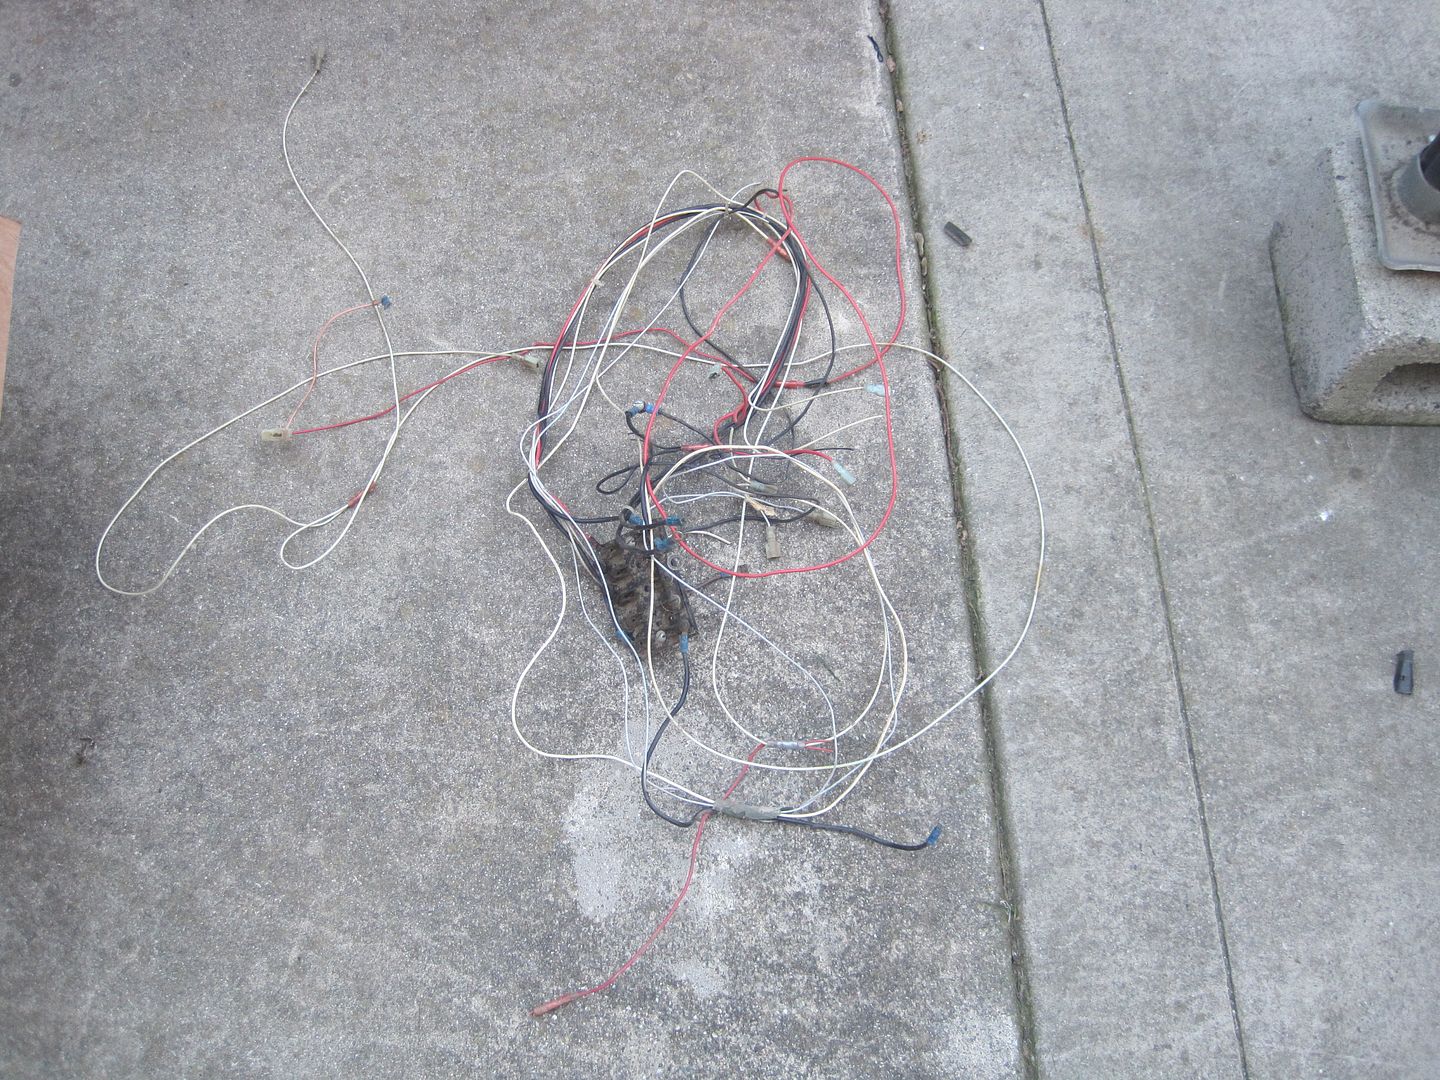
Nice rats nest of wiring I pulled out
The good stuff
Walk thru video
1 person likes this -
-
Doug the yearbook is all the builders tips from the newsletters and all the flying stories from them wrapped into one 100 page document. I will upload it.
1 person likes this -
The effects of cold is something I missed, we do get frost here though!
Would rubber give a measure of damping due to internal friction?
Rubber may eliminate metal to metal contact as the spring rate should theoretically
Increase as the load is applied.
The gyro guys here used to use this systym?
Maybe in search of a better mousetrap!
1 person likes this -
Guest
SCORE!
-
I think I have a copy of all the Avid-Comm newsletters but I've never seen the Yearbook.. What's that all about?
-
-
Good for you Joey. That is the mark IV gear. I've found deals on barnstormers as well.. You have to see the add early and act fast or it's gone. I got my Jabiru engine kind of like you. I was second in line and after a month and a half the seller gave up on the first would be buyer. I did call every week just to remind the seller I was waiting if things fell through. Jim Chuk
-
It's hard to pull it apart, but it's the first step in final assembly to get this lady in the air! Keep at it mr!

-
Finished with the disassembly. Kinda sad it only took a couple of hours to completely undo all of that building...
-
-
-
Nice Joey, Is that the WIB gear i wonder? If you decide not to keep the cowl shoot me a PM. Any chance we could get you to scan in that year book for us? When I got our bird it had sat from 1987 til 2011 and never been worked on it was still a raw kit just moved a couple times. I got with it some pictures of Deans factory including pictures of the Avid explorer. makes you wonder what other goodies are just sitting under dust somewhere waiting for someone to find them that could actually appreciate it.
-
Nice score,that looks like the gear that came on my avid plus project, I also got a Avid C project but needs a whole lot more work than yours
-
Forgot to mention I picked this up for half the price I just spent to extend the elevator on my plane.
 1 person likes this
 -
Awesome find! The paint scheme is pretty cool. That gear looks exactly like the gear legs that came with my MK-IV. The way the step is welded is just like mine.


_(46x80).jpg.25919e611bc17cbb4d01f5d473f61d02.thumb.jpg.d5ec651266d728370fc50305667ddcdb.jpg)

.JPG.08f9e23d729418efb8a3e9fd398de605.thumb.JPG.c67c136500da29b77d95e9683855f5f4.JPG)


 Great Steal!
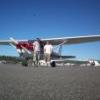
Proper Tailwheel Geometry - Castor Angle and Shimmy
in Technical tasks
Guest
Posted
Yeah. Tailwheel shimmy is like a balloon full of shit. Changing castor angle or tire pressure or bla or bla or bla, is like squeezing the balloon. It will go away where you squeeze it, but pop up somewhere else. Resistive damping is the ONLY way to get rid of it once and for all.
It was interesting to me that while I was struggling to figure this out on my own, that others were also having the problem. An interesting approach I have seen recently with really big tailwheels is the total elimination of steering cables and springs. The huge tailwheels require so much resistive damping that they won't easily steer, so the just eliminate the steering altogether. The tailwheel is steered by differential braking action exactly the same way the RV nosewheel is steered with differential brakes.
The RV nose wheel setup has large belleville washers that are compressed and tightened to produce the resistive damping to kill shimmy. Some of the big tailwheels are doing the same thing now. Very interesting. I never got a chance to experiment with this approach though.