High Country
Members-
Content count
479 -
Joined
-
Last visited
Posts posted by High Country
-
-
I goofed and forgot to plan ahead on my wiring so i just routed it out the side just above where the strut attaches to the fuse and routed it up the rear strut and back to the servo. has worked for about 45 hrs so far with no issues. eventually I will fair them like Joey has done and this will protect the wiring. Structurally its probably fine to drill into the elevator my concern would be that it would allow moisture into the tubing which would cause rust problems over time I would stay away from it. I would recommend opening it all up like Joey has done and extending it while your at it. The fabric work is really easy and if you can't weld it yourself I bet it would not cost much to have a shop weld it up if you prefabed all the tubing. heck if you were near me I would be more than happy to help.
-
Ed, seriously where you before with this one. a cutting board!!! thats a lot cheaper than buying raw materials. I wonder if my wife would notice that the cutting board is just a bit shorter hmmm. I should probably check the thrift store first

-
I hard mounted mine by riveting it to the tab welded on the fuselage it clears when folding but not by much, (I have already dinged my flapperons on it grrr) If i were to do it again, and I may redo it, I would use a small hinge to fold it down out of the way when folding the wings. also my kit had aluminum for the bearings I would use some sort of synthetic material.
-Robert-
-
Thanks Leni, looks like these will be in my next ACS order!
-
what about welding extensions onto the flaperon brackets to bring them down where they need to be but still keeping the original mounting the same. just another option to consider
-
I got a set of led bulbs from ac spruce for my old grimes navigation lights. Pretty bright. They are 35 bucks each but if you turn them on, turn off then back on within 3 seconds they strobe. No power supply needed other than your battery and are a direct replacement bulb.

Leni do you have a part# for these bulbs? sounds like my easiest option as I'm already set up with grimes lights
-
Sweet Joey, thanks for taking the time to make this and share it
-
Like Ed said it keeps the fabric off the cross tubes and gives it shape.
-
Ed, glad to hear you back and that you have fixed the last two not sure what you did with the one just before the computer though??? oh never mind.

-
either works, I've seen both and squeeze rivets look nicer also a little cleaner thats what we used on our build
-
I know I hate to refer anyone to "the other site" but this has already been gone over with good results http://www.teamkitfox.com/Forums/showthread.php?t=415&highlight=wagnerI personally bought the Wagner Control Spray Plus and shot all of my ekofill with it. worked great. was going to use it for the top coat too but a friend hooked me up with a complete paint booth set up with air so I went that route. good luck
-Robert-
-
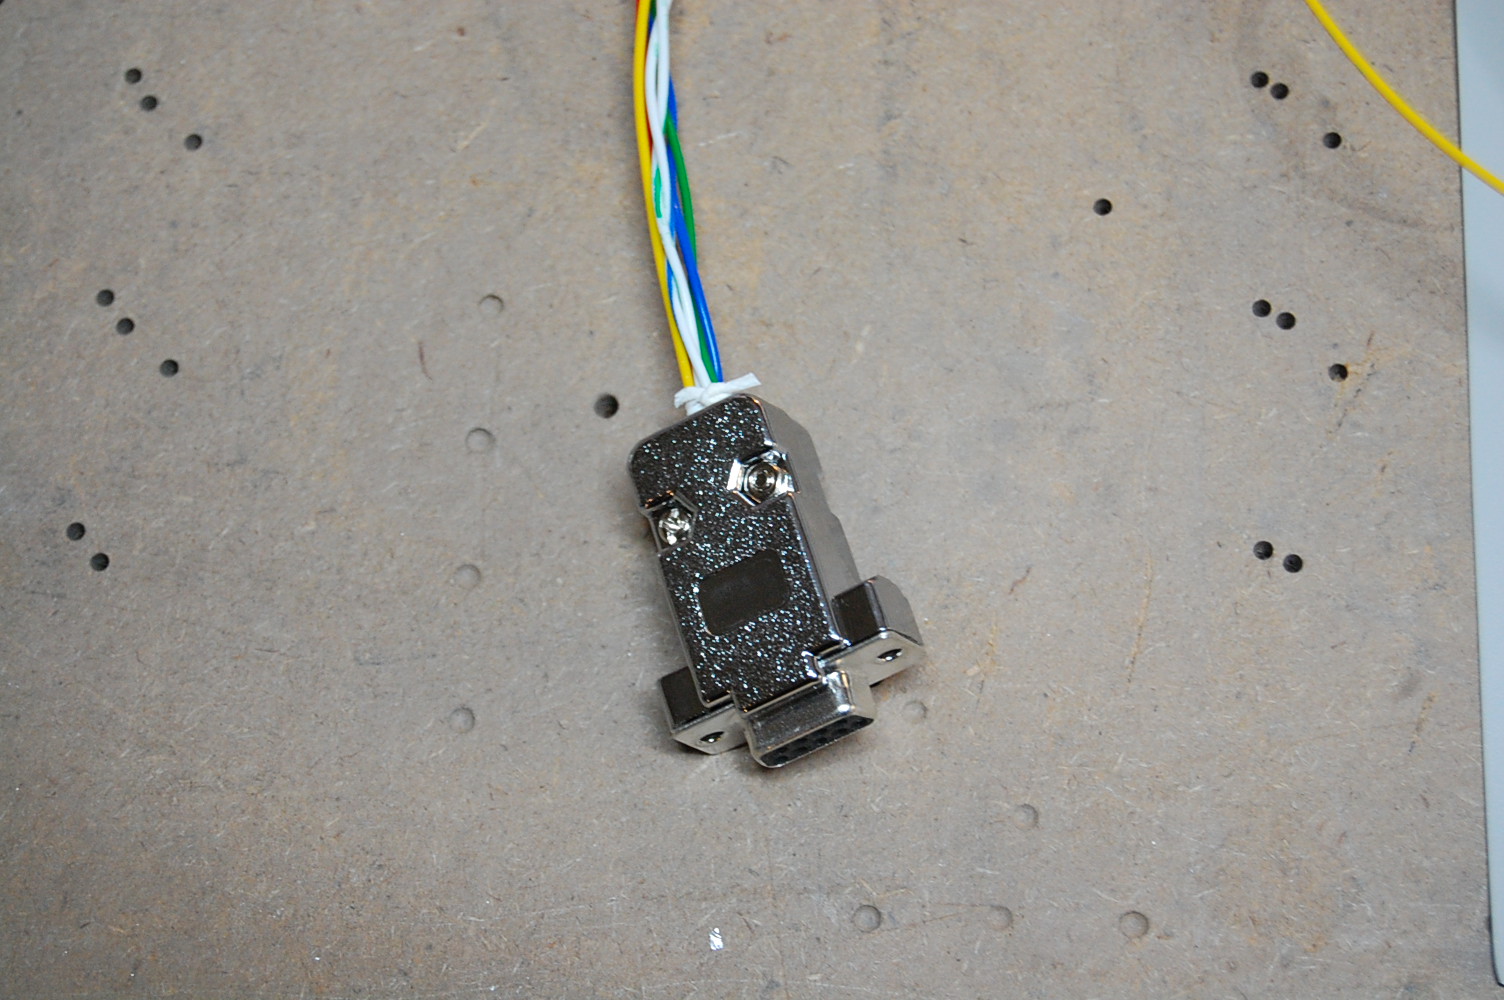
D sub VGA plug like what your computer monitor uses. http://www.alibaba.com/product-detail/d-sub-computer-Connector-Right-Angle_316975511.html
heres one done on an RV https://johnsrv7a.files.wordpress.com/2011/12/dsc_9767.jpg
I just got the DSUB pins (male and female) at radio shack and put one on each wire accordingly and used a small piece of heat shrink to hold each one together and one bigger piece of heat shrink over the whole joint to keep a good mechanical bond. not as easy to take apart as a plug but it gave a real nice clean install and I don't plan to unplug it too often so I'm not too worried. but the computer monitor plugs work great and many have the small screws to hold the two halves together securely.
-Robert-
-
I've been over 12K in mine... but I guess I'm starting out a lot higher up than most
gotta love it. think we will get a reply from the troll or did he go out for some more o2?
1 person likes this -
Nice Joey, Is that the WIB gear i wonder? If you decide not to keep the cowl shoot me a PM. Any chance we could get you to scan in that year book for us? When I got our bird it had sat from 1987 til 2011 and never been worked on it was still a raw kit just moved a couple times. I got with it some pictures of Deans factory including pictures of the Avid explorer. makes you wonder what other goodies are just sitting under dust somewhere waiting for someone to find them that could actually appreciate it.
-
Ron, very nice work thanks for sharing. I like how you faired them back in at the tips. I was planning to use filler but your way seems much nicer.
From what I've read from multiple sources the leading edge cuff's don't do much performance wise for the early under cambered airfoils but is supposed to be a little gain for the flat bottom airfoil. Regardless of the performance gains or lack there of I think it makes the wing look nicer and is protection for the spar should you bump it into a hanger door frame or something. just my .02 I'm planning to glue them on to my already finished wings this summer and just wrap a piece of tape over them and paint.
-Robert-
1 person likes this -
Pics would be helpful here but if I'm following correctly you're referring to the bolt that actually attaches the cable to the pedal. Are you already putting the bolt from outside to inside I assume? If not try flipping it around for more clearance. if this is already the case you could try replacing the bolt with a clevis pin http://www.aircraftspruce.com/catalog/hapages/clevispinsgrid.php?clickkey=13442 thatwould allow more clearance with the shallower head. I had to do this on some of the linkages for my flapperons to prevent rubbing on the floor boards/belly skin area.
-Robert-
-
When I installed my tanks just a couple years ago I went to Kitfox and spoke with John, he sold me Dow Corning #739 RTV silicone to glue them in. this allows the tanks to provide the necessary structural integrity to the wing but still allow the flex needed and not crack the fiberglass tanks. This is what they use on the SLSA planes. They have it on page #28 of the catalog http://www.kitfoxaircraft.com/product_catalog/kapartscatalog.pdfyou may find it cheaper elsewhere if you look around. I got away with 1 tube but had none to spare.
-Robert-
-
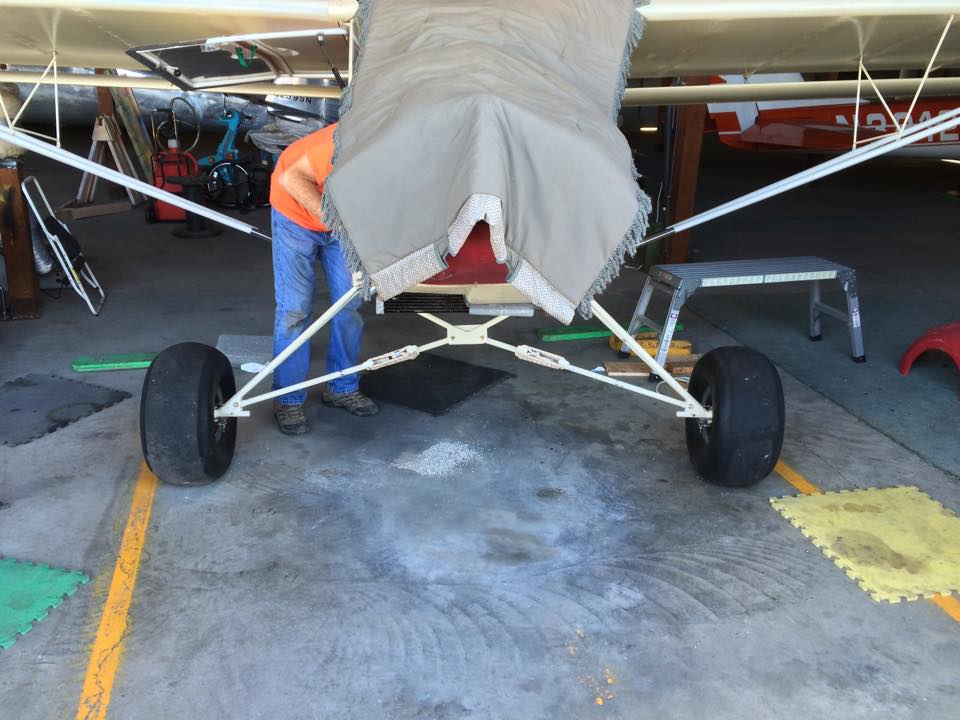
The cross tube in the cabane is a huge plus, this is something I have added when building my gear and I would recommend doing on any gear with the cabane.I think its better to have the lower attach point on the cabane lower (I have the ideal angles somewhere will have to dig them up) but for most flying its fine its that botched landing that makes it a concern. as for the spring struts I would 2nd Leni and make more travel to prevent the metal to metal, that energy has to go somewhere. Another thing to consider would be to weld in a step into the main gear legs I use mine a lot, however they are not just for convenience but to reinforce the gear leg. A friend of mine ran over a taxi sign at slow speed on Brett's original gear that didn't have the "step" and it completely folded the gear up and took out his lift strut and longerons. should not have been a big deal but when the gear leg failed it turned into money fast. the step was the solution and seems to have helped a lot. Overall however I think you are going to be very happy with the stance this gear gives you as well as the ground handling compared to the original gear.
1 person likes this -
scroll down about half way and you will find a good picture they are part# 24019 give Kitfox a call and they will get it to you. I plan to add them to our Avid speedwing hopefully this summer.
-
 So now I'm thinking you need a third one on floats. "hmmm snow...dirt...water... what do I want to do today"
 -
I'm building a custom wide gear very similar to the Avid bush gear only im using cub style bungees and making it a little wider than the airdale gear. I'm building them for both the Avids and Kitfox. Main tubing is 1" .058 4130. If you are buying one made for the other keep in mind that the cabane will be different. Kitfox had one width and avid had two different widths. FWIW but any of them will be much better than any of the stock gears out there.
-Robert-
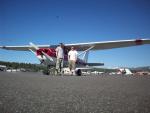
Here is my last one on a friends Kitfox IV it sits 20" wider 2" higher and 2" more forward than the stock gear that he originally had. Made a whole new plane out of it.

-
WOW!!! Looking good, at the rate you're building you will be in the air before the snow melts. keep up the the good work and keep those pics coming

-
High country I own a avid mk4 and I'm very interested in the gear you are building how do I find out more ? Thanks Jbird
PM sent
-
For easiest application of the Hysol put it into a small ziploc bag and squeeze it all to one corner than just cut off the tip of the bag and apply it where needed like decorating a cake. than put some iso propyl alcohol on your finger and smoothen it all out. works great.
Avid speedwing.... Impressions from those that have flown one?
in Avidfoxflyers General Hangar
Posted · Edited by High Country
We built ours with an extended HH speedwing and love it. still very dirty (no fairings anywhere lots of gaps to fill still) and it performs well for its current configuration- empty weight 526 lbs rotax 582 w B box and ivo 68" 3 blade. I've only made it out once since the new prop so don't have to many real numbers yet but I can easily be on and off the ground in 500' solo I'm seeing 1000 fpm climb and 80-85 indicated with my wife and 20 gal of fuel we still climb out at 600 fpm and cruise at 75 indicated. once I get the leading edge cuffs, fairings, and gap seals on I will see even better. only have about 45 hrs TT so far but we are happy with it. Note all of these numbers are without flaps I still haven't played with them too much. I believe leni has flown both wings and has liked both. I'm sure he will share his experience.