Activity Stream
Posts Activity Stream
-
-
Just looked in my Rotax repair manual, and it says that the change to 1 in 7.5 taper was made in 1991. I guess my memory was a bit off on some things. I was thinking the taper was measured in degrees, that was why I thought the change was to a smaller degree. Instead it was measured in taper ratio. In that case, 1 in 7.5 is less taper than 1 in 5. If you want, I can copy the 2 pages in my manual that deal with this and send them to you. At any rate, it doesn't appear that you have the older gear box. Jim Chuk
-
Thanks! I'd read one earlier SI about retaining compound and higher toruqe, but had missed the later one about the new part. I'm sure I have the old part- it's a 95 and the gearbox was probably never opened.
Here's the SI discussing the part changes: http://www.rotax-aircraft-engines.com/portaldata/5/dokus/d04298.pdf
The new gear and gone does indeed add up to about $600. Ouch indeed.
The later SI advises a higher ever torque setting and normal flat washer for all previous part numbers, so I'll try one more time with the extra kick. I might warm the gear to about 300 degF in an oven- by my back of the envelope calculations, that would fit tighter by about as much as an extra 1/5th turn of the nut, but without the stresses on the nut/cone/threads that overtorquing it would impart.
-
I've installed the MGL E-1 Engine Monitor System and have a few questions for a Rotax 912UL application. I've posted the same questions on TKF so well see where the experts are.
Info: I re-used the existing EGT thermocouple probe, replaced the existing single CHT thermocouple probe with (2) new NTC CHT K-Type thermocouple probes from MGL, re-used the existing Westach oil temp thermistor-style thermocouple probe and replaced the existing Westach oil pressure sender with a new VDO 150 PSI/10 bar oil pressure sender p/n 360-360-905 (Note: requires 1/8-NPTF thread, VDO p/n shown includes US Thread Adapters not required for Rotax 912UL application).
Q.1) Re: RPM - I have a Rotax tach and a TinyTach (due to suspected error of Rotax tach). I'd like to enable the E-1 tach function for a 3rd opinion. Can I wire the Rotax and E-1 tachs in series by tapping off the engine RPM out supply feed (prior to the Rotax tach) to the Blue DB9 pin 5 of the lower E-1 plug connector? Is there is a specific polarity from the engine feed (didn't think so)? There are three wires into the Rotax tach (I've identified the +12v power supply in from the bus, but would need to break open the wiring bundle to trace the other two). So, if there is a wiring standard for the Rotax RPM feed wires from the engine and Rotax tach, can anyone confirm definitively that the left top pin on the instrument (looking from behind) is connected to +12v, the right top pin is connected to Ground and one of the two wires coming from the engine (which wire, or it doesn't matter which one?) and the lower center pin is connected to the other engine feed wire. Rotax install manual is not clear on this to me. I understand the E-1 tach function will need to be set to 1 pulse per revolution.
Q.2) I've set what I feel appropriate for my 1995 vintage 912UL, but would like to hear your suggestions for EGT, CHT, OT, OP and RPM span values, plus low and high alarm thresholds.
Q.3) Has anyone added a fuel pressure sender and where in-line is best? Any way to add a fuel flow transducer or fuel level sensors (for wing tank fuel remaining or header tank low fuel warning)?
Thanks!
-
-
Well, I'm not sure how I did it, but some dimensions on the first version of my diagram were wrong. I noticed it when I was measuring some other stuff on the plane. I've updated it, and I think they are all correct now. Sorry about that.
Luke D.
-
I believe at one time, Rotax's friction cone in the C box was a different taper than they went with later. I was thinking the early one was 7.5 degrees, and the later one was 5 degrees to put more leverage on the gear to keep it from turning on the shaft. When I looked in my LEAF catalog a while ago, I see that they only list the 7.5 taper part so I'm probably remembering things wrong on the 7.5 being the first one. Maybe I read about this in the CPS catalog "Proper care and feeding of the Rotax engine" section. At any rate, they changed the taper because of early problems with gears turning. Any idea how old your unit is? Do you know if it was ever taken apart before? If a guy goes to the later taper, it requires changing the large gear also. ($ OUCH!) Try to look in the CPS catalog for the section on servicing the C gear box. In answer to your question about is it designed to slip, I don't think so either. Jim Chuk
-
While running the Catalina a few times to tune the prop pitch in anticipation of engine break-in runs, I noticed that the prop is slipping slightly. Never enough to notice it directly while running, but some index marks I made between the prop shaft and the PTO shaft seem to be creeping during any run that I applied momentary full power to check static RPM.
I was fairly certain this wasn't acceptable, so I tore down the gearbox ($180 special puller, check) and reassembled the friction cone, adhering to the service bulletins on the topic (increased torque for the big nut, loctite adhesive compound on the cone surfaces, etc).
It still slipped. I tore down the gearbox again, this time taking every step I could to make sure surface prep, adhesive compound, and fastener torque was as good as I could make it. I fully torqued the nut without the lock washer and with thread lubricant, to ensure the gear was as fully seated as it could be with those wrench settings, then cleaned the threads and replaced and torqued the nut with the specified loctite.
It still creeps.
I still assume this is not acceptable, but I thought I would verify. Is the friction cone designed for some creep?
Didn't think so. Back to the workbench.
J
-
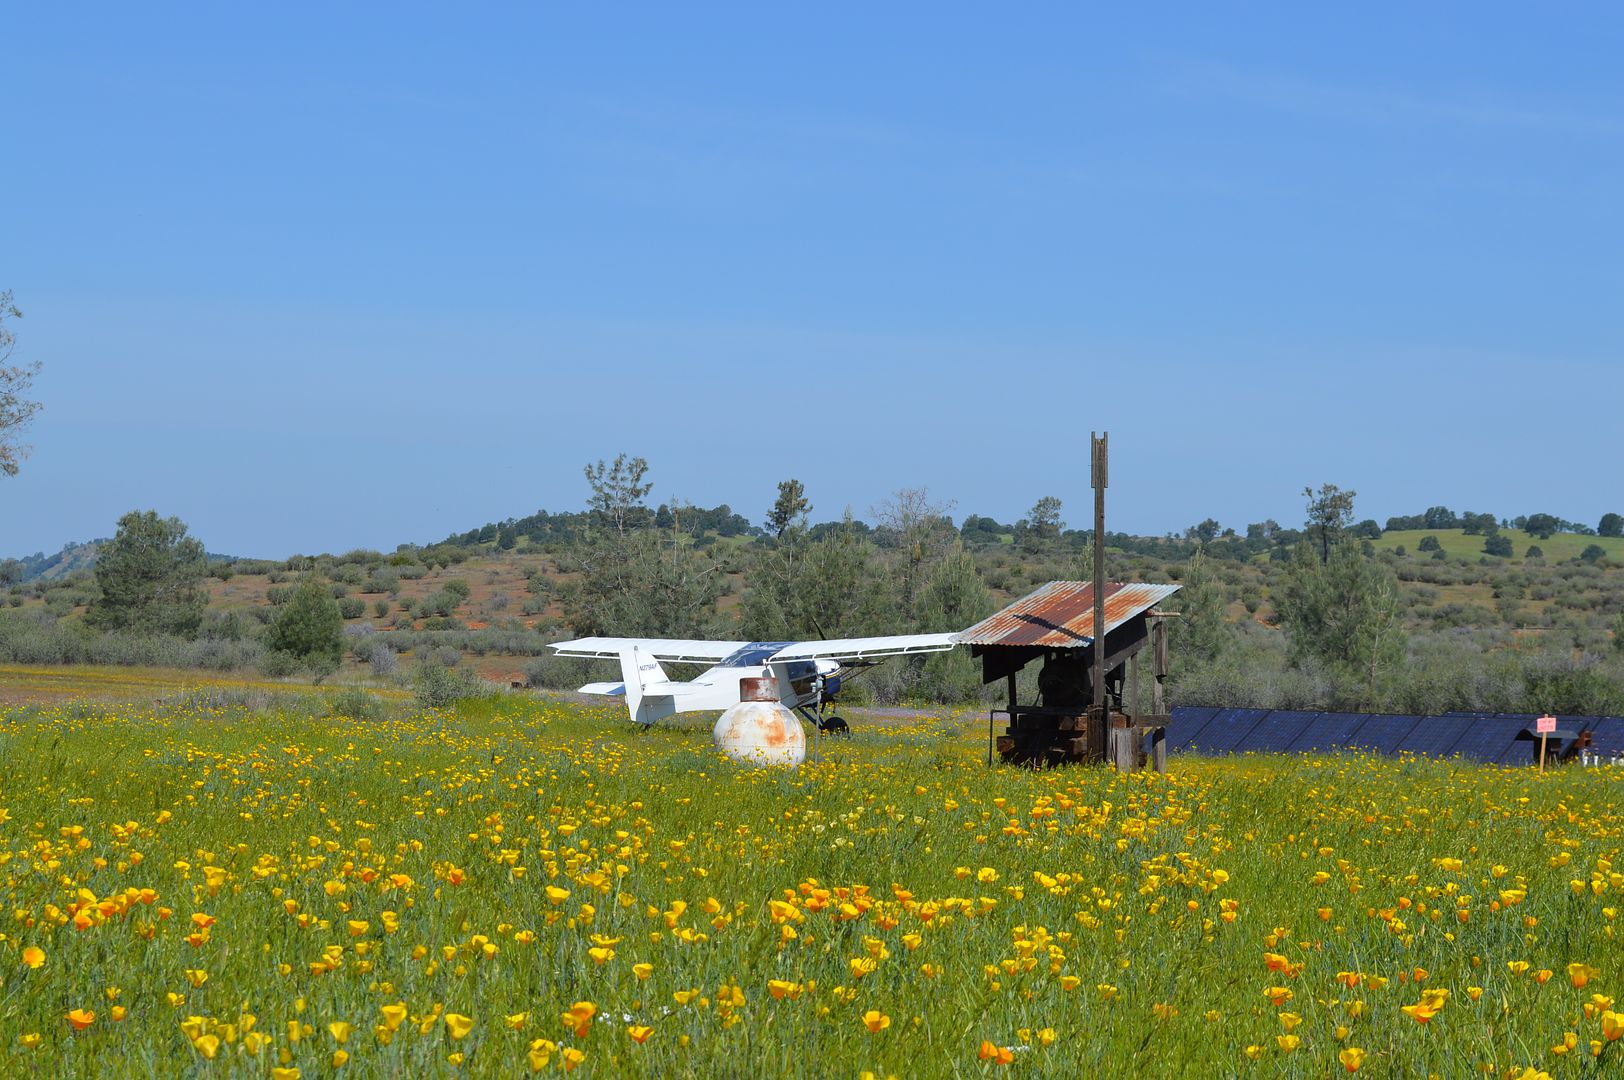
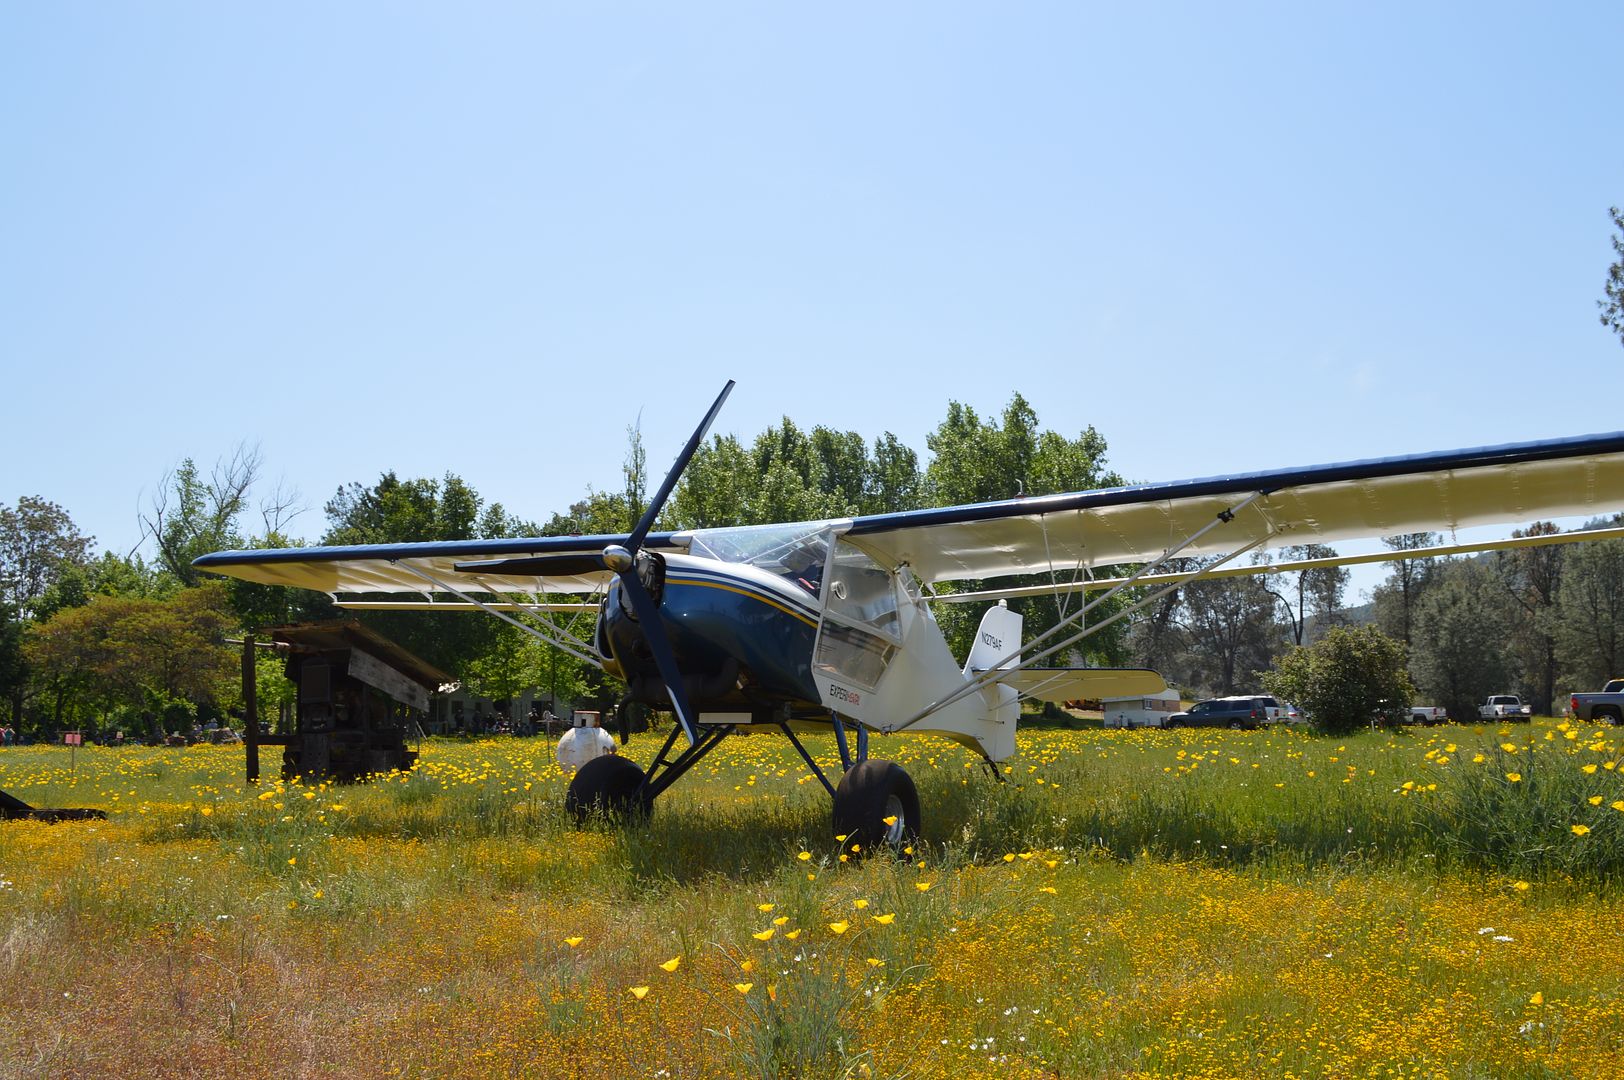
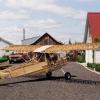
Nice pics Joey, Happy Easter Sunday to you. We are just starting to see the first green flower shoots and tree buds opening here, looks like high 60's are likely today. A most welcome change after a long, hard winter!
-
-
-
-
I want to thank everyone for their efforts, I was able to successfully register tonight. I've been very busy for the last few weeks, and haven't taken the time to check this forum. I know that may sound lame, but it's the truth.
Richard
-
Joey, Those are great photos - However, what showed up the first time was only about the top 1/10th of the photo - the rest was blank - are you fooling me, and you re-posted them? Hope you had a good flight too.
EDMO
-
-
-
I was invited over to a private strip today to have lunch. It was 90 miles away and a nice cruise. Put 3.0 on the Hobbs. And did some dinking around along both ways. I landed at an airport about 30 miles away where a buddy is decking out a 170 with a Backcountry theme and it was gusting to 24 kts. Taxiing was sporty so I took off right in front of his hangar! Didn't take many pics but got a few playing with the settings on our new DLSR camera that's way smarter than I am.
Owner of the property

-
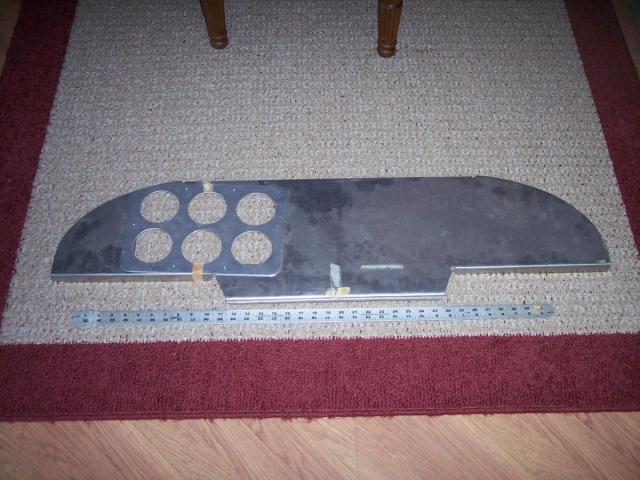
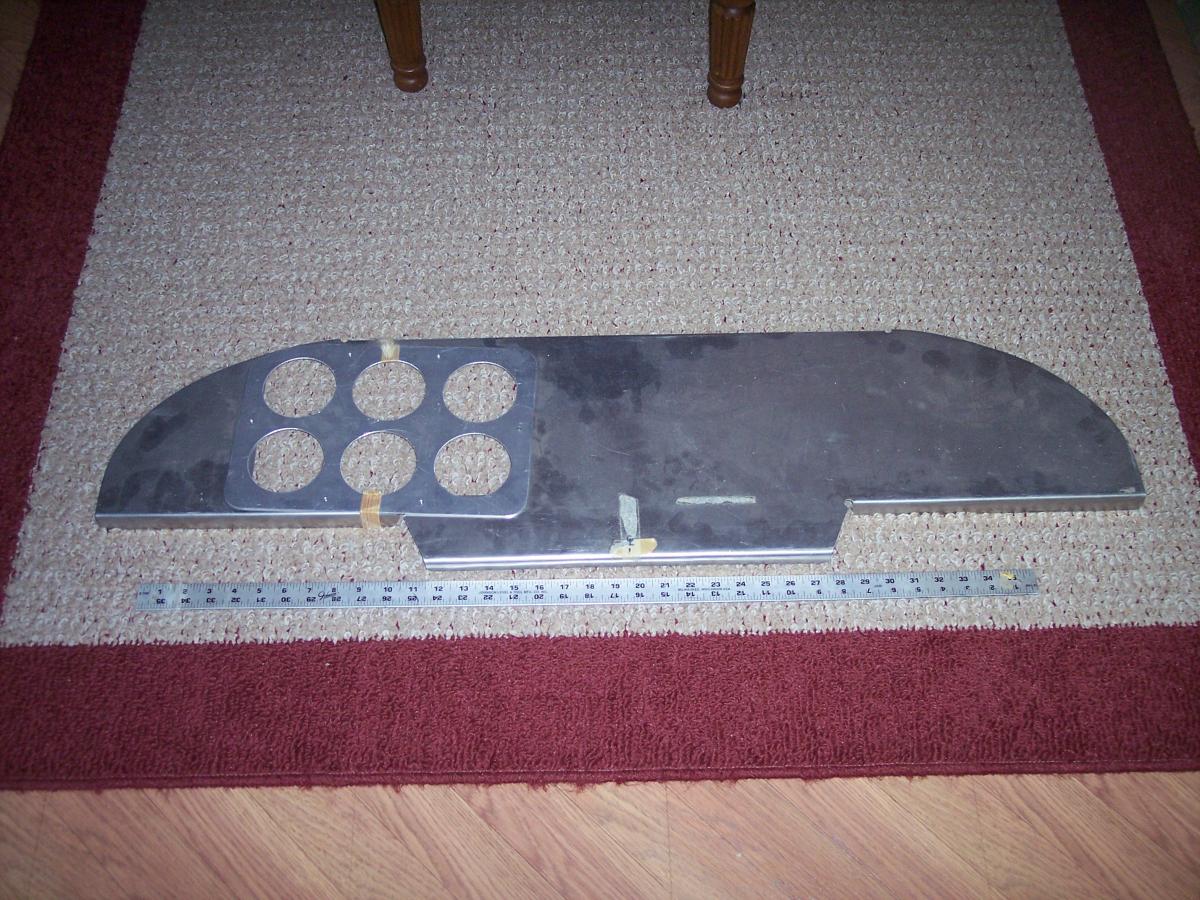
NOS .063 flanged aluminum IP, 43"wide and 11" high, with removable panel for vibration mount, holes cut for 6-pack. Should fit Magnum, others - can be cut narrower.
I wont make another for this price of $100 + shipping. This was made for my Maule Experimental a long time ago - just found it while looking for other parts.
Photo shows dust and finger marks - included at no extra charge.
EDMO
-
-
-
I turned mine on a lathe for squareness on the cut. 7/8 x .058 tubing. Hundreds of landings and a few sets of brake pads and no issues. .058 tubing gives an ID of .759 for a nice fit on a 3/4 axle.
-
Ron, you must have paid too much for that O-360. I see your wife has you sleeping under the plane!

-
Ron, here's a pic I put up about this question in the Avid+ forum. Might help some.
http://www.avidfoxflyers.com/index.php?/topic/297-wheelaxle-installation/?p=1250
-
Ron,
If you are going with the Cleveland Calipers, why not use Cleveland Master Cylinders with them? I think they work at higher pressure than Matco MCs.
I have either 2 or 4 of them. PM me if you want them cheaper than buying new Matco.
EDMO
-
Ron with regards to toe brakes it is more a matter of mechanical reallity that no mechanical system is 100% effecient.Basic leverage mathmatics doesn't take this into account.The original hydraulic brakes on the non magnum avids were lacking in leverage and flimsy to the point of where you could pour as much leverage into the top end as yu wanted it wasn't going to turn into line psi just get obsorbed within the system.
http://www.avidfoxflyers.com/index.php?/topic/530-go-kart-to-matco-brakes/
this is a thread Joey did when he installed my 2 piece pedals , mc4d masters, and swapped out his cable bottom end to hydraulic.
1 person likes this
.JPG.08f9e23d729418efb8a3e9fd398de605.thumb.JPG.c67c136500da29b77d95e9683855f5f4.JPG)


Just joined the Fat Avid Club
in Fat Avids, Avid Plus and Airdale
ChrisBolkan
Posted
Originally I was not going to rewire this aircraft, but there are enough things I don't like that I have changed my mind. I have thought a ton about it and sketched out what I plan to do and would like feedback..... particularly WRT the Ducati Energia Regulator. I have done the best I can to figure out potential problems and address them in the attached sketch. Is this something like what most people with 912's are doing for wiring?
wiring.pdf