Activity Stream
Posts Activity Stream
-
-
-
Today during my pre-flight (which I don't always do as diligently as I should) I tested my fuel and I noticed that my Curtis CCA-1550 drain valve on the bottom of my header tank was leaking pretty well and the inner spring loaded part was hanging out of the barrel 1/8 of an inch past flush. A very gentle tug on the little arms of the inner part allowed complete removal of the inner part and fuel started to drain out of the now exposed 1/4" hole. The kind of flow that drains your system in a matter of minutes. I shut my fuel off to the header and replaced the drain valve with a spare I had on the shelf and went flying, no big deal. The inner part has a retaining washer above the o ring that prevents it from coming apart. Well after 25 years of opening and closing the valve, the washer wore down small enough to fit through the outer barrel. With my luck it would have vibrated out on taxi and would have had enough fuel to takeoff and get me over a nice wooded area with no good options. That being said catching it on the pre-flight may have been a life saver of sorts or just kept me from tearing up an airplane because I ran out of gas, hurting my pride and my wallet. Either way, pre-flight and pay attention to those fuel drains, I know from now on I'll give them a little tug after I test fuel, just to make sure they'll stay along for the ride!
Brian
2 people like this -
-
7/16 was the old thread used on the J3s - Then Piper got paranoid and went to 5/8 thread....

Piper has threaded fittings on both ends of the struts.
EDMO
-
Hi Allan, I did sell the Grove gear, but still have the nose wheel stuff. Let me know if you are interested..... Jim Chuk
-
-
Good info Mark! I developed a mild shimmy recently and just tightening both castle nuts back against the pins put enough tension back on it to fix it. I've noticed that sometimes if you tighten it enough to get the pin thru the next slot it's too tight. One guy told me he out a big nylock nut on the top so he could put the tension exactly where he wanted it.
-
Yeah, thanks a ton Larry for getting this thing together. It was great to talk with everyone in person. Hope we can do it again next year.
Looking forward to pictures Joey. I didn't take nearly as many as I should have. I was too busy staring at all the cool stuff everywhere. I've got a few that I could post though.
Luke D.
-
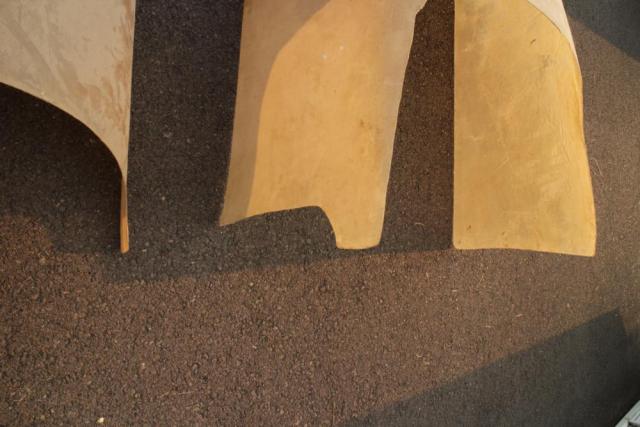
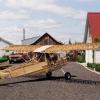
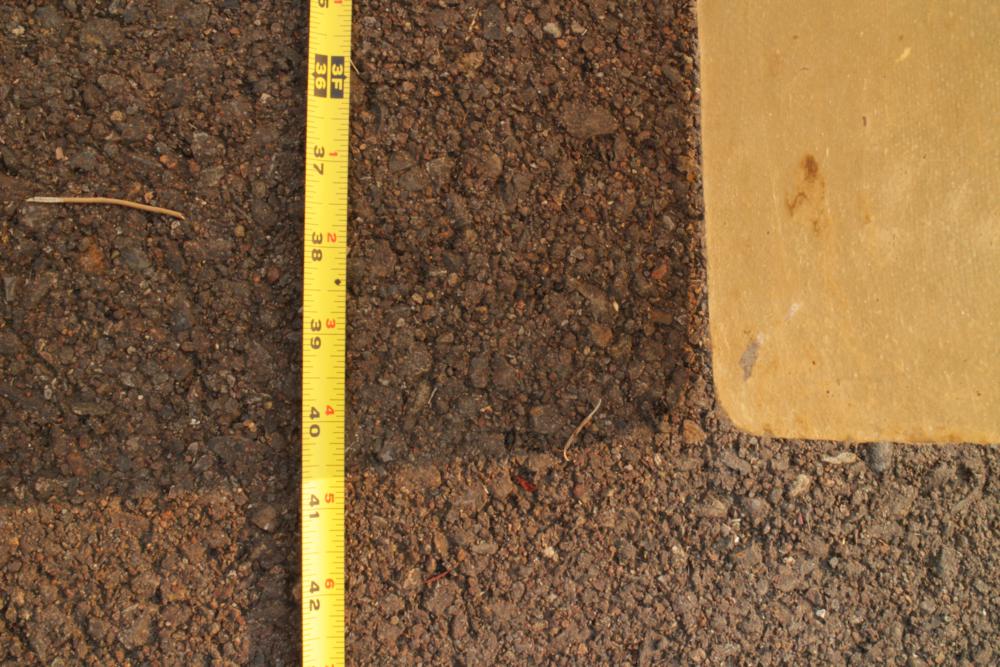
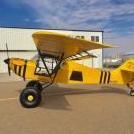
Here are some pictures of the cowling I have. It's actually in better shape than I remember. If it were in a little better condition, I'd probably ask something for it. As it is though, you might need to make one or two repairs. Not even sure it would work on your plane.
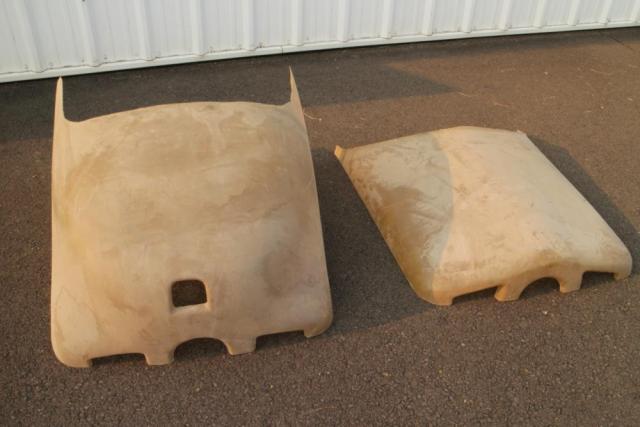
The forward part of the cowl looks like about 33" wide.
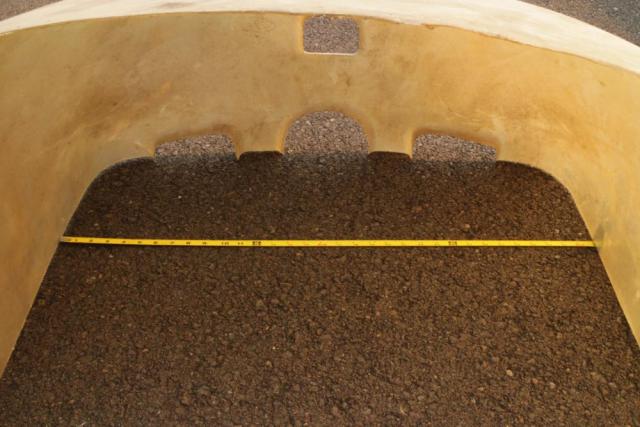
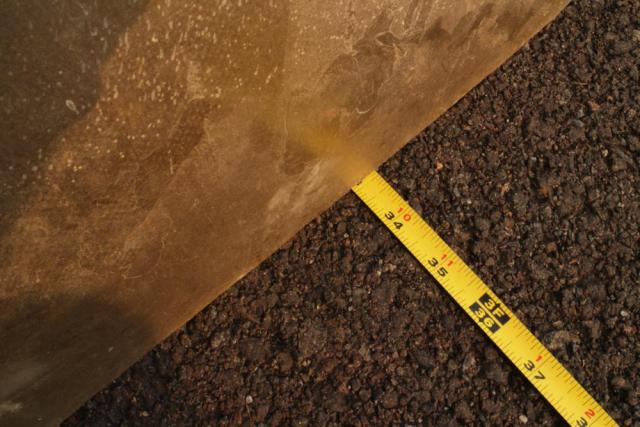
Length is about 40"


There is a strange cutout on what would be the right side of the plane.
Ed, you asked about some dimensions on this. If you want me to measure other dimensions, let me know.
-
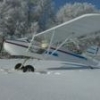
Found out today why I ground looped at 999 hrs. a couple of weeks ago. While taxing down the taxiway I noticed I did not have complete control of my tailwheel. Shut down, got out and crawled under the tail to find out that the bottom cotter pin on the tailwheel nut had sheared off and the castle head nut was loose. This caused the tailwheel assembly to become loose and almost fall off. At preflight make sure you check that pin. Failure of a 10 cent part could have cost thousands.
-
-
-
I wonder if he has tried setting his flaperons to about a negative 3 degrees - some have done that for better cruise.
Leni,
I found a bargain on aviation rod ends on ebay - They were new 7/16-20 thread with 5/16 holes - I bought Four of them - I know the magnum still uses 1/4 inch bolts, but there is room to use 5/16 and I reamed my strut fittings for them.
somewhere on here I said I just spent $400 for nose gear parts - Forgot that the price includes the threaded inserts for my new 1" struts and the new strut/fuselage attach fittings that you gave me the 26 degree angle for. Thanks for the info.
EdMO
-
... Strippers, red heads and any girl named Tiffany.
I don't care who you are, that's funny right there.
1 person likes this -
-
That looks very similar to my "Bruce's Custom Cover" for my Kitfox.Jim,
Is that a custom cover on the yellow Avid, or does someone sell them?
EDMO
https://www.aircraftcovers.com/general-aviation-models/avid/flyer-magnum-mk-4-etc
I enthusiastically endorse these and recommend them highly. IMO, the best covers on the market.
1 person likes this -
True.. Dont use the heat gun that you would use to remove stickers that gets to 1500 degrees or some crap like that. I use a model heat gun and a temp gun. It is very easy to watch real time with the temp gun just how hot your getting the fabric surface. I have never had to go over 275 to get any wrinkles out.

-
Hi Jim
Sorry to resurrect an old post but wondering if you have sold your nose gear or are interested in selling it? I'm trying to adapt one to one of my other projects:)
Cheers
Allan
-
I would be very careful about using a heat gun on the fabric. If you get it much over 350 degrees, it ruins the fabric. Just looked in the poly fiber manual, and it says that "at about 375 the filaments start to thermo-soften and loose all measurable tension. At 415 degrees they start to disintegrate." Hard to know for sure what the heat is coming from the heat gun temperature wise. I know that the poly fiber finishes melt from heat also. Jim Chuk
-
 I posted that one on FB.. Funny as hell but a lot of truth to it! I dont think the wife thought it was as funny as I did
-
I have thought about adding another one to my right side so I can take some of the twist out. Seems like a quick way of trying to get some of the twist out versus rebuilding the entire wing.
On RC models, I have just used my hands to twist a wing then a heat gun to shrink the covering to hold the shape I want to get the washout right. I don't see why I couldn't do the same with the avid. I have just grabbed the wing tip and twisted and it showed wrinkles in the covering that I am sure I could get out with a heat gun just like I do on RC models.
-
Thats why I have the stock ECM and CCM module for mine. I am not sure if I have to keep the stock gauge pod or not with it, that is one thing I will have to test and see. Did they say anything about the power, what RPM they ran it at etc?
-
-
Ed- you're right they are not an area of concern i was just pointing out that they are the weakest link. I guess if a guy wanted to put one in you could use an even bigger one than the originals too if it makes you feel better.
These are more for making fine adjustments not really for adjusting the actual full twist of the wing. what wing do you have and what is the twist anyways? If you had one in each wing you could split the difference in the adjustments rather than just matching the fixed one with the adjustable one but they should be built close enough anyways that it should not take that much to match up. just my .02 cents either way I say do what suits you best thats the beauty of experimental.


.JPG.08f9e23d729418efb8a3e9fd398de605.thumb.JPG.c67c136500da29b77d95e9683855f5f4.JPG)


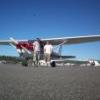
Airventure 2014
in Avidfoxflyers General Hangar
Av8r3400
Posted
Don't feel bad, Luke. After 25 years of going to Airventure, I still wander around staring at all the awesome stuff and never take any pictures...