Activity Stream
Posts Activity Stream
-
-
-
Hey Jeff, I just PMed my paypal account info. I brought the parts to work today. I'll try to get the shipping figured out.
-
Hi, I just noticed you are in Oregon. Should be a lot cheaper to Alaska from there. Do you have a pay pal account for me?
Thanks
-
-
Thanks for the replies. I burp every time I refill the cooling system. I had the plane leveled with the tail wheel sitting on a bucket trying to get the last bit of air out of the water pump. The 532 was plumbed the same way and I never had these issues with it. This time I burped then fired up the engine until warm and shut down. There was quite a bit more air coming out of the water pump steam fitting. I topped off the coolant and repeated this process 3-4 times and each time I still get a significant amount of air bubbles coming out of the steam line at the water pump. I am thinking about pulling the head and having it checked for cracks.
Thanks,
Dan
-
With the 503 hot air exit hole in the top of my cowl I can see the engine move. At cruse the top of the air duct moves (leans) about 1/2 to 3/4 inch to the right.
-
I made those measurements kind of in a hurry last night. I leveled the plane carefully and took them again this morning. I edited my post above with the new readings. It doesn't change the outcome really as they are small differences and the stab is adjustable. The new readings for my plane are the top hole gives 1.5 degrees down and the middle hole gives 2.8 degrees down.
For what its worth my model 4 has a relatively forward CG. I also have a nose tank and don't often put fuel in the wing tank so that makes the loaded CG usually about 12.25 inches. You might consider the probable CG your plane will have and build accordingly. Some Model 4s have as much as 3 to 3.5 degrees down incidence on the horizontal. In any case drilling the top hole as high as possible gives you the option for a more rearward CG.
I looked in the book also to refresh my memory. The book says drill the top hole as high as possible and space the other two holes 1/4 inch apart. I can't remember why I spaced mine 7/16 apart but anyhow you can see the results.
-
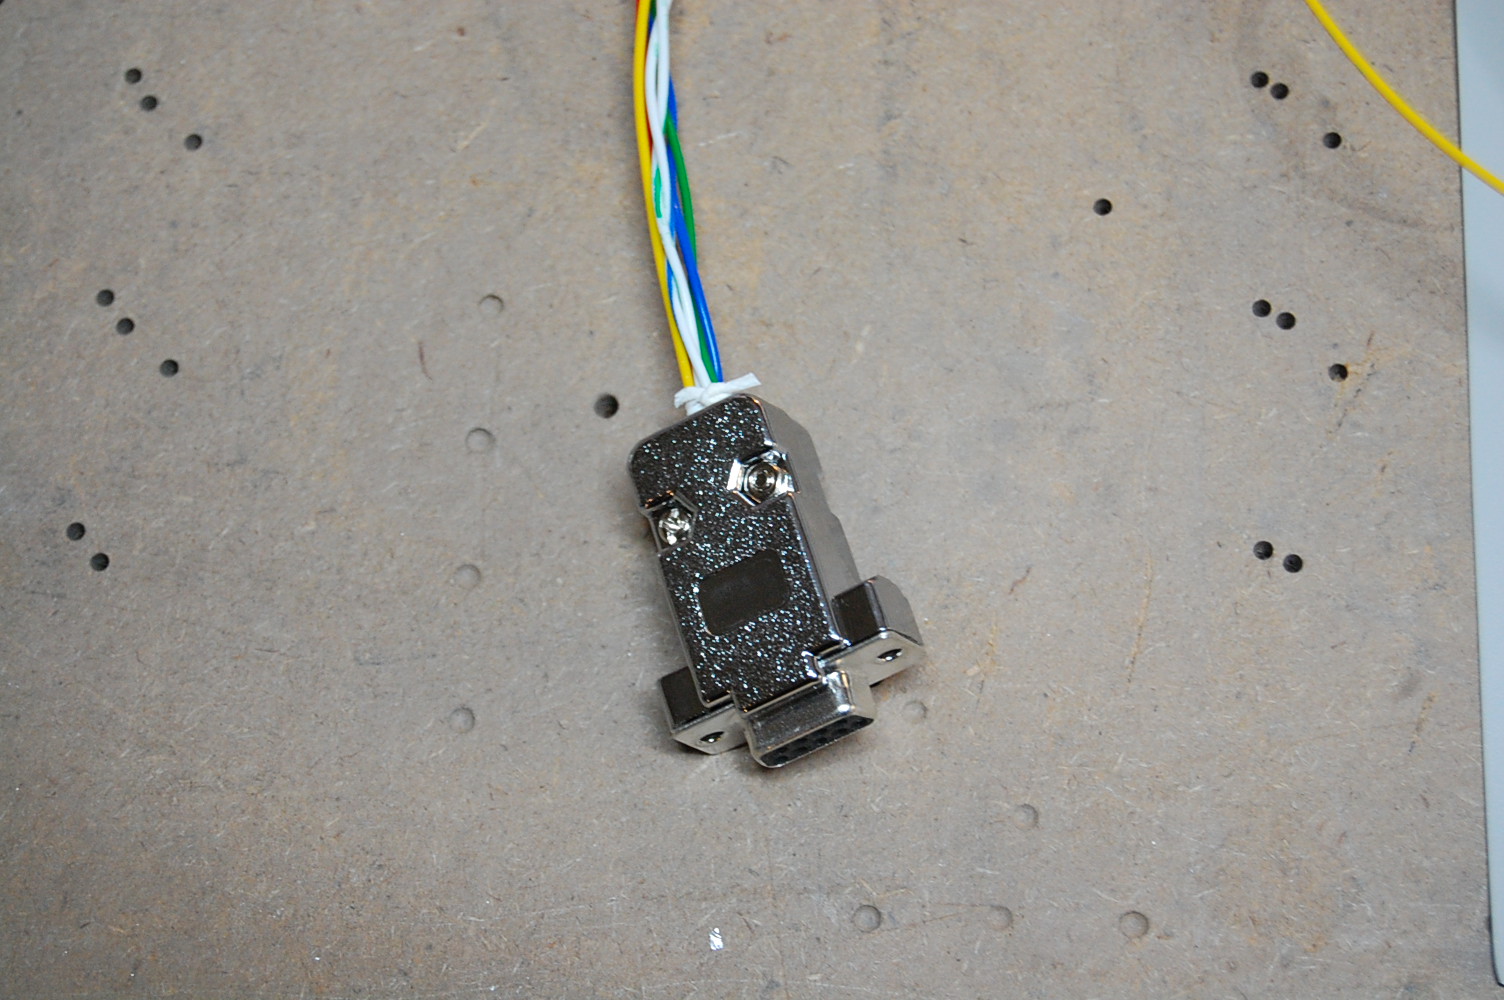
D sub VGA plug like what your computer monitor uses. http://www.alibaba.com/product-detail/d-sub-computer-Connector-Right-Angle_316975511.html
heres one done on an RV https://johnsrv7a.files.wordpress.com/2011/12/dsc_9767.jpg
I just got the DSUB pins (male and female) at radio shack and put one on each wire accordingly and used a small piece of heat shrink to hold each one together and one bigger piece of heat shrink over the whole joint to keep a good mechanical bond. not as easy to take apart as a plug but it gave a real nice clean install and I don't plan to unplug it too often so I'm not too worried. but the computer monitor plugs work great and many have the small screws to hold the two halves together securely.
-Robert-
-
-
that might be a bit heavy I would look at trailer accessory in any hardware store. they all have flat 4 and some flat 5 wire plugs male and female.

-
-
-
Wow, what a deal! It was around $900+ when I checked up here several years ago. I had my Avid+ done in ID by Airdale (Steve Windner at that time). I think it was around $450 if I remember right.
Same color as yours Larry.

-
Be sure to allow plenty of room for the engine vibration; they are pretty smooth at high RPM but can shake a lot at low RPM and shutdown. The rubber mounts are made to absorb some of this but that means the engine moves around a lot more than your engine mount or anything else mounted on the airframe.
-
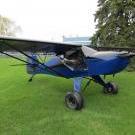
Just saw this unstarted kit on Barnstormers. Don't know anything more about it than what is in the add. I would say this is a super deal if everything is there. In Pennsilvania. $5900. Go look it up if you are interested. Hurry, it won't last long. Jim Chuk
-
-
The nice thing about using several strips of plastic, is that you are actually melting the poly brush, and while still hot, it sticks to the plastic (or iron if not using the plastic). The poly brush cools fast, and when cool it will pop right off the plastic. By the time you iron three or four plastic strips, the first one is plenty cool so it can pop right off. Jim Chuk
-
Sounds good Jeff.
Hey Joey, I thought maybe you were
 . Hope you find a good home for it. I almost wish I would have just gone for a stock Avid with a 582 for my first one. It would have been easier and cheaper. I'm too far into this one now though.
 -
I was just flipping you crap Luke. I was wanting to keep this stuff all together like you said. I havent had any bites on my Ad yet.
-
-
-
Sorry Joey, I just saw the post, and I've got these parts taking up space
 . I think your Avid would make someone a good project with the controls included with the fuse. If I didn't have a project already, I would consider it.
Jeff, I'll send you the paypal info tomorrow. I have to check my work computer. I think the post office is going to be the cheapest shipping. Our company ships with UPS, so we can check that too, but I think it will be more.
-
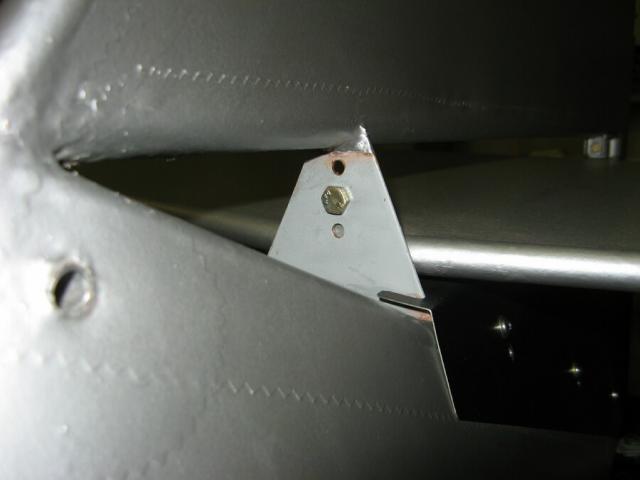
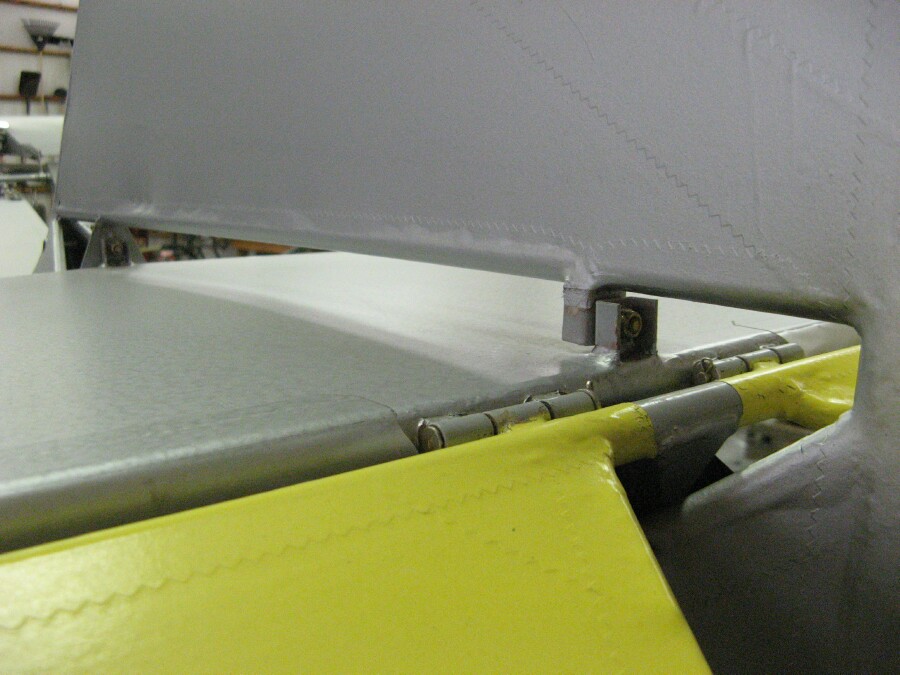
The Kitfox Model 4 horizontal stab is adjustable with 3 holes on the front mount. I drilled the top hole with the front of the stab as high as it can go. That made the hole 1/4 inch below the bottom of the vertical fin. The other two holes are 7/16 inch center to center from the hole above them.
The manual says most fly best in the top hole. I made the first flight with the stab in the top hole. It took one finger slight back pressure to fly level in the top hole. I moved it down to the middle hole and it took very slight forward pressure for level flight. I left it there as the design is to trim with flaperons. Everything you load in the plane moves the CG back And flaperons trim the nose down.
I calibrated my smart level for zero degrees on the cabin floor which is the leveling point for the Kitfoxes. The middle hole is 2.8 degrees down. Top hole is 1.5 degrees down. I can't check the bottom hole but suspect the same increase in down incidence.
-
WalMart sells a 18"x18" transparent teflon "Non-stick pressing sheet" for about $10, works great.


.JPG.08f9e23d729418efb8a3e9fd398de605.thumb.JPG.c67c136500da29b77d95e9683855f5f4.JPG)

Electrical experts
in Avidfoxflyers General Hangar
wolves200
Posted
I bought fewfrom here; they are good quality and fast shipping, however don´t know about water proof...
http://www.ebay.com/itm/281126349688?_trksid=p2060778.m2749.l2649&ssPageName=STRK%3AMEBIDX%3AIT
http://stores.ebay.com/3w-DIY-cable-kom/aviation-plug-/_i.html?_fsub=4407658017&_sid=924811827&_trksid=p4634.c0.m322
now here is another, water proof---
http://www.ebay.com/itm/Car-Waterproof-Electrical-Wire-Connector-Plug-Terminals-HID-1-2-3-4-5-6-Way-Pin-/261420505061?pt=LH_DefaultDomain_15&var=&hash=item3cdde057e5
hope it helps
Regards
Dimitri