High Country
Members-
Content count
479 -
Joined
-
Last visited
Posts posted by High Country
-
-
very nice, I really like the idea of off-setting the seats to allow for a bit more wiggle room. I've not actually seen a kitfox seat in person. I like yours much better than my Avid B seat. do you know if the KitFox seats will fit into an avid? It looks as though your seat has hooks that hold it to the tubing behind the seat. is this a KitFox design or did you come up with it. what size metal is used for the hooks. seems like this would make it quick and easy to remove to have better access behind the seat.
-Robert-
-
Can i put 14 gal wing tanks from an avid Magnum into my speed wings?
-Robert-
-
I got the new mount for the flaperon mixer all welded in this weekend. also got the new dorsal fin welded in. next question i have is where exactly should the mount be welded for the upper cable attachment. also how many inches of push and how many inches of pull should i have at the cable ends from the neutral position? I'm hoping to order some F7-A's and cables soon so i can finish up this part of my project. My other concern is what to do about keeping the seat from falling down onto the mixer. i was thinking about stretching some safety cables tight across the top of it and possibly attaching some thin aluminum on top of that. good idea, bad idea? what have others used for this?
-Robert-

-
Robert,
I hope you picked up on that the actual routing of the push-pull cable is not as they would appear. When Randy was hooking his up he found that if the cables were routed in the direction that the mounting plate under the seat would suggest that they go, the controls were reversed! So, what I'm trying to say is that the cable on the pilot's side goes to the pilot-side flaperon, the cable on the passenger side goes to that flaperon. They don't go to the side that they are angled towards. Also as you're welding in the mount bracket below the flaperon , check to see where the actual bracket needs to be when the controls are in the neutral pos. and the flaperon arm is horizontal, Randy had to fabricate a new bracket around 4-5 inches lower than the one from the factory. I'm sure he would be glad to provide the specific details when you get to that stage of your build. Hope this helps.
Jack
Thanks for the tip. from looking at other pics i was thinking that the cables crossed over to the opposite sides so its good to be set straight on this before i measure and order the cables. Perhaps Randy could hook me up with some pics and measurements for those upper cable mounts and how i should determine where to place them
 .
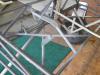
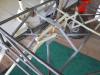
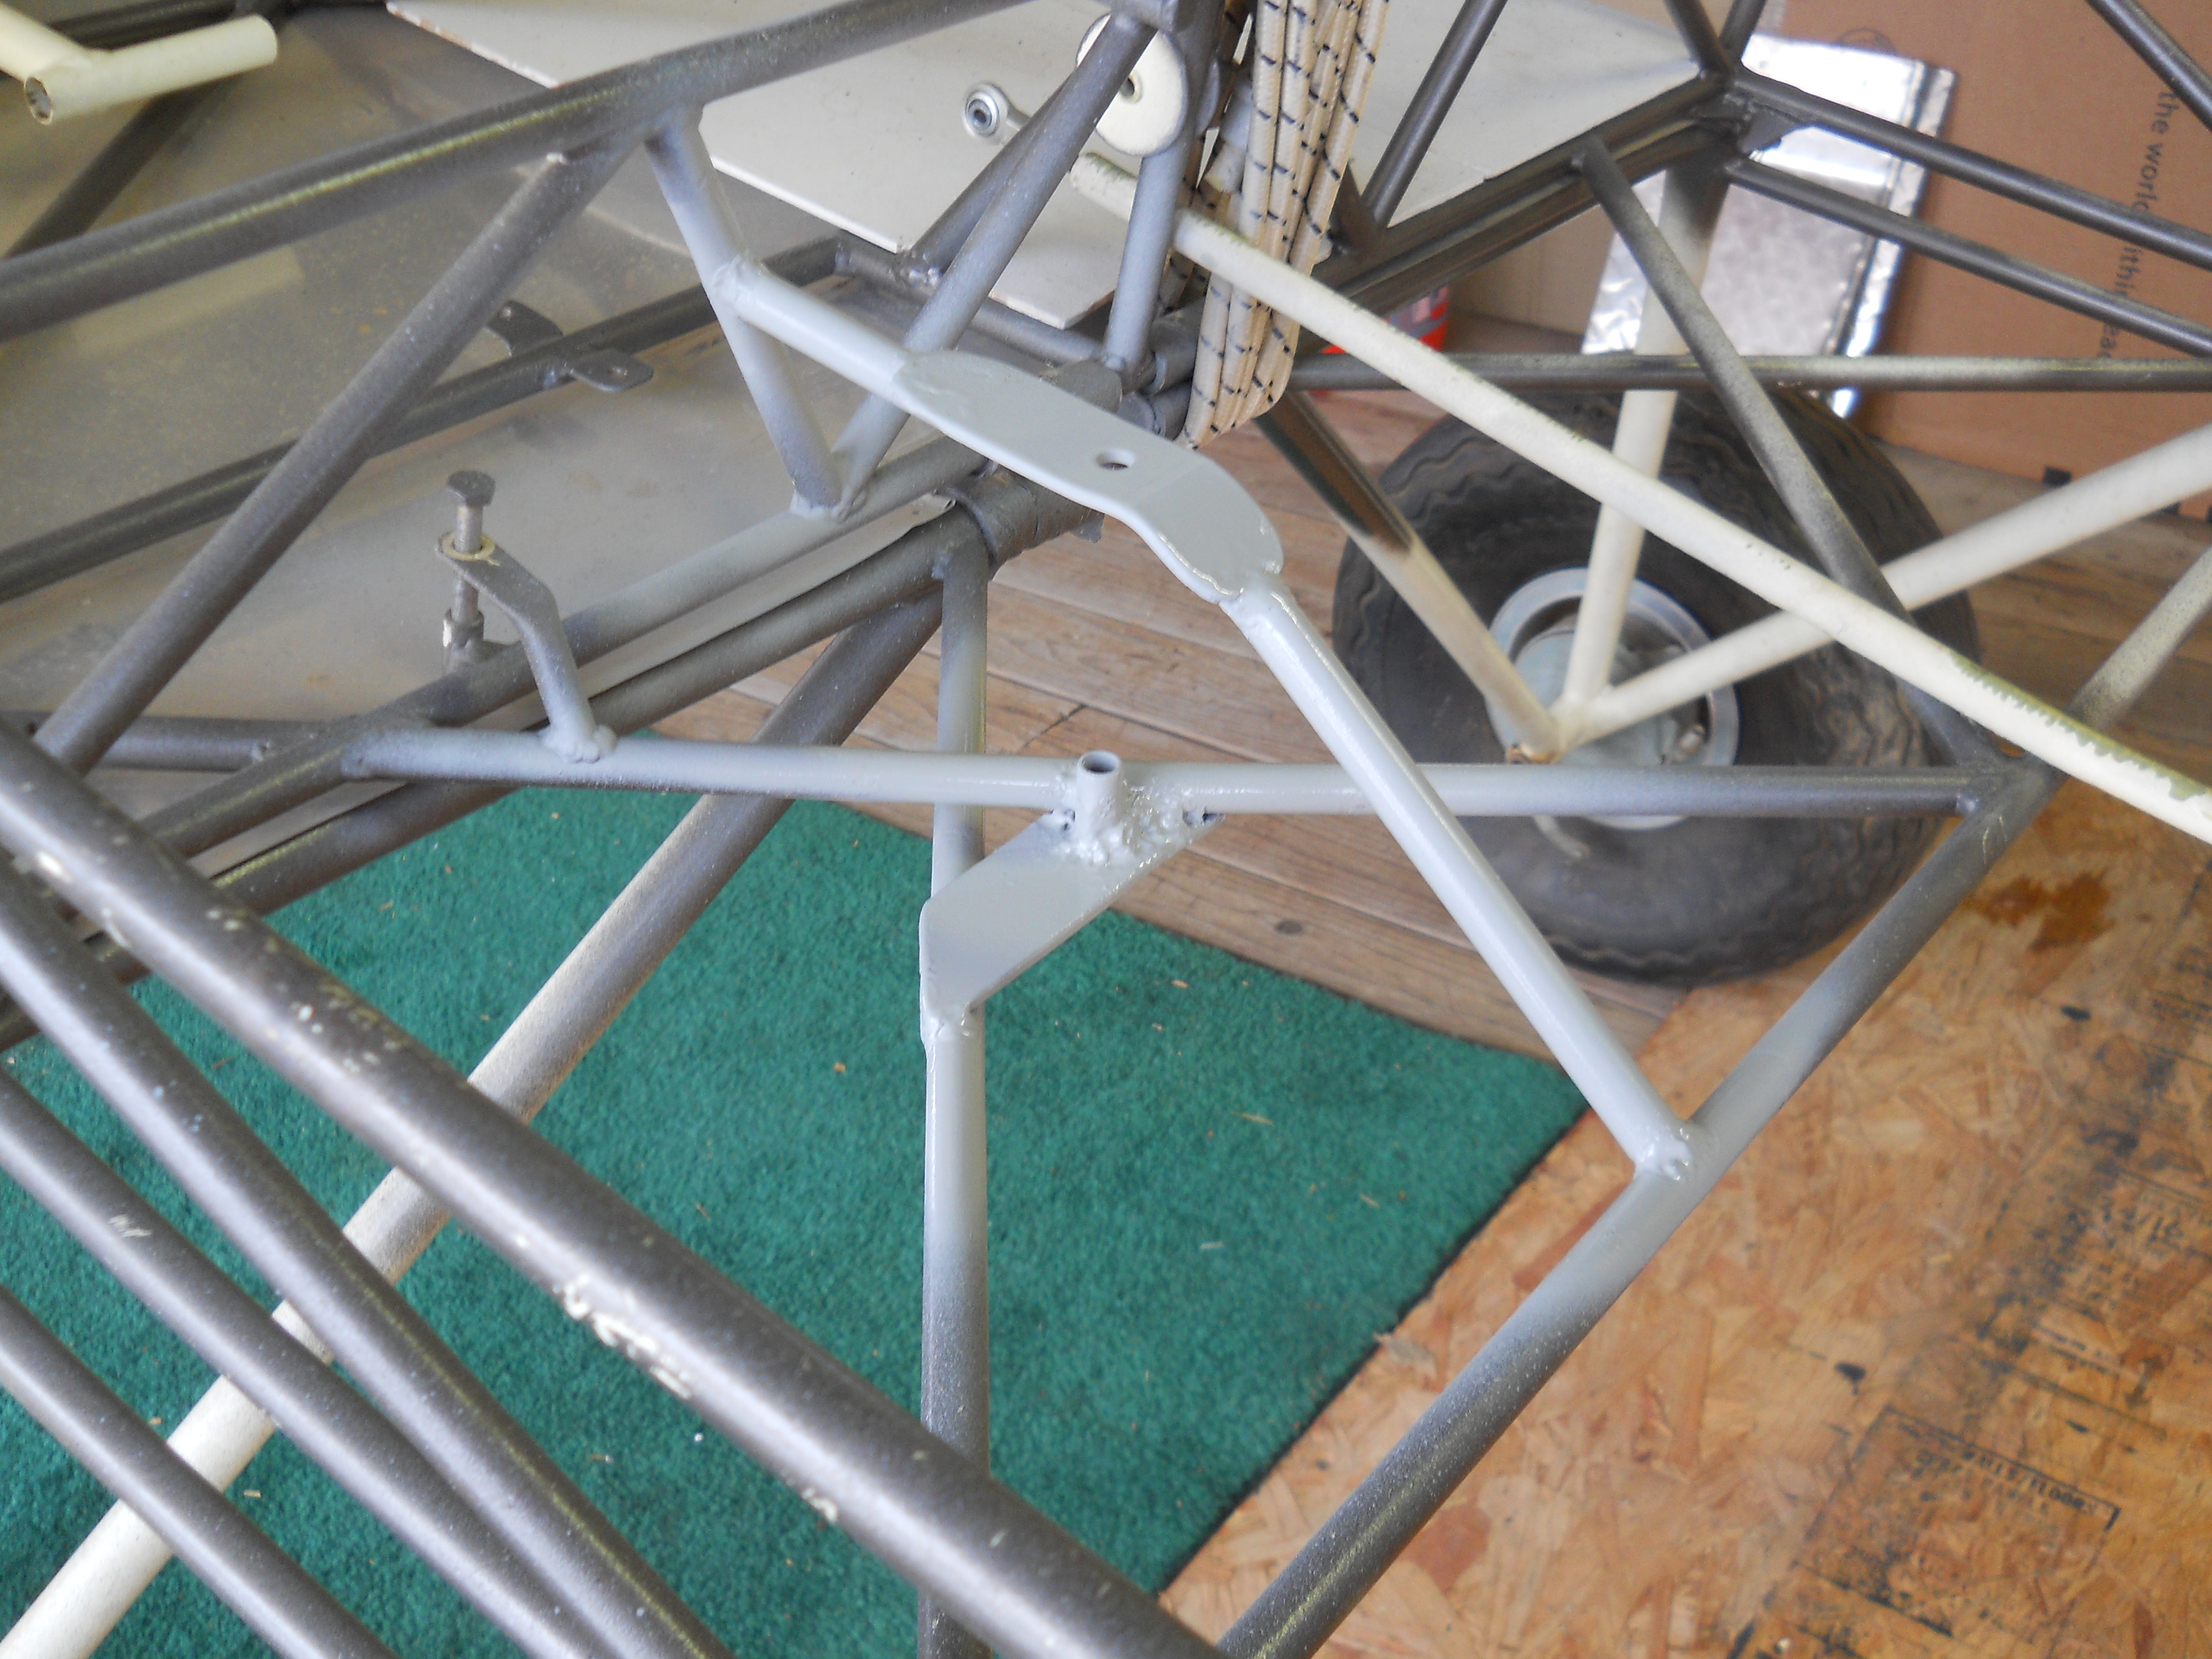
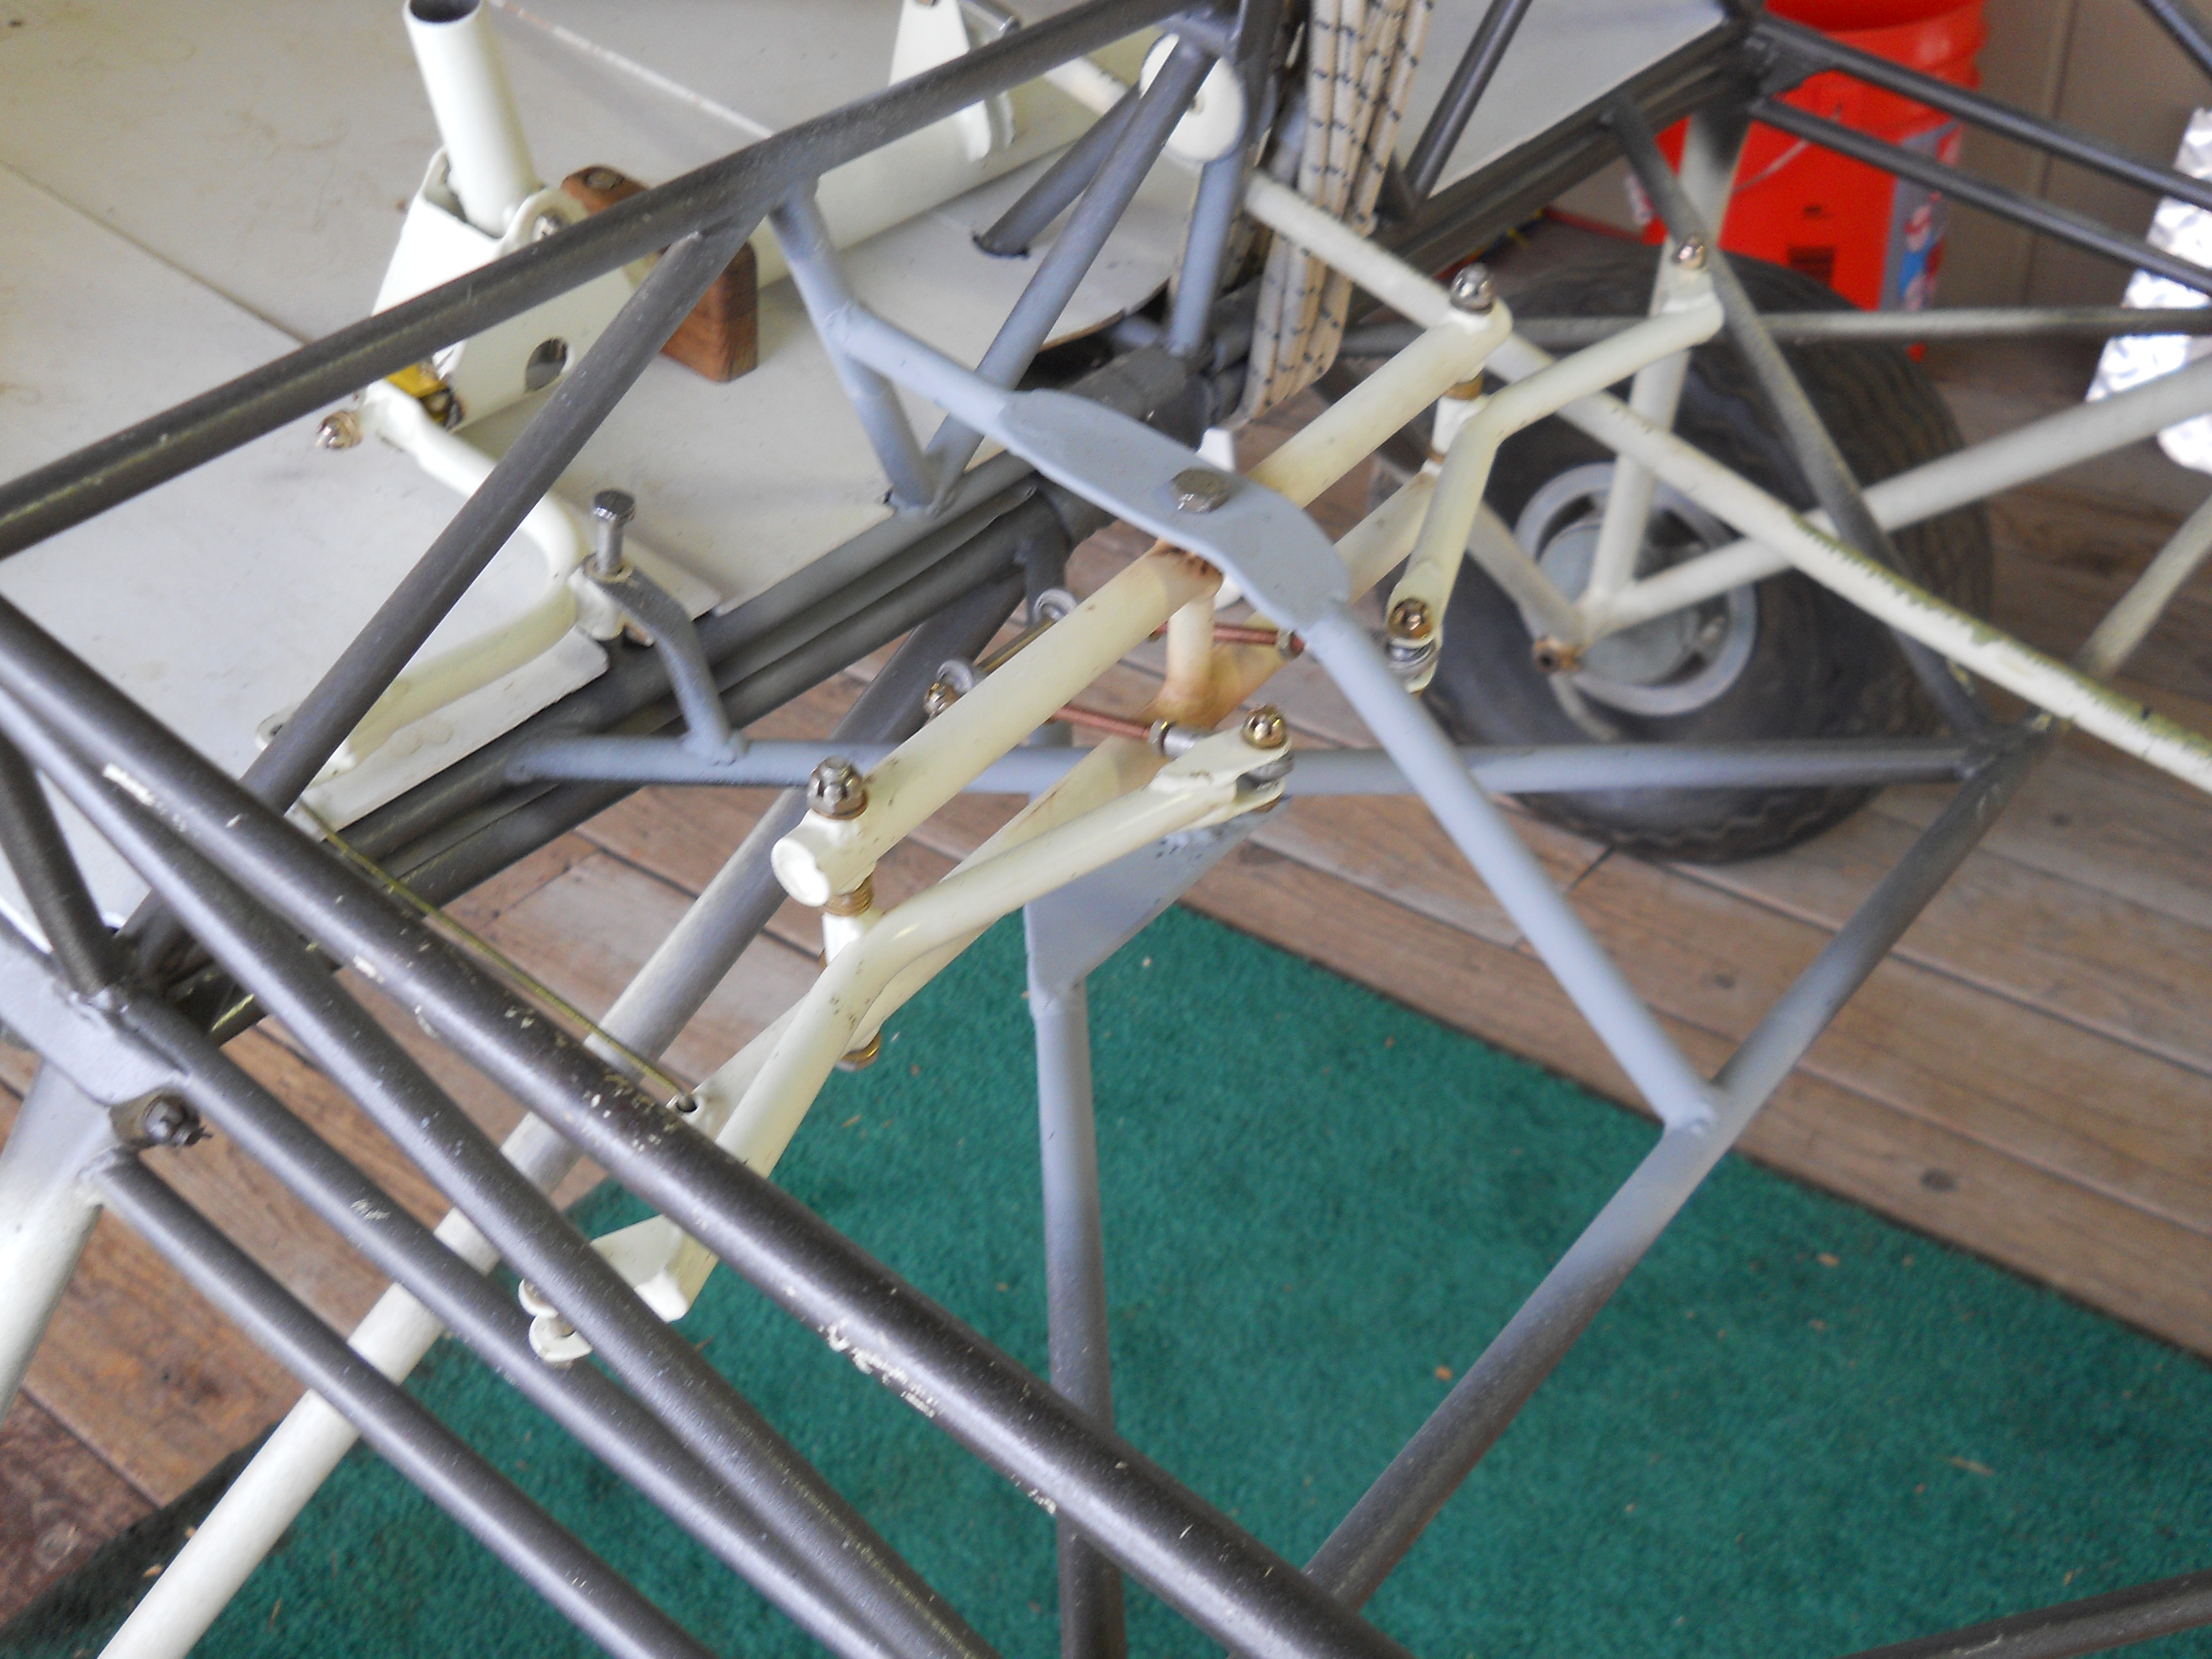
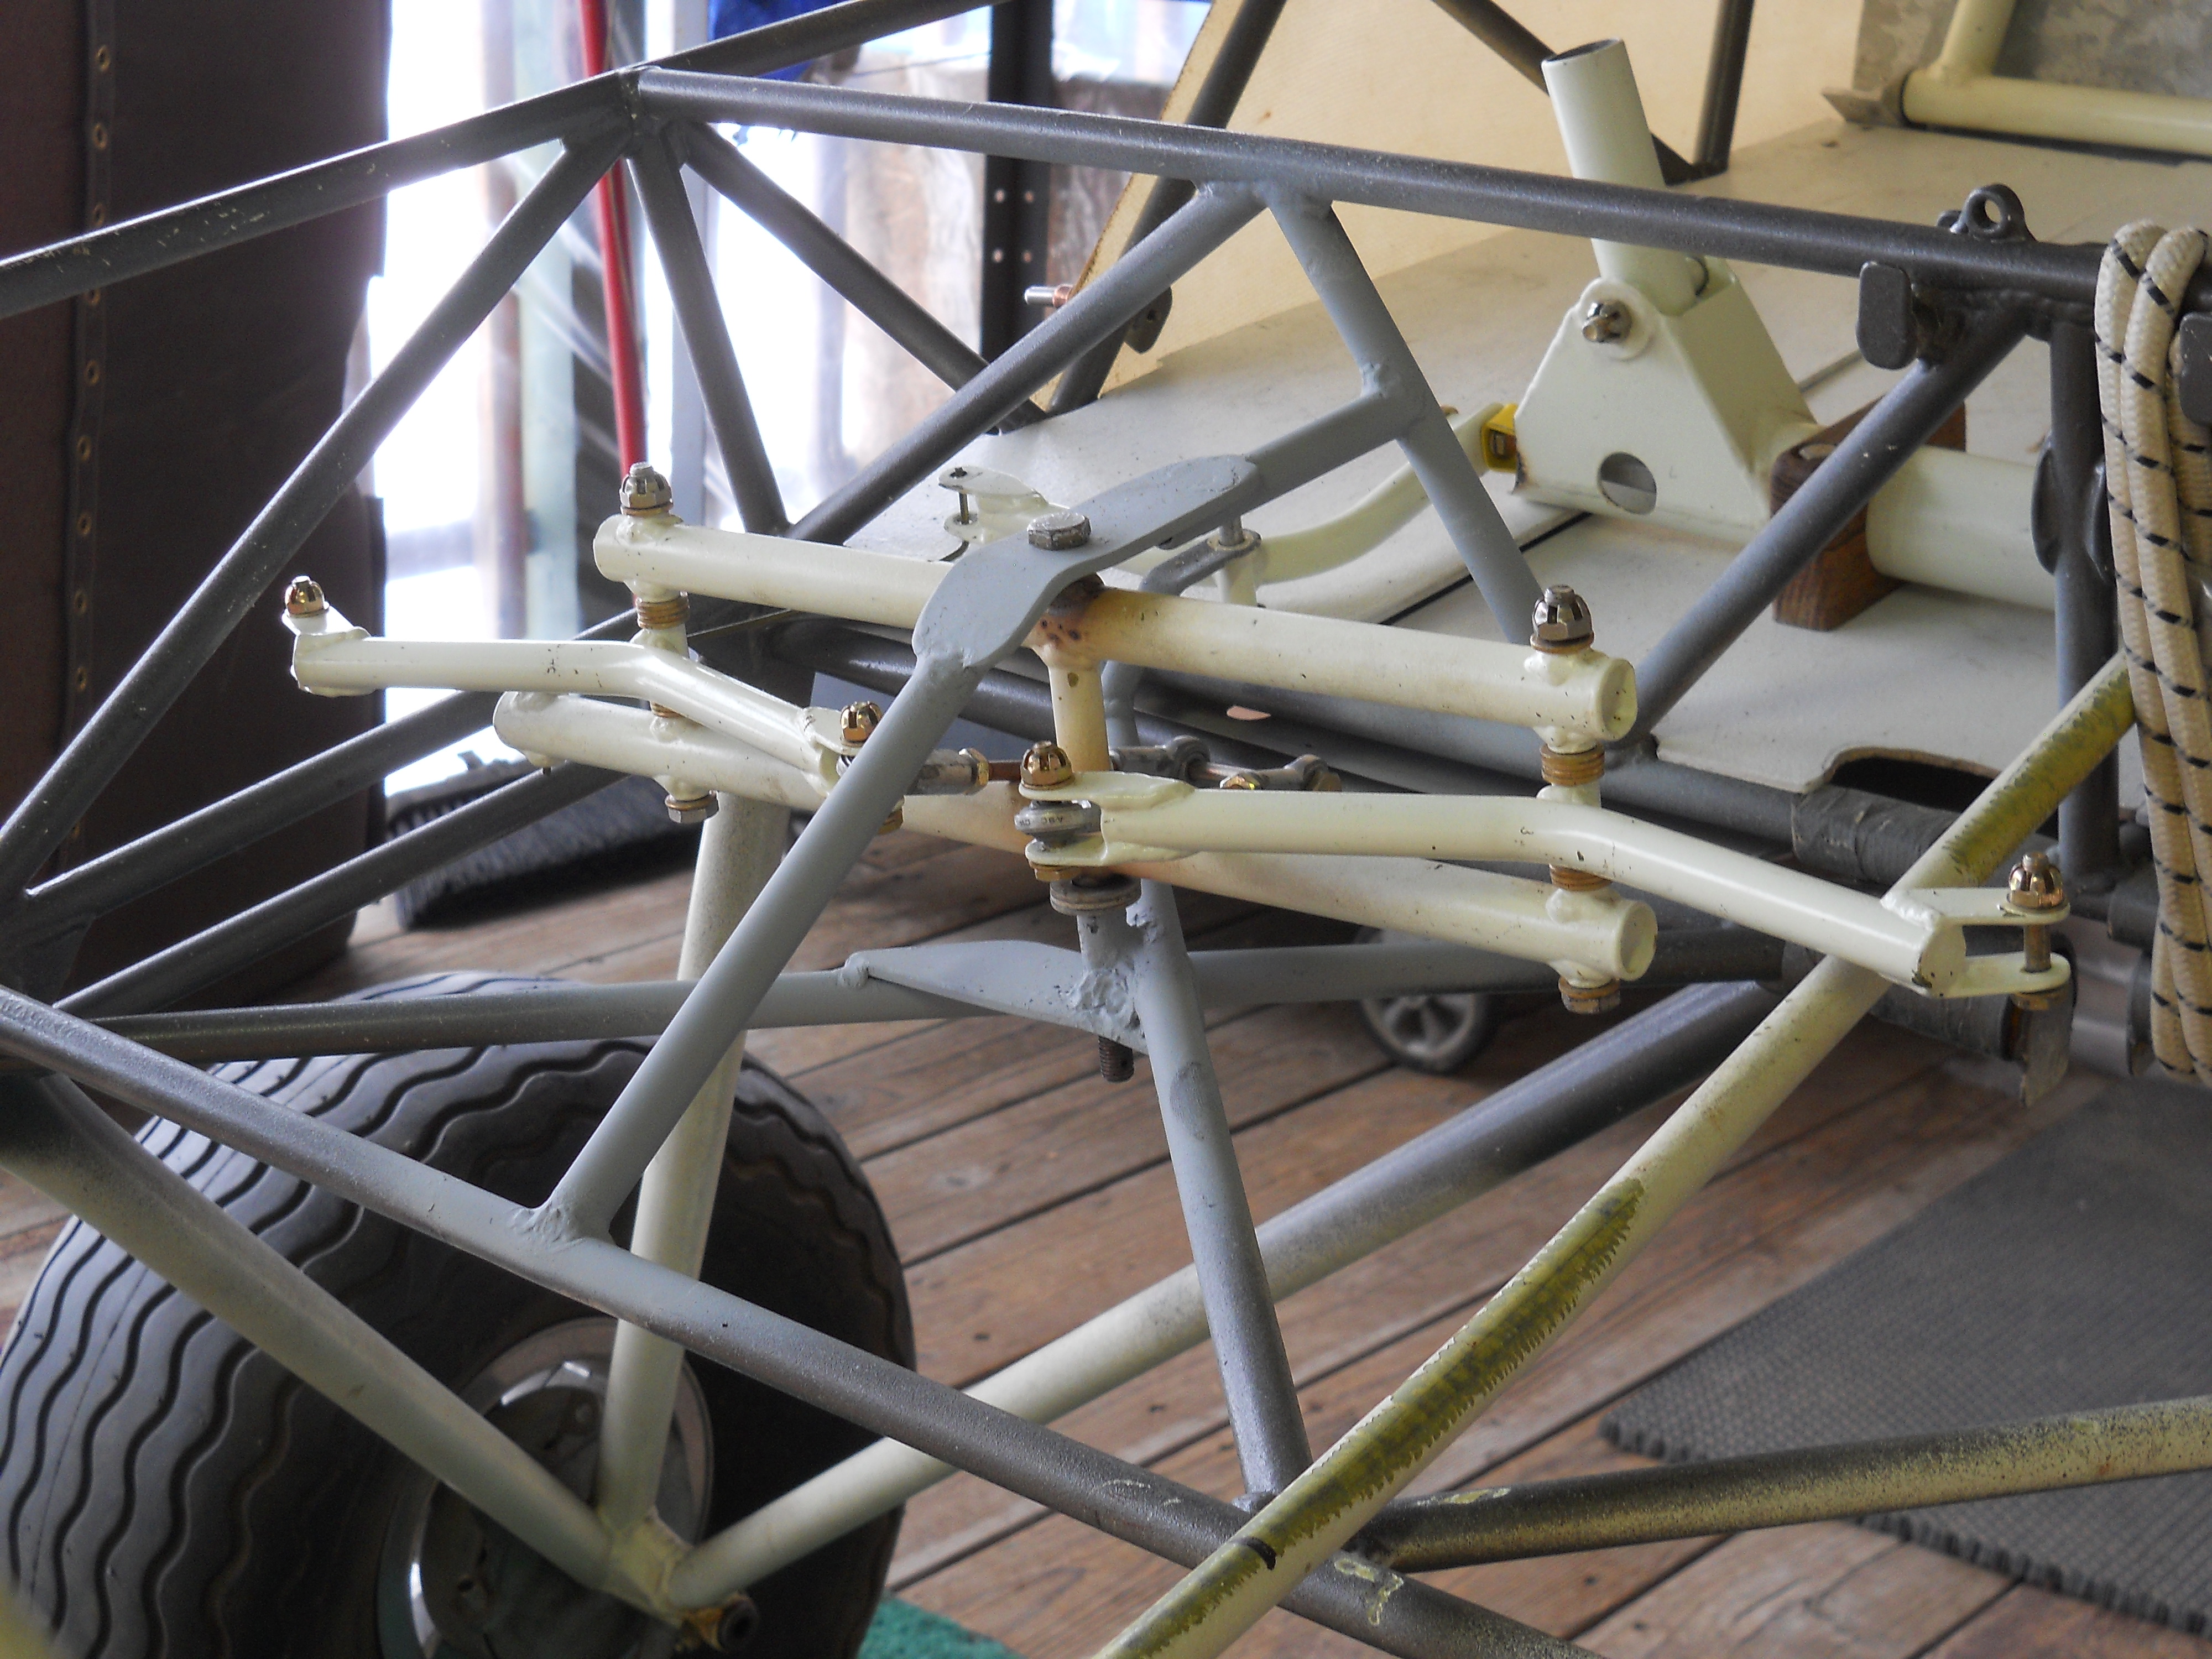
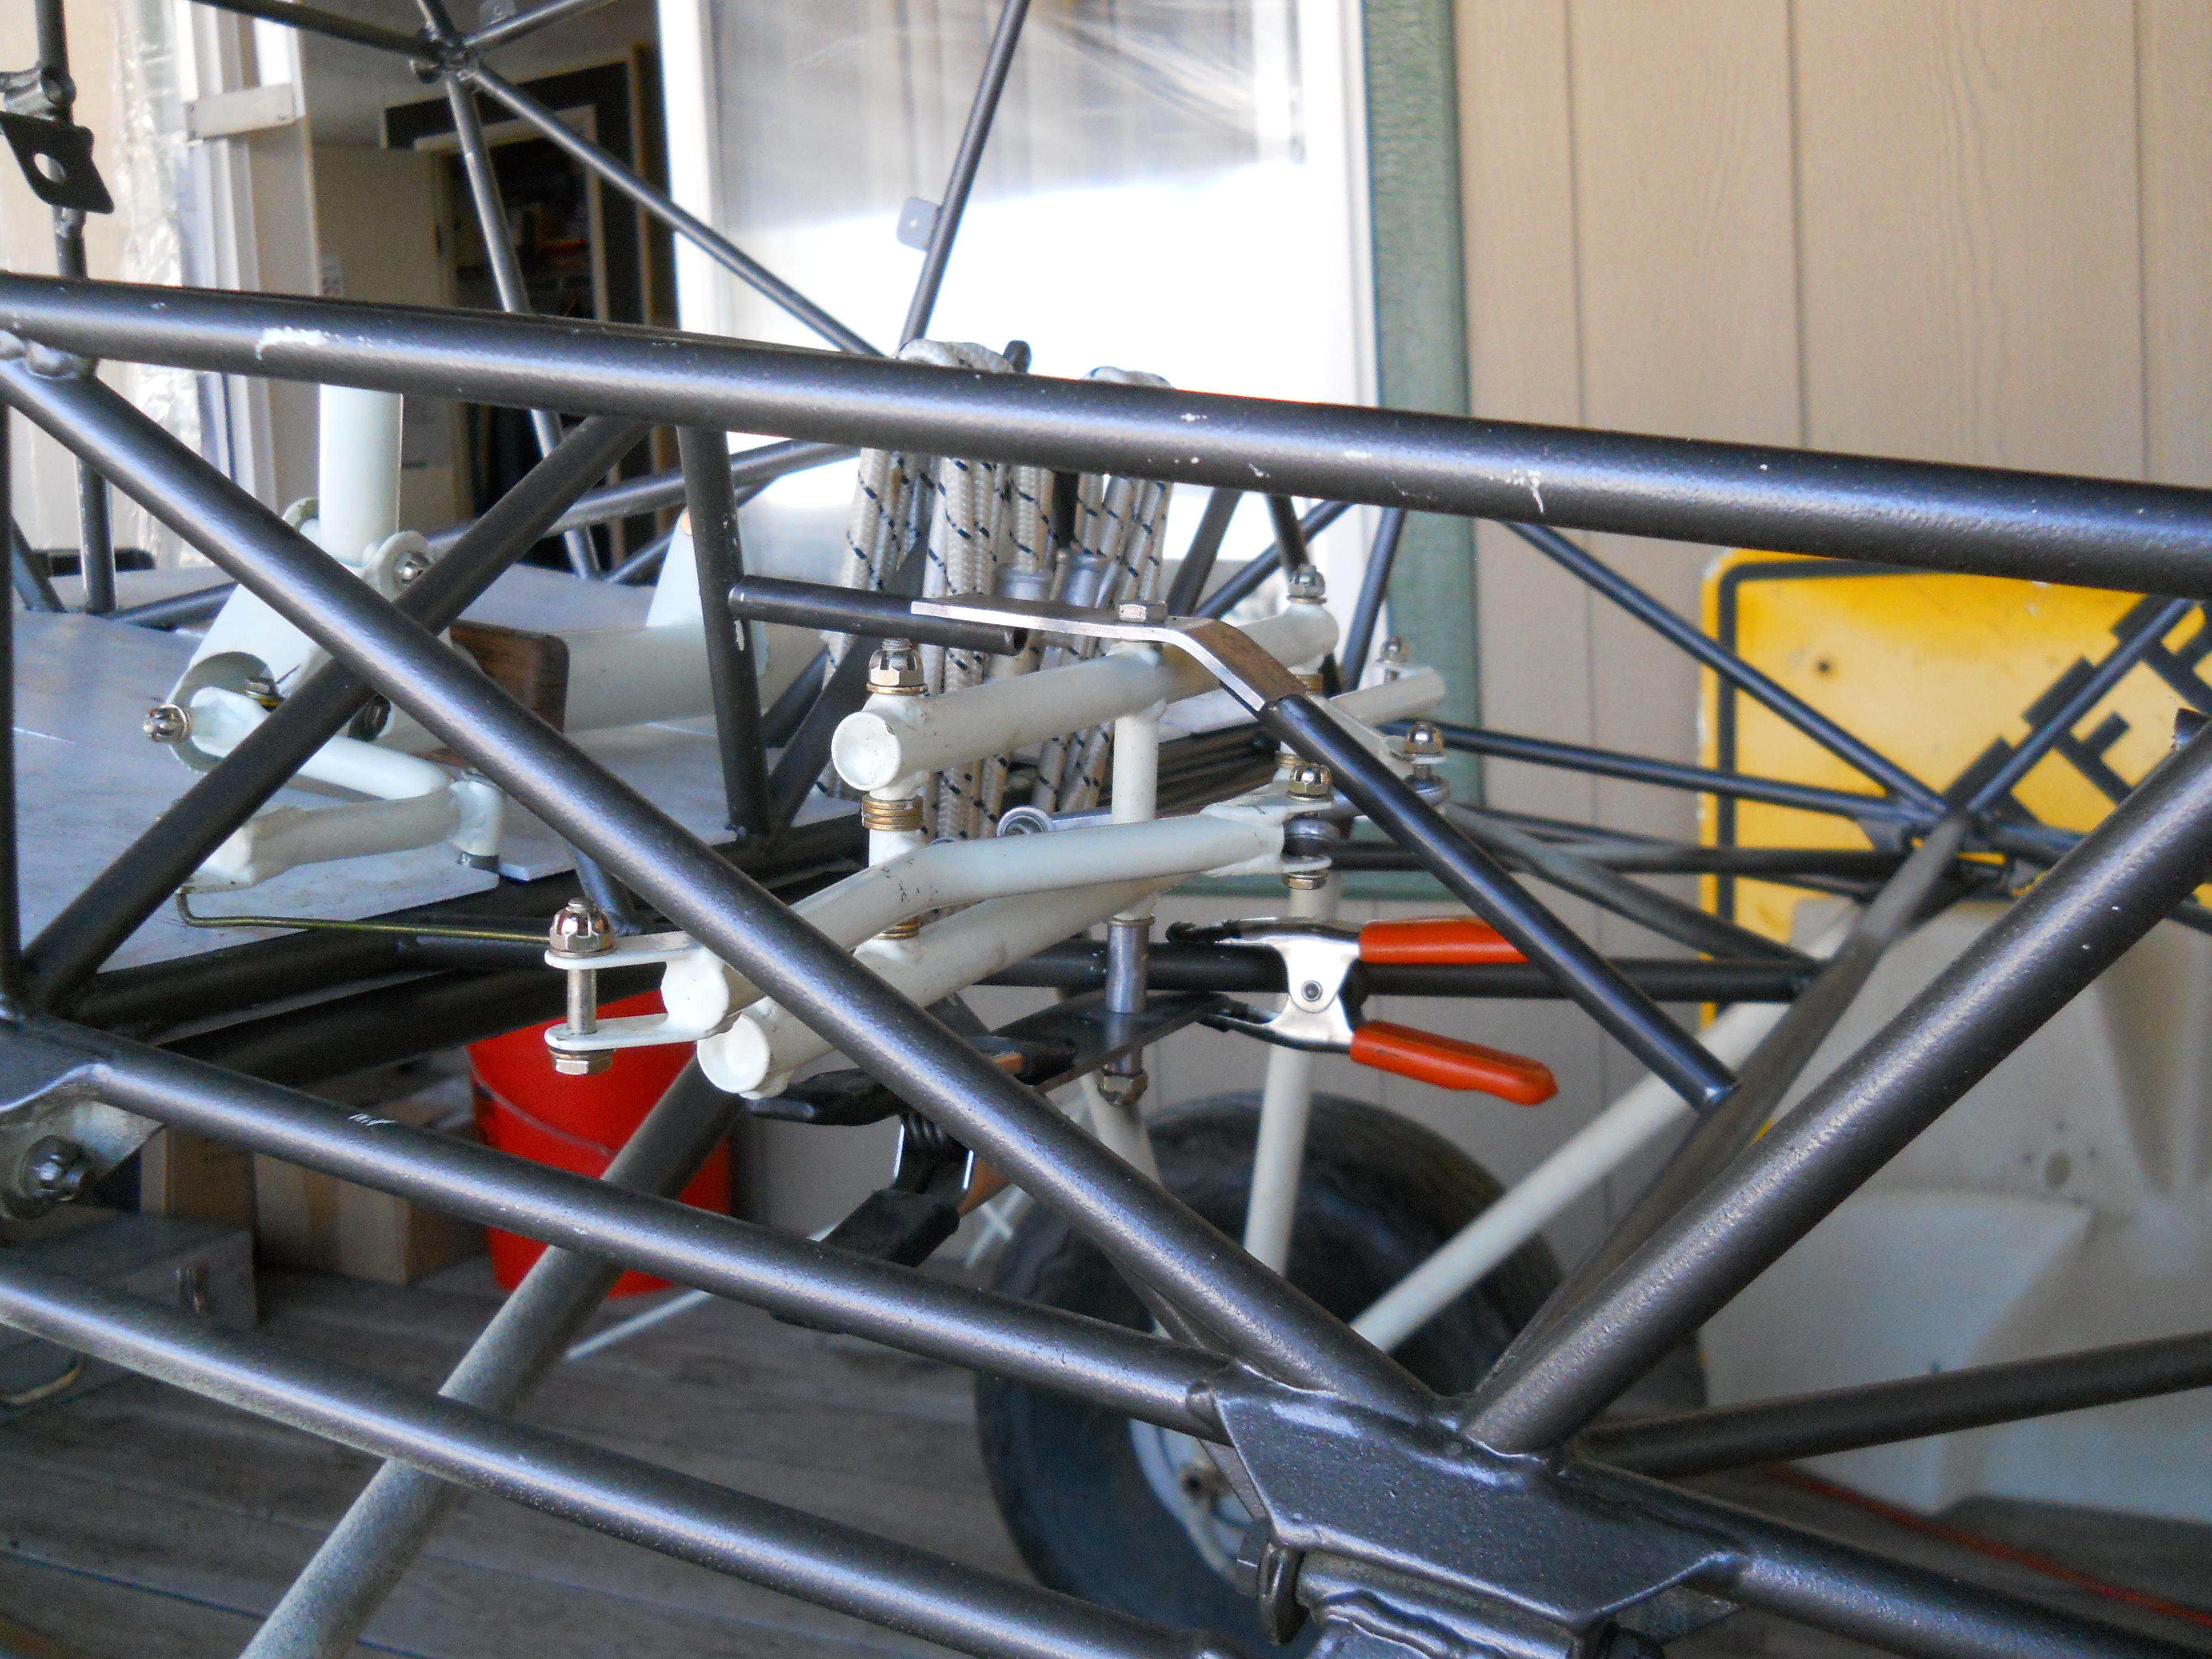
. here are a couple pics of what i have going so far. You can see that my seat truss is closer together than the newer models so I'm planning to put a spacer in to hold the flap linkages apart and just have an offset linkage going forward through the seat truss to the flap handle. i do have the elevator push pull tube in now(not in the pics) so i can see the clearance on it, its a bit close but should work. It will be even better once i change out the F7's for the F7-A's and pull the arms in a bit. i have noticed that the elevator push pull tube seems to drag quite a bit on the front bushing where it has the most bend to it. I'm thinking of cutting it in half there and making a joint for it to pivot on seems as though it would reduce ware and smoothen up the controls a bit. I wonder how the newer models got around this problem? hmmm.

-Robert-
-
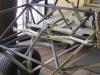
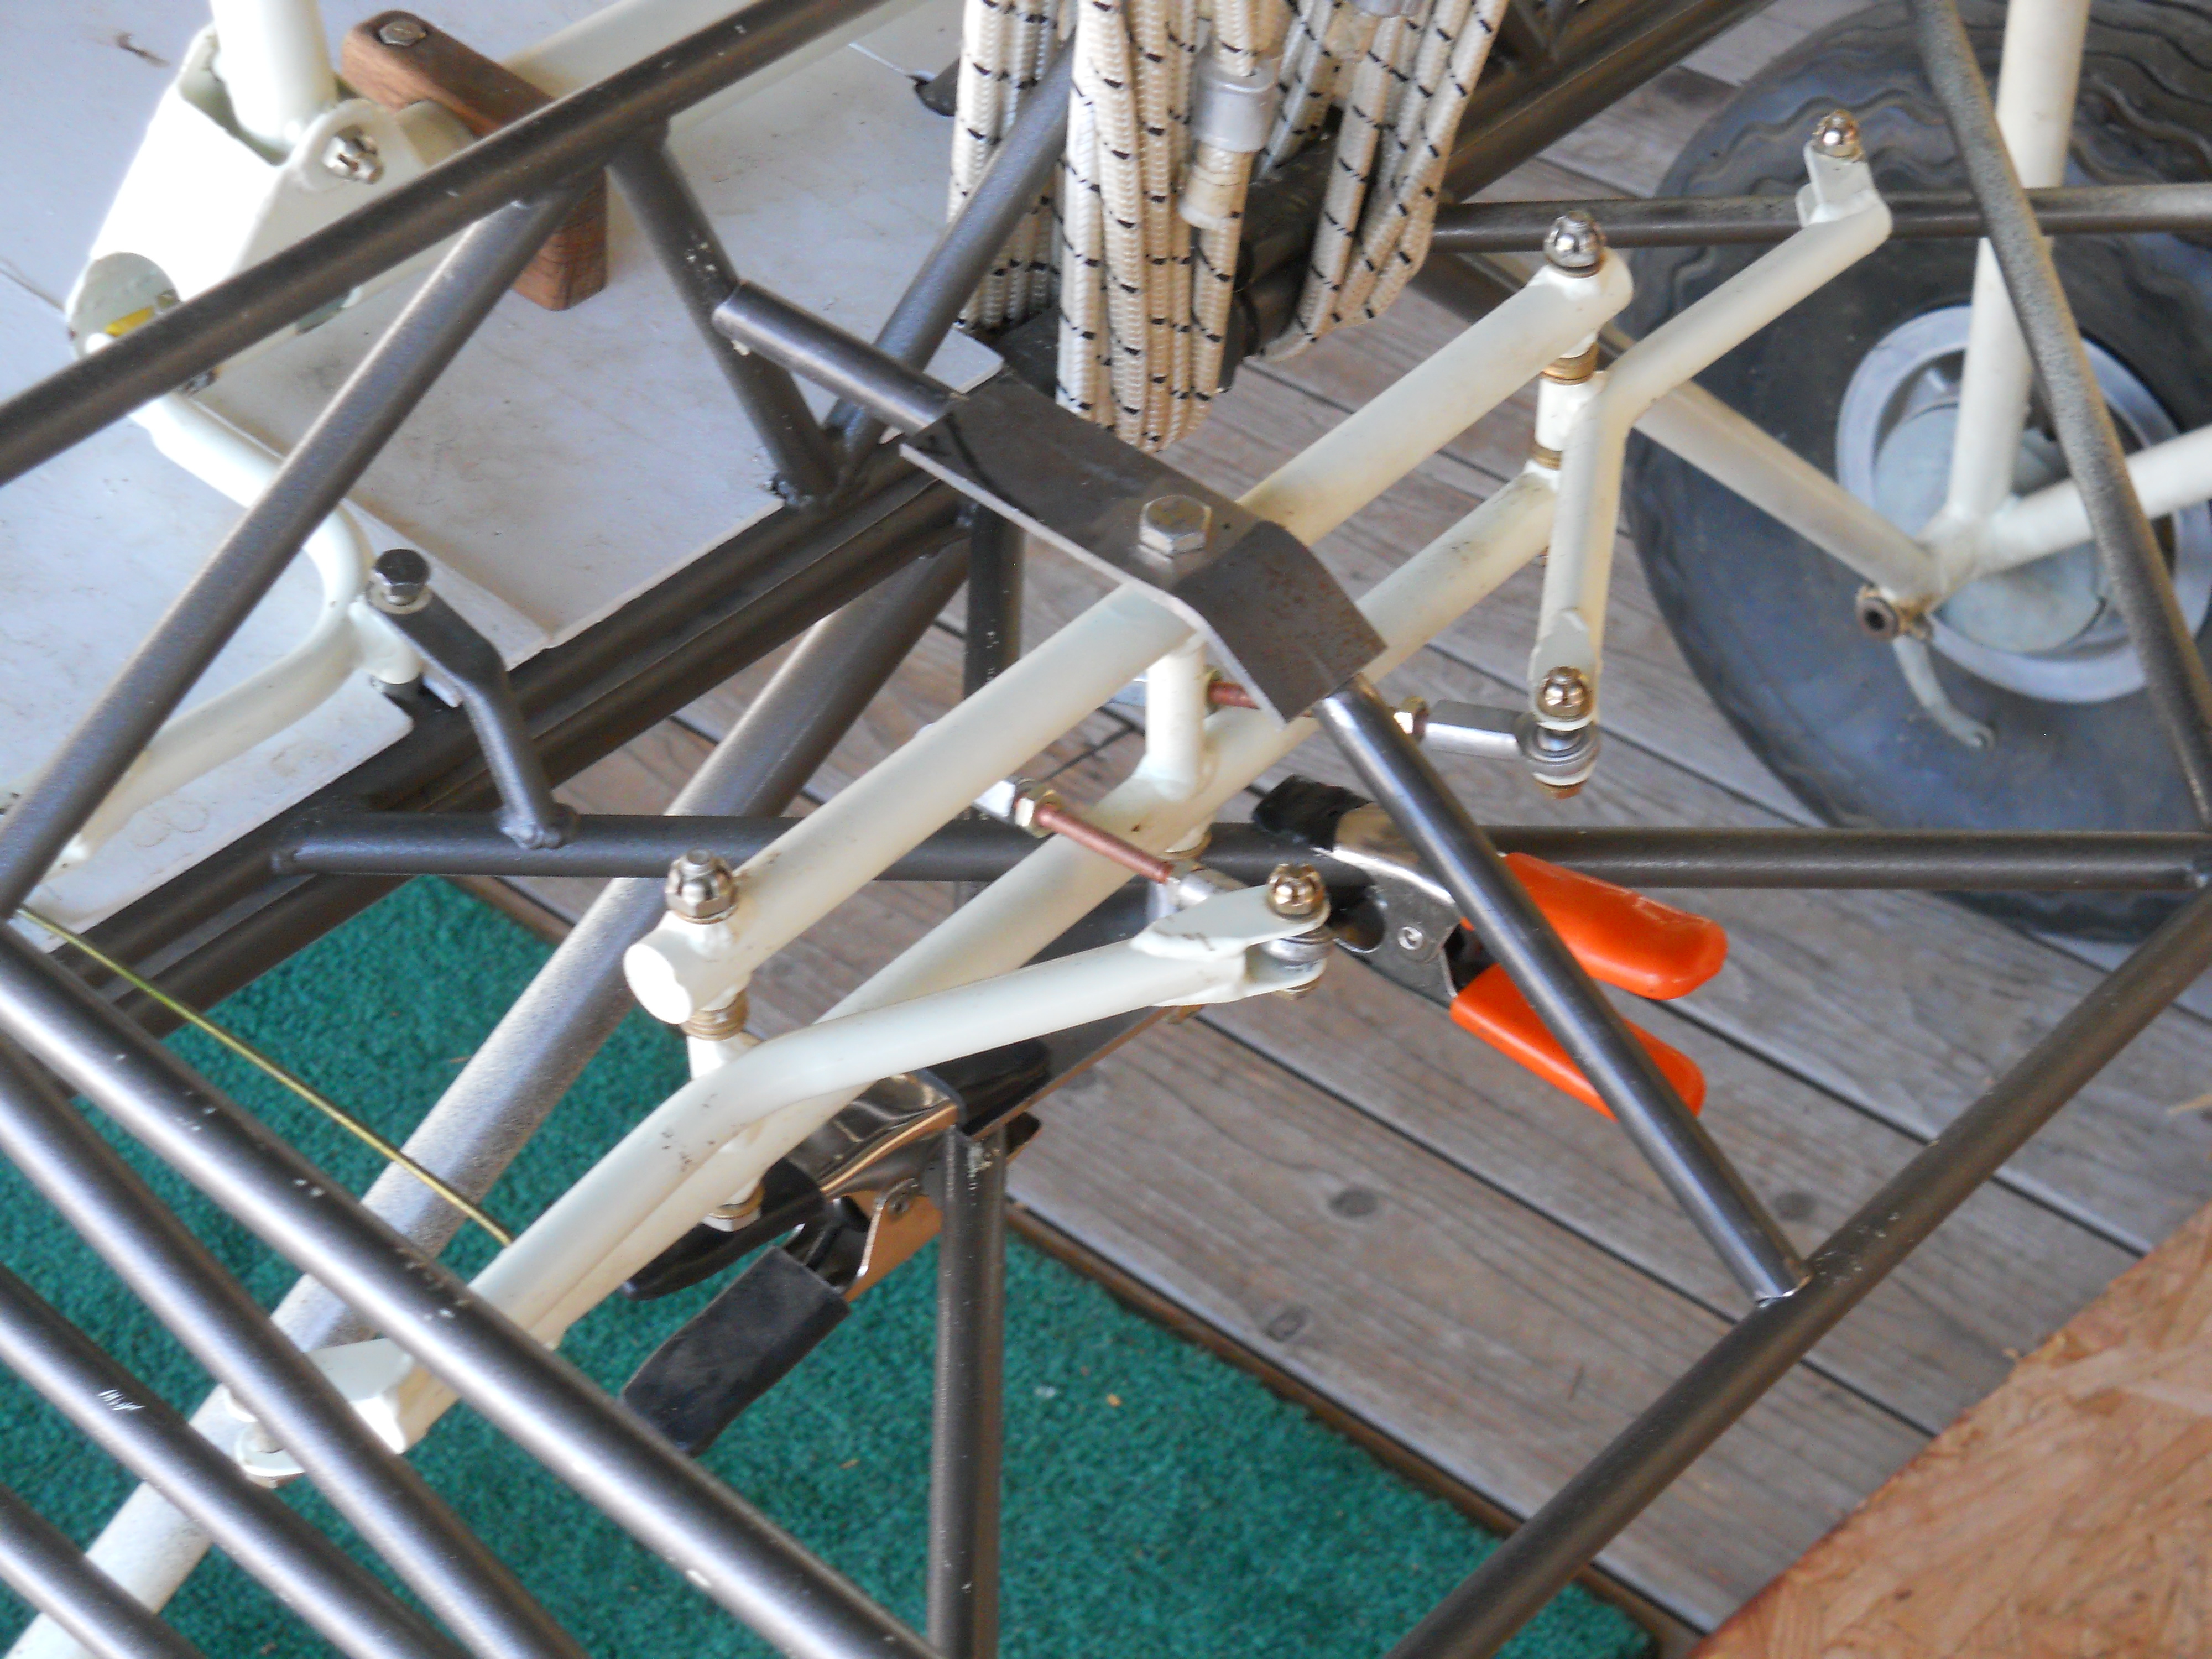
It's gonna work!!! I think. so i got the new mounts fabricated this weekend and have it all clamped together to test it. There is not much clearance on the elevator push/pull tube but it should be ok plus when i get the new F7-A's it will pull it in a bit giving me some more clearance. I was going to weld it in but i ran out of oxygen while welding in the new dorsal fin. gonna have to go into town next weekend and get it filled. I will try and get some pictures poseted up tomorrow of my new mounts. It seems as though the push/pull tube will rub on the bungies is this normal?
-Robert-
-
Thanks for the pic. so it looks as though the shinny rod actually pivots under the bungees, yes, no. if so wouldn't the pressure from the bungees make it pretty tight to adjust the flaps? I'm a bit narrower than your fuselage so i have a tighter area to put the linkages through and the ideal place is right where part of the truss is welded in. I'm thinking of just running a small rod to connect the f7-A's then just run one off set rod up from that to the flap handle. Should i actually get some time this weekend i will get some mounts cut and fitted up and tack it all together and see how it works. I will try to figure out the whole picture thing so you can see what I'm talking about.
-Robert-
-
-wow- bit off a bit more than i expected. good thing is i was able to find the missing butt ribs and center rib but im still missing one of the standard speedwing ribs... except this was a B model and I'm going to add wing tanks to it so i guess that changes things anyways. When i put the butt ribs up against the root ribs they hit just a bit on the cap strips so they will not lay flat against each other, should i just trim the cap strips up to make them fit nicely? then how do i know exactly where to mount them. the manual was last updated in 1988 so its not real good. I need to get the butt ribs mounted to the fuselage so i can get the windshield mounted, I'm actually working on the firewall but the manual says i have to fit it up to the cowl which fits up to the windshield which fits up against the butt ribs and on and on and on. shesh. As for the fuel tanks I looked at the wingtanks.com ones and they seem a bit small to me I would think it would be better to put just one tank per wing with greater capacity each so you don't have the extra fittings to cause a leak. Is there any other suppliers that have larger tanks say around 14-18 gal. I was thinking of calling up kitfox, any ideas. Also thinking of adding some extra ribs more like the HH to get a bit more gross weight. I was thinking if i did this, and went to 1" struts and reinforced the spar carry through tubes i should be able to get 1000 lb gross. currently the manual says 800 lbs. yea, neigh,

-Robert-
-
4aplat-
Thanks for the pics, love to see what other guys have done. I have been thinking about installing my headset plugs behind the seat my self, seems like it may get the cords out of the way a bit, you could also put a small hook on each side of that mounting plate to hang them on when not in use. Do you like this set up better than plugging them into the dash?
-Robert-
-
Im missing some ribs for my model B speedwing. Does anyone have a template so i can make my own. Currently im needing to make the butt ribs and the center rib. I do have one root rib that i thought i could use to possibly draft up a template with. i believe they are the same just that the butt ribs have the ends cut off is this correct. does anyone have any pictures of a butt rib with a root rib by chance? Im working on fitting the cowel which needs the windshield fitted with it but i need these ribs installed to do it.
Thanks Robert
-
Thanks for all the great info. I just spoke w Boise rigging and they want 85.91 per cable. but i guess i have to have them and at least i can get them local. I still have to weld everything in i just wanted to have all of the parts to fit up before i start welding so once i get it all done i will post some pics. still working on figuring out the flap handle as my airframe is much narrower than the fat avid thus making for some tight areas where the elevator push/pull rod comes through the bungee truss and where the two linkages go forward to the flap handle, but i should be able to off set the F-1 mixer just a bit to the left without making any difference as long as the cables are mounted so as to still get equal push/pull... correct me if I'm wrong on this.
Robert
-
This is the setup on my Avid+.
-PERFECT- This is just what im looking for. My call to Boise Rigging was to late today they were closed so i will try again tomorrow. I tried cross referencing your part number on their website but could not find it- http://www.boiserigging.com/categories/Push%252dPull-Cables/
If you get a chance could you please take some pictures of where the cables attach to the frame and to the flapperons
I may have been wrong that this was the airdale style i just knew i have seen it somewhere and liked it.
Thanks Robert
-
Im planning to convert the flaperon control system on my Avid B over to the airdale cable design. Iv'e got the mixer controls figured out for under the left seat now im just looking for the specifics on what cables i need. I should be able to have some made localy at Boise riging supply but im looking for how long,what diameter, material, what type of ends, push/pull rating, any other pertinant information im forgetting
 . also if any one has some good pics of where the washers are welded to the airframe for the cable to route through.
 Thanks Robert
-
How wide are these gear legs from tire center to center? also how much higher does it set compared to the stock gear. Looks real nice!!!
Robert
-
Ok so im convinced its mainly just a time saver by not converting it all over, will the KF legs just bolt right onto my Avid airframe with out any modification? Sounds like this is the way to go.
Ed i sent you a PM
-Robert-
-
Robert, I have all the stuff to convert yours, KF landing geasr, axles, wheels, matco brakes, cylinders. Someone wrote me about them and I gave them a quote, but no reply yet. So...........? Ed
I sent you a PM earlier im deffinately interested in the brake parts and wheels. Still not sure about the KF landing gear though. what would be the purpose of doing this.
-
Thanks for the link, only problem is it seems as though everytime i get a question answered it brings up another one. I see that you converted over to the kitfox gear legs, what is the purpose for this, is there a flaw im my avid gear legs that i should be aware of

-
Im getting started on an old B model and would like to convert it over to hydraulic brakes, Iv'e checked the matco website and there are a ton of options for different parts, what should i be looking for. I want a good set up but im on a tight budget at the moment as well. I would really like to get the master cylinders soon so i can get all of the brackets welded on right away before there is more in the way to worry about.
Thanks Robert
-
I have several Kitfox manuals, and the Avid Magnum manual. Some TD's are split lengthwise, and some crosswise. I have a one-piece Lexan light bronze for early Kitfox for sale. Like new old stock - never cut or drilled. Ed in Missouri
do you know if this fit on the Avid B and C models with out to much modification? how much are you asking. any pictures by chance.
Thanks Robert
-
here are the pictures


MicheL
Very Nice,is this factory or did you make it yourself? Im wanting to make something just like it. Im also very interested in your access door on the side could we get some more pics of this area open and closed please?
Thanks Robert
-
I saw one that was made by making the 90 degree bends in a sheet of lexan with a sheet metal brake.
If one was to try bending with this technique would i need to first heat it with a heat gun and to what temperature are we looking for?
-
Yes ive already seen these pictures what im trying to find out is the measurement from hole center to hole center for all three holes especially the two end holes. I just picked up some 1/2" chromoly .065 to fab up the new mount under the left seat so i hope to get that all installed soon, I just need to know what to do about making those darn F-7A's
Thanks Robert
-
Thanks for the info. So after looking at several different photos and comparing them to my build manual it appears as though i can use my original front bell crank F5 and the pivot arm F1 (gets relocated and tipped over) is this correct? if so I think im golden there but could still use some measurements for the F-7A rear bell cranks. Looking at the picures i think i could cut off the inside legs of my original F7 's and weld on a new leg at the new angle and add a gusset to strengthen it all back up. what is the angle i need and what is the measurements from each hole center to the next and from end hole center to opposite end hole center.
Robert
-
whow, that's a nice expression !!!!!!!!
my turtle deck is a one piece turtle deck all in lexan or plexyglass
no problem to remove it
I'll try to take a picture tomorrow if the weather is not too bad
regards
MicheL
Were you ever able to come up with some pics of your turtle deck. Did you make it or buy it complete. I think that a "smoke" full lexan turtle deck would be pretty nice.
Robert
-
Im looking for some good pictures of the F-7A bell crank. Possibly some drawings w measurements would be great as well if anyone has them. Im working on a Model B-C and want to convert it to the cable controls to open up my cargo bay. I feel pretty confident fabricating these pieces myself if i can get some good info to do it. also pics/info for the front bell crank would nice as well
Robert

gas tanks
in Avidfoxflyers General Hangar
Posted
Thanks for getting back to me. Do you know if these fiberglass tanks are ethonol resistant or should i just go with the wingtanks.com ones
-Robert-