High Country
Members-
Content count
479 -
Joined
-
Last visited
Posts posted by High Country
-
-
hmmm. haven't done an inverted slip before. that sounds more exciting than spin practice

-
Rob, welcome to the forum glad to have you. the only dumb question is the one you failed to ask. I wouldn't hold your breath waiting for Brett to answer anything or even get parts out. I would ask them here and include pictures whenever possible. (if nothing else we all like to look at pictures) also there are many other outlets for parts besides airdale. I have a friend with the under camber wing and he just replaced his 582 with the jab engine and is seeing 100 mph indicated. you are going to have a great time building and eventually flying that bird. If I can give just one piece of advice it would be to just keep building even if its only one hour a day a couple days a week. the longer you allow it to sit the more you will loose motivation to finish it. oh and take lots of pictures. again welcome
-Robert-
1 person likes this -
Mine is on the left. I've seen both ways and even one on each side like Ed is doing. don't think it really makes a difference.
-
Wow! those look amaizing. Did you have the foam replaced with something better or just keep the original stuff?
-
been off line for a while, looks like I need to get caught up
I've heard arguments both ways so to keep it simple and let the final user do what they want via tweeking the axles I set all my gears straight ahead. In fact when I weld them on I have a piece of tubing going from inside one across and into the other while they are bolted into a jig that holds the legs just as they would be when installed into the plane. I will see if I have any pictures of doing this. then just for kicks they are cross squared before welding. As for my personal gear I have just left it square and have never had any issues with it.
1 person likes this -
Looking good Mike glad to hear its working out for you. Any chance we could get some details w pics on the bungee fairings and the brake mod.
1 person likes this -
any updates?
I recently had and issue where a slow water leak at a fitting going into the radiator allowed air into the system and an air bubble got stuck, upon taxing up to the runway the temp gauge came up real quick stem started to blow and well lets just say it was an exciting mess and I'm glad it happened before takeoff. long story short I had to pull the small plug that goes into the water pump housing removed the fill cap and after filling as much would go in I picked the tail up in the air as high as I could get it shook it a couple times and set it back down. after doing this process a couple times and starting the engine with the plug and cap still off eventually the air burped out and water started coming out of the water pump port. I plugged it back up filled it once again and all has been good ever since. this plug can be replaced with a small hose barb and plumbed back to the fill neck. If anyone has a part number for that little fitting I would sure love to know what it is. I've seen them installed on a friends Avid but have not been able to find the right barb anywhere.
-
Ed has templates for everything
 I'm sure he will chime in soon.
 -
Here's a brief bit about this set up 3:28 will take you to it
2 people like this -
My radiator hangs just off the belly and I haven't had any heating issues... yet anyways. I know some here have and found that by lowering it just an inch or two that it gets much better airflow for cooling, this may depend on where you fly and how hot it actually gets. as for the fill neck I used one of these http://www.ebay.com/itm/1991-91-ARCTIC-CAT-EXT-550-SNOWMOBILE-COOLANT-FUEL-ANTIFREEZE-CAP-LID-HOSE-/161148206423?hash=item25852e7d57&vxp=mtr(you can find it cheaper if you look around) and just cut a small piece of angle aluminum one side bolts to one of the front side engine mount threaded holes on the right side of the engine the other side of the angle bolts to this fill neck. seems to work good I will look for a picture it will make more since. A friend of mine has one similar but the lines come out both sides rather than side and bottom his is mounted on the top of the engine just aft of the gear box. hope this makes since.
-Robert-
-
While we're at it anyone know what size the tubing is and how thick? I want to make new ones and extend them 3' to match the extension I did on the wings.
Also what is used for the bearings? looks like some sort of tubing from the plumbing supply store. as for the covering I'm thinking of using flashing material such as http://www.acehardware.com/product/index.jsp?productId=29795066&KPID=984477&kpid=984477&pla=pla_984477unless anyone has a better solution or good reason not to. it does say "aircraft max" after all doesn't it

-
Joey any chance you are planning to come up to Idaho again this year? If so I would love to meet up. I'm planning a trip to Arlington then want to hit as many backcountry strips as I can coming back to the southern part of the state over about a 2 week period.
-
Nice tail Joey!! or umm o never mind. any chance I could get you or anyone to measure the length of the little tab on the trim tab itself that the rod attaches to. the metal I used on mine was too thin and a slight bump has bent it but I'm 1.5hr drive away from my plane and want to make a new one before I go down again hopefully next week. mainly looking for the distance from the bottom of the trim tab to the center of the hole.
p.s. I also got the servo cover from Highwing haven't installed it yet but the quality is very nice well worth it. aside from airflow/asthetics it protects that little piece of gold from mud/water just my .02 if anyone else was considering it.
p.s.s I've been having slight issues with the rod wanting to walk out of the piano hinge in the tab. mine looks exactly like yours. I'm planning to just drill a small hole in the end and put a cotter pin through it to hold it in place. just a possible area of concern to keep an eye on.
-Robert-
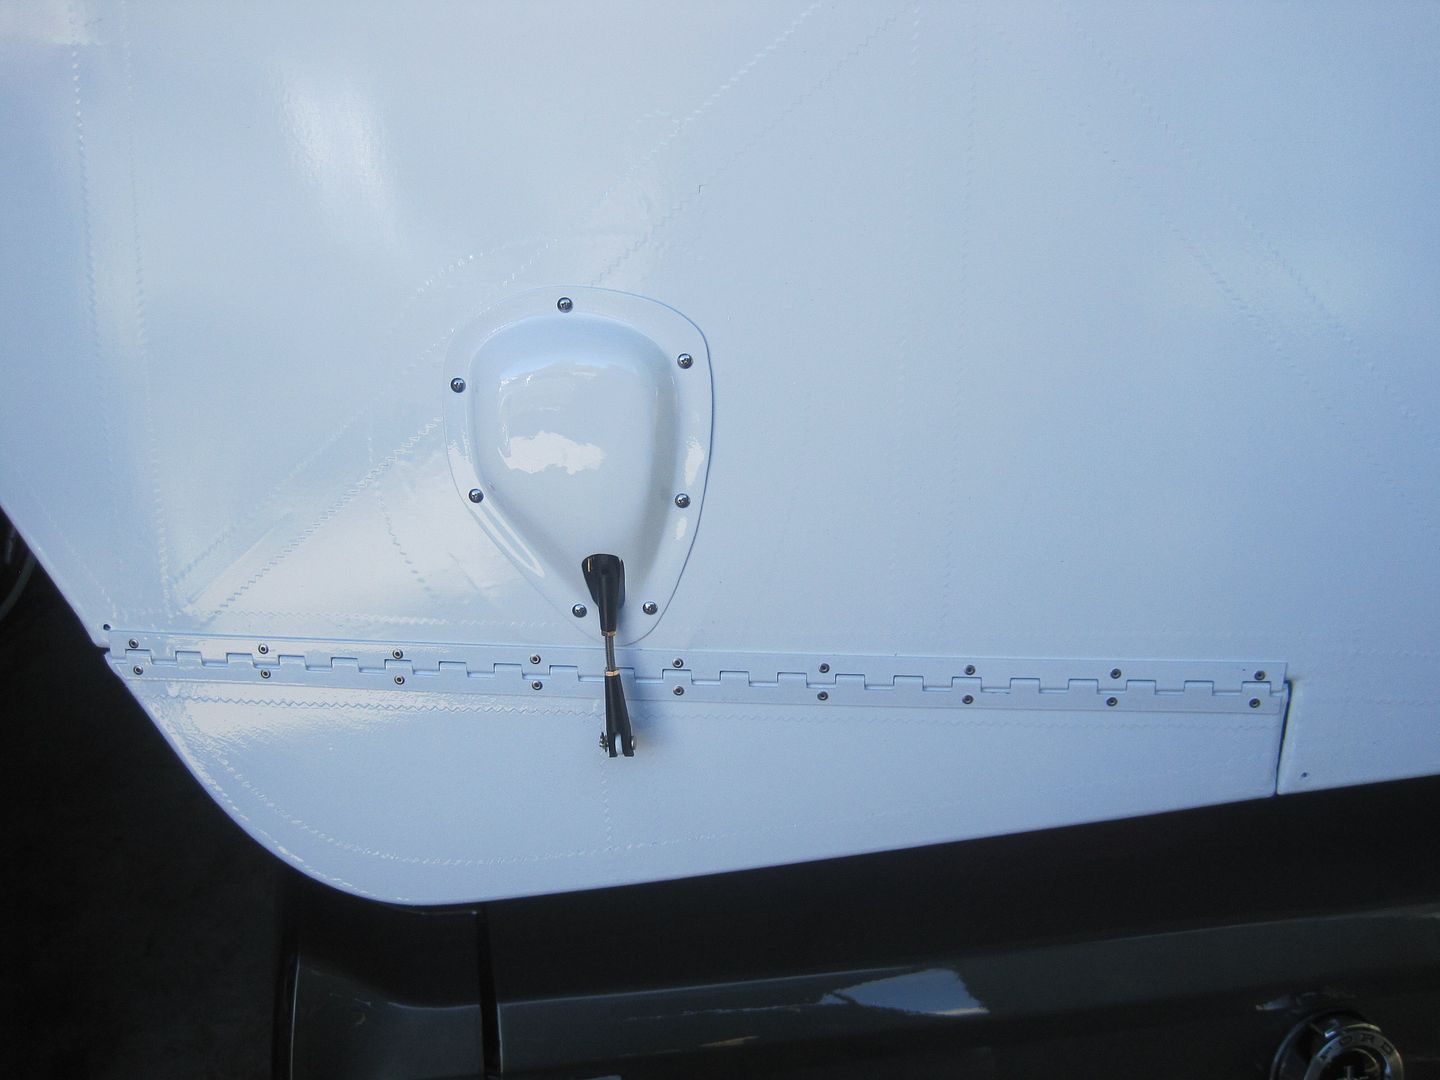
I just got my elevator back from Highwing LLC today. I had it exteneded to the Mark 4 dimensions which is almost 4" more chord as well as installing a Ray Allen trim system. Can't wait to test fly it. Hoping to complete the bulk of the install this weekend. Will report back with a PIREP.
Lowell Fitt did all the work. He powerdercoated the metal after the extension and did all the work you see in the pic. He also covered and painted the final product. I am VERY impressed with his craftmanship.
 ;
; -
Mine are aluminum as well
-
Congrats took me 8 months to get that stinkin paper and I even had the original bill of sale from Light Aero dated 1987 and all other associated paperwork.
-
should you decide to go with the single fork there is one listed on barnstormers for 150 bucks you might see if he still has it Arnold 505-239-5621 http://www.barnstormers.com/cat.php?mode=search
-
While you are adding gussets to the uprights you should add some support bands to the rudder cable attach horns as well this is another area that has been known to give away. also its not a bad idea to have a small tab on the inside pedal to keep your feet off of the v bars in the center of the plane (on Avids anyways I'm assuming KF is the same)
-
I have the single fork setup on ours and i have a bad tendency to pull left as soon as the tailwheel hits the ground. If you look at it directly from the rear it even has a slight tilt to it. I'm going to replace it with the double fork and would recommend you go dual fork as well. also the rudder to tailwheel chain angle is pretty extreme with the single and is much better with the dual fork. just my .02. but hey if your determined to go single I may have on soon
-Robert-
-
Ron you can cold bend lexan to make new pieces without having to connect them with aluminum. this stuff bends real easily and nicely if you don't have access to a break some carefully positioned straight edges clamped into position and you can bend it by hand. experiment with the bad stuff first you shouldn't have any trouble with it. good luck with your bath keep us posted
-
Just remember right from the start that these planes were originally designed to not be stitched thus the wide capstrips so don't worry to much about it being perfect. that said I did as Ed suggested and went with the layout for AC 43.13- the poly fiber manual is well worth buying regardless of what process you are using. Make a template of the rib and mark your stitch spacing out on it first then just transfer them with a square to the other side. keep your stitches straight so it doesn't pull the fabric. Its a lot easier than most make it out to be until they have done it. good luck
-
We kept ours very minimal, 582 pull start, no interior, dual wing tanks, HH rib spacing/spars, very basic and came in at 526lbs. My goal was to keep it under 550 so I'm happy with it. performs nicely
1 person likes this -
I also had the original 20+ yr old piece of lexan and tried everything I could come up with because I was to stubborn to just buy a new sheet. In the end it was not worth it and I wound up with several scratches on my windshield and I'm already planning to change it. Should have just got a new sheet FWIW just my .02
good luck
-
just ran across these servos and thought someone might have a need for one, thats a whole lot cheaper than what I paid http://www.ebay.com/itm/Experimental-Aviation-Linear-Servos-MAC-1-16-second-40lb-Pull-NEW-Aircraft-/111608924415?pt=Motors_Aviation_Parts_Gear&hash=item19fc6908ff&vxp=mtr
-
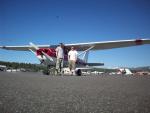
well if thats not motivation I don't know what is. This is practically my backyard can't wait for all the snow to melt around here. This will be our first summer with the avid flying and I can't wait to take my wife on some fly in camping trips.

Overhaul time!
in Avidfoxflyers General Hangar
Posted
wow Joey, you're going to have a whole new plane by the 4th of July Any reason you're not going to change over to the Mk IV cowl to delete the side radiator?