tcj
Members-
Content count
244 -
Joined
-
Last visited
Posts posted by tcj
-
-
There are no changes to the LSA or Sport pilot rules.
-
Lots of different information on the kitfox mass balance weights. Here's mine. Classic 4 Long Wing kit rolled out of the factory Sept 1994. It has one weight on each flaperon. The mass balance weight installation section in the manual states that the Speedster has two weights per flaperon and instructs to slit each flaperon in two places and cover the slits with fabric so that it can flex at the higher speeds.
According to the Kitfox Model 4 Pilot's operating handbook, Model 4 1200 and Classic 4 Vne with 582 and 912 engines is 125 mph. Classic 4 with 503 Rotax is also 125 mph. Model 4 speedster Vne is 140 mph.
I have a foggy memory of a comment by the factory back some time ago that they started building the small mass balance weights only and would be including 4 of them with all kits from that point on.
1 person likes this -
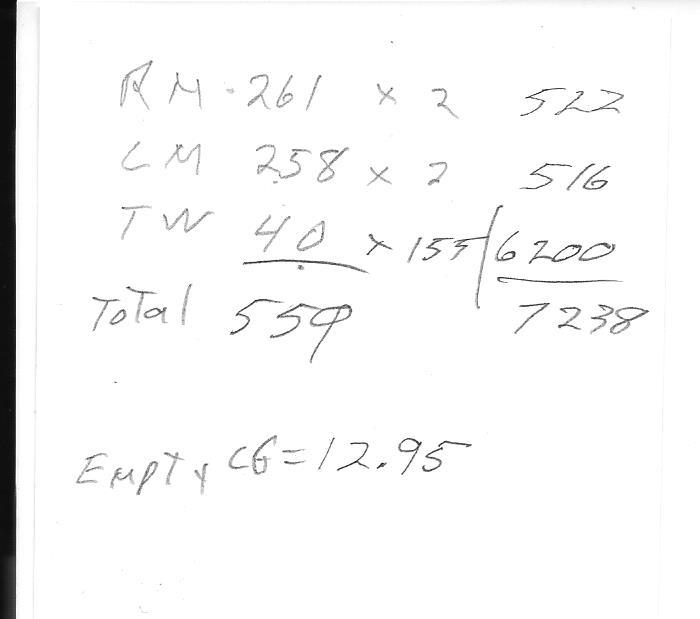
I would keep the battery as far forward as possible. In front of the fire wall if there is room. Fuel, Pilot, passenger, baggage, everything you put in the plane when you fly will push the CG back further.
The Good book says, "Thou shallt not put weight at the extremes of the airplane" ie, propeller, wing tips, or tail. There is much more to weight and balance than balancing a teeter totter.
-
Check your math.
-
I copied the wrong link. Here's the one that works. http://kitfoxaircraft.com/index.php/ct-menu-item-1/technical-f-a-q Fixed in my post above too.
-
Here's the link to Kitfox's new web site where the links still work. http://kitfoxaircraft.com/index.php/ct-menu-item-1/technical-f-a-q
You'll see there are Service Bulletins and Service Letters. The elevator push pull tube idler belcrank idler bolt is #45 in thee Bulletins.
-
Only down side so far is getting into the cockpit. Once again, maybe the pilot.......
Climb into the front seat of a J3 cub or a Champ a couple times then you will think getting into an Avid or kitfox is actually pretty easy.
-
Here's a Piet with a 1947 jeep engine. http://blog.kaiserwillys.com/a-willys-4-134-l-engine-in-the-sky
2 people like this -
The threaded rod looks like a battery hold down.
-
Original post edited to note wrong part number for the washers/spacers on the axles.
-
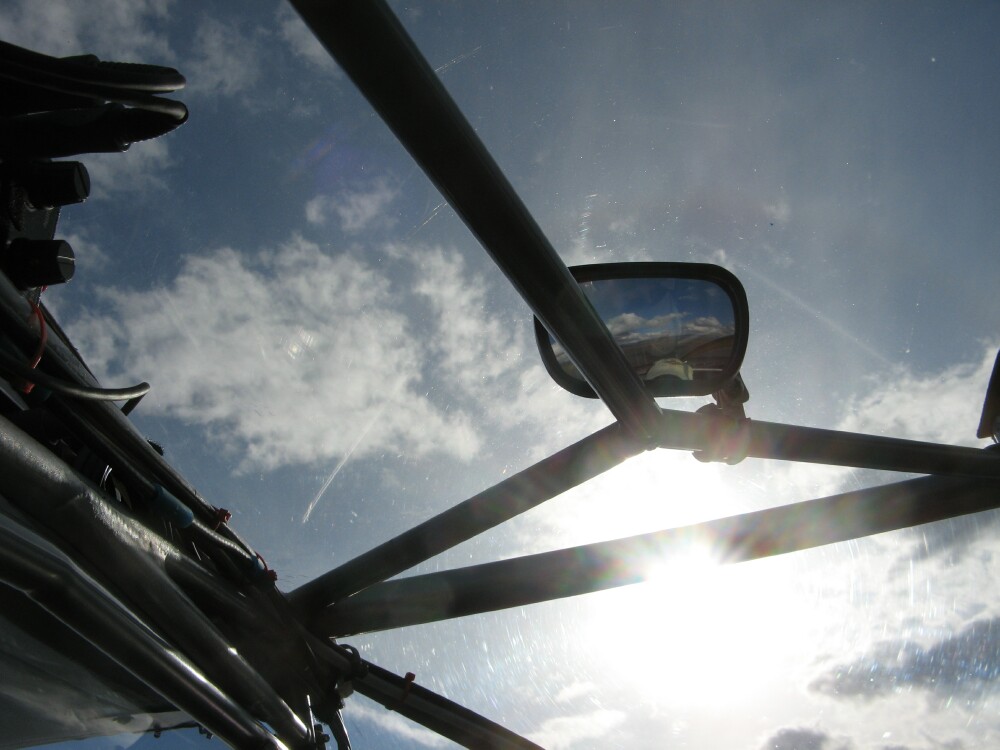
So I can see who's about to run over me in the pattern and on the ground.
 2 people like this
 -
Got it tcj - The instructions talk about AN960-10 washer, nut, cotter pin - So, are these made for 5/8" axles? EDMO
These instructions are in the manual for my Classic 4 with 3/4 inch axles. I don't know whats up with that washer number. It needs to be the same size as the axel. Good catch ED.
-
Kitfox Ski Mounting Instructions are uploaded to Files and Forms
-
Note: The instructions call for a AN960-10 washer in two places on each axle and call it a large area washer. That is incorrect. Large area washers are AN970-xx. The axles are 3/4" so these washers/spacers need to be 3/4". AN960-1216 washers may work here. Also a AN970-10 and drill it out to 3/4'.
-
The Skis look like the ones the old Skystar factory offered in the early days. They are fiber glass over steel frames. I have the installation and rigging instructions if you need them.
tcj, That ski info would be good to post in Files and Forms. EDMO
I'll see if I can do that. Standby.
-
The Skis look like the ones the old Skystar factory offered in the early days. They are fiber glass over steel frames. I have the installation and rigging instructions if you need them.
-
For a little perspective. My kitfox model 4 tail weighs 35 pounds with wings spread and 175 pounds with wings folded.
-
What about filler to smooth the edges? I dabbled with model fabric on my gear legs and gave up finally. Thanks for the replies. I got some spar finish with the plane too.
I used Polyfiber Superfill to smooth the wood fairing to gear legs then coated the wood and superfill with the polyfibre varnish befor covering. The Superfill is real easy to work with.
-
Things can go horribly wrong very fast.
When I was Kid I worked on a Forest Service Helitack crew. We had all kinds of Fire extinguishers and such on the heliport with strict policy to have some ready with a fire extinguisher etc when fueling the helicopter. Our Pilot...the old man of the crew was a 22 year old viet nam vet...told us in private that unless there was someone in the helicopter that needed to be rescued to not ever try and put out a fire in the helicopter, just get away fast as possible and stay away from it.
-
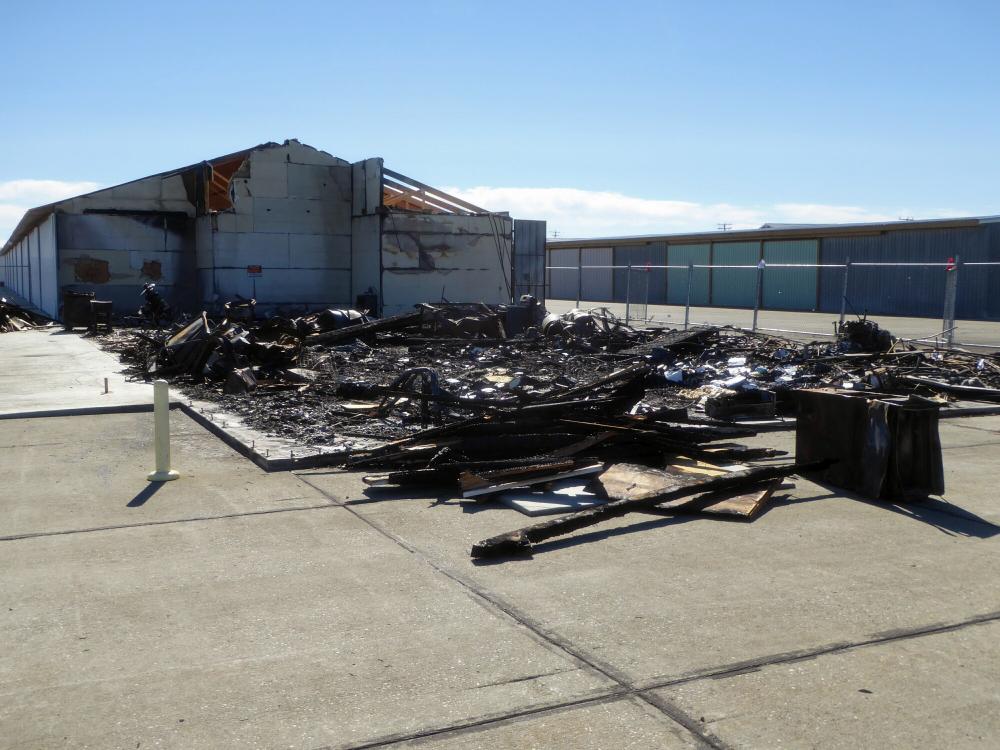
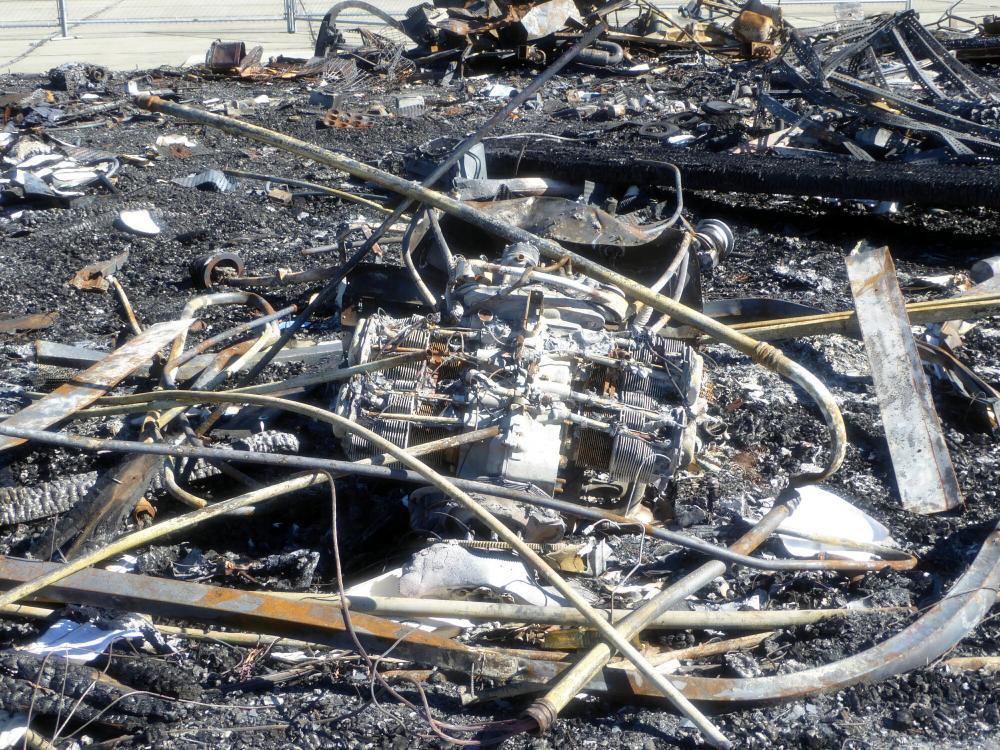
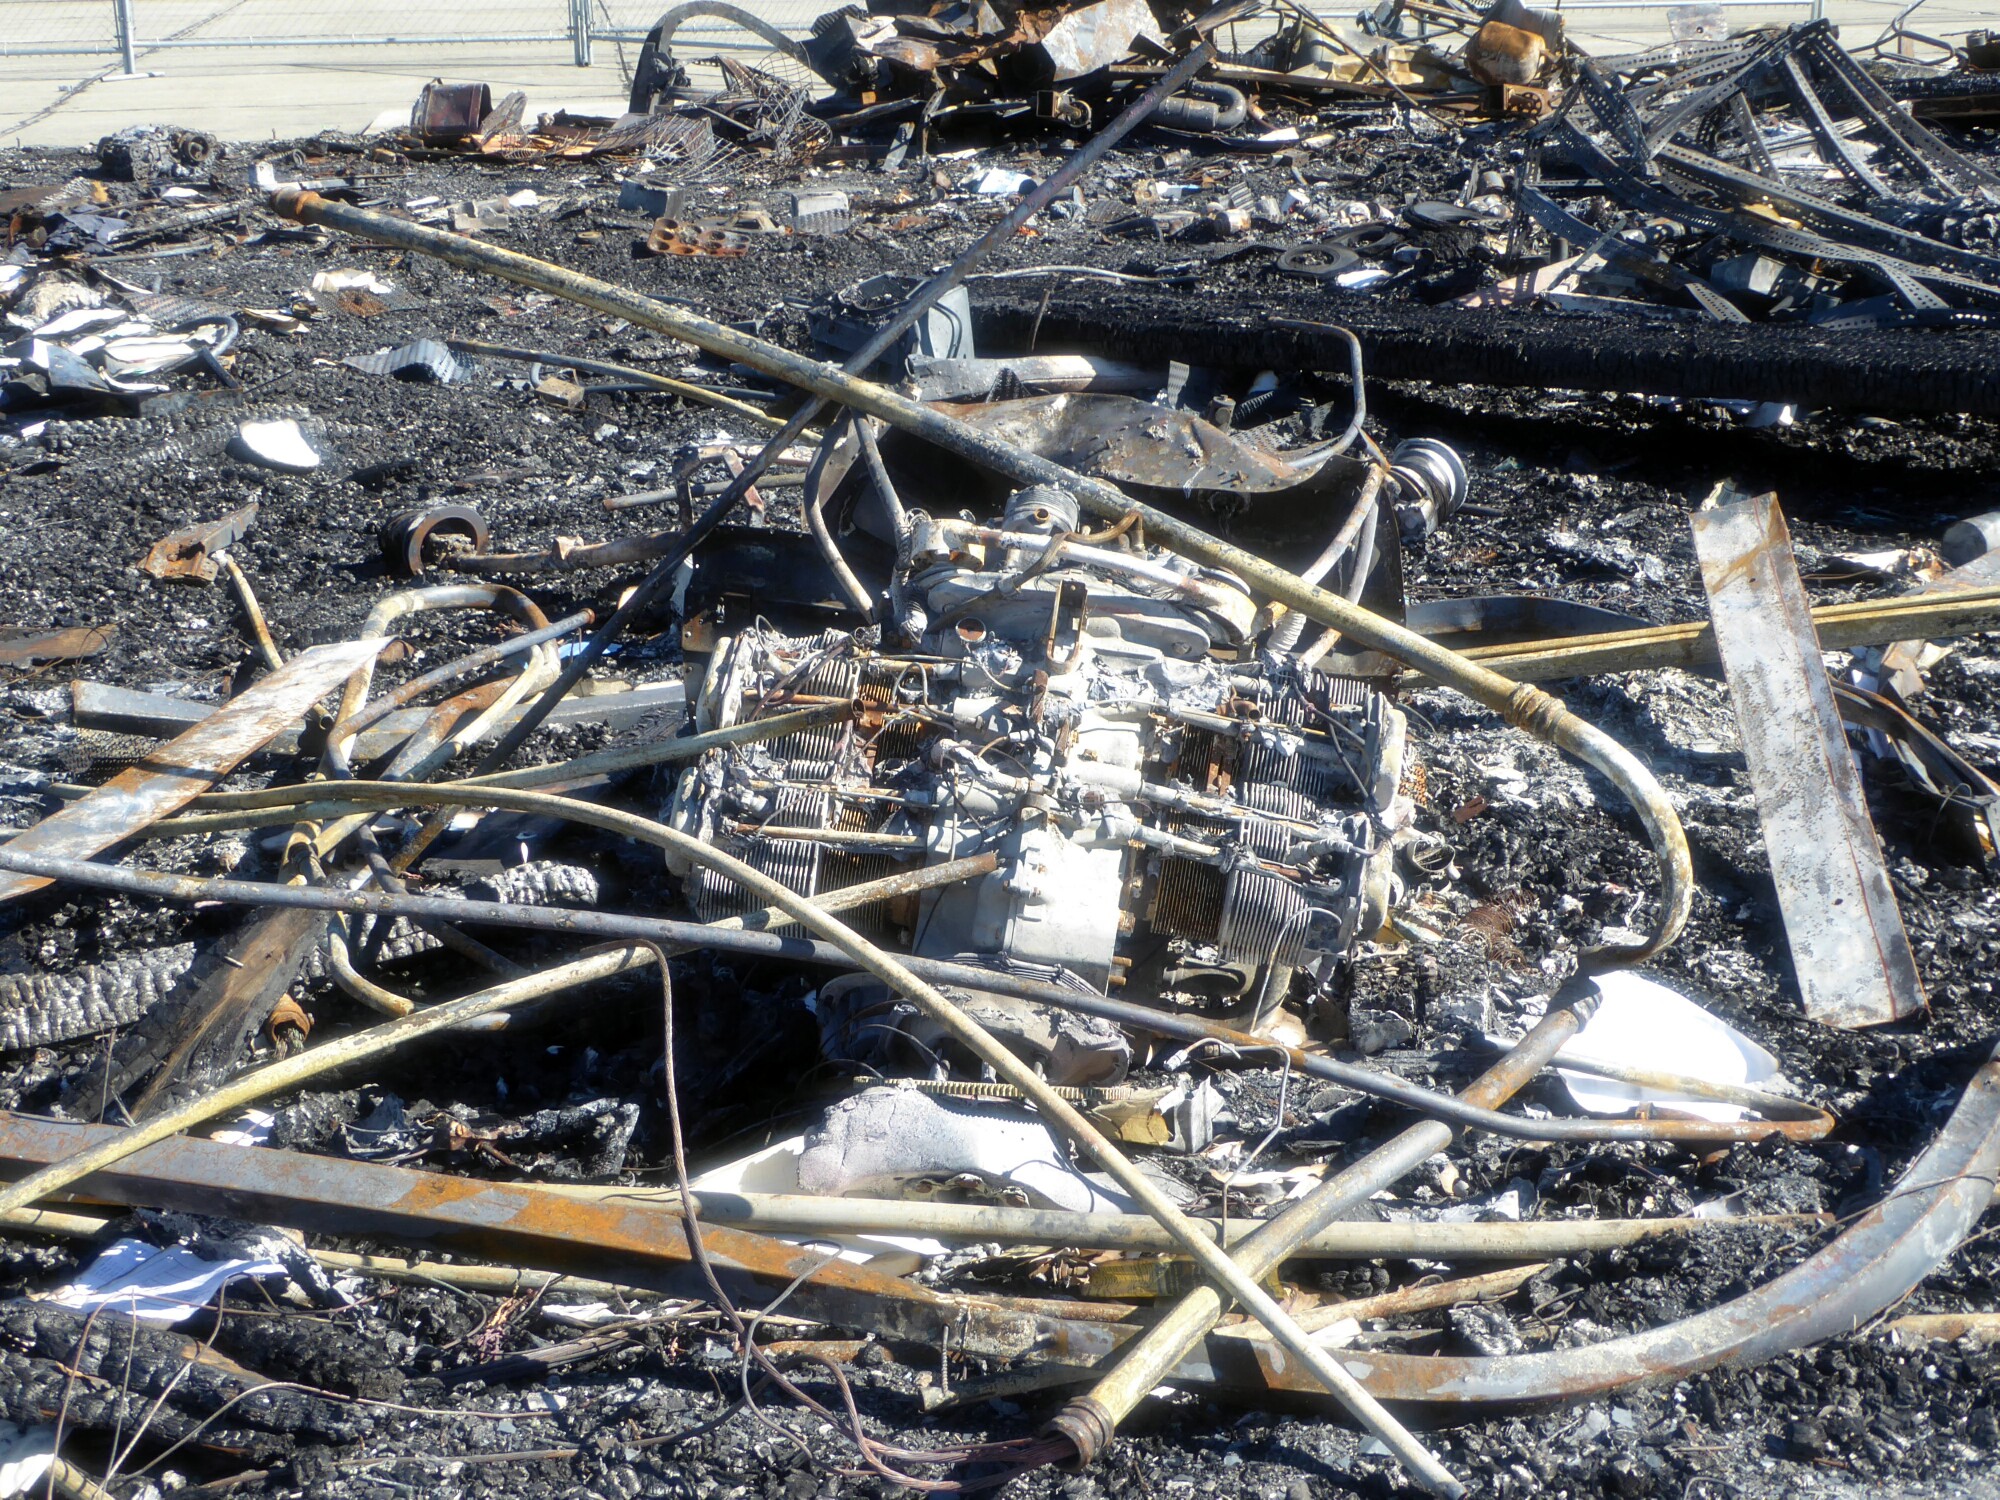
A little encouragement to do all fueling and fuel draining outside. A mechanic was doing an annual inspection on a Cessna and draining fuel inside an end T hangar at the airport here a couple months ago. Fuel started running along the bottom of the wing. He started wiping it up with a rag and static caused it to ignite. The hangar was on the up wind end of the hangars with wind blowing about 30 mph pushing the flames right down the row. It burned the two end hangars. The fire department was able to stop it at the first fire wall. Notice the sheet rock there.
The only thing remaining of the planes is the engines. I counted 6 engines. The one rotax muffler you see at the top of one photo was a Gyro copter.
.thumb.jpg.94016d716435693e673da12d237c41e3.jpg)
-
Any suggestions for sealing the WS/Cowl? EDMO
Make a catch tube drain for the bottom of the windshield. Use a length of about 1/2 inch plastic tubing long enough to reach through the floor on one side and up to and across the bottom front edge of the windshield and back down through the floor on the other side.
Slit the tubing lengthwise in the center so it can be slid onto the bottom front of the windshield. Cut V notches in the tubing about every inch or so on the front side of the windshield. These notches are to collect the rain water running down the windshield. Route the ends of the tubing through the floor on each side.
The rain runs down the windshield, into the V notches and down the tubing through the floor to the outside.
2 people like this -
Another sad story to reinforce the no high speed taxi. A fellow in town bought a completed model 4 that was built by ED Downs. He had an instructor lined up to meet him at the airport after work one evening. He was an accomplished Cessna nose wheel pilot so asked that instructor if it would be okay to taxi the plane around before the instructor arrived. The instructor said OK but keep the stick all the way back.
He taxied on the taxi way a while and on the last trip decided he would go a little faster. He increased the speed a little then a wind gust hit and all of a sudden he was flying. He got it set back on the ground but on the grass beside the taxi way. He was scared SH$# less so stomped the brakes. The tires slid on the grass right up to the Taxi way entrance pavement where they got good traction and he flipped the plane right over on to its back. Wrecked everything real good.
-
Service bulletin #45 addresses replacing the bolt that attaches the elevator control tube "Idler" to the fuselage, not the Control tube end bolt. Kitfox models 1, 2 and 3 had only one tab welded to the fuselage that the Elevator tube Idler attaches to. The bolt is also longer...AN3 15 versus AN3 11 on a model 4. The torque on the longer bolt attached on only one end causes torque forces on the bolt that are thought to be why a couple of those early model bolts failed in flight.
After the bulletin came out some builders welded in the cross tube with two tabs to correct that design flaw. You's looks like it was upgraded to the two tab mount like the model 4s have. Photo of my Classic 4.

-
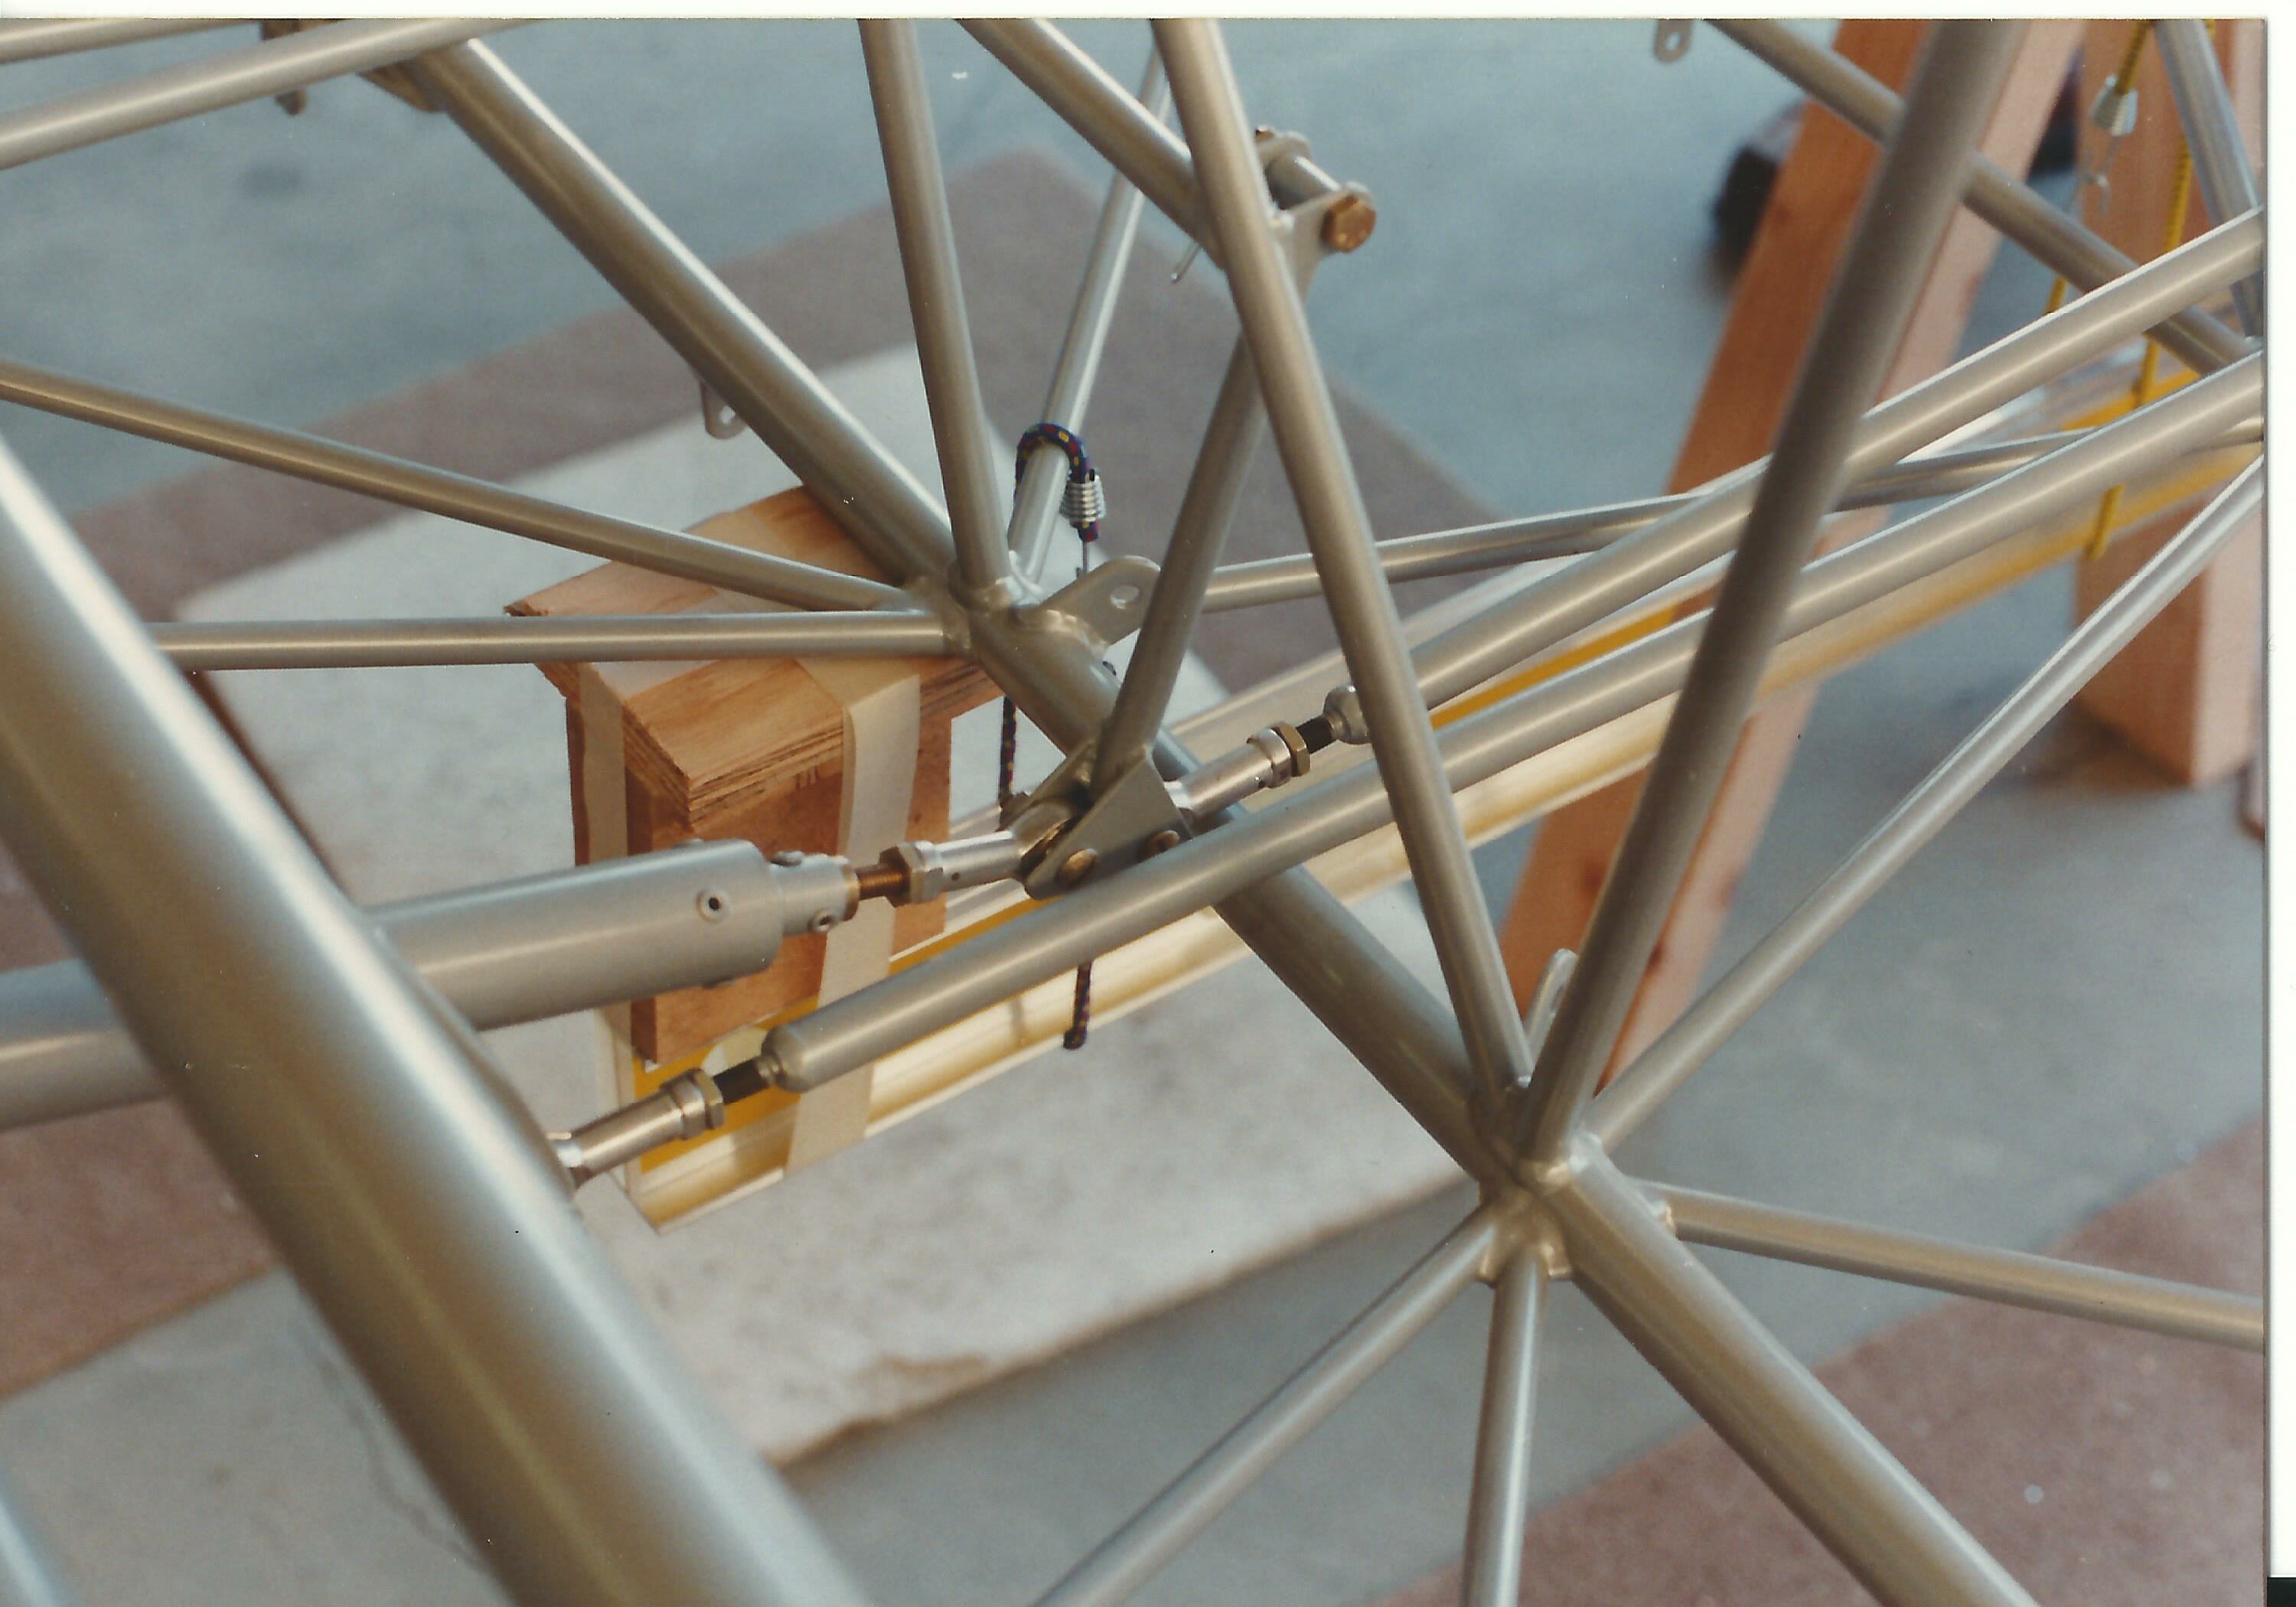
The elevator idler bellcrank is behind the seat, right?
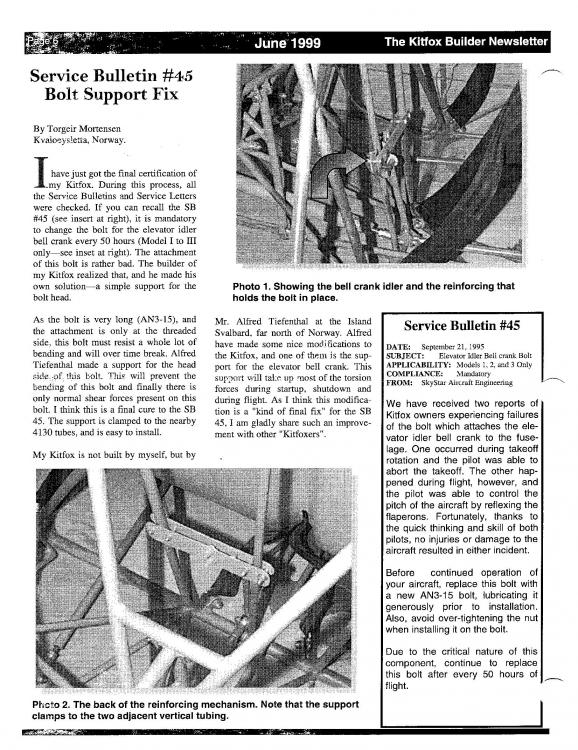
The model 4 uses a shorter bolt and it is supported at both ends. Here's an article from the old Kitfox Builder Newsletter that shows one solution to support the bolt at both ends. It is very poor quality when I look at it on my computer but fairly clear printed out. I am not familiar with the Model 1 through 3 control system and can't make heads nor tails of the photos. Maybe it will make sense to you.
I can't attach a high quality scan of the article here. if you need it better quality i could email you a copy.


.jpg.44655e51fa8d5ab49e87aca340096aff.jpg)

Kitfox seatbelt pic request
in Avidfoxflyers General Hangar
Posted
On a Classic 4.