tcj
Members-
Content count
244 -
Joined
-
Last visited
Posts posted by tcj
-
-
Hey Ed, any suggestions on where to get that education? I am always striving to learn more, even at my age ;-) Mike
Mike, I worked in a ski Doo shop for a couple years and rode ski doos for 25 years before i bought my kitfox kit. I knew the engines inside out. The operation of a two stroke in an airplane is a lot different than in a snowmobile. The best thing I did was order this Video. "Deep Inside your Rotax 2 Cycle Engine" http://www.homebuilthelp.com/New_Rotaxengine.htm
The Mike Stratman articles are a must for two stroke flyers too. "The proper care and feeding of the Rotax Motor" http://www.cps-parts.com/catalog/rtxpages/articles.php A lot of the articles are on line at the link, but not all of them. He wrote 62 articles that were in the back of all CPS catalogs until 2009 when he sold the CPS company. If you can find one of the old catalogs with the articles in it, grab it. CPS is now owned by Aircraft Spruce.
 3 people like this
 -
Check the screw holes to see if they go through the engine case into the crankcase. If the engine gets flooded there can be a few ounces of raw fuel in the crankcase. It could drain out, especially the lower hole.
-
I would get rid of the firewall blanket. It was an option on the early kitfoxes. It provided some sound deadening and was installed with the top edge extending past the edges of the fire wall a little to act as a seal between firewall and engine cowling. There are better materials available for both those purposes from Aircraft spruce if you want to replace it. I don't have anything on my kitfox firewall for sound deading.
-
Those bushings are Nylatron. FWIW the kitfox part number for a model 4 is 14001. The OD of the rudder tubes on a Model 4 are 3/4" if that helps any.
Nylatron® NSM Nylon is the best bearing and wear nylon product available today. This proprietary type 6 Nylon formulation is produced using Quadrant's Monocast® process. Solid lubricant additives impart self-lubricating, high pressure/velocity and superior wear resistance characteristics. Nylatron NSM was developed specifically for demanding applications where larger size parts are required. It is ideal for bearings, gears and wear pads. - In wear applications, Nylatron NSM lasts up to 10 times longer than standard Type 6 nylon
-
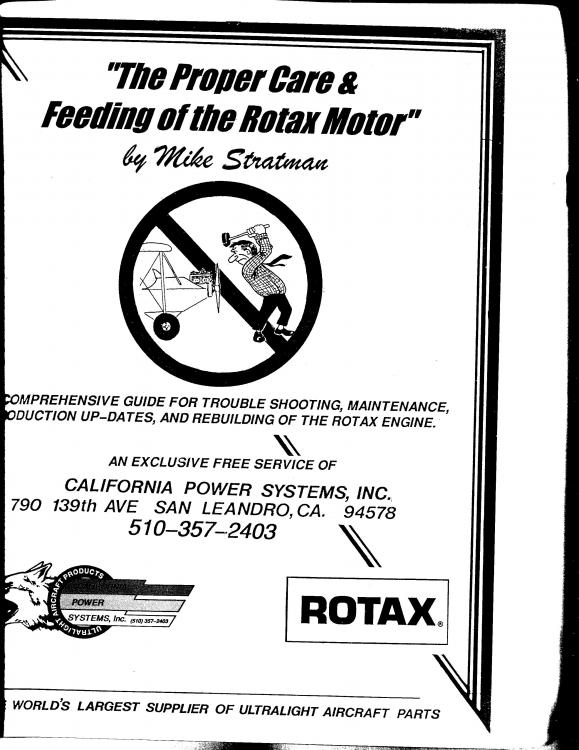
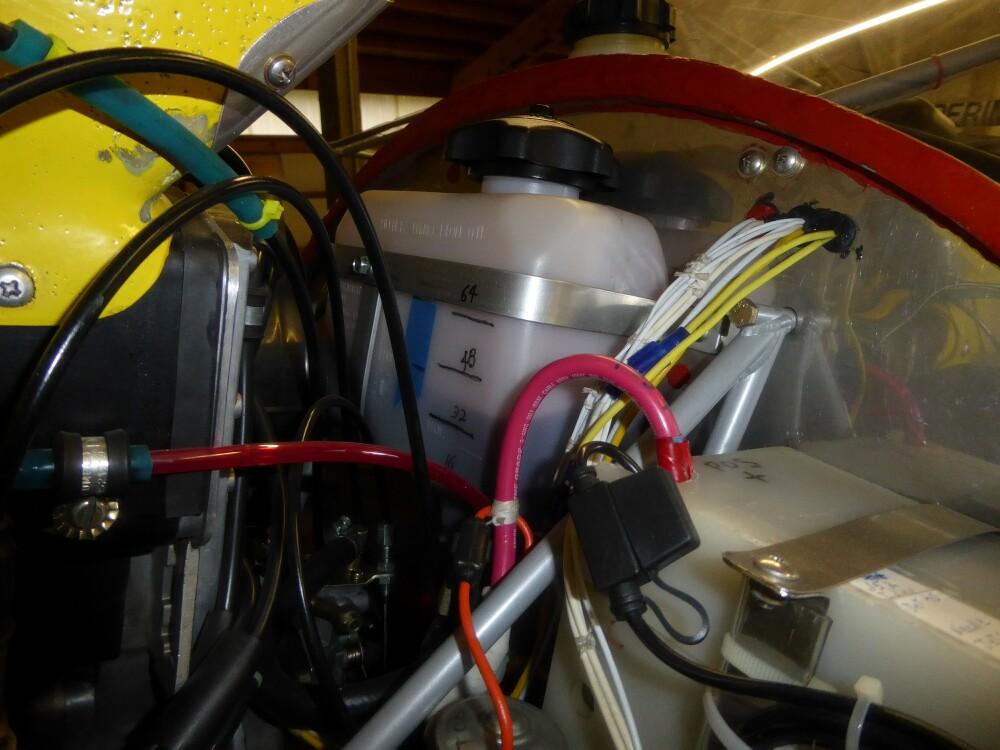
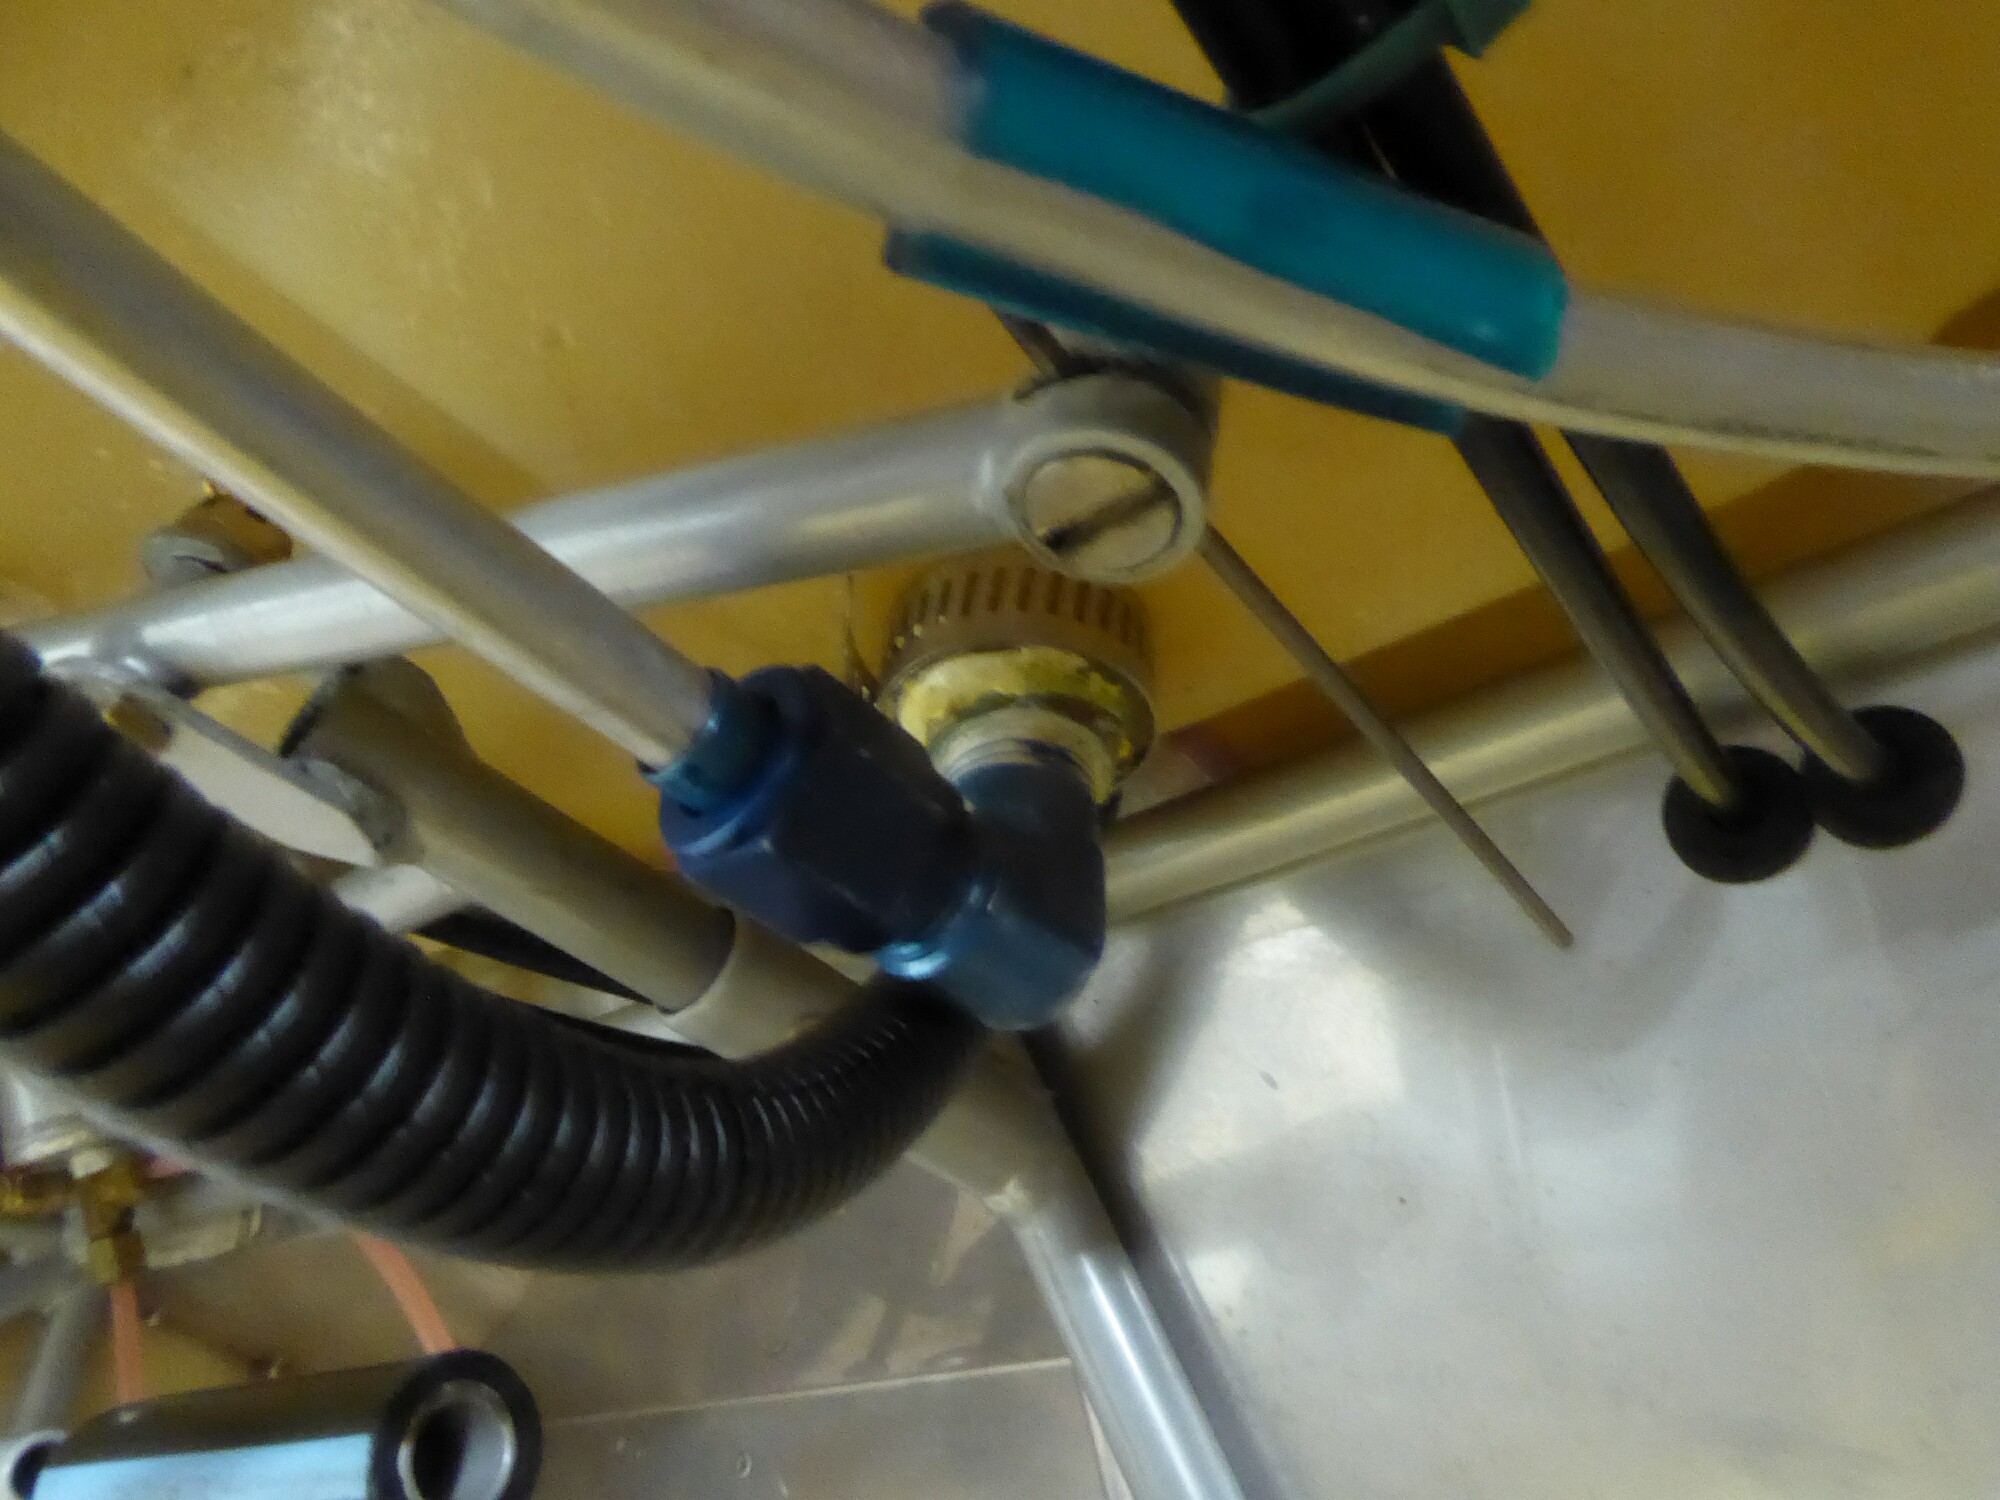
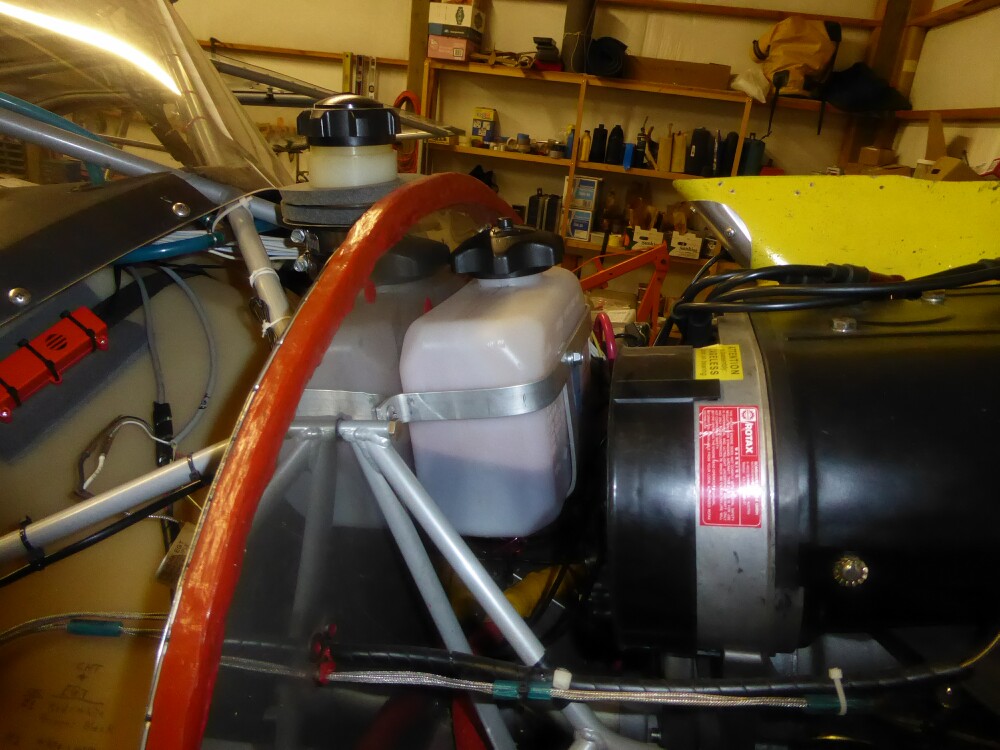
I don't think it has oil injection. That little oil reservoir is the rotary valve oil. The small blue lines into the carbs are primer lines.
-
I would replace the bungees. The bungees should hold the gear legs tight up against the belly with two 200 pounders in the seat. It looks like the hose clamps are to hold those extra rubber bumpers to take up slack in those bungees. Just the hose is what is meant to be there.
-
Reading the fabric stamp upside down and reversed I can see:
"FAA PMA APPROVED
SEE CECONITE 103
ELIGIBILITY"
I can't read what it say before the SEE, so maybe an STC number?
Old Stitz Polyfiber systems used Ceconite fabric.
-
I didn't like the looks of that plastic tank boss when I first installed the finger strainer so here's what I did. Screwed the finger strainer about 1/2 or 3/4s of the way in then tightened the small hose clamp around the boss and then tightened the finger strainer it a little more. That's fuel proof pipe dope on the finger strainer and permatex fuel sealer on the AN fitting.
 1 person likes this
 -
I had a 96 Ski Doo summit with a 670. That thing pulled like a freight train.
-
Here's Mike Stratman's hint on how to secure the throttle cables on the 582 carbs. Bottom of the second page http://www.cps-parts.com/cps/pdf/Part52.pdf
Carb Top E1 person likes this -
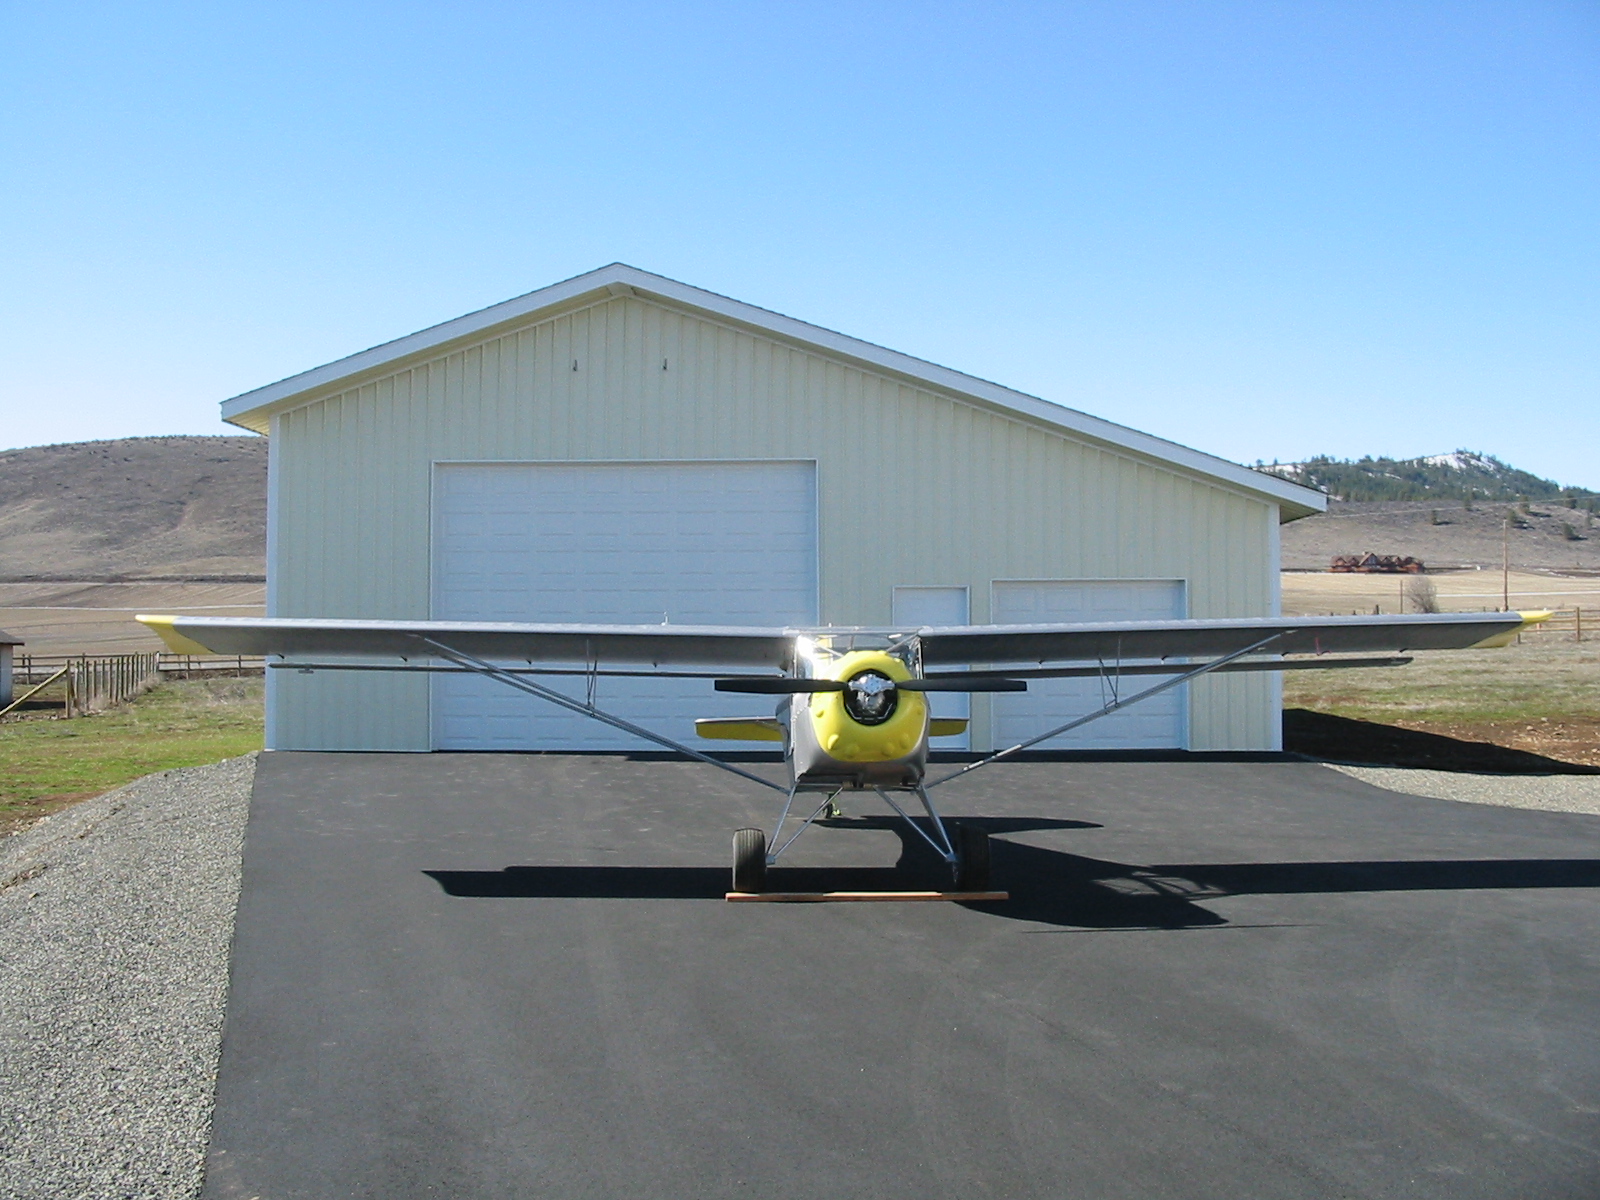
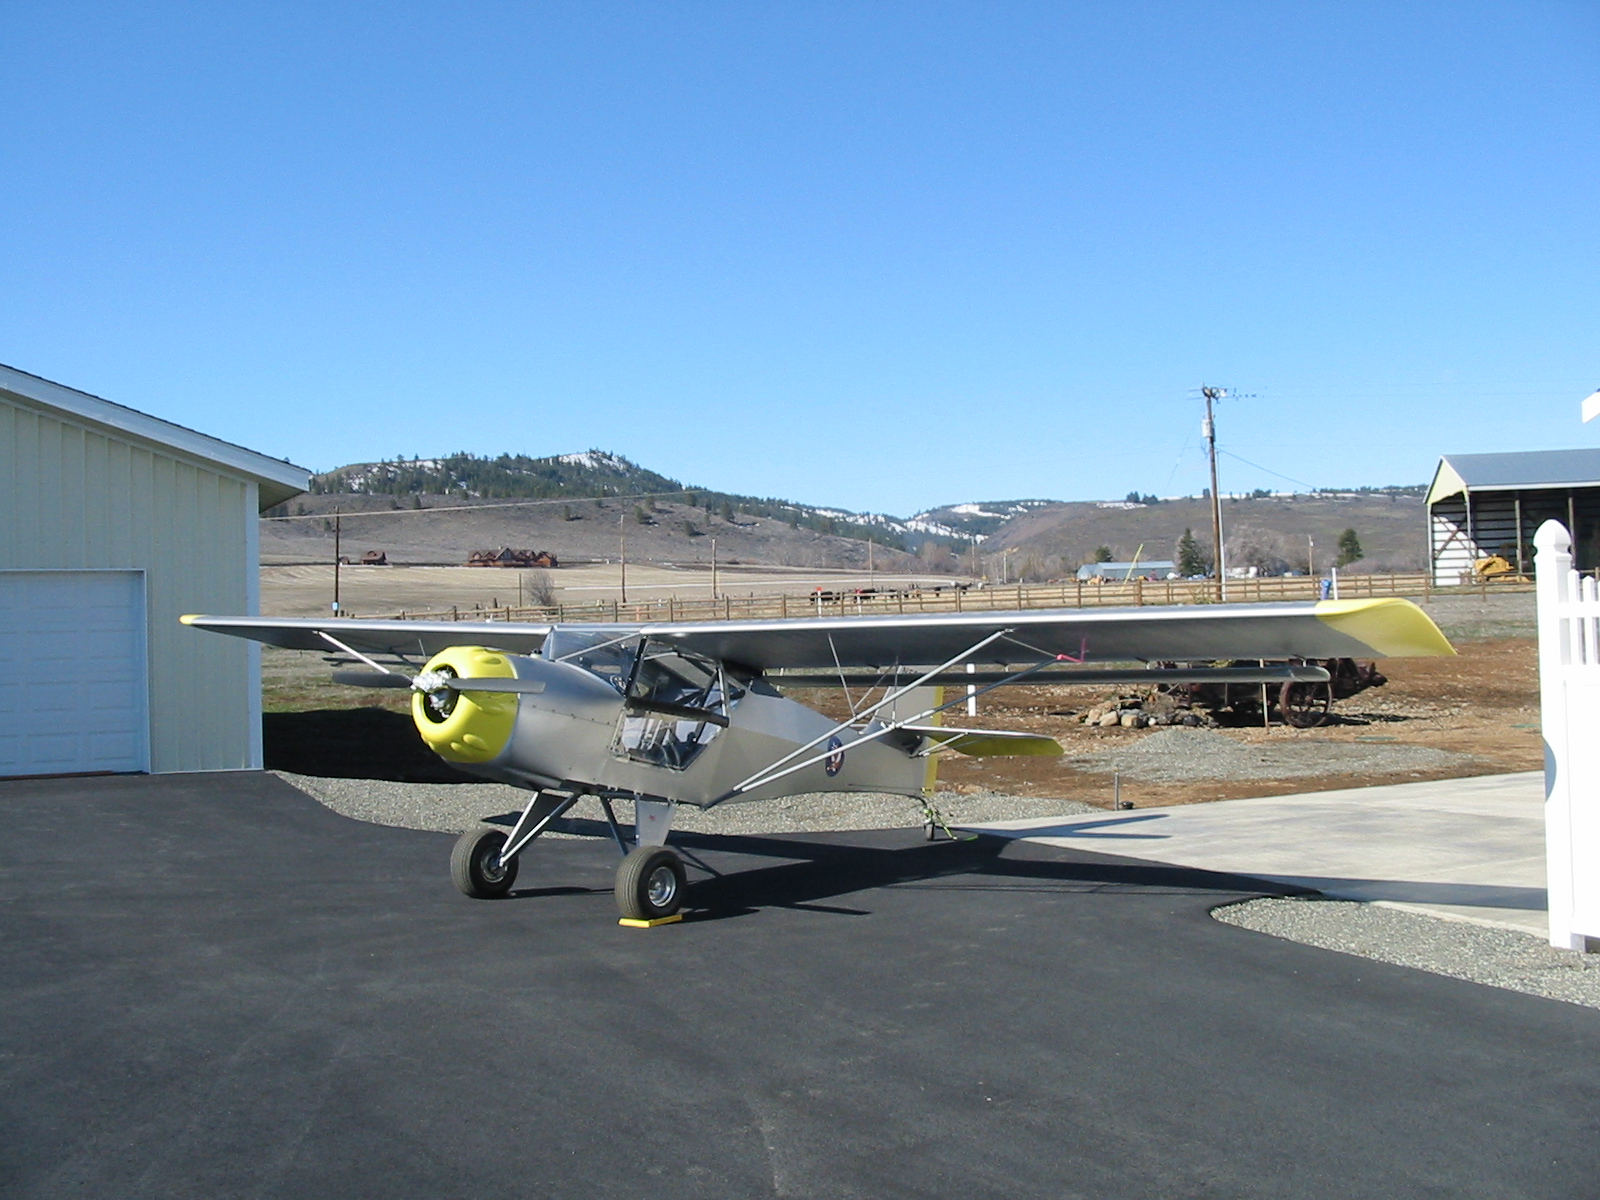
Kitfox Classic 4
Bare bones unmolested Kitfox


 5 people like this
 -
The damage to the flaperon looks like someone tried to fold the wings with the flaperon deflected down and the inboard end hit the top corner of the fuselage. Guess how I know that can happen.
2 people like this -
I just noticed your bungees are wrapped around the top tube on the truss. I think they should be down on the short section of horizontal tubing like in my photo above.
-
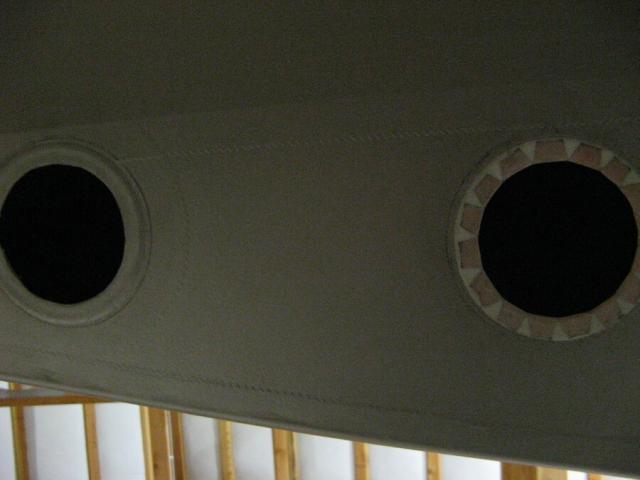
If your paint is polytone, and I suspect it is, here's how to install an inspection ring on a plane that is already painted. Bond the ring down with poly-tack. When cured, cut out a circle inside the ring about 1/2 inch smaller than the diameter of the ring. Then make a series of radial cuts in the fabric to the edge of the ring. Fold these fabric tabs back over the ring and glue down with poly-tack. This will strengthen the mounting of the ring to the fabric without creating a large area that would need to be repainted.
I installed one on my belly under the elevator tube bushing when covering but when doing my first annual inspection I found I needed two hands to clean and re-grease the bearing. I then installed the second inspection ring.
On the flap controls rubbing the bungees. A fellow here in Ellensburg has a Kitfox model 2 with the same problem. He put a tie wrap around the whole cluster of bungee wraps and that small section of verticel tubing on the right side of the bungees and sinched it up tight enough to pull the loop end of the bungee out of the way of the flap rod.
FYI, here's a photo what they did on the model 4 to fix that flaw.


-
The starter won't spin the engine fast enough to pump hardly any oil. The engine needs to be running to test for oil in the injection lines.
It is recommended to mix oil with the first tank of fuel at 100:1 when first installing an oil injection pump to assure lubrication in case of air in the lines or a faulty pump. Make a mark on the oil tank then go fly for an hour and refill fuel and oil to the level before the flight so you can calculate the fuel/oil used. It should be between 50:1 and 80:1
2 people like this -
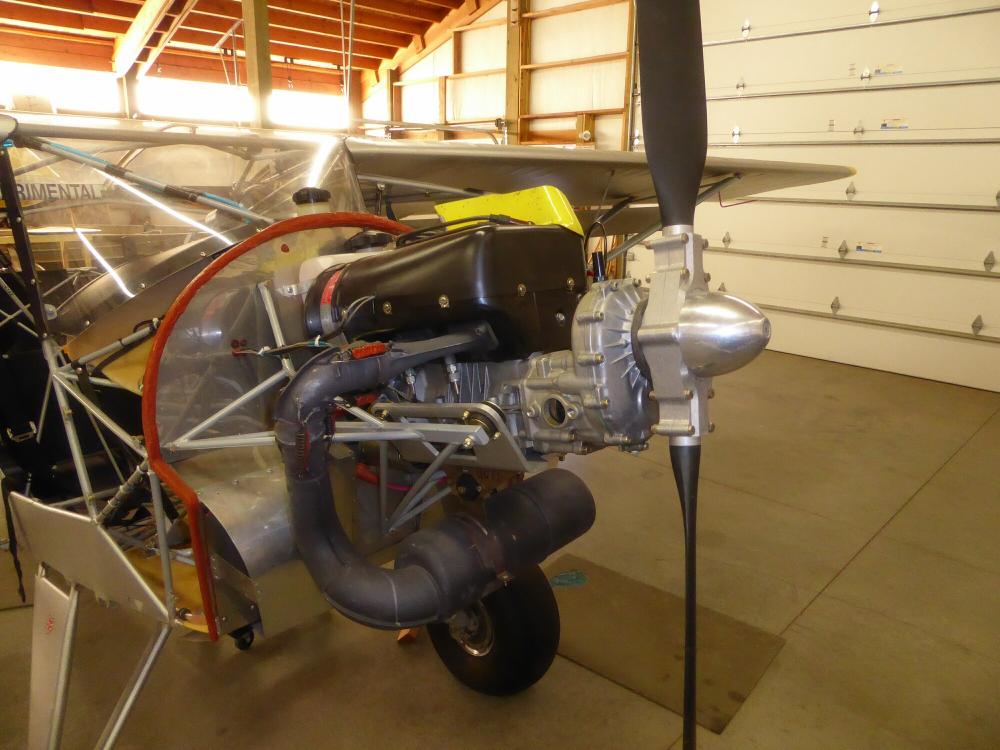
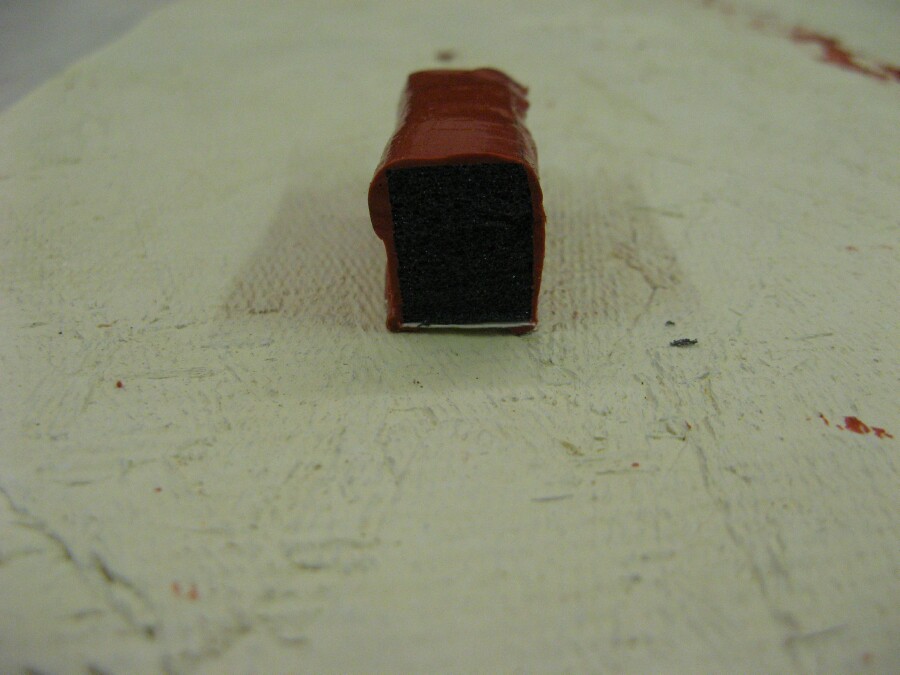
Hey nice cowl seal it looks like fingered out silicone? Not a bad idea,
Yes, red RTV (fire resistant), stick-on weather stripping from the hardware store, and a gloved finger dipped in alcohol.

-
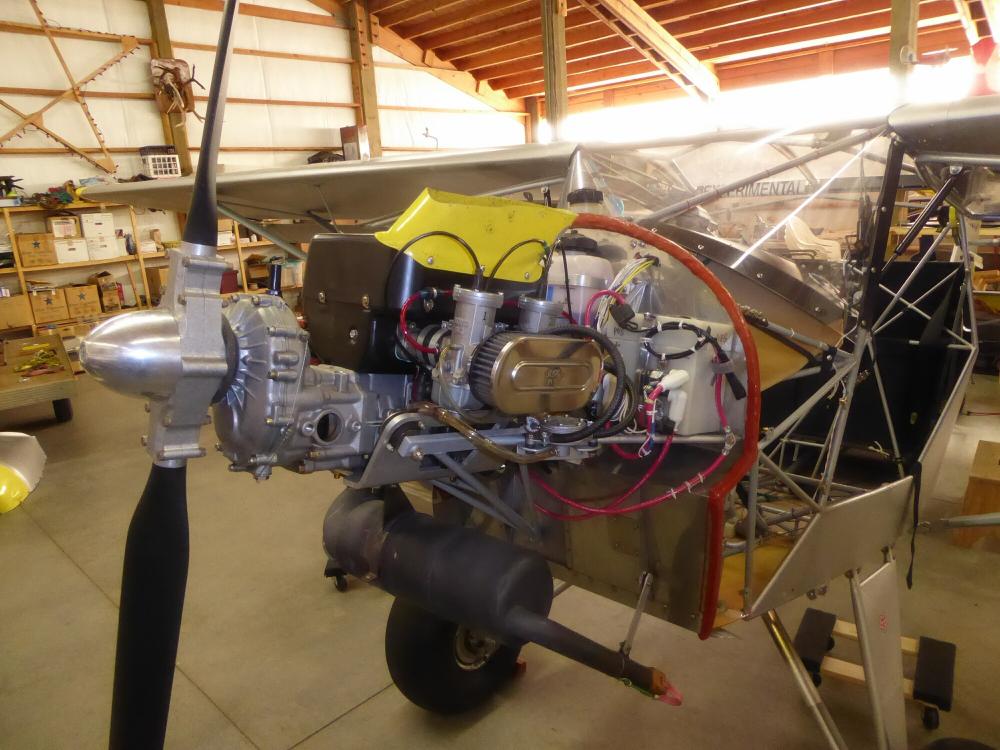
Some models of Fan Cooled Ski Doos from the 80s and 90s have one like this. One off a Rotary valve engine has holes for the rotary valve oil lines which you don't want on an airplane engine. Your 582 has a separate rotary valve oil reservoir. It is 8 inches wide X 6 inches high X 3.75 inches thick. It holds about 2.5 quarts. It's off an 87 Ski Doo Skandic. You can see the ounces I marked on mine up to 64 ounces with room left. It has a low oil warning light hook up too. Here's one on ebay. The brass incerts you see on the sides of the ebay photo are used in the Ski Doo mount. I put one bolt through the firewall and another through the mounting frame I made


-
was looking over the build manual for a buddy on his KF IV the horn was riveted on at 6 deg on the right side and 19 deg. on the left if I remember correctly. I wonder if that was a quick fix for a screwed up jig?
Just so the assumption that there is or was a screwed up model 4 jig doesn't get model 4 builders off on a wild goose chase
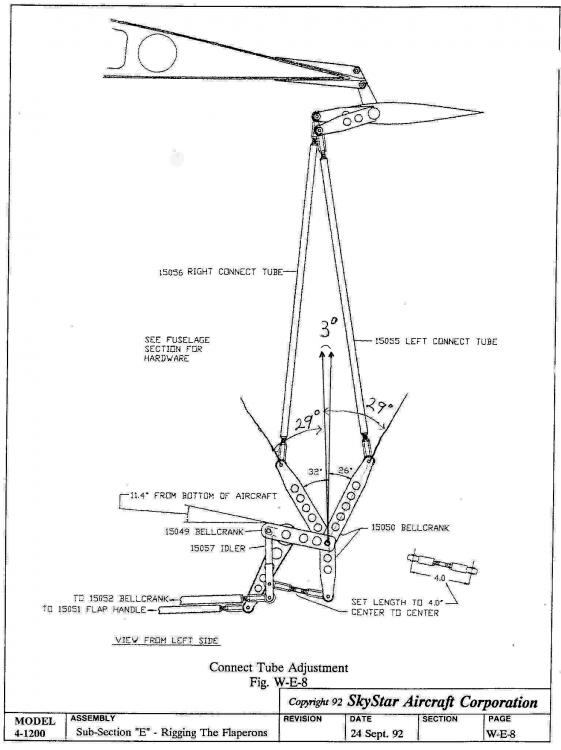
 ...there wasn't. The different angles on the left and right flaperon horns and different length flaperon push pull tubes are all part of the aileron differential magic. It is necessary to result in getting maximum and equal aileron deflection on right and left sides.
Those different measurements on the left and right when riveting the flaperon horns is due to the left flaperon bellcrank being clocked to the rear 29 degrees and the right bellcrank clocked to the front 29 degrees.
There have been a few model 4 builders insist that the flaperon push pull tubes should be equal length too. Some even fabricated their own when the factory couldn't convince them the different lengths is correct and necessary to have a good flying airplane.
I think the confusion comes in when builders see the flaperon rigging diagram in the manual and it shows the left flaperon bellcrank clocked 26 degrees to the back and the right 32 degrees to the front. If you look closer you will see those angles are measured from a vertical line with the airplane leveled for rigging. Measured in relation to the flaperon mixer the left is 26 degrees + 3 degrees = 29 degrees and the right is 32 degrees minus 3 degrees = 29 degrees. So the left and right sides really do have all equal angles. I'll make some pencil marks on the diagram and post it.
 3 people like this
 -
As well as the "High performance" roll contro, it is much easier to make a folding wing airplane that is easy to fold and folds up narrow enough to be street legal.
-
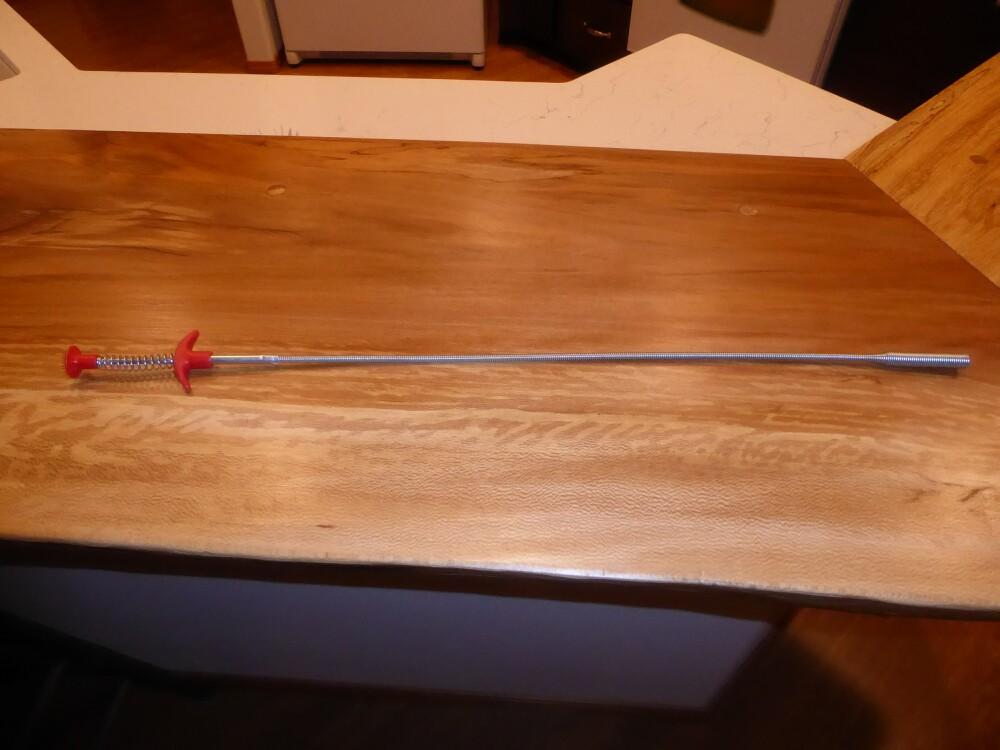
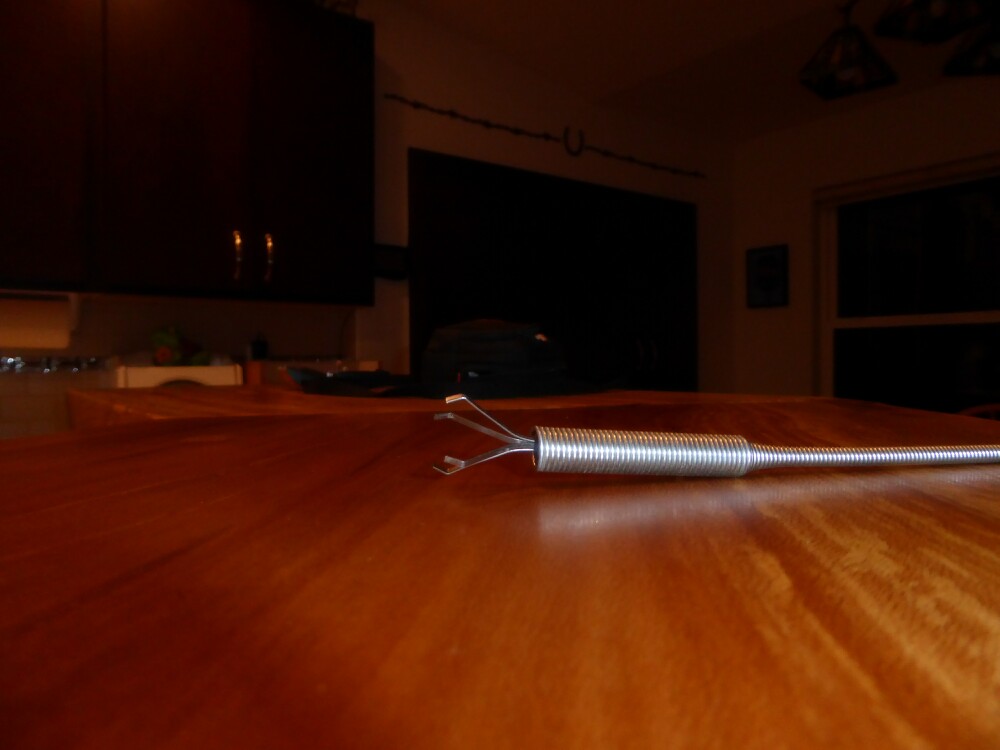
I don't know what its official name is. It's 24 inches long. The the end is 3/8" diameter with the claw retracted. Push the button and the claw extends out the end of the cable. Release the button to grab the unreachable item.
I have seen them at harbour freight but can't find it on line at the moment.

-
All parts are rigged in relation to the wings. With a smart level the plane doesn't need to be level but it does make the job much easier. You don't need to do a bunch of math to make sure all the other parts on the plane are rigged according to the book. If you rig it with some different numbers all the parts won't be going the same direction in flight and you will have a terrible flying plane.
-
Centers of the front axles are 2.5 inches aft of the wing leading edge.
-
Kitfox Classic 4. The center of the axle is raked forward 3 inches from the front of the front leg at the front mount.
 1 person likes this
 -
Spark plug gap from the book is .16"-.18". In cold weather a .16" plug gap will start easier. The gap on new plugs right out of the box is usually (maybe always) way to wide.


First flight in my Champ
in Avid fox flyers pics and vids
Posted
It probably feels like you're driving a truck.