Knuckledragger
Administrators-
Content count
292 -
Joined
-
Last visited
Posts posted by Knuckledragger
-
-
Thanks for the pics Chris. Your plane is looking good. Do you plan to keep the little wheel up front?
I'll finally be reunited with my plane this weekend. Lockwood had it an entire month, the jones was damn near unbearable.
Then I 'll take pics and do some testing, post the results here. I'm encouraged by the comments here that I can lose the belly rad. As I recall there is a pretty big lip under the cowl to create the low pressure in the engine area.
-
If you need some silicone material, I've got tons of it I bought from AS in bulk I'll and never use. Hit me up.
I went with the belly radiator for (a) the reason Ed stated above (b) I couldn't source any appropriately fitting cheek ones at a reasonable price and (c) it was just easier at the time to put the belly one on that I sourced reasonably from akflyer.
So are you saying you have a belly instead of cheeks?
-
Will the wing extensions make me look younger?
1 person likes this -
This makes perfect sense Chris. Do you have a picture of your suck it out lip under the cowl?
-
Mark, I'm in FL. When are you coming and where will you be? I fly out of 3FD4.
-
Color me green, and inspired... Great job!
-
What is "silicone cowl seal rubber"?
-
I know, kind of like asking "How long is a piece of string?"
If the 582 was designed to be cooled by the two radiators in the cowling, I'd really like to be rid of the one hanging out in the weeds creating drag.
I've built a couple corvettes over the years, and the secret to getting the C3's to cool well was to seal all around the radiator with foam to close off any "leaks" and force all the incoming air through the rad.
Is sealing around the cheek rads enough to cool the 583 Mod 90 sans belly rad? If so, is there a proper way/style to approach this?
-
Thanks guys!
1 person likes this -
OK, I've googled my brains out and cannot come up with a supplier for the landing gear bungee shock cord. My understanding is we use 50% stretch mil spec cord with cotton sheath and I need a black tracer for year ending in 5.
Does anyone have a supplier for the cord? Aircraft Spruce lists shock cord in their PDF catalog, but it is absent from the website for ordering.
-
Perhaps the Avid Mk4 market has taken a big turn for the better? (tongue firmly in cheek).
http://www.barnstormers.com/classified_1065164_AVID+FLYER+MARK+IV+SPEEDWING.html
AVID FLYER MARK IV SPEEDWING • $34,900 • FOR SALE • Barnsiders The RED BARON comes w/ trailer. Just haul it away. $34,900 or reasonable offer. Sport Plane Qualified. This experimental homebuilt was certified in 2004. Fully VFR instrumented making it great for cross country and local aerobatics. Jabiru 2200 engine 85 HP w/320 hrs, TBO is 2000. This is a direct drive 132 lb aircraft eng manuf by Jabiru Inc. in Australia. TTAF is only 486 hrs. Annual in June 2015. Loaded with all kinds of goodies and affordable to operate and maintain. Burn is 3-4 gal/hr at cruise. For detailed information search Dayton Aviation Photo. • Contact James Lyttle, Owner - located Beavercreek, OH USA • Telephone: 937-477-7160 . • Posted October 4, 2015 • Display Inventory Page • Show all Ads posted by this Advertiser • Recommend This Ad to a Friend • Email Advertiser • Save to Watchlist • Report This Ad • View Larger Pictures


-
Good stuff Ed! Food for though for a newbie pilot like me. Thanks for writing this up.
-
Could the nosewheel have had anything to do with it? If so, I may need to take precautions

-
I have two sets of seat covers that I don't need - the Tan set is clean, but I think the Red set is going to need Simple Green, or something a little stronger than soap. The Red set must have belonged to a greasy mechanic!
EdMO
Use mineral spirits on the greasy stuff. Should take it right out.
-
FWIW, regarding Chinese radiators, I've been running them in dirtbikes used for single track in the mountains of AZ for years. Never had a problem with any of them, despite the severe service and occasional lay downs/crashes. YMMV
-
P.S. Don't tell Leni or Jim Chuk that you have a nosedragger like me or ChrisB or some others - They might say you have to wear a Pink Shirt to fly it....Glad to hear that there are more of us on here that don't like to do groundloops! I just cant understand why some people (TDs) cant accept modern engineering and Physics Principles that are proven to be better!

EDMO
thanks! I get it
")
Ironically, my taildragger plane is pink! Lol
1 person likes this -
Thanks for this!
QQ: I have a nosedragger. I notice that line 8 doesn't seem to care if I'm weighing the nose or the tail. It's really the same nose or tail? I'm brand new at all of this, so sorry for the silly question.
-
Thanks for posting Joey. I've printed and bound them. Good stuff within.
Agreed! A wealth of wisdom in these docs.
-
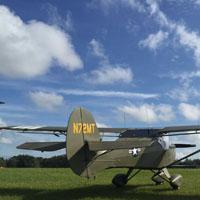
I'm fixing up an old Buccaneer XA. The previous owner put a really nice 503 with a clutch driven 6 blade IVO prop. However I don't have much faith in the sails.
I'd like to sew a set for it myself. I'm a pretty good seamstress with a walking foot machine (web gear & tactical kit). But I don't have patterns, nor have I sewn and installed sails before. The wings are formed by battons. The rest of the surfaces are pretty straightforward.
I think a plane like this uses preshrunk polyester fabric like Dacorn. Any guidance/advice is appreciated.
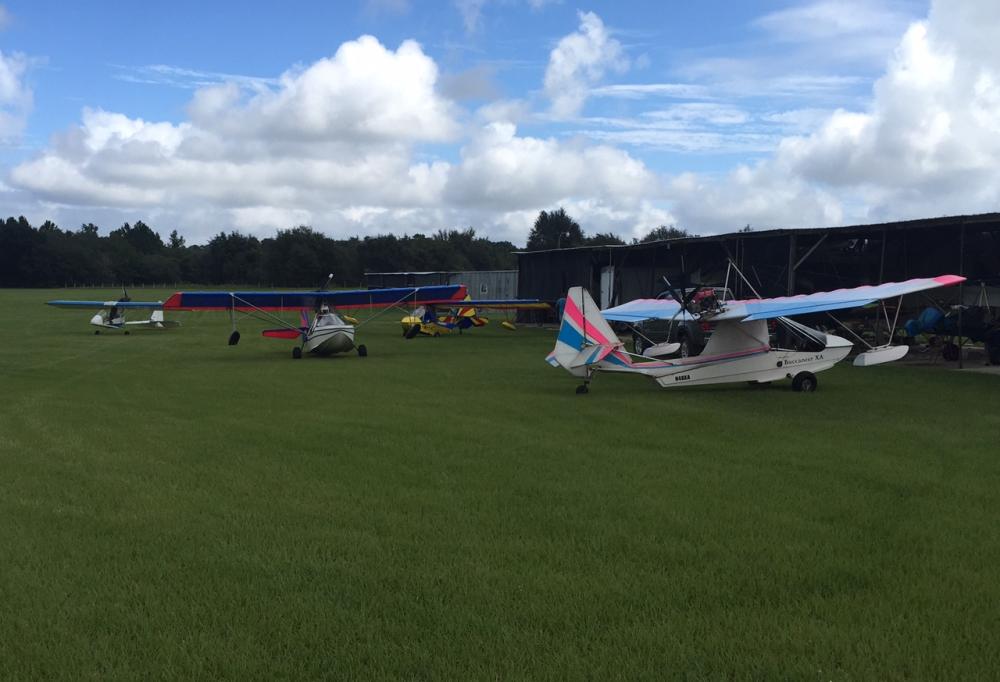
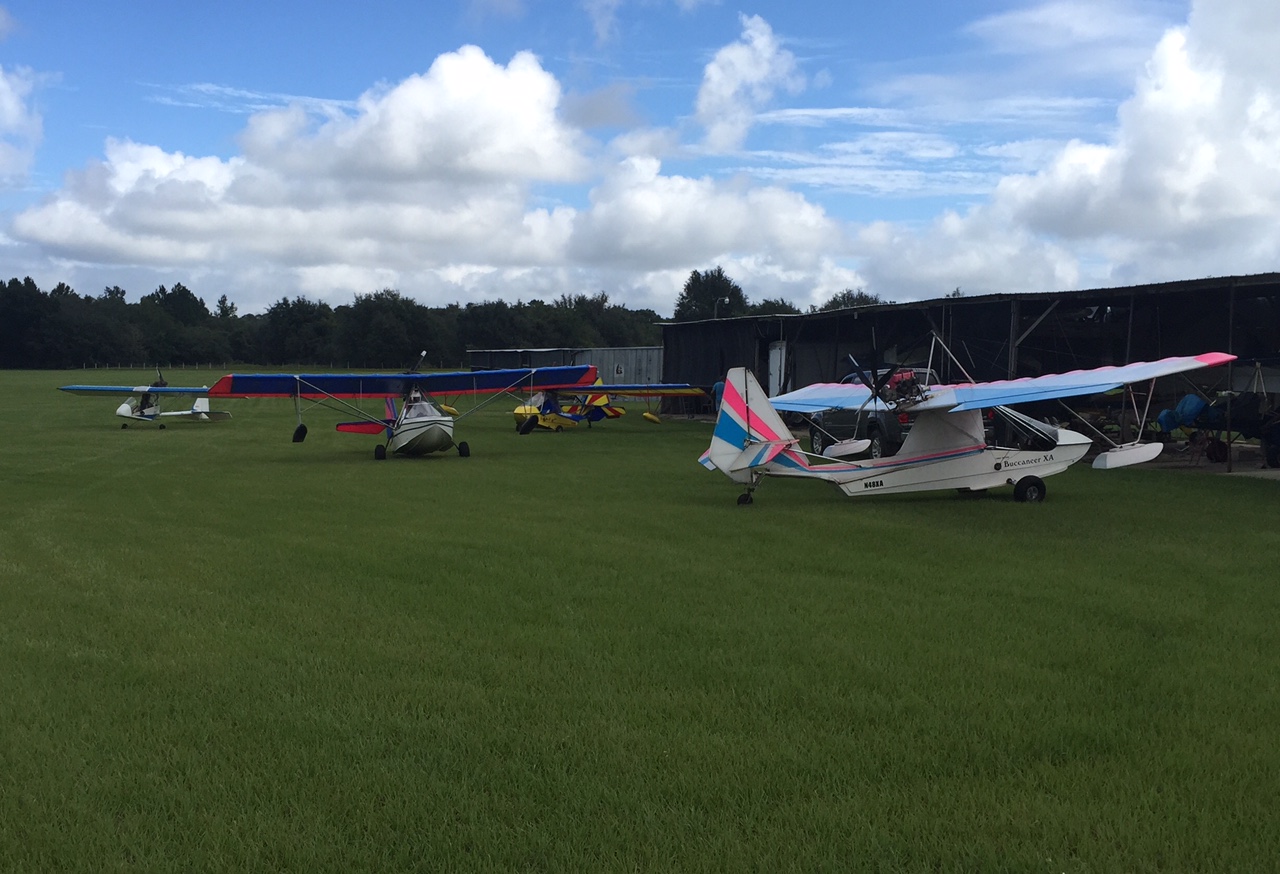
The second pic below, I pulled the Buc out of the hanger and within 15 minutes all these other planes flew in from other airfields, including another pink Buc! It was kind of funny.

 1 person likes this
 -
Okay thanks everyone. I have decided to give the piano hinge along the sides a go. Then will install the aluminum back plates and cam locks for the vertical sections near prop hub. Again thanks and I will post pics with the progress. Hopefully successful progress
Are you going to piano hinge both sides? I'm confused

-
I find a soapy solution (laundry soap, dish soap, etc, it doesn't matter) and a shop vac together work best. Blot the seat with wetted cloth, about 6-12" sections at a time and immediately vacuum the area 'dry'. When done, do the same thing with clean water to rinse. Blot, vac, blot vac.
The blotting loosens the dirt, and the vac removes it. then the blotting loosens the soap and the vac removes that too, along with any dirt that didn't come during the soap phase. If you get the soapy solution too concentrated then the rinse phase will take more effort.
1 person likes this -
I've seen that video of Dave and still don't know how he did it.
If I were to guess, a hell of a lot of upper body strength and endurance! I got winded just watching him!
-
My cowling looks just like this one, but it's hinged in the top - down the middle to allow one side to be opened at a time if you want. Its attached along the length of both sides with camlocks spaced a few inches apart, and as mentioned above, the two tabs behind the prop have a tab of aluminum riveted to the top piece, and a camlock through the bottom piece, each side.
There are also a couple of camlocks on top that I set first that kind of line the whole thing up.
I can take pics, but I'm AFP (Away From Plane) for 2-3 weeks.
-
Funny Pics
in Jokes
I found the UFO Welcome Center...
(I did not look inside; me not being a Space Person and all)


tail wheel
in Avid fox flyers pics and vids
Posted
Thanks for posting this!
I've been reading and watching everything I can get my hands on in preparation for tail wheel training in the not-to-distant future.
To all you seasoned pros:
As as time allows in the next few months I plan to train with CFIs in
tailwheel w endorsement
spin recovery
emergency maneuvers
aerobatics
seaplane rating
is there anything else I should add to the list?