Activity Stream
Posts Activity Stream
-
-
Jim,
I never saw those front wing braces before - only the ones that go to the VS - are the front ones factory or home made? Do they bolt to the fuselage strut fitting, or what?
Nice looking plane.
EDMO
-
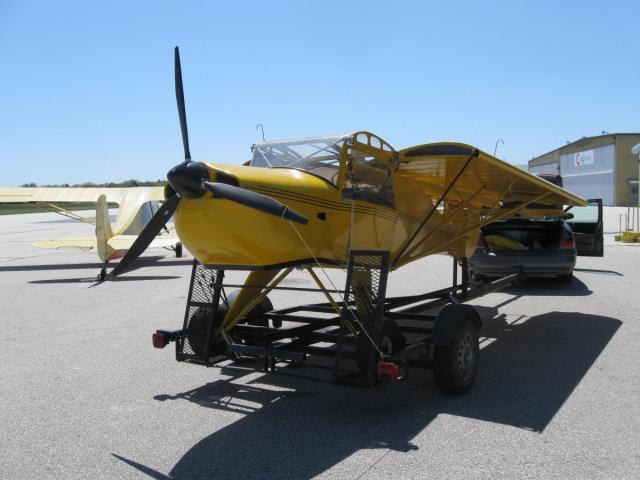
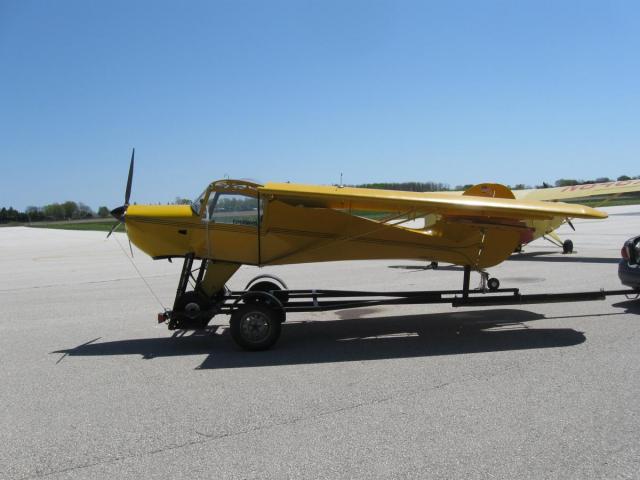
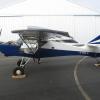
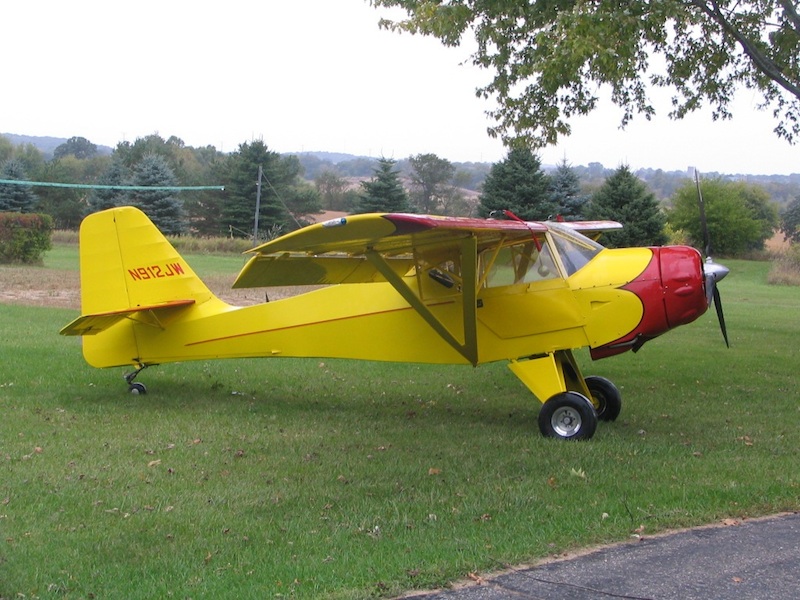
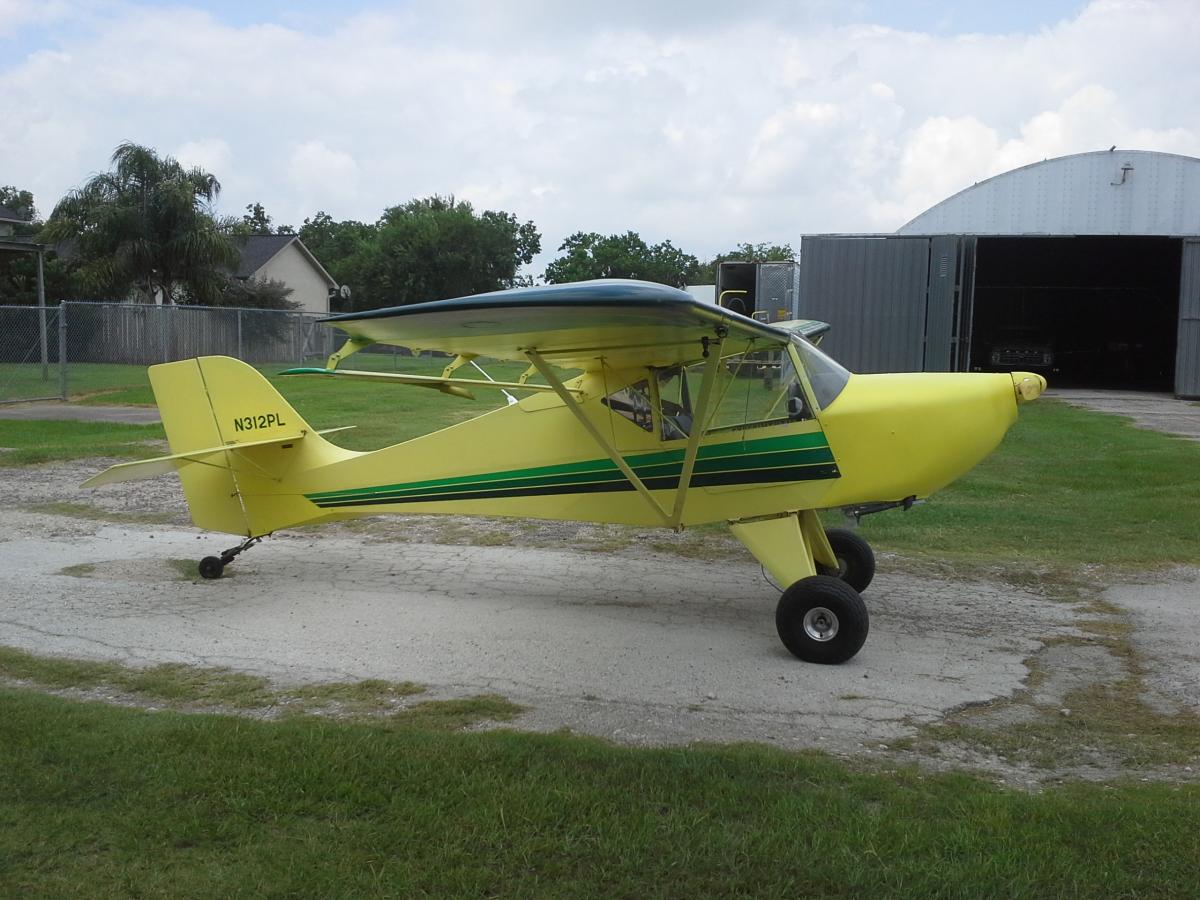
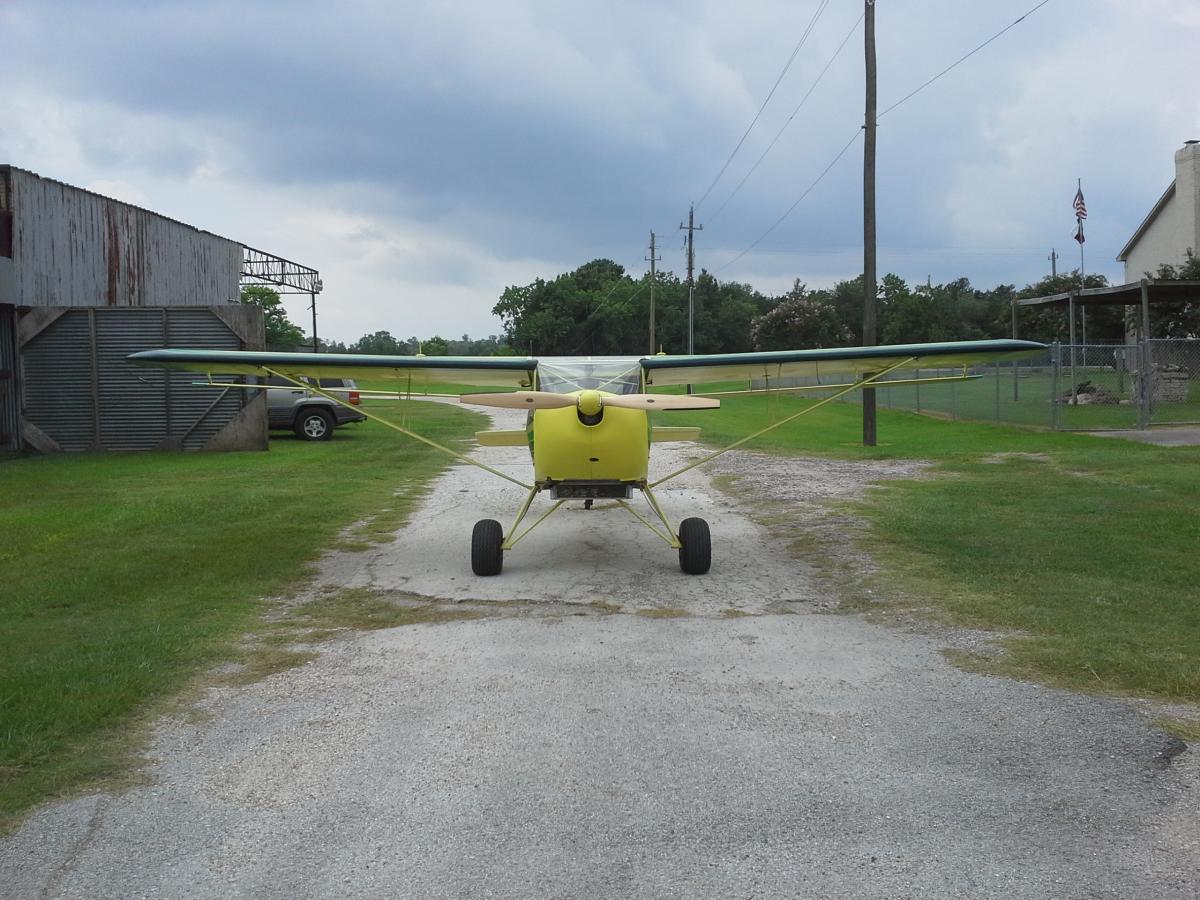
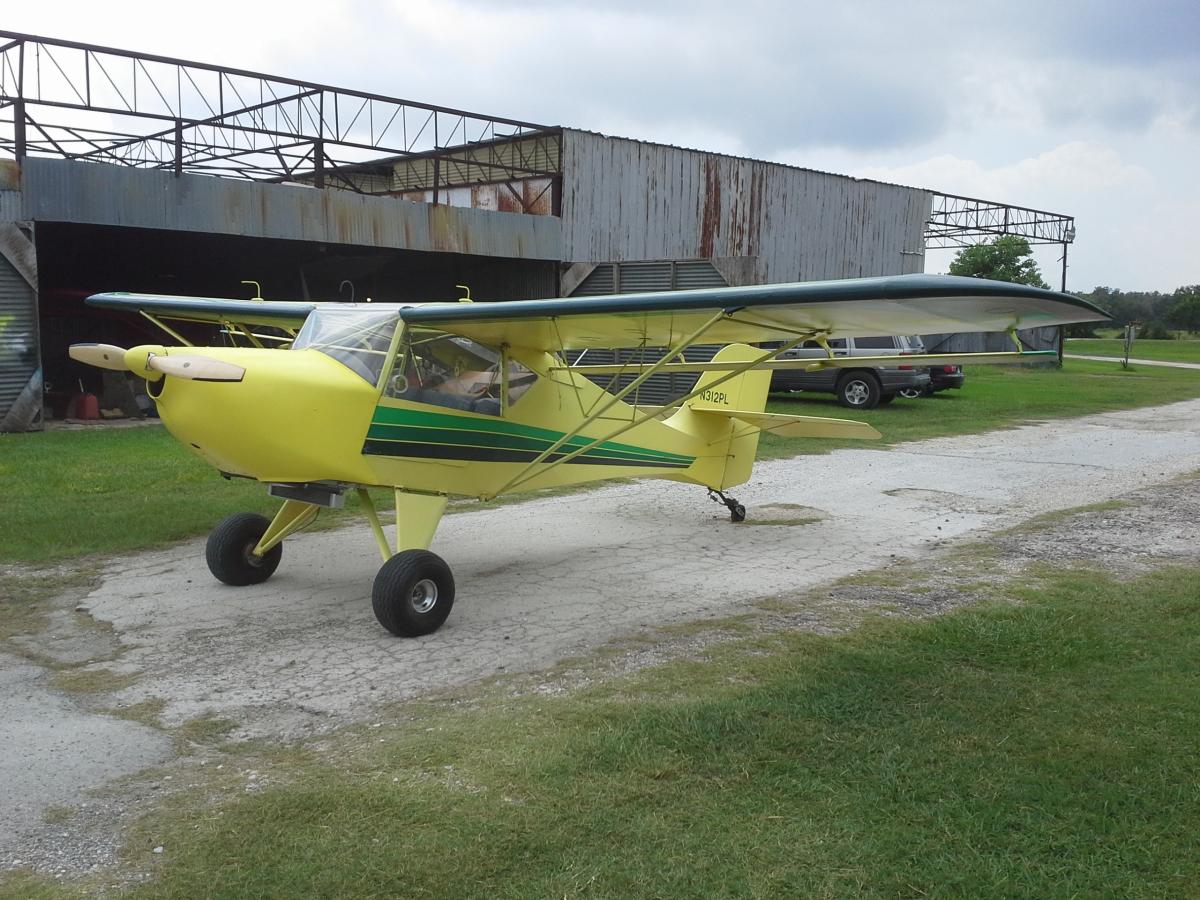
Here are a couple of pics showing wing support braces and stuff. Notice the black tubes coming from the wing down to the fuselage. That keeps the wing from flopping up and down. Tail is supported by two 1 1/2" angel iron pieces bolted to the trailer and the plane. I don't think I mentioned gust locks in my first reply, but you need them as well. I use 1x4 with foam rubber glued to them and long bolts on the end to clamp things together . JIm Chuk
-
-
959,
The wing support tubes connect to the little bracket on each side of the vertical stabilizer and to the strap on the wing strut fitting.
They are easy to make if you don't have them.
Another good thing is to somehow stabilize the flaperons by linking them together.
A couple of tubes or plywood boards padded with carpet are good for keeping the rudder from flopping around. Of course, you should tie the control sticks too.
EdMO
-
-
If the wings are fairly close to level, it will reduce the down pressure on the wings compared to the tail being low. Also, it's hard on the tail spring to carry all that weight from the wings and such. Better to support the plane on the trailer hitch attach point near the tail that's built into the plane. (cross tube) I've pulled avids around 1500 miles without problems. Best to have wing support tubes to keep the front part of the wing from flopping up and down as well. Hoping for the best myself, as I'm about to drag a Kitfox 4 half way across the country. Jim Chuk
-
When towing a Avid on a open trailer Tail forward how high should the tail be off the deck of the trailer.
Or can I have the tail wheel on the deck.
The trip will be about 200 miles.
Thx Marv
-
Nice job Dan. Thanks for posting the pics.
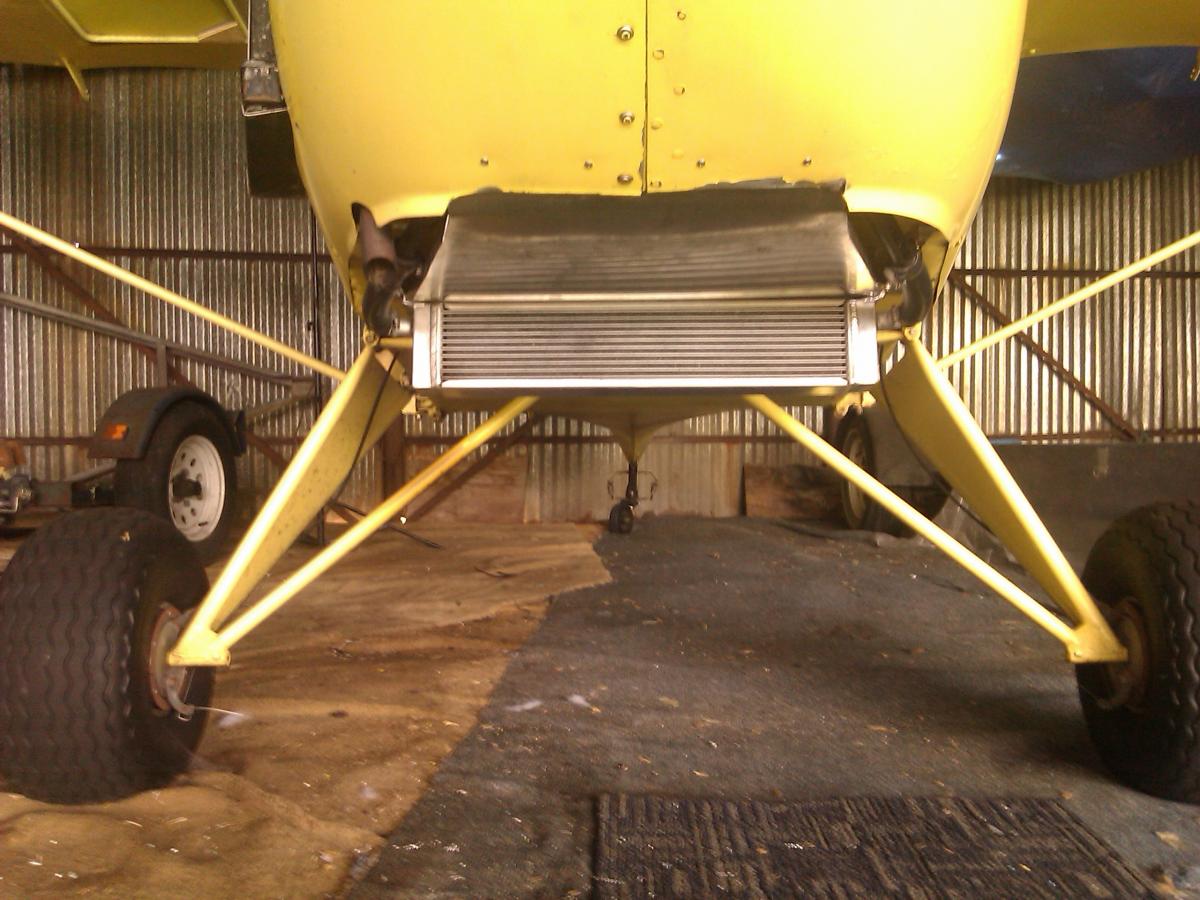
The aluminum diverter likely keeps muffler heat from going directly into the radiator while simultanously directing cool air in.
-
(Helping out a friend. Not my airplane)
For sale - Kitfox IV-1200
$20,000
This airplane is a very serviceable airplane, but not a show queen.
Power by a 912 UL 80 hp and warp drive prop
She has been rebuilt once after a ground loop in '95.
Currently needs some engine tuning after a carb rebuild from LEAF. The owner is not a 912 expert, so a little TLC is going to be required. I can supply further details and photos.
Open trailer is also available for $1000.

-
My brother made a shroud and flap on his old KF that had a vernier control right next to the flap handle. It worked awesome and you could dial the temp to exactly where you wanted it. It was crude but very functional.
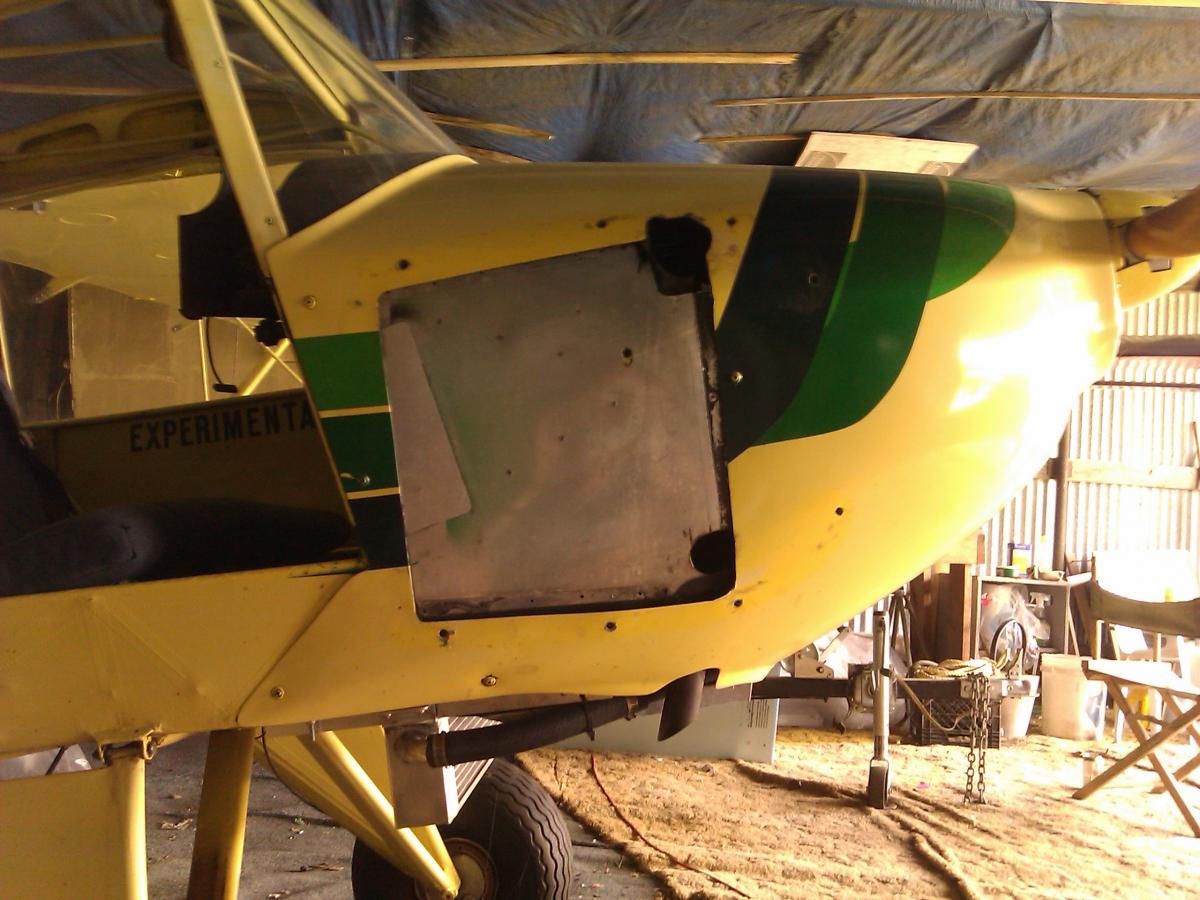
That is pretty much what I have planned. I already have the shape of the shroud built with insulation foam. I just need to get busy and start laying the fiberglass over it. Then I will make a simple flap at the back controlled by some type of vernier or push/pull cable.
I hadn't thought of putting it right below the seats but that might be a great location. I could probably make a simple rod attched to the flap with some type of detents or friction device to hold the adjustment.
Dan
1 person likes this -
Thanks for the info! I wont hurt my feelings to leave the plane together to paint it. I can make a rolling scaffolding to paint the top of the wings. Stripping it is the biggest intimidator right now
 I guess its time to order more strippers than I can shake a stick at and just get to it. The tip on aluminum foil and foil tape is awesome, thats the kind of stuff that can can bite me in the ass.
-
Funny Pics
in Jokes
-
I use Sea to Sky eco friendly paint stripper. I buy it in 55 gal drums. It only takes about 15-20 gallons to strip an entire plane the size of your 180. I bought a stainless steel pnuematic pump to spray the stripper onto the airframe. I like the surface to be stripped to be as clean as possible so the stripper doesn't have to work through layers of dirt, oxidized paint and oil residue. I cover all plastics and areas I don't want the stripper to get into with aluminum foil and aluminum tape. There are specific stripping foils and tapes but I find that plain old heavy duty foil and 3m aluminum duct tape (not to be confused with average vinyl duct tape) work great. I usually cover the hanger floor with heavy construction plastic, pull the plane in, and start spraying the stripper. Use a white painters suit, goggles, rubber gloves and a resperator when you spray the stripper. I like to spray the stripper at the end of the day and let it sit over night. When you come back in the morning a lot of the paint will have fallen off and will be laying on the plastic on the floor. At this point I scrape as much of the loose paint off with a plastic scrapper. Be very careful because the floor will get very slippery. I will scrape the mush off the wings into a bucket to keep the floor from getting so slippery. Once I finish scraping, I apply another coat to areas that need it or power wash the residue if it comes clean in one application. Water is what deactivates the stripper. I usually push the plane out side and roll up the plastic from the floor. This plastic is taken by the hazerdous waste removal people. I pull the plane back inside and power wash every sguare inch and take extra time to wash in the seams to remove all stripper. This is the most important step because any stripper that is left between layers of aluminum skin will cause corrosion in the future. I also cover the landing gear legs with foil and DA sand them to strip them. If you chemically strip them you will have a rust issue when you are done. I like to keep the entire airplane assembled for the initial stripping then remove all the control surfaces, cowling , and wing tips once it is stripped and rinsed. It is much easier to power wash the control surfaces while they are attached to the airframe. Once They are removed you will have some touch up stripping to do in the areas that the stripper couldn't get to. I don't remove the wings most of the time unless the owner is doing a restoration and wants the plane completely epoxy primed inside. When I do remove the wings we mark where the wing attachment excentric spacers are so we can put it back as close as possible to keep the plane trimmed the way it was when it came into the shop. The next step is dent repair and then acid etch and rinse. For some one who doesn't paint professionally I would recommend using Aerothane paint from Poly Fiber to paint with. They have a great step by step paint guide and excellent tech support. I have painted a couple of planes with their paint and it lays out nice and is easy to spray. They have a complete system including Epoxy primer. Their step by step guide keeps the guess work out of painting your plane. I hope I answered some of your questions. Take your time and have patience, painting your airplane can be the most rewarding thing you can do to your airplane. You see the results of your hard work every time you open the hangar doors.
2 people like this -
My brother made a shroud and flap on his old KF that had a vernier control right next to the flap handle. It worked awesome and you could dial the temp to exactly where you wanted it. It was crude but very functional.
-
Thats a pretty damn good price, I am sure shipping from here would be more than that. If Ron falls through, let me know and we can figure something out on shipping for ya.
-

Guest
Crap I wish I would have known. Ida had you ship it to me!
Oh well....I think Ron is talking in the $150?? range to make the bottom and plans to ship greyhound so it should be real reasonable. Even if I am off on the price by a factor of 2 it is still not too bad. I believe Jim Chuck said he is paying like $350 for a complete jab cowl top and bottom.
-
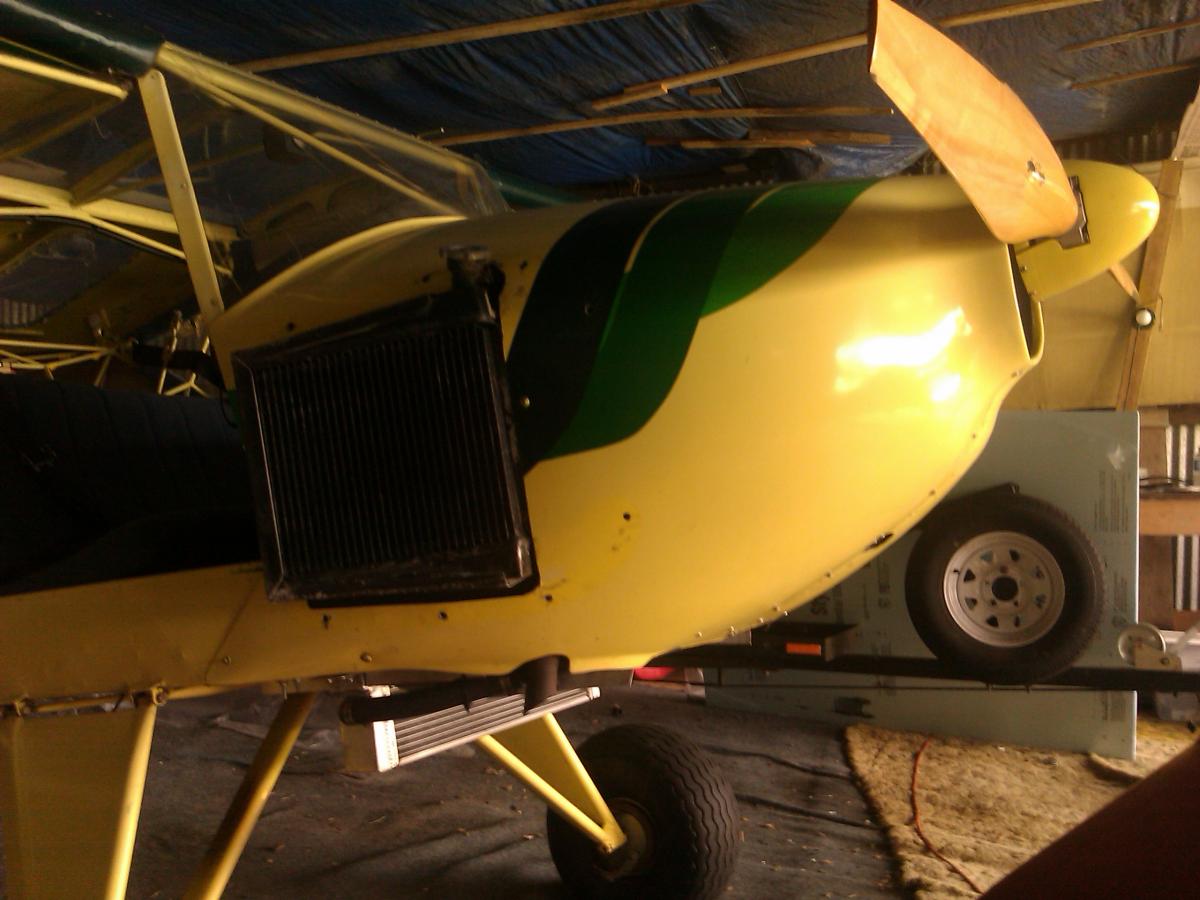
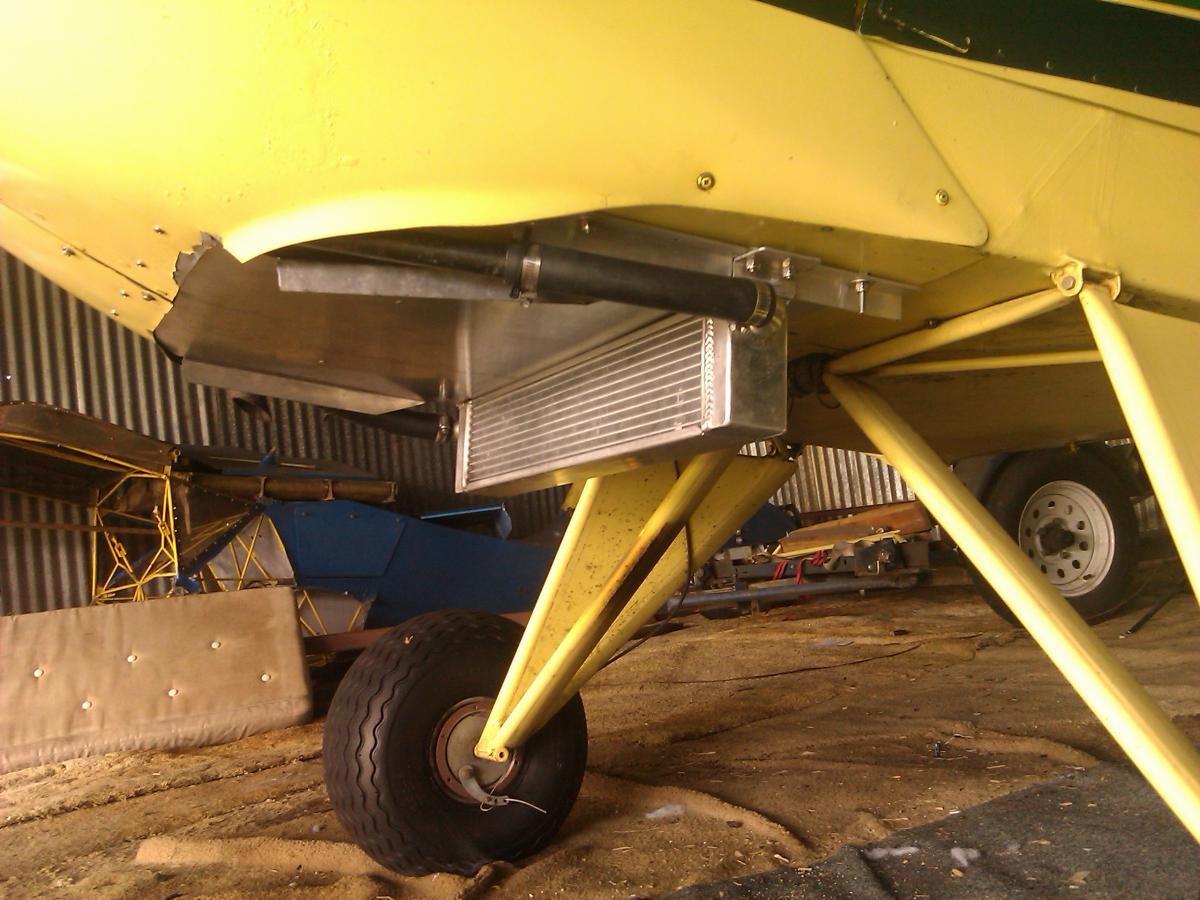
Sweet! I like the duct you made to keep the cowling air above the radiator!
I think I spy a MK IV fuse in the back ground...
The MK IV fuselage has been cut up and disposed of since that picture. It was severely damaged.
That duct made a 40 degree difference in my cooling temps.
Dan
-
Got it! Just had to find the option. Should have been quicker but I had to run the dog to the Vet's office first.
I am working on a cowling/scoop to enclose the radiator and hopefully allow me to control the airflow with a small flap and control cable at the back. I might also try to add a slot to the floor in the cockpit with a slider to act as cabin heat for the month or so of winter we have.
Thanks,
Dan
-
Sweet! I like the duct you made to keep the cowling air above the radiator!
I think I spy a MK IV fuse in the back ground...
-
Congrats on your purchase of the airport, it sounds like a dream come true and a nightmare at the same time! My partner in the 180 has a Kitfox and a PA12 both on floats.. he much prefers the kitfox for his sunset cruises around the lake to ease the business tensions of the day.
I will hit you up on some tips for stripping the 180 and repainting it. Right now I am torn between pulling the wings off for the paint or stripping it and painting with the wings on. The tail feathers are off and will be painted separate as will the flaps and ailerons. What is your favorite stripper?? The kind that removes paint not clothes
Do you have a primer or paint system that you prefer over the rest? I am a rag and tube kinda guy and have done lots of painting on fabric, but this is my first aluminum job. Any tips you may have I would welcome as I really only want to do this once -
-
-
click the "more reply options button" and it will have a button to add attachments. Click that and it will pop up a window for you to browse to where your photos are located on your computer. You can then select you pictures you want and upload them to the site...
Most sites make you put your photos on another site like photo bucket then link them to the forum. that is a pain in the ass so I pay (ok we the contributing members pay) for the unlimited band width so it is a one step click to put pictures on the site. If you need further help, drop me a PM and I will try and walk you through it.
-
Dave, When you post something and want to add photos, click on the "More Reply Options" after writing, and it will send you to the complete editor where you can browse and add your photo - after adding the photo, you can also add it directly to the post.
Hope this helps,
From the Puter Neanderthal EDMO
.JPG.08f9e23d729418efb8a3e9fd398de605.thumb.JPG.c67c136500da29b77d95e9683855f5f4.JPG)


Towing Avid
in Technical tasks
1avidflyer
Posted · Edited by Jim Chuk
Those wing support tubes were from the factory. The wing pin drops though a verticle tube on the top of the wing brace, and the bottom has a fork on it so it pins to a tang on the lift strut attach bracket on the fuselage. Jim Chuk
PS a guy could make up some braces with some 2"x2" wood. Put a 1' or 2' long 2x2 into the wing spar sticking out about 4". Drill a 5/16" hole in the 2x2 for the wing pin to go through. Then screw or bolt a longer 2x2 to the one coming out of the wing, and bolt it to the lift strut attach bracket on the fuselage.