RDavidson
Contributing Member-
Content count
507 -
Joined
-
Last visited
Posts posted by RDavidson
-
-
I vote for the way you are headed...fuel windows sure are simple, and as long as you don’t sand too deep,Yikes, they don’t leak!
the first time you fill the tanks on the plane mark 5 gallon (I just marked 5 & 10) increments in the three point and with the tail raised to level flight...there is a difference, depending on tire and gear size. I marked both and I’m glad I did.
somebody mentioned LEDs to light the window...great idea! I lit them with a single led I bought at a computer parts place...it works great...
Ron
P.S. Sorry, the only pic I had with a view of the fuel sight had these two dogs in it

 1 person likes this
 -
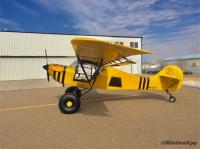
Turbo,
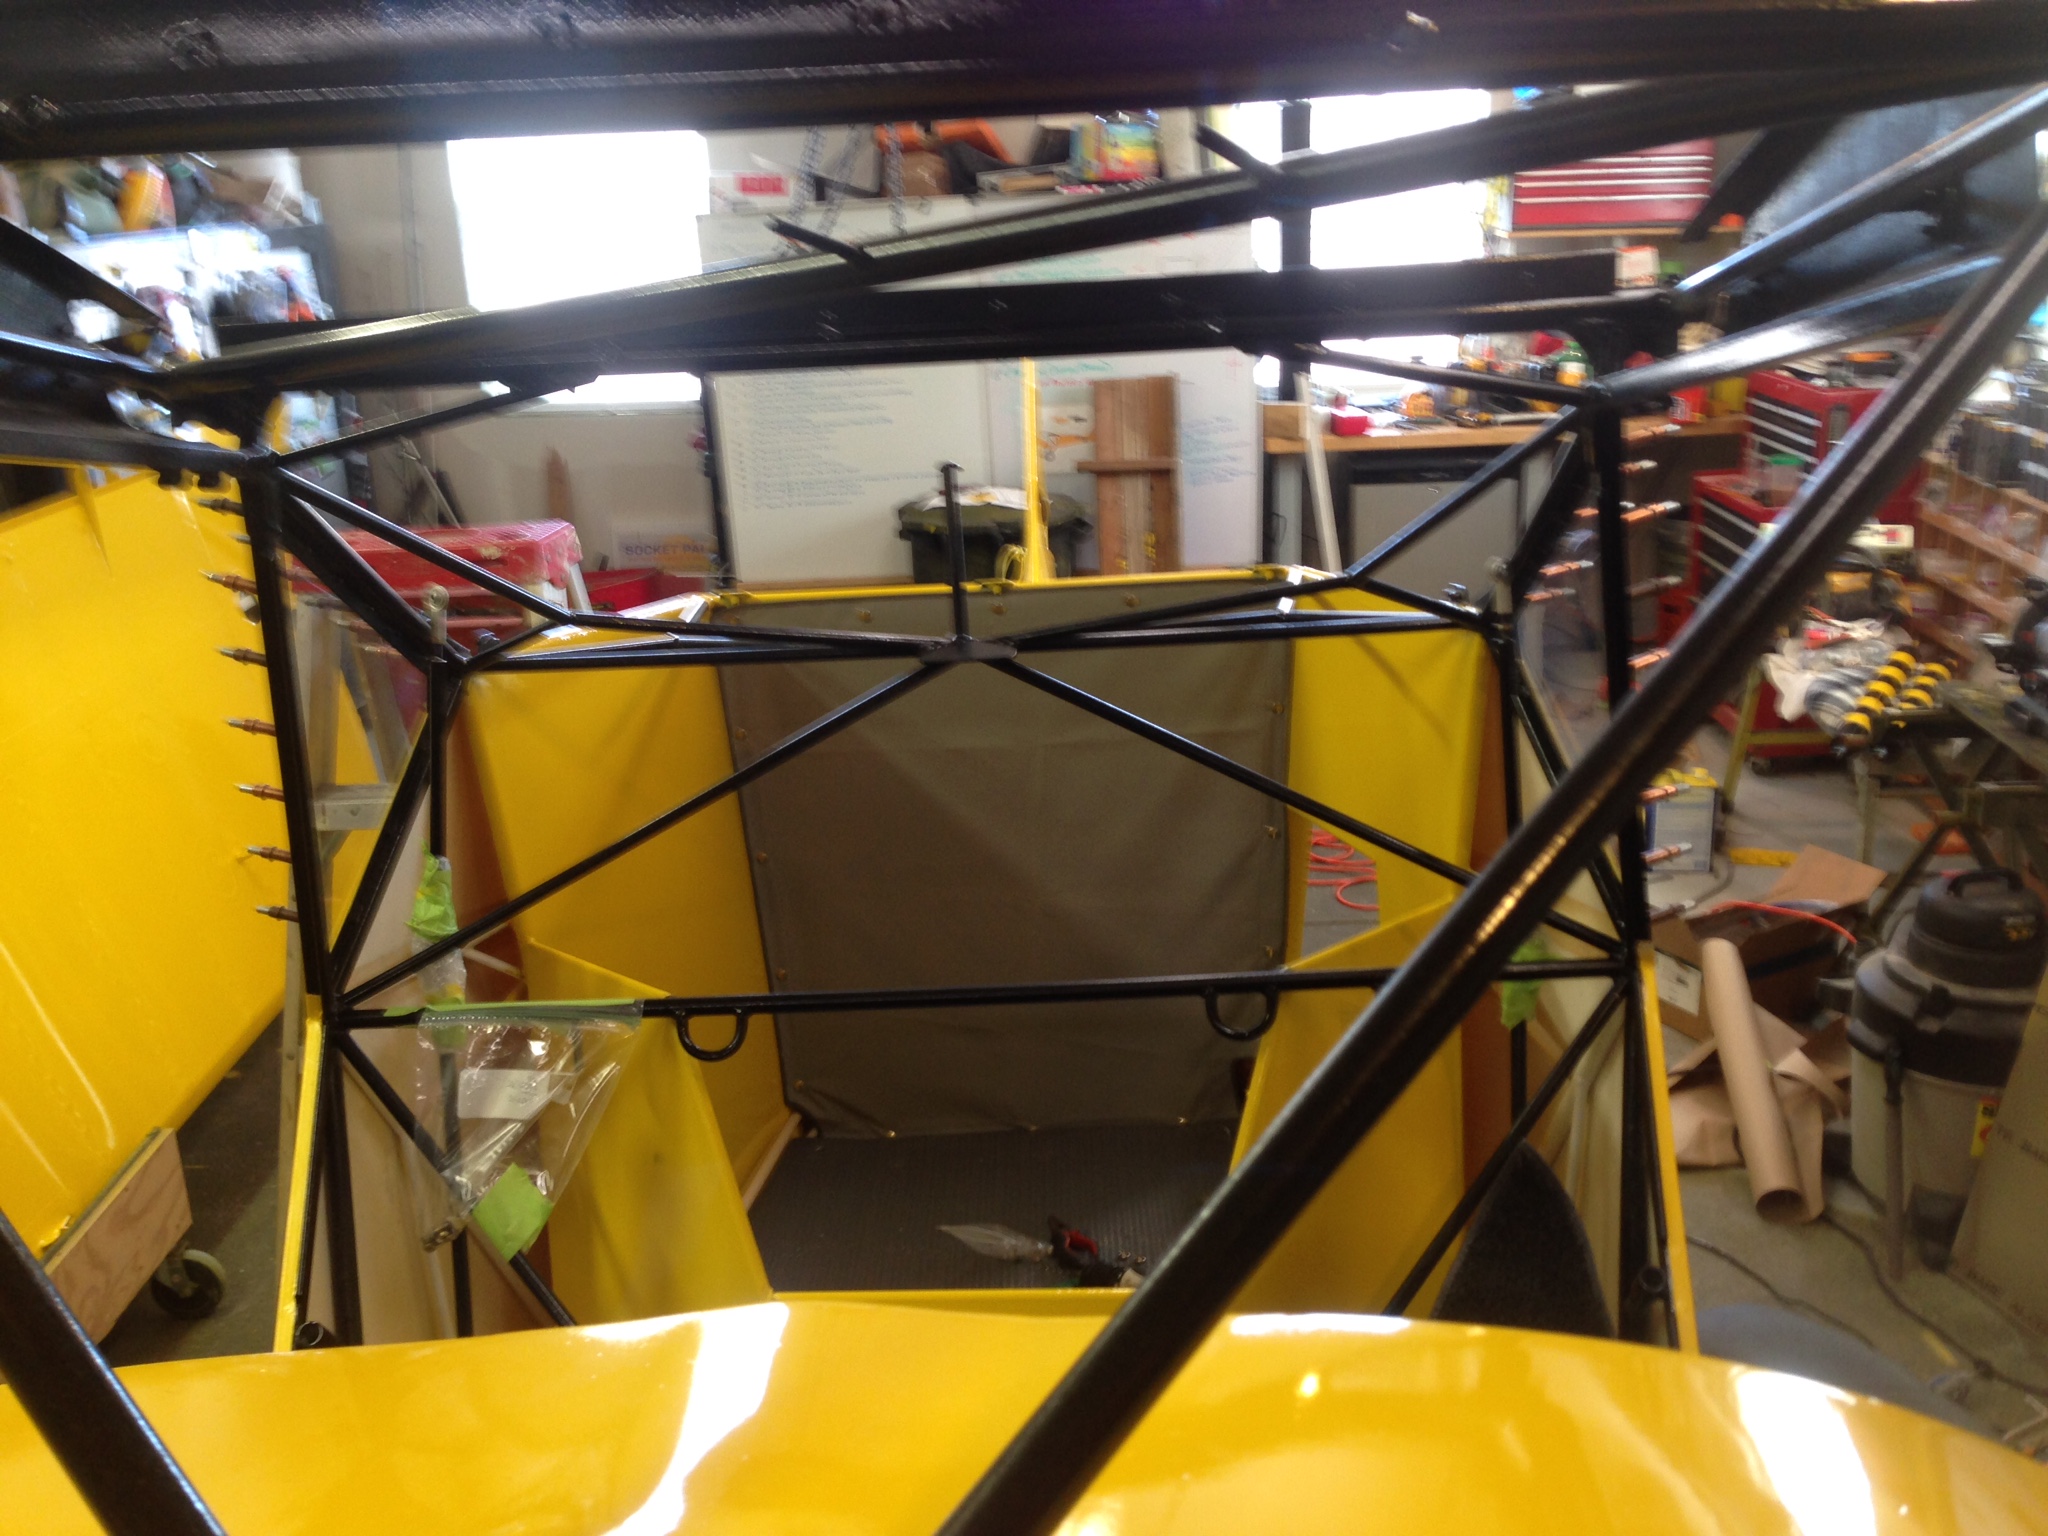
Thanks for bringing this post back up because I ended up buying an antenna from Dale here on the forum and it works great!!! Here is how I mounted it, but to do it correctly you would want it to run length wise instead of across/perpendicular. I riveted it to the back of the canvas bulkhead...out of sight and no drag...it works great even though I rotated it 90 degrees.

-
I love the smell of MEK in the morning...
-
Probably the only time you have used an iron
 1 person likes this
 -
Doug,
do you have a pic of the float attach points?
I’d like to add them...
Ron
-
Emory,
Yep, it was for clearance...it is an angle valve engine and the valve cover tabs at the top made contact with the cowl. I think a standard O-360 would fit...tightly.
-
Thanks!
-24!!! Man you need to move! We had a good 65 degree day yesterday and woke up to snow and howling wind...Glad I got air under my seat yesterday!
-
Right on Barry! I’m ready...
1 person likes this -
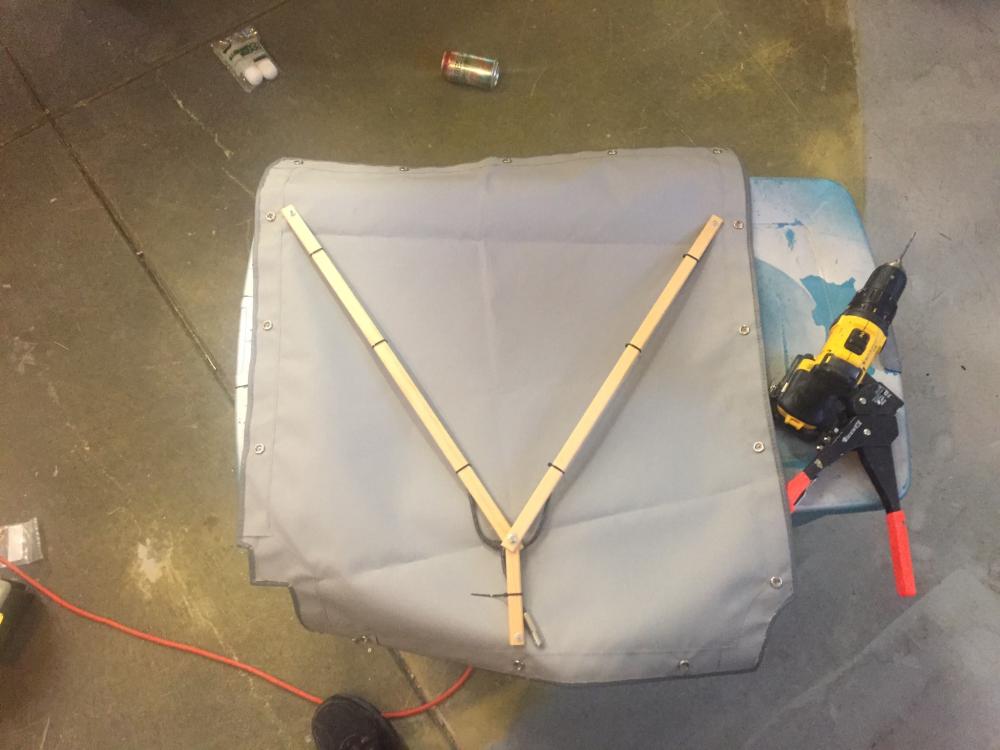
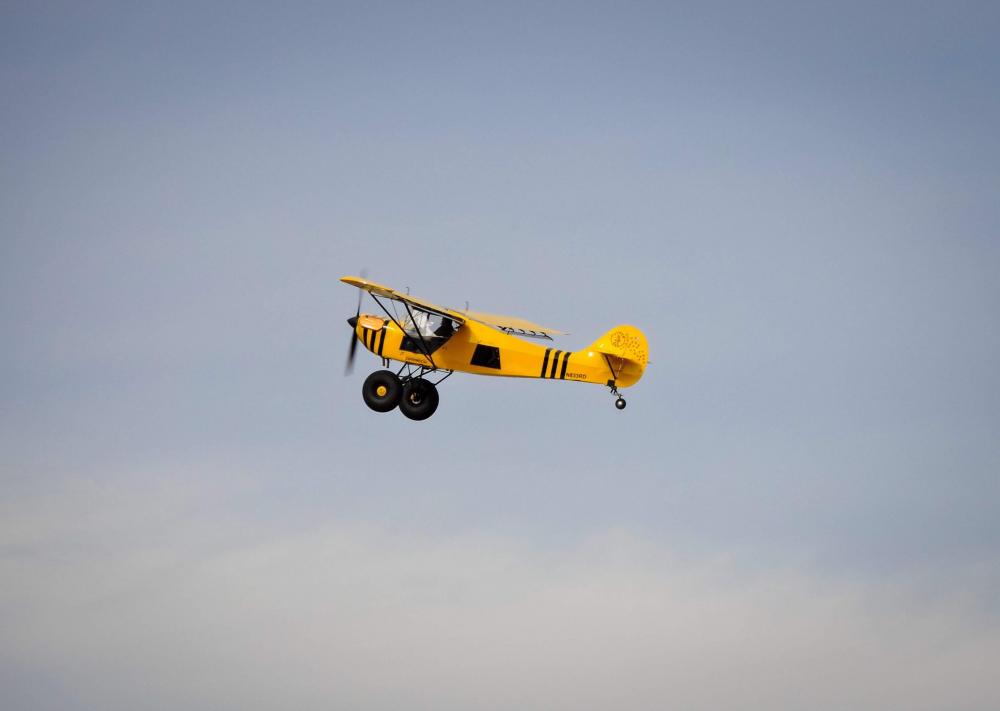
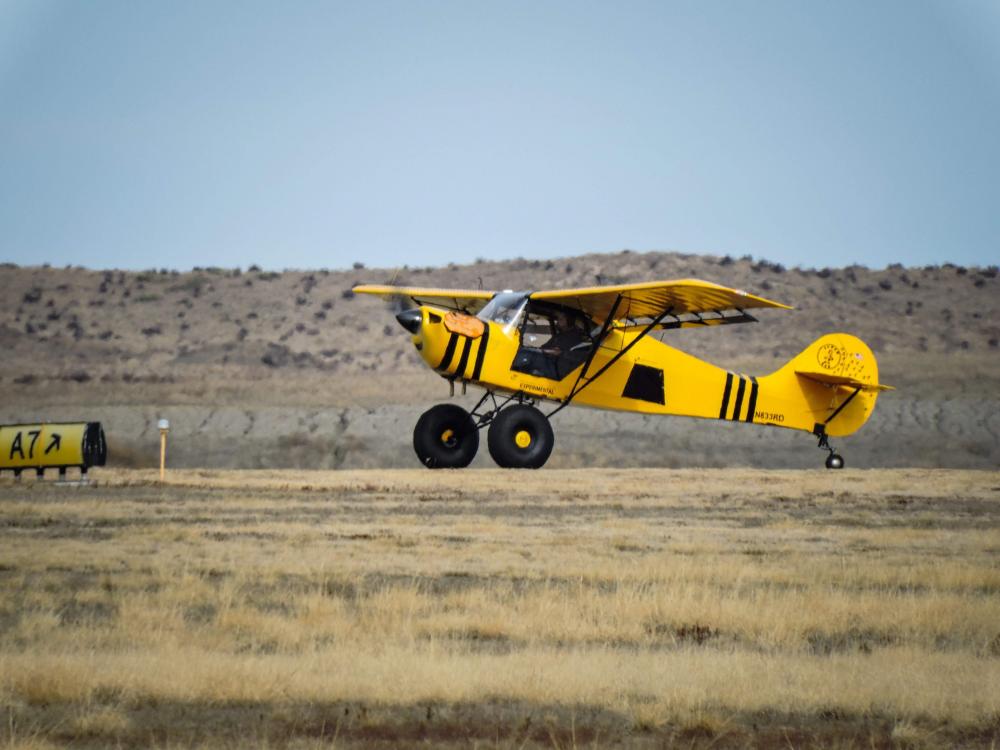
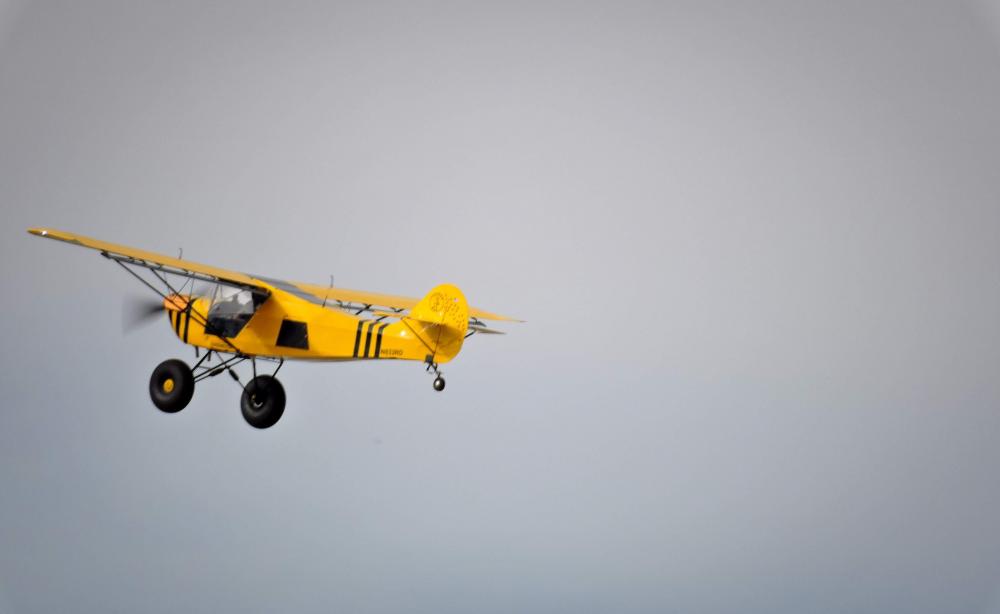
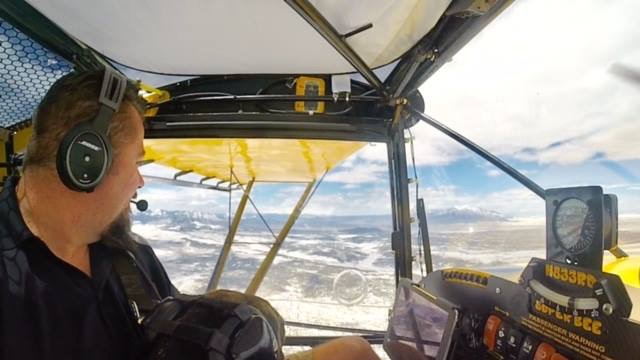
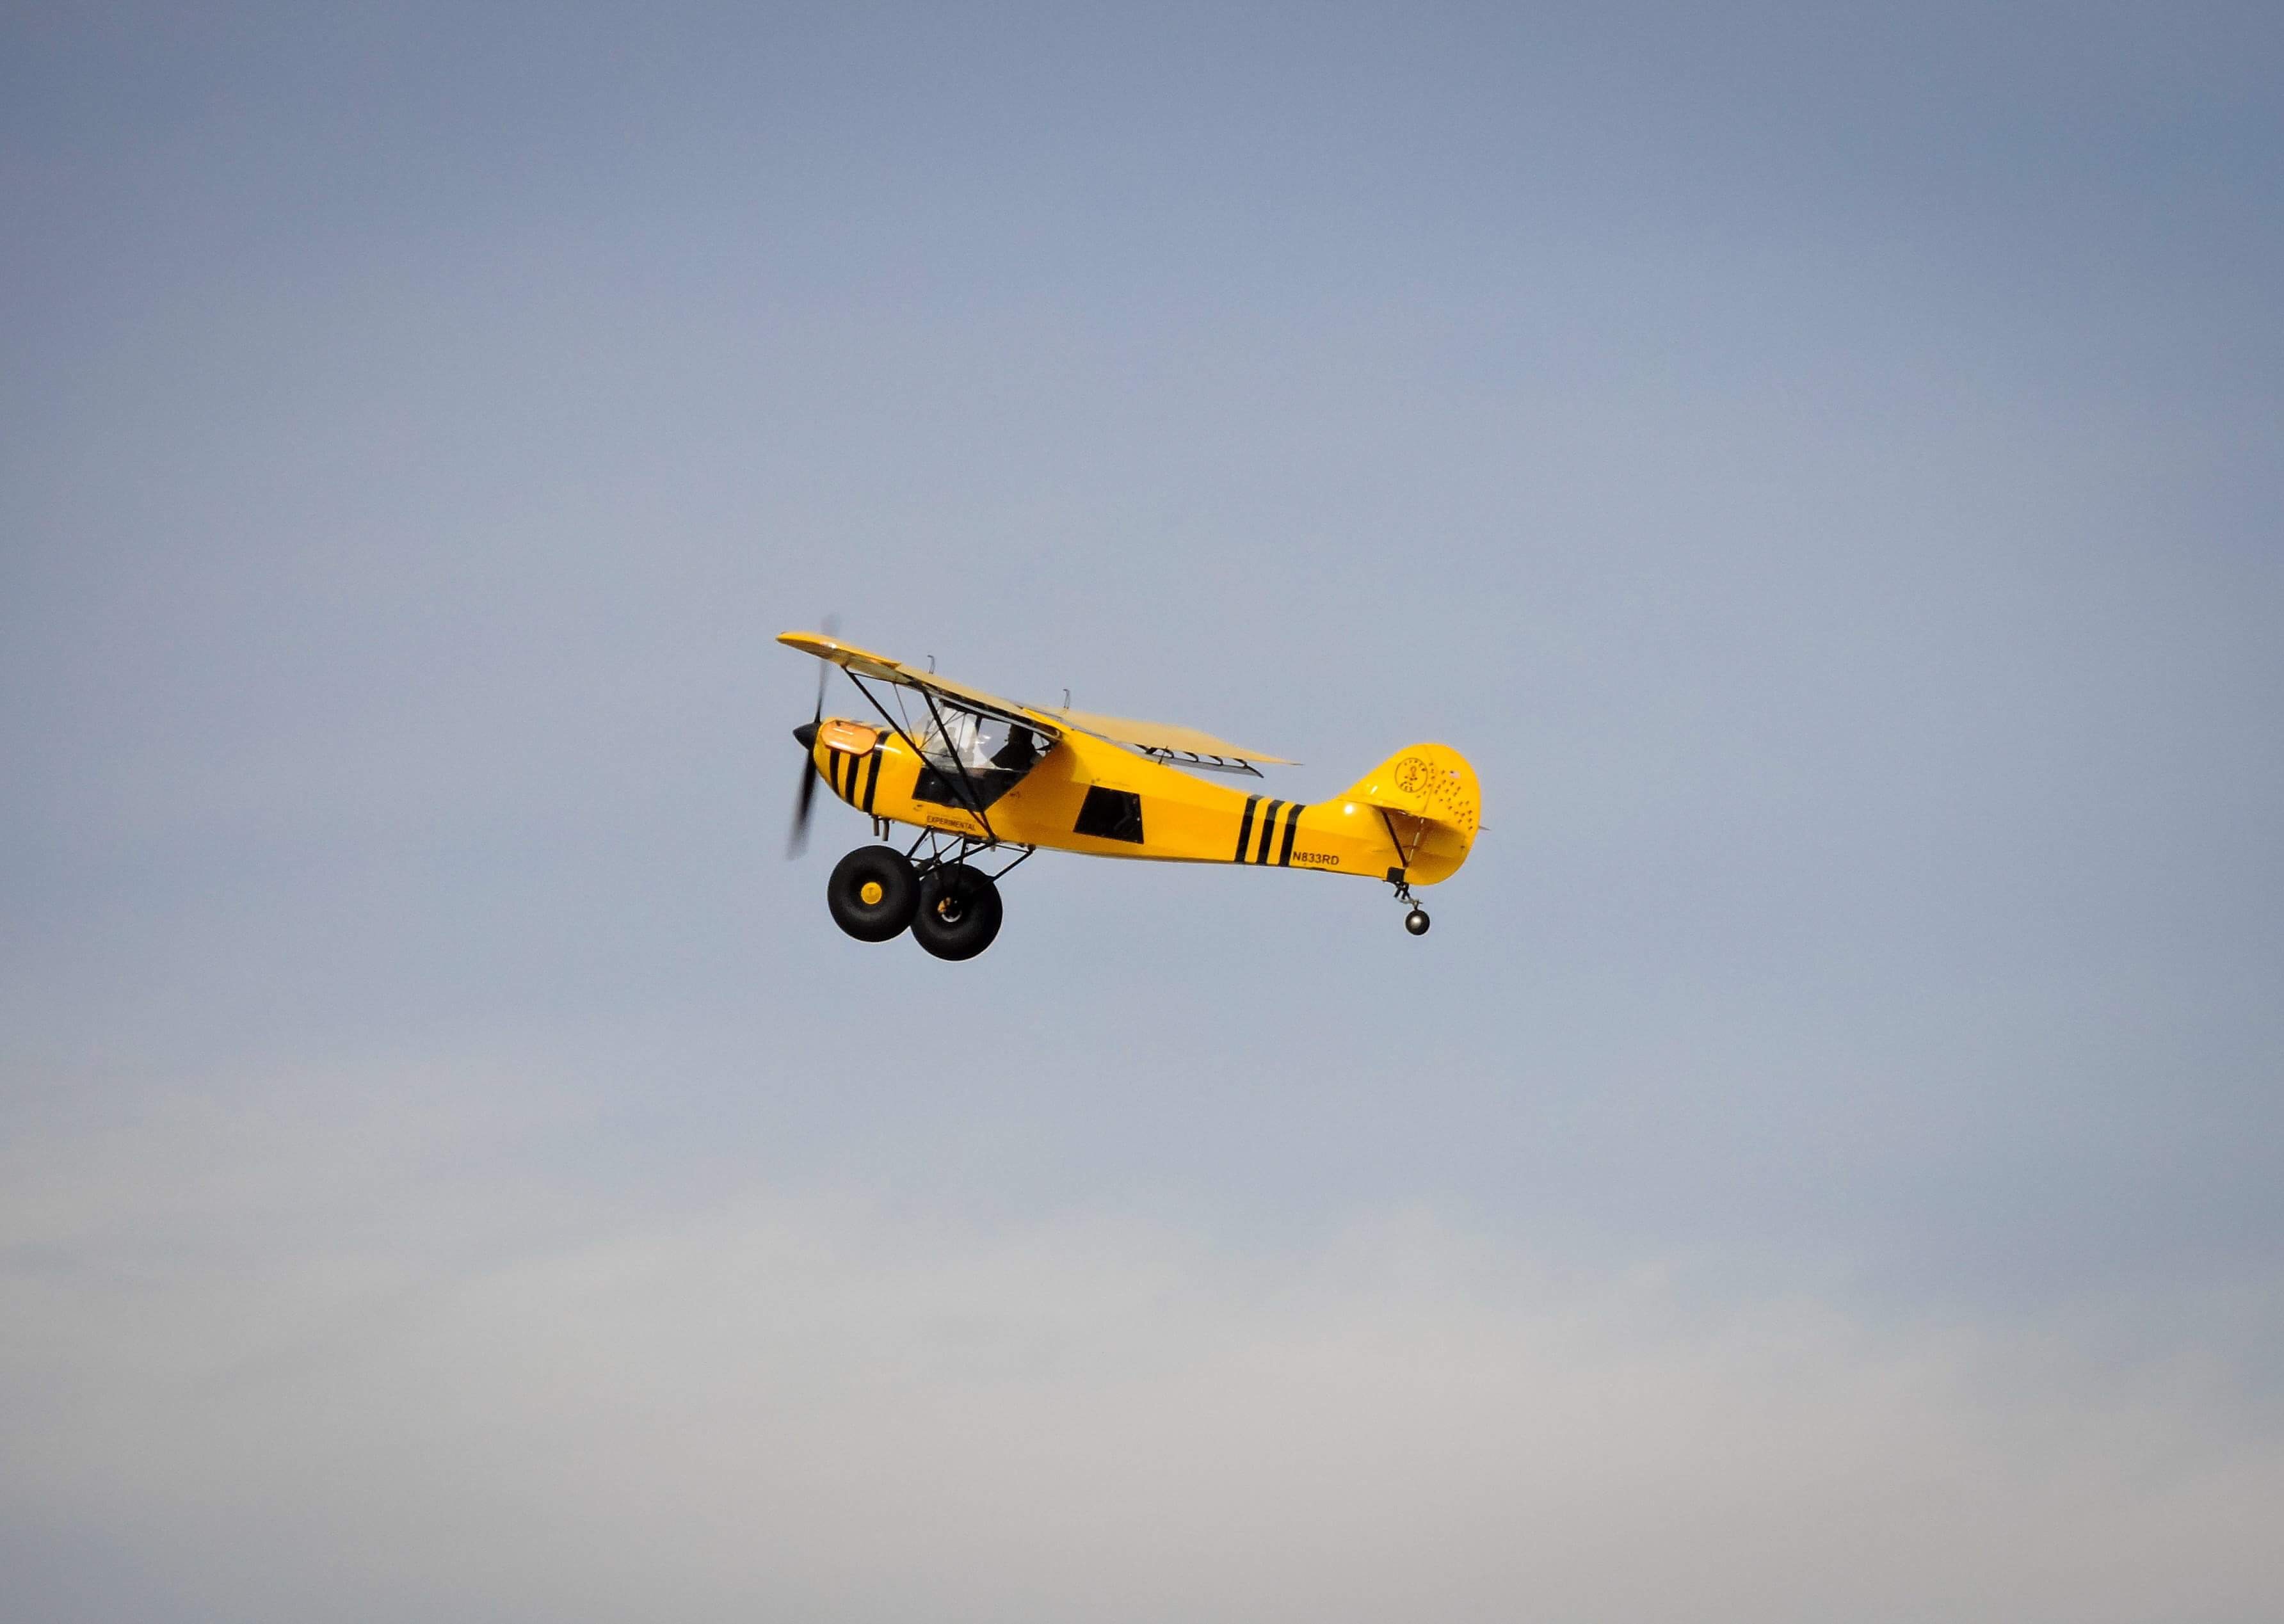
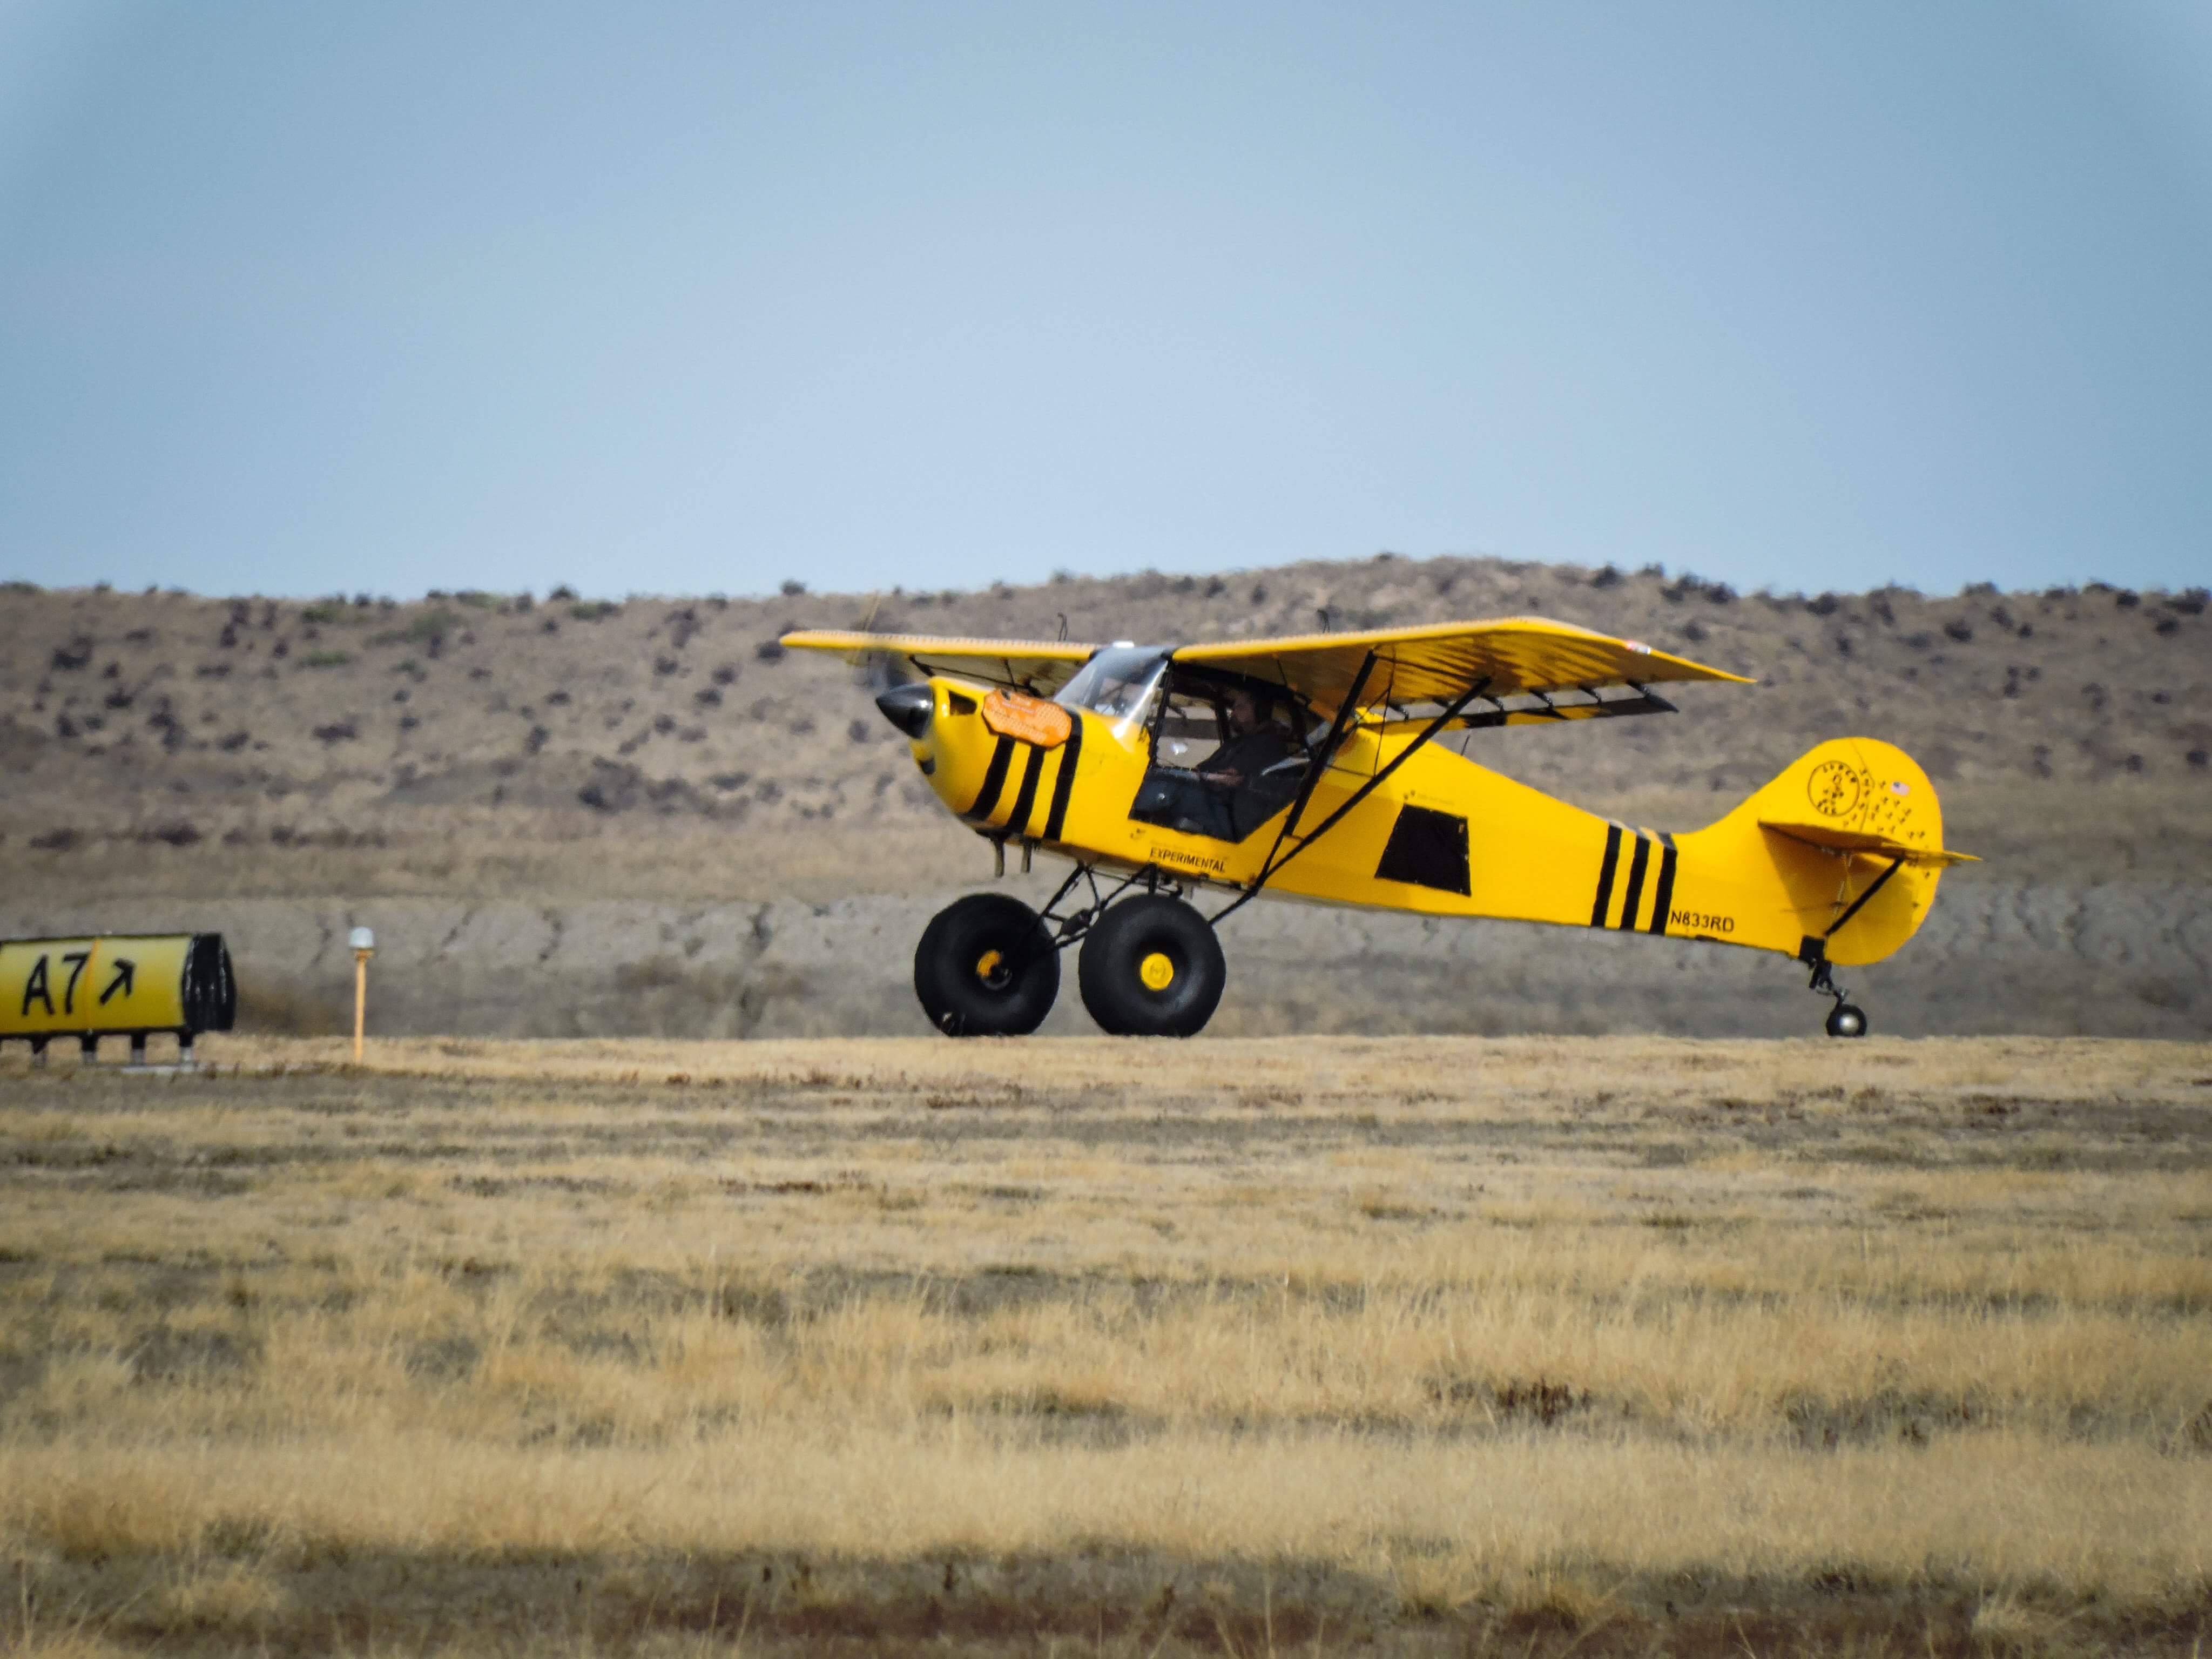
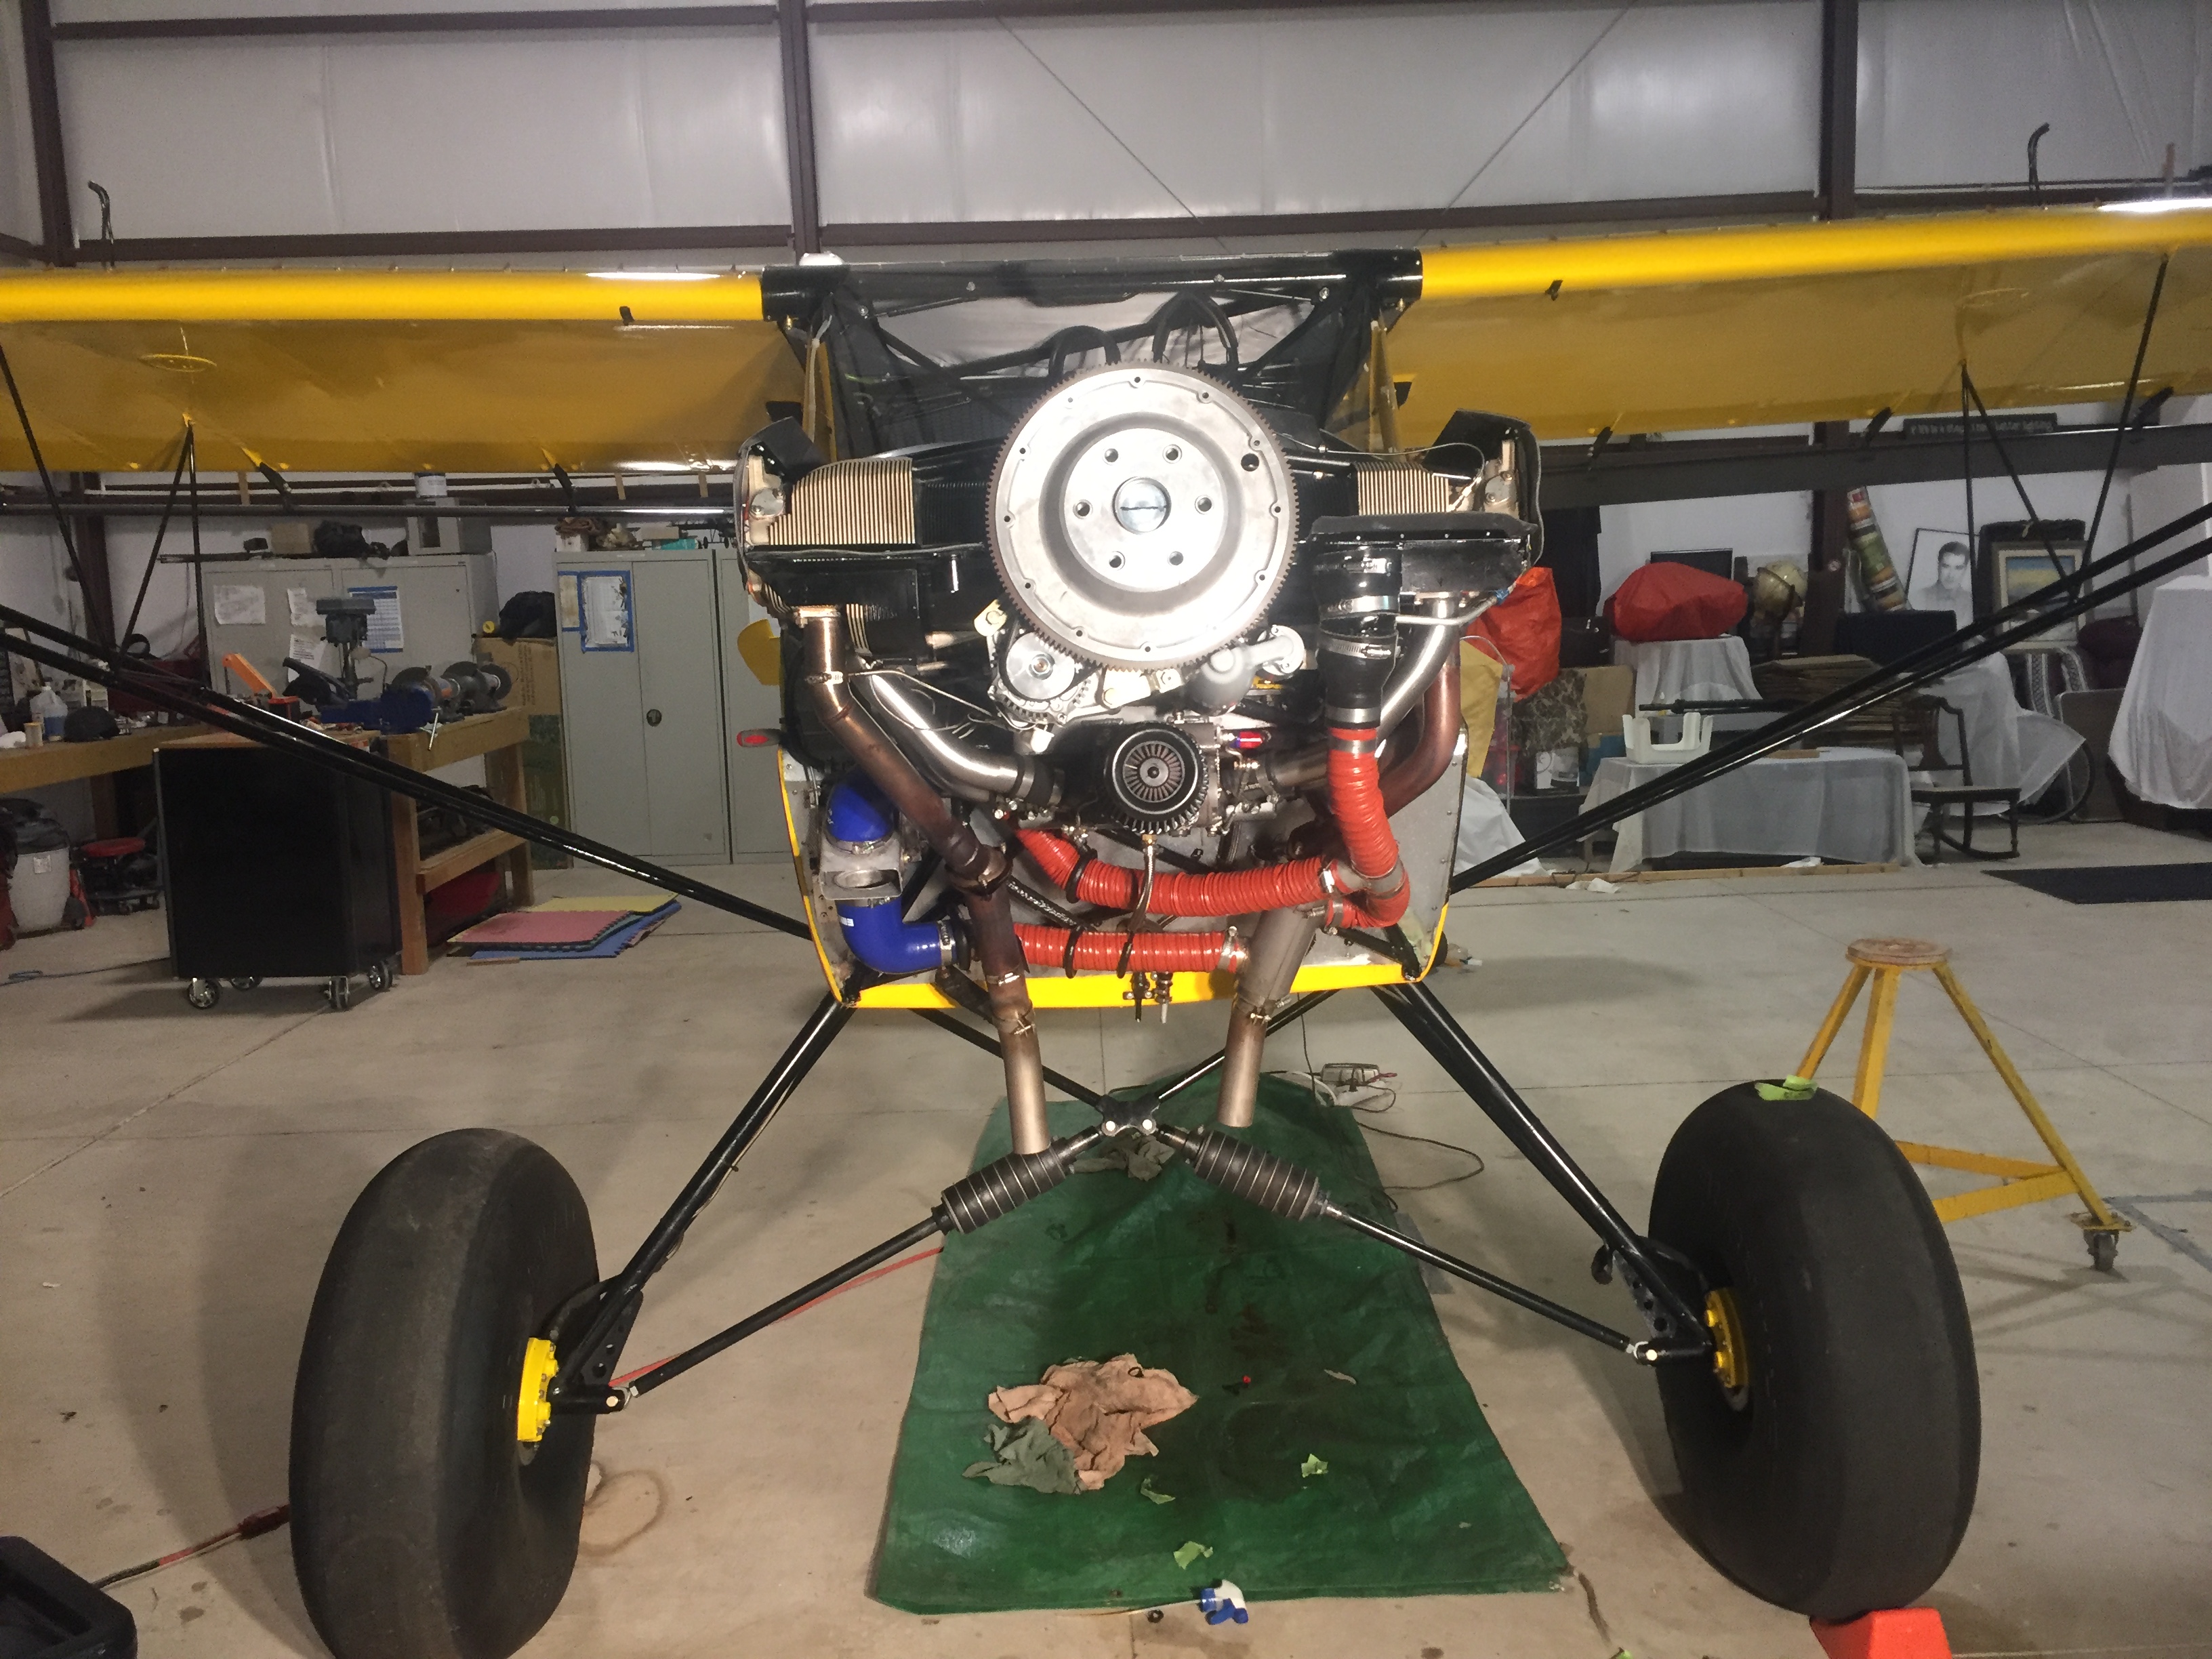
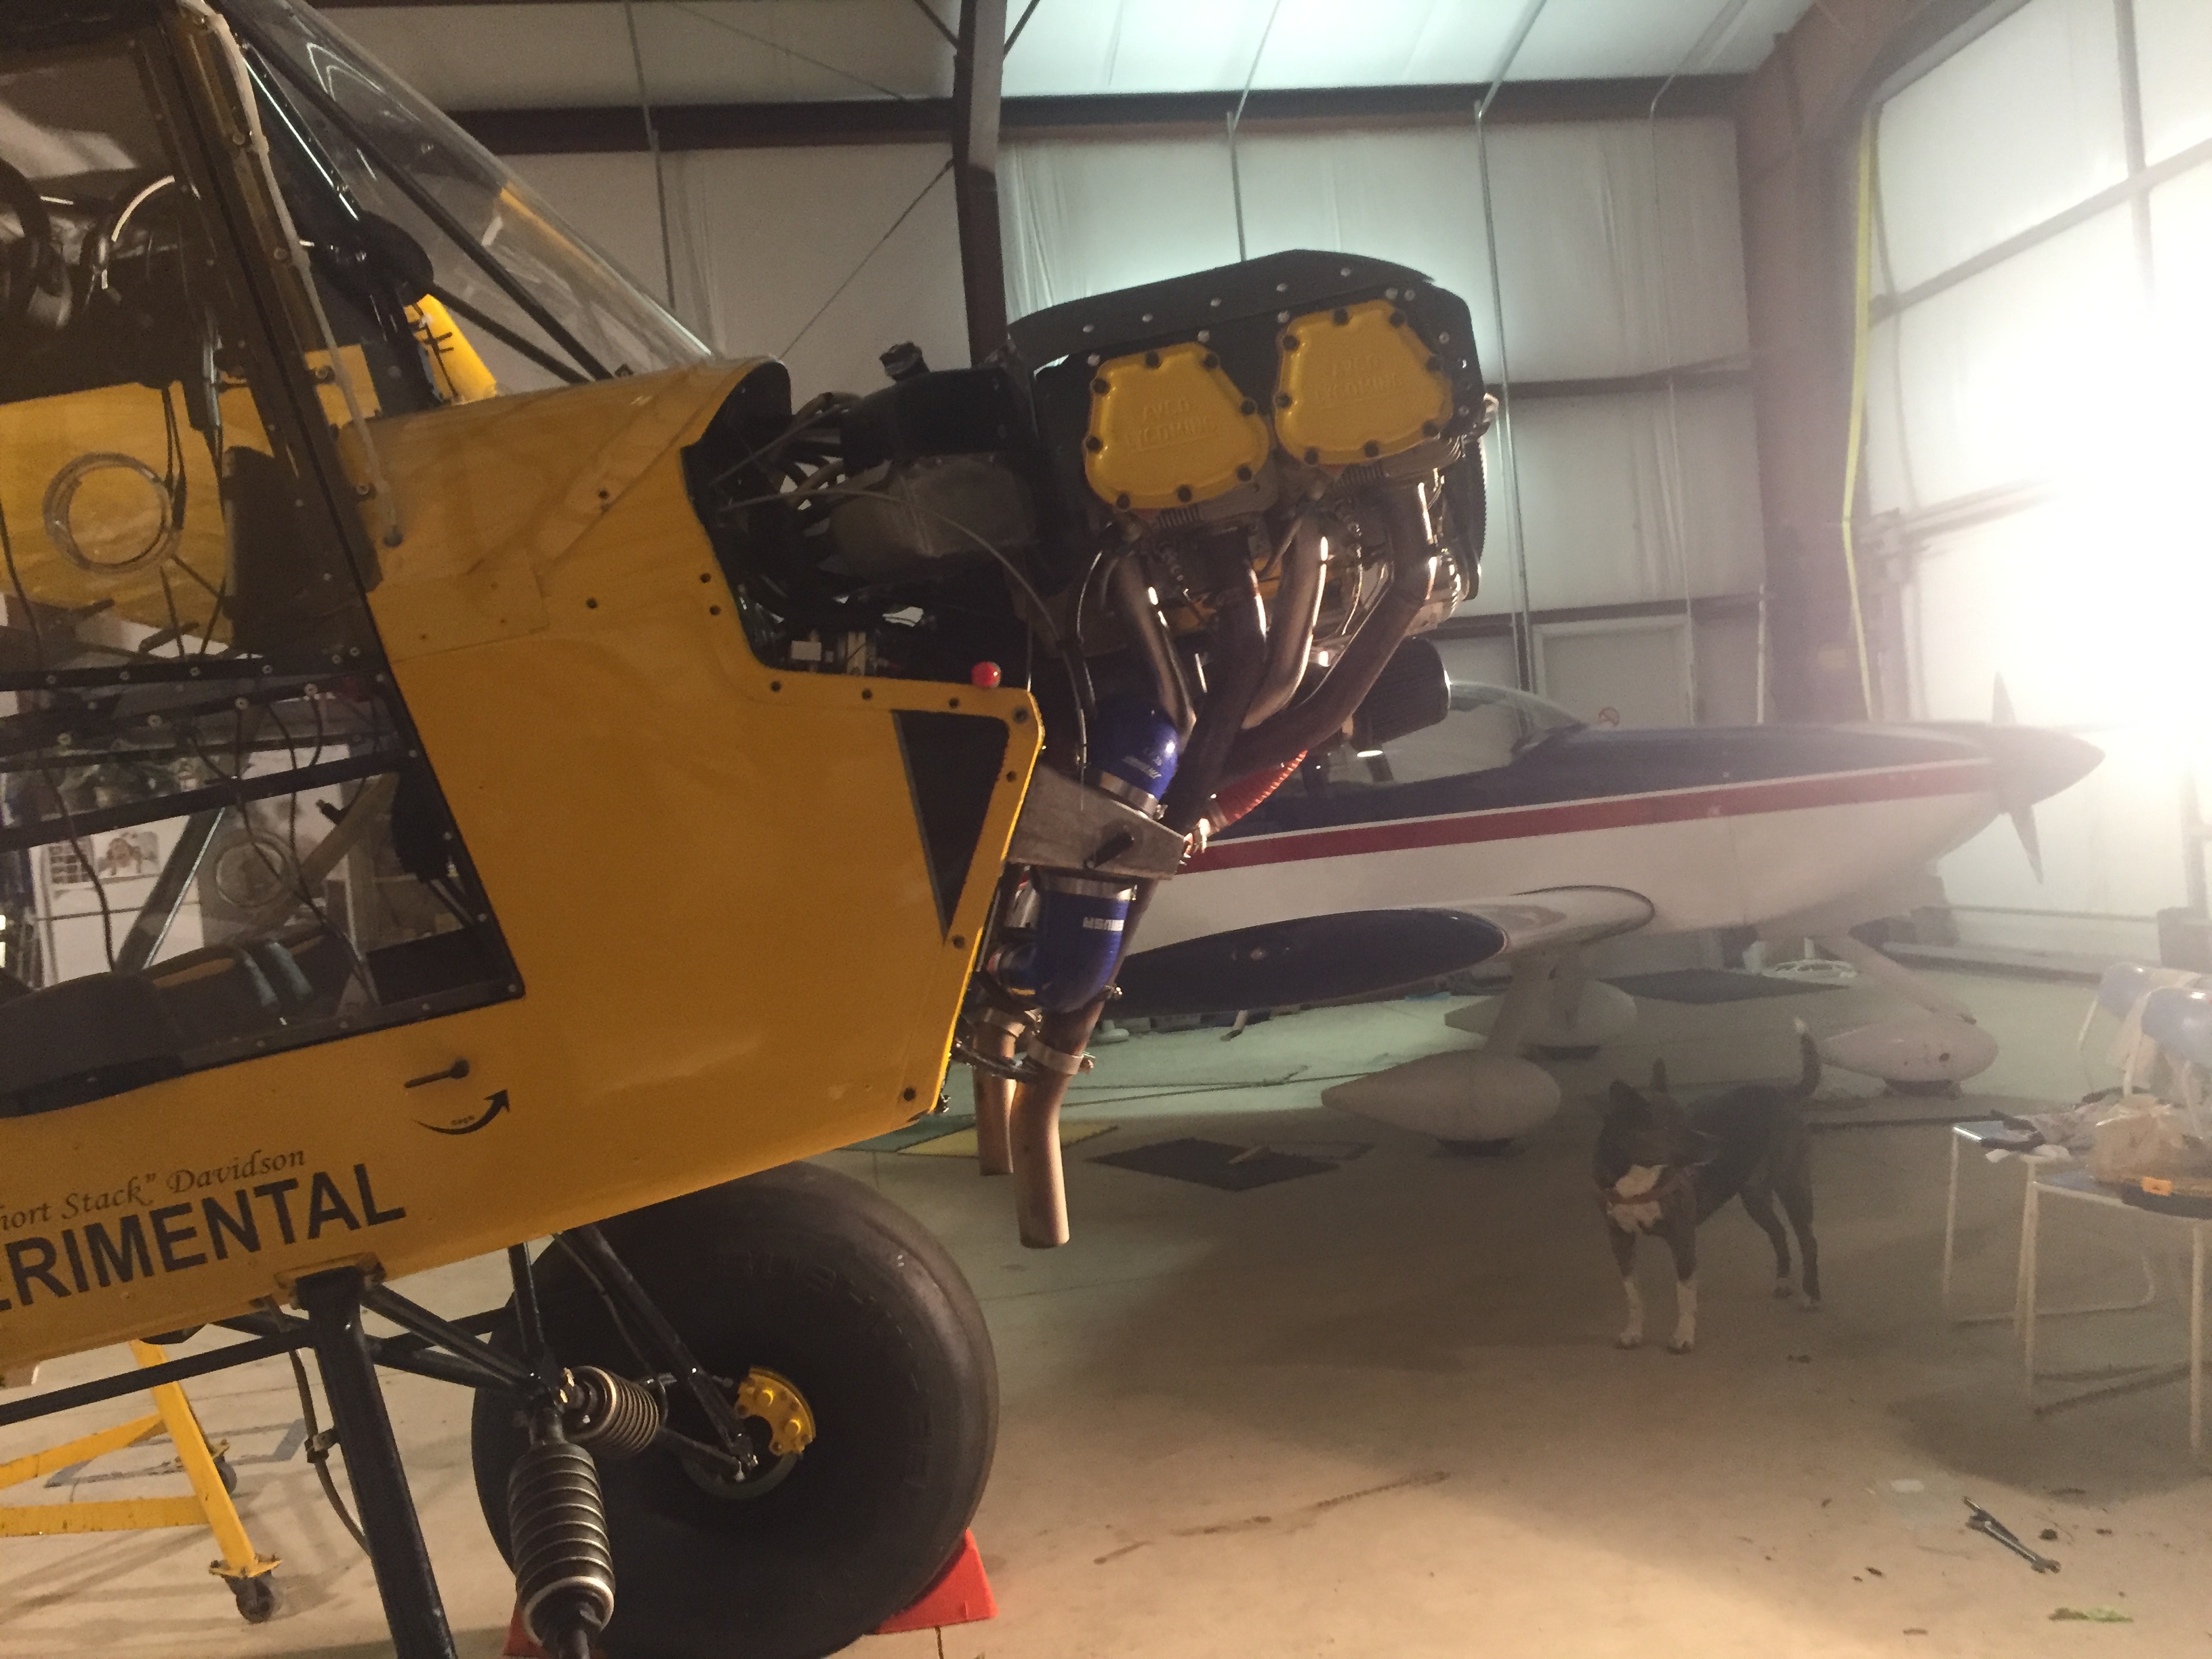
Finally got her flying again and the engine is running great! Learned a lot about the engine. But the thing I am most excited about is that my tail actually flies now!!! Those VGs worked awesome!!! I actually got to trim nose down today! I will make a separate VG post once I get some good numbers, but WOW! Best money spent yet! And the cheapest upgrade by far!!!
One of my buddies took some pics
 5 people like this
 -
T Jay,
Over all good! I just saw that I have one hot spot where the exhaust is about 1/8” away from it. I’m going to add another layer right there. Everywhere else is great...
Ron
-
Barry,
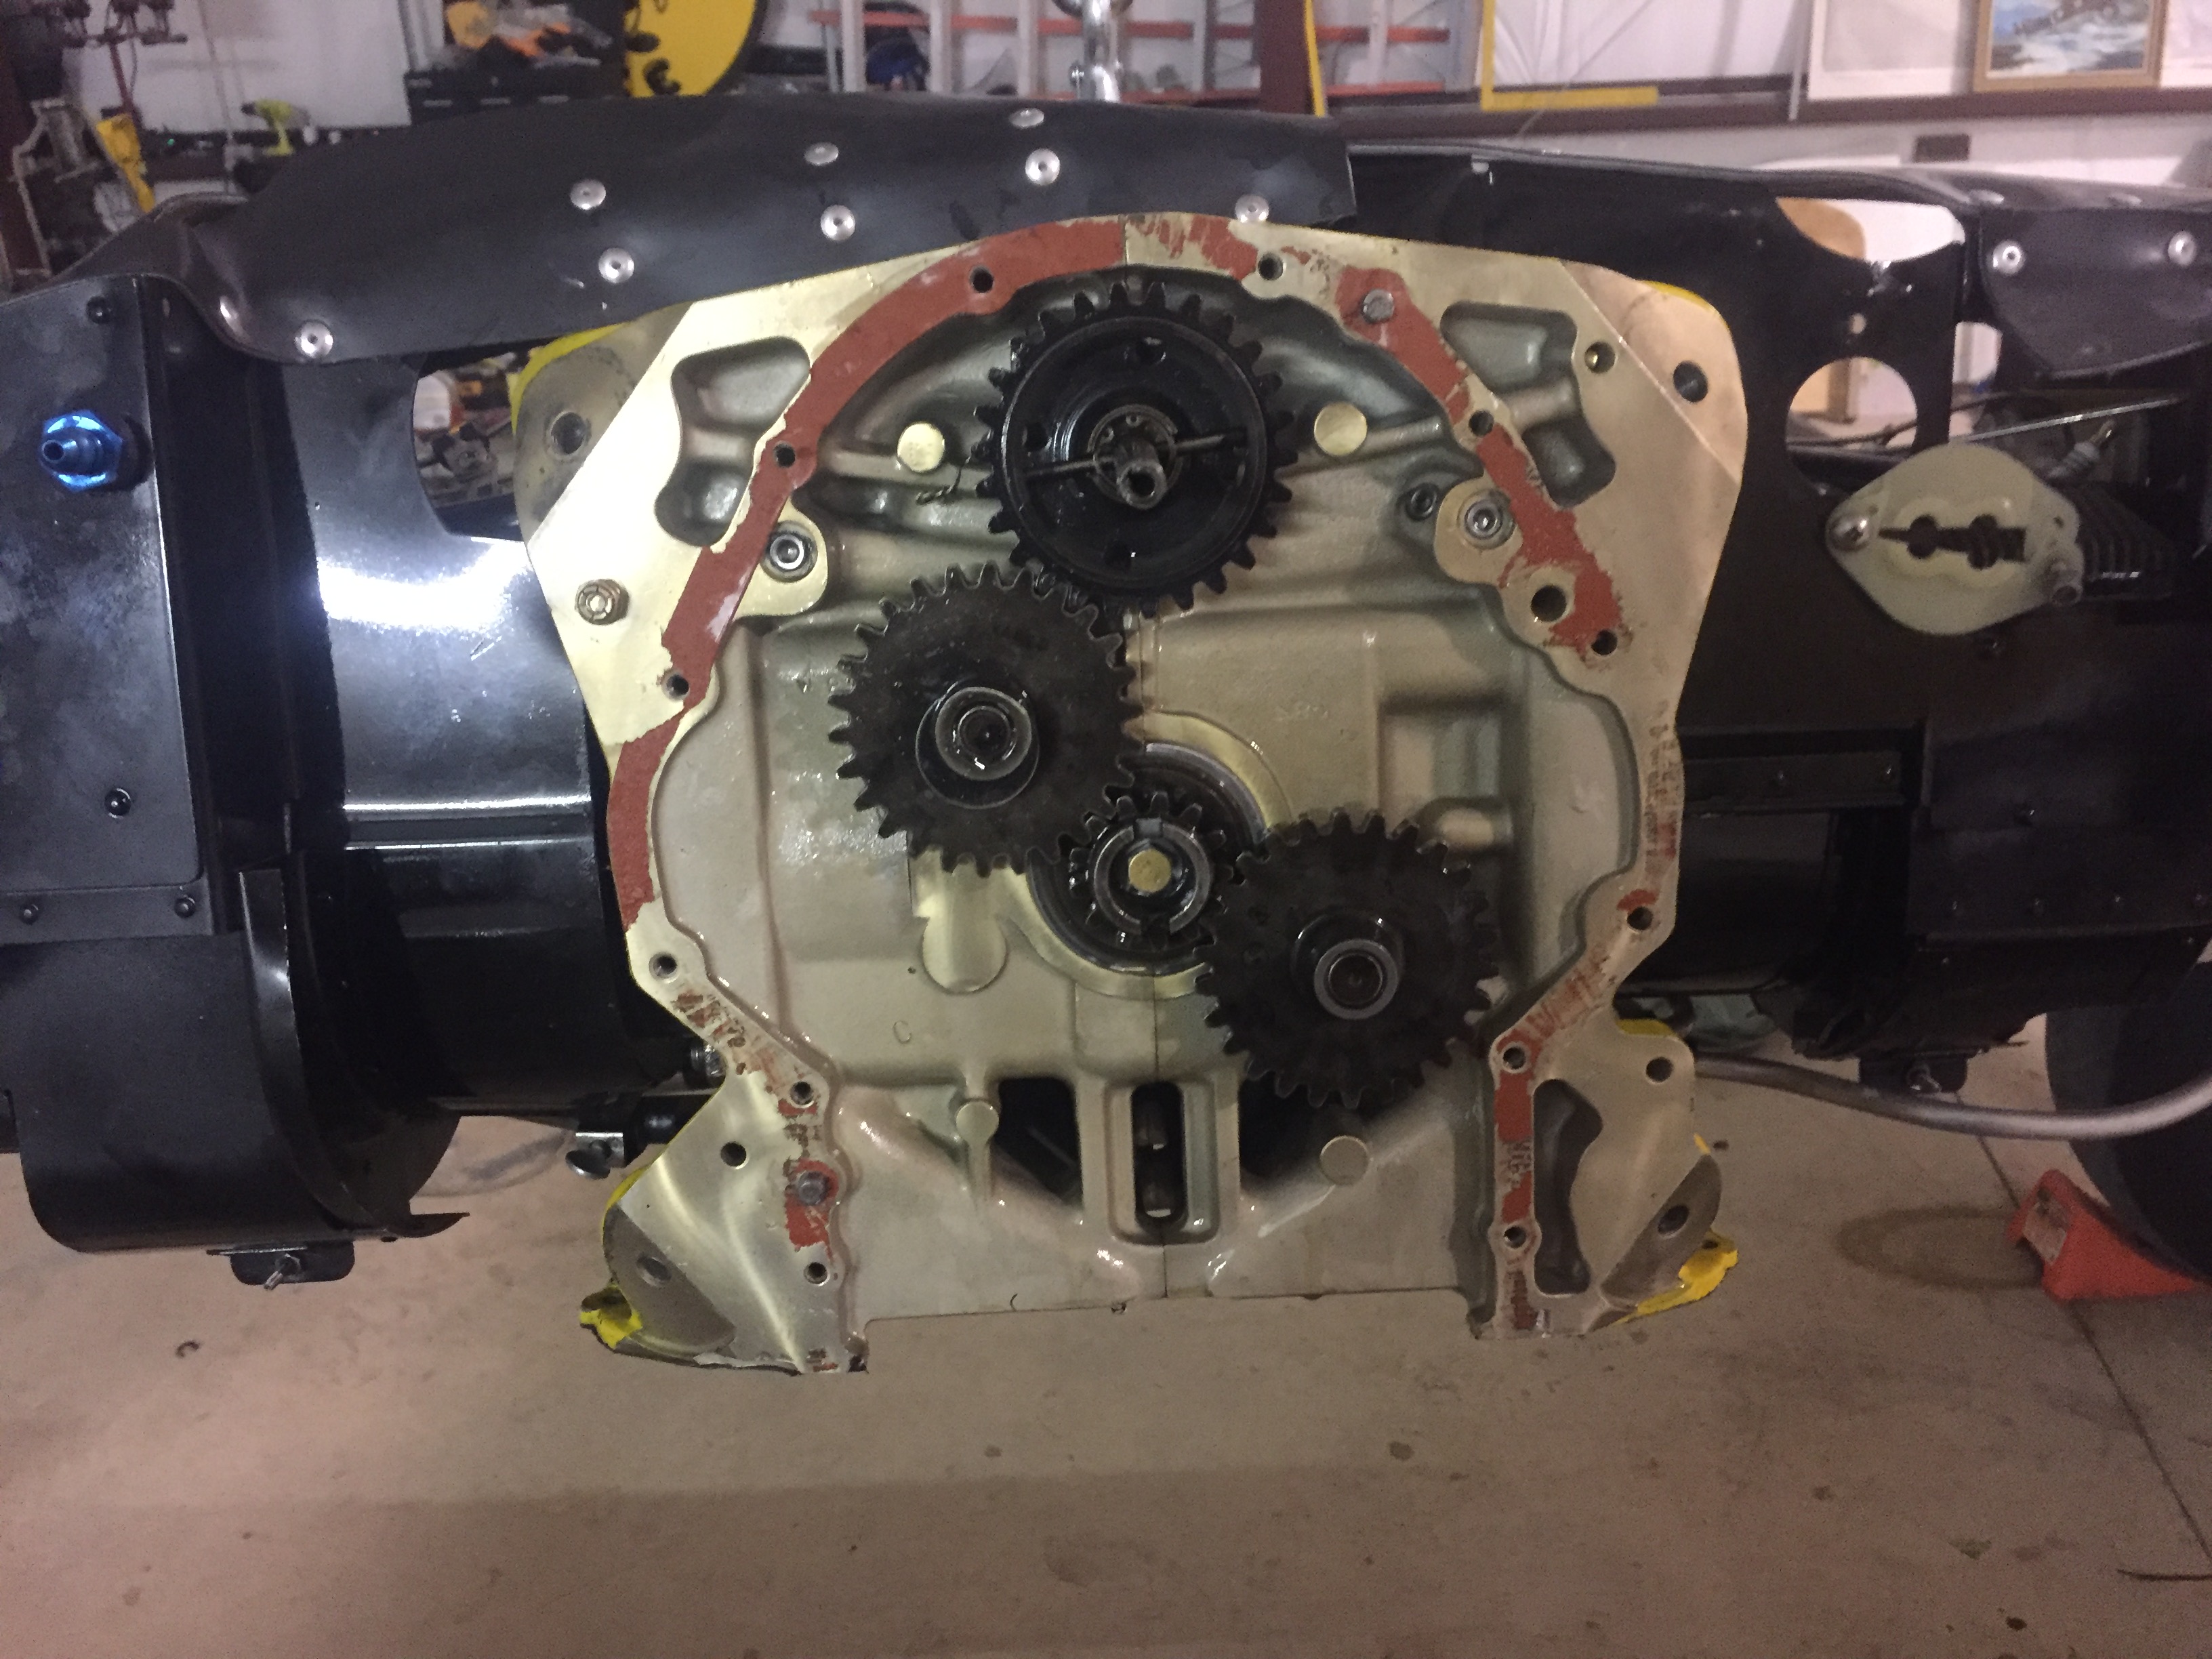
I didn’t respond to your post because I was so pissed at myself...right after I posted that I realized that I probably swapped the to idle gears on the back. They are identical, timing marks and everything, except the cam for the fuel pump on one of them! DOH!!!
I took my anger out by tearing the engine back off and pulling everything off of it! I fixed the gears and double checked them!!! Did it in about 3 hours...waited 2 days for gaskets, got the last one needed at 4:00 today and headed to the airport...put her back together and made it home by 1:00am. Tired, but glad she is back together!
Ron


-
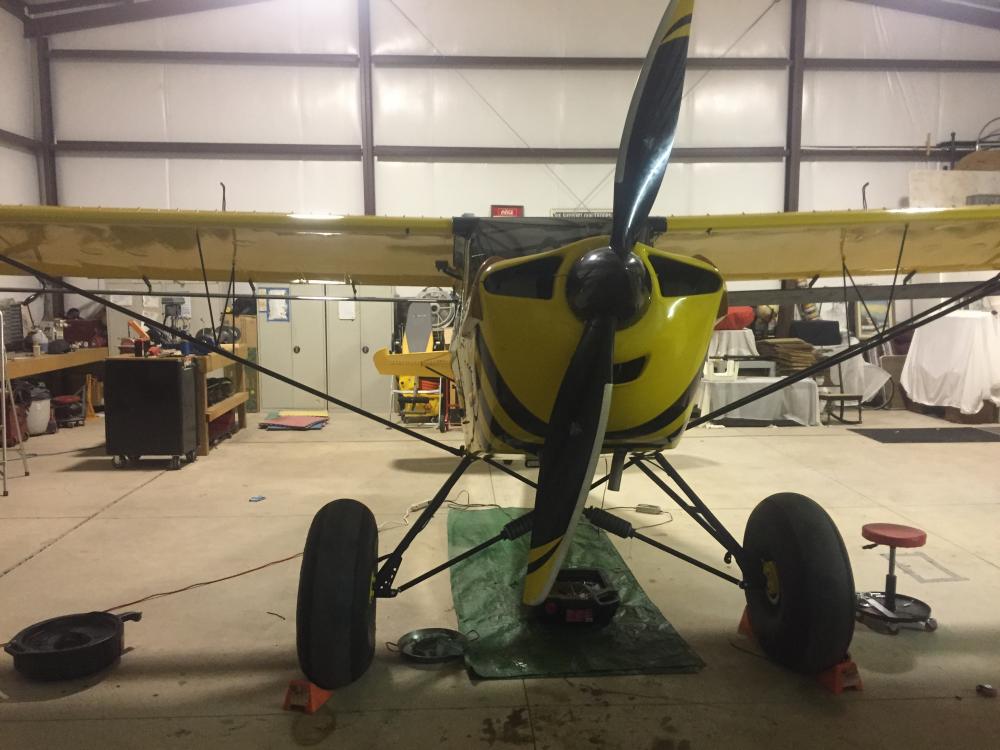
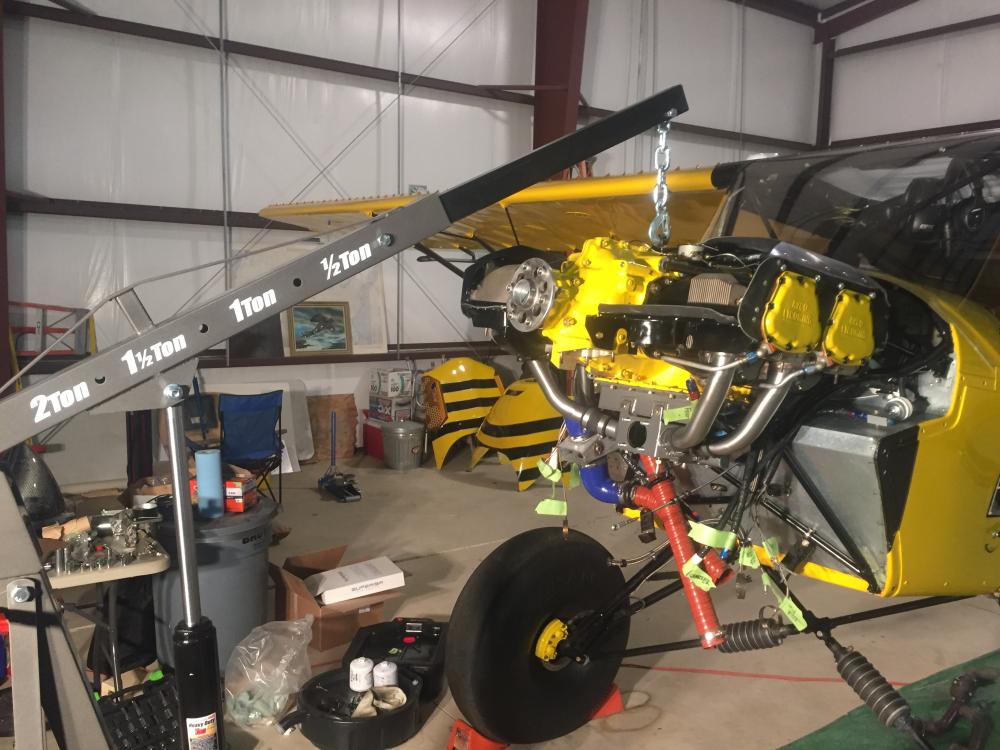
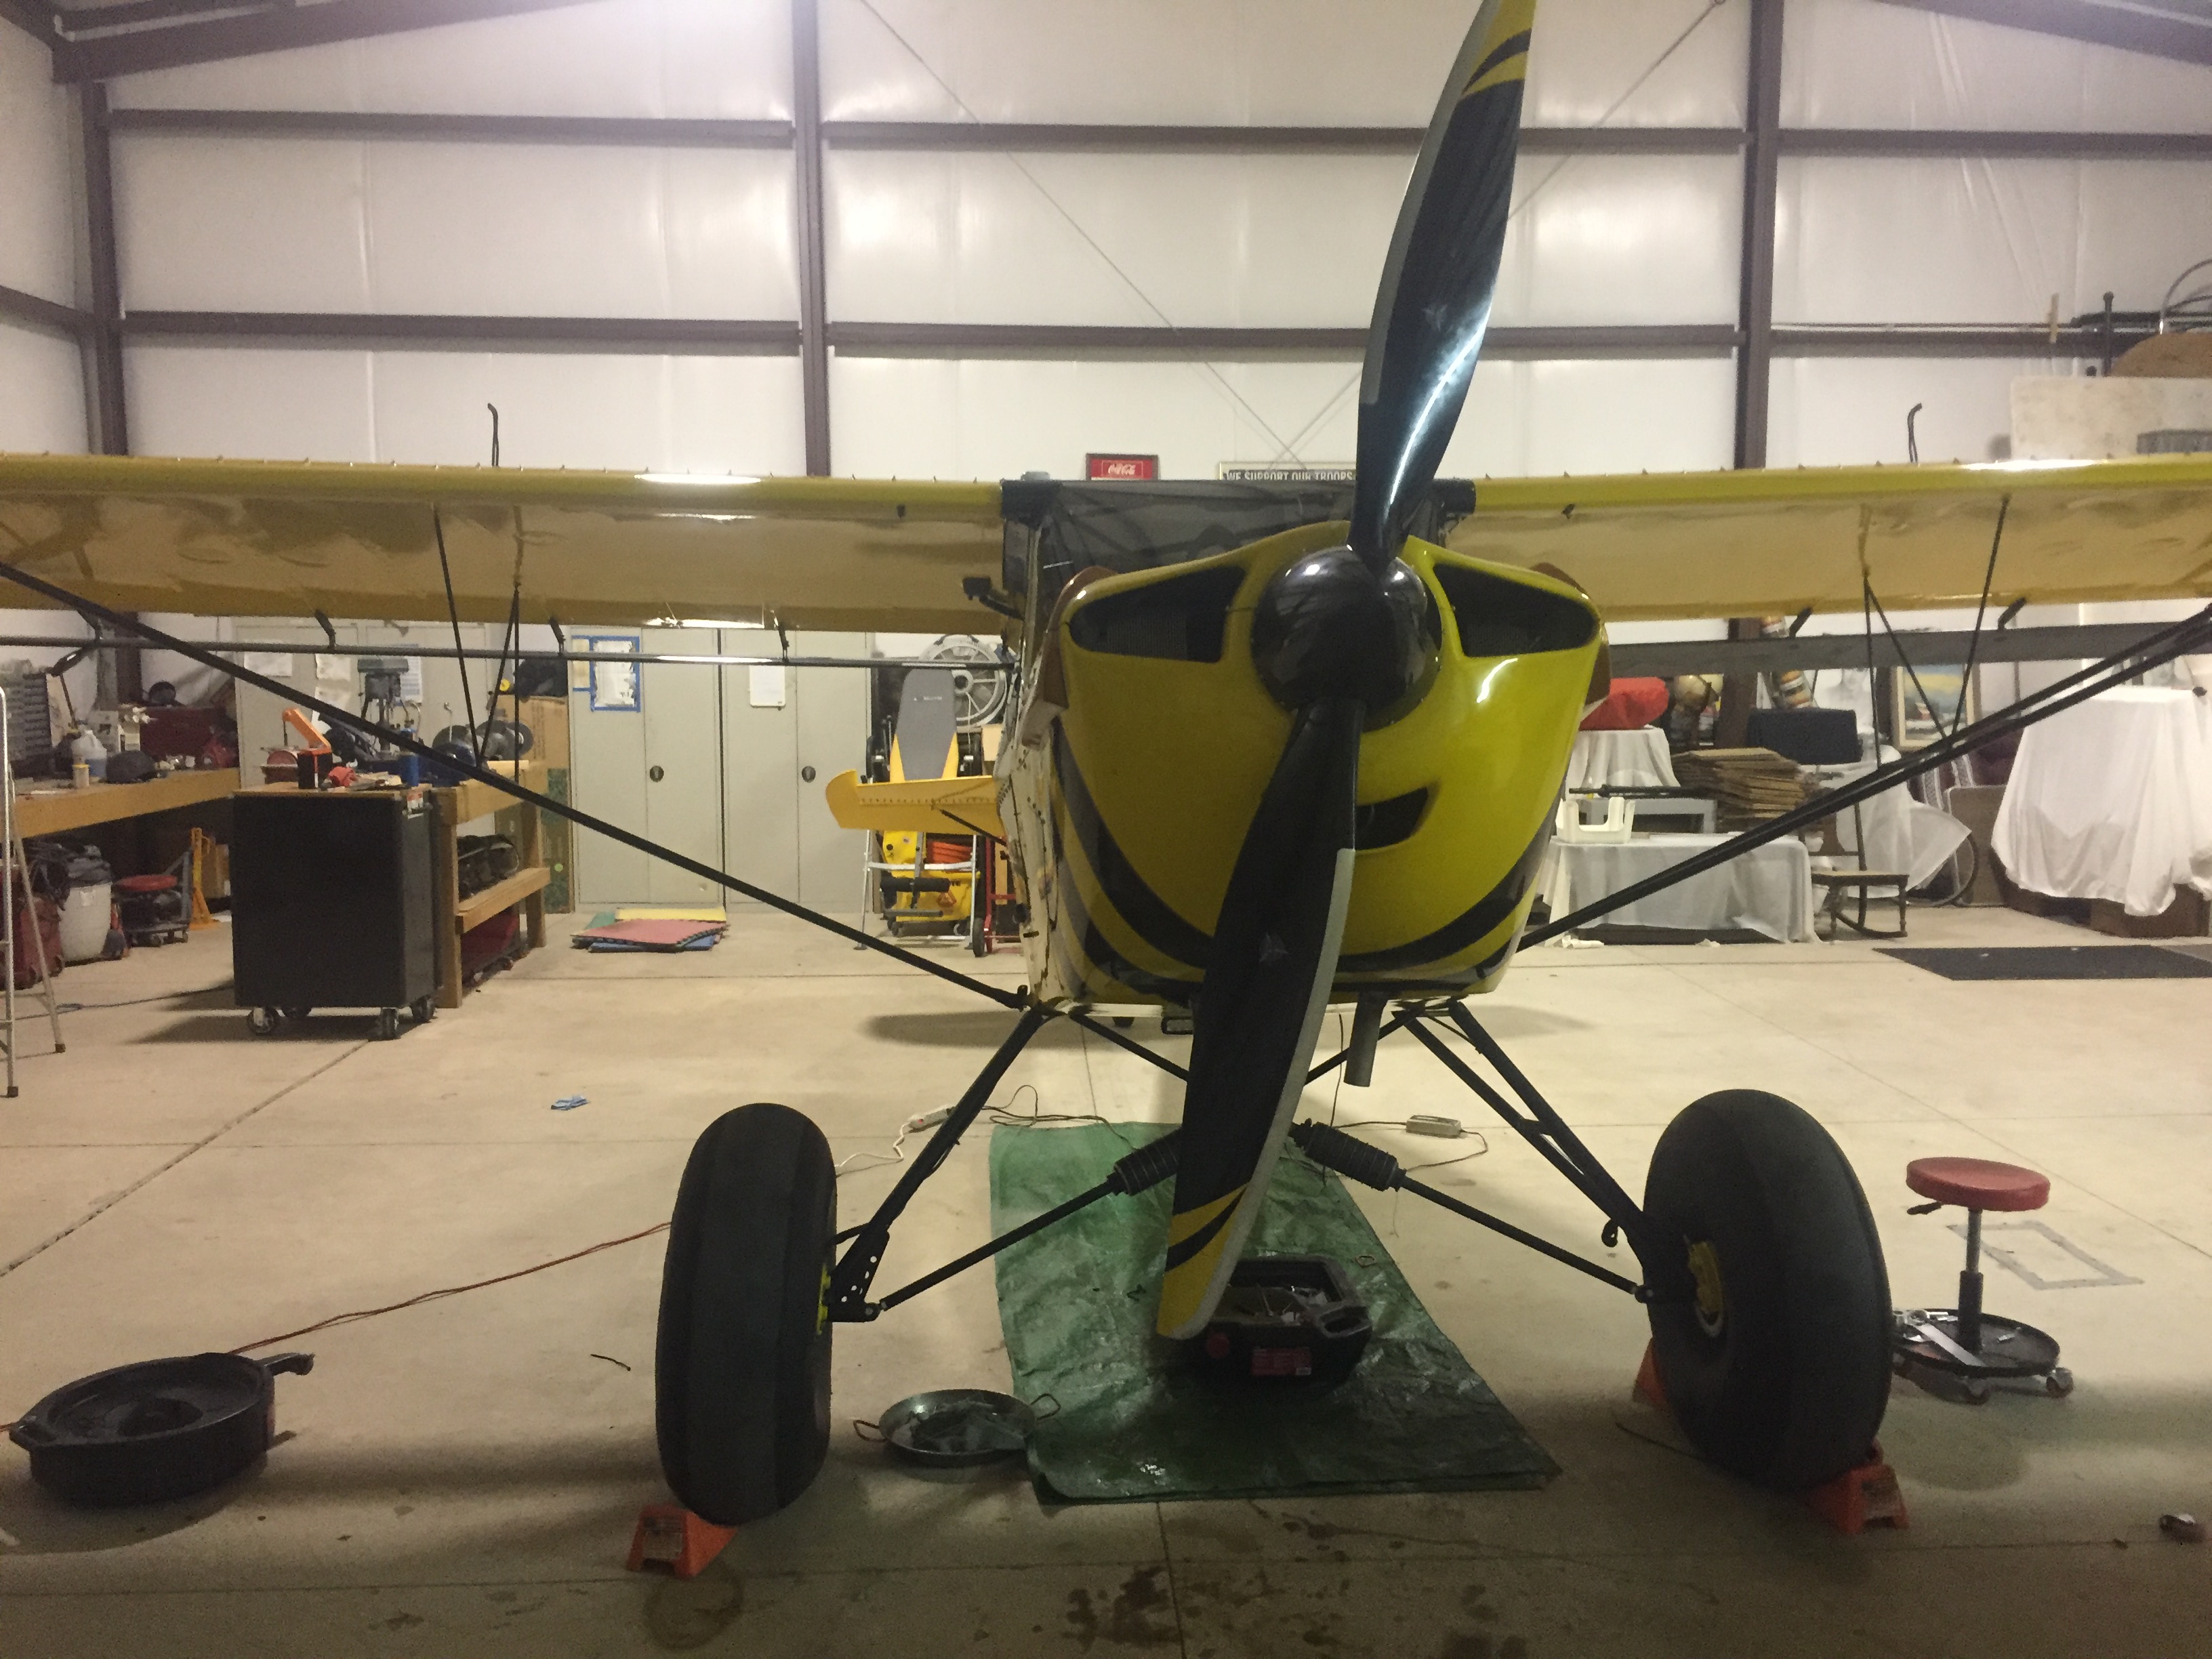
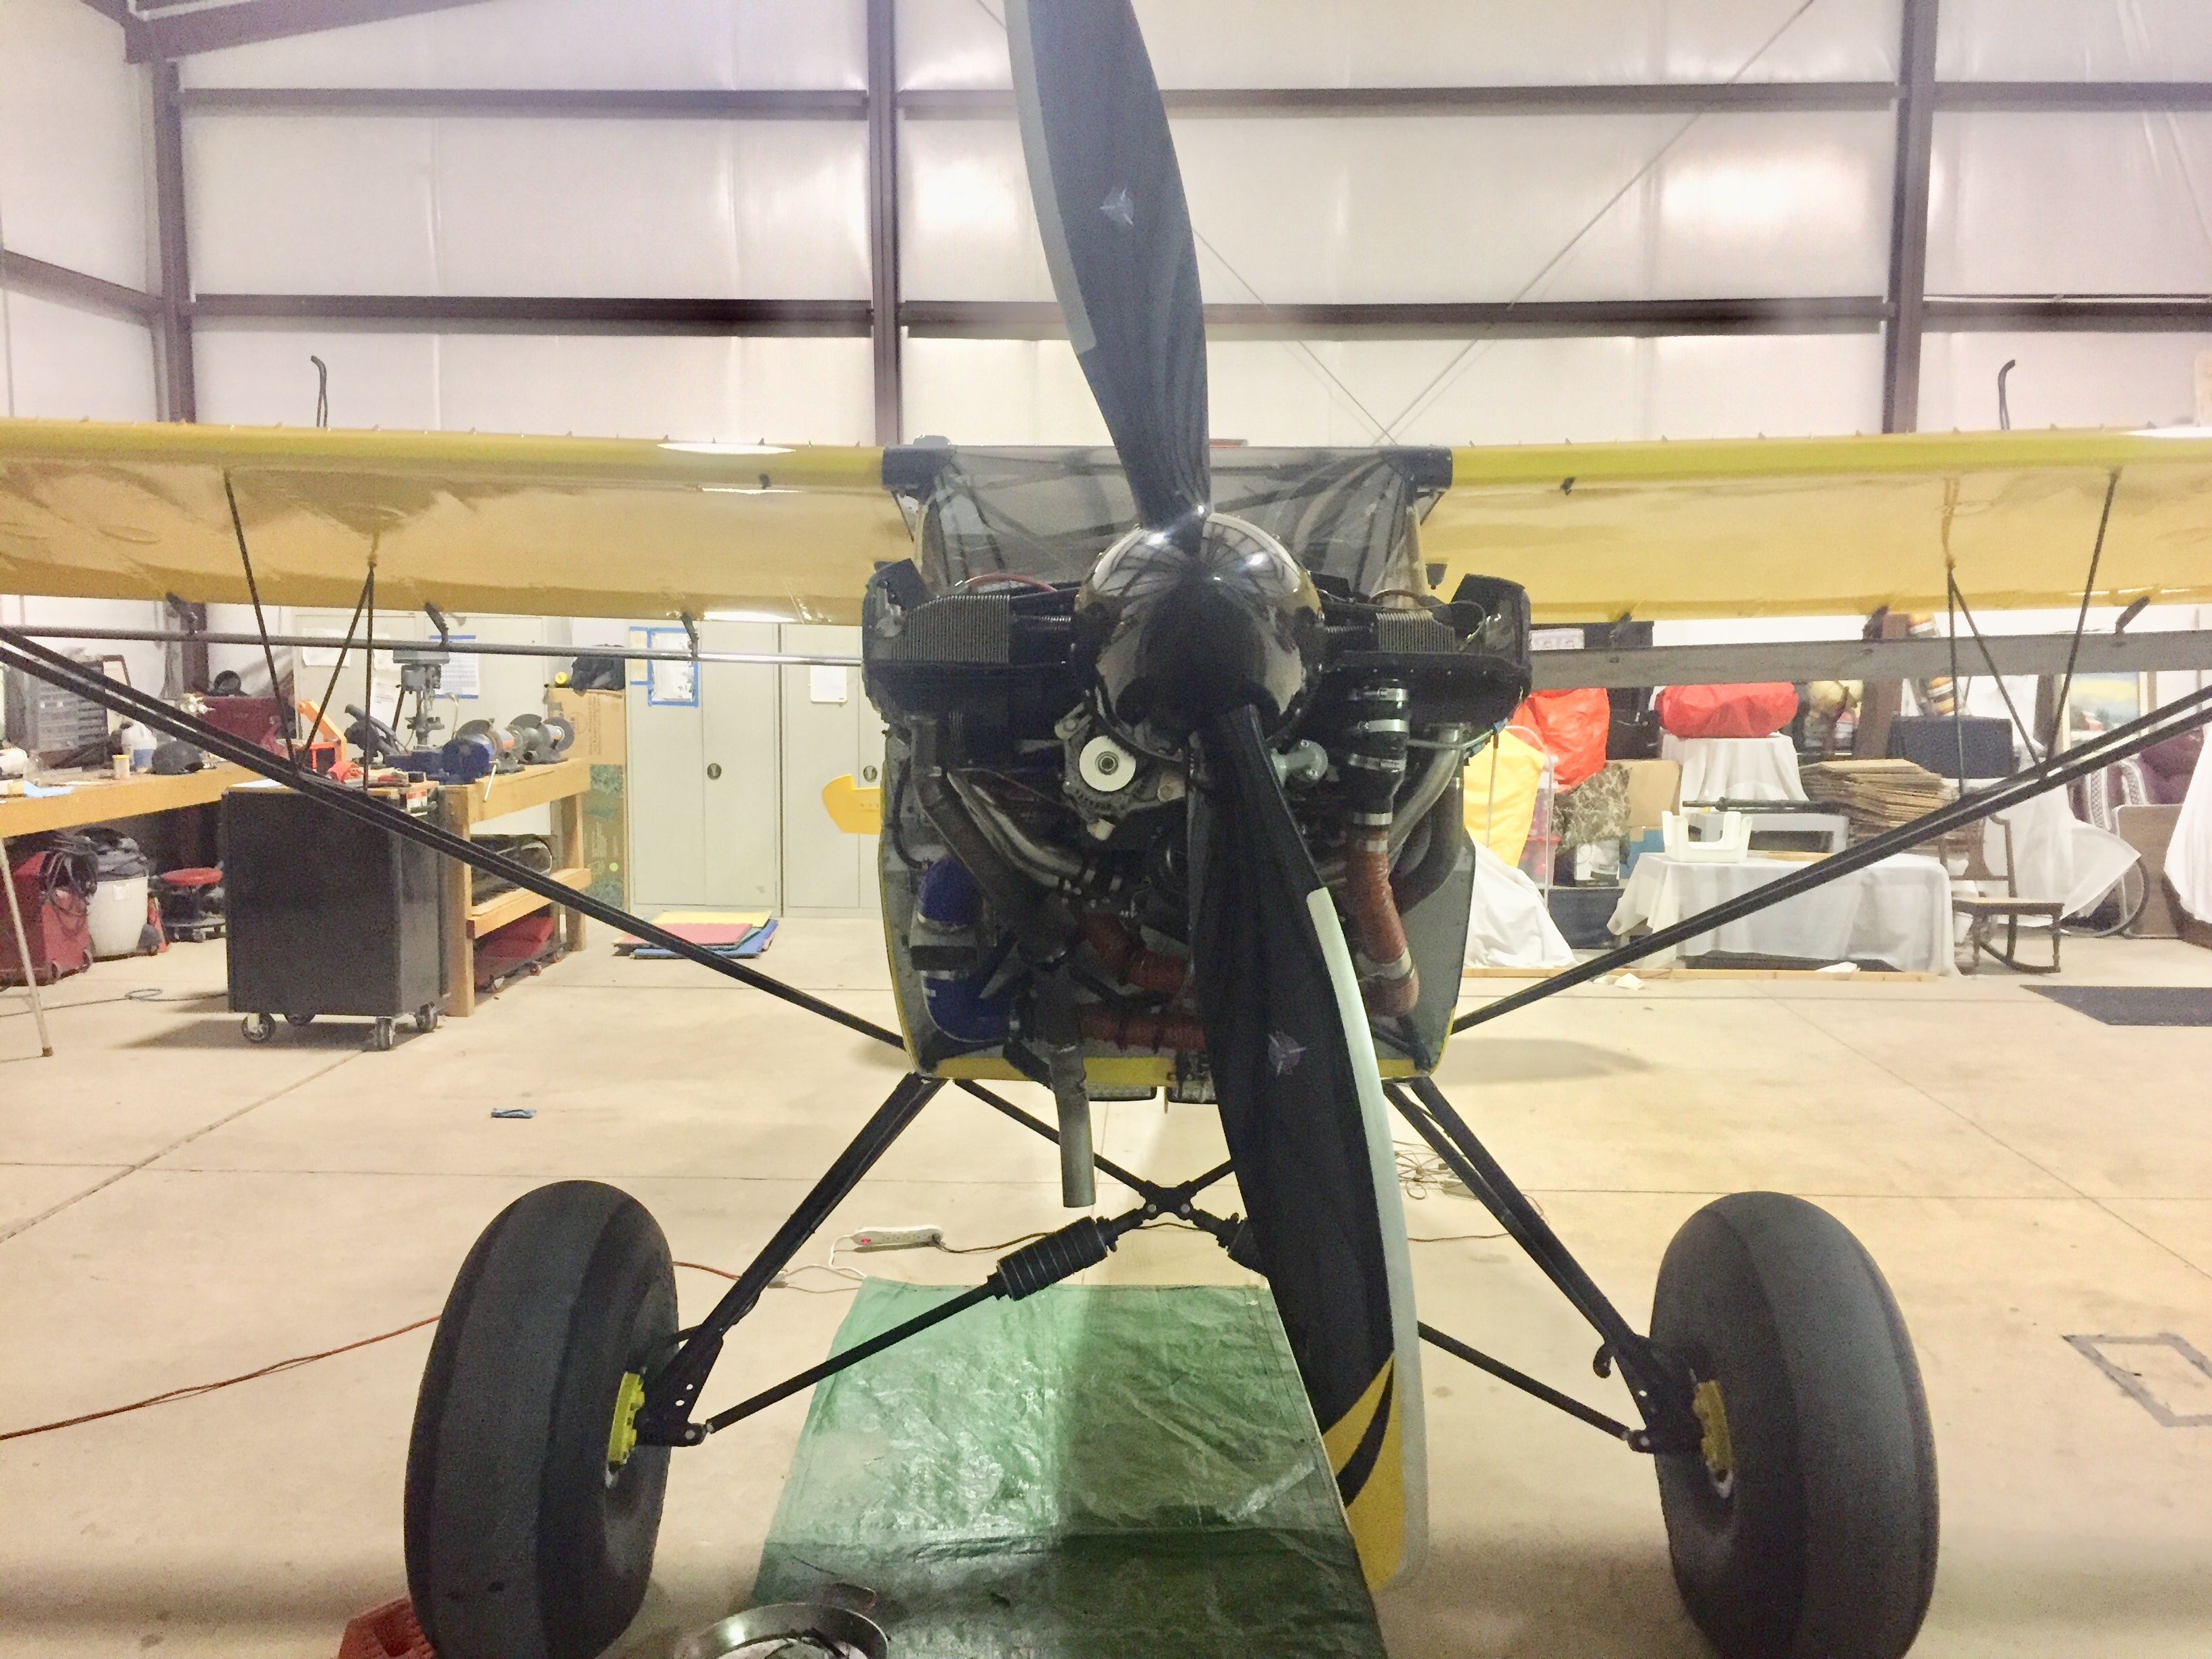
Got my prop back and installed it, then drug the Bee outside for a start. Cranked the engine like crazy, but no start. Gas was coming out of the sniffle valve, so I pulled the bottom plug on #1 and gas came pouring out. I then pulled the other bottom plugs and they barley had any gas in them. I soon realized the mistake I made...I had left the fuel nozzles in the cylinder when I took the cylinders off the engine and I flipped the cylinders over so they were sitting with the valve covers down. This allowed oil and carbon deposits to drain their way into the fuel nozzles. So now I had plugged nozzles. Per Lycoming cleaning instructions I cleaned them out with Hoppe’s #9 gun solvent, then blew them out with air.
I put everything back together and tried to start her again...no start. I ran my battery low and decided to call it a day. The next day I headed to the hangar and spent the day checking mag timing, spark from the left mag, and inspected p-leads. I checked all of the wires going to the mag switches, requiring me to remove the dash. All of the electrical checked good, so it had to be fuel issues still.
With my battery fully charged I went for another start. I used my electric fuel pump in a 3-5” burst then turned it off, and the engine rumbled and then died. This time I turned the electric fuel pump on and left it on...the engine sputtered a little and then roared to life. While on the ground I usually use the mechanical full pump only, so after a minute of running I turned off the Electric FP and after about 5” the engine died...After several starts and stops using the electric fuel pump switch I now know my mechanical fuel pump has gone bad.
Easy fix you would think, but the firewall interferes with the location of the fuel pump, so this might take a while.
I did run the engine for a few minutes and it ran great! A lot smoother running than before! It had good oil pressure and felt powerful in the cold air today. I’m super happy with the work I accomplished, I’ll cross my fingers that fixing the fuel pump goes well and that the engine will run Great for many hours to come...
Cheers,
Ron
 1 person likes this
 -
You are going to get me in trouble on the forum...I did pressure test mine
 I taped all of the vent lines and used a technically developed tape and paper towel ball the size of the fuel cap with a tire stem in the center of the tape ball...very technical...go figure, the only leak was in the tape ball, but slow enough that I could spray soap and look for bubbles elsewhere. Used very low pressure, about 3 psi.
But I think the static overnight fuel test is better!
-
Mark,
I’m with you, they are pricey...not sure I would have shelled out those clams, but as a gift I’ll take them all day long...
That is the parent website where you can buy the set of three.
Ron
-
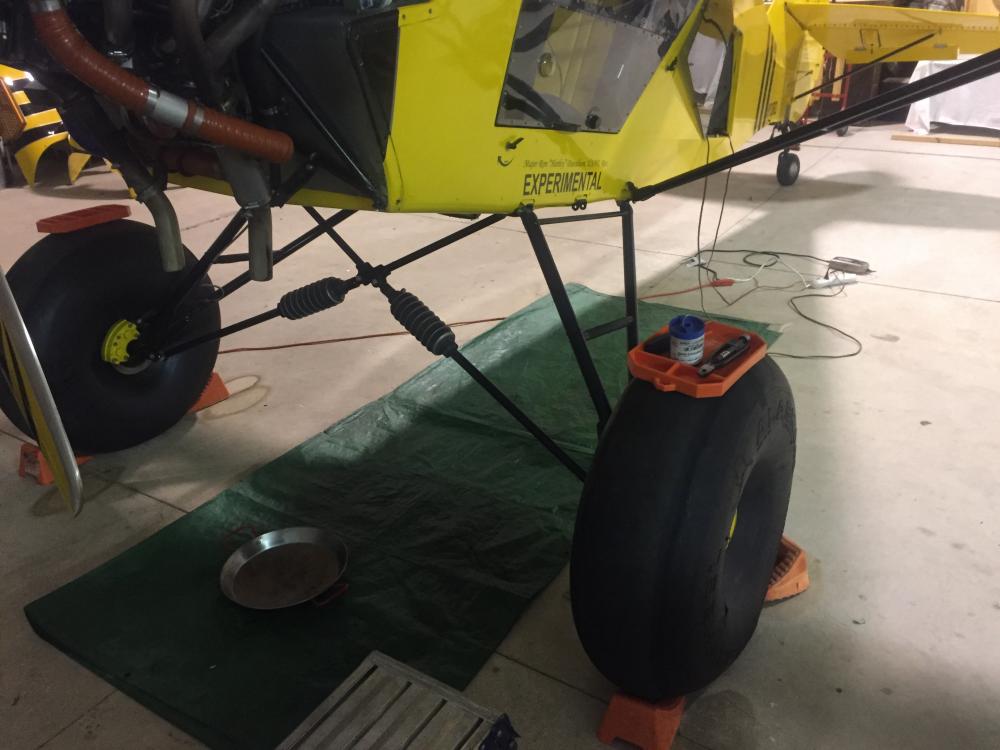
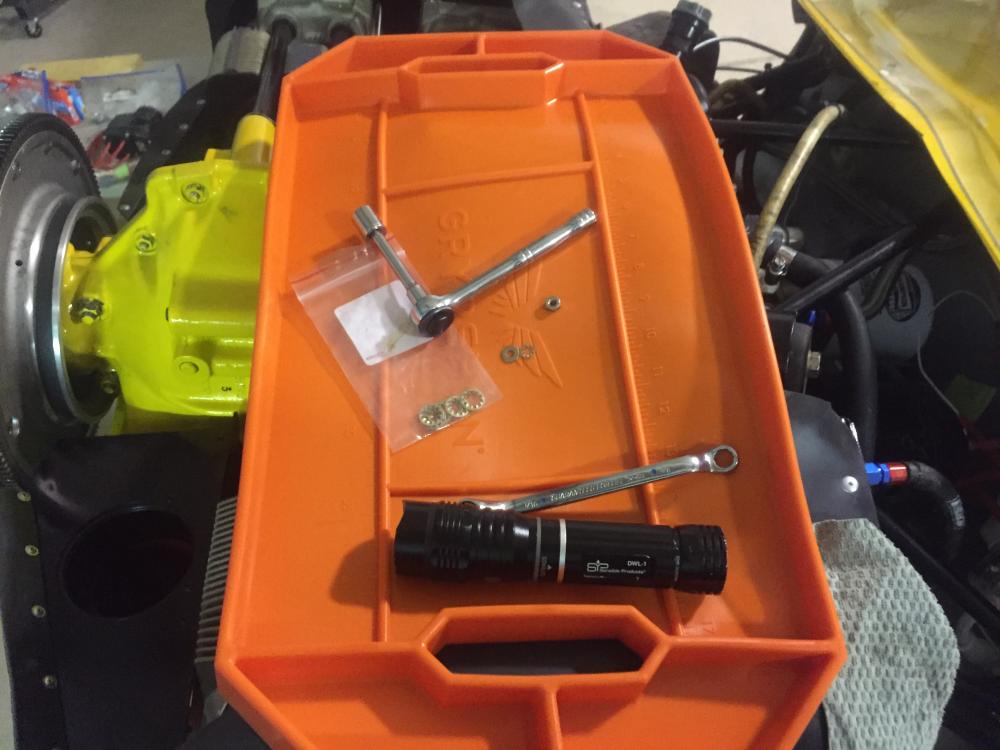
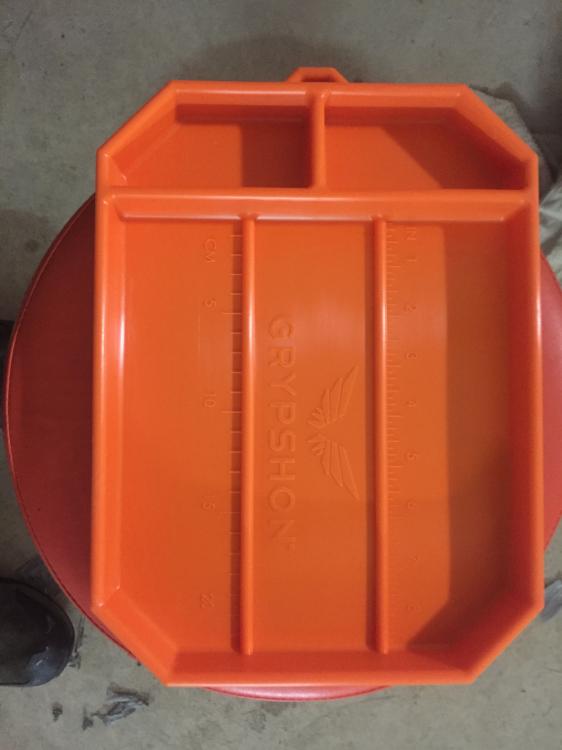
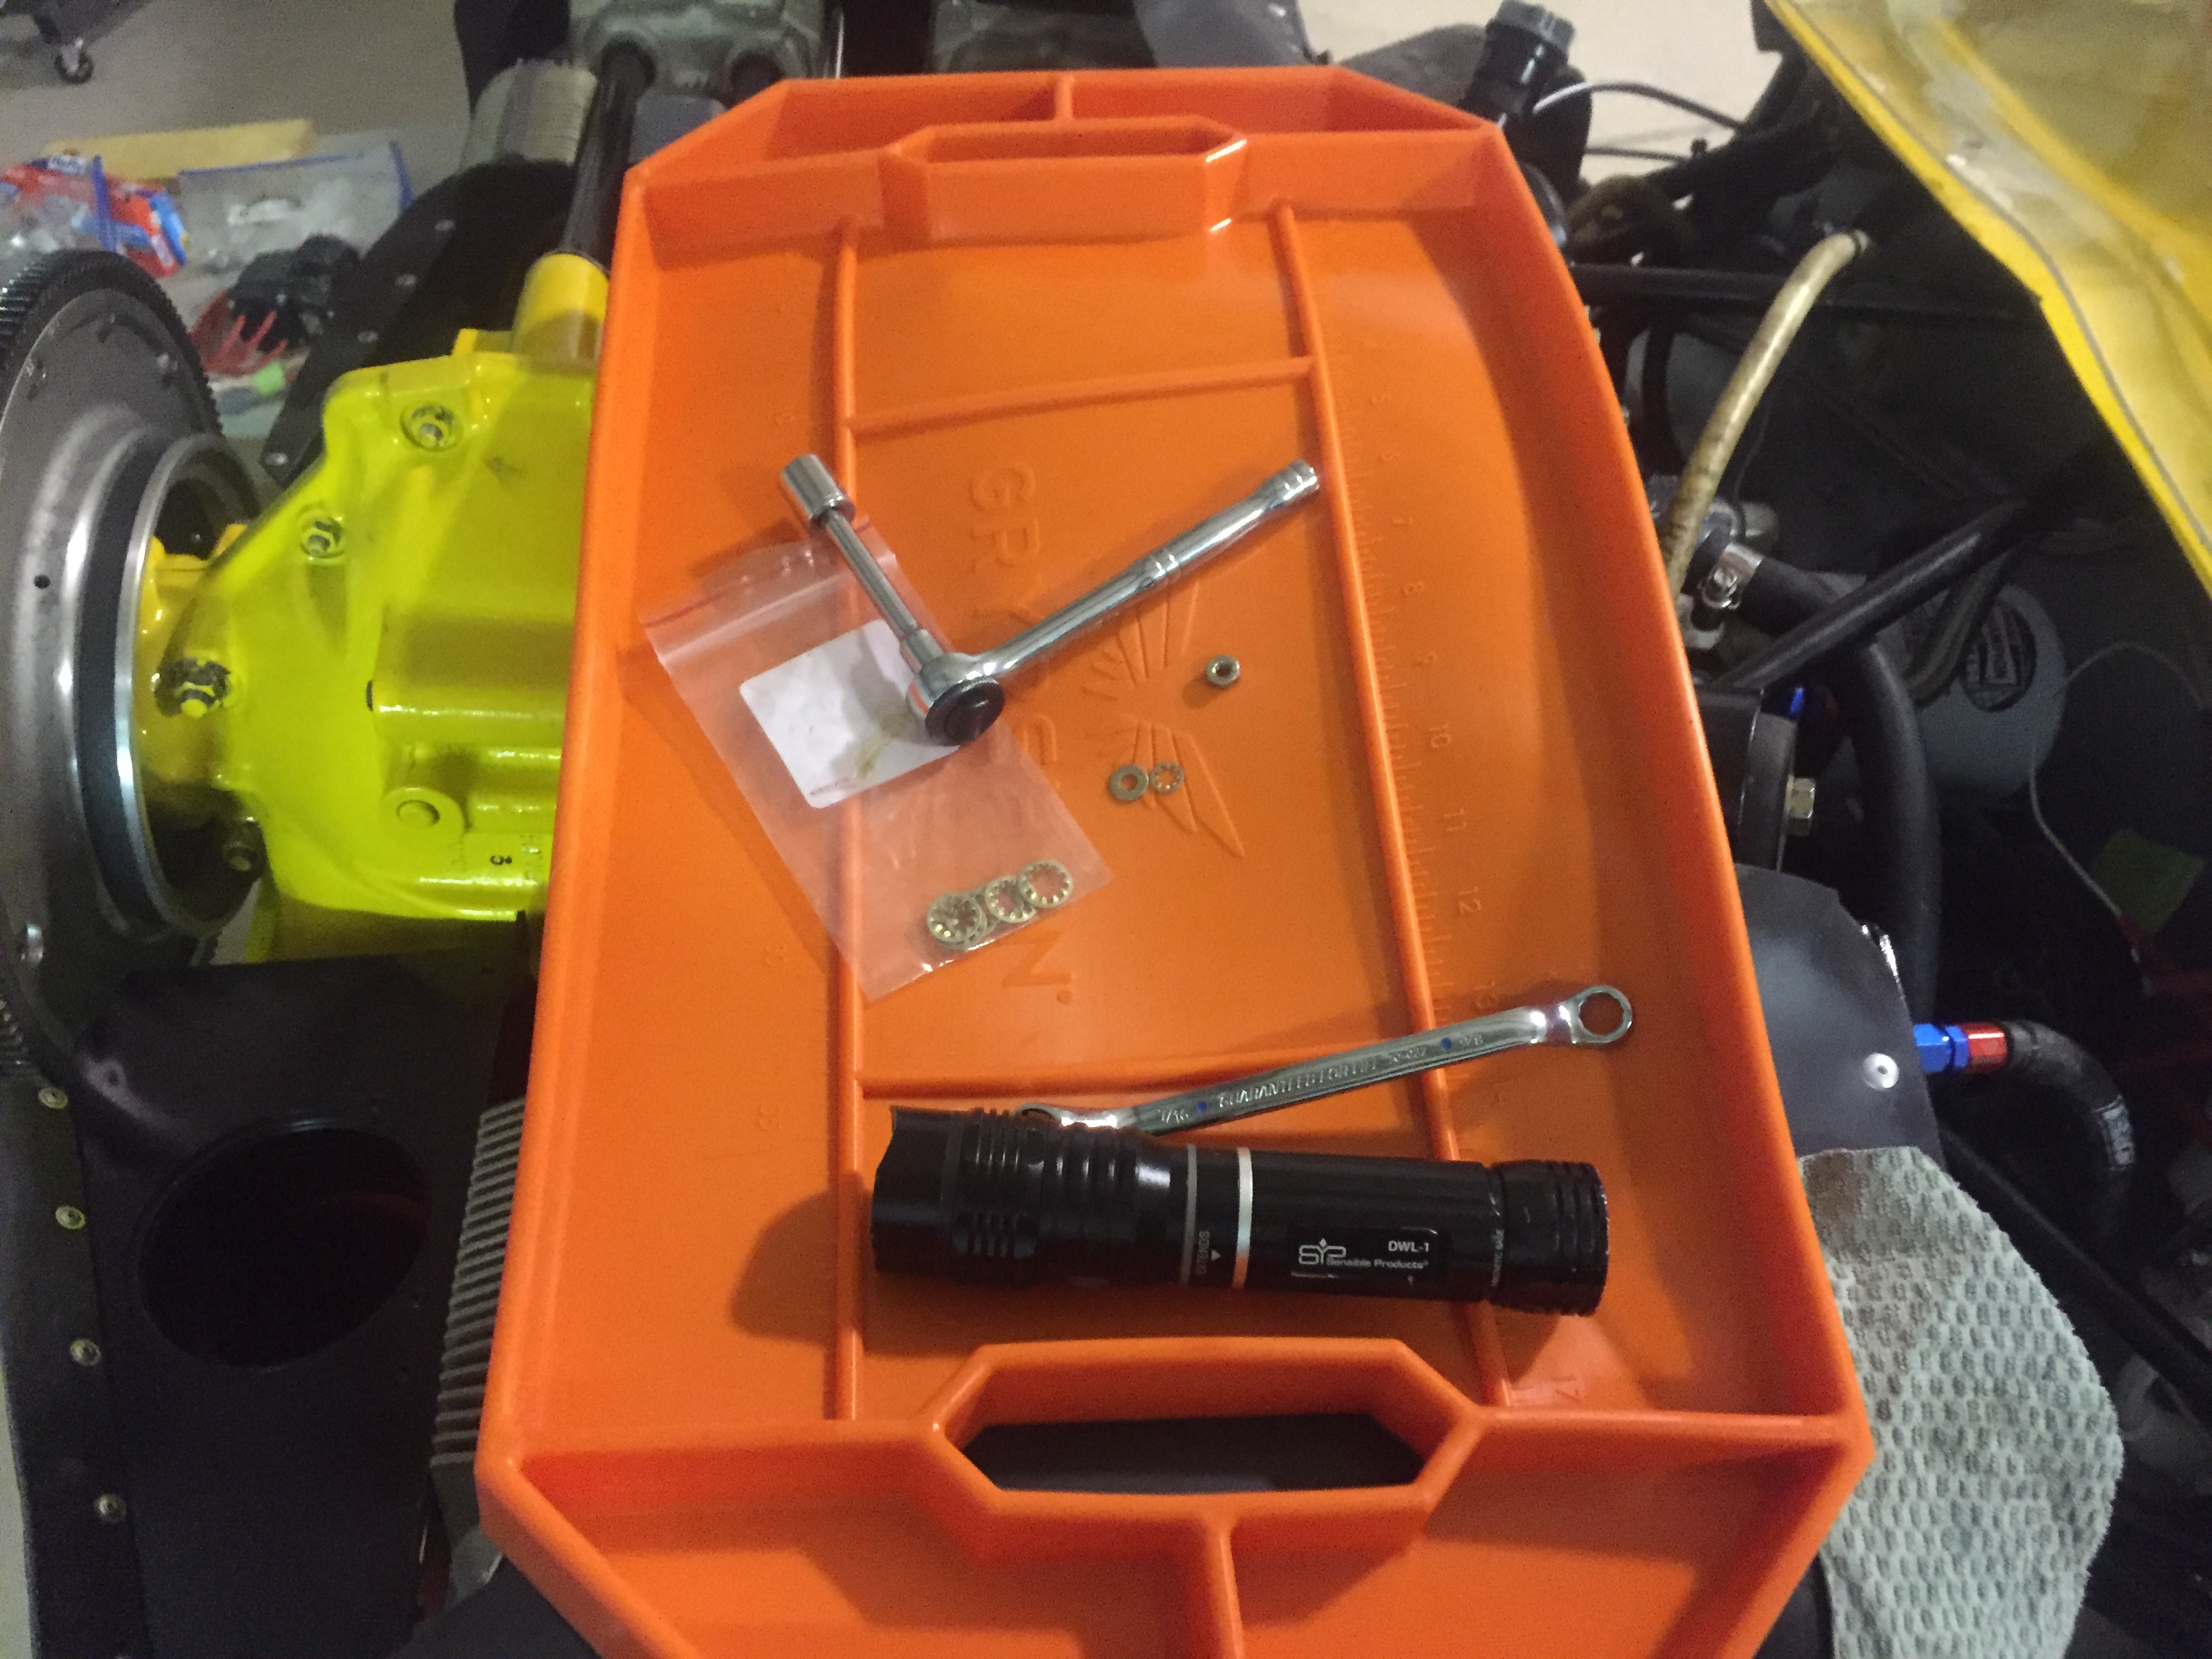
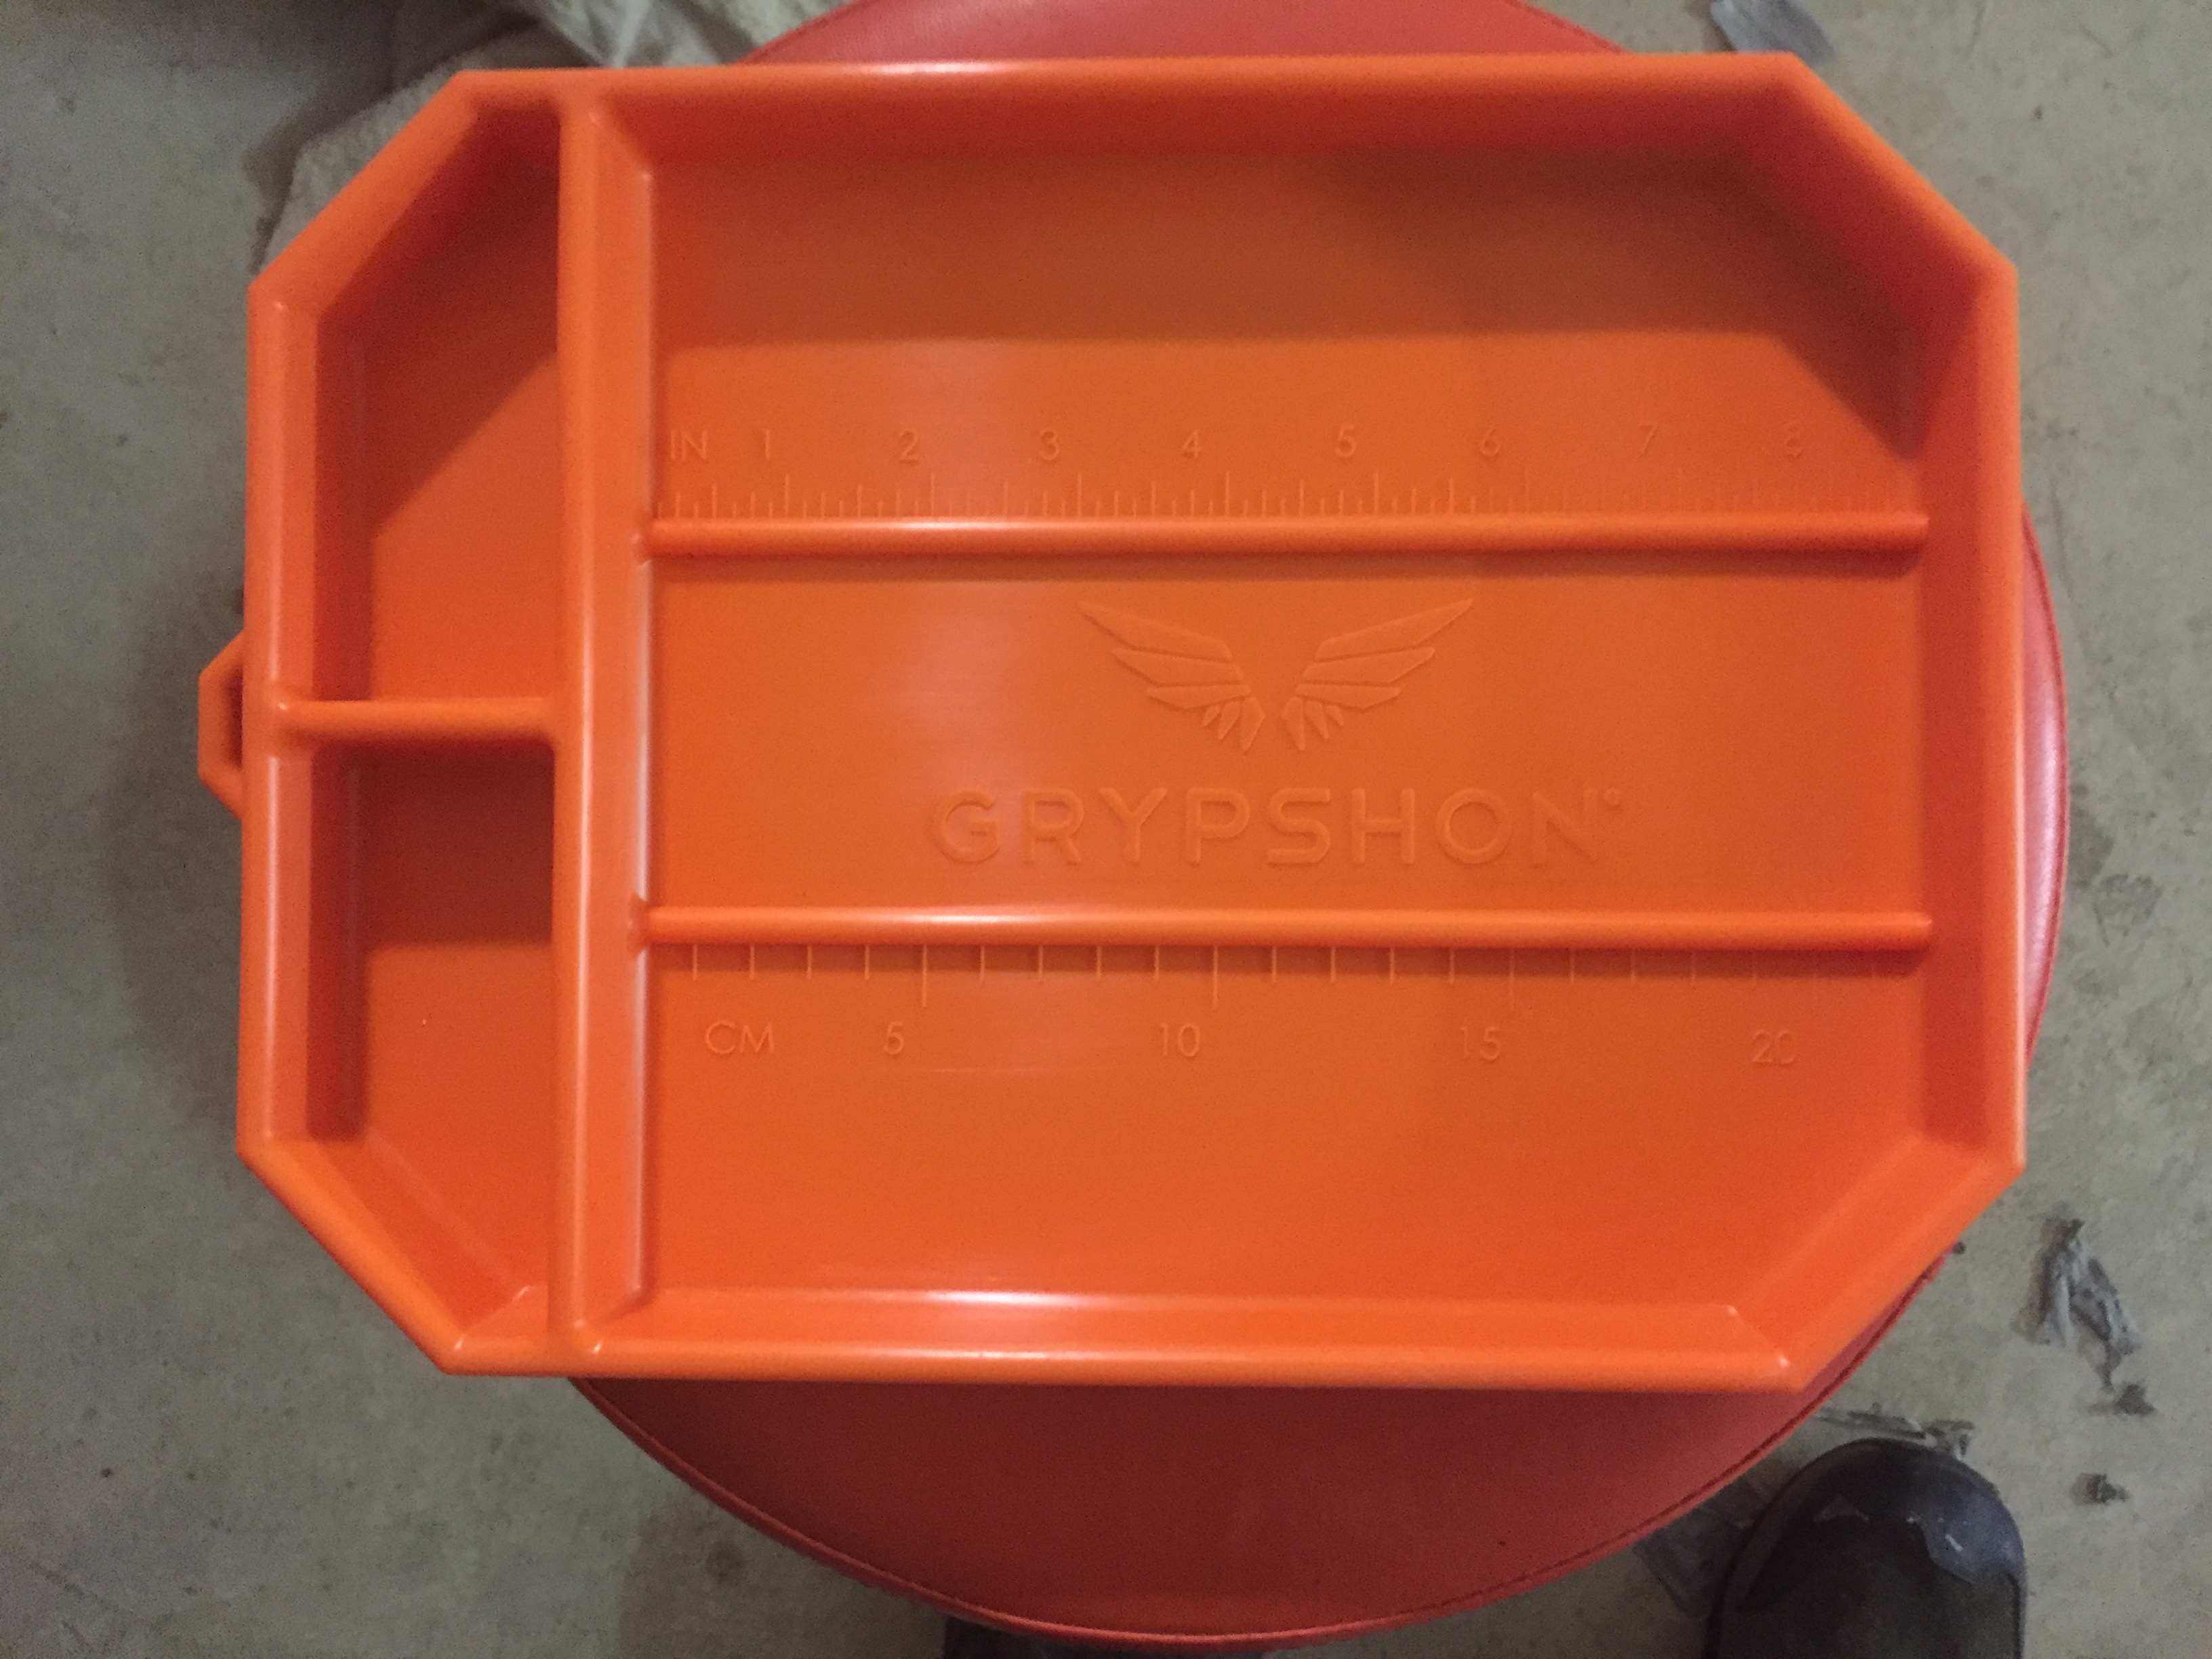
Fellas,
My Sister bought me these Grypshon Tool Mats for Christmas and I love them! They are flexible and made of rubber that is real grippy so it doesn't slide. Perfect for setting on top of your Air Streaks, ABWs, or on top of your engine. No more chasing screwdrivers as they roll off of your tires.
She said she saw these on Shark Tank and it was an Air Force guy that developed them. Probably can be found on Amazon...
Just wanted to share my new favorite shop tool with ya...
Ron
 2 people like this
 -
Happy New Year Leni! Just sent you some dough...Thanks for keeping a great site going!
Cheers,
Ron
-
Lookin’ Good Barry! Keep pushing forward! I got kind of bogged down during this filling, wrapping, sanding part...but your hard work will make it look great!
-
TX,
You are right about the pre heating...we didn’t do it and you can see the result, no penetration.
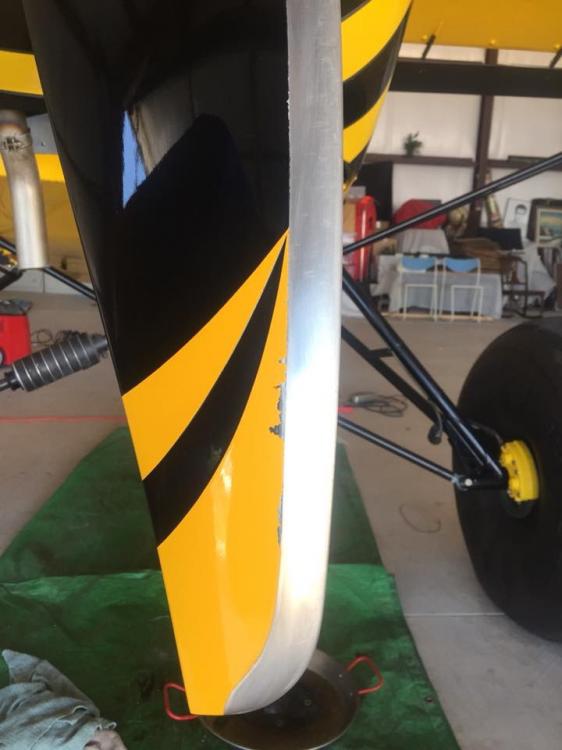
She is back together now...waiting to get my Catto Prop back, had to send it back because the paint was peeling off of the tips. They said they had tried a new primer that obviously didn’t work.


-
Going back on the Bee tomorrow!

-
Brian,
Congrats!!! Beautiful Magnum...glad you are one of us now...
Ron
-
Getting closer...hope to have it back on the Bee this coming week.

 1 person likes this
 -
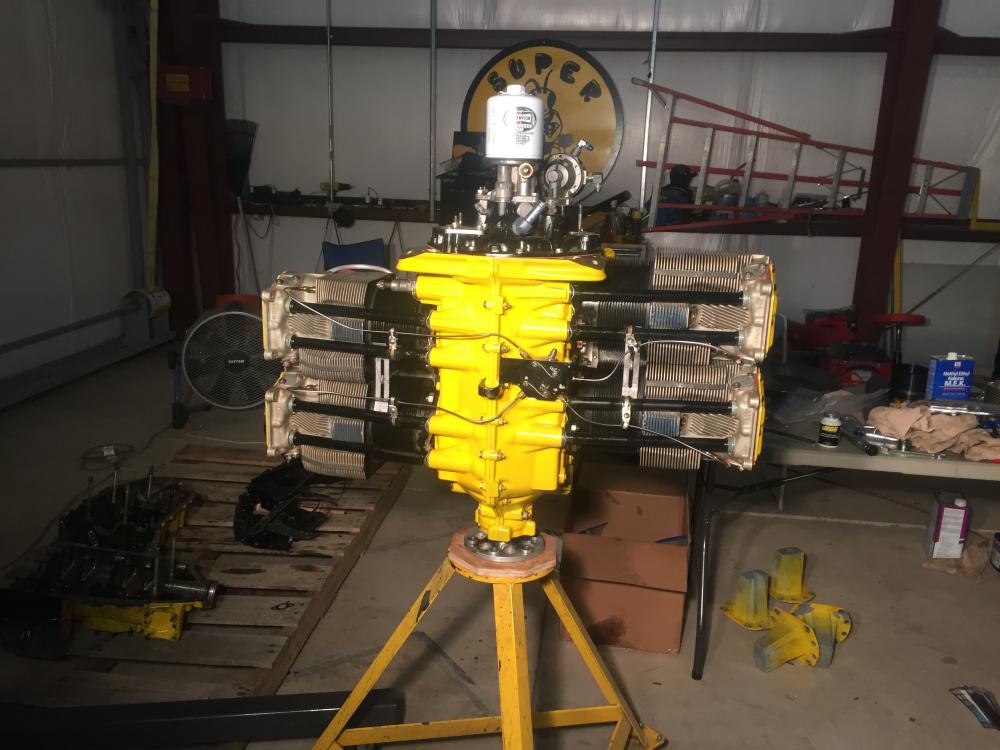
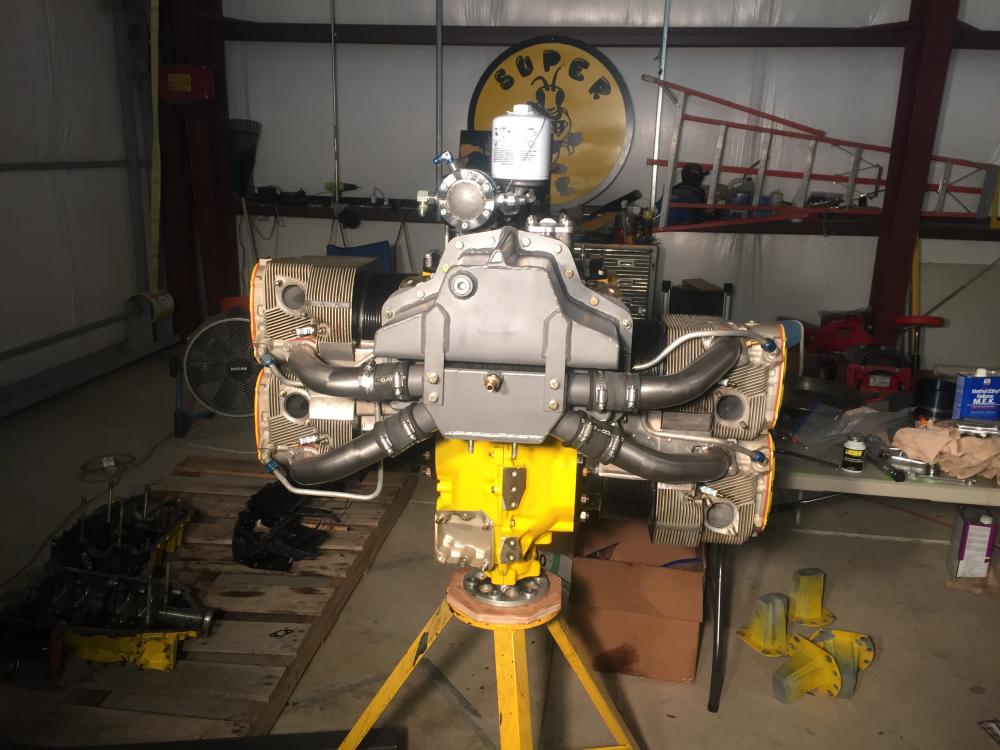
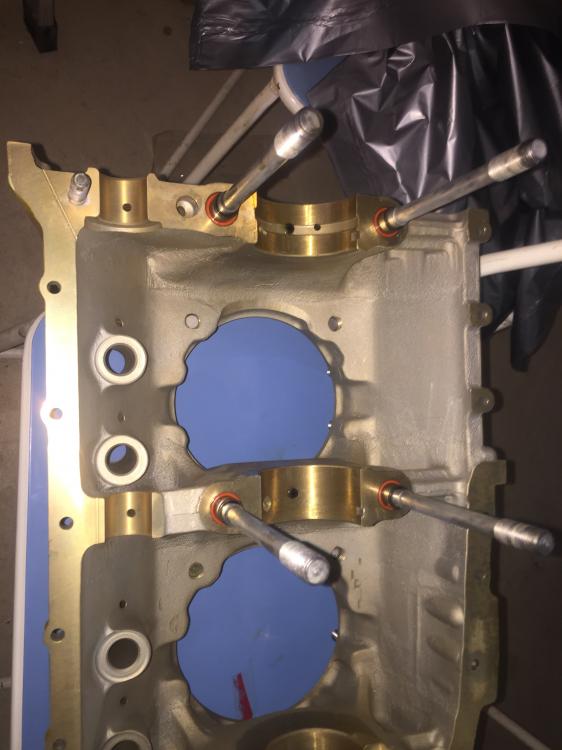
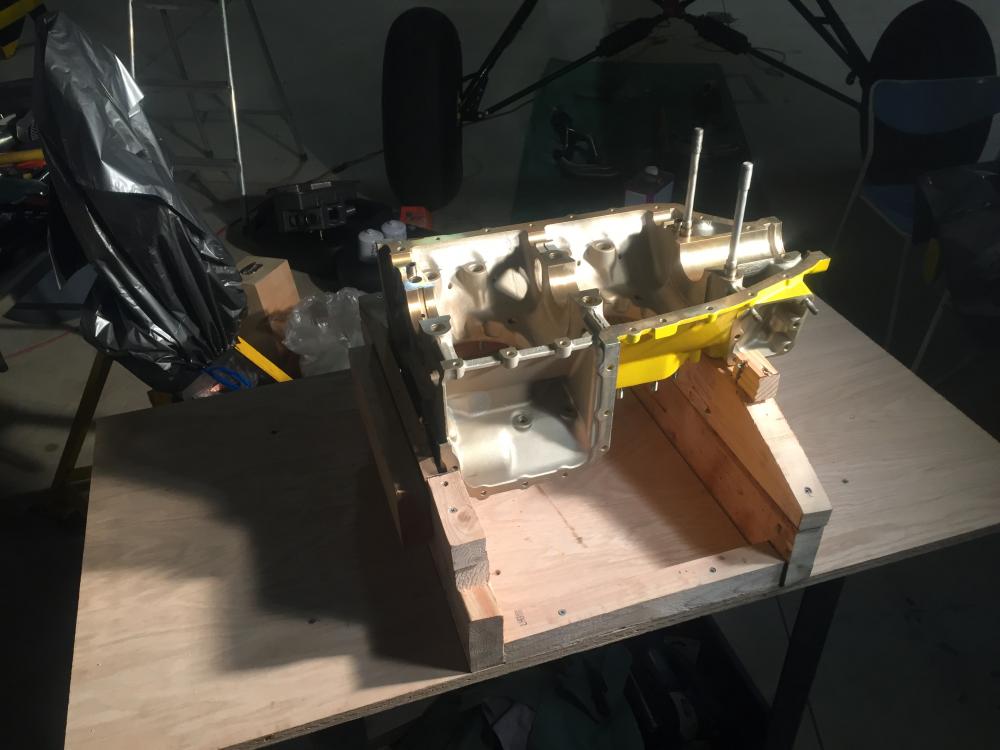
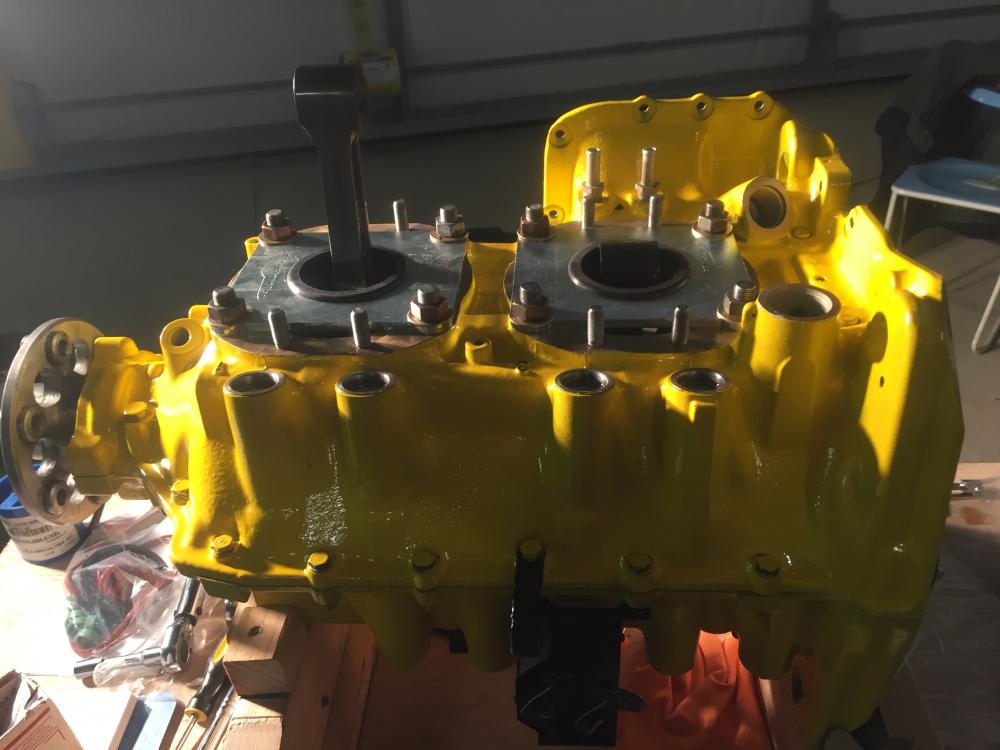
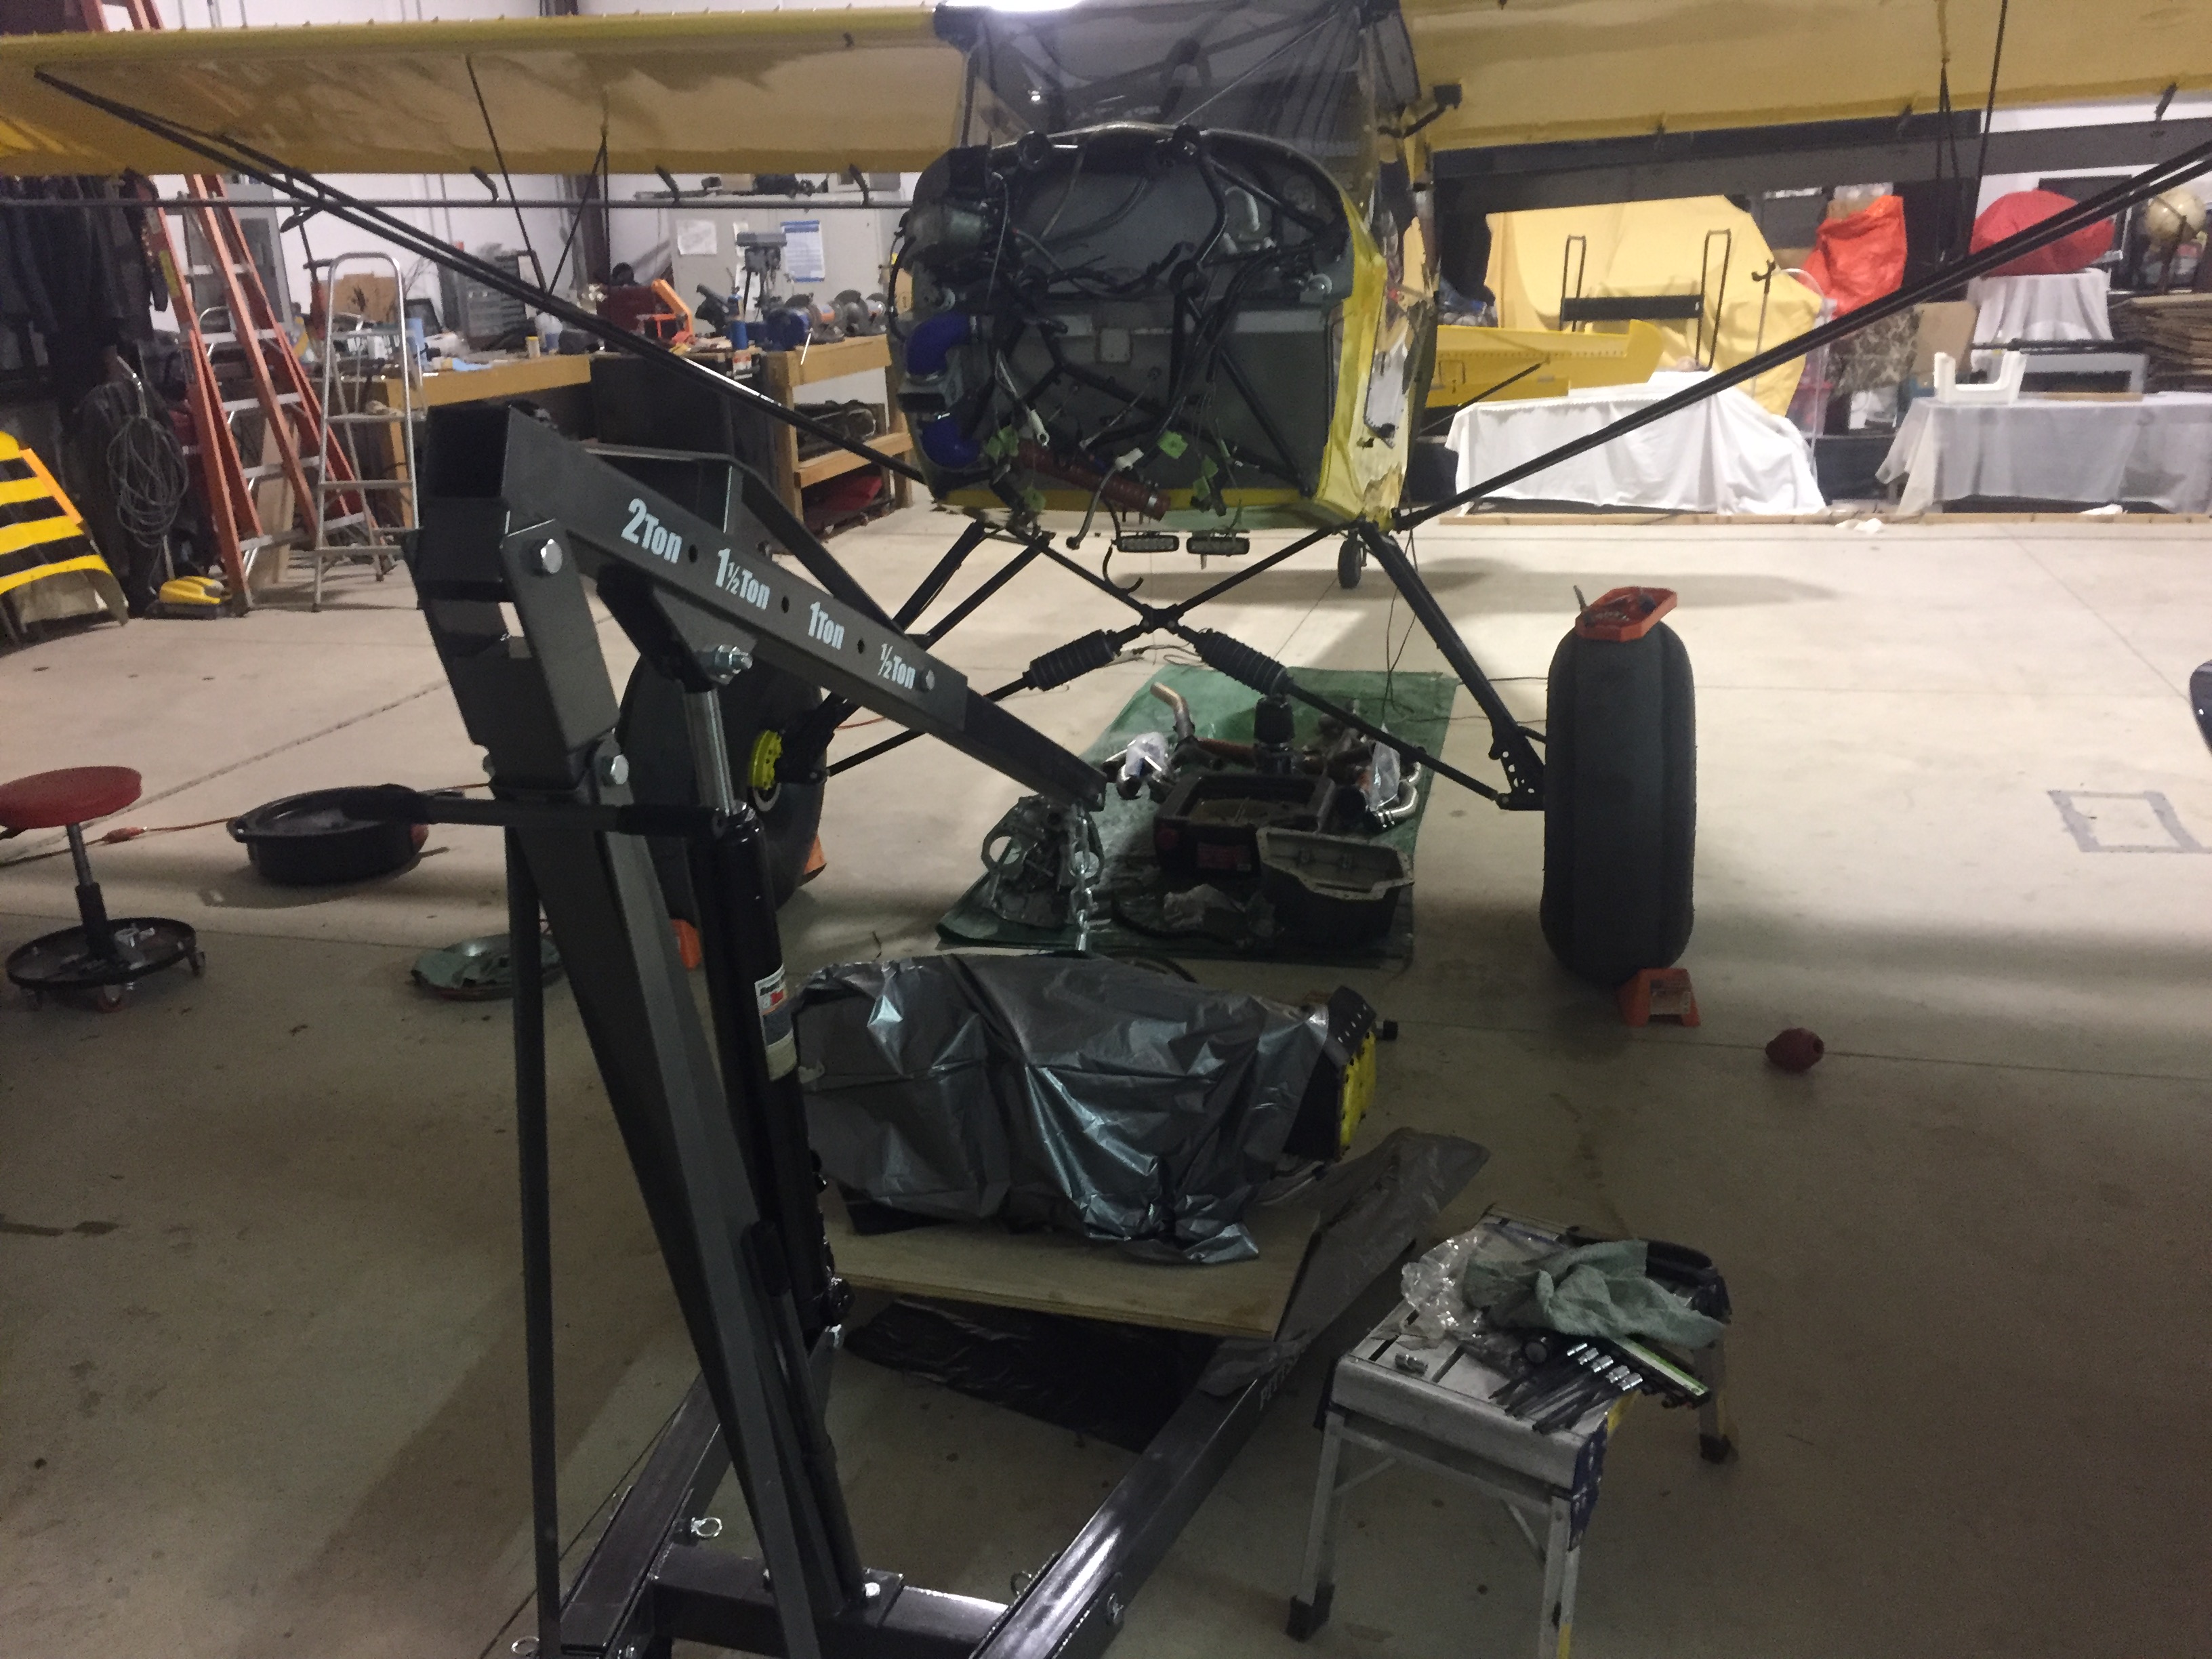
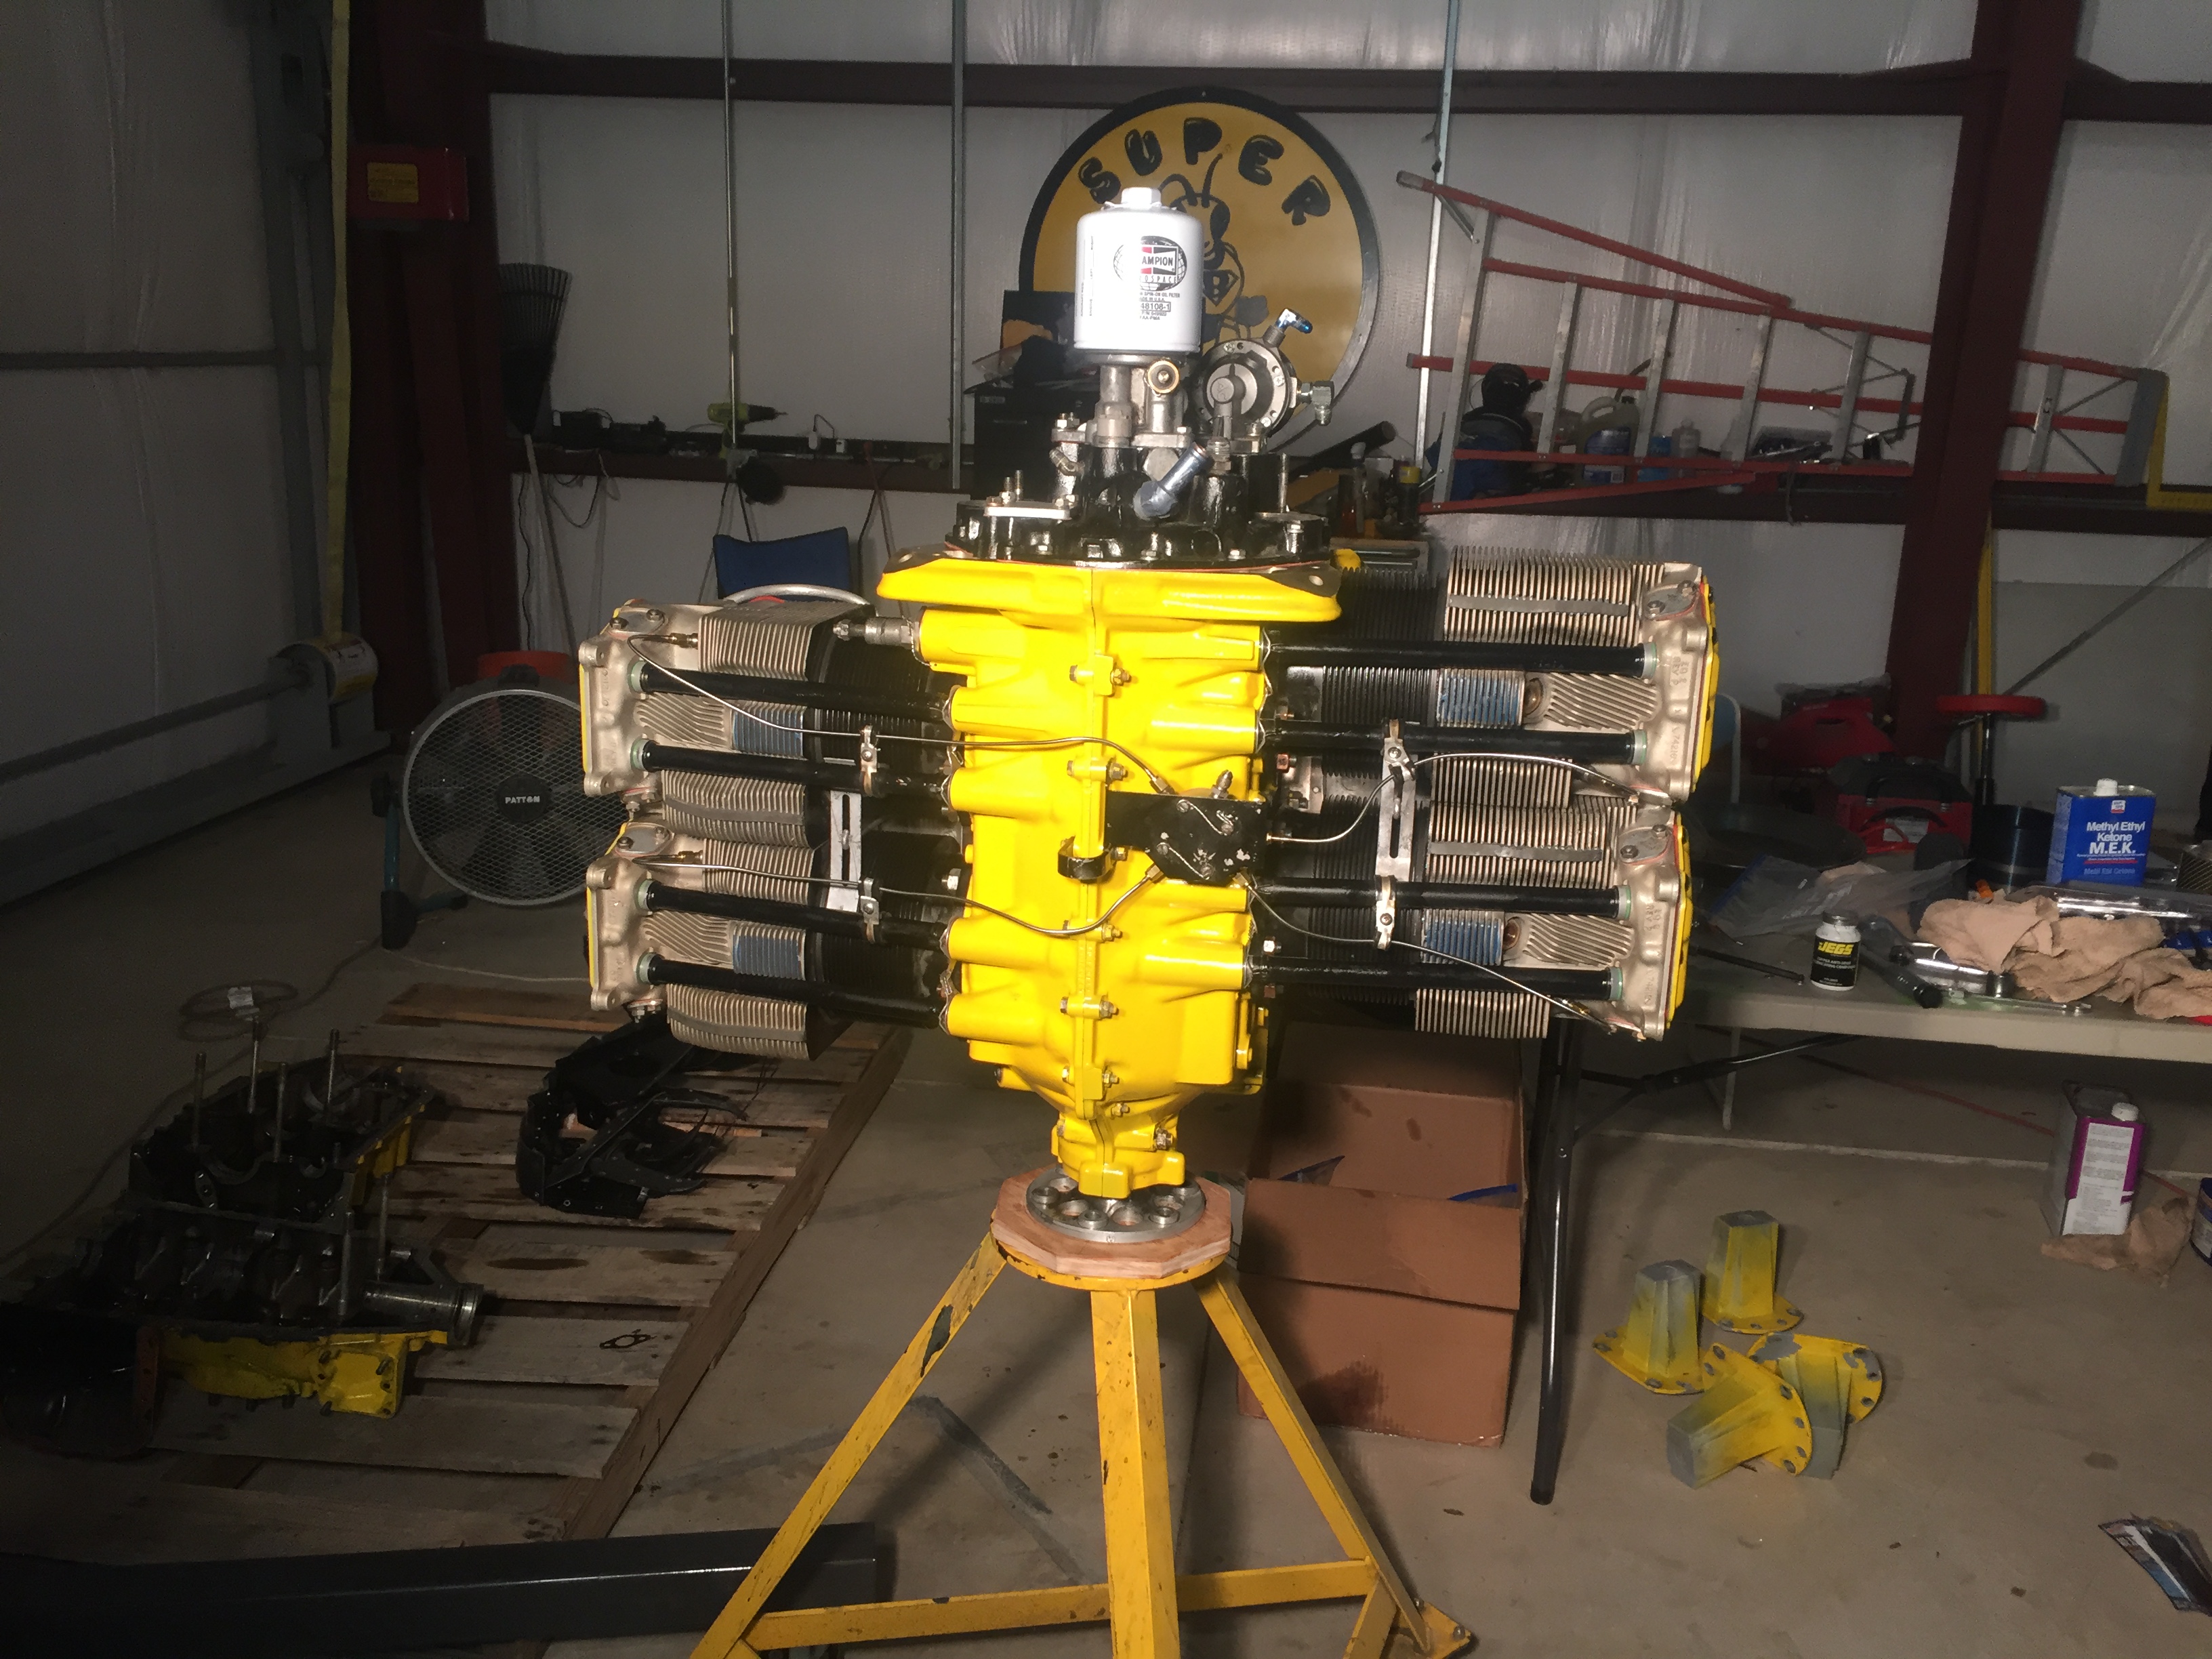
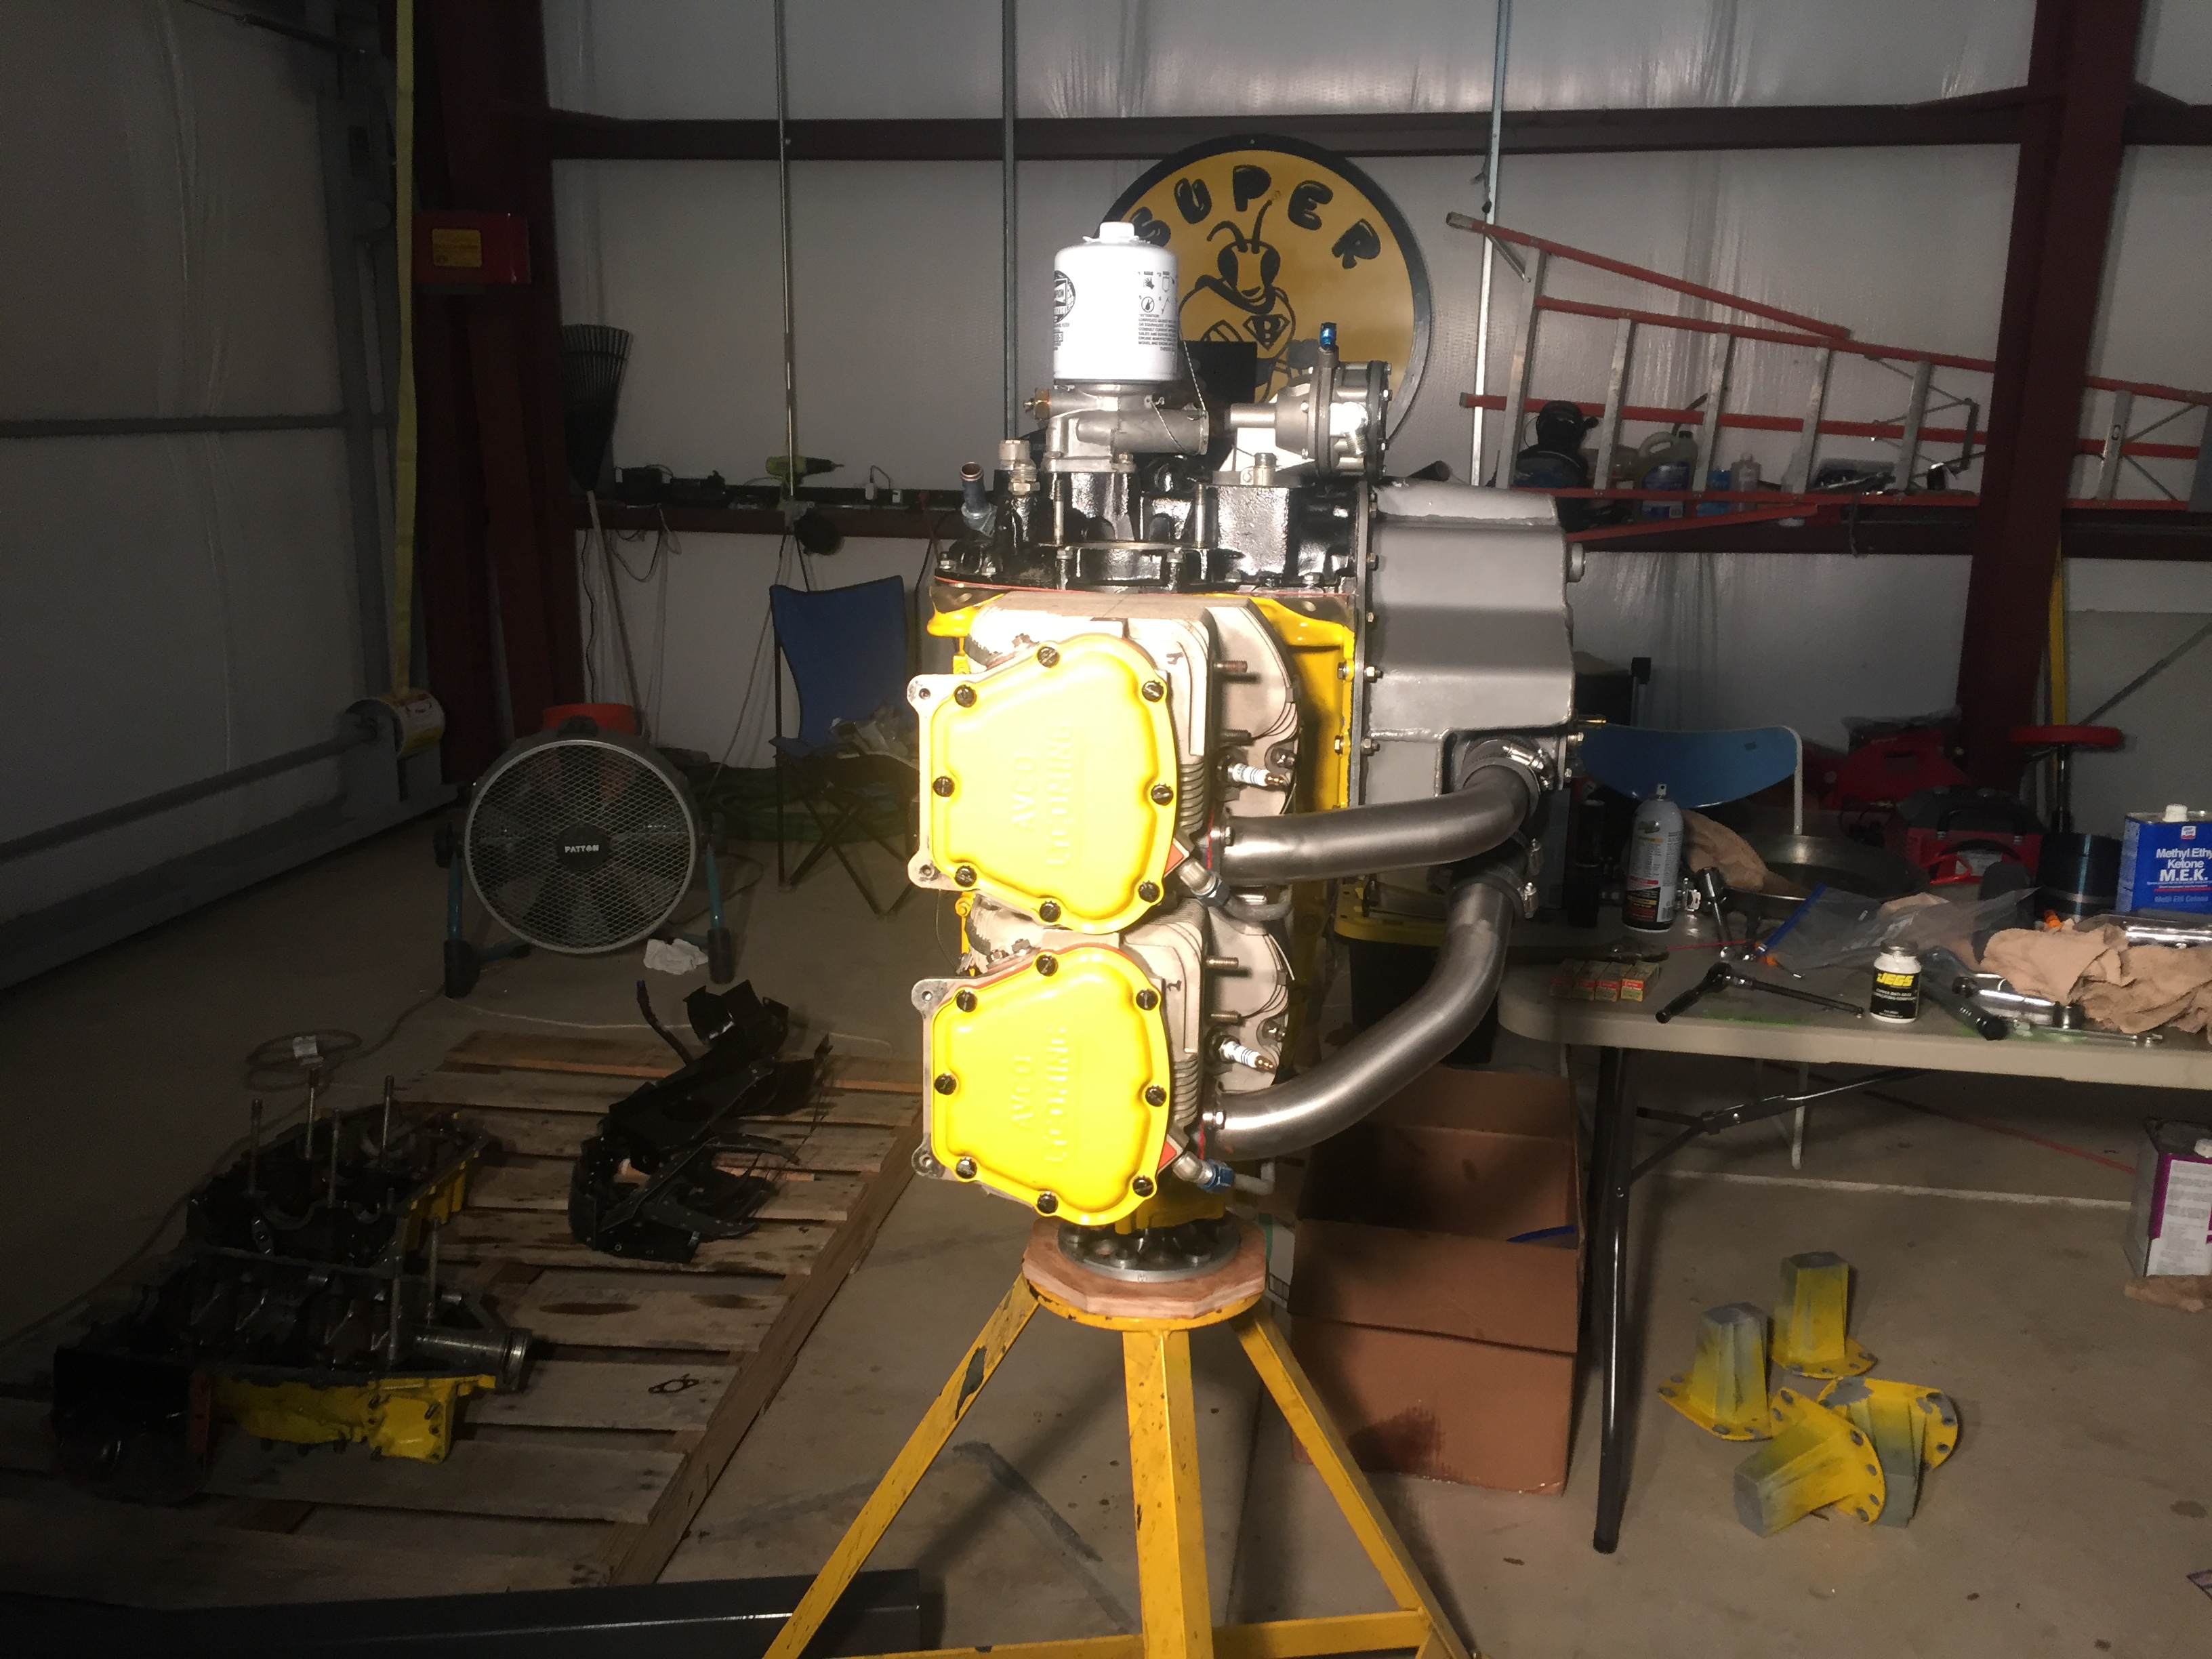
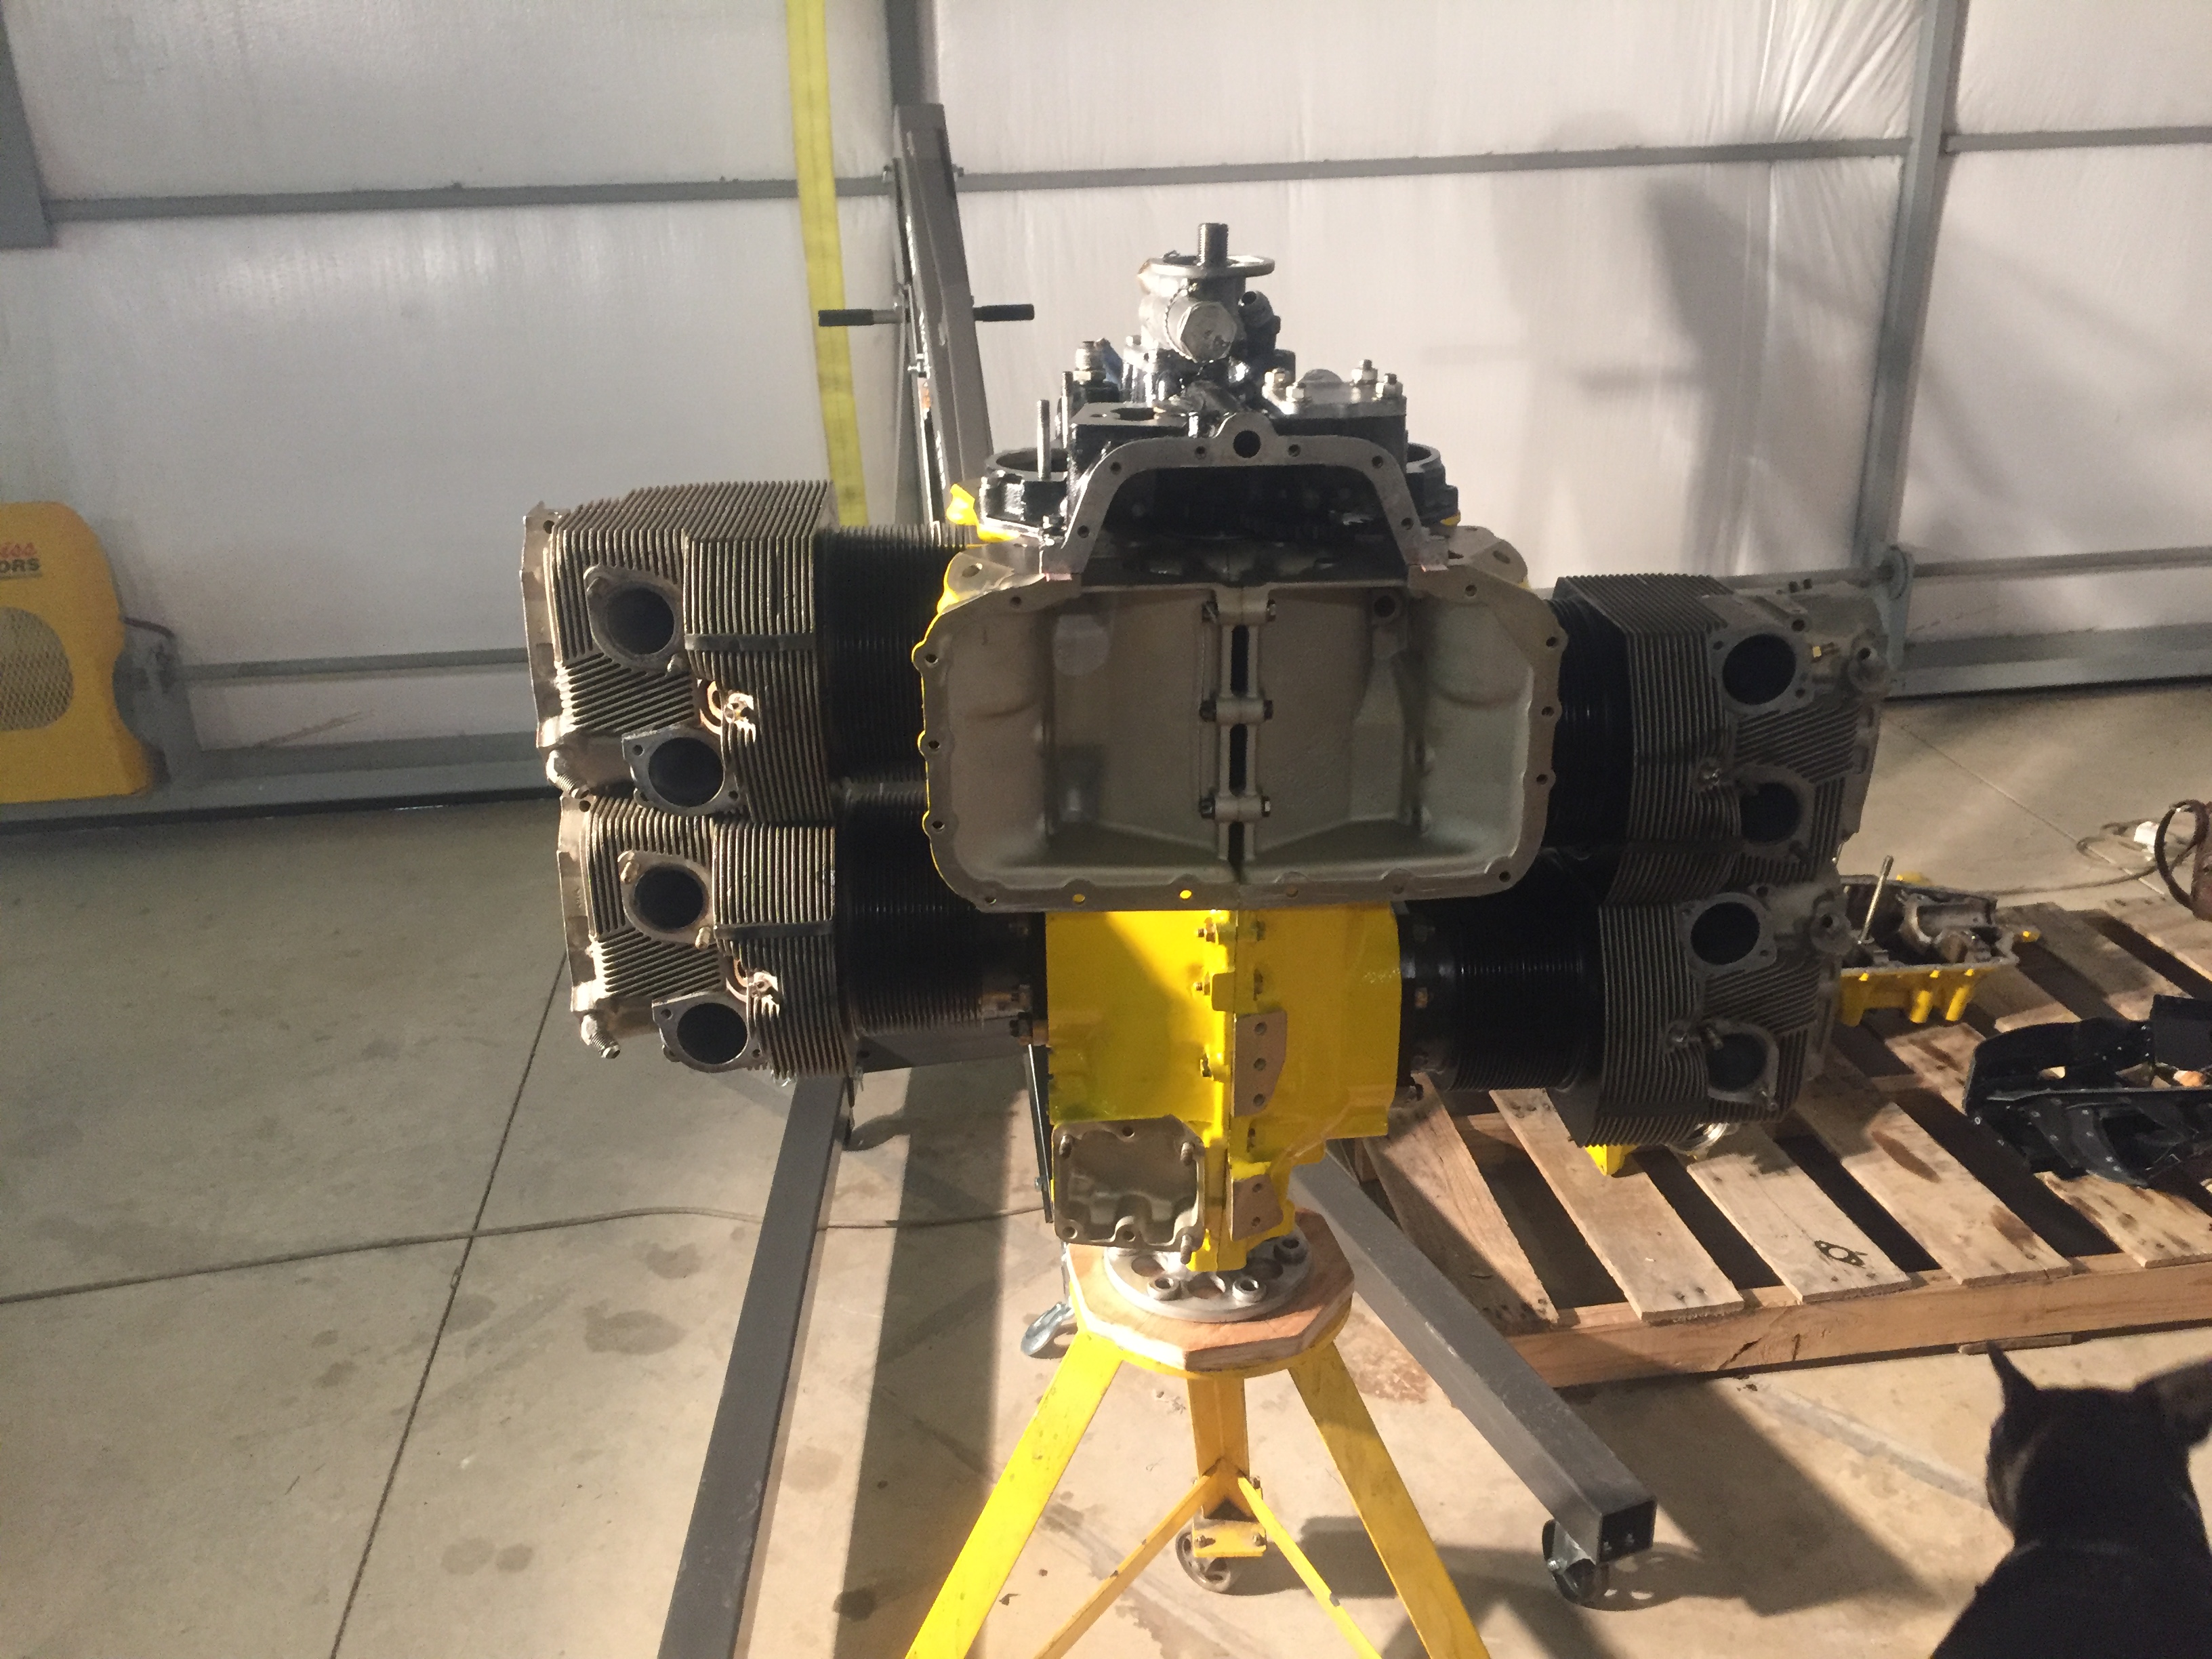
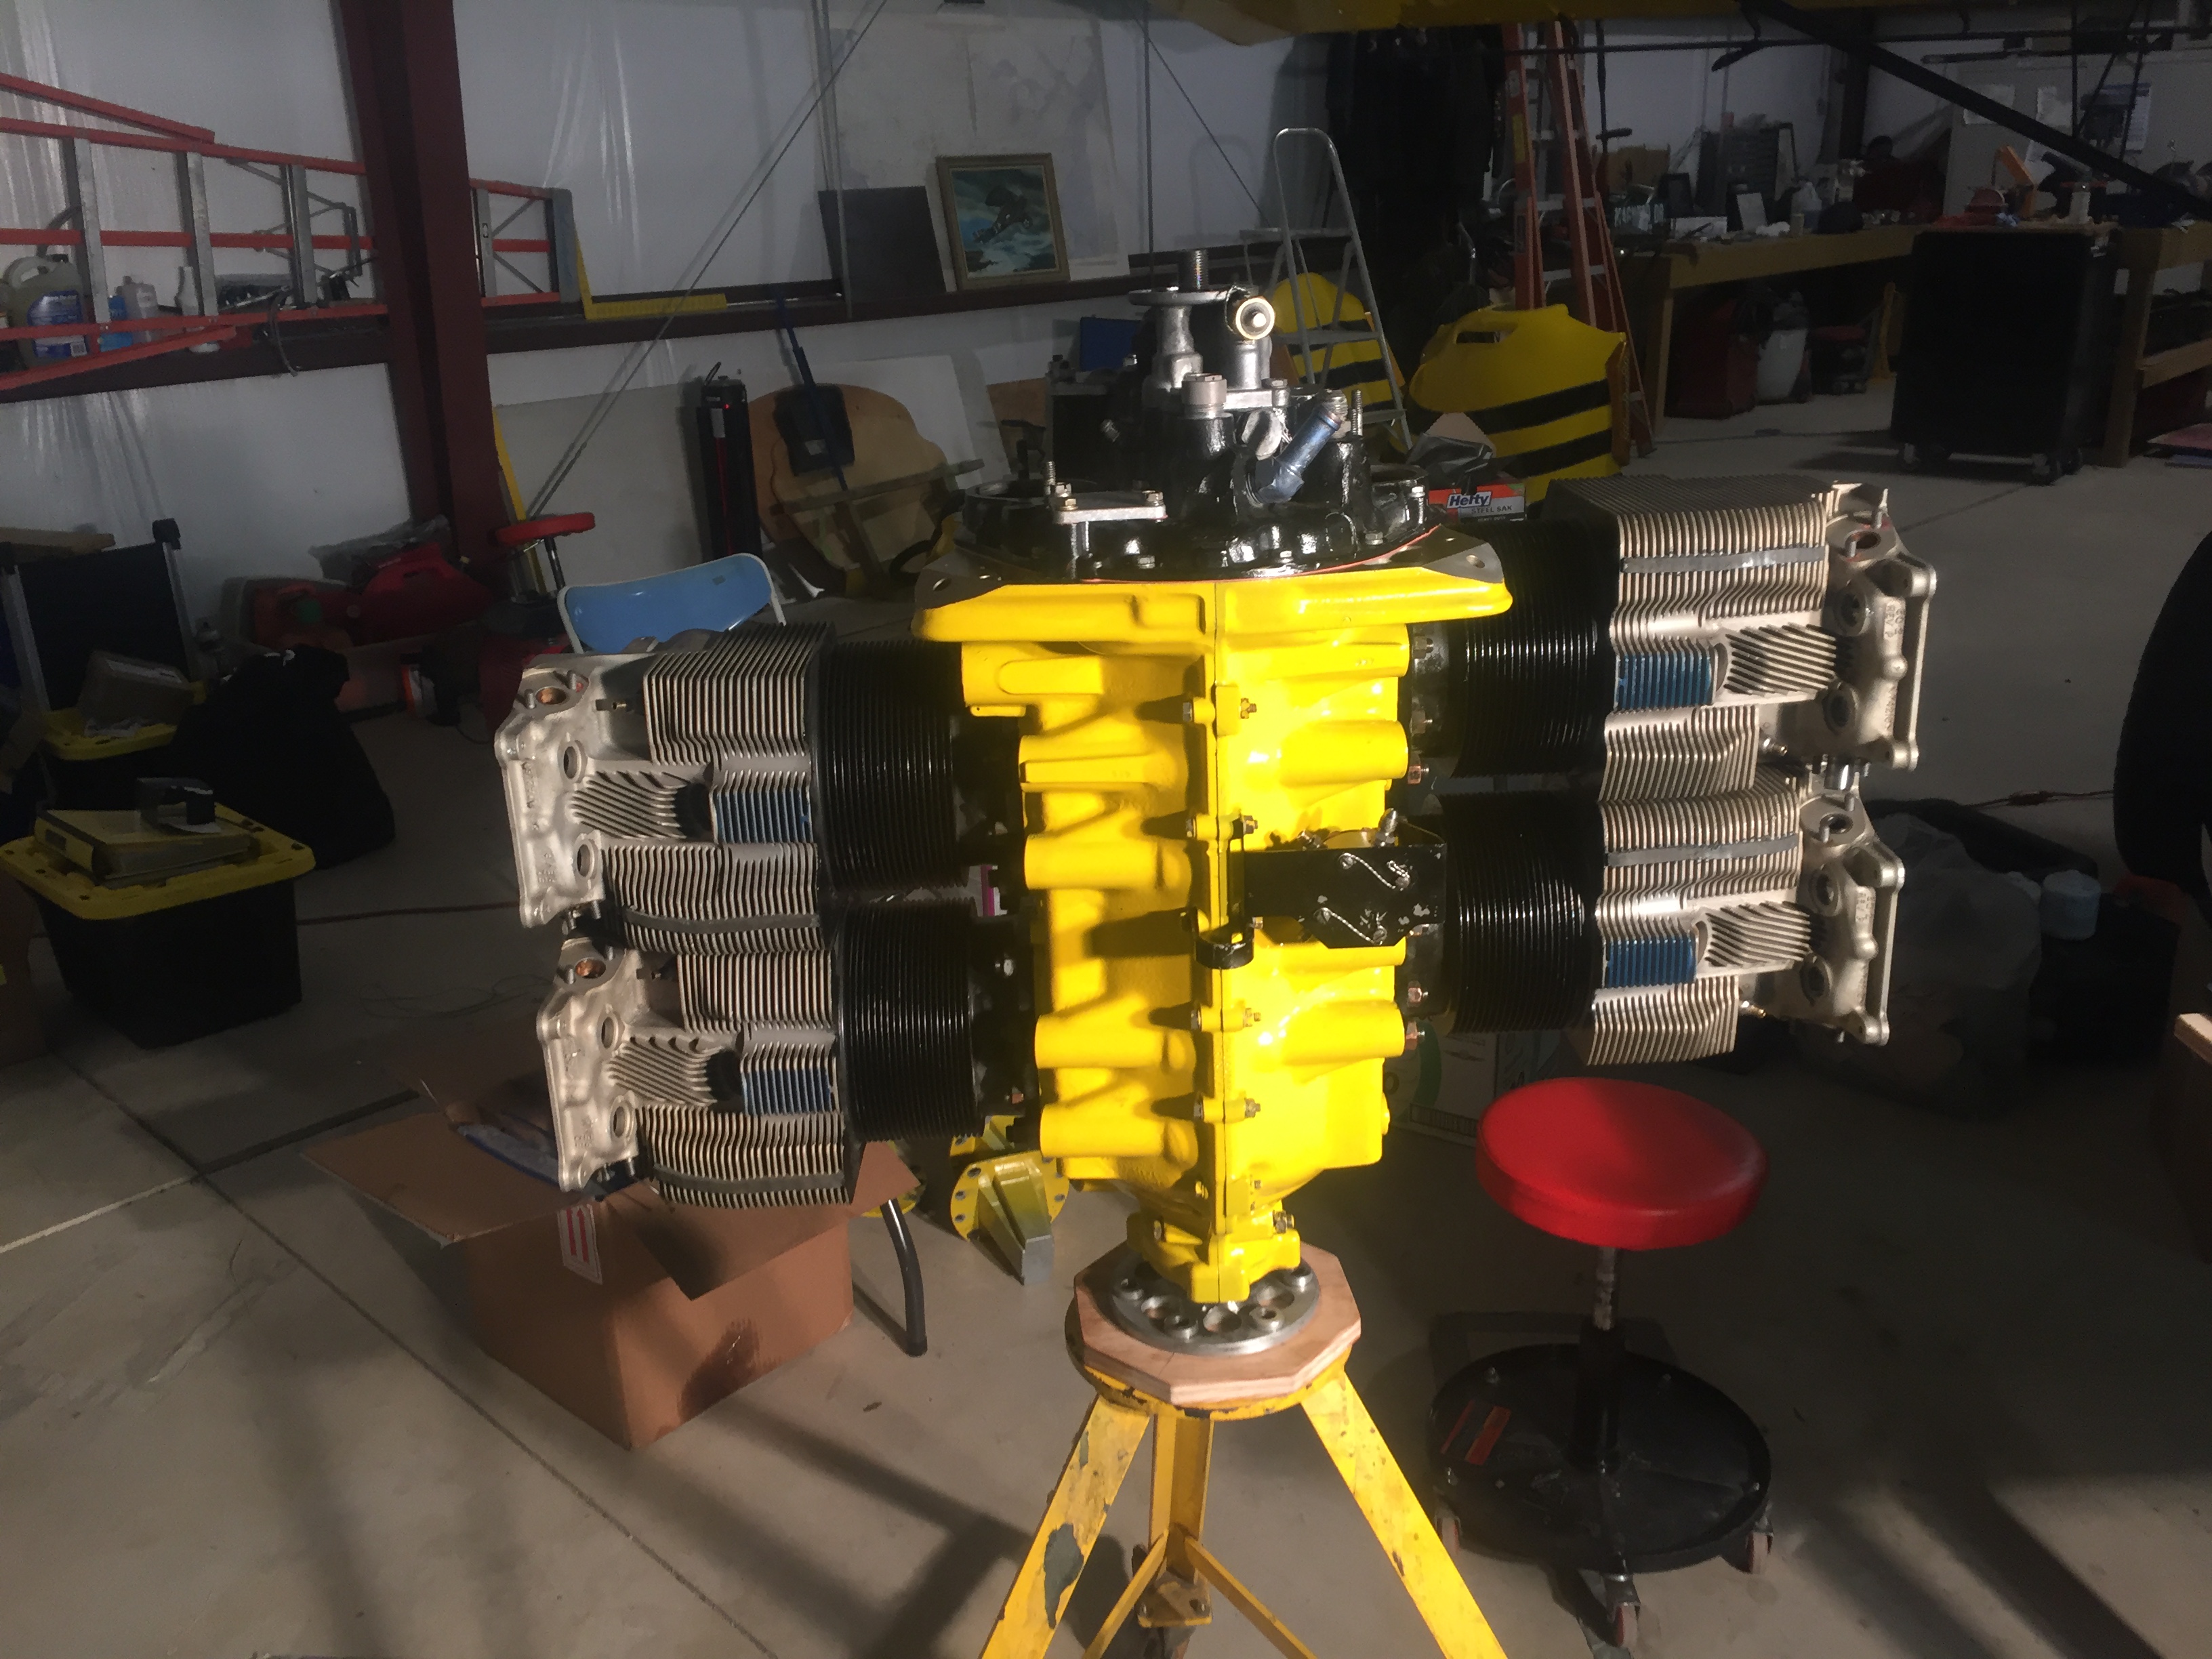
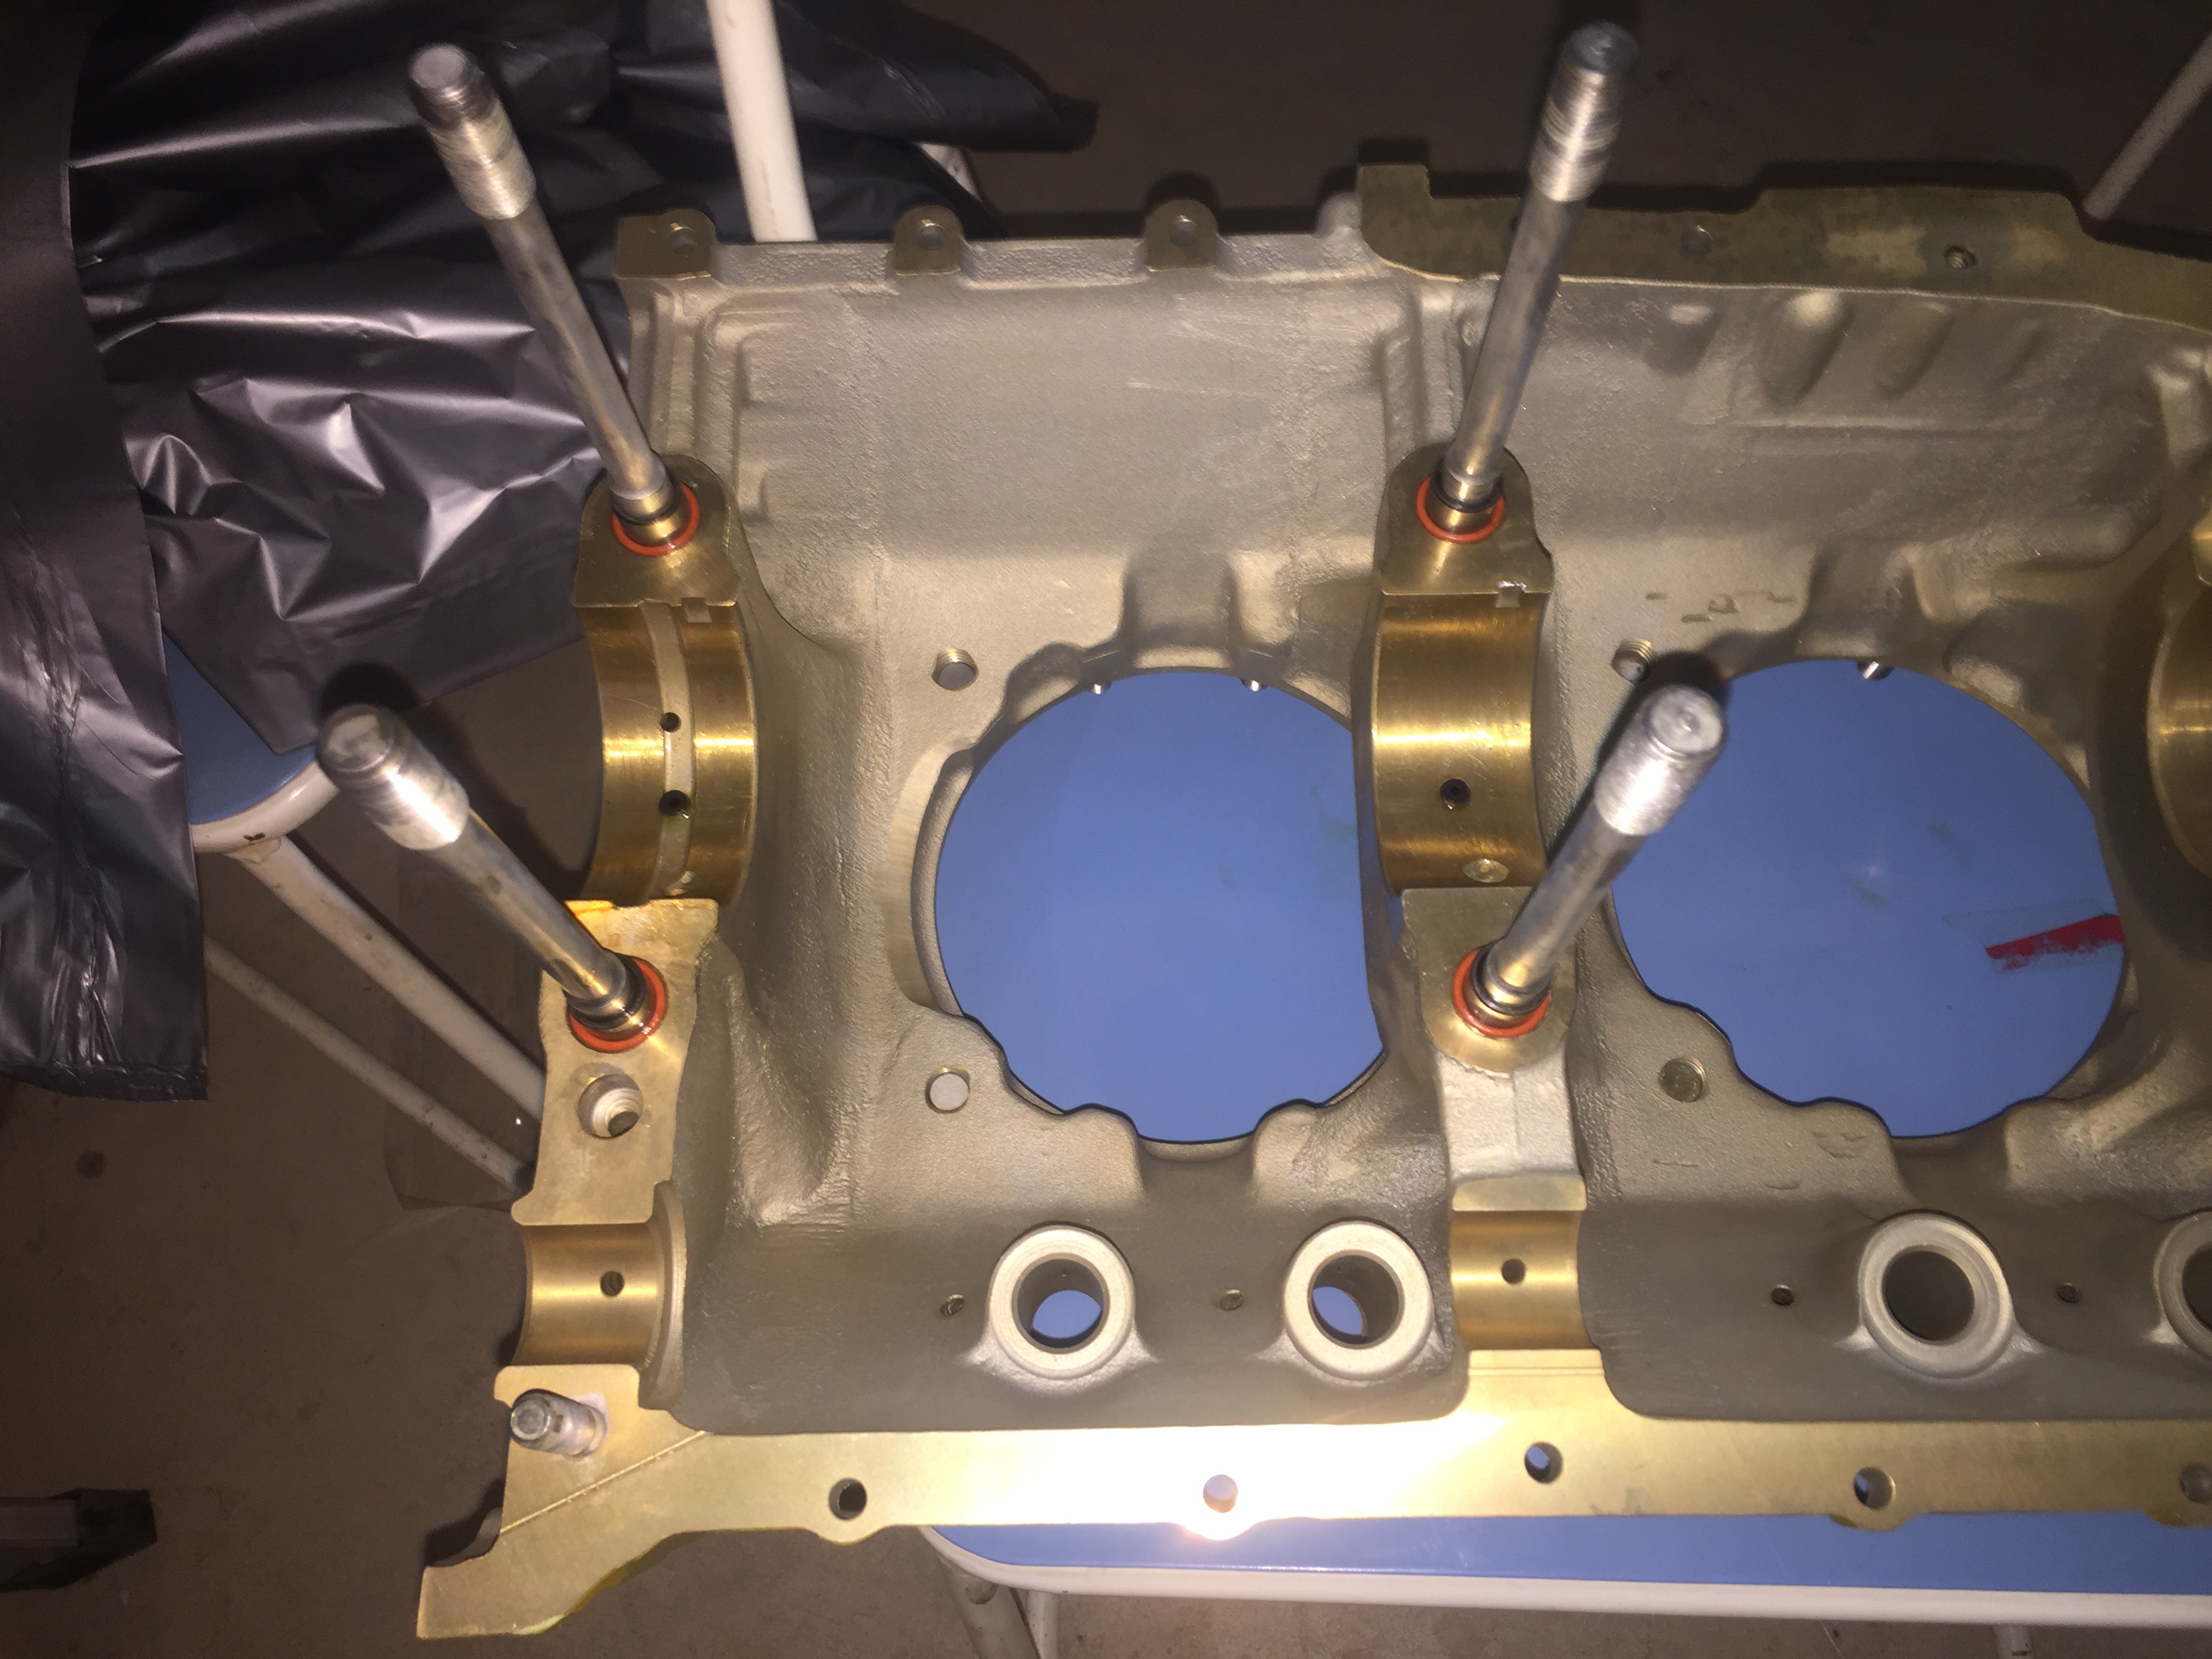
Got my engine parts yesterday and spent the night in the hangar putting the case together...next I’ll put it on the vertical stand and start attaching the cylinders. The only difficulty I ran into was trying to lift the crankshaft with the rods and main front bearings and placing them in the case half. Also, using the Lycoming Overhaul manual is a cruel joke...because it splits the job up by systems, you can get yourself in a real pickle thinking that the order of jobs listed is correct! So read the whole thing first!
Ron
 1 person likes this
 -
That was 200 hours trying to figure out the instruction manual!
-
Looks great Barry! Way to go getting right back to work after being gone for a while...You are making good headway!


Step 2, Build Magnum!!
in Avid Magnum
Posted
Nice Barry! You nailed it!
Ron