High Country
Members-
Content count
479 -
Joined
-
Last visited
Posts posted by High Country
-
-
yes I know its a bit early but thought this was good and just wanted to wish you all a very Merry Christmas. may the good Lord Bless you all in the upcoming year with blue skies and tail winds. let us not forget about the birth and life of our Savior Jesus Christ and the hope that we have through Him.
-Robert-
http://www.youtube.com/watch?v=iFJeaAq5Mv4
Joey this wasn't one of your birds was it?

-
Joey, Glad to hear you are back stateside safely with your family, Thank you for your service and your families sacrifice.
Wishing you a very Merry Christmas
-Robert-
-
You might look for MK IV tail feathers thats what I did, they were a direct fit to my B and now I have more surface area for the control surfaces. just a thought. I have some B parts still available from my build that I'm not using if you're interested shoot me a list of what you're looking for. have ELT, rotax exhaust, spars, nose fuel tank, coolant tank, and other misc parts can't quite remember what all off the top of my head right now would have to take a look would be happy to help if i can.
-Robert-
-
tank looks nice but on a different note, is there any provision for venting it back to one of the wing tanks, I didn't see a fitting for this in your picture.
-Robert-
-
Try Rob at Performance Products LLC - he is making new ones, alcohol resistant.
If he only has the STOL tanks, you can still use them by glueing a rib under the center of the tank to match the speedwing profile.
EDMO
good call Ed, Rod made my tanks for my speedwing, they are actually for the STOL but i made them work nicely and now I have more fuel capacity.
-Robert-
-
Robert,
I would like to hear more about the "new bushing" as compared to the early ones.
EDMO
Ed, wish I could fill in more on this but i can't. Just remember looking at a KF IV at the local airport once and his bushings were much smoother and nicer looking than the one's I have on my Avid maybe someone else here could educate the rest of us on this
-Robert-
-
the flapperons are simply an aluminum tube for the spar with Styrofoam for the ribs all wrapped in thin aluminum you could make them pretty easily or even just cut off the bad part of the one you have and just replace the damaged end. if nothing else you could tear into it to have a better idea of their construction and make them yourself you would save some $$$ and know exactly whats in them would also be a good time to upgrade to the newer KF bushing design.
-
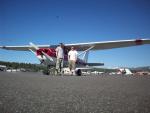
Thanks for sharing Joey, This is an awesome plane and Steve is an Awesome pilot. I was fortunate to see him perform at one of our Top Fun Flyers meetings in Nampa just after he build this one I think he only had about 4 hrs on it at the time.
-
are your spars 12' plus the wing tips? this is normal or is your complete wing root to tip 12' sounds like you may be missing one complete wing bay. might be possible that the builder had aerobat spars and built them with HH ribs not sure why you would want to shorten up the HH wing though. are you sure you don't have flat bottom speed ribs in which case you have an aerobat wing
 (alum raps about 12") I'm not sure I follow this do you mean that the leading edge is wrapped in alum? I'm sure someone else more knowledgeable than I will help you on this matter. good luck
-Robert-
my wing spars are .83 and has HH ribs and total wing is 12 ft. and have 10 ribs with 2 false ribs and has alum raps about 12 in. HH wings are supposed to be 14ft. has anyone have any experience with this set up? thanks Randy in tn. also looking for someone close to dyersburg tn with experience with the avid .cell 731 589 1330 email no1son38@aol.com
-
I had both of mine separate from just sitting for over 20 years. you will need to make sure the Styrofoam ribs are in ok shape repair or replace what is necessary to make the aluminum set down nicely again. then I just applied hysol all over them top and bottom then to the leading edge and hold it all closed until it sets up. I set mine on a long 2x4 (maybe 2 I can't remember) and another on on top of it and just set lots of weight (bricks or lots of full soup cans will work fine) on top of it to hold it all nice and tight for the whole length of the flapperon leave it set over night then just drill and rivet as was supposed to be done from the beginning. should be good as new. good luck
-Robert-
1 person likes this -
-
do a search on here for "F7A" and you will find lots of good info "Fhttp://www.avidfoxflyers.com/index.php?/topic/1888-f7-a-update/?hl=f7a http://www.avidfoxflyers.com/index.php?/topic/241-f7a-bellcrank-mod/?hl=f7a
-
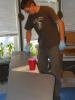
This is the finished finger strainer after modifying the the Spruce
Looks good but why did you have to modify them, I used the ones from spruce that Joey showed and they went right in, just took a dremel with a sanding drum and removed a little from the #1 rib so I can get a socket onto them easily in the wings folded position to remove them for maintenance.
-
I also only got through about 4 ribs before it was setup too much to work it nicely. start with smaller batches and work your way up you will soon find out just how much you like to work with given your specific ability and working conditions. take your time and its really easy to make it nice. if you have the ability to adjust the climate I would set it around 65* and go with it. I used the baggie method and it worked great, cut just a very small part off the tip to make the "spout?" if you don't like the size of bead just cut it bigger. then wet a finger (you are wearing your protective rubber gloves right?) with rubbing alcohol to smooth everything out. lastly I marked my ribs in the order I wanted to glue them and bounced around I think I started at each end then did the tailed ribs making sure you have your tail spacing exact then the in between ribs, one rib had to go over the lift strut attach brackets so don't glue that rib until the rest are fully cured and you can get the brackets set where you want them. keep us posted on your progress
-Robert-
-
Not to be outdone by Randy I put some Bushwheels on my Carbon Cub today!! They are the main tires off a T-28 trojan. Took a little modding to get them on the stock wheels. No noticeable difference in cruise speed but it sure lands better on the sand I've been flying off of!!
Very nice Joey, I like it start where you can and work up. I'm still flying my paper airplanes but hope to ketch up some day

-
Amie, here http://performanceproducts1.com/ is Rod's website see what he can do for you. good luck
-Robert-
-
fairings look nice but how are you to get them onto our struts? what is the weight gain? I would think you could make the 1" fairings work with our 7/8" struts if you could get them on
-
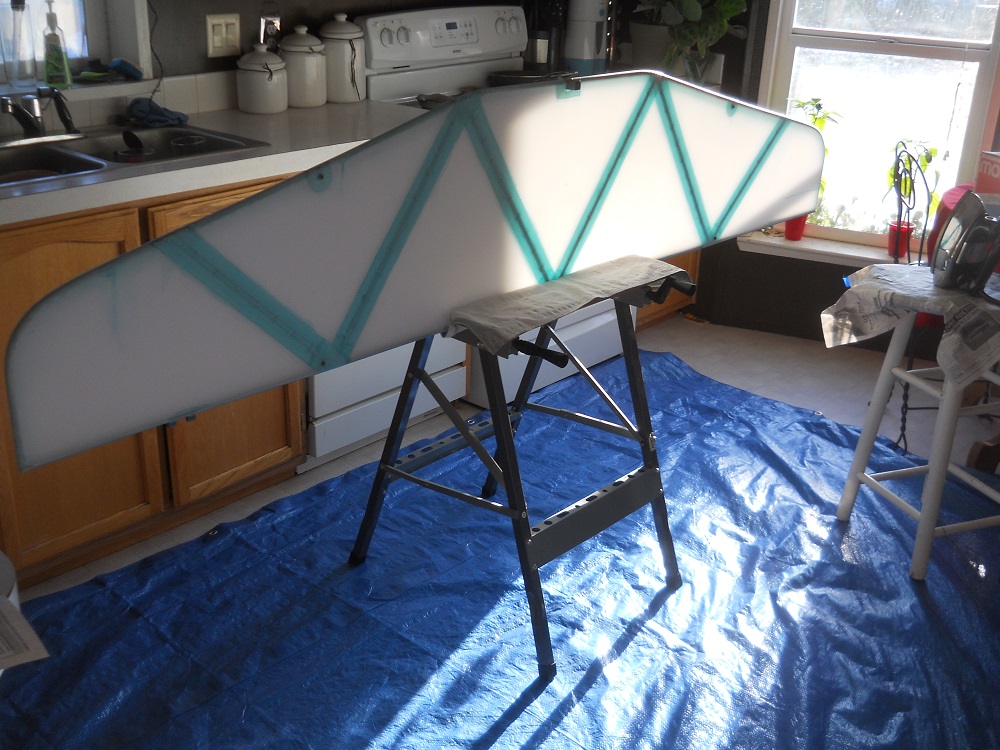
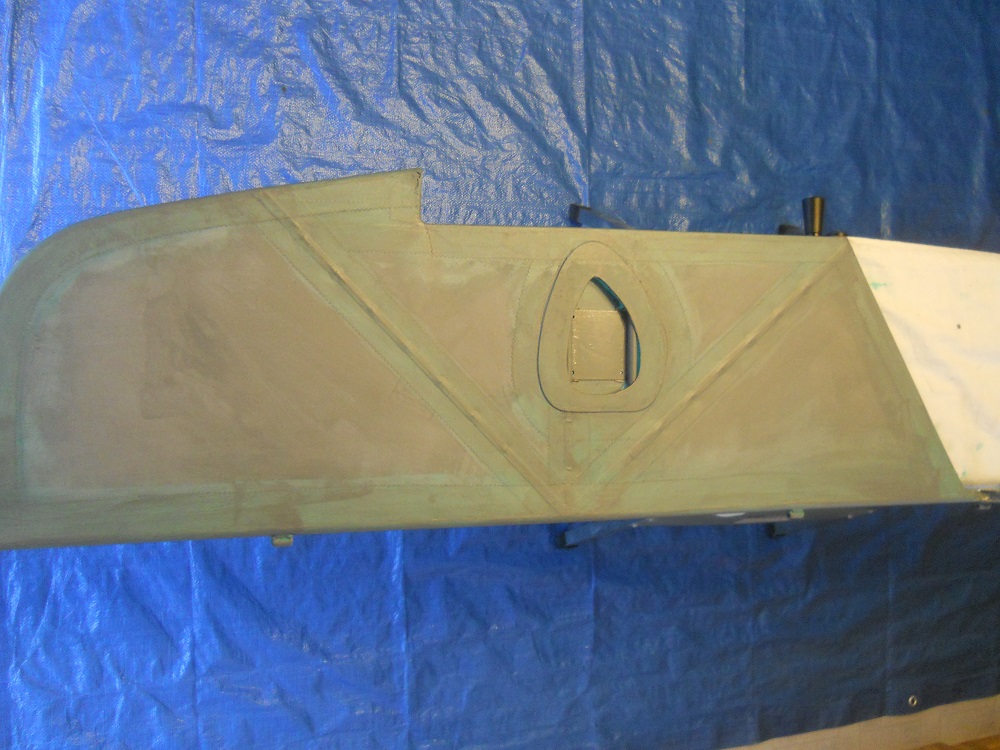
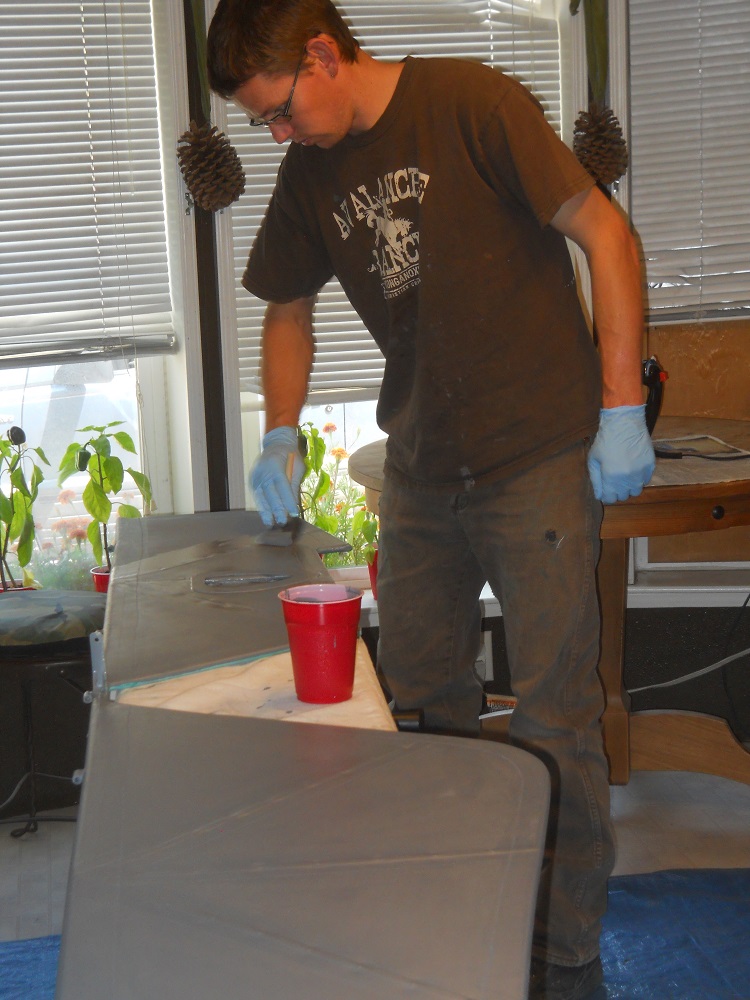
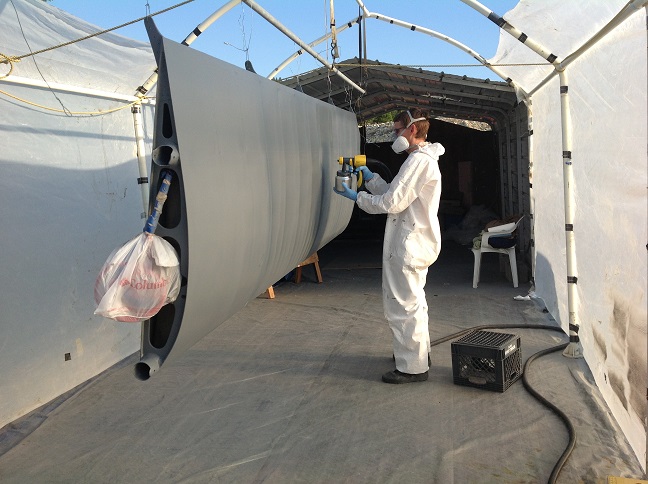
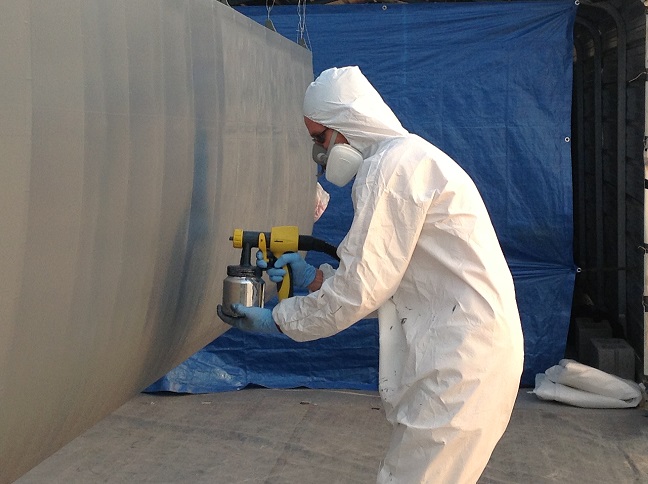
Been slowly making progress on the Avid I now have 4 x-coats of EkoFill on the fuselage and 3 x-coats on everything else. the spraying goes fairly fast but it takes a while to sand. Its been taking me about 4-5 hrs to sand each coat on the wings between spraying but so far it is coming out very nicely. We had 70+ mph winds last night that took my paint booth for its first flight however so it will be a while before I can finish spraying... that and all the wildfires surrounding us right now
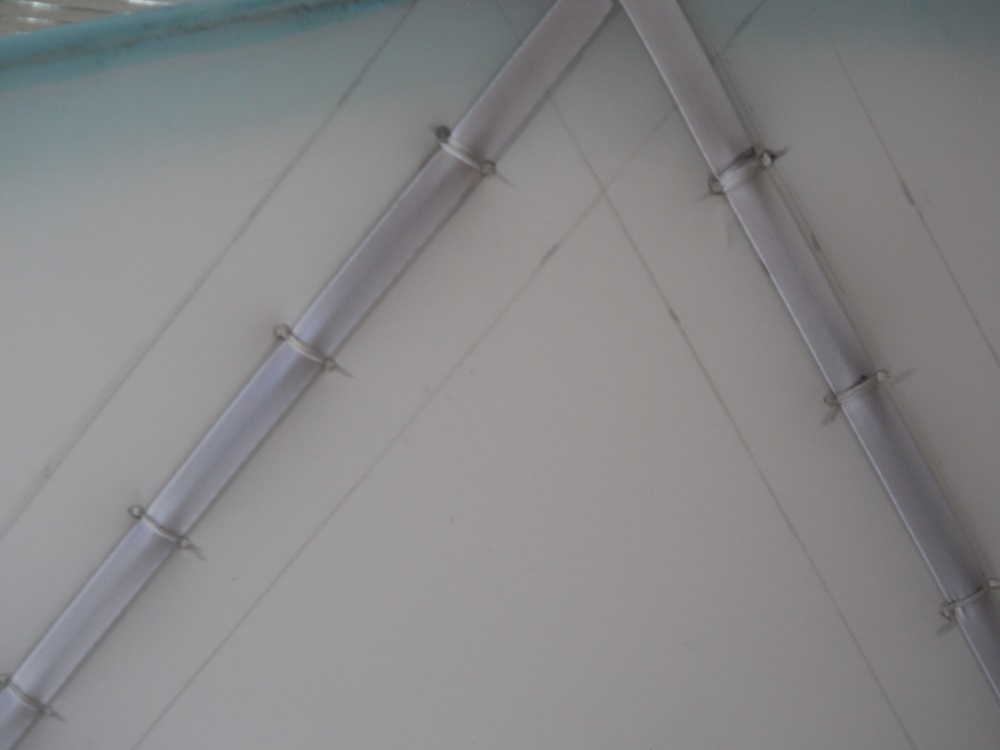
 anyways I don't have all up to date photos but here are some that i have. I chose to stitch the tail as well as the wings. its good to be done with the fabric work. and yes the pics are taken in the kitchen what better place to work on your plane than by the fridge and in front of the A/C
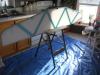


-
anything on tuning and servicing our 2 stroke rotax engines would probably be helpful if your looking for something to do.
-Edit- Disregard looks like your already ahead of me
1 person likes this -
Great video thanks for sharing it with us
-Robert-
-
Looks good Joey thanks for your hard work
-
What about something like this? http://www.ebay.com/itm/rotax-582-aircraft-heater-/121154713689?pt=LH_DefaultDomain_0&hash=item1c35623859 anyone have any experience using this http://www.ultralightnews.ca/rotax912/912-914cabinHeat.htm
-
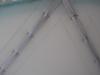
the tubes go down the center between the seats so your head will not hit them I'm 5'10" and don't hit them anyway but with a headset on it will just about rub against the lexan so I want a tad bit more room to make it more comfortable, I then plan to put foam around the tubes to keep from banging them too hard in the event of a rough landing. I have to have my seat higher than most with this same airframe to accommodate the flapperon mixer which I have relocated under the left seat to allow for more baggage.
-
Robert,
If you can visualize two aluminum angle strips (maybe less than 90 degrees) put back to back and riveted or bolted/screwed to the front carry-thru tube and covered with a shallow U-shaped, almost flat, light aluminum strip, where the WS and Skylight meet. Could be sealed with proper sealer for Lexan? Only one angle needed at rear of skylight.
Does this help or confuse?
I would like to see a drawing of what you are thinking of - could have some compound curves in fg/cf???
EDMO
Ed, Ive seen this done to attach two pieces of lexan together (see pics) my reason for using the FG/CF would be to eliminate the compound bends in the lexan and hopefully make it last longer. you could easily mold two small channels pointing fore and aft to insert the lexan pieces into if you wanted then just rivet or screw it all together. I'm having a real difficult time removing the paper from my 26 year old lexan so i'm going to just replace it anyway so I'm thinking if I just make it exactly what i want to (one piece wind screen and skylight for now) to use as a mold and just lay up the carbon fiber directly to the lexan. you could then just remove it trim it up add a small spacer down the center the thickness of the lexan you wish to use and add another flat piece to the bottom of that which would make the small channels pointing fore/aft to slip the lexan into. did that make any sense? the whole thing could then be attached to the the front carry through just as before.
My main concern at this time is how to fair the raised skylight back down into the wing
 1 person likes this

Avid heater
in Avidfoxflyers General Hangar
Posted · Edited by High Country
Bryce, thanks for taking the time to show us
Hope this helps... or even works