Good old number 29
Contributing Member-
Content count
122 -
Joined
-
Last visited
Posts posted by Good old number 29
-
-
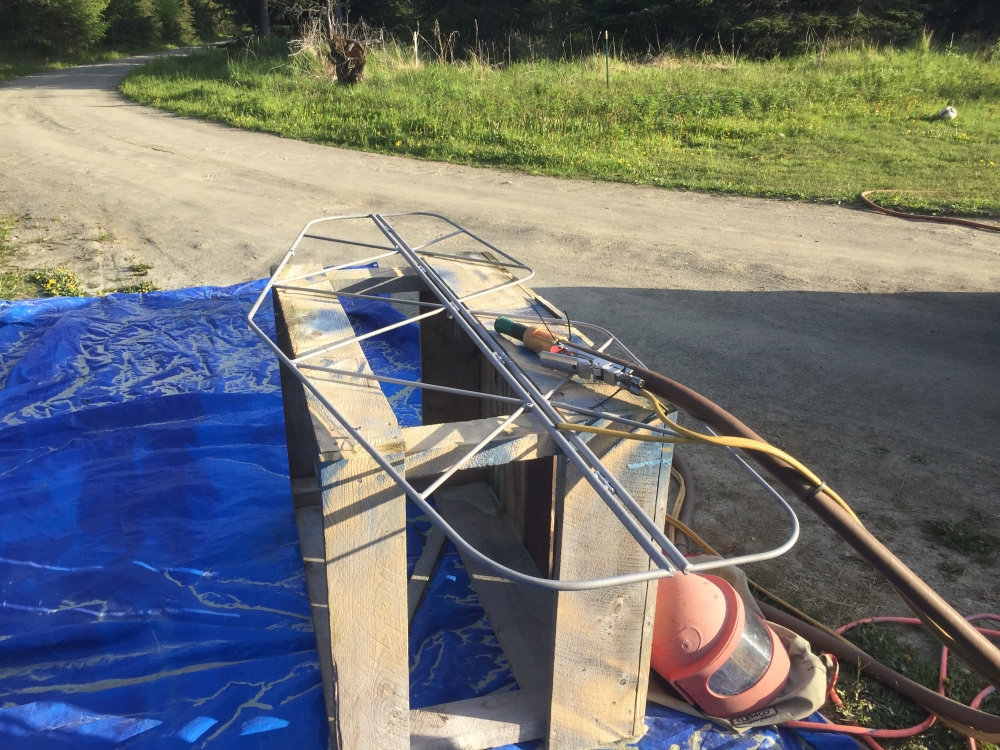
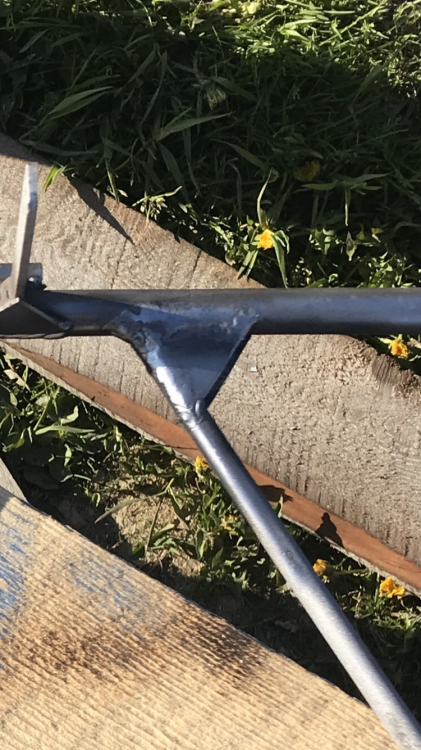
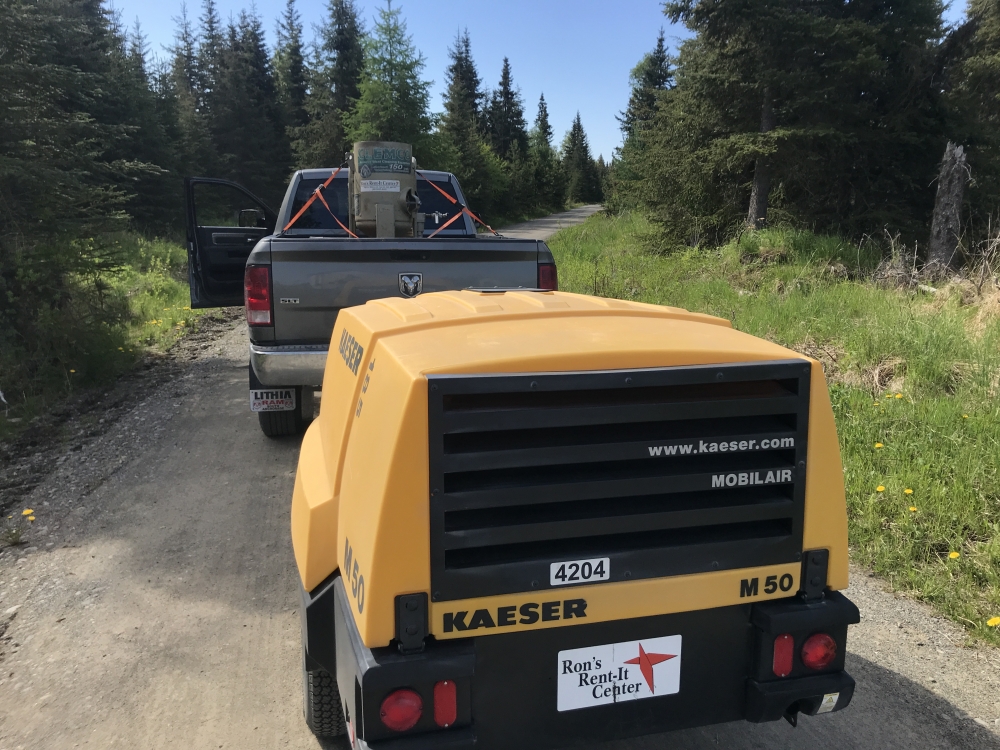
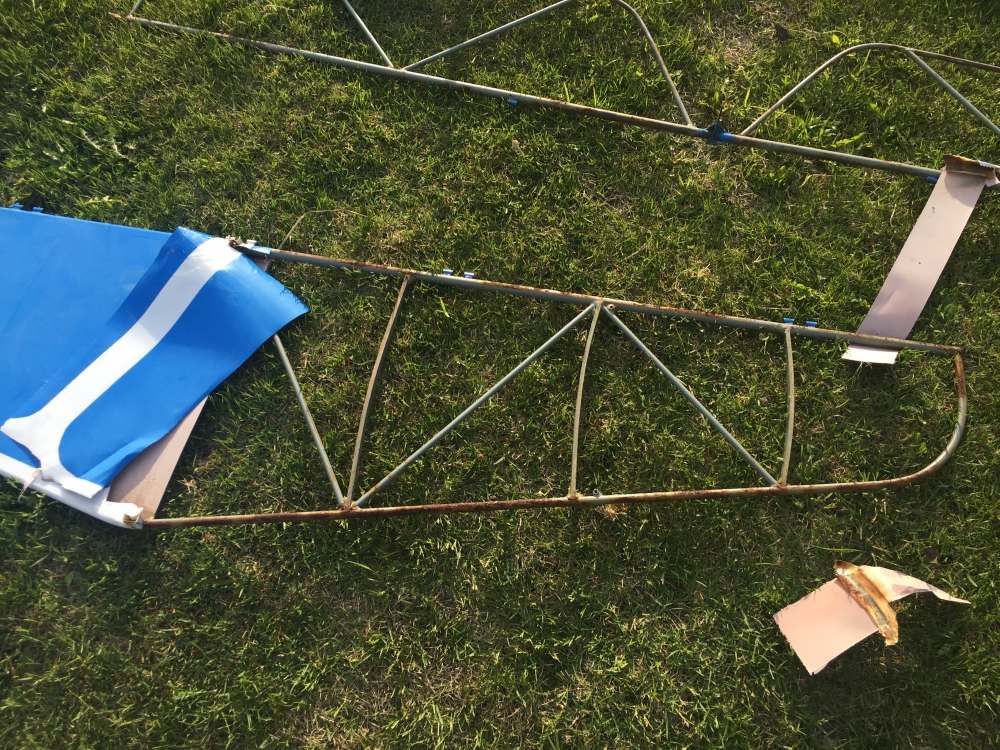
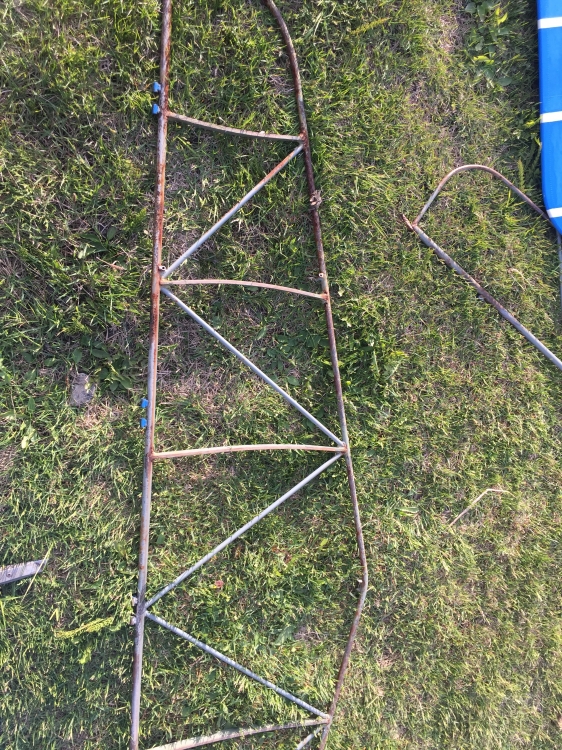
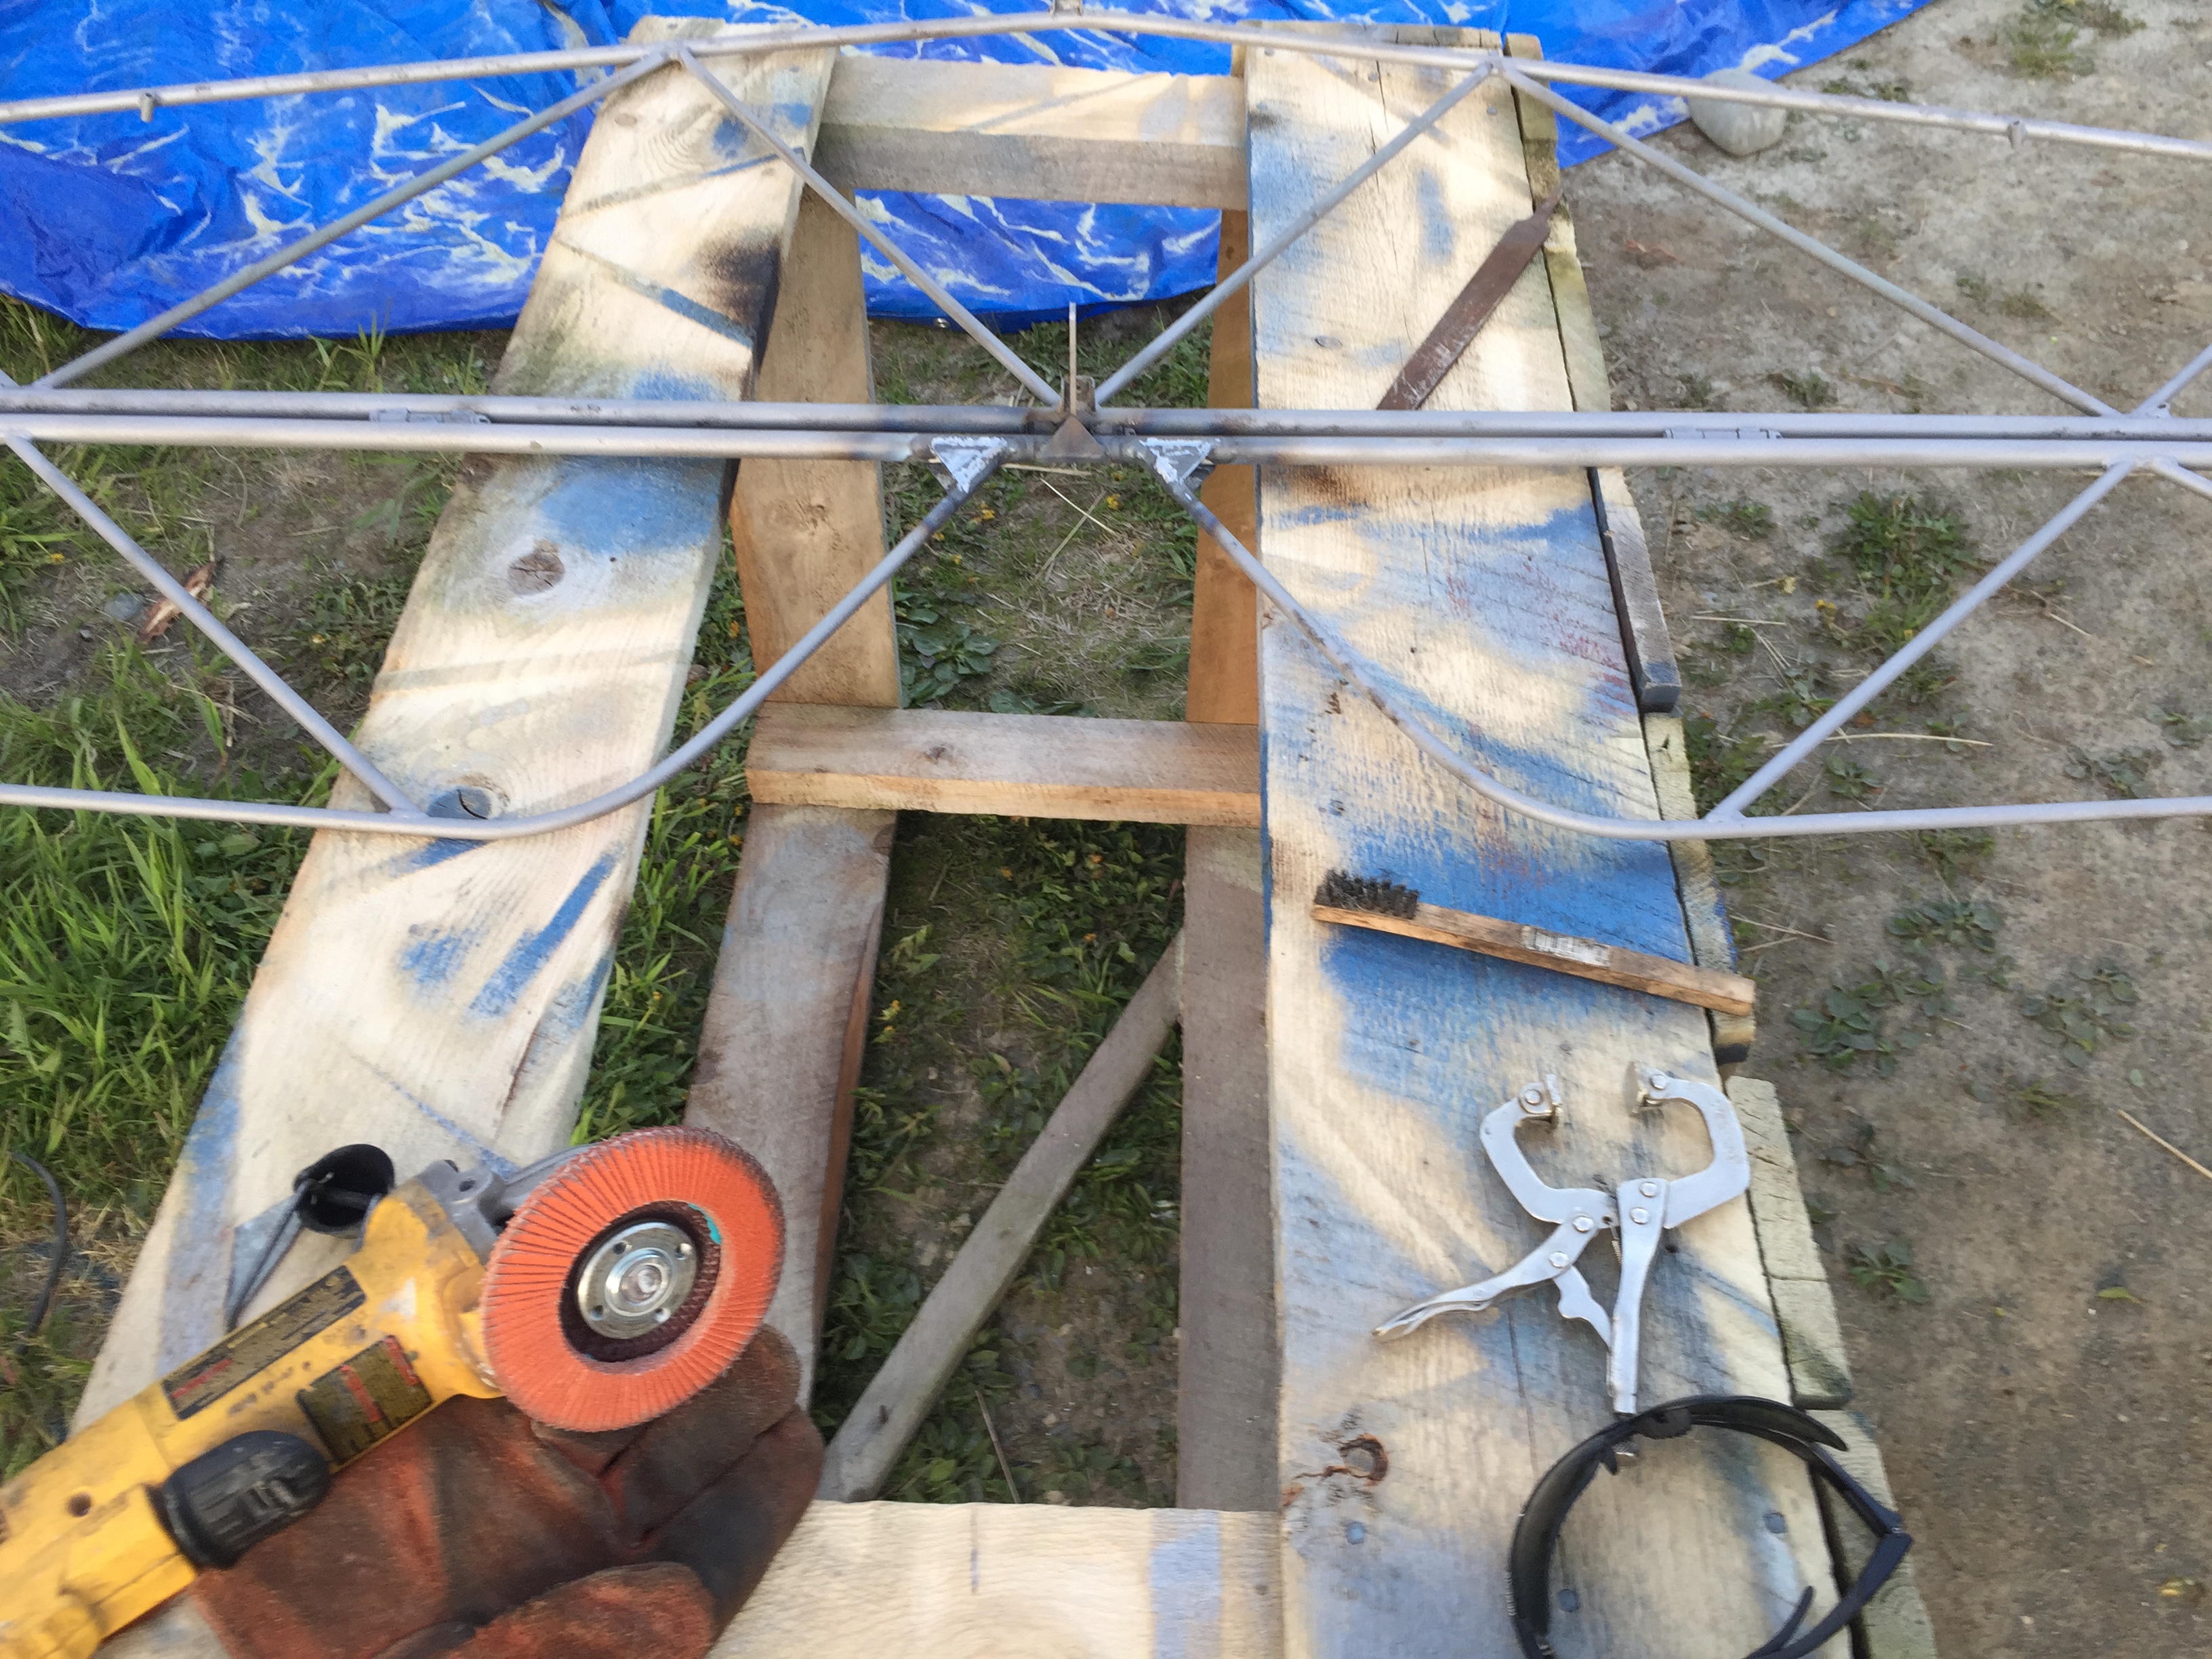
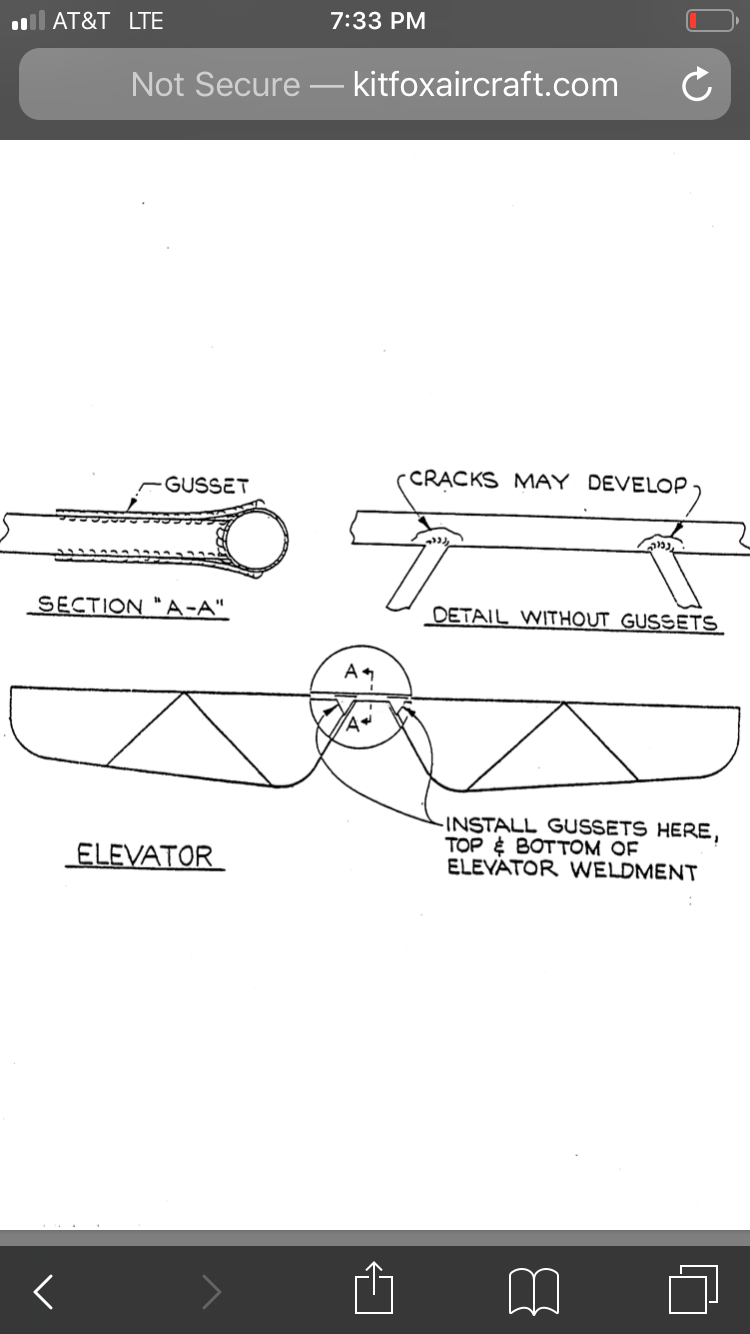
I got the tail feathers sandblasted and gave them a good coat of epoxy. A friend let me use his big blast cabinet, but I was only able to do the rudder in it, because the other pieces are too long. I went ahead and rented the “small” sandblaster from Ron’s. That made short work of it. The rudder looked like factory paint, and it was in good shape. The horizontal stabilizer and elevator were evidently spray painted with a green zinc primer, and they were not so good, but still usable. I’m sure glad I got to them when I did. I stuck the reinforcing gussets on with the torch. They look good. I always liked gas welding. I used to weld a lot of exhausts with a torch. It’s seldom seen, now that mig welding has become so everyday, but the torch is still a great tool.
Not my best work, but nothing to be ashamed of, either.


-
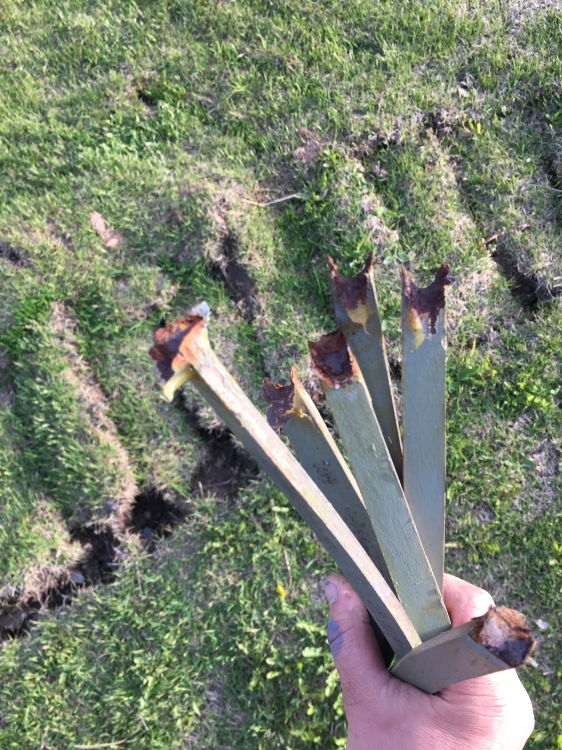
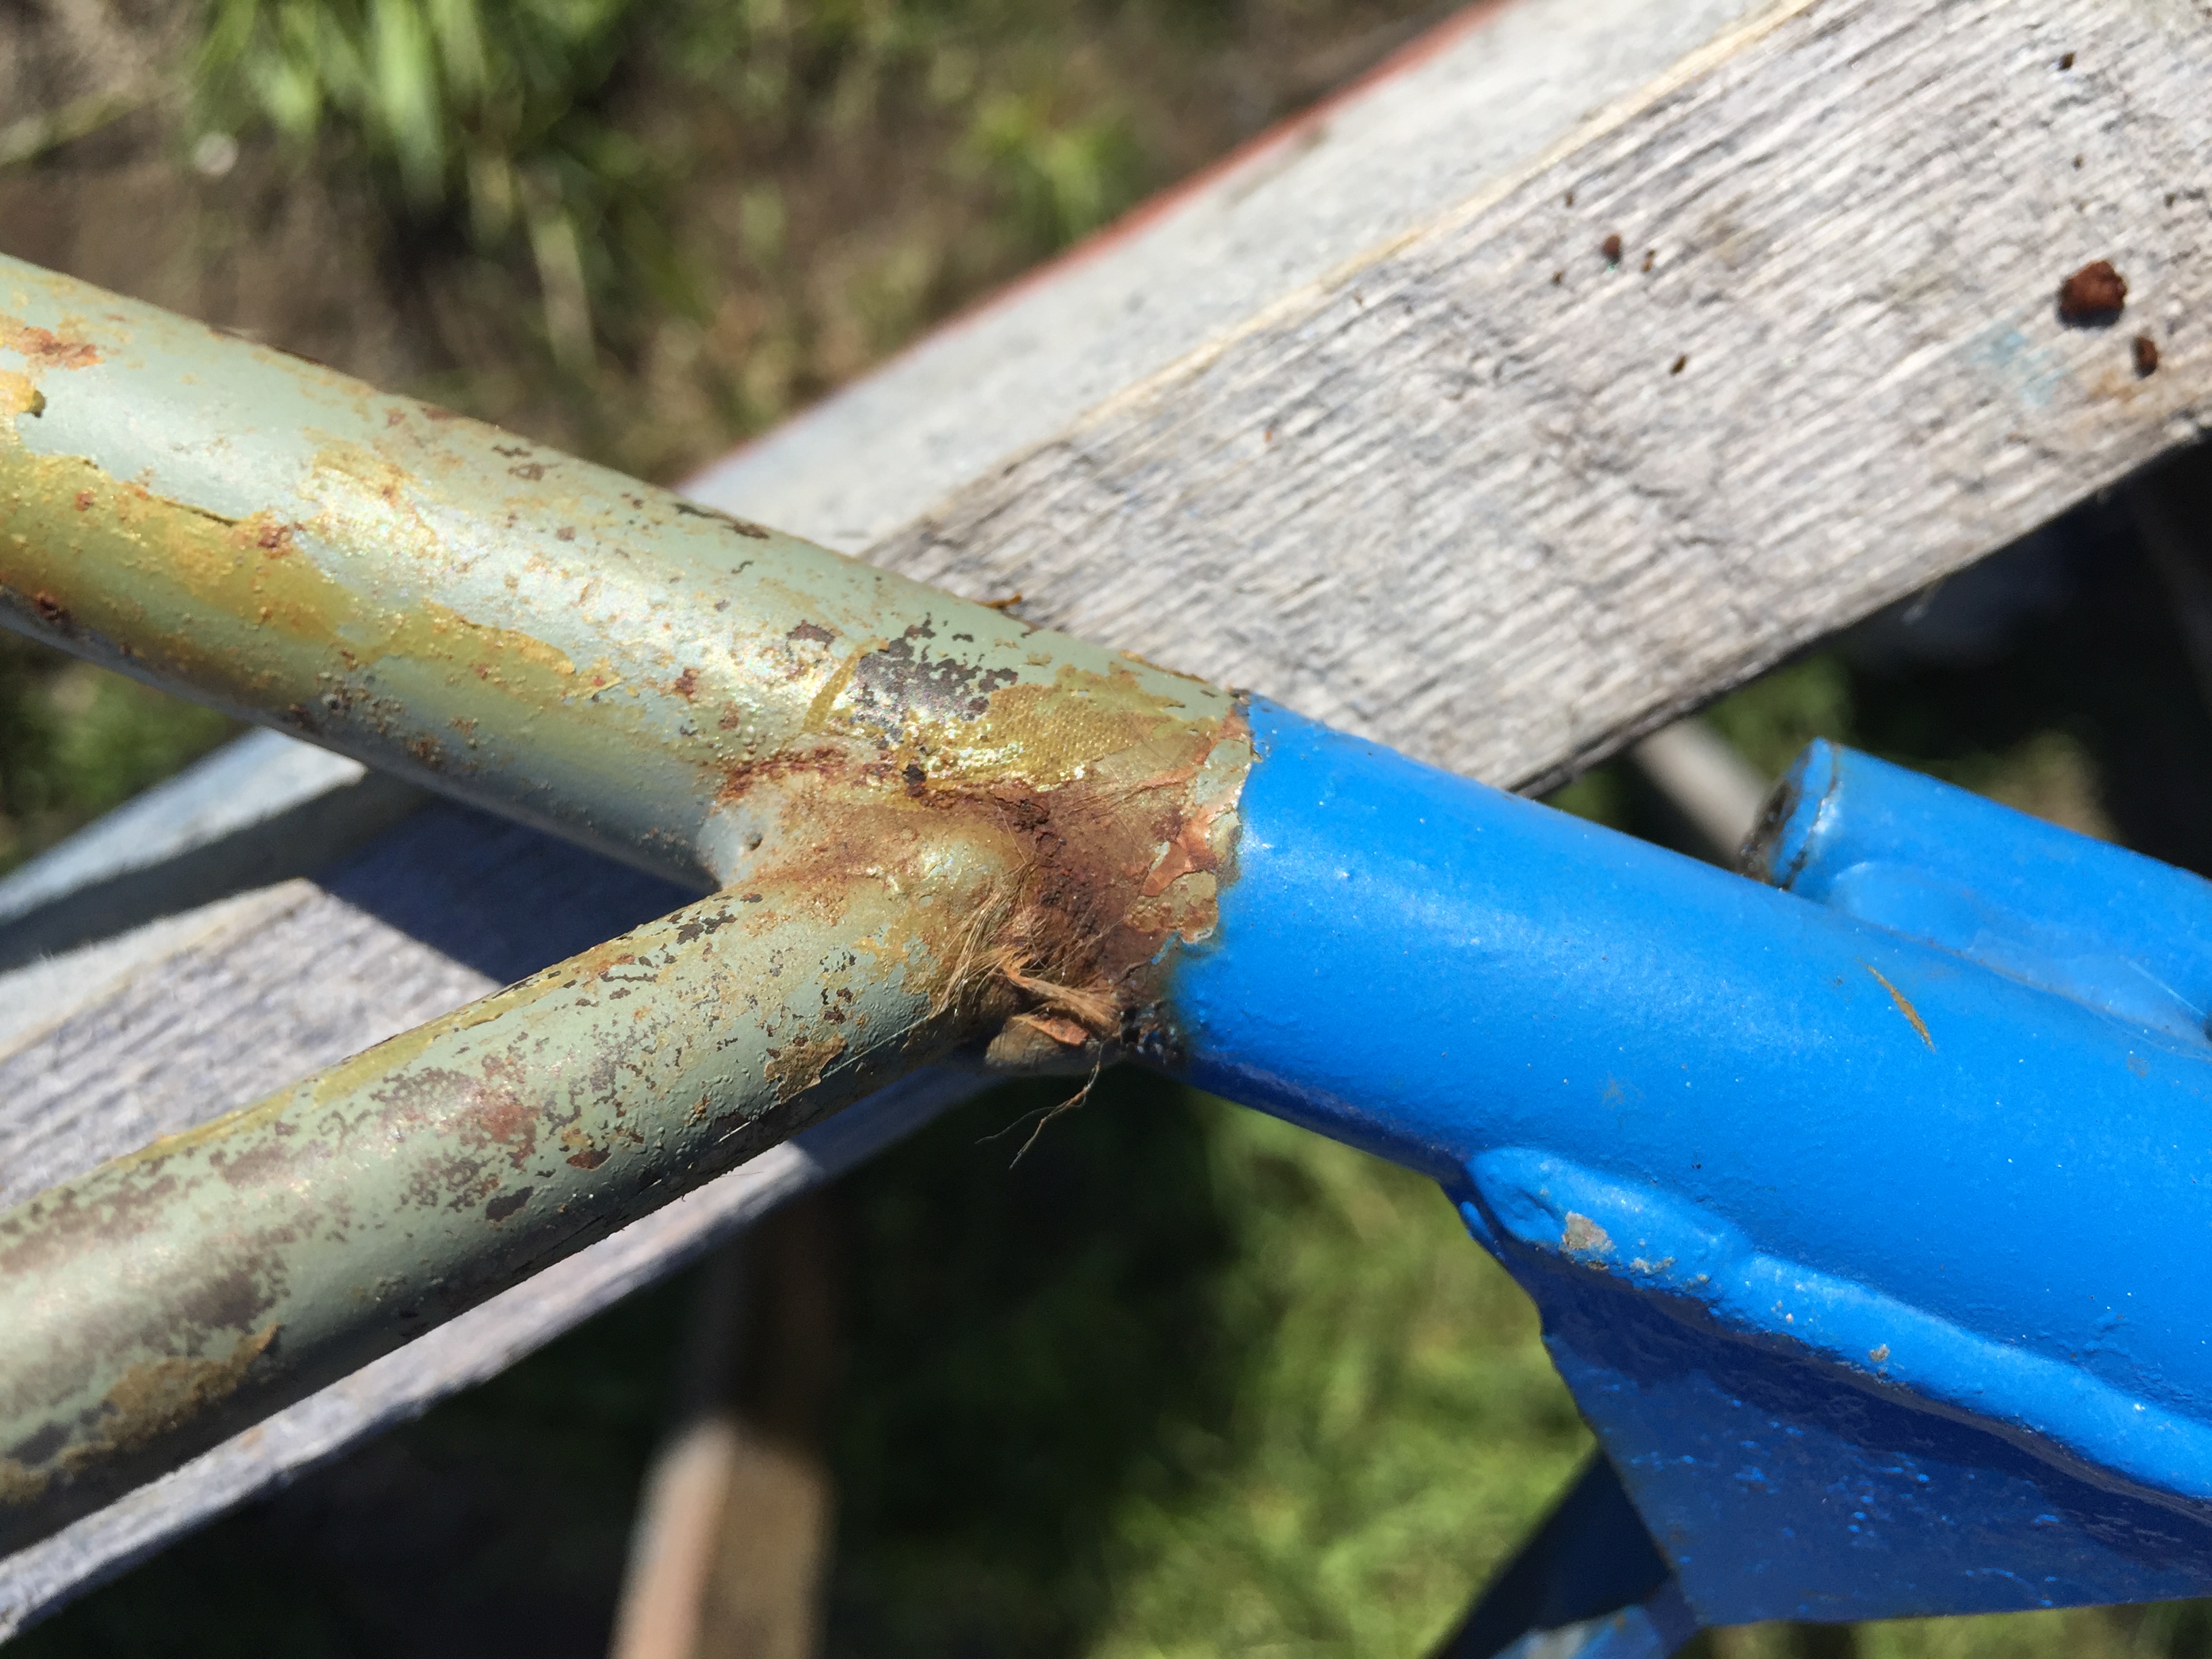
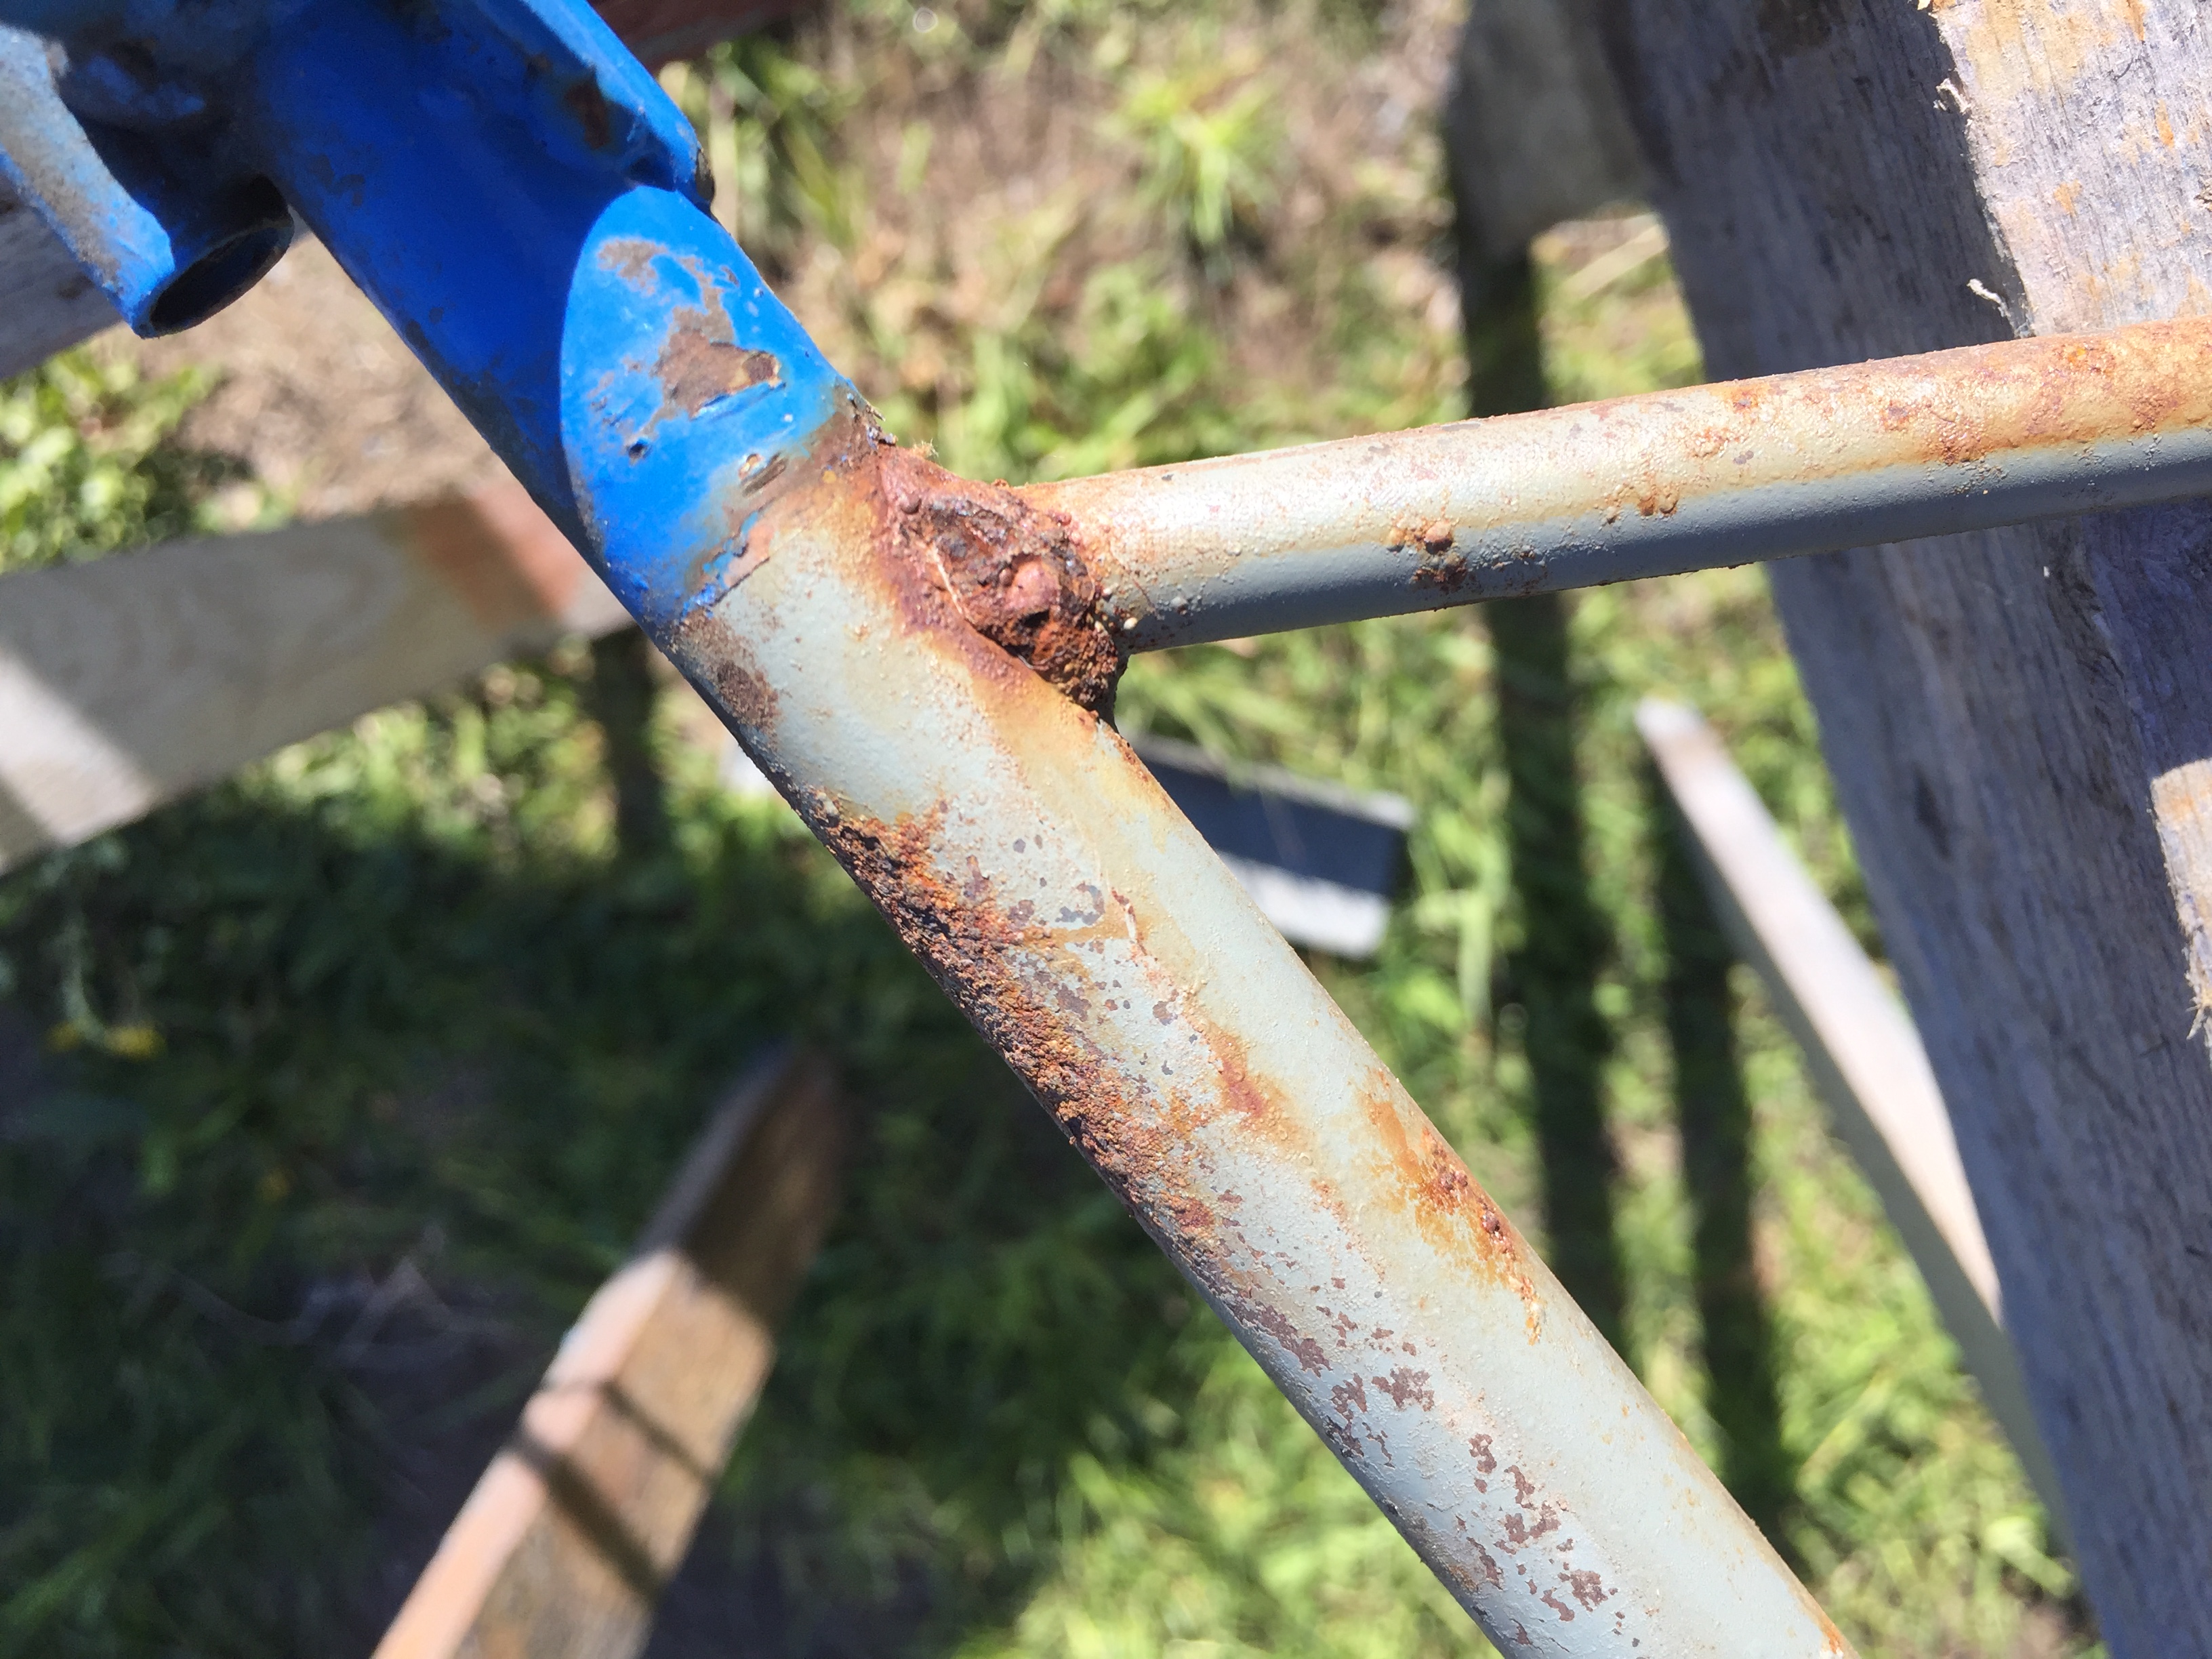
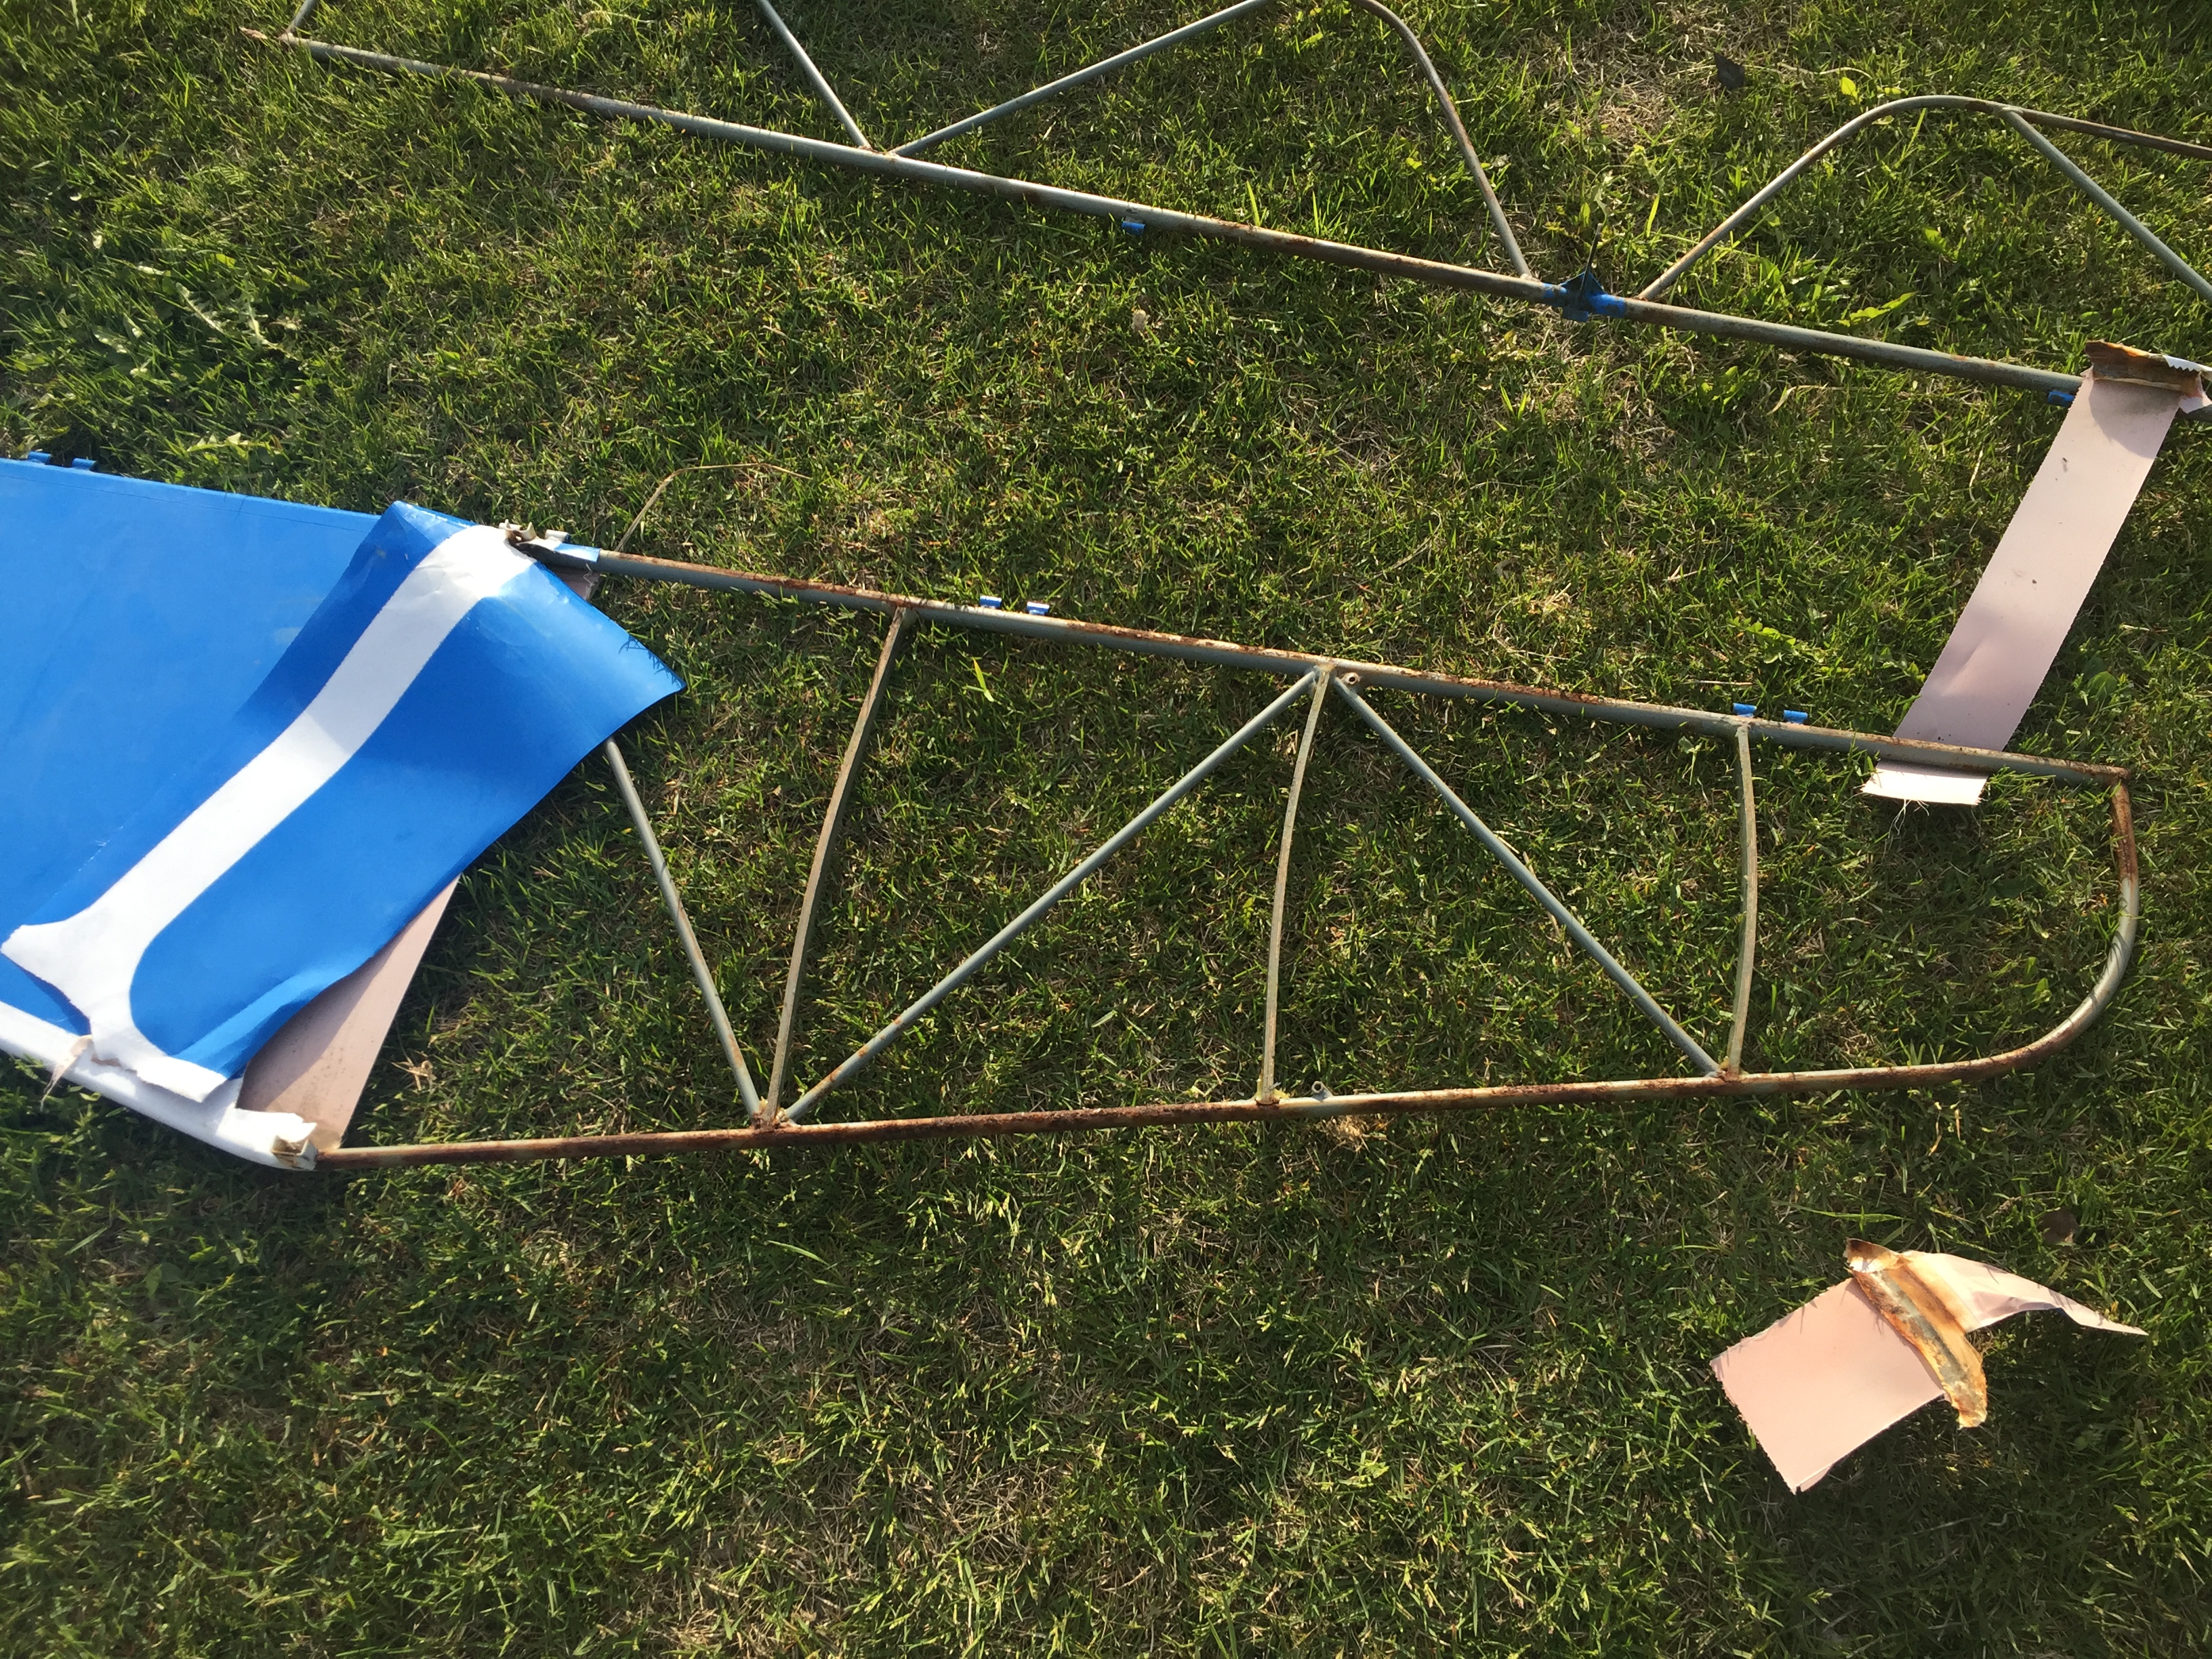
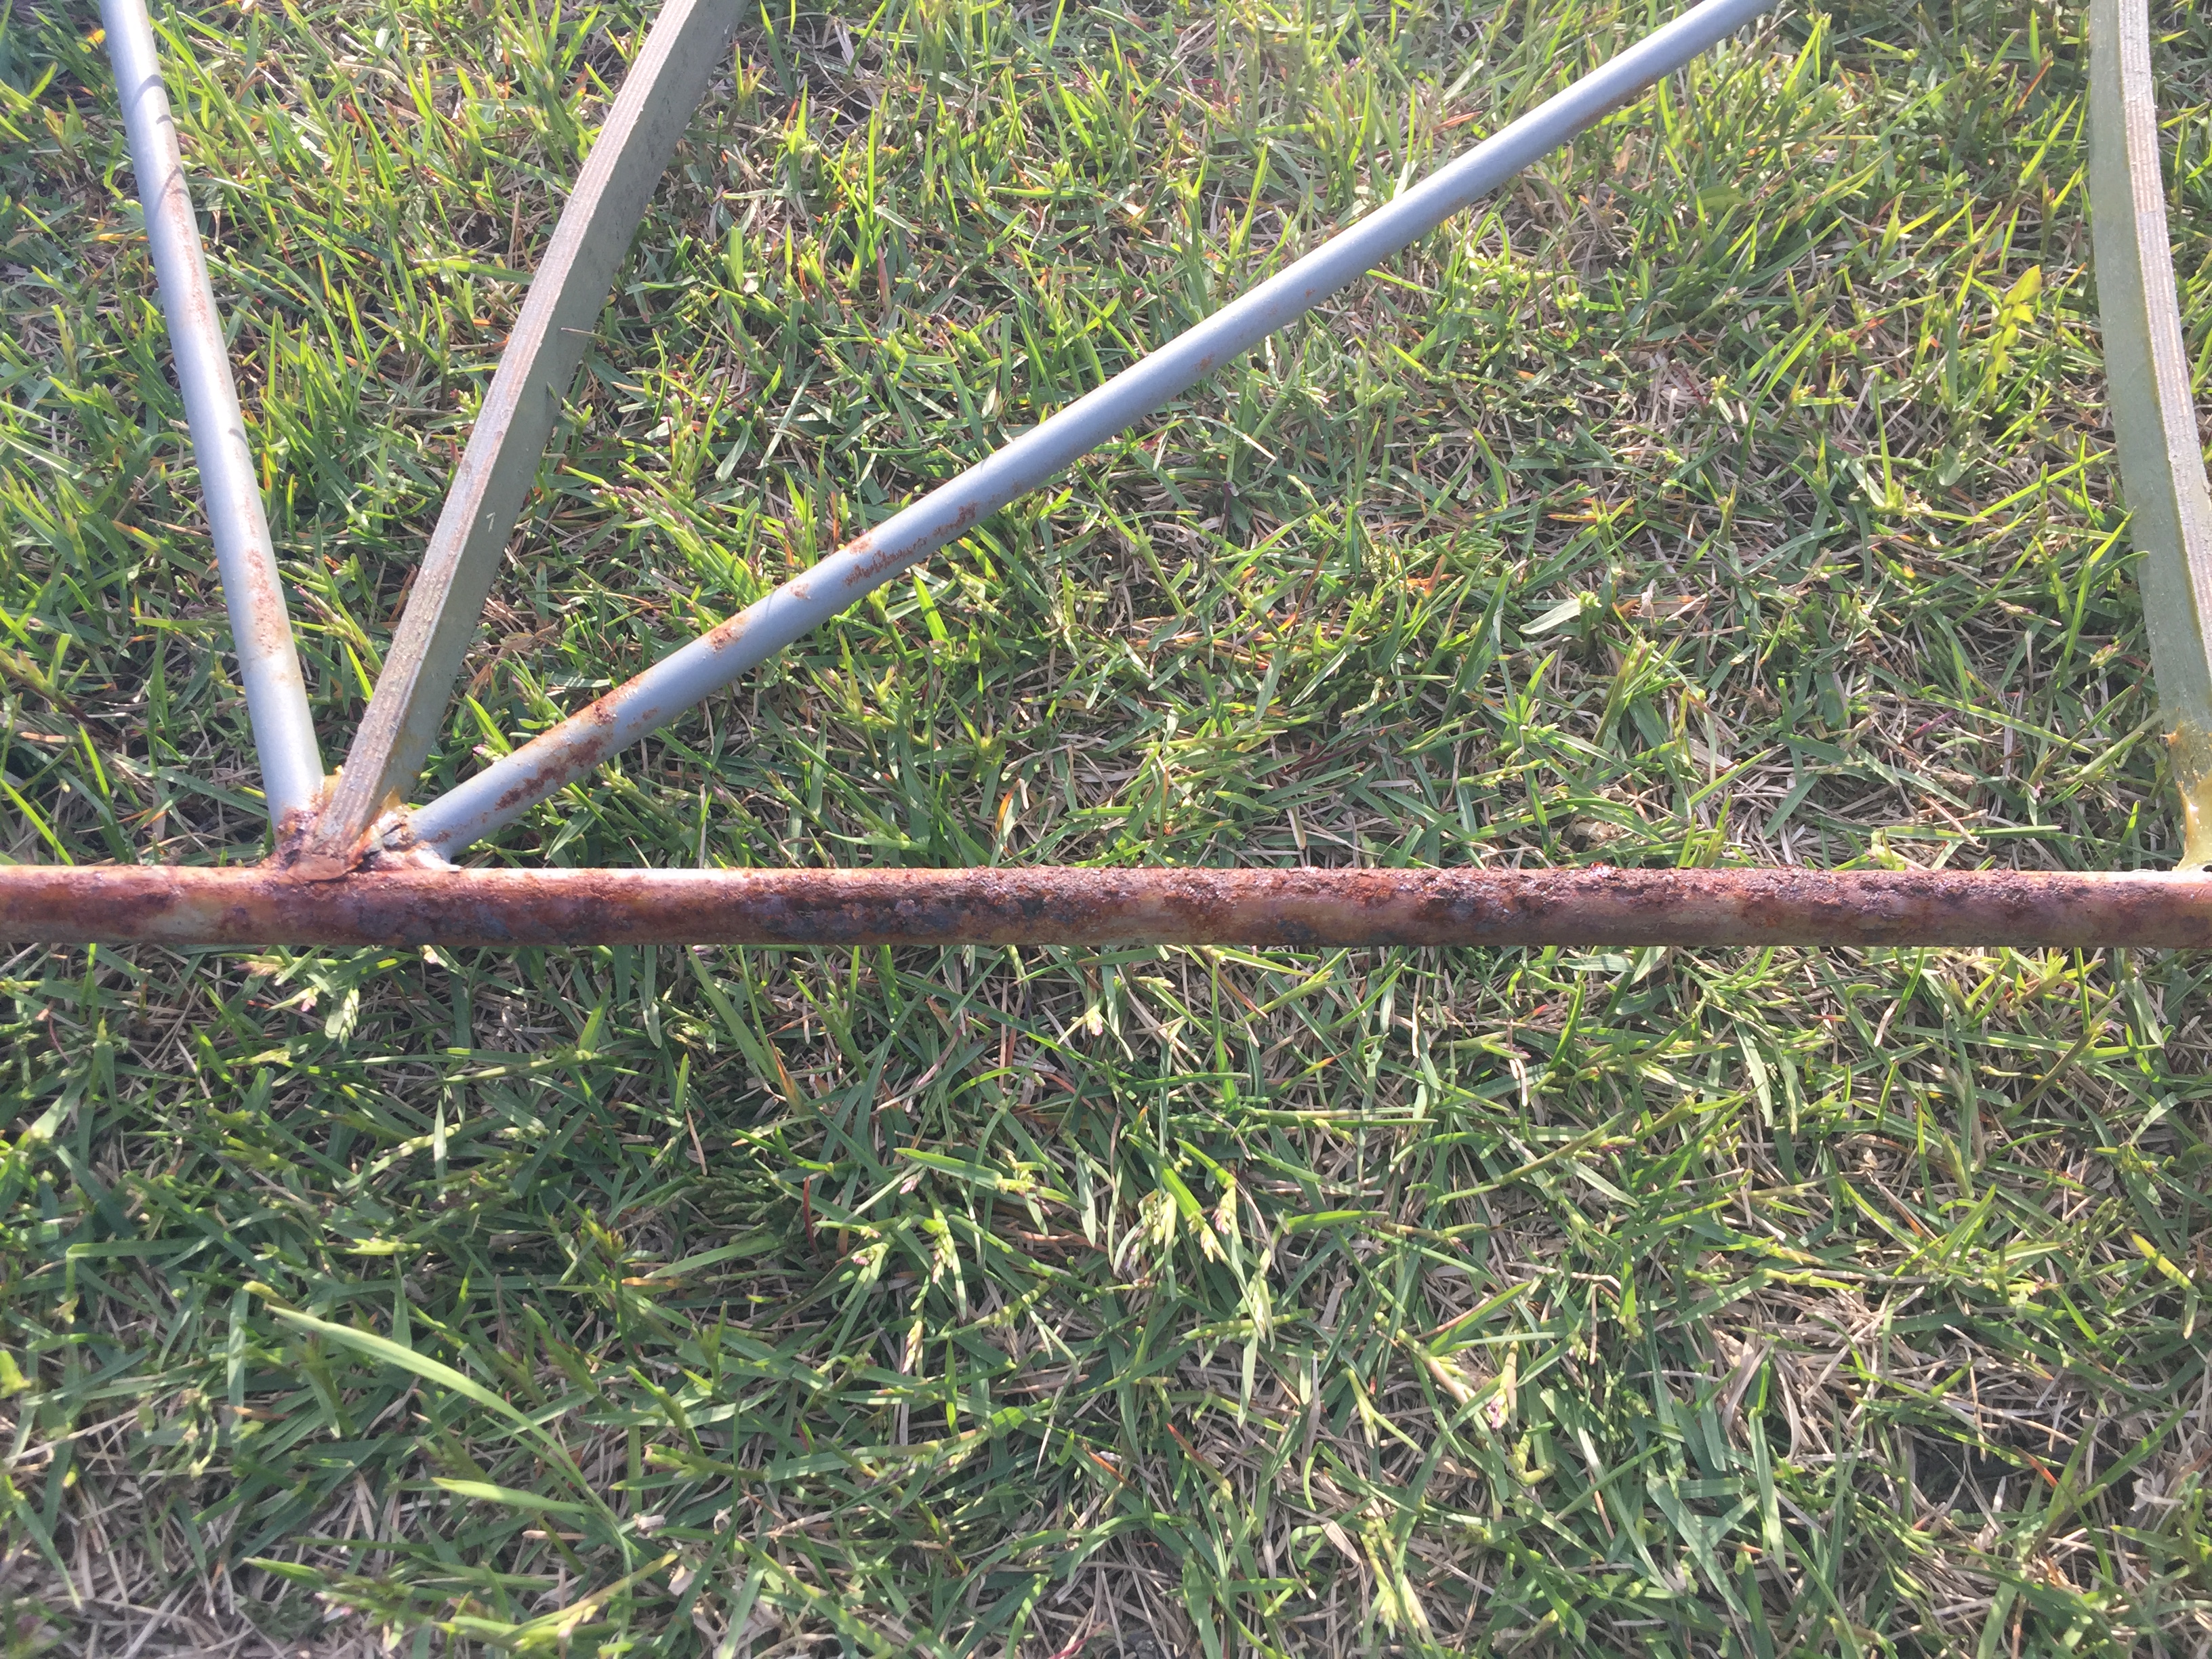
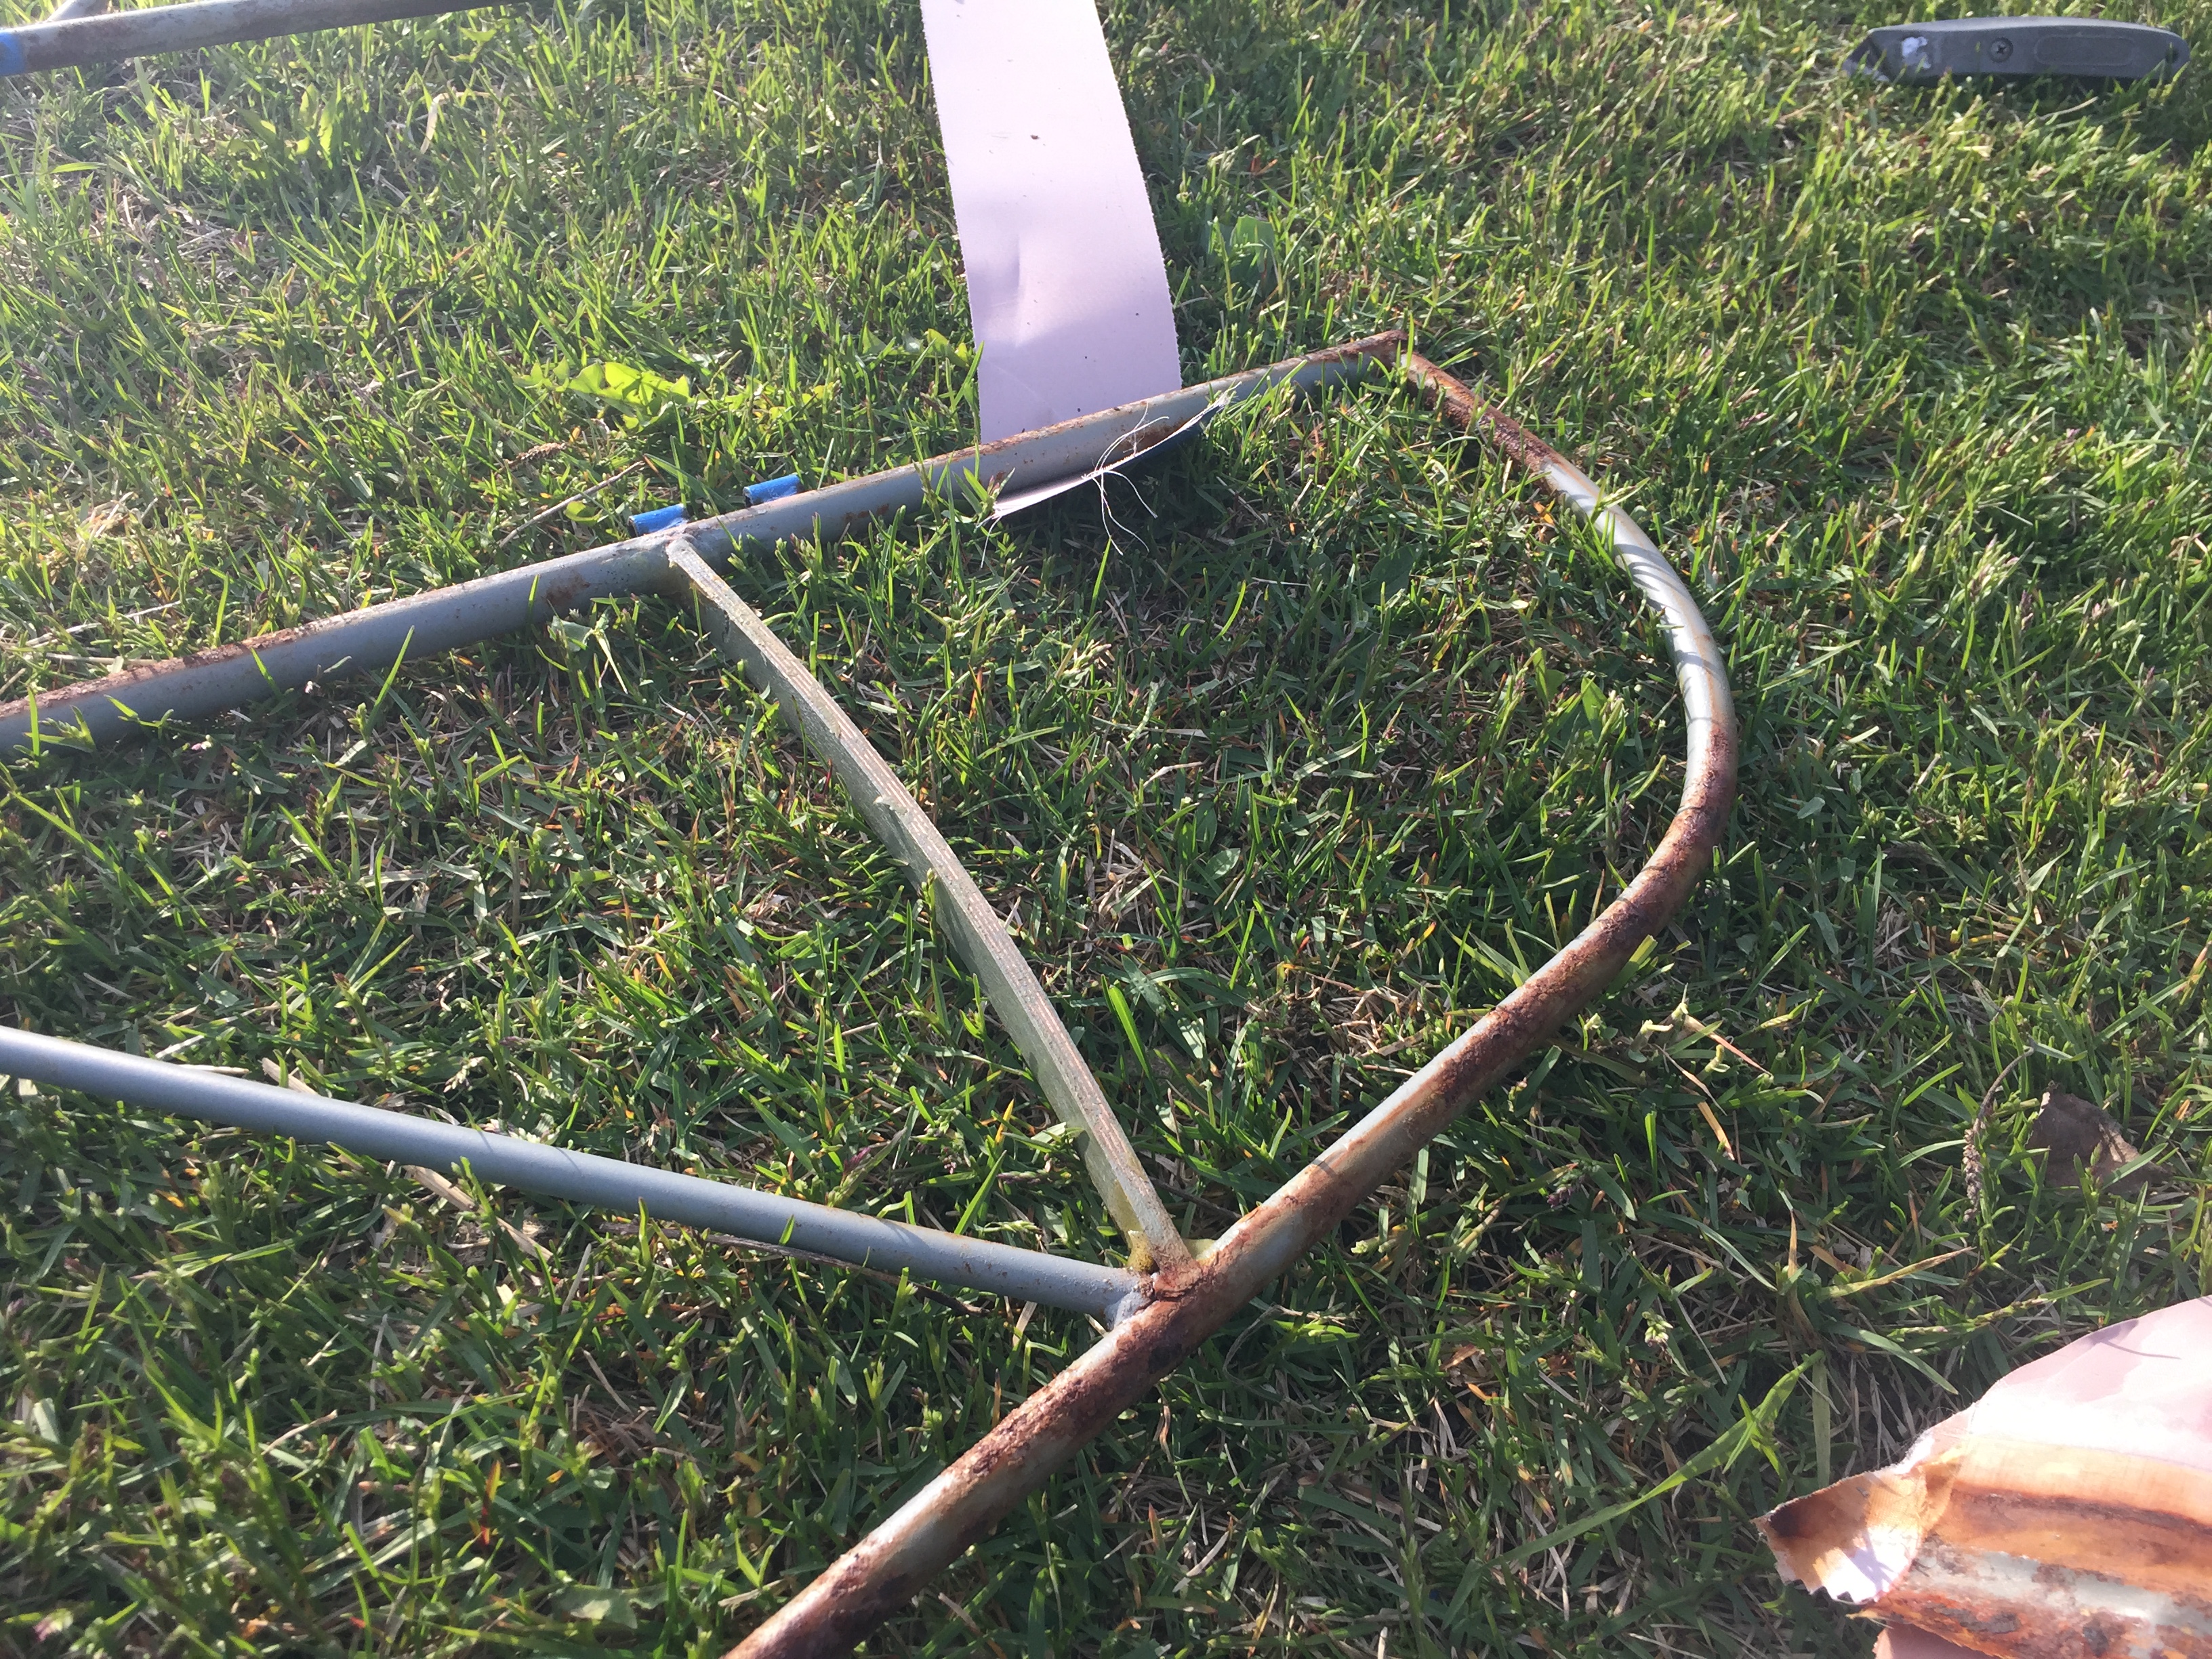
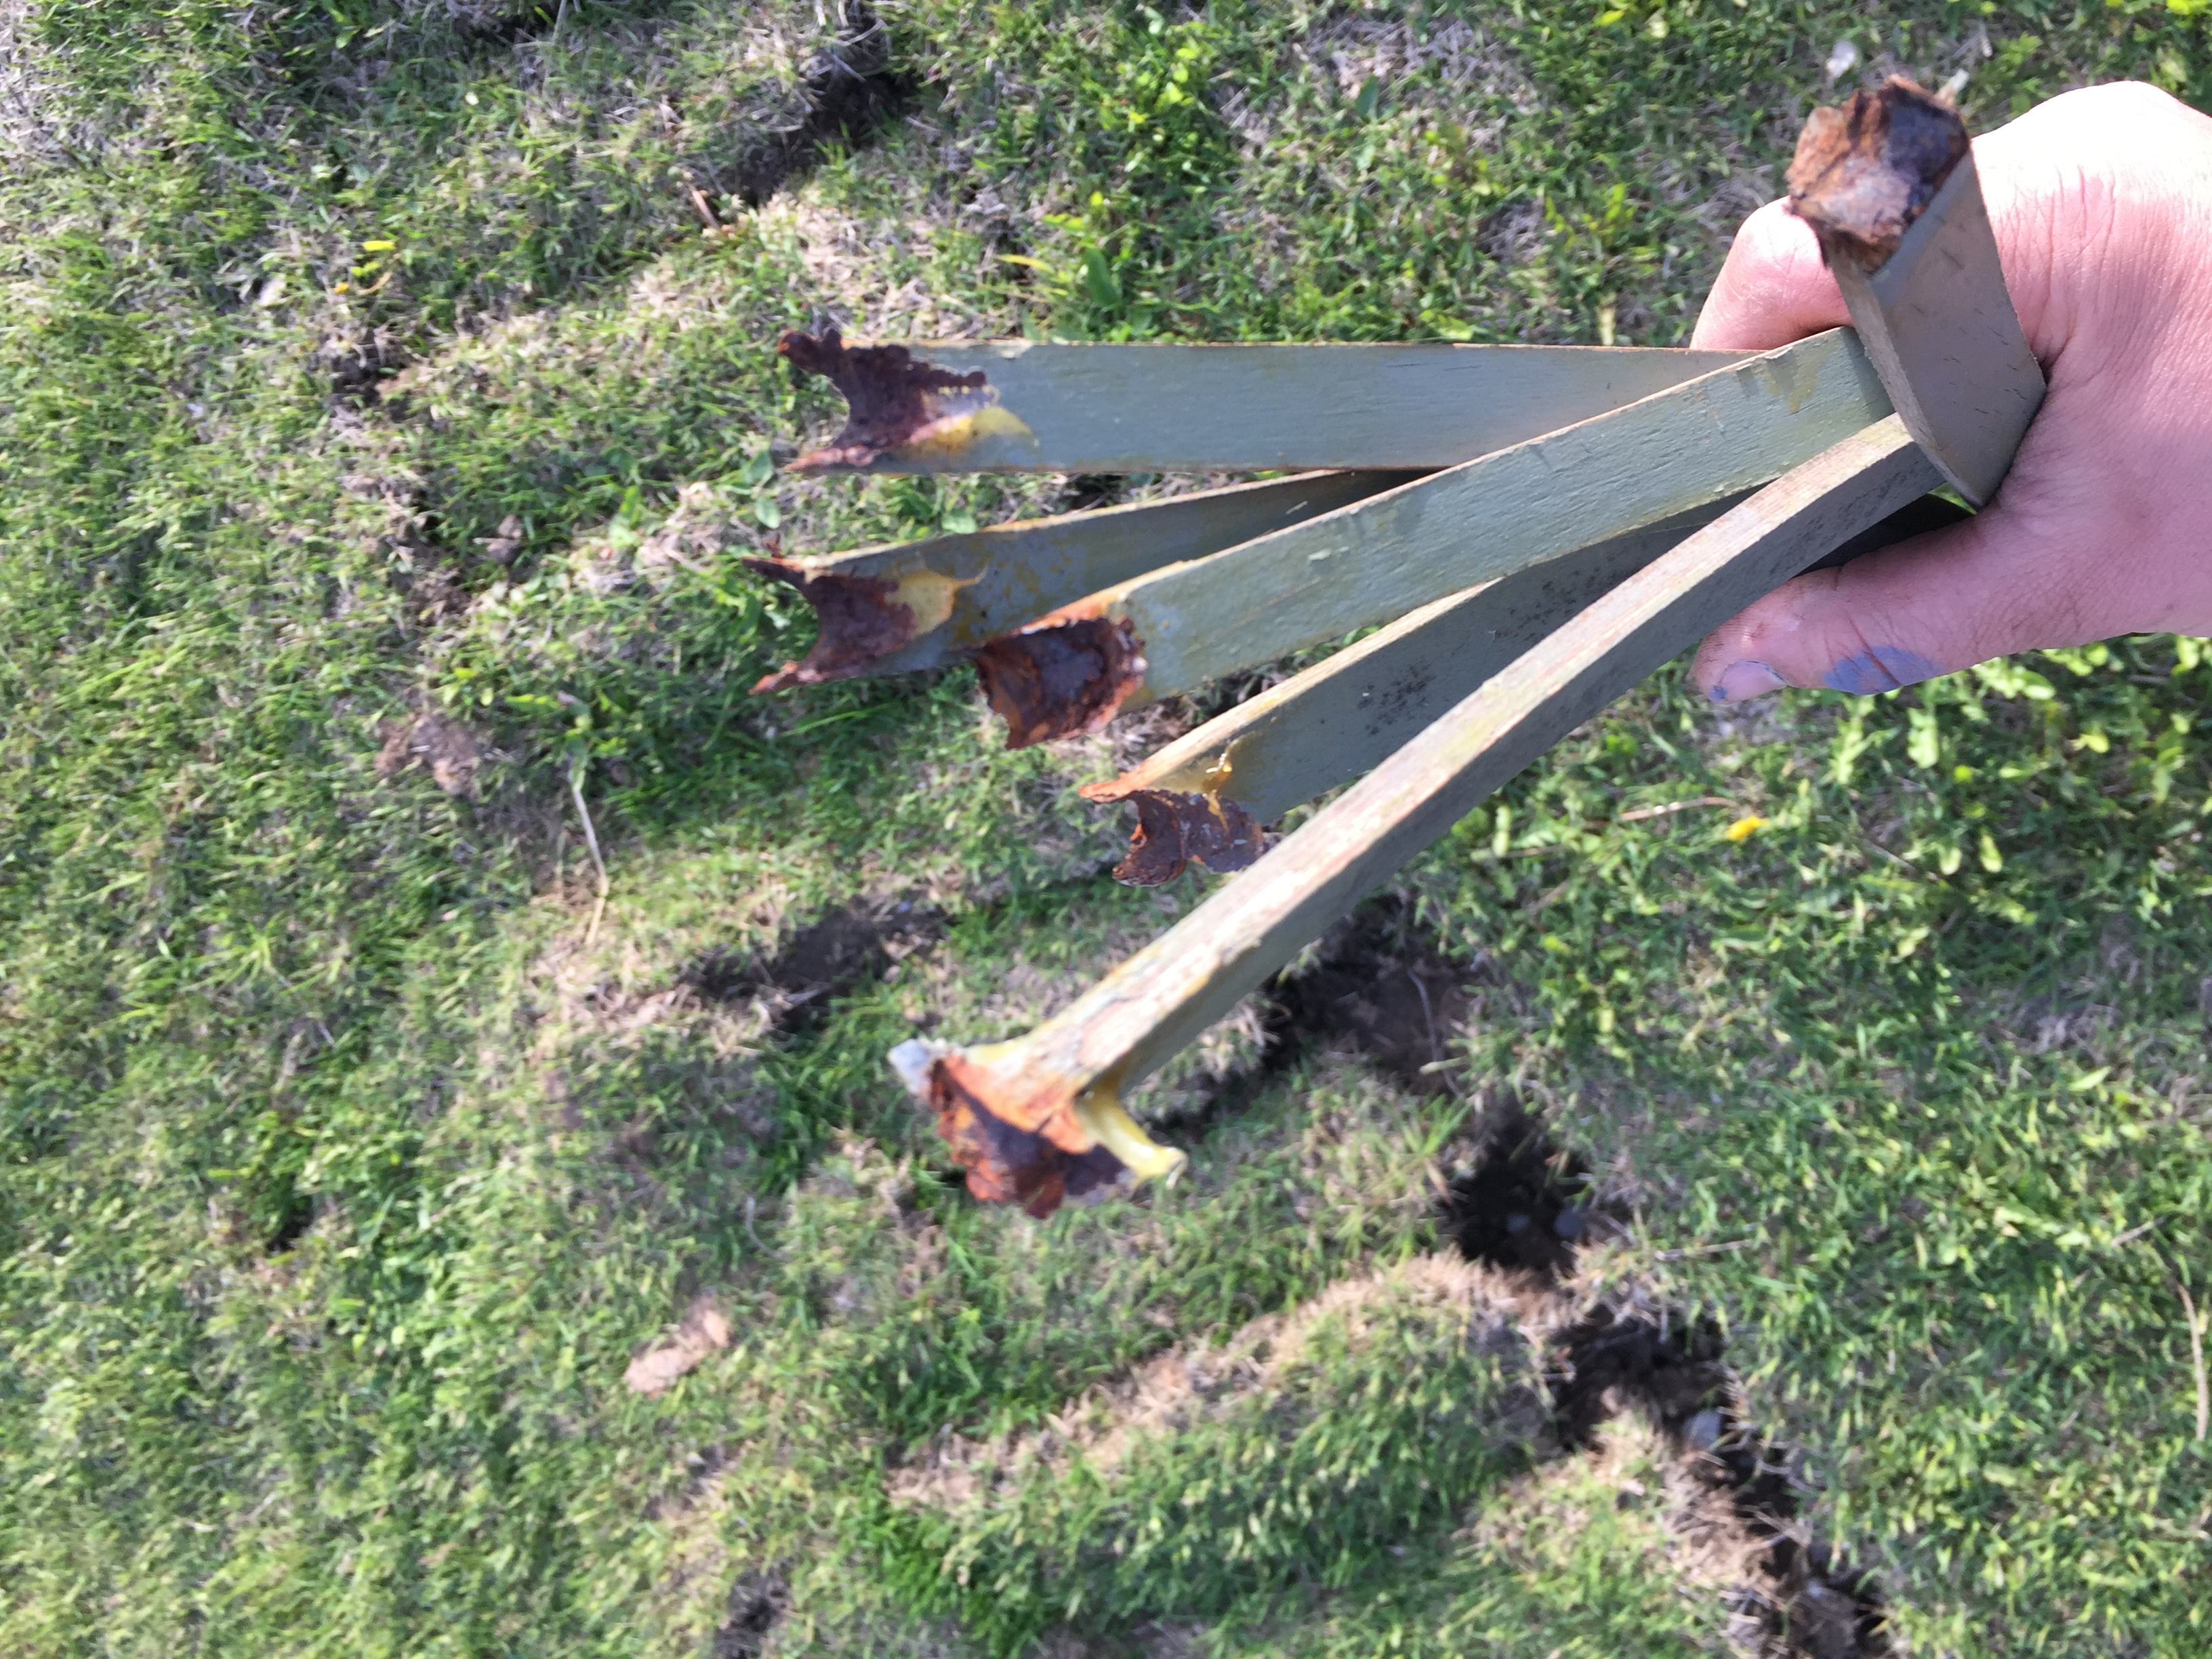
For clarification, the weldment didn’t really look fine. It looked fine with the fabric over it. It might be cracked. It wasn’t a great weld. I’m glad I pulled the rest of it apart, too. The rudder wasn’t bad. It had a little surface rust where the fabric wrapped around it. The horizontal was kind of rough, and the elevator, too. Not too much wastage, but some considerable pitting. It looks like they were primed after the plywood was glued in, and it rusted more in those spots. If I can get the steel locally, I’ll give it more of a rudder, and a longer elevator. So much for being ready, already. It will be a couple days, this time of year, just to get those cleaned up, primed, covered, and painted. That’s if I don’t make it a bigger project.
-
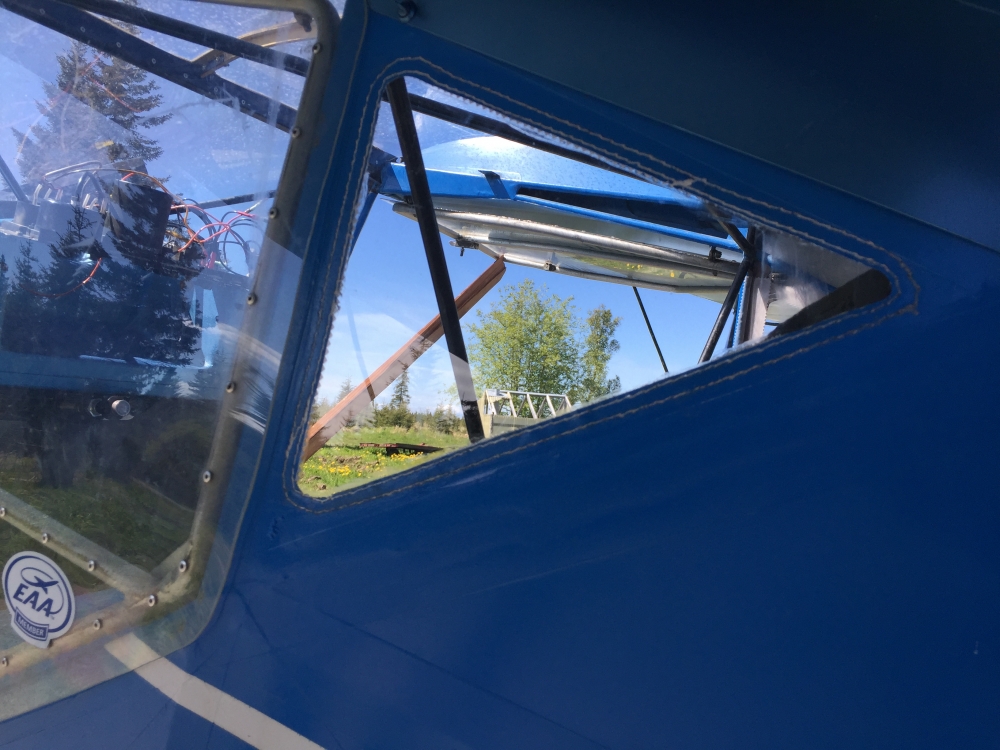
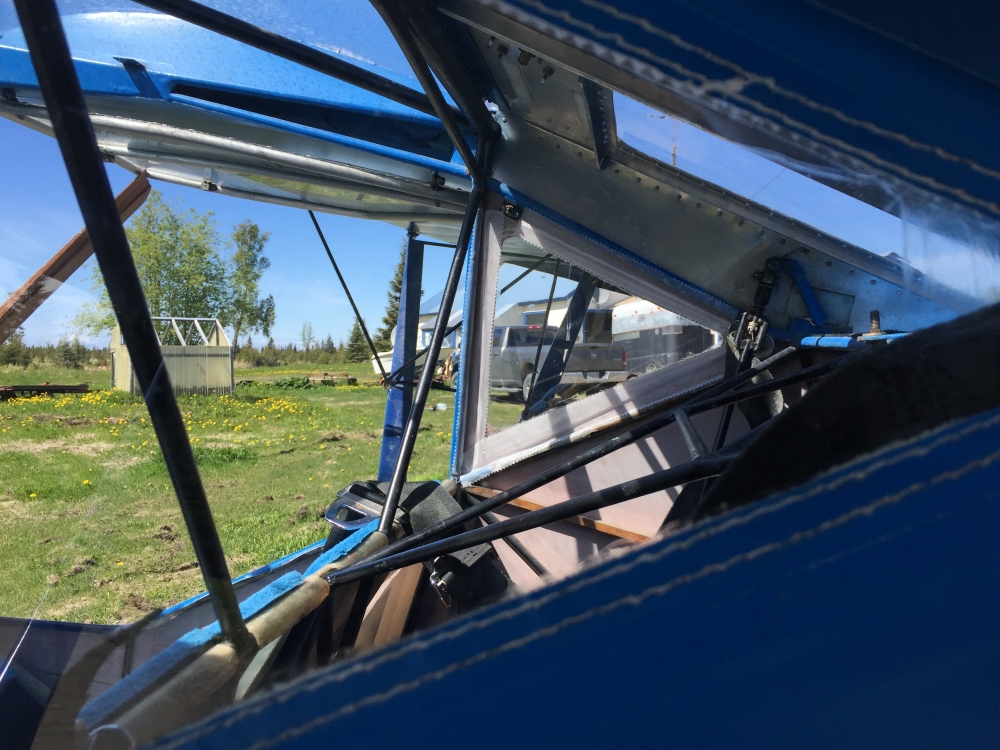
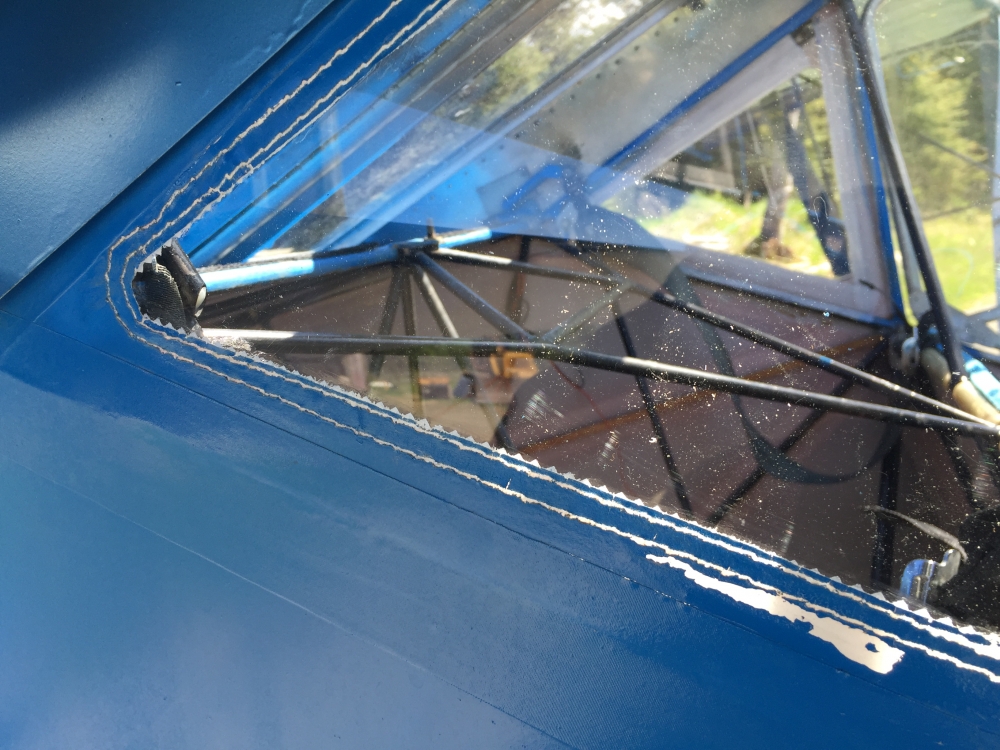
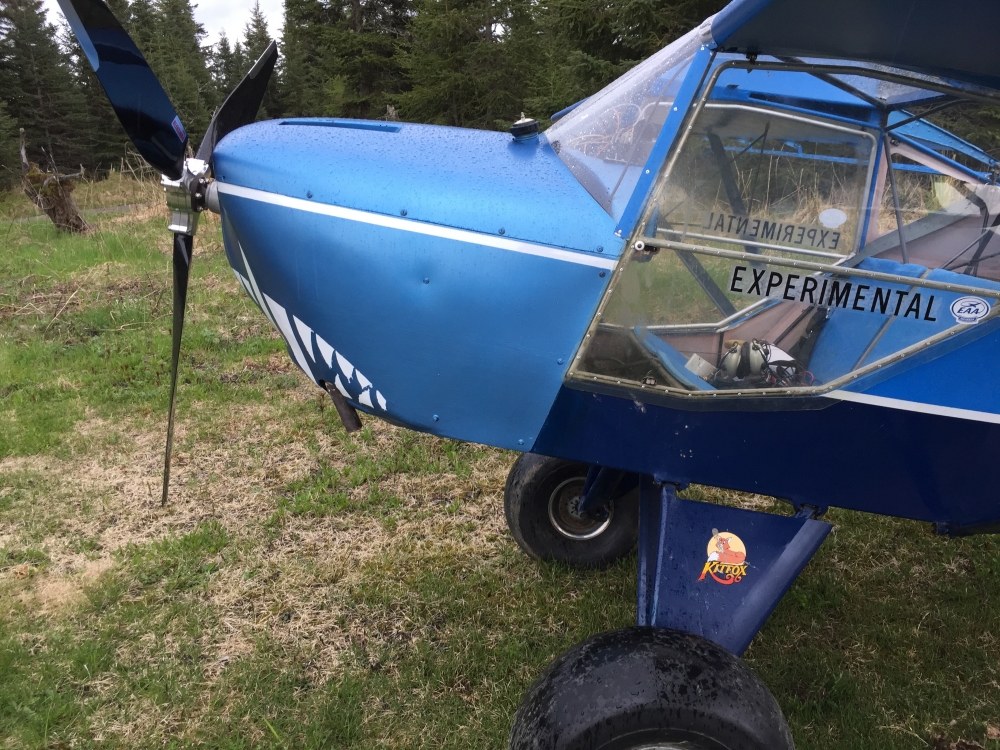
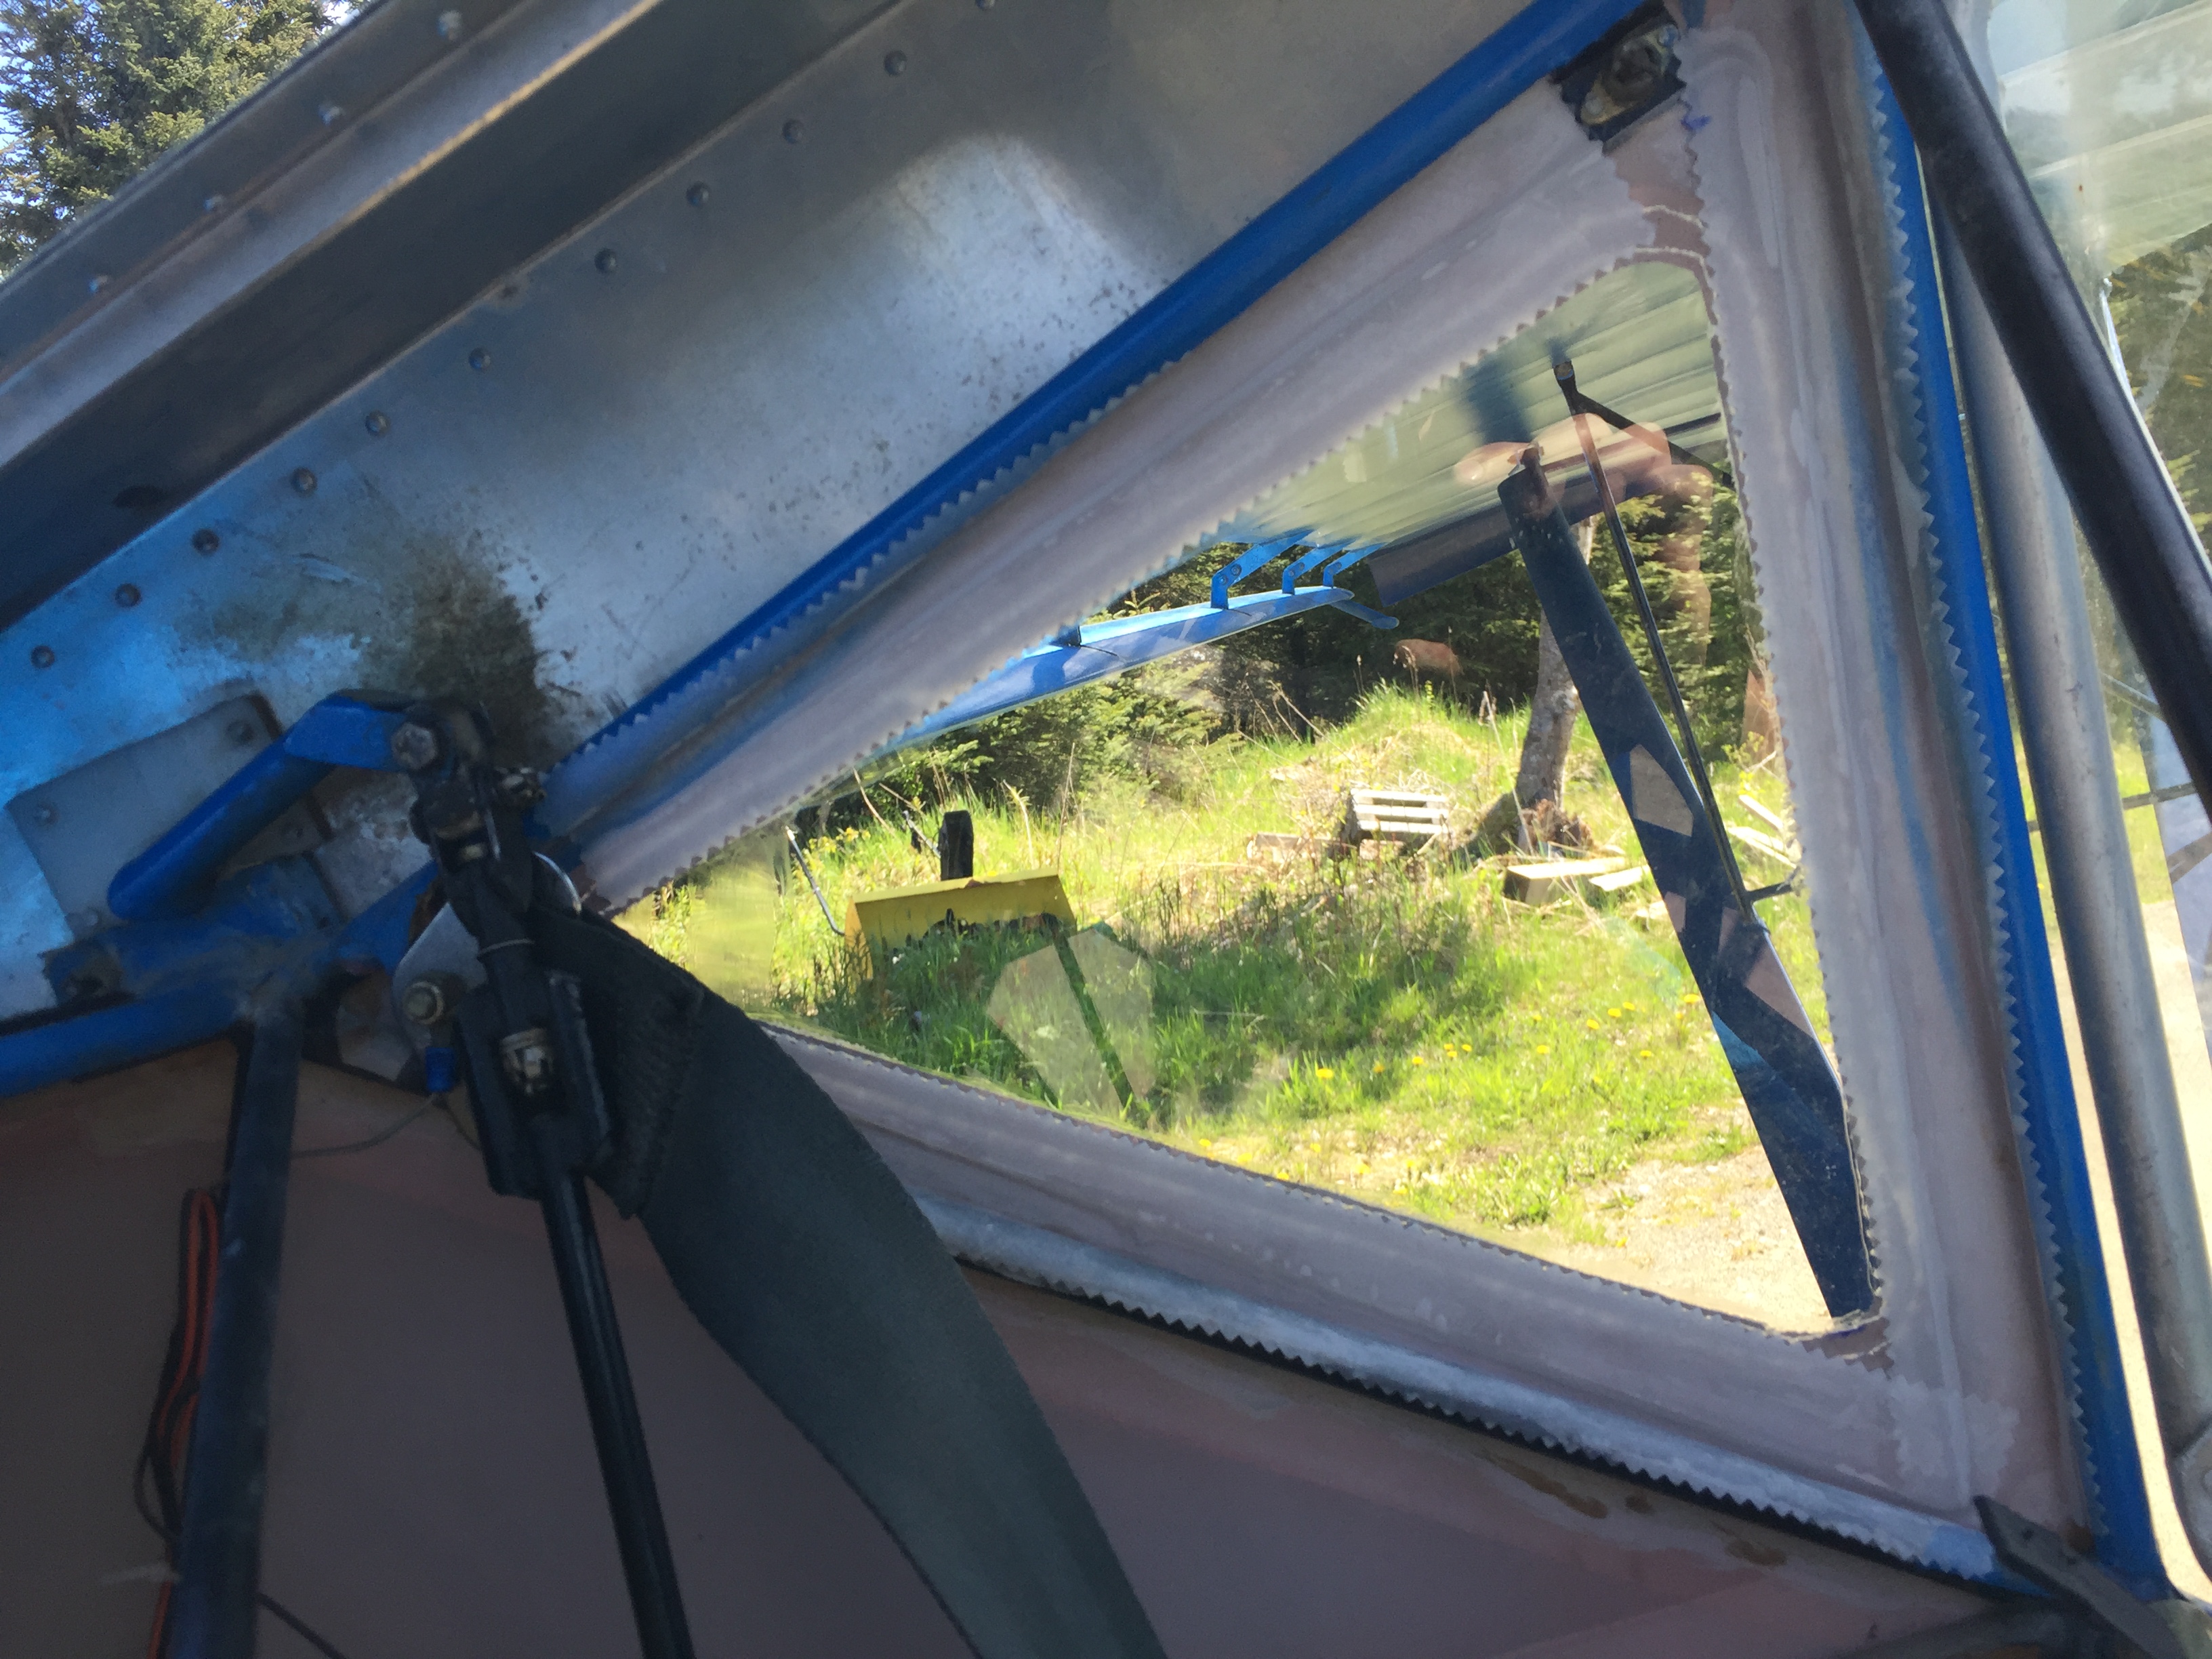
I took a different approach to the quarter windows, using .080” clear acrylic, and stuck them to the fabric with PolyTac. It seems to be working good. I sandwiched them in with finishing tape on the inside. We’ll see how it holds up. Of course I smeared a little cement on the back of one, but it’s not bad enough to make me redo it. Needs just a little paint to finish it off.


-
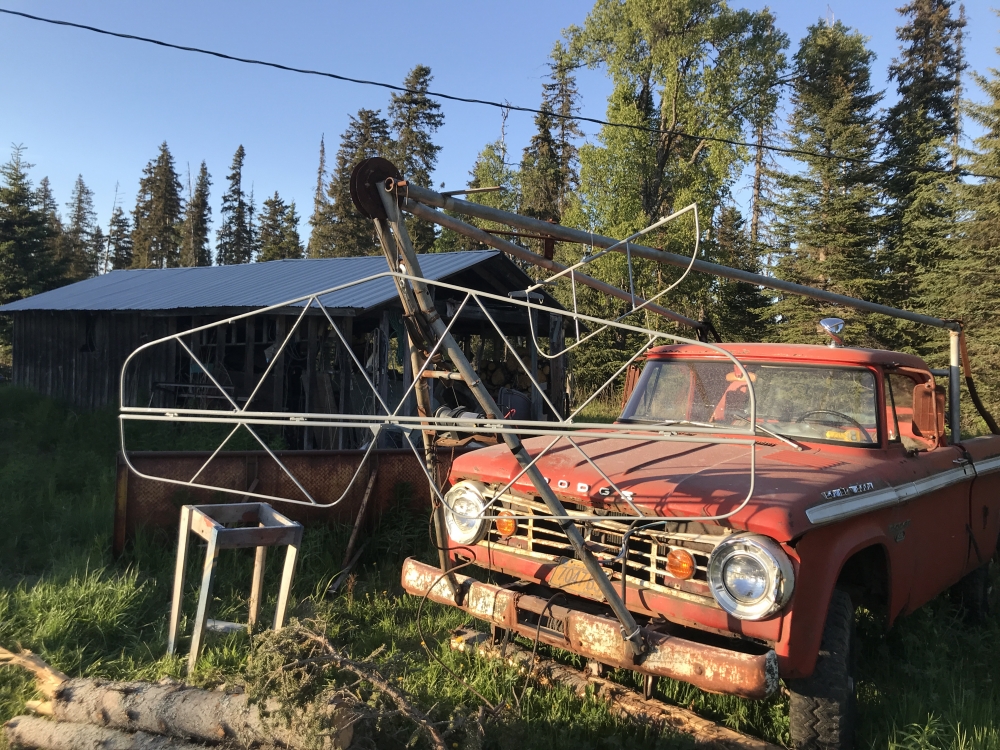
So.... you know how sometimes you’re ready for that condition inspection, then you decide to take care of those elevator weldment gussets, and find a little rust, so pretty soon, you find yourself stripping the fabric off of the whole elevator, and then the horizontal stabilizer, and the rudder, since you’re already at it? That’s me. Then, I start thinking that maybe I should just stretch them now, since I already have them apart, and probably want them bigger, anyway. So close. I was so close. All I had to do was not touch it. The weldment looked fine. The plywood was funky. Hey, we all like bigger control surfaces, right? I wish I had a sandblaster.


-
I checked my N number today, and it is registered to me. !!!! Yes! Now I can quit being disappointed when I check the mail. It would be nice to see that piece of paper, though.
3 people like this -
Checkout how i fixed my yellowed, faded, cracked stock Qtr windows, did it cheap quick and easy, and now easy replaceable down the road.
Thanks, Bucky. I got caught up on your posts and saw what you did. That was the same idea I had. The Lexan that I bought locally is a bit thicker than I wanted to use, but I’ll probably go ahead and do it. I did buy some plastic to sew in, but I wanted to do something better if I could. I should put it on a scale and see how it shakes out.
-
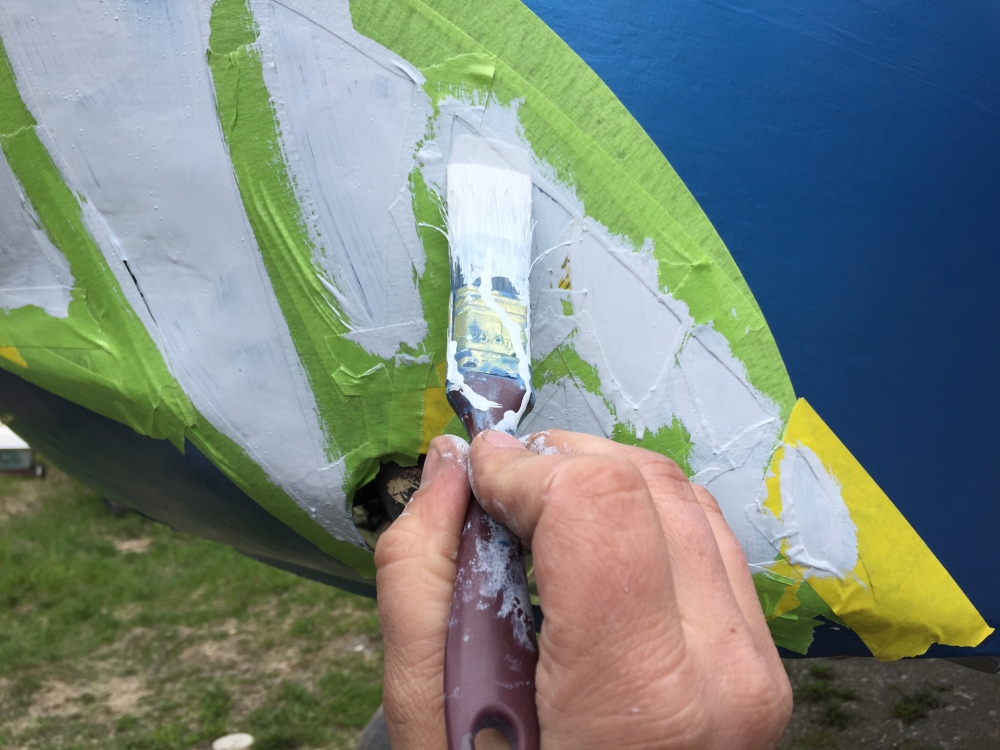
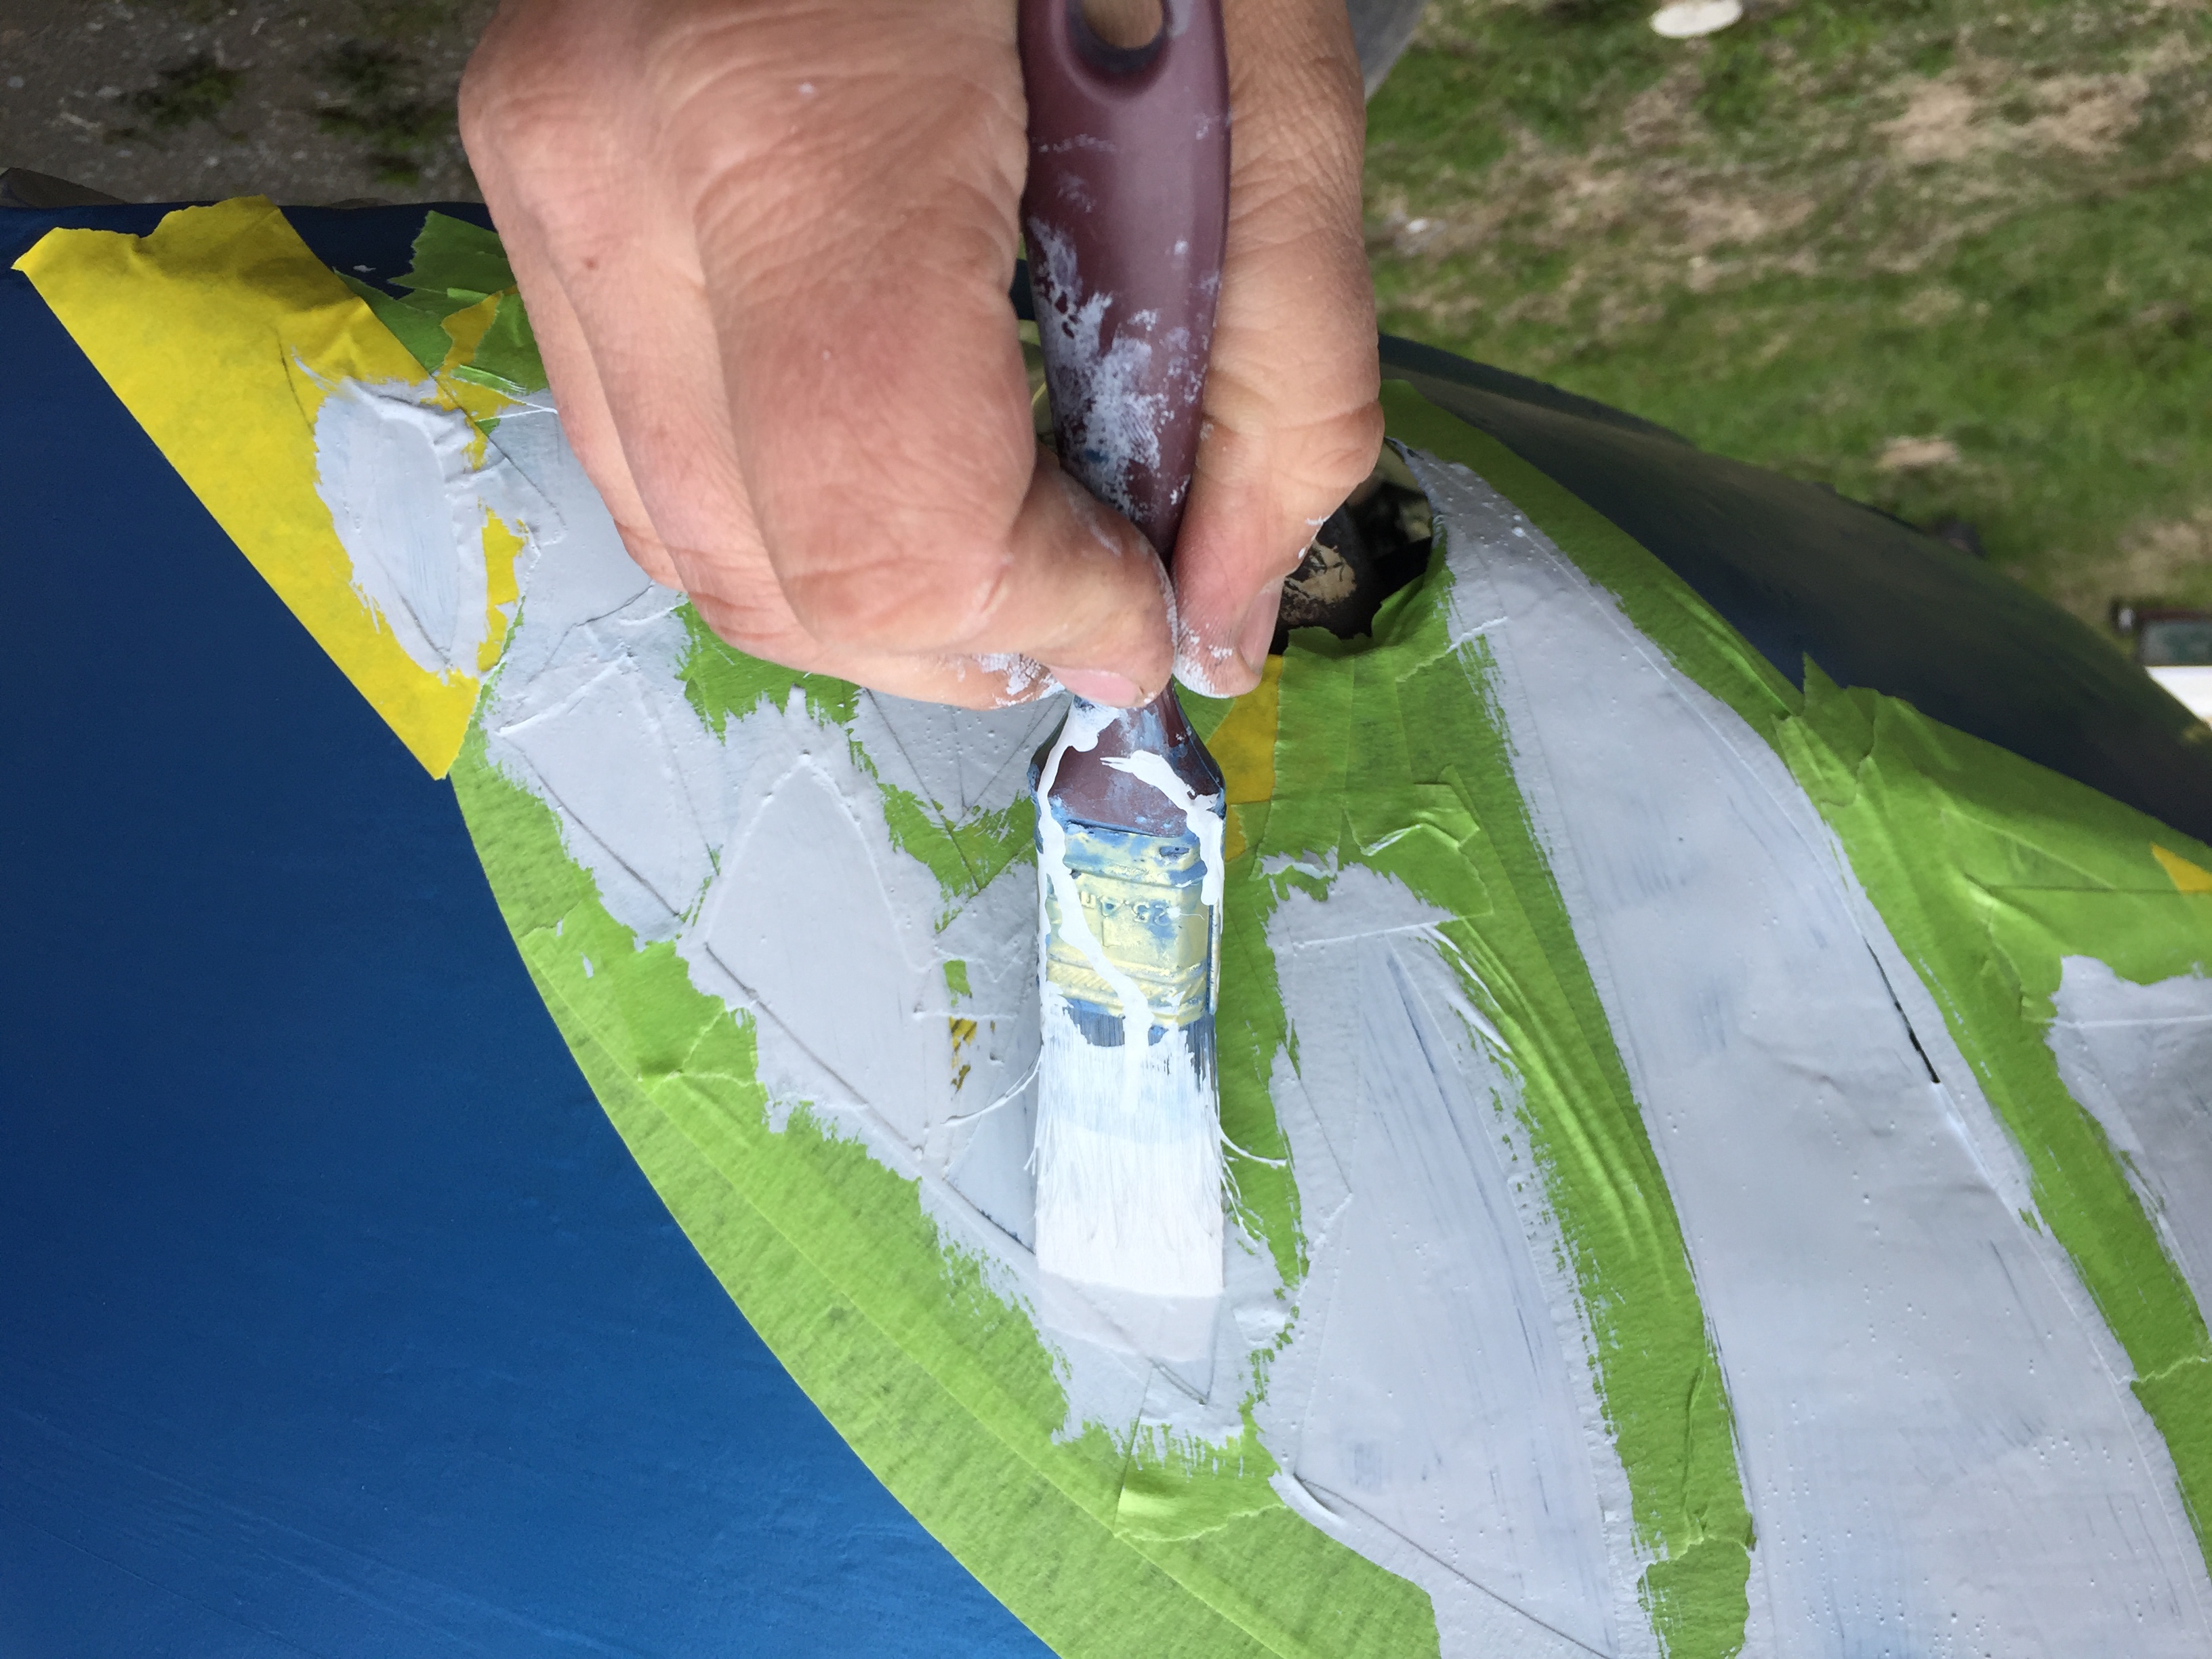
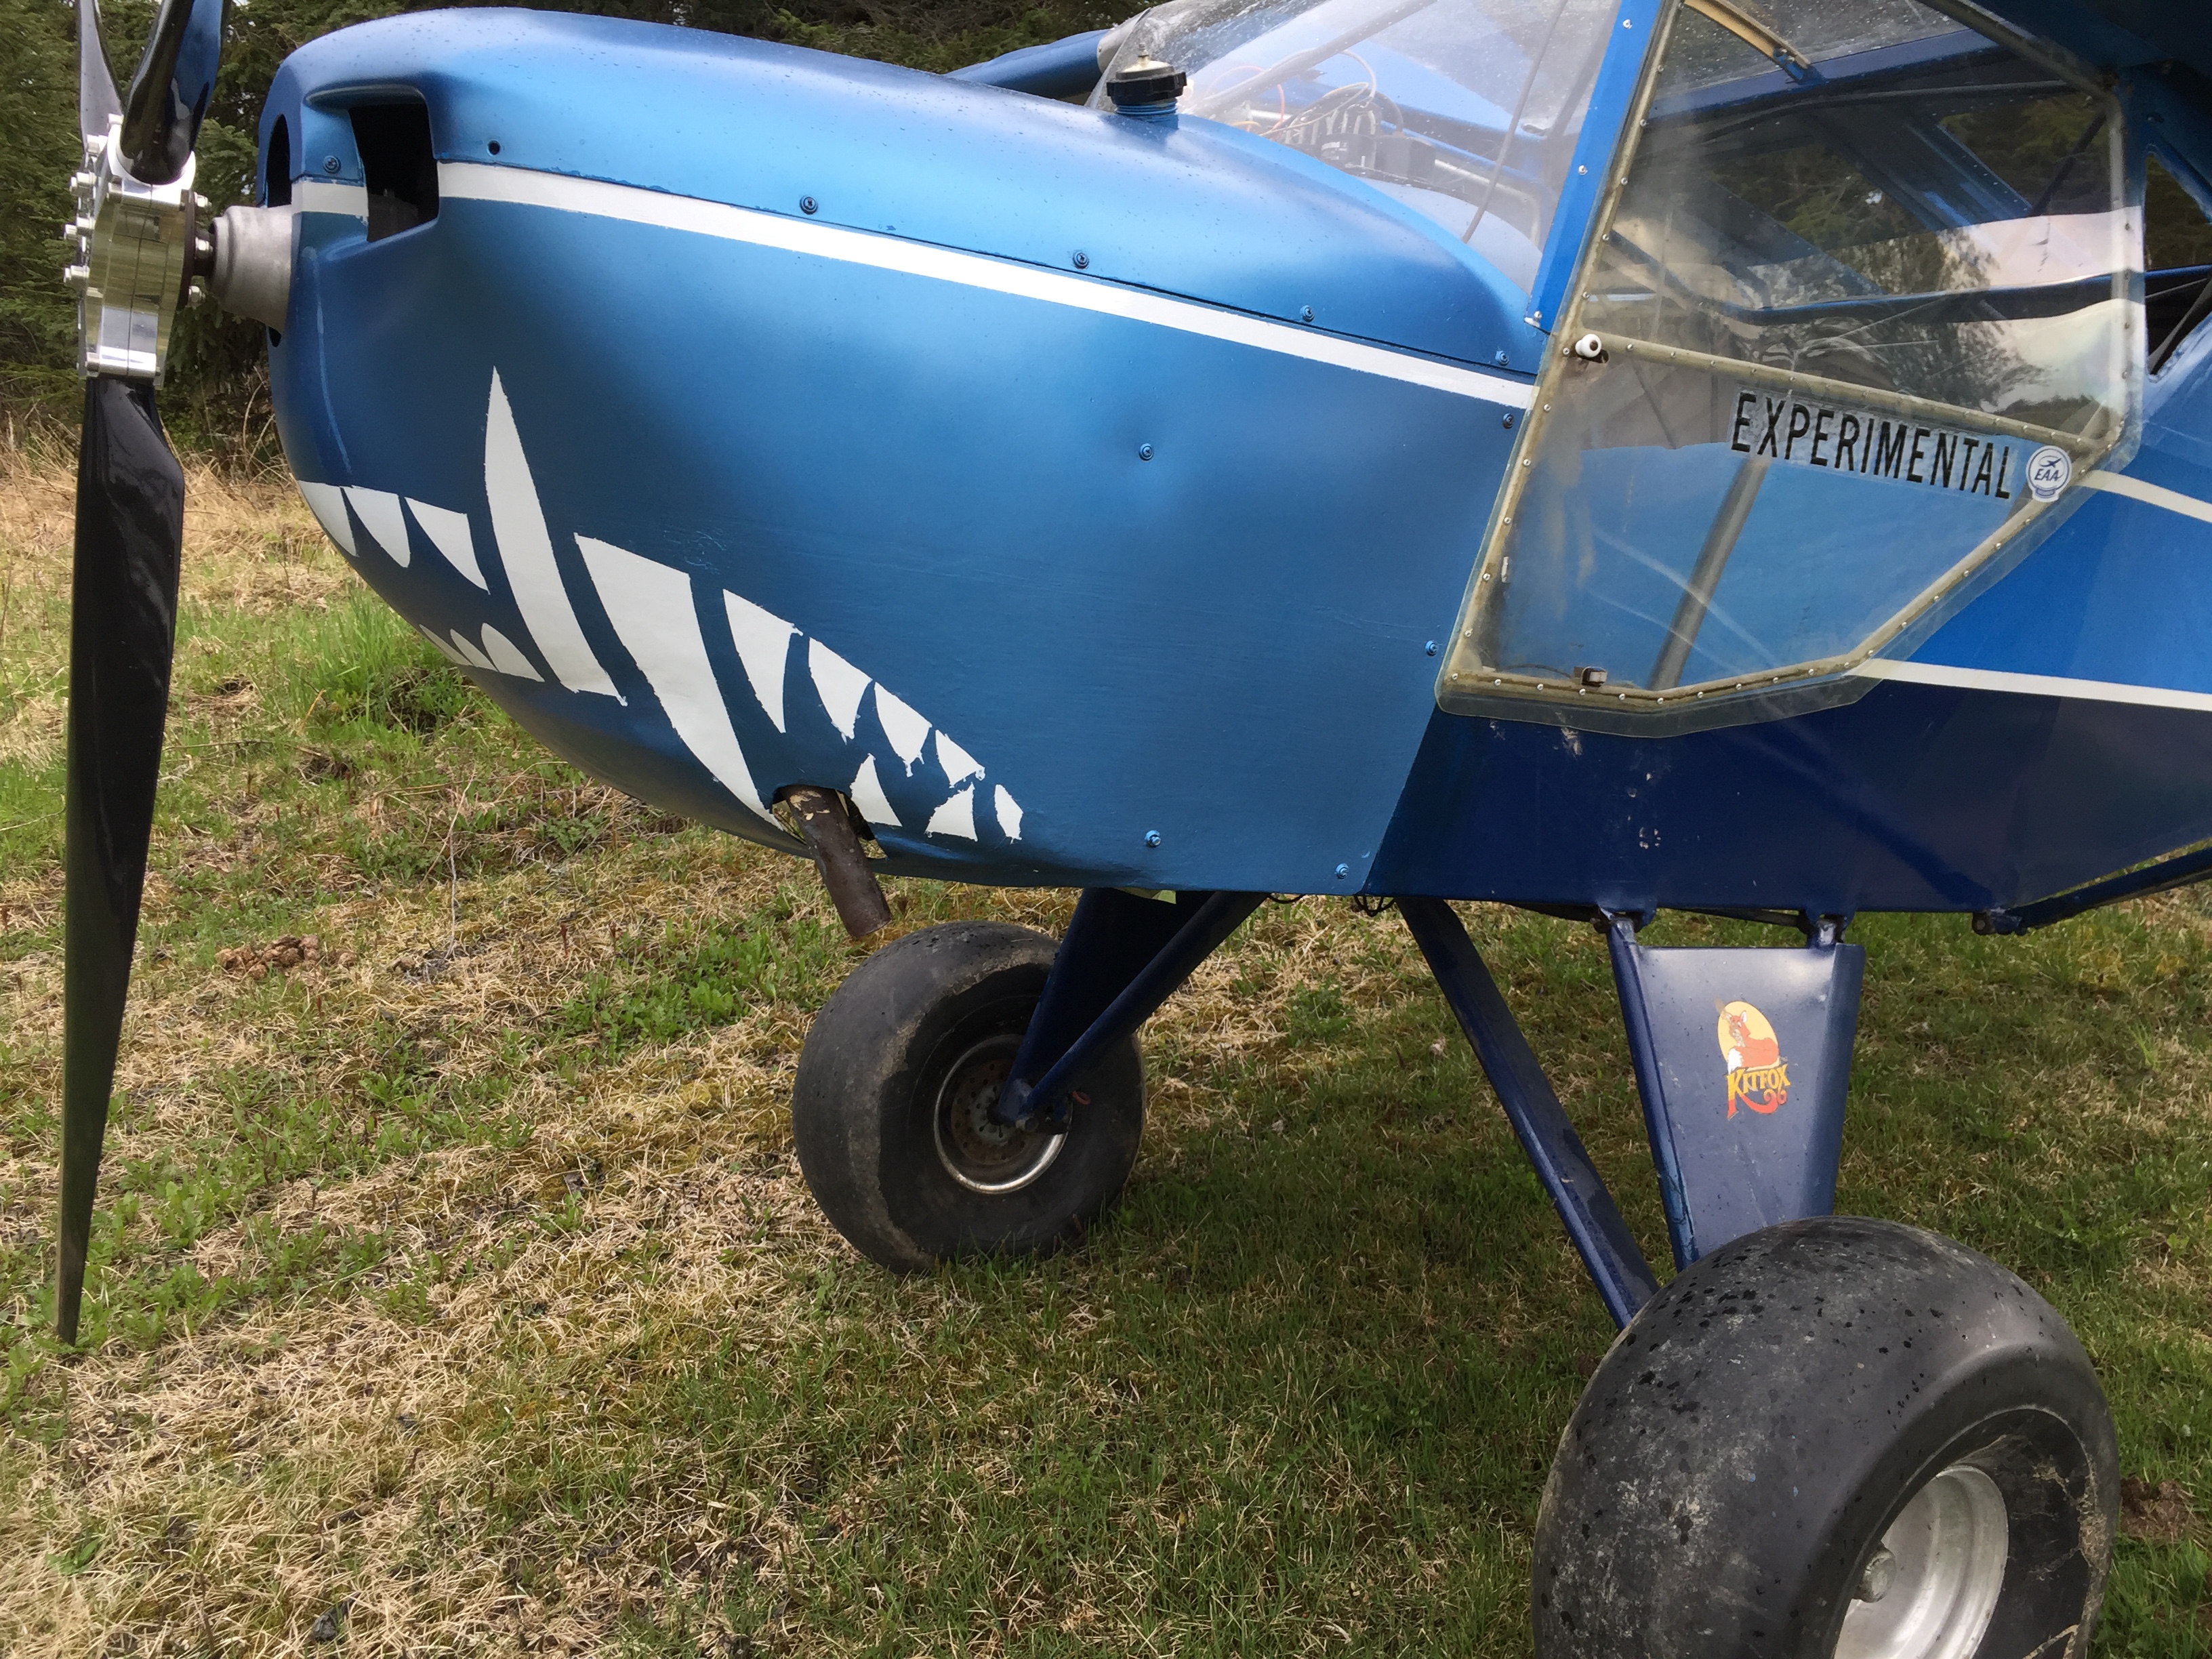
I could have used better technique, thinned the paint, masked the whole thing properly, and sprayed it, but I took my dentist’s advice and brushed the teeth.
 1 person likes this
 -
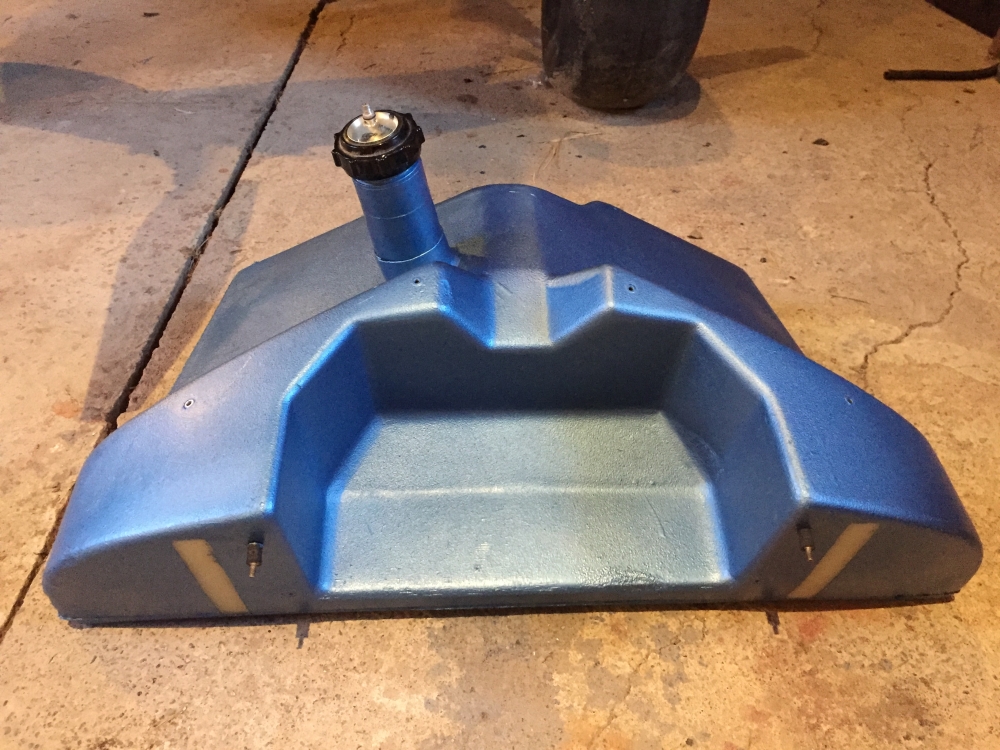
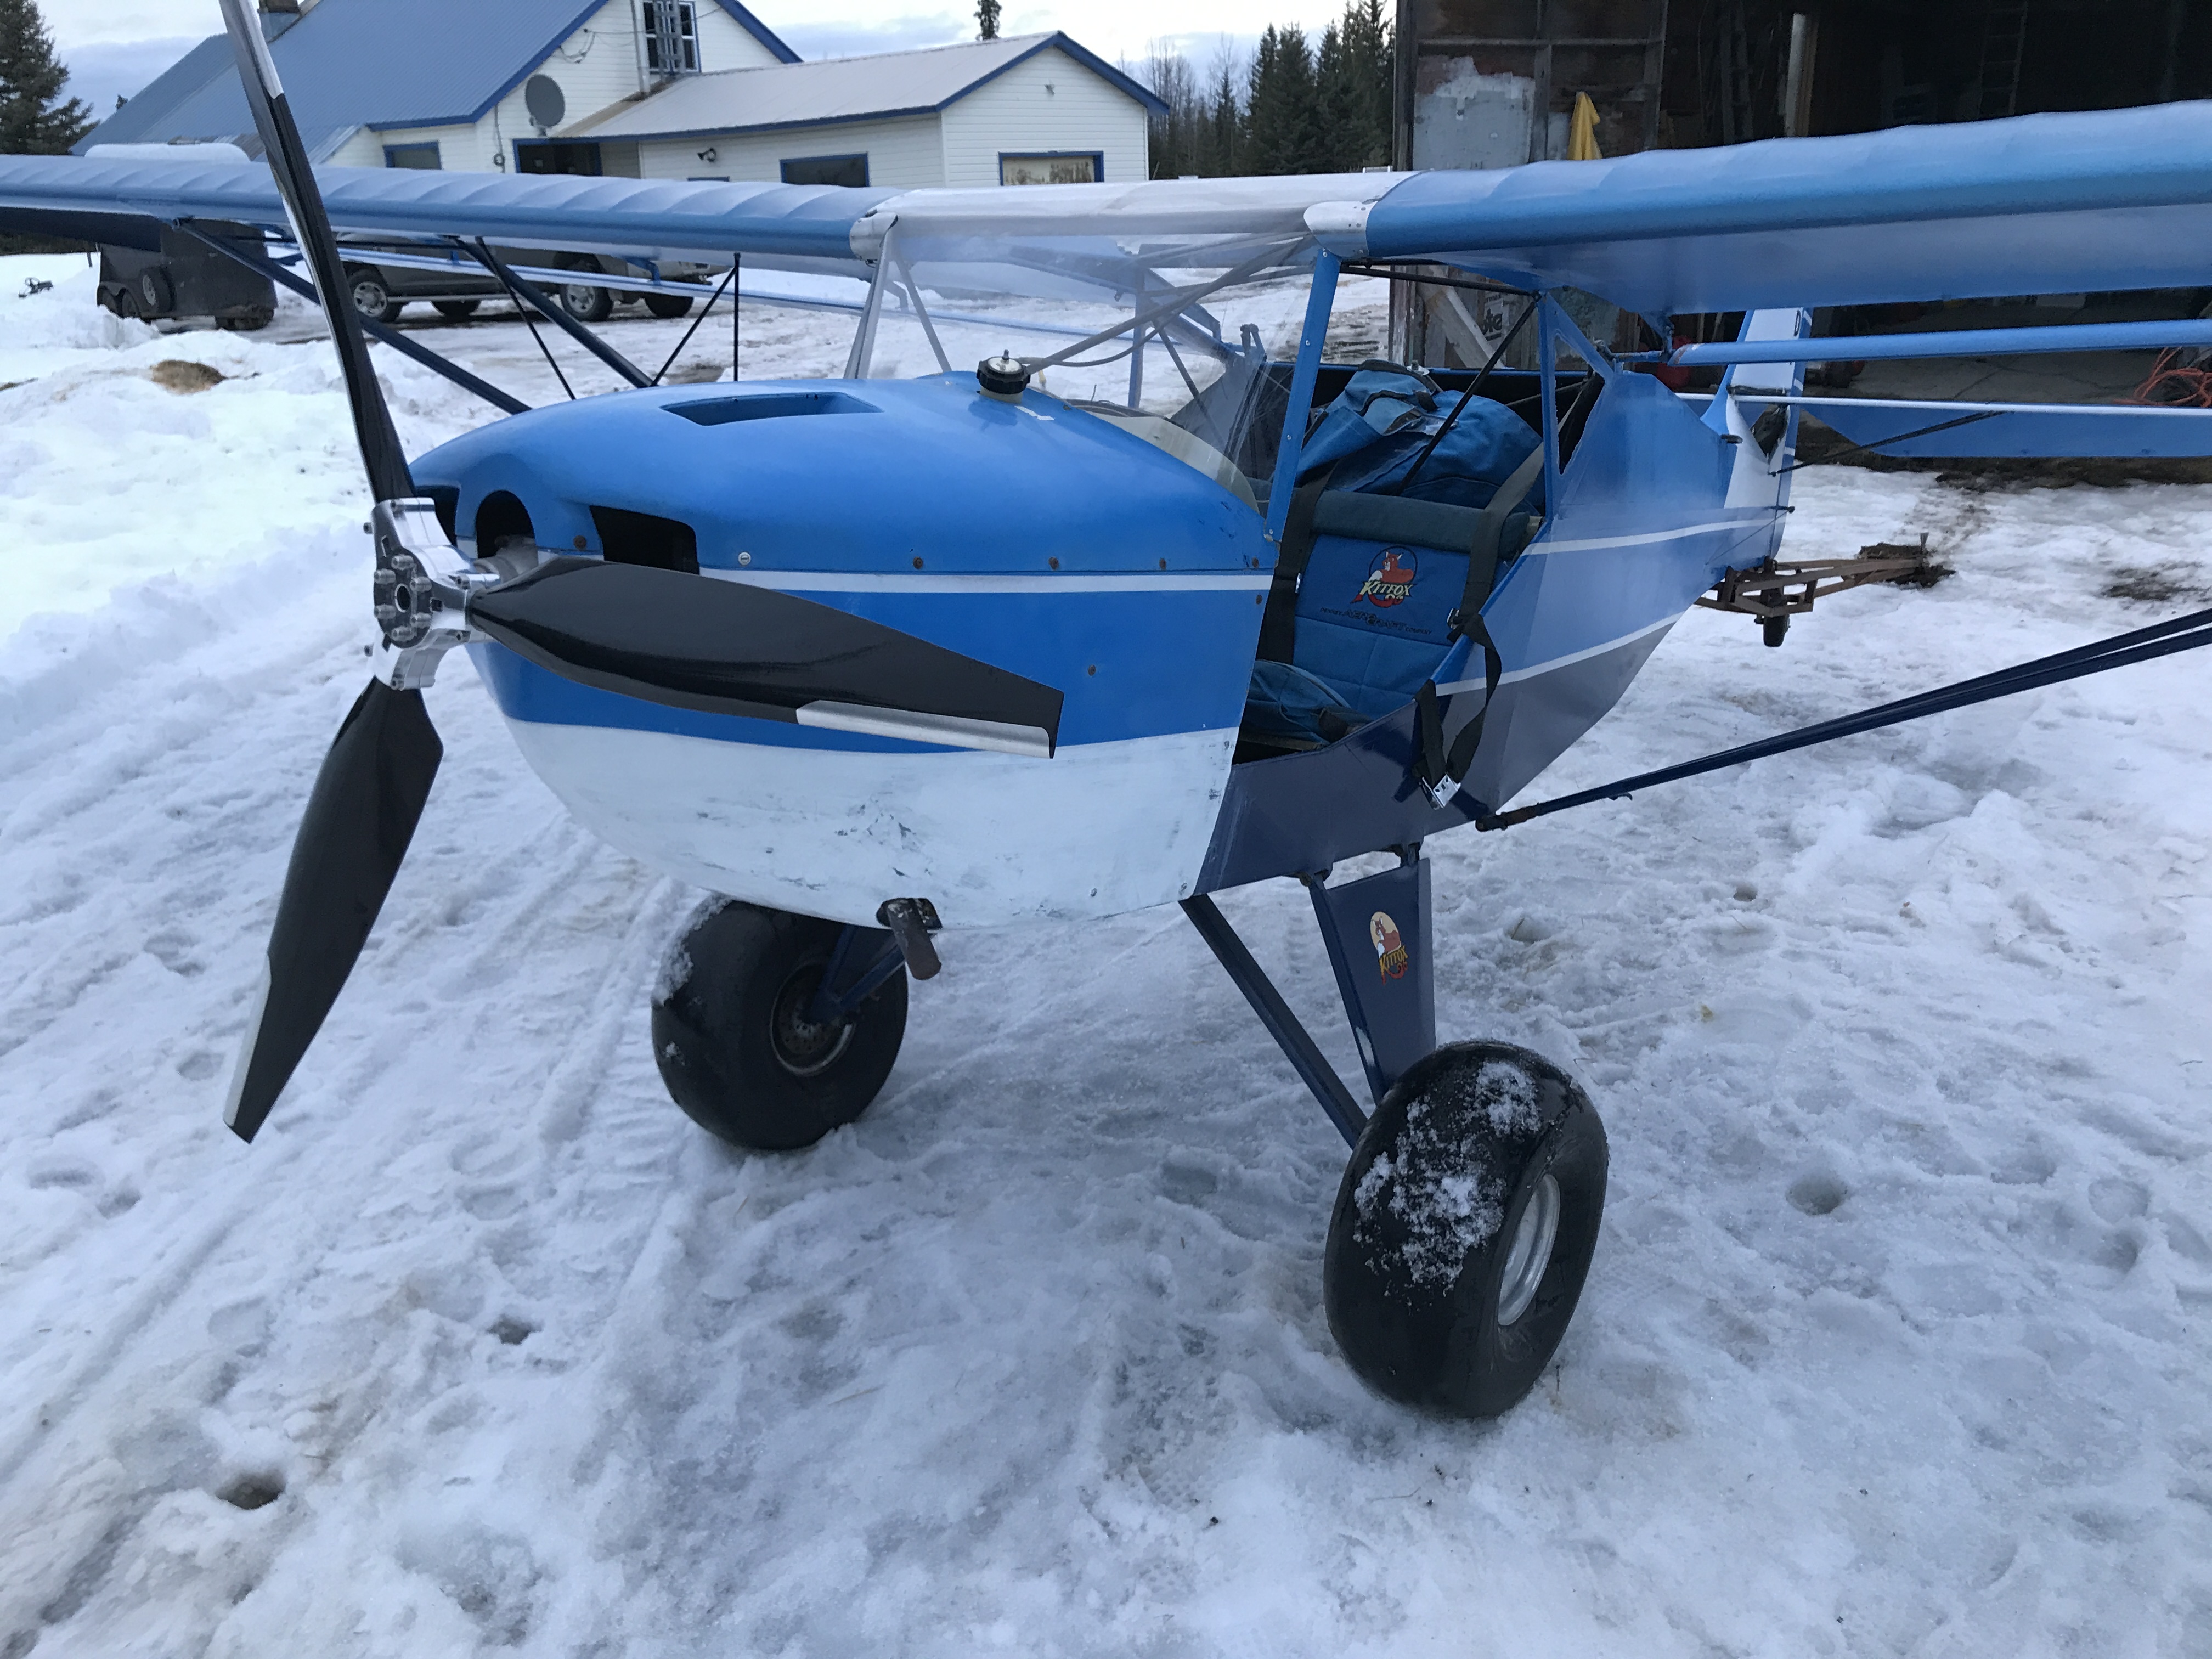
I hit the new panel tank I got from Jim with some aluminized PolyTone, to give it some UV protection. I left a couple strips to sight the fuel.
-
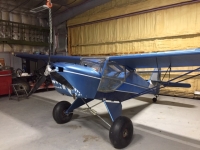
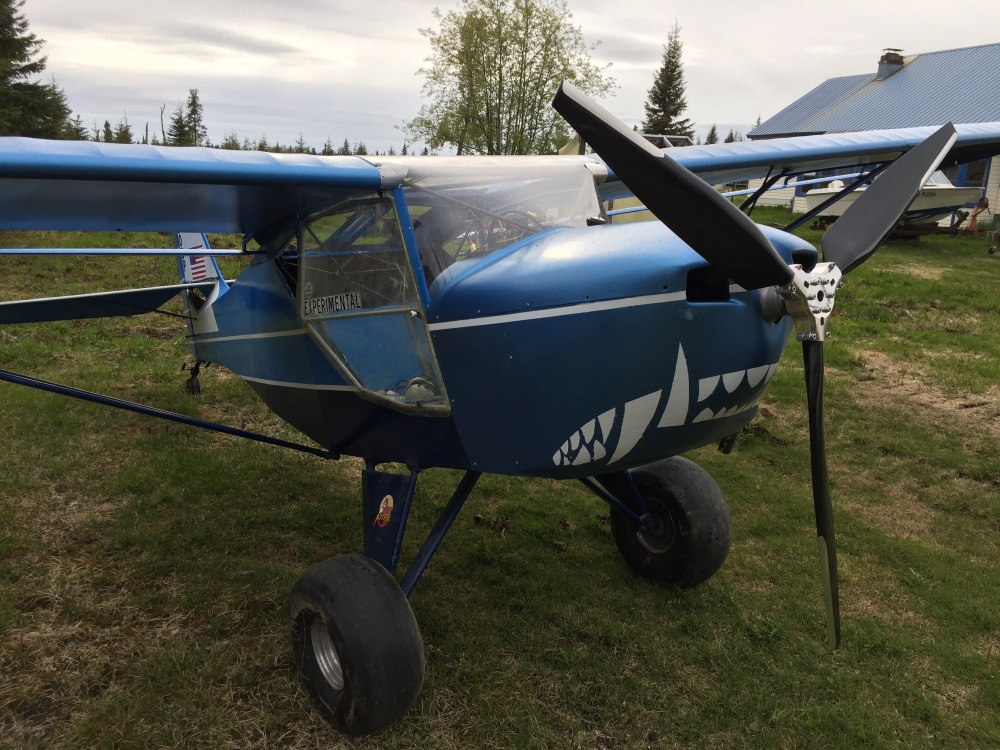
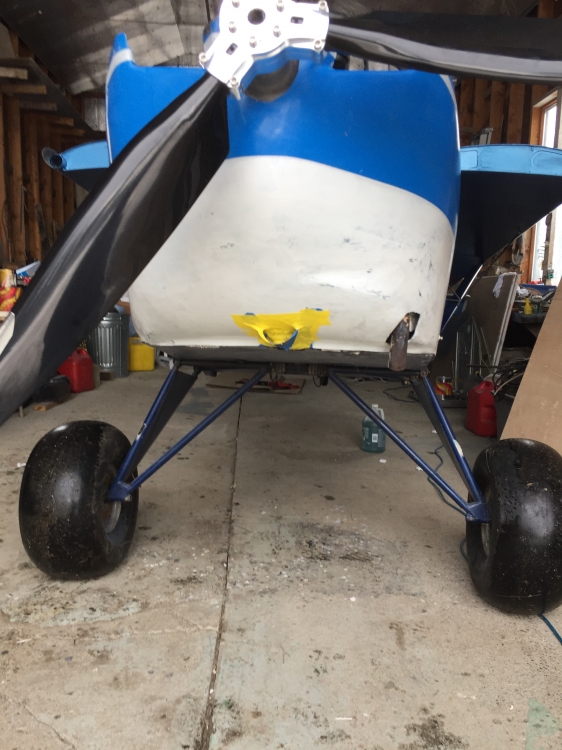
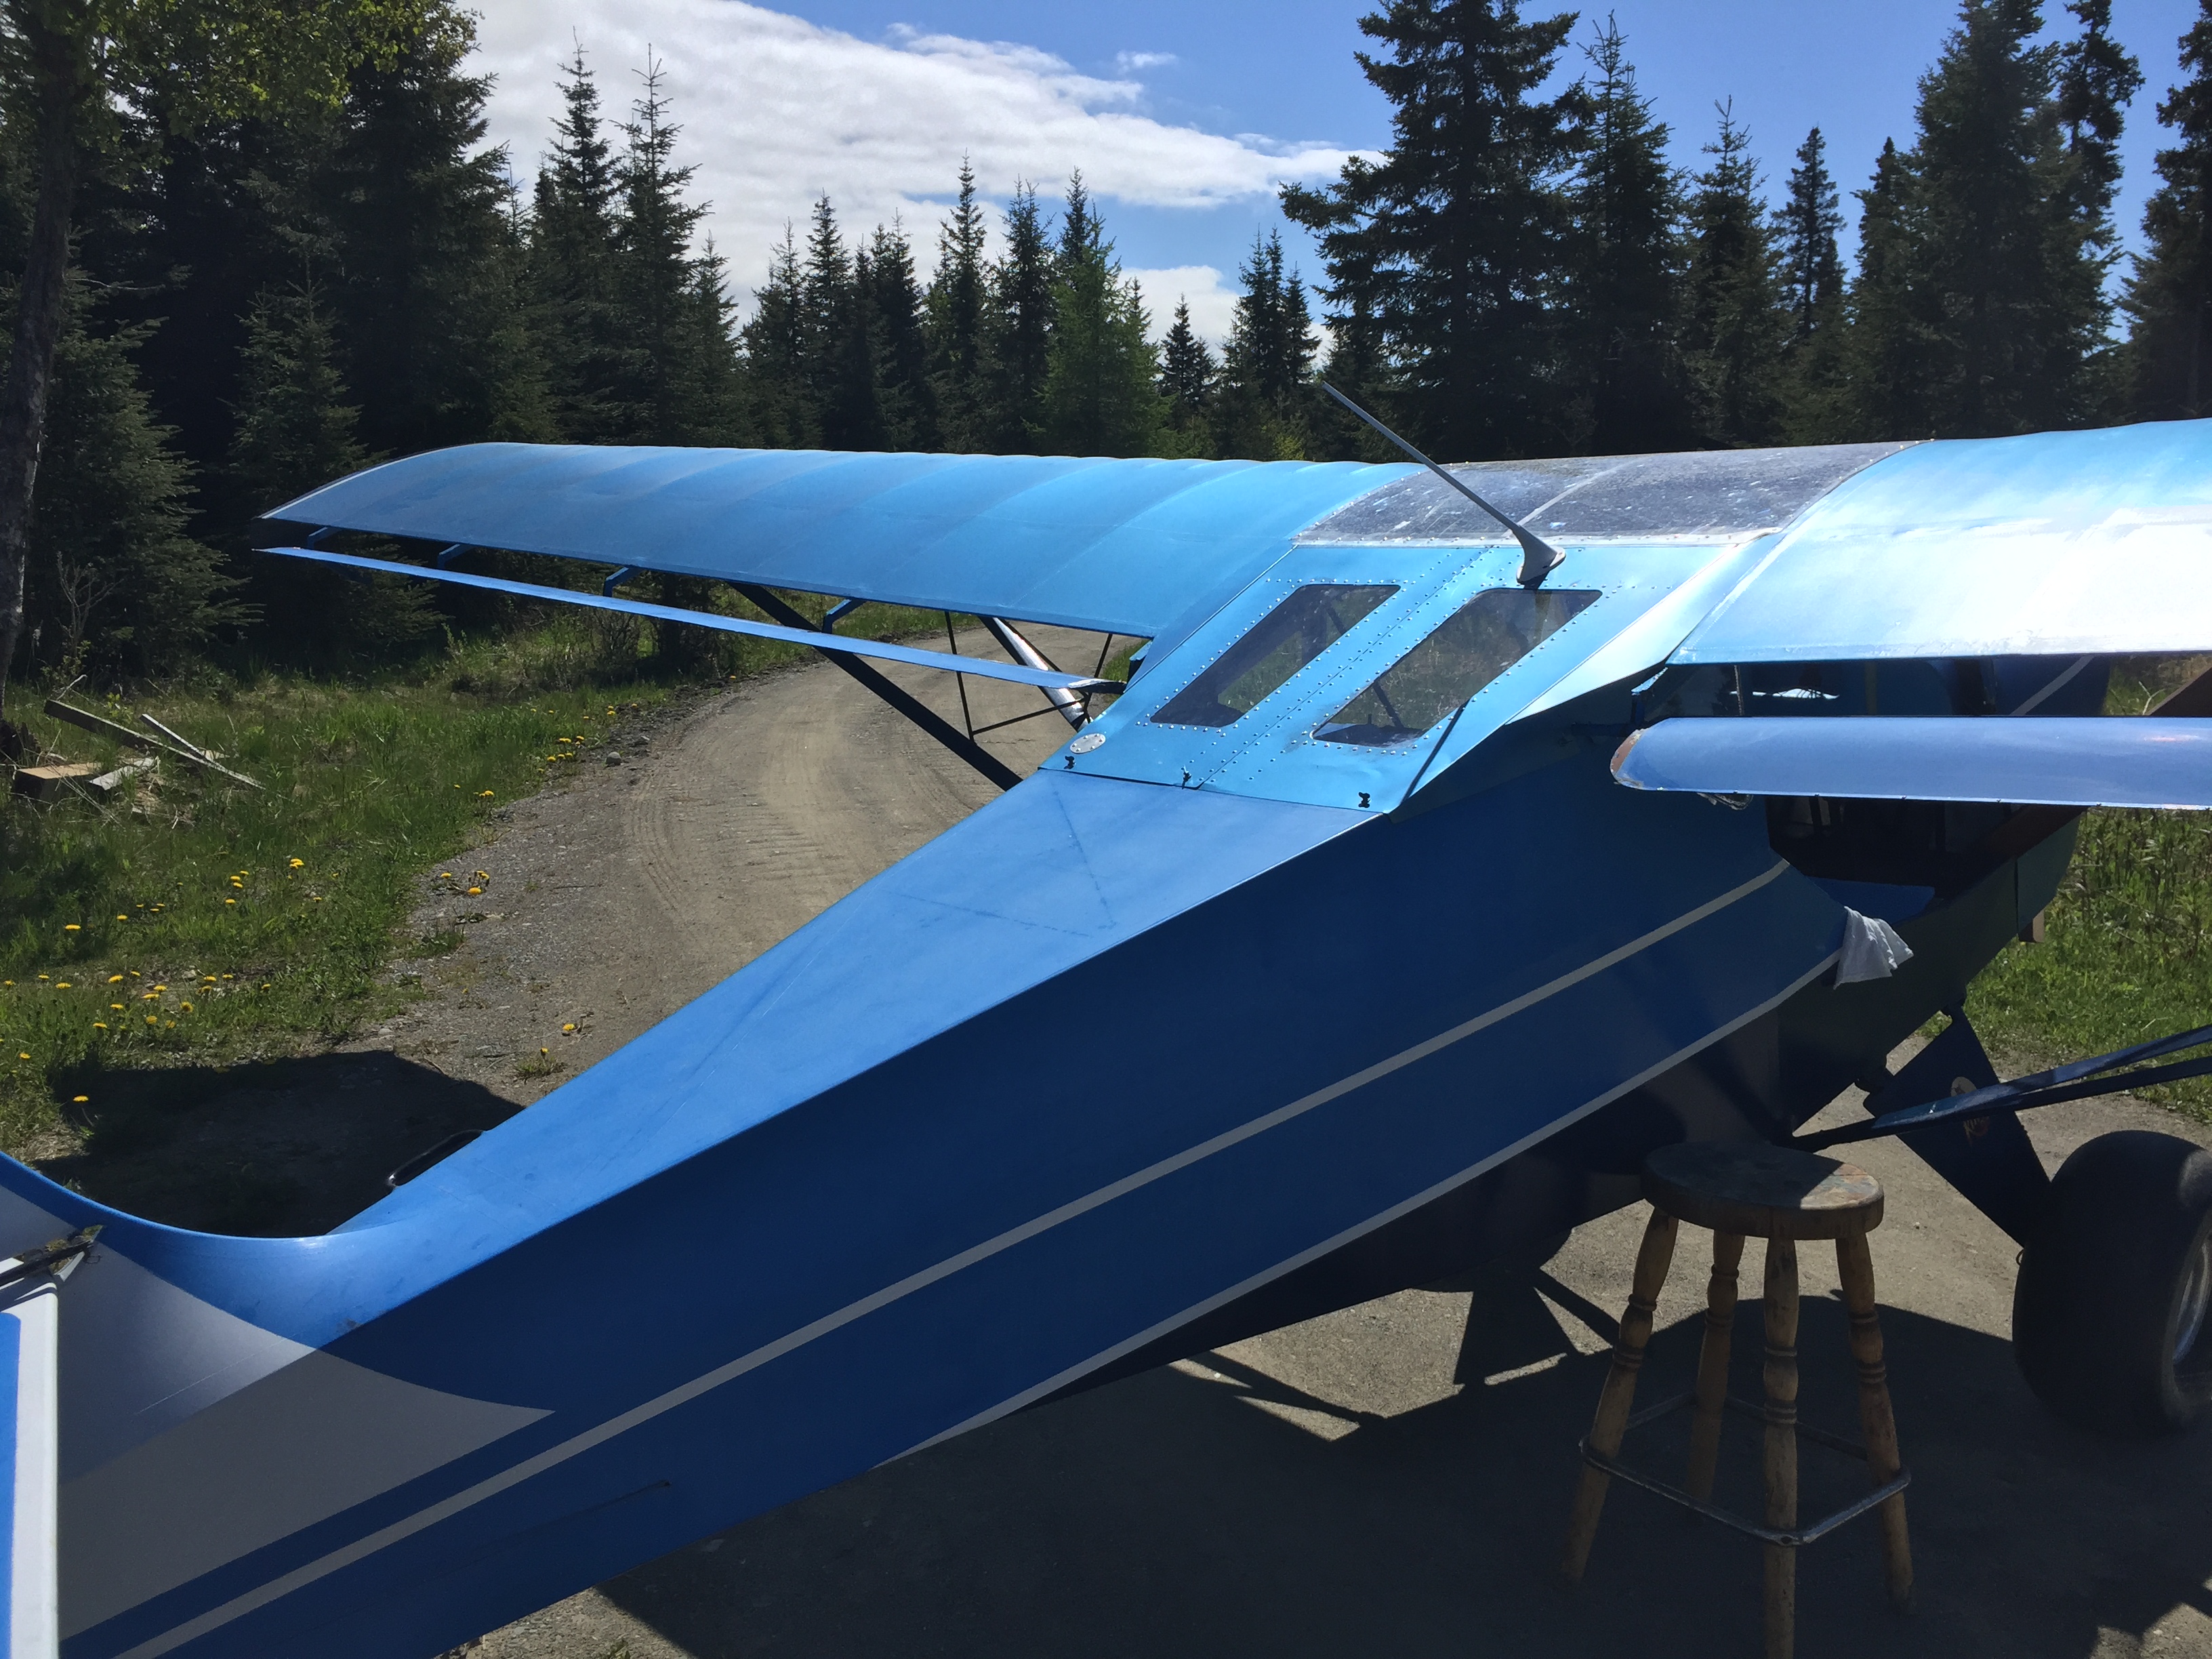
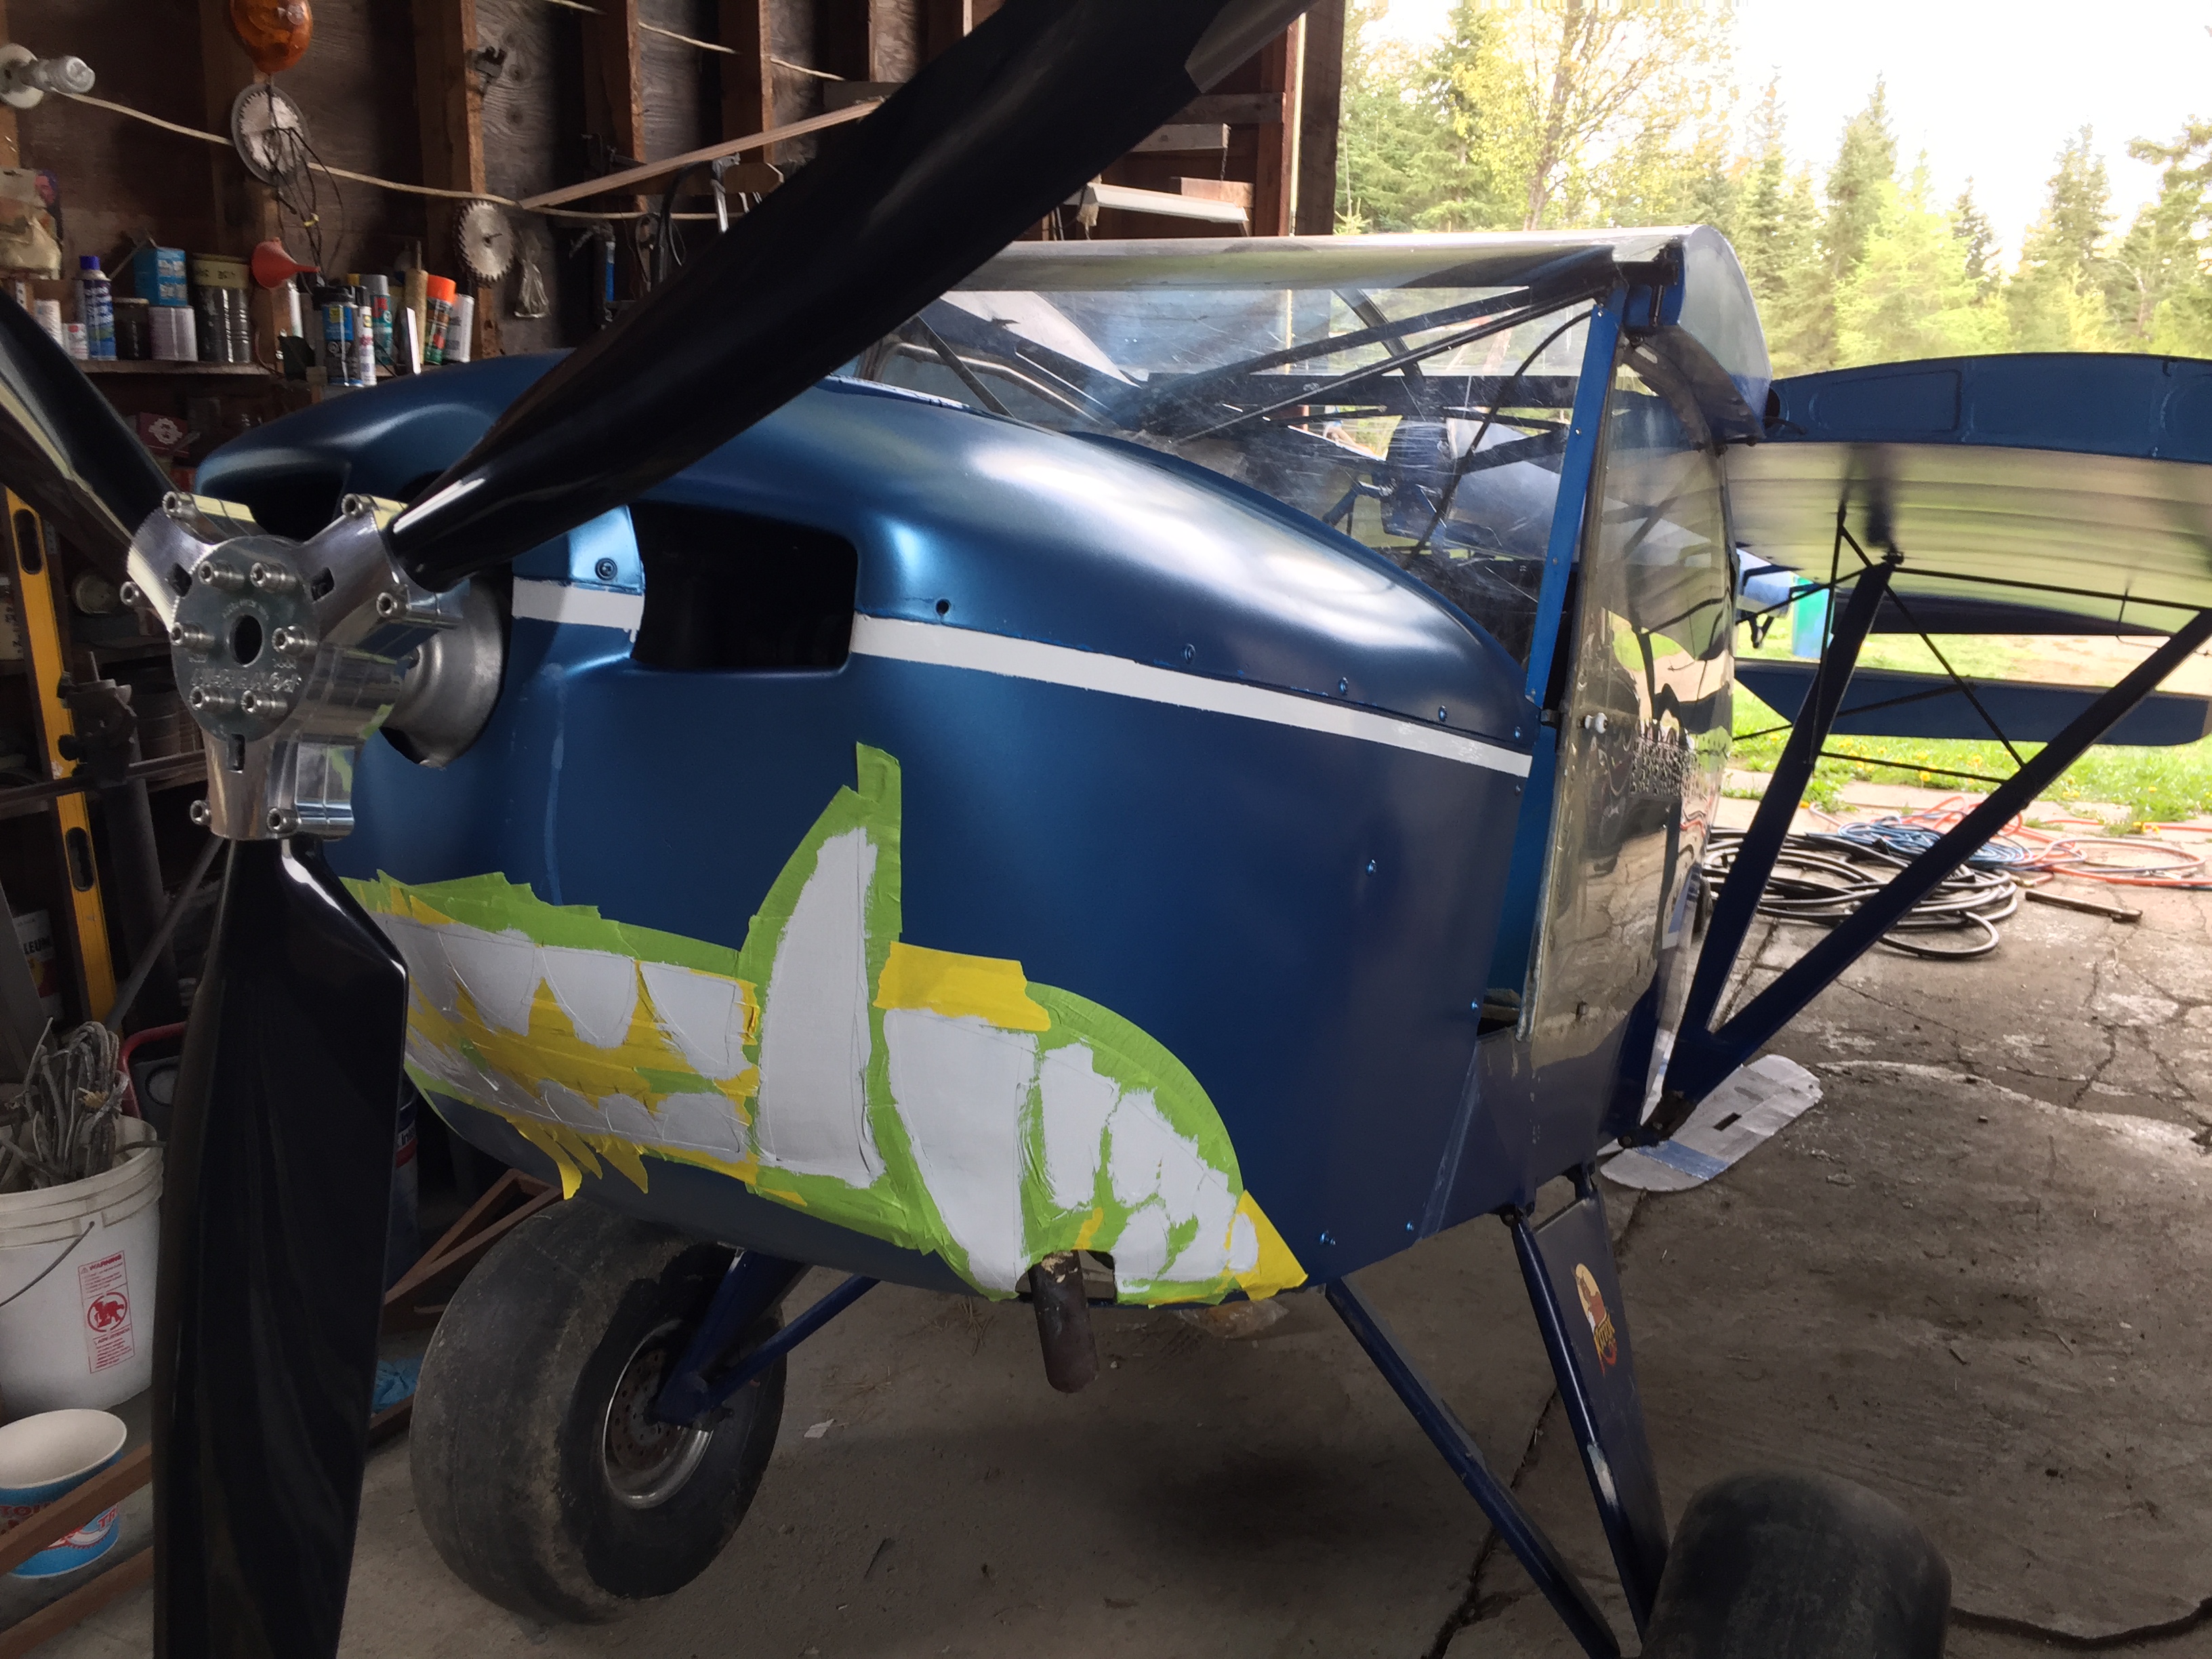
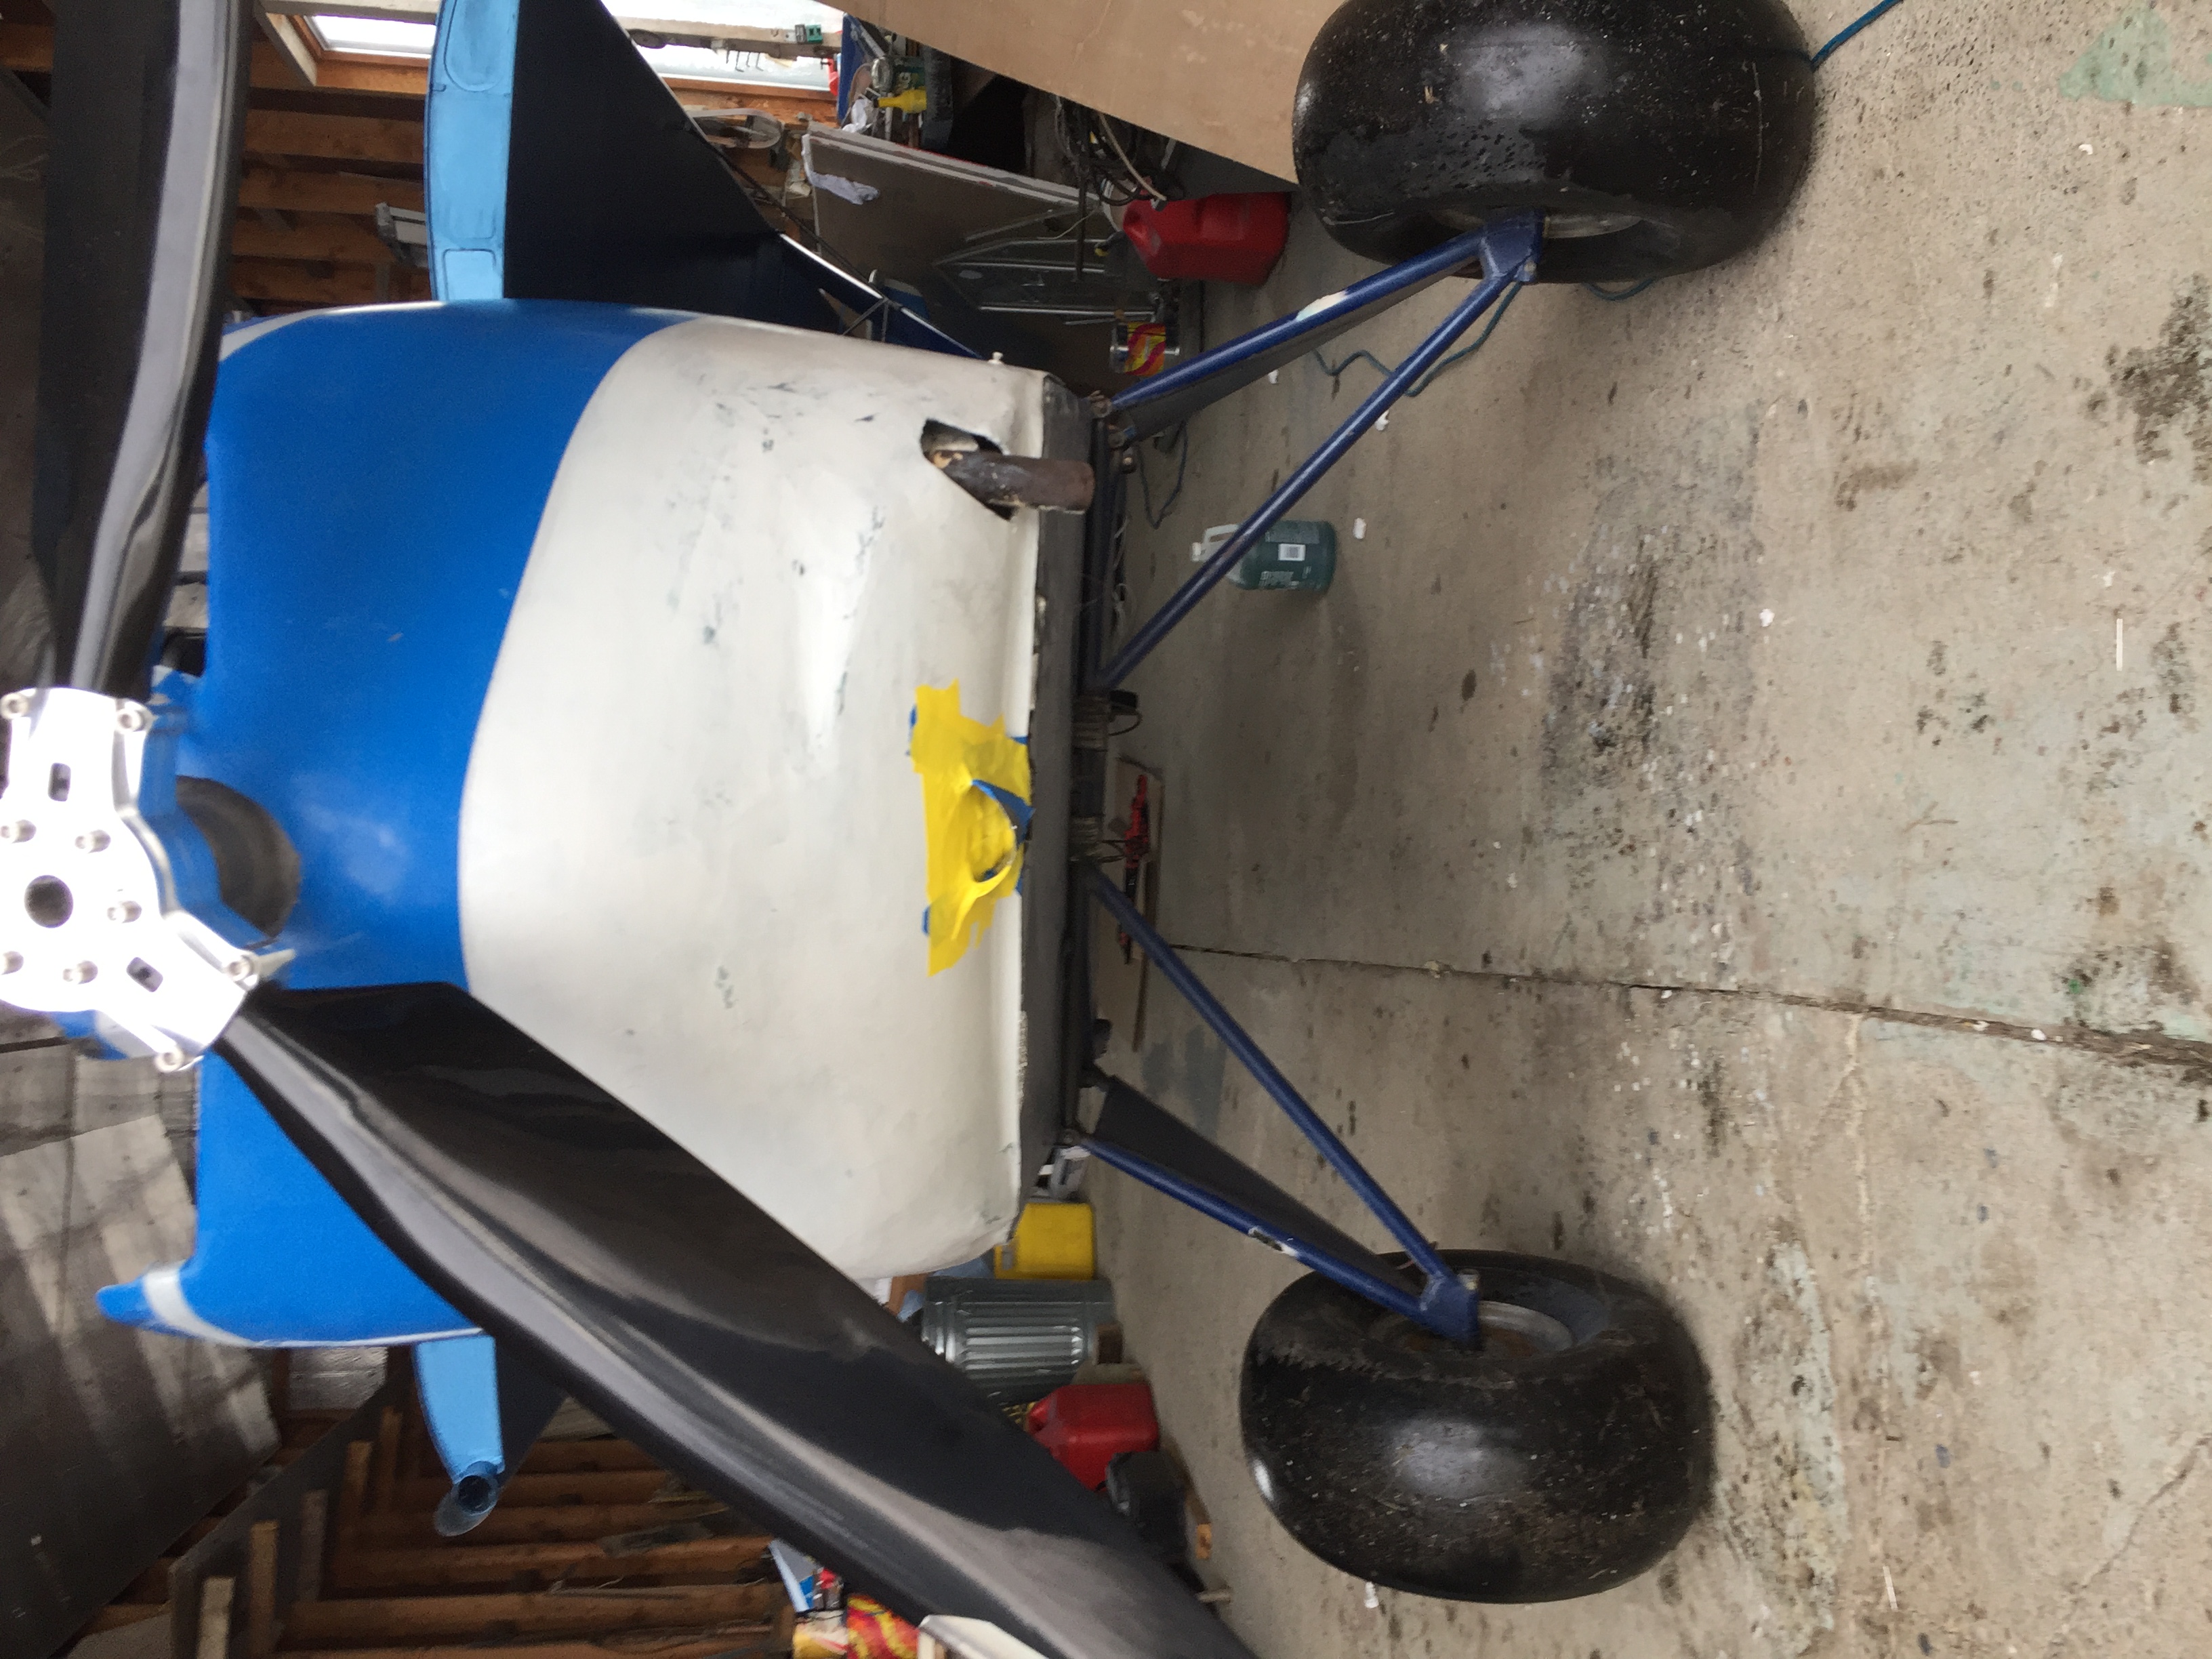
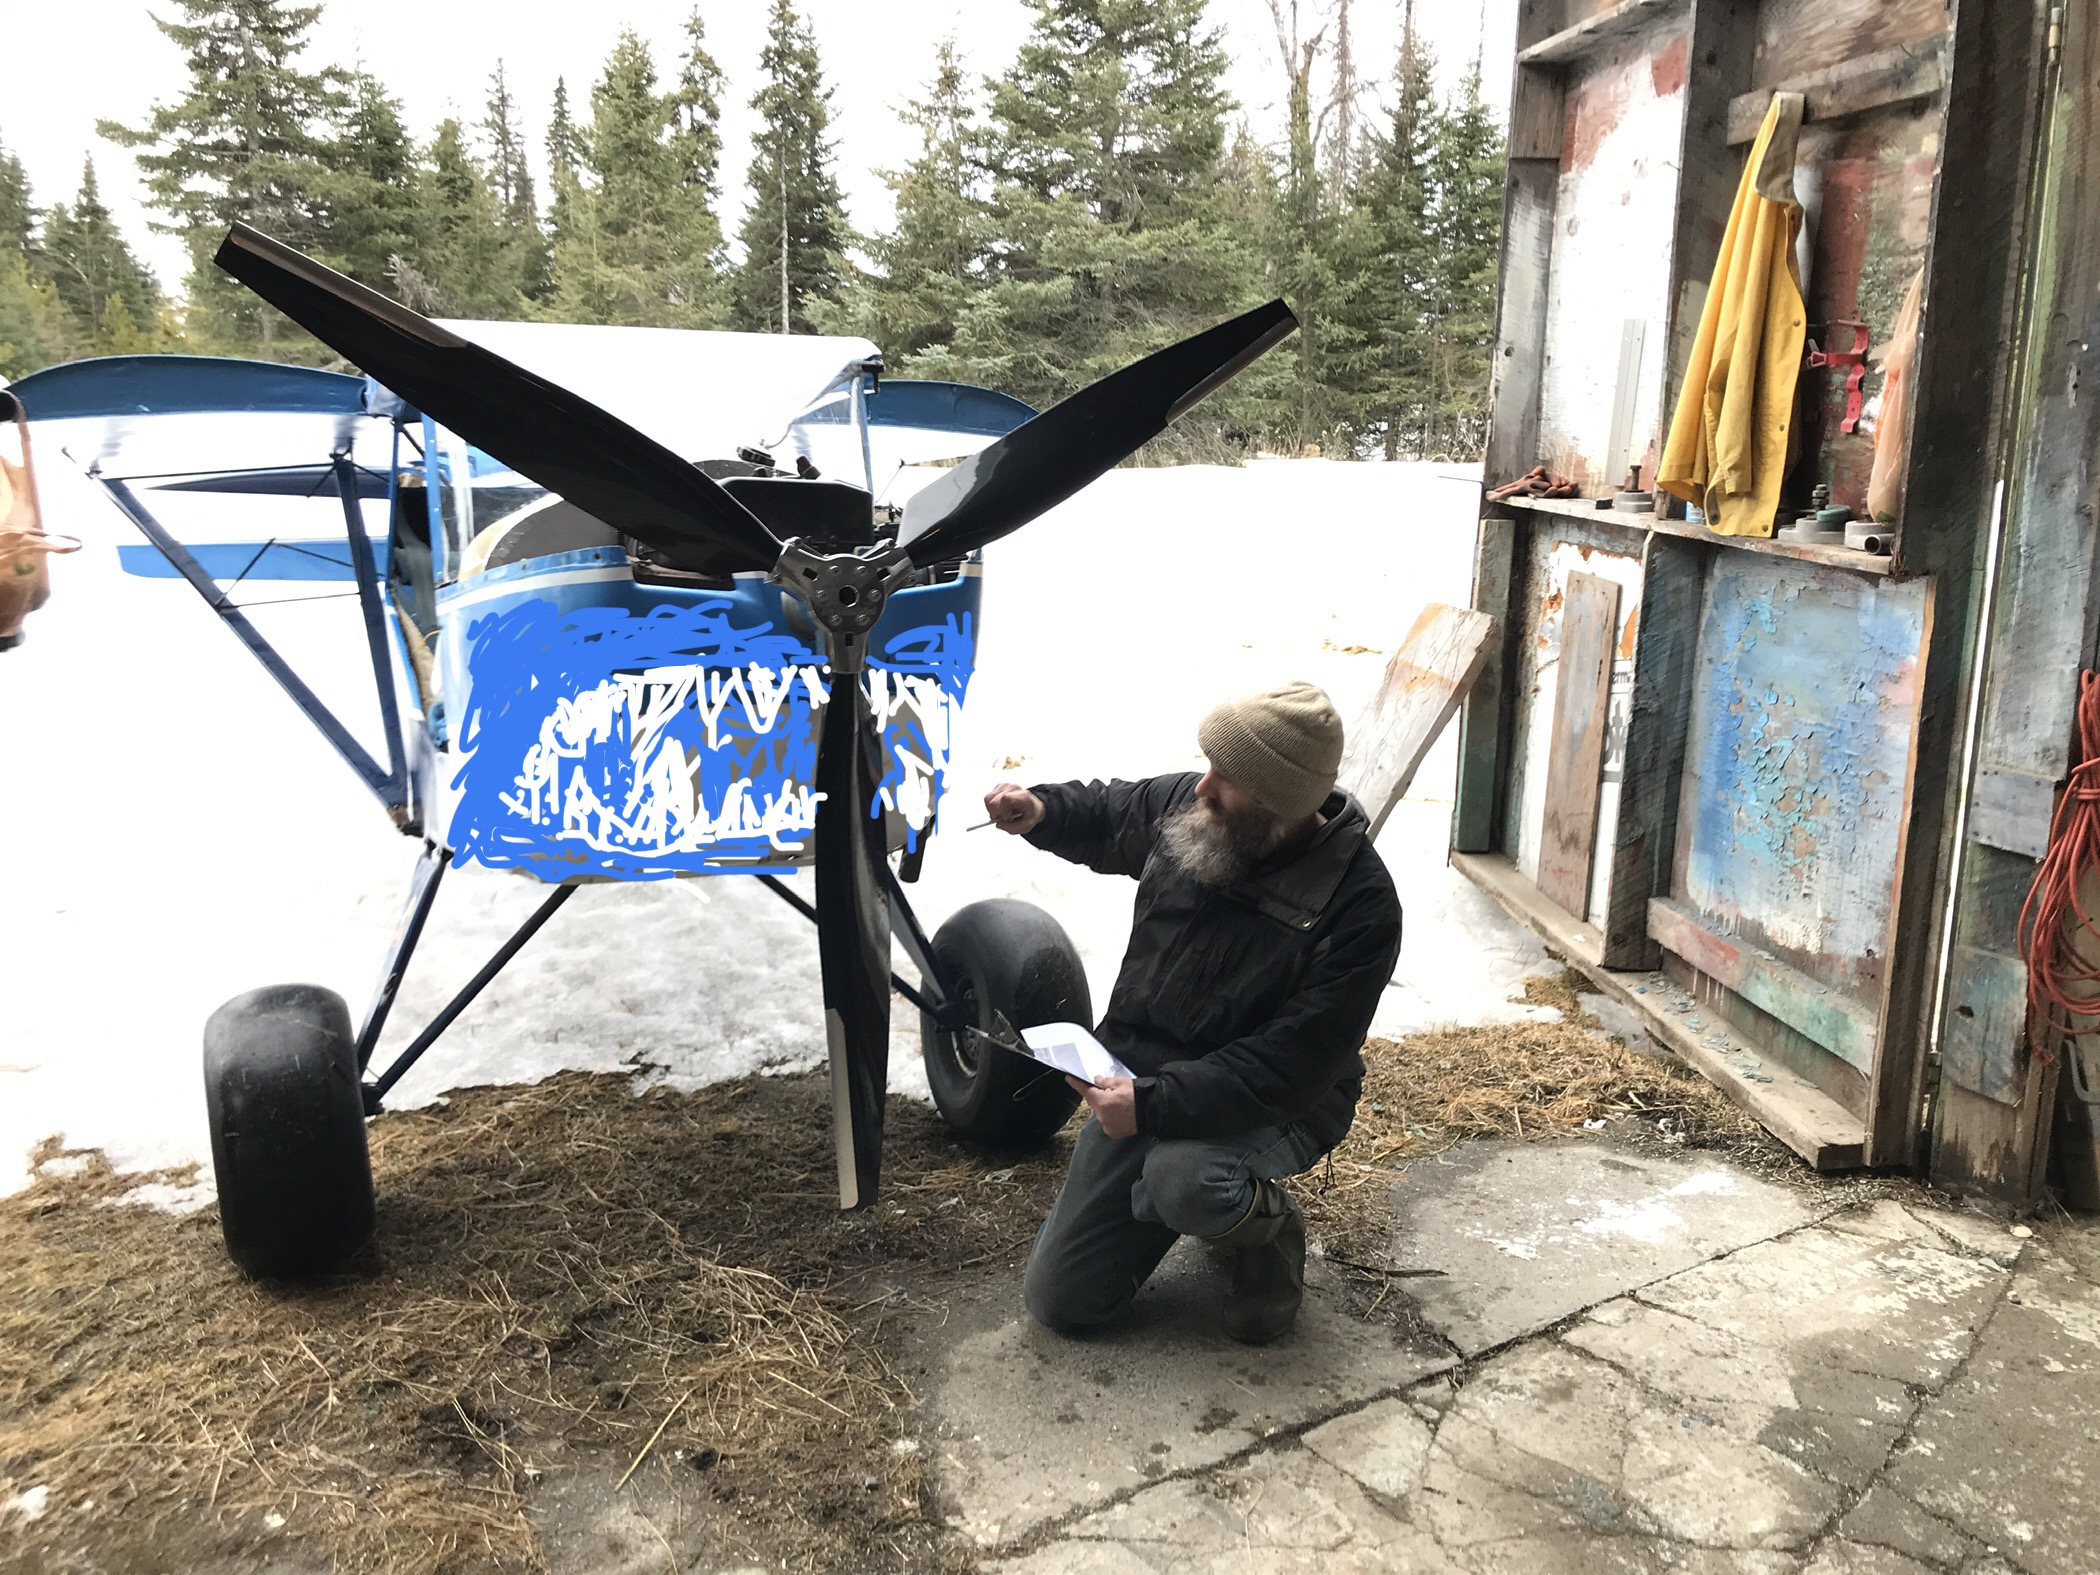
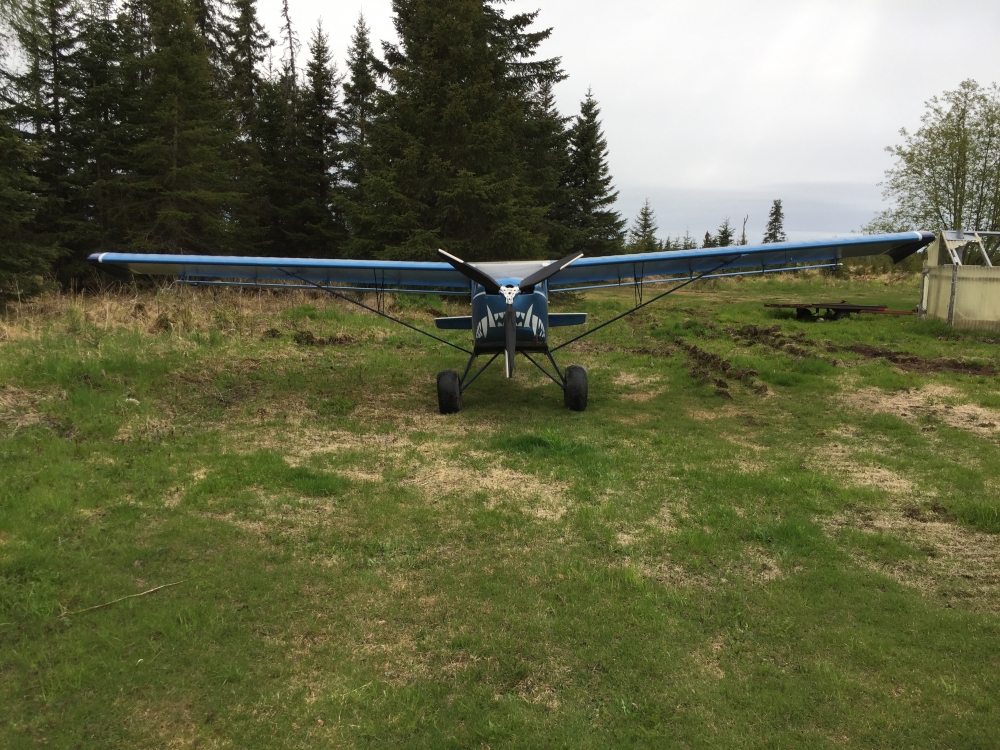 I went ahead and painted the cowling the way I wanted. The bottom half of the lower cowling is a bit rough. I could have sanded it some more, and used some filler to smooth it out, but I’m happy with the results. If you’re standing close enough to see the imperfections, you’re going to get hit by the prop, anyway. My artist friend, Ben Firth, helped out with the design, and I painted it myself, based on the pictures he sent me. It’s just like I wanted it. I got some bleed through on the masking that needs to be touched up. Oh, and I’m still waiting for the registration.
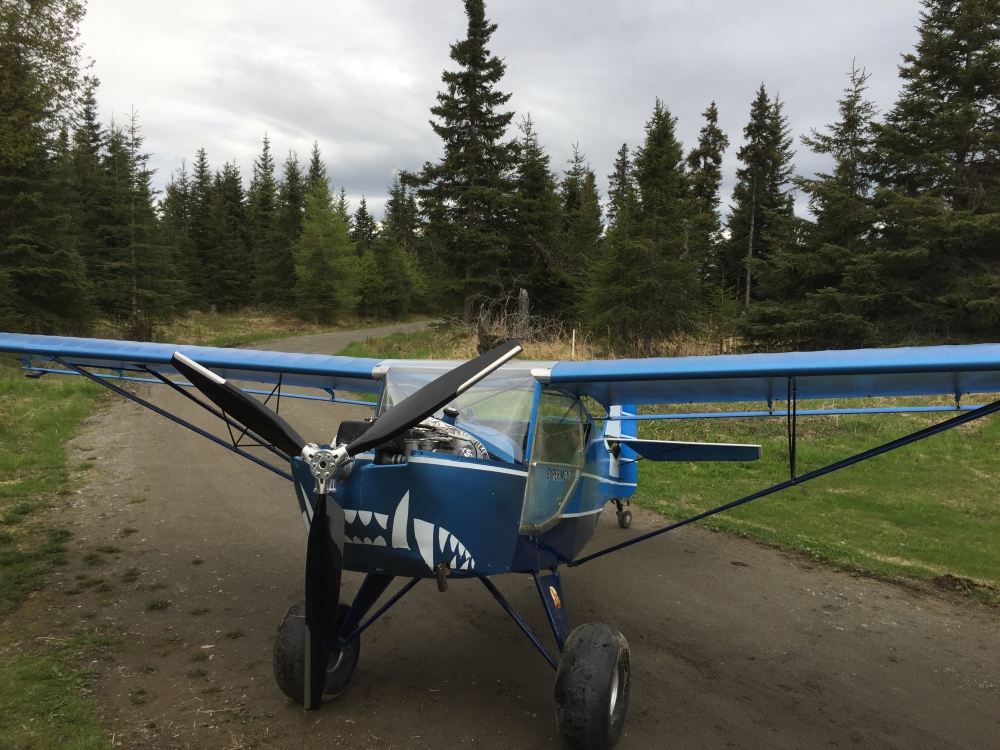


-
The way I read it, the capacitor created the minimum load necessary for the rectifier to properly regulate the voltage without a battery. With no load, it tests at about 11.6 volts. It burned out my new strobe without a single flash, so something is not right. The capacitor is properly connected.
My wing tanks are in transit. I’m excited to get them in, but I’m going to wait and check the weight without them before installing.
Still no registration. It has now been nine months, and I’m tired of waiting. They did cash my check. I hope that means something.
I have very little left to do. I wanted to do something different with the quarter windows. Maybe plexiglas.
In the meantime, my job is getting really busy again, working twelve hours and driving two. The first Copper River opening is tomorrow, and we’ll be buying fish in Cook Inlet next month, which keeps me pretty busy until September.
I haven’t gotten a strip cleared out yet. I have a D7 torn apart in the yard, which is where it begins. But... I did get a lot on a grass strip near where I work in Kenai, which will be awesome. Less driving, more flying. And yes, yet another project to keep me busy.
1 person likes this -
Fabric should be shrunk up to 350 degrees on the last pass if you can keep from bending what's under the covering. If I'm understanding you correctly, 275 is to low of heat. JImChuk
I followed the book, which said not to shrink it all the way to 350. The build manual recommended 250, saying that shrinking it tighter would pull the fabric off the undercamber wing. It wasn’t stitched the first time. Since that had held up, I followed the same procedure. Without stitching the ribs, I wanted to be cautious not to overtighten it and pull it loose. All that aside, I might stitch the ribs and shrink it tighter next time. Anyway, I hear what you’re saying. I have the polyfiber manual, too. I’m satisfied with the overall results, the way it is.
1 person likes this -
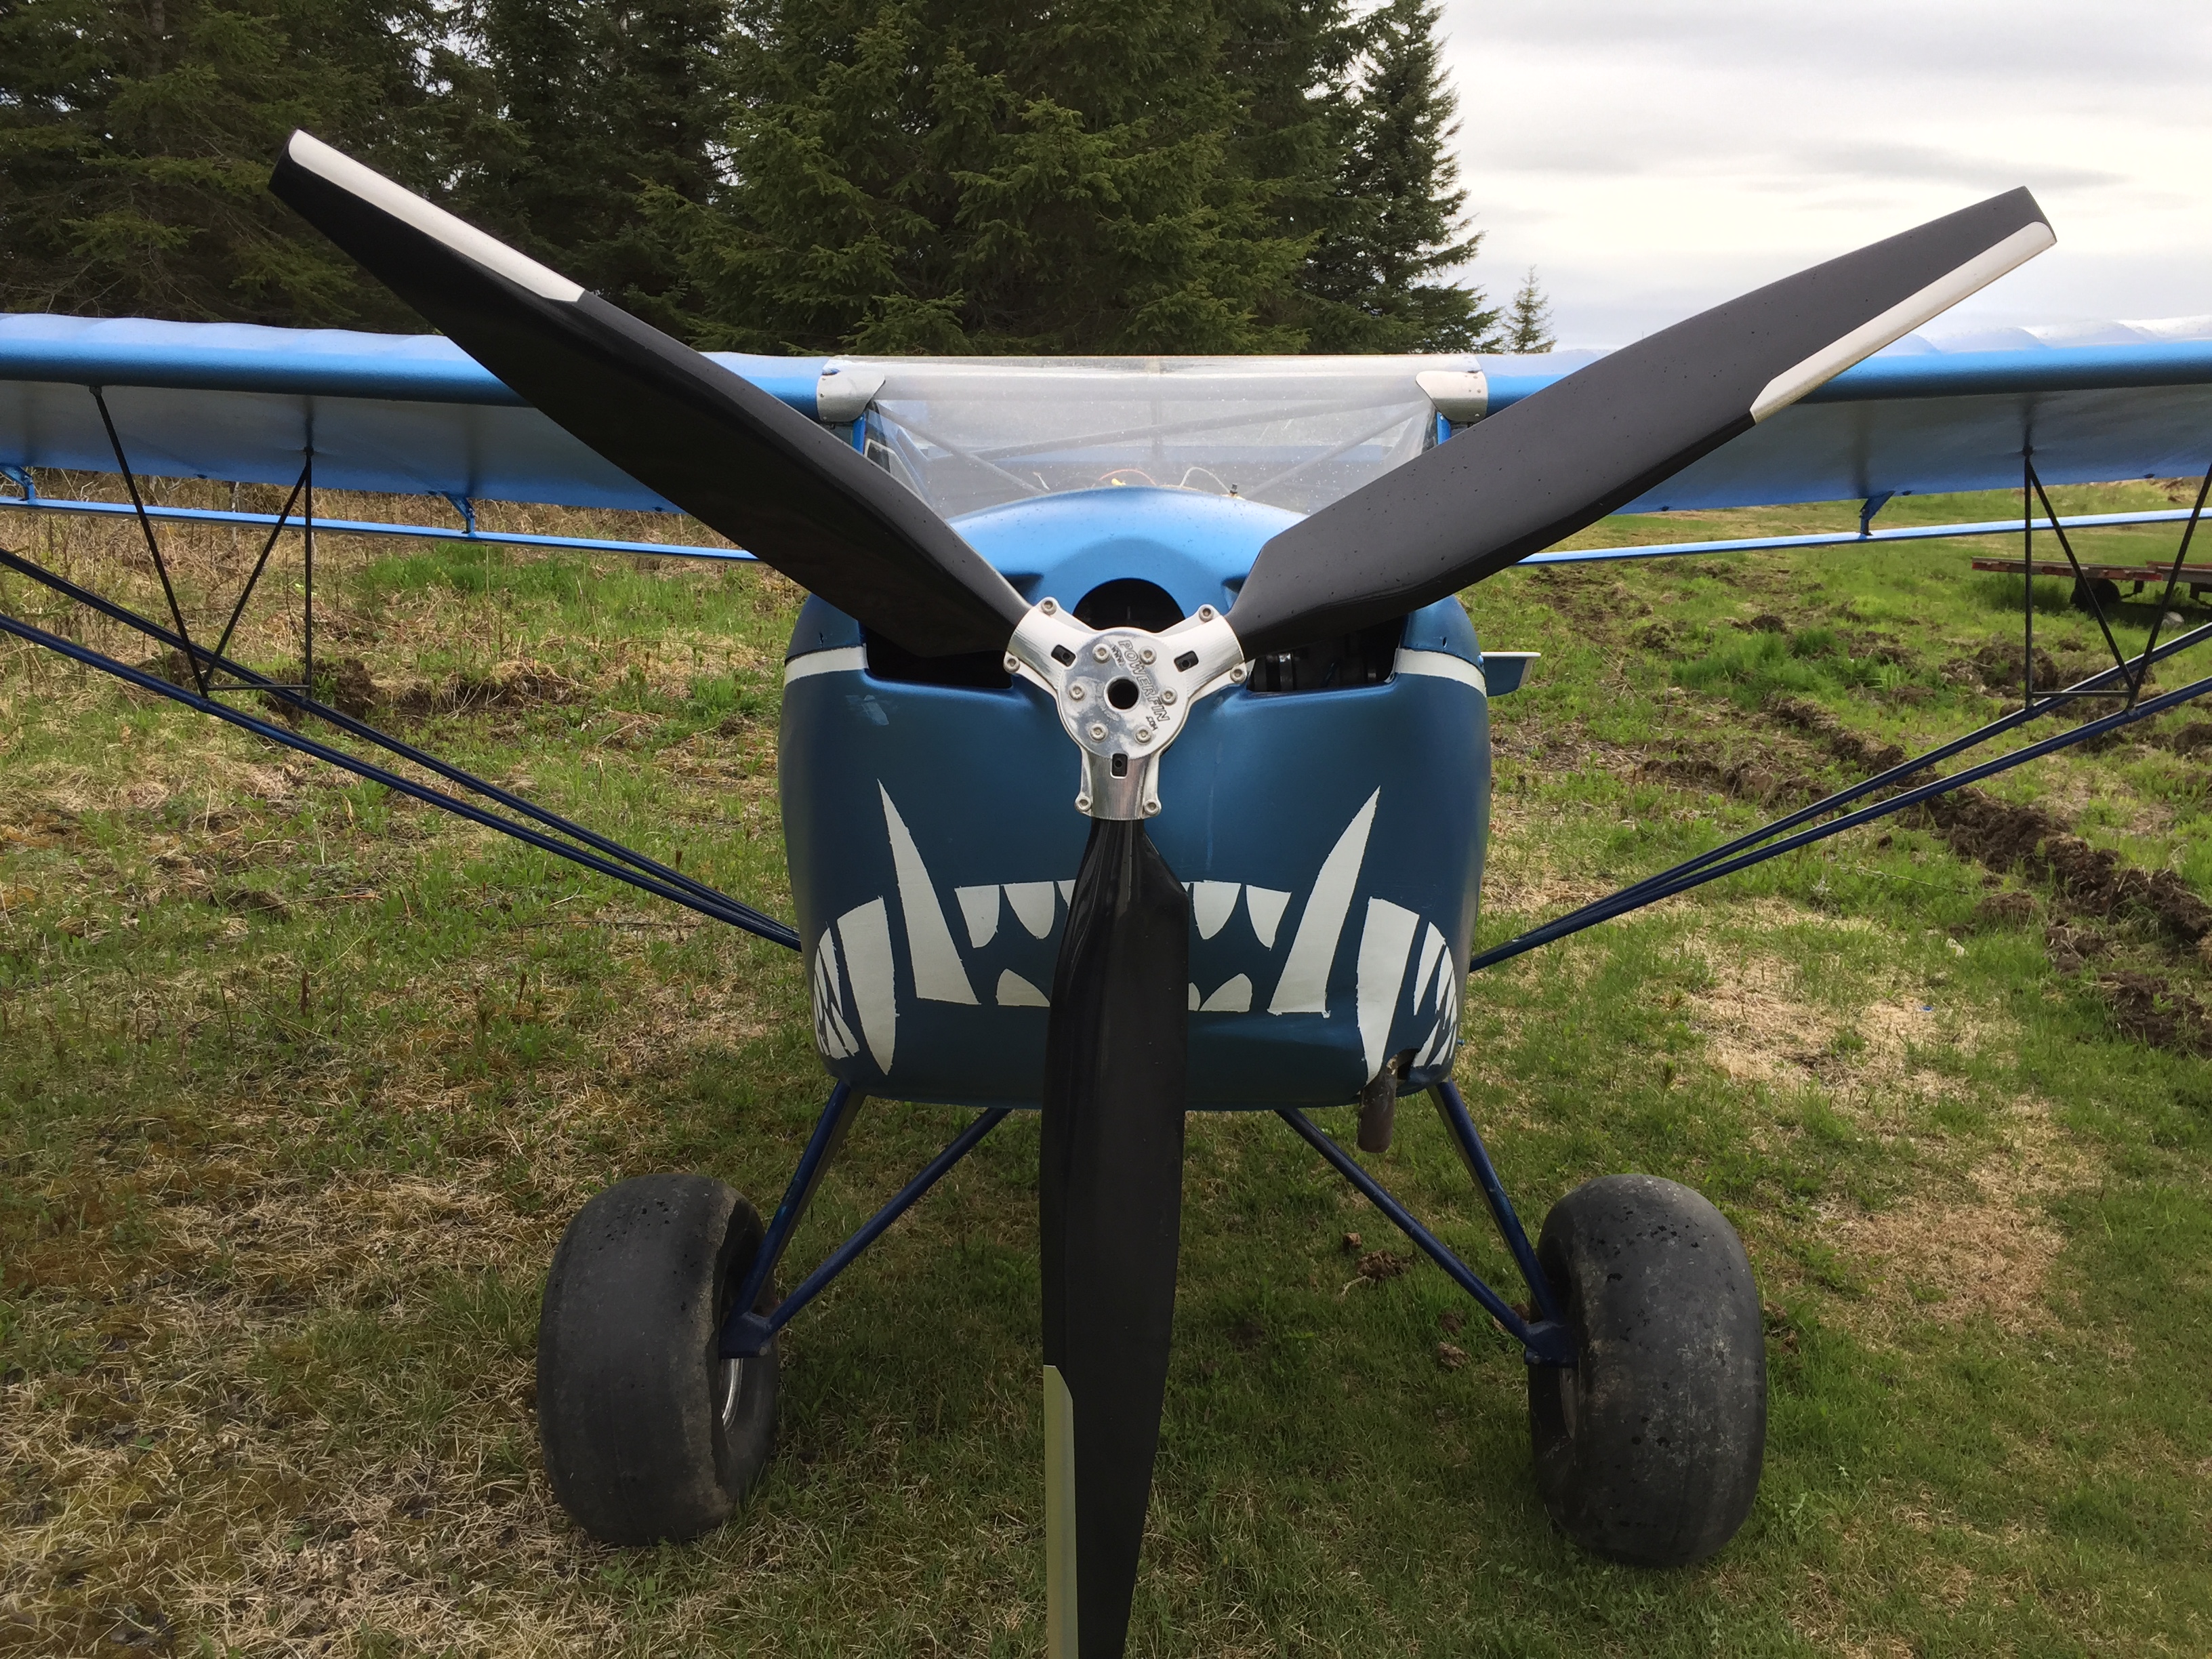
Thanks, Jim. I really appreciate all the help I’ve gotten from this group. I didn’t get a good video, but I got the prop pitch set and jetting set in the safe zone. It’s pulling just 5,900 wide open, so I’m considering going finer on the prop. If you are familiar with Powerfin, I started off with the dowel in the middle of the window, and made three adjustments toward the finer side, a total of .066” from where I started. The first setting pulled 4,500. I settled on the middle clip on the needle for now, after pitching the prop. At 5,900, the prop blast will knock you down. It’s rolling at 3k and lifting the tail at 4,500 if you don’t let it roll, or pull back on the stick. I’m wondering how weight and balance will look with the battery and ELT out. It feels like it could take off vertically.
2 people like this -
Testing was fair. The engine was great. The prop is nearly adjusted. The ignition switch failed, which was interesting, since it was brand new. I put the old one back in. It only kills the ignition. I put a capacitor on the regulated 12v dc side, to run without a battery, but I’m not sure it’s good. I might get the better regulator or look at options for consumable power.

-
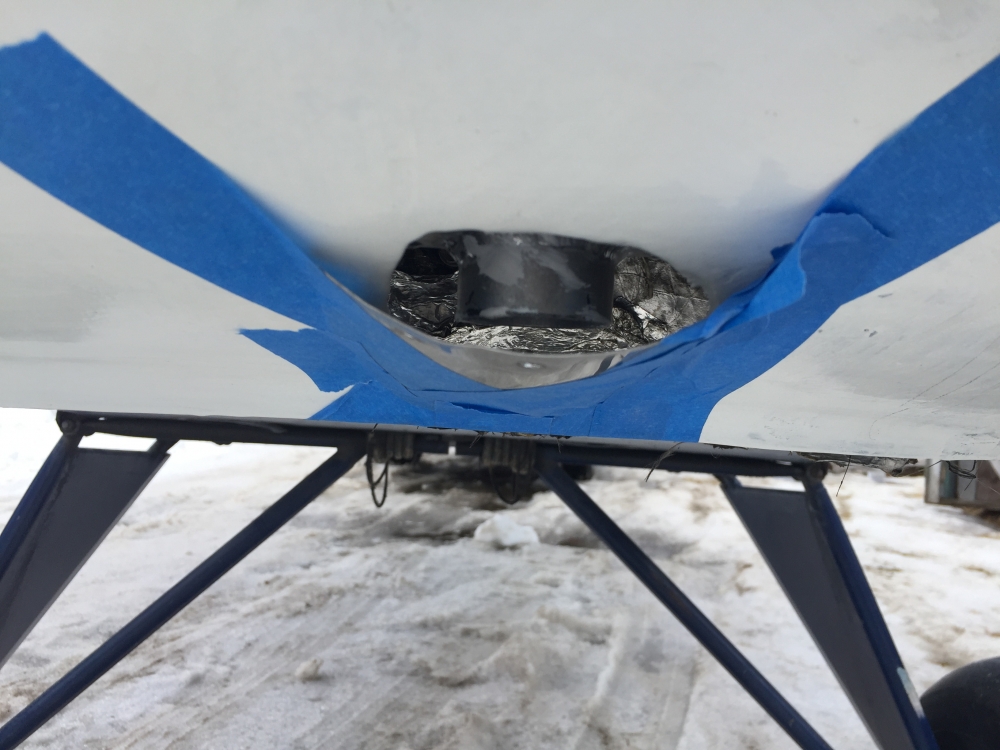
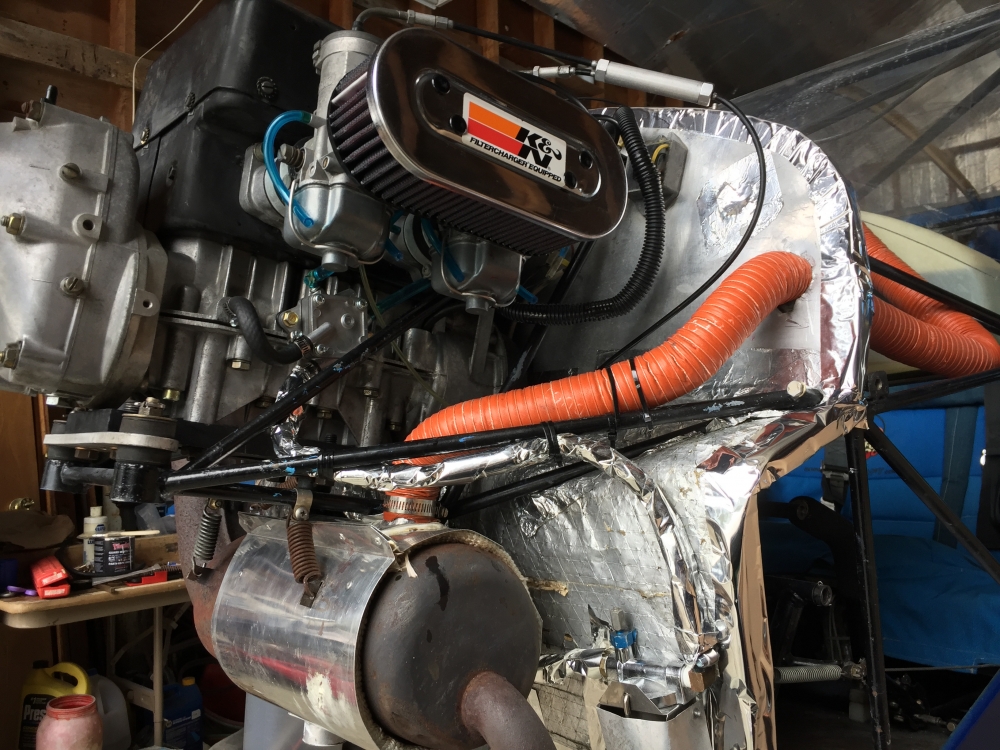
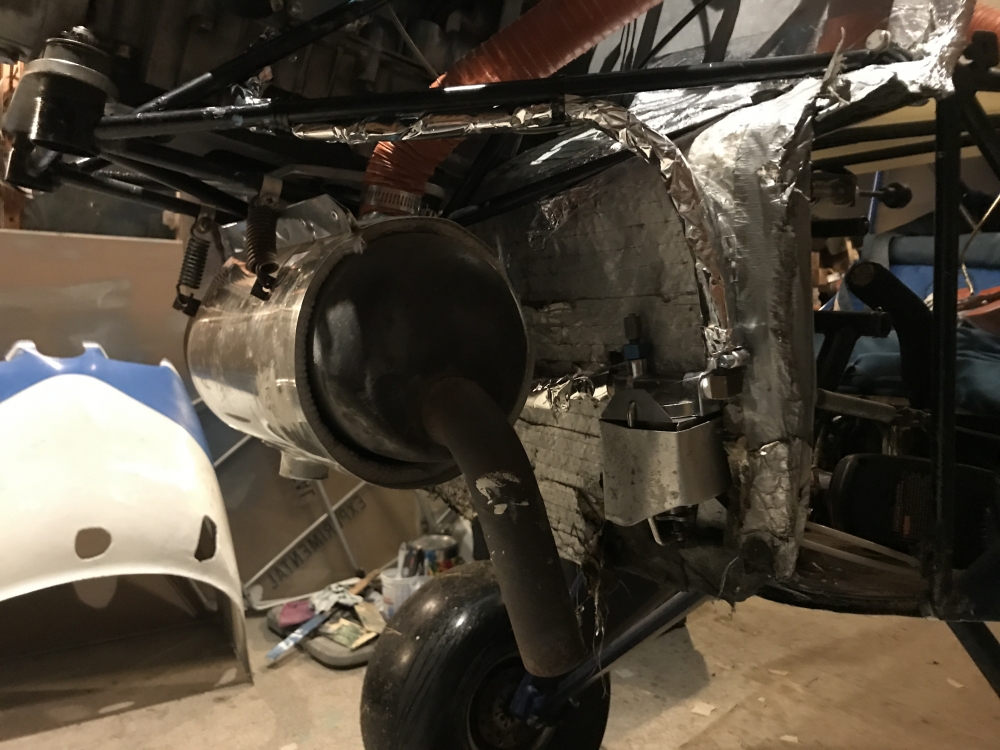
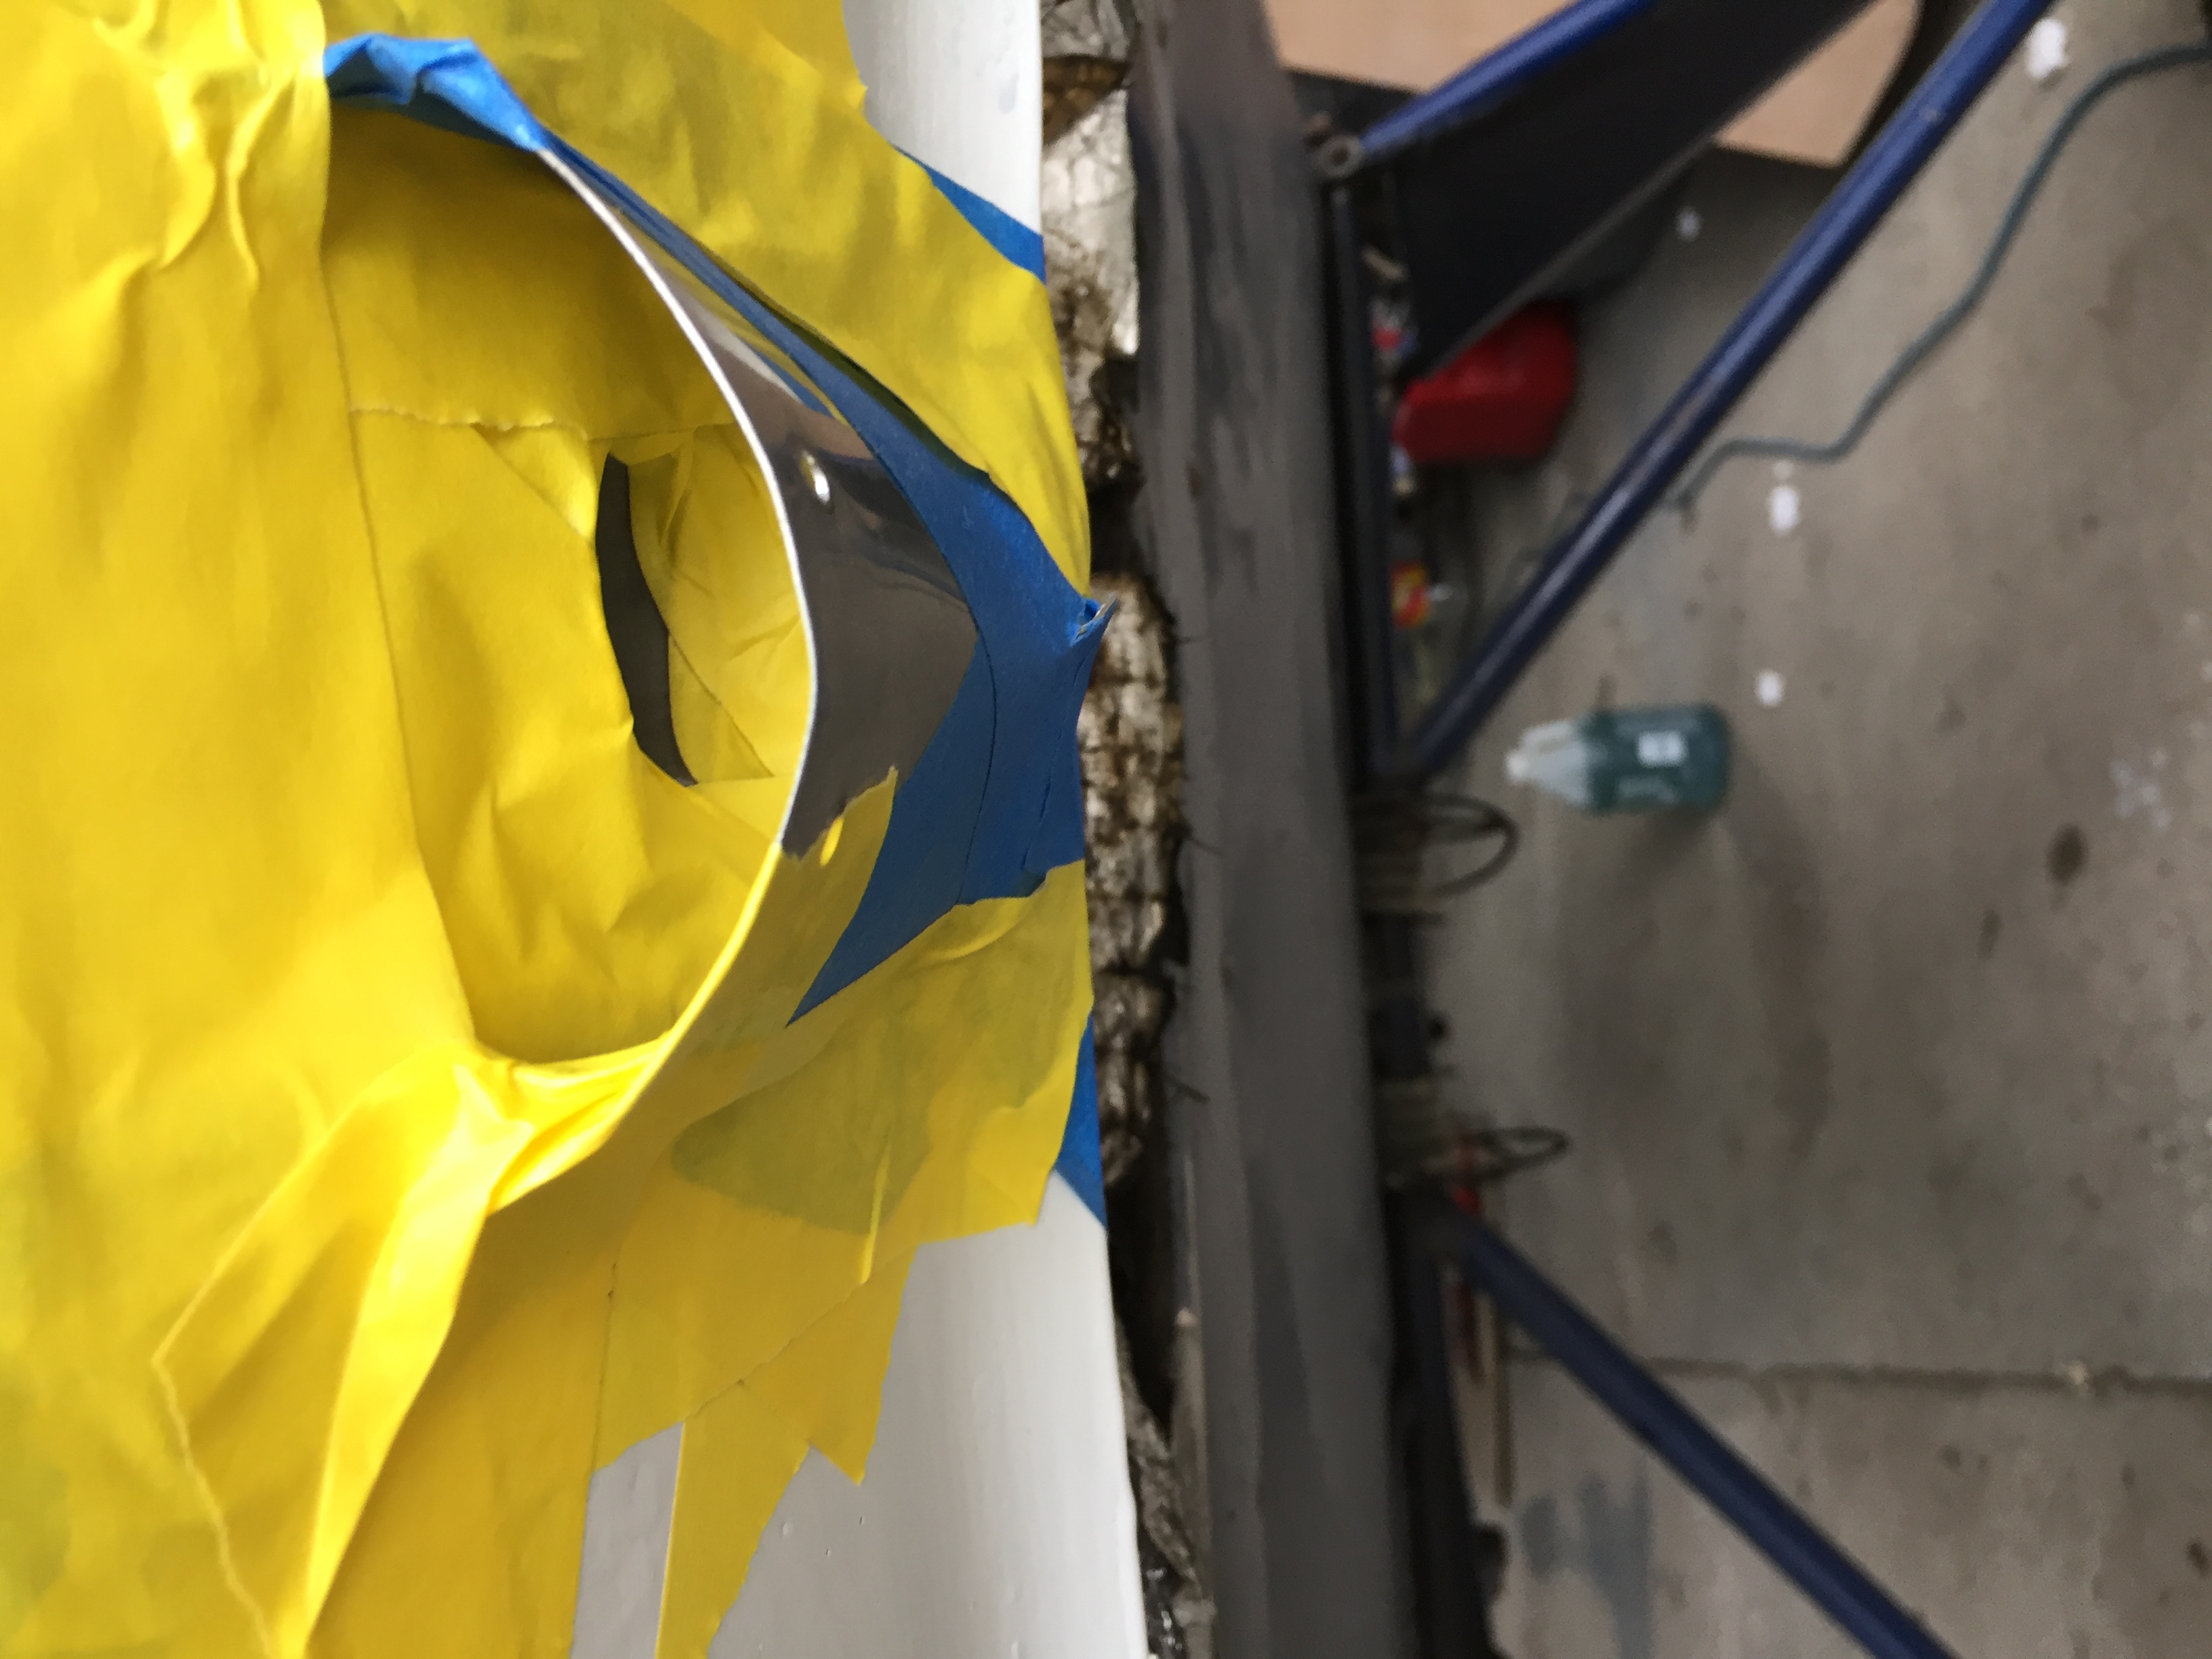
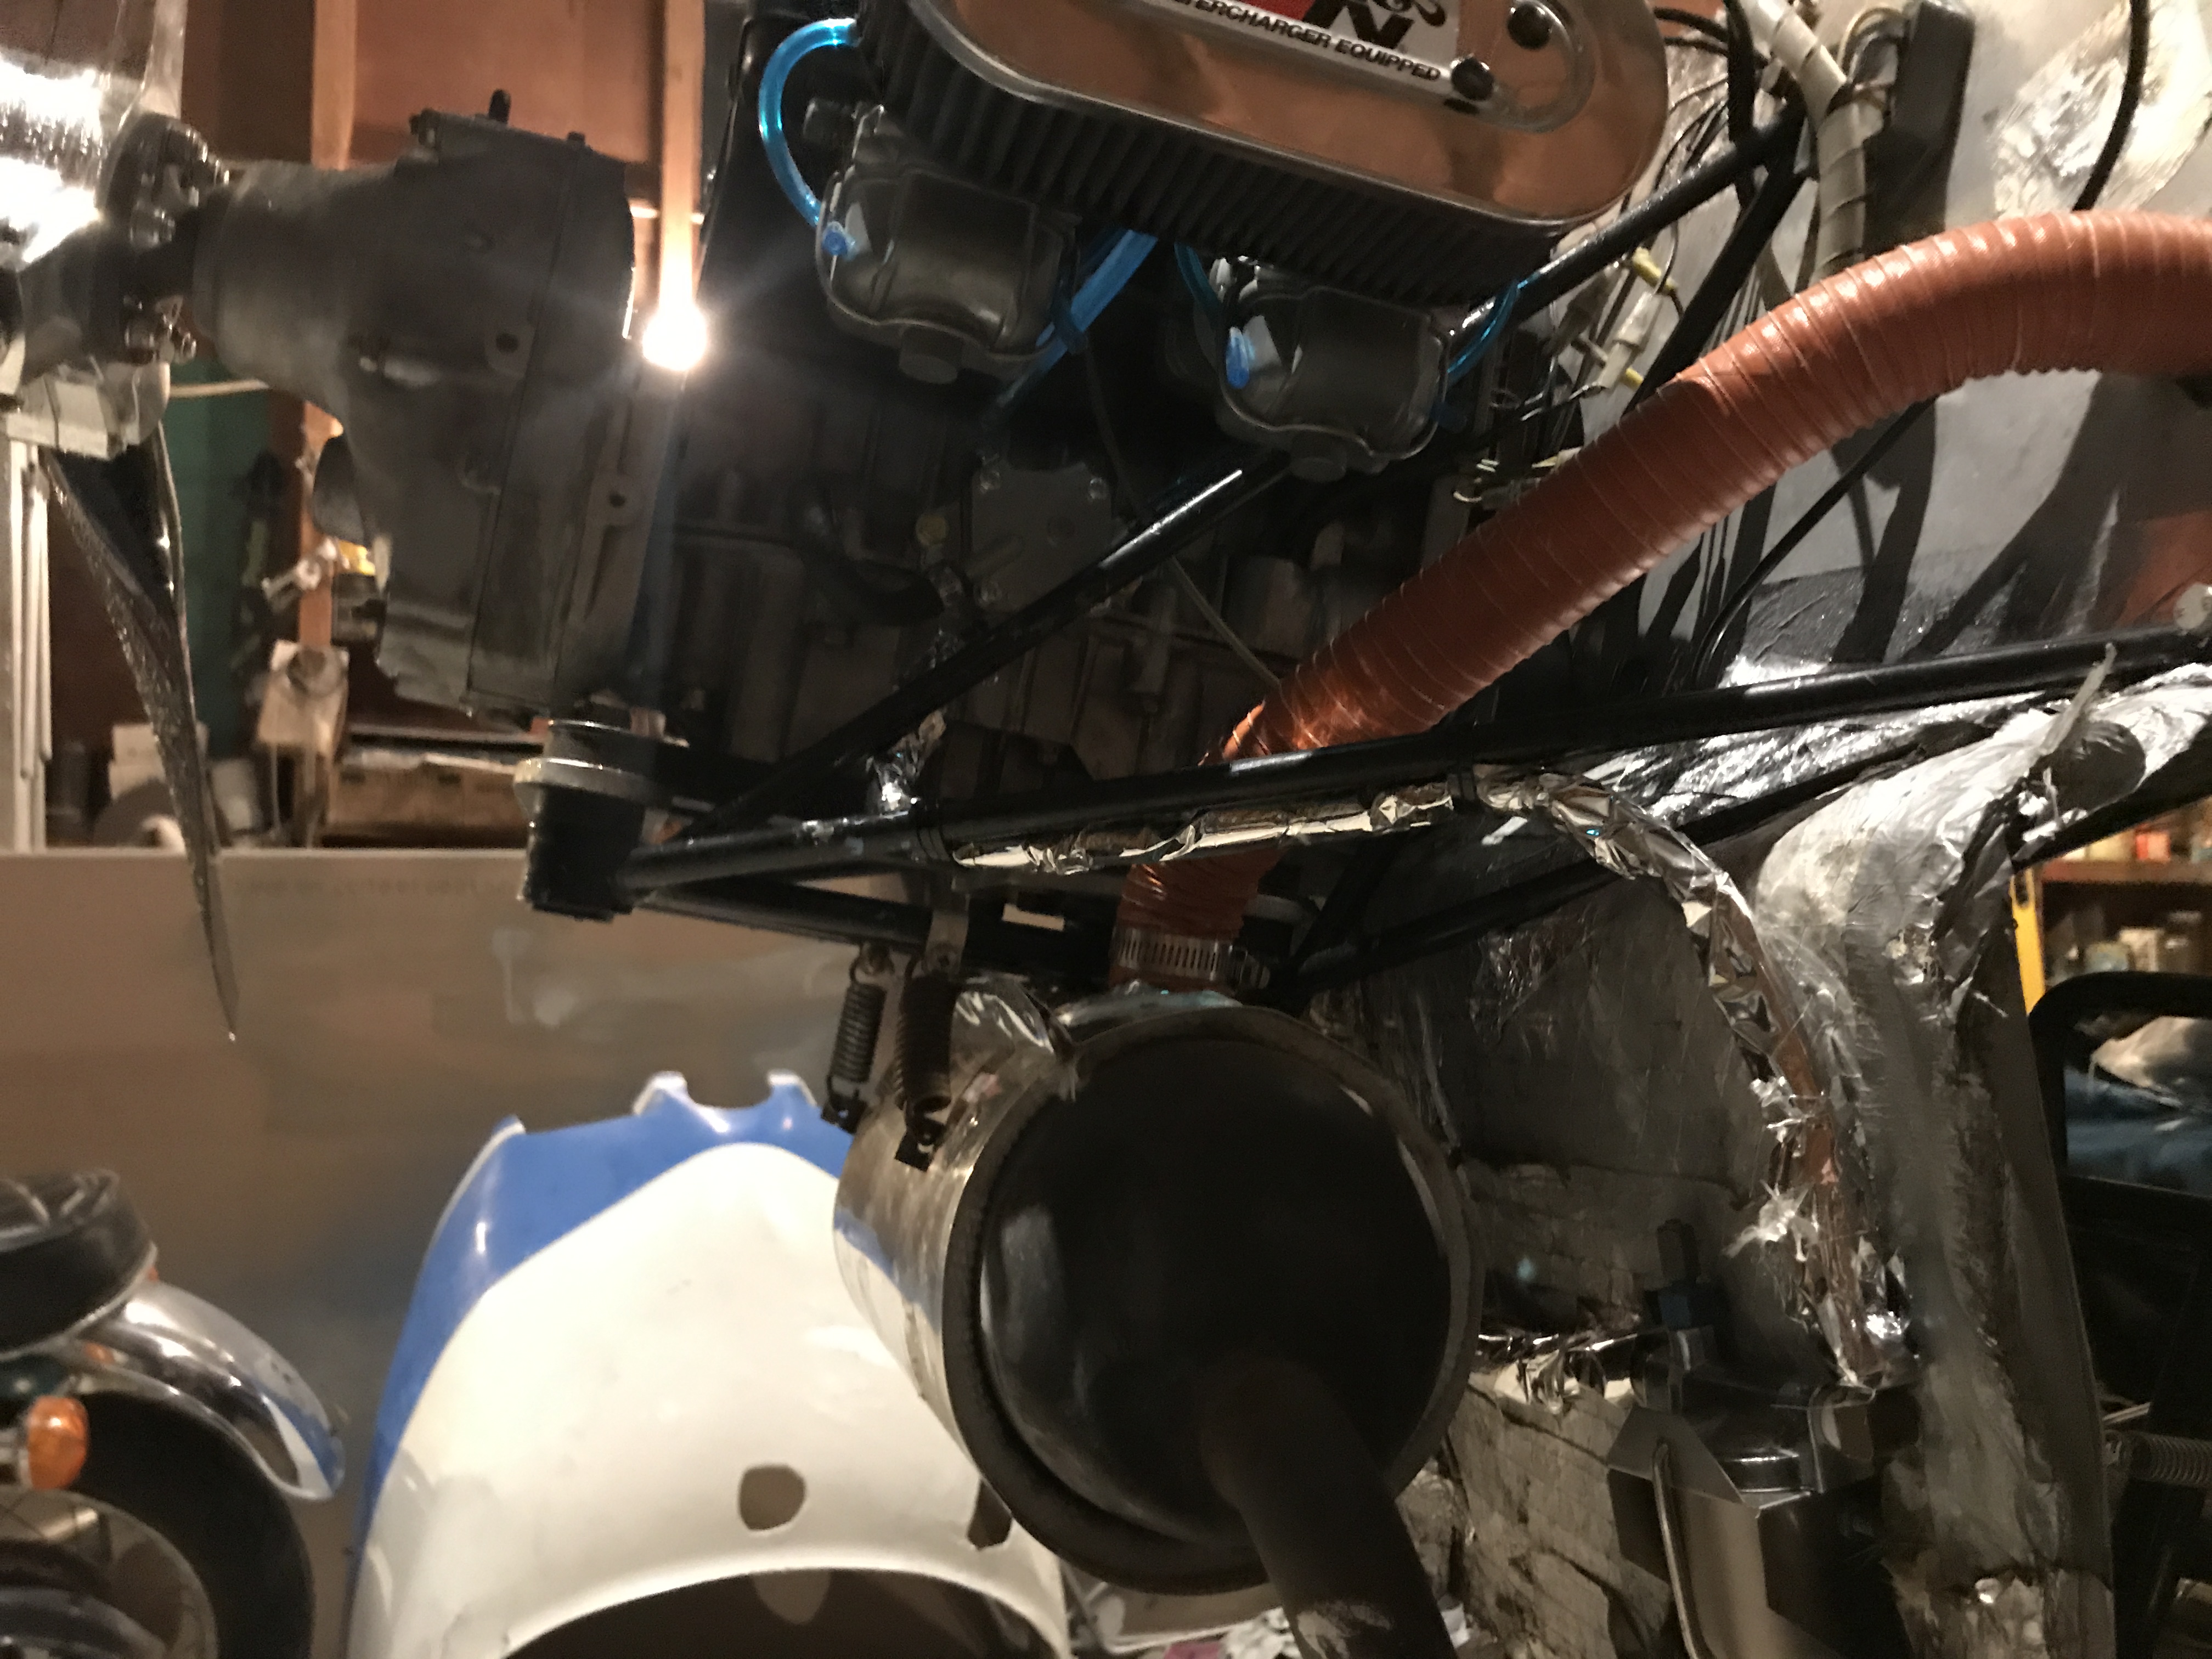
I made a makeshift hood to duct air into the heater when I ran it. Note that you can put as much air as you can get through the heater. Increasing airflow helped it a lot. Higher EGT’s will, too, but it probably needs the air fairly rammed through it. In retrospect, I probably would have placed the heater intake more forward facing, instead of straight down. Looks good, works good, as far as I can tell. I have a plan for the duct, but I’m waiting to cut it until I’m fairly sure it will work like I want. I’ll cut a proper air ram, now that it’s tested.


-
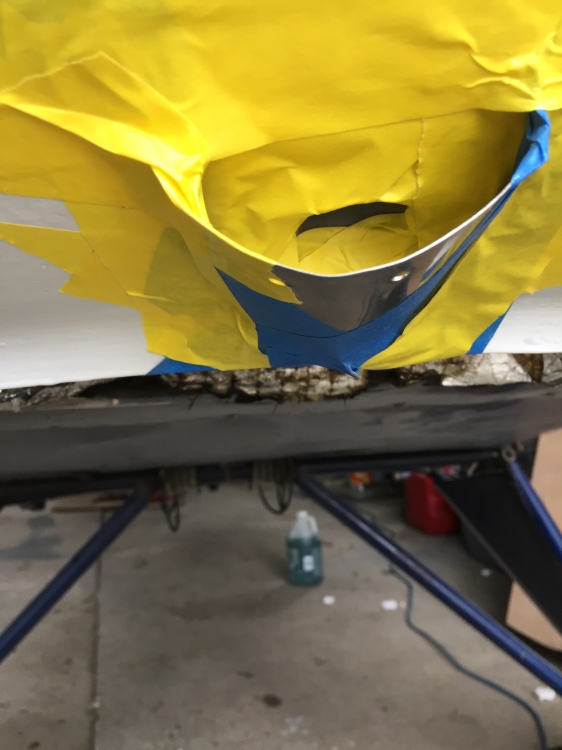
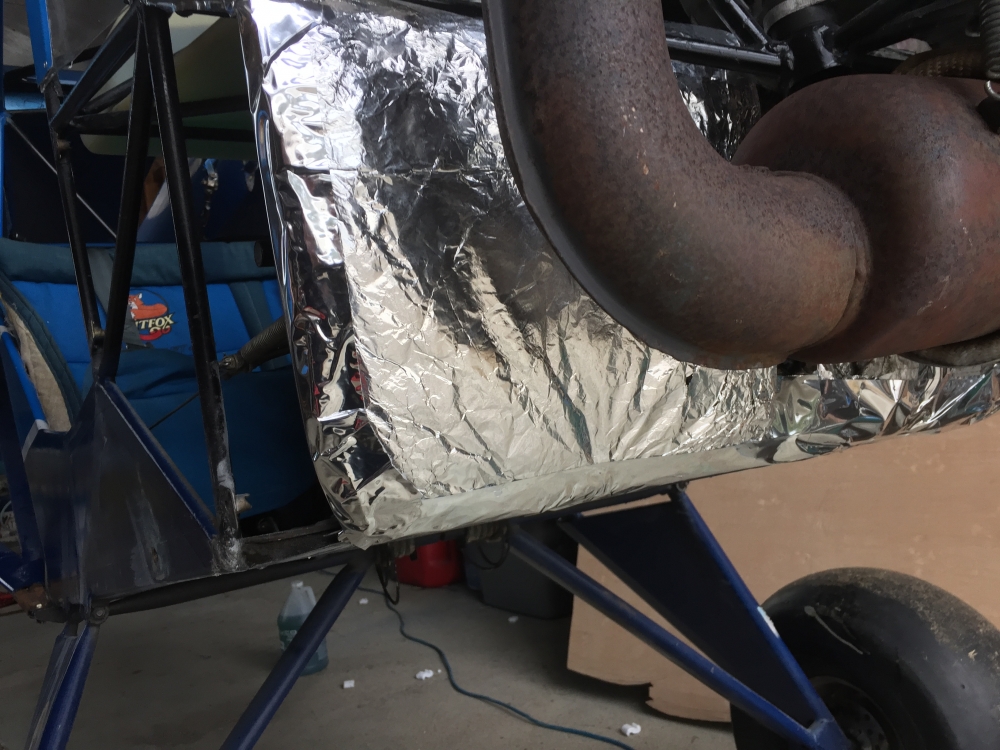
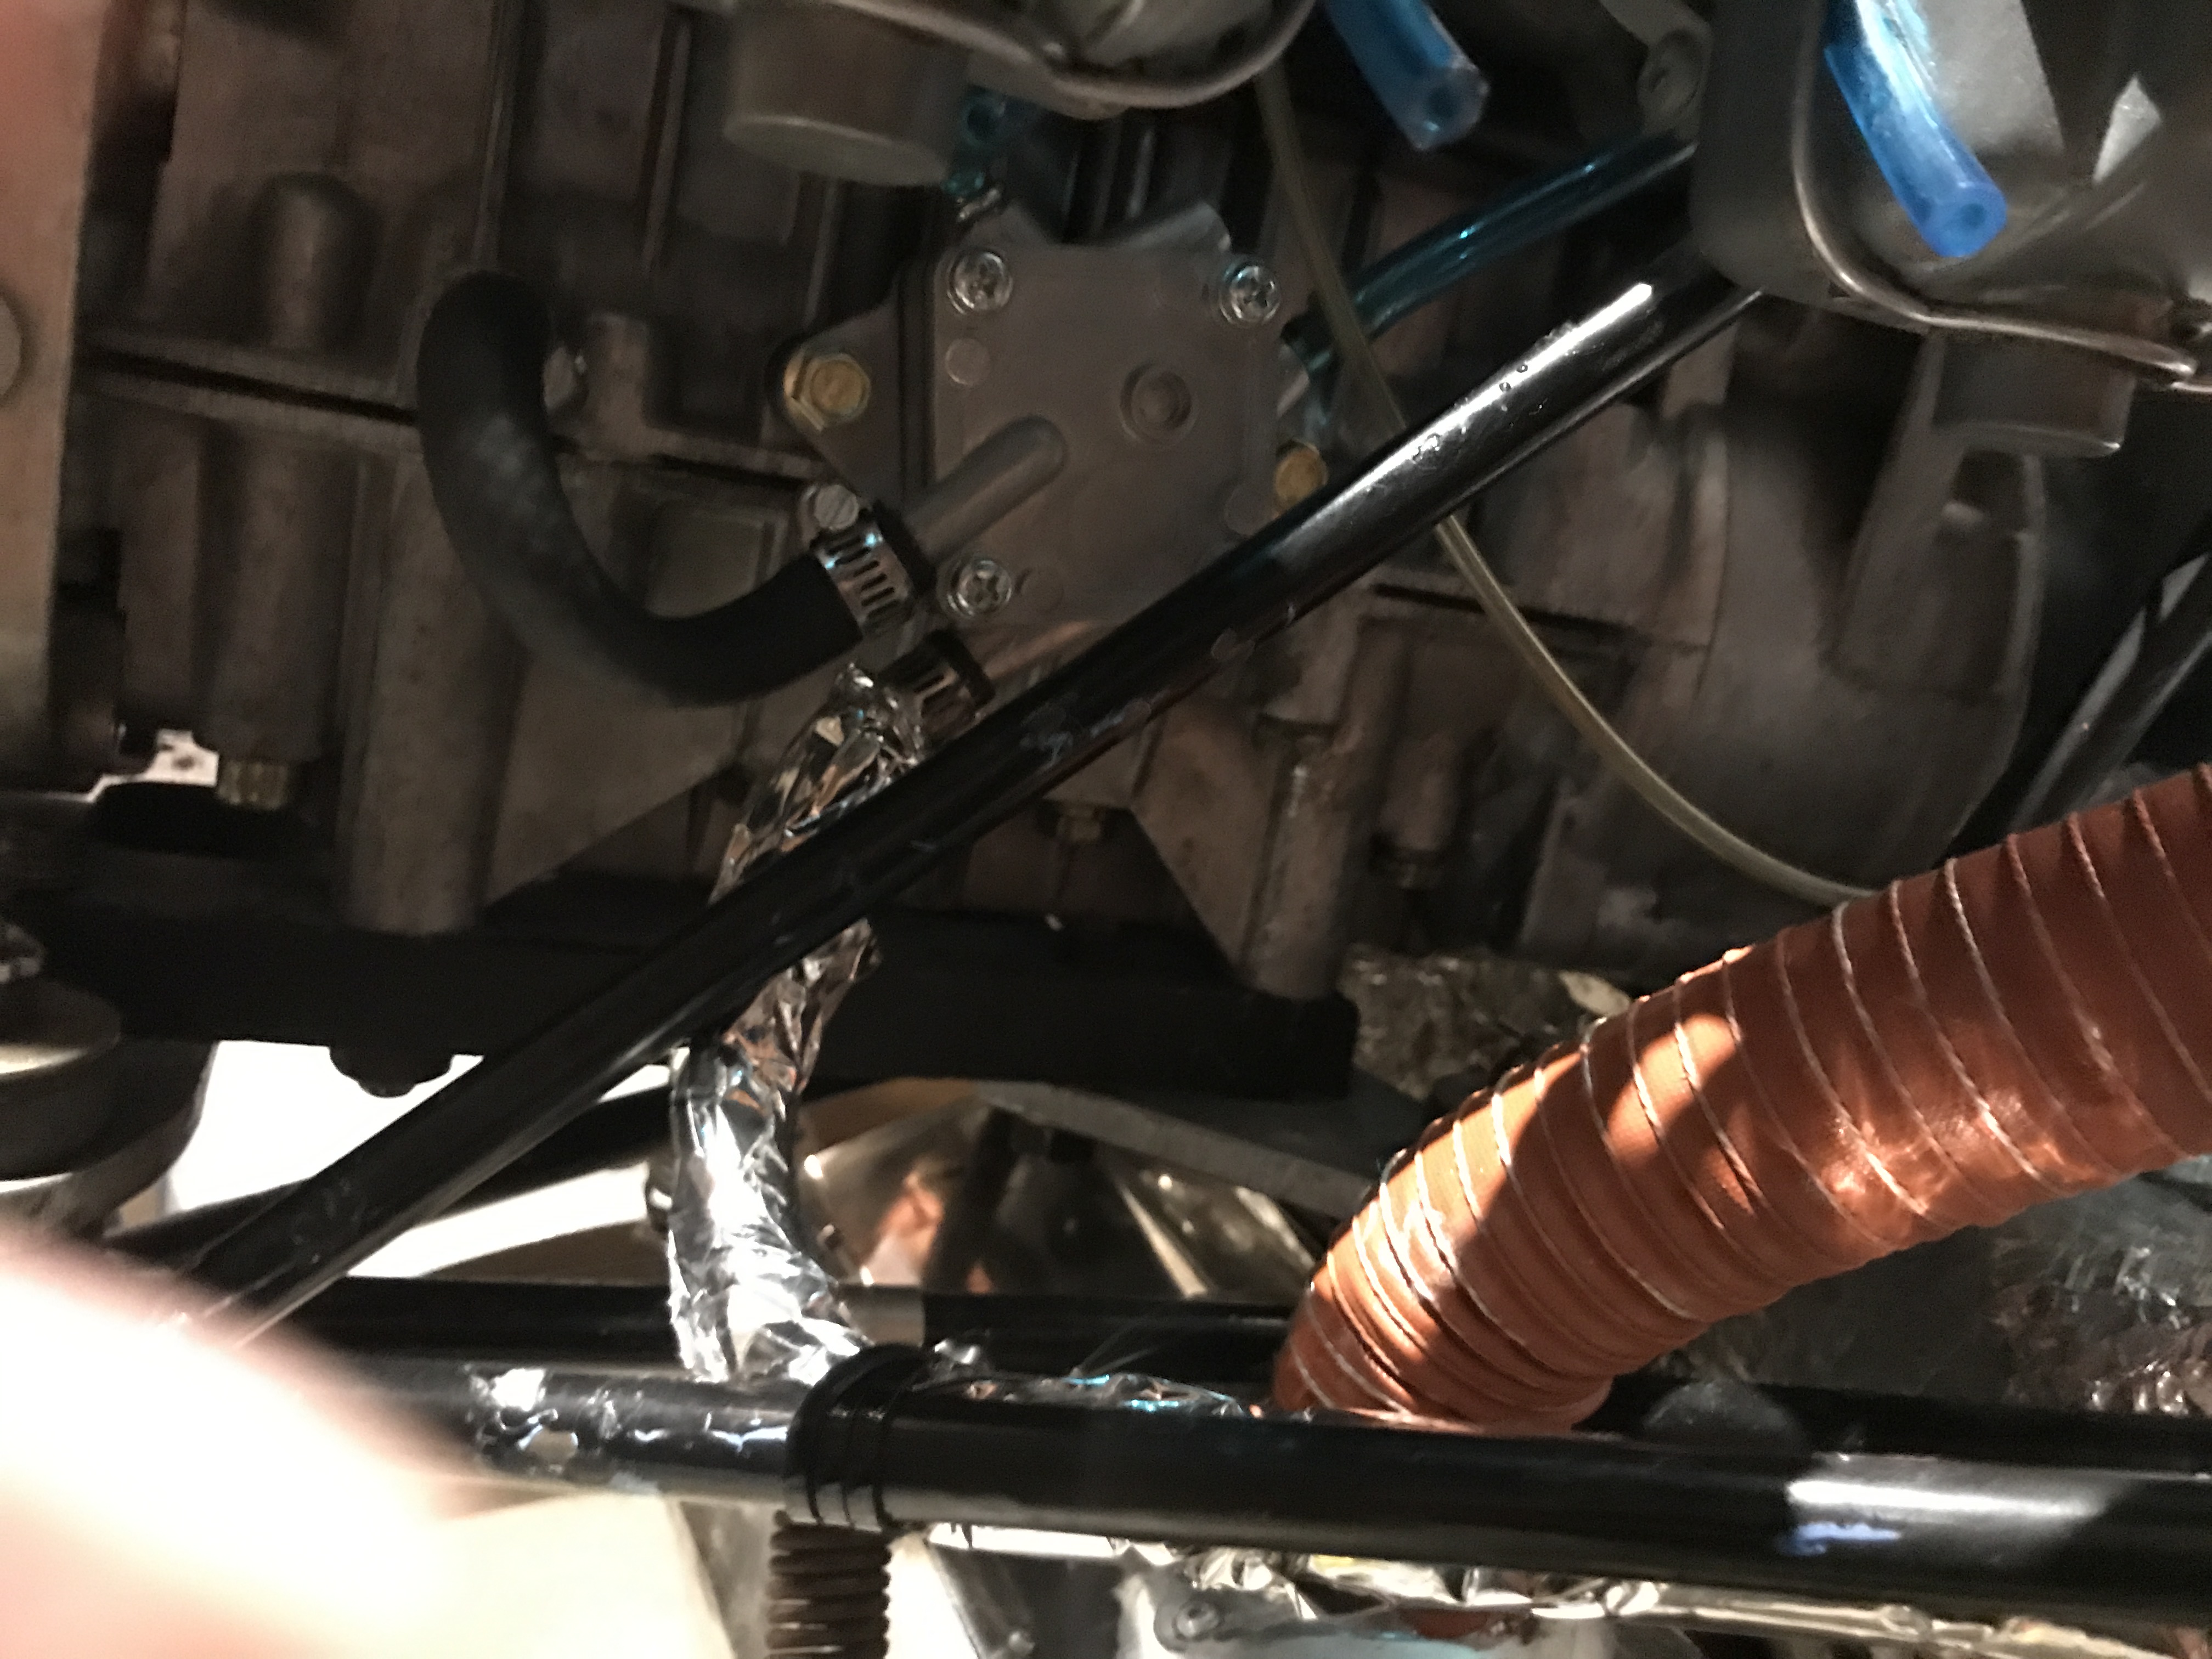
Some of the reflective backing needed to be replaced. I used adhesive spray to attach heavy duty aluminum foil to the original insulation, and it was better than new. I used a more flexible aluminum tape to finish the edges.
-
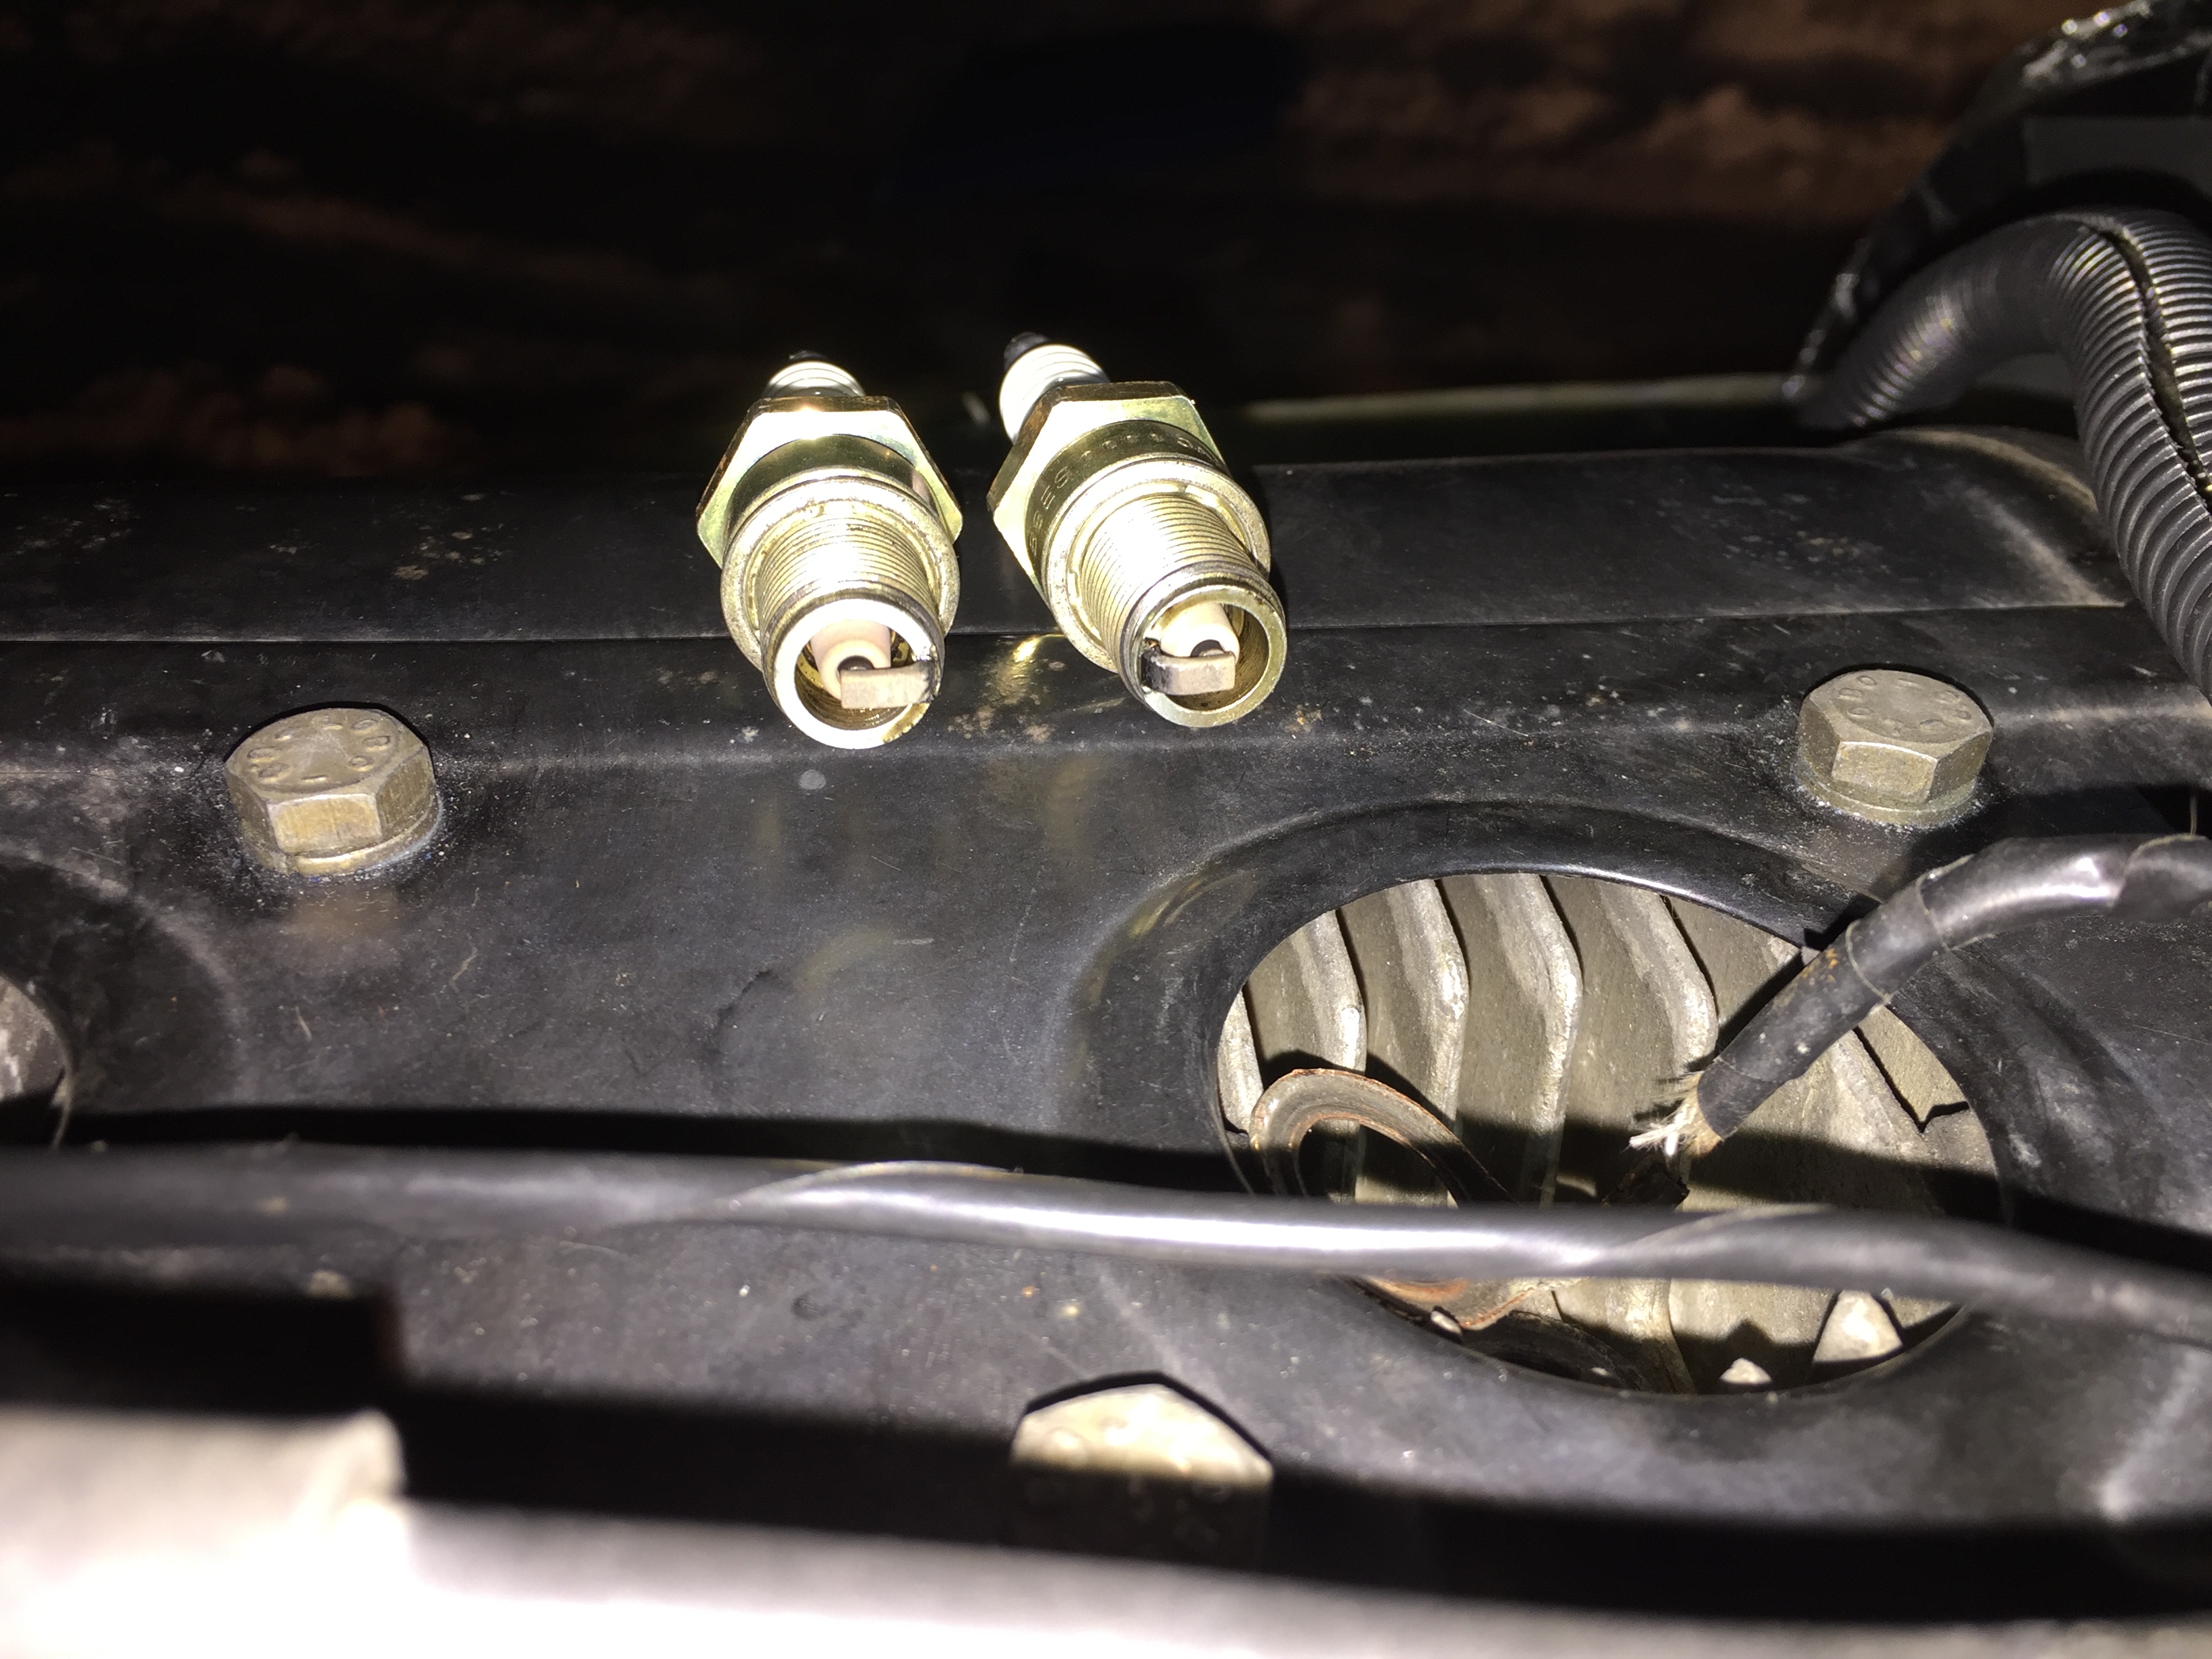
The first of the torture tests is completed. I waited as long as I could, and just had to run it. I made three adjustments to the prop, starting in the middle of the range, and reducing pitch each time. Temps were all low. I dropped the clip on the needles, and lost 400 rpms without any other adjustments. I moved it to the middle on both carbs, and am waiting for another test run, since I noticed that the O rings that seal the top of the carb were cracked. If that comes back up 300-400 rpms, I’ll be at 6,200-6,300 static rpm. I was checking the spark plugs with each run, and it wasn’t far off. It seemed almost lean on the top end, by the plugs, and rich in the middle. EGTs indicate that I could lean it out a lot, but I was testing it at 32 degrees, so I’m not afraid of it being a little cold. I’m comfortable with it as is until I put some time on it. I was more inclined to pitch it for climb performance to start.
Ben took the lower cowl today, to draw in the teeth. He did a shark face on a boat I used to run, and it turned out great. This had to be a fox, obviously.


-
I did manage to reach the FAA, and they told me enough to make a Plan B. So, I mailed a certified letter to the owner, drove by his place, and called again. The phone line to to FAA was tied up for hours. I had to dial repeatedly until I finally got a dead line, and I hung right up and dialed again, and got in the queu, with a fifteen minute wait and the word that they’re processing registration applications which they received in February, so I’m probably two months from being able to register it. Ow. Anyway, when I called the seller, he answered and we made a plan. So, a minor victory there, and two minor steps closer to registering. If that fails, I have plan B.
-
The FAA has given me a hard time just trying to register this thing. It would really help if they could break through bureaucracy to file the registration. I have to contact the last owner.
-
Artistic rendering of artist Ben Firth sizing up the belly pan to make it foxy.

-
-
-
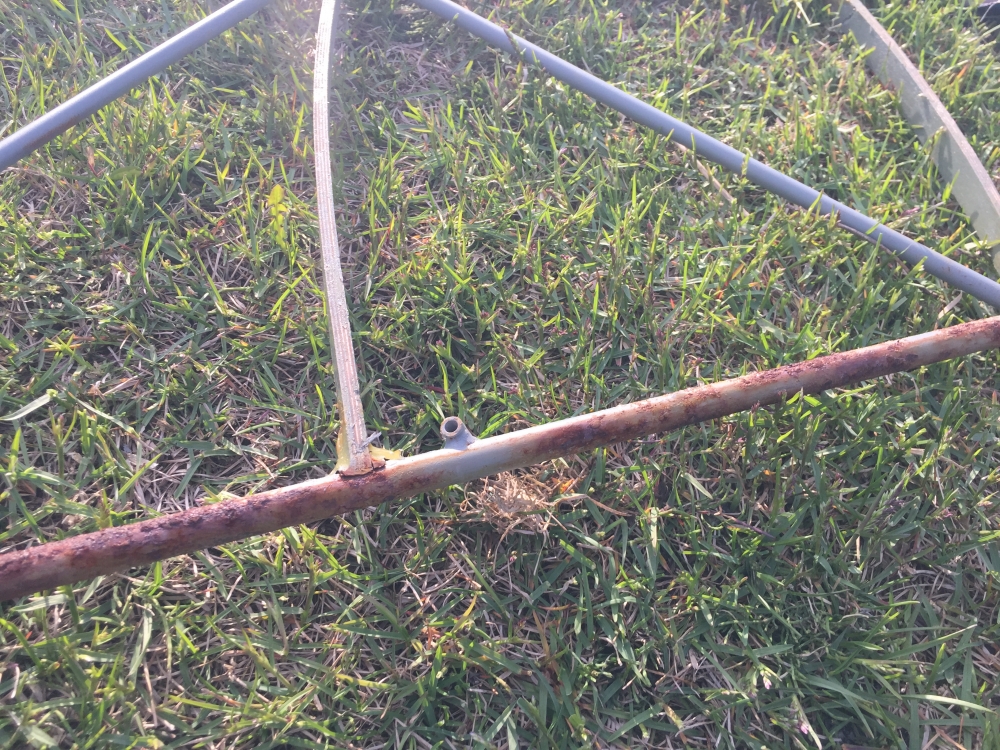
I used Napa 7220 self etching primer on the spars. Just a note that the MEK and PolyBrush disolve it. I just brushed it on fast and didn't touch it until it dried, and it was fine.
-
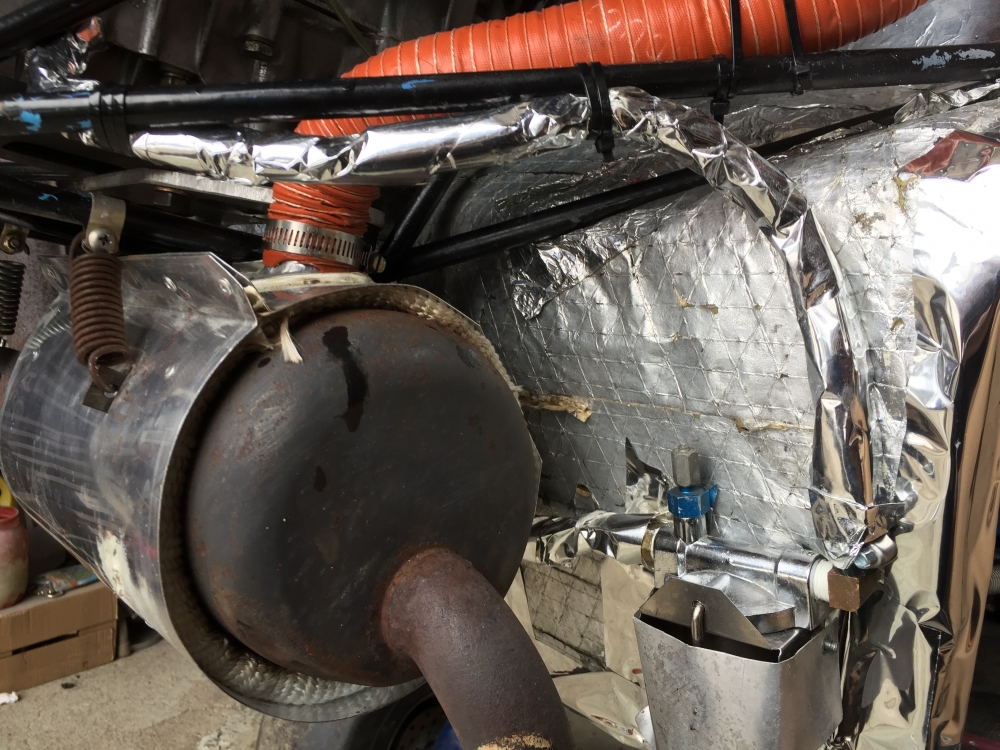
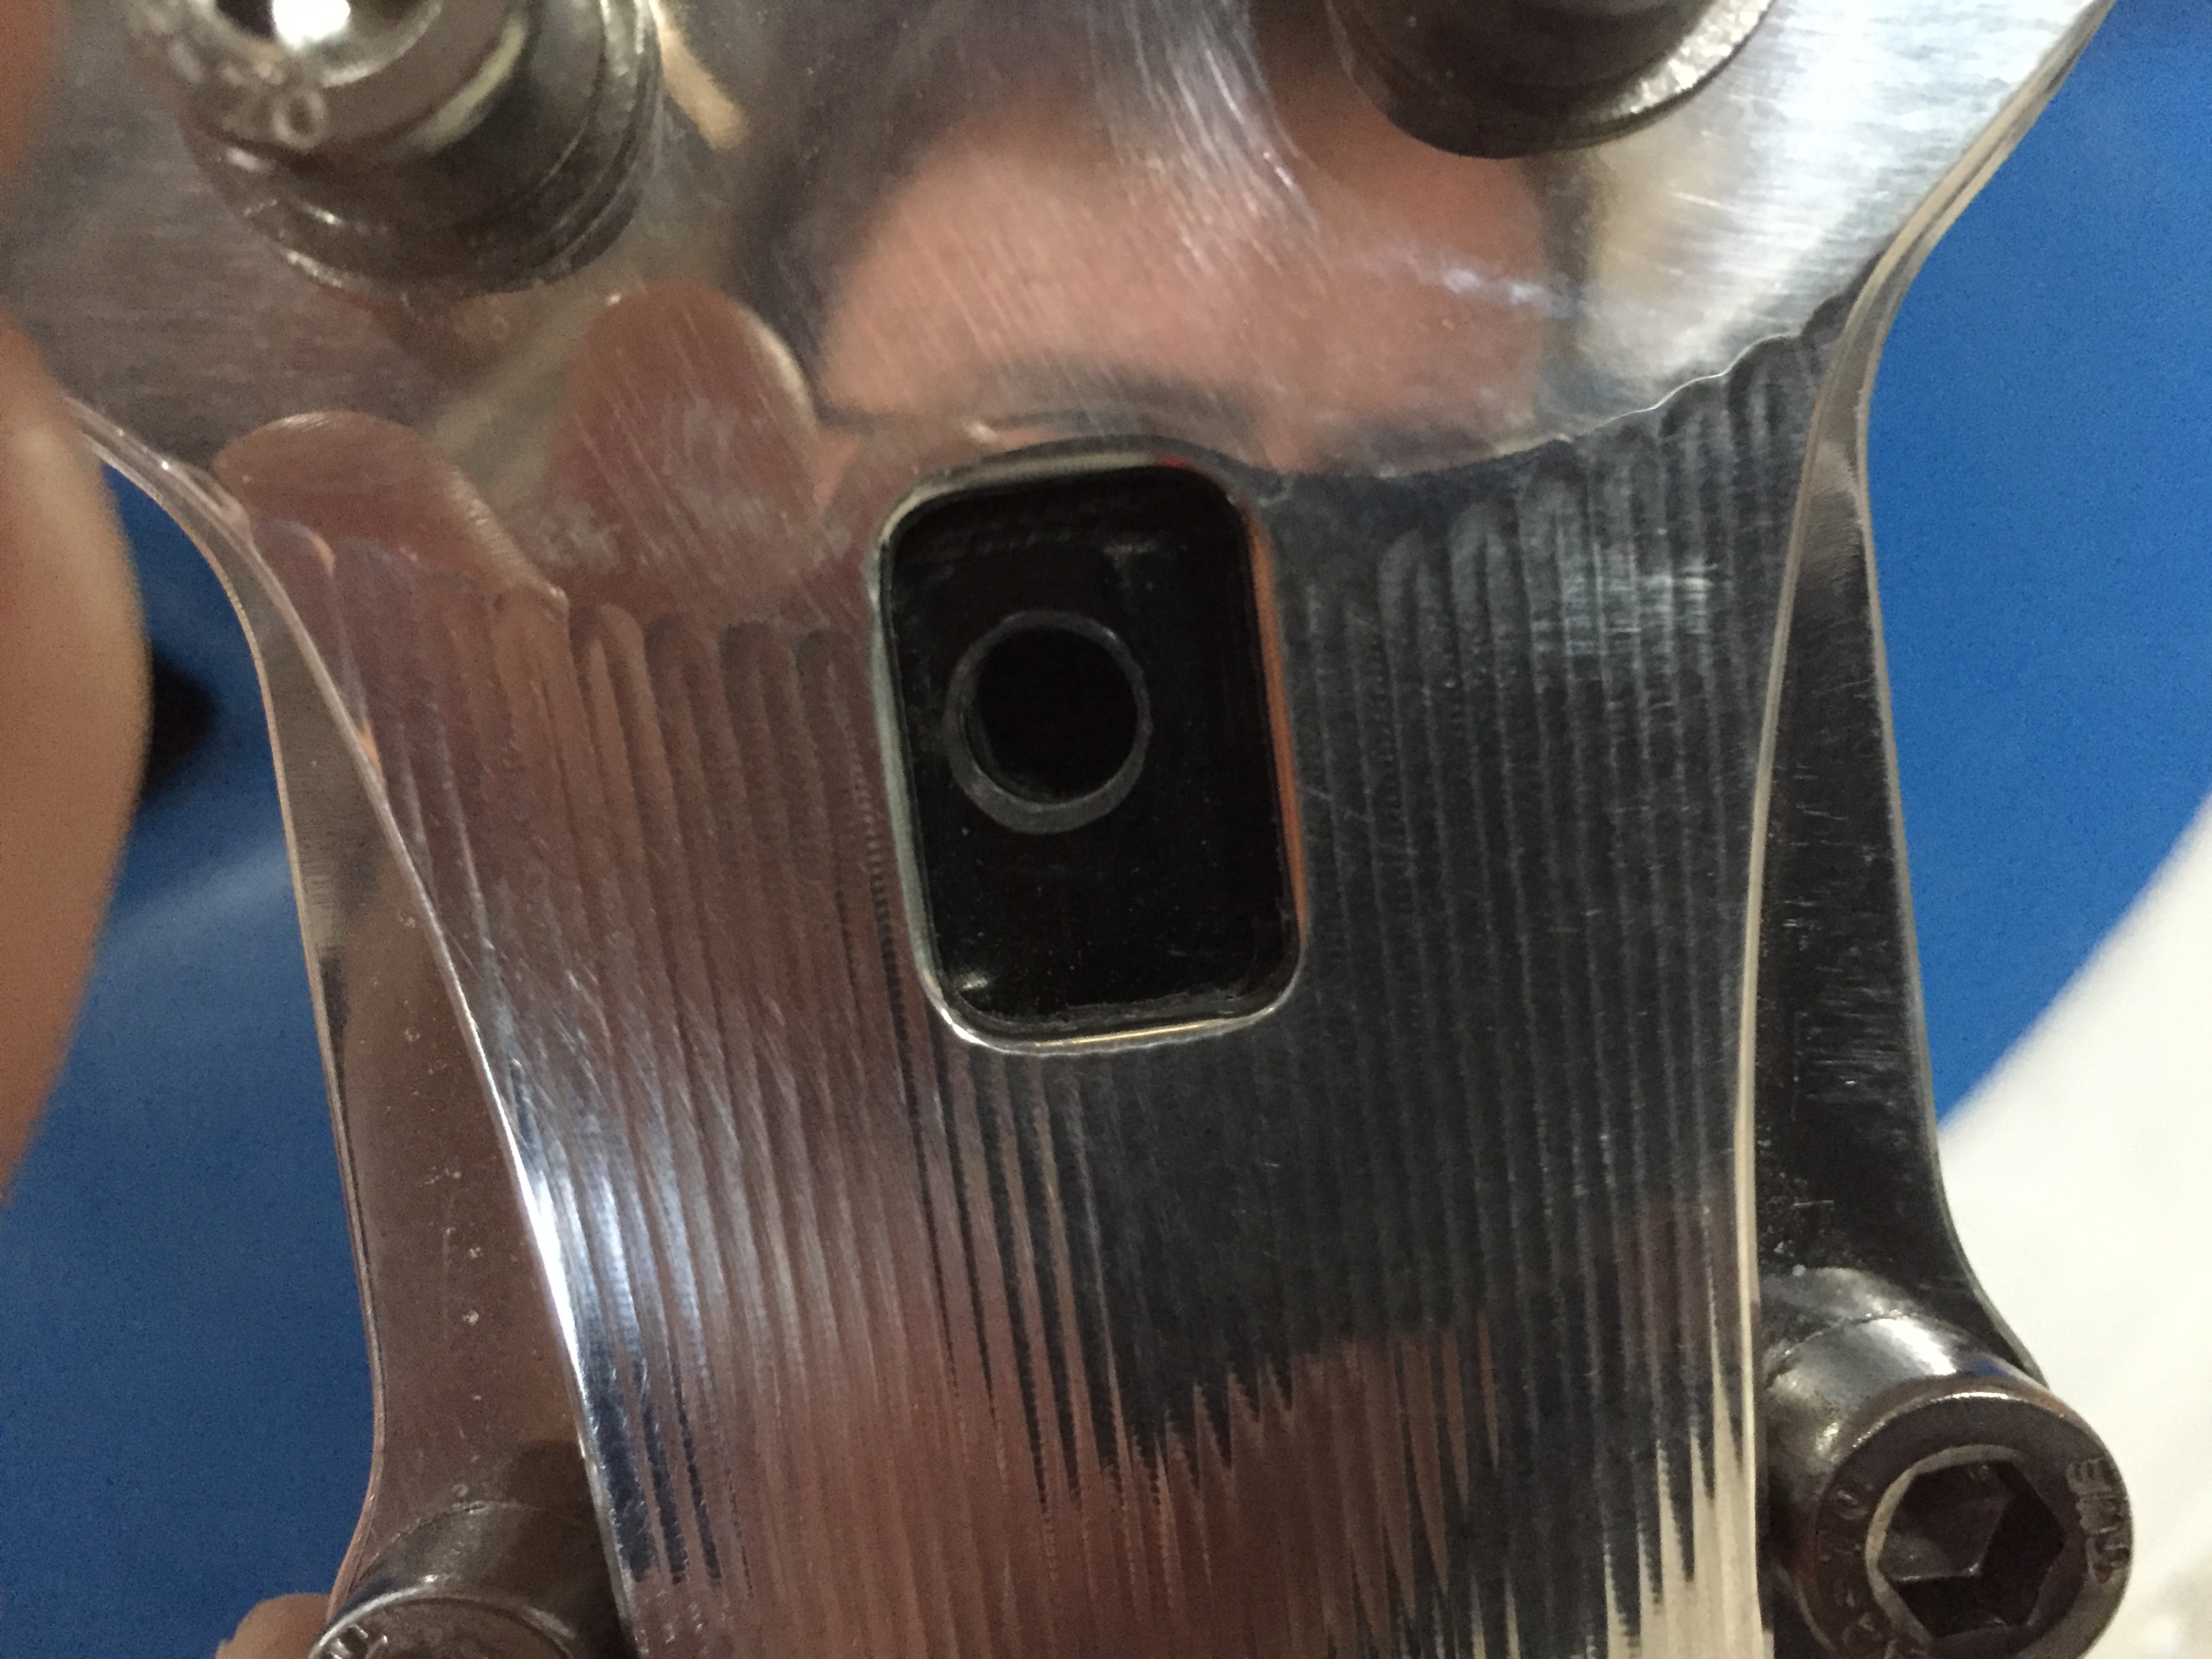
I got the fuel lines replaced, with help from a friend, and put the fuel filter back where I didn't like it, after trying to move it. I like this screen filter, just not so close to the exhaust tip. I made the fuel line heat shield from fine fiberglass weave and light aluminum tape. I like it better than anything I saw in the store, and made it with what I had. See the carb vents. Each is independent to atmosphere. The fuel pump is genuine Mikuni dual feed, instead of the original single with a tee. I drilled the holes to 5/16" and the bolt pattern matched two holes on the block with 6mm thread. I rubber mounted it.
-
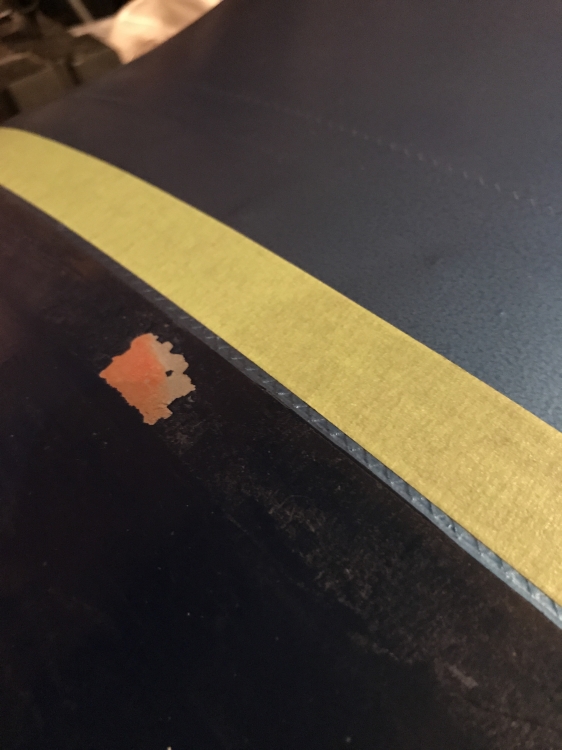
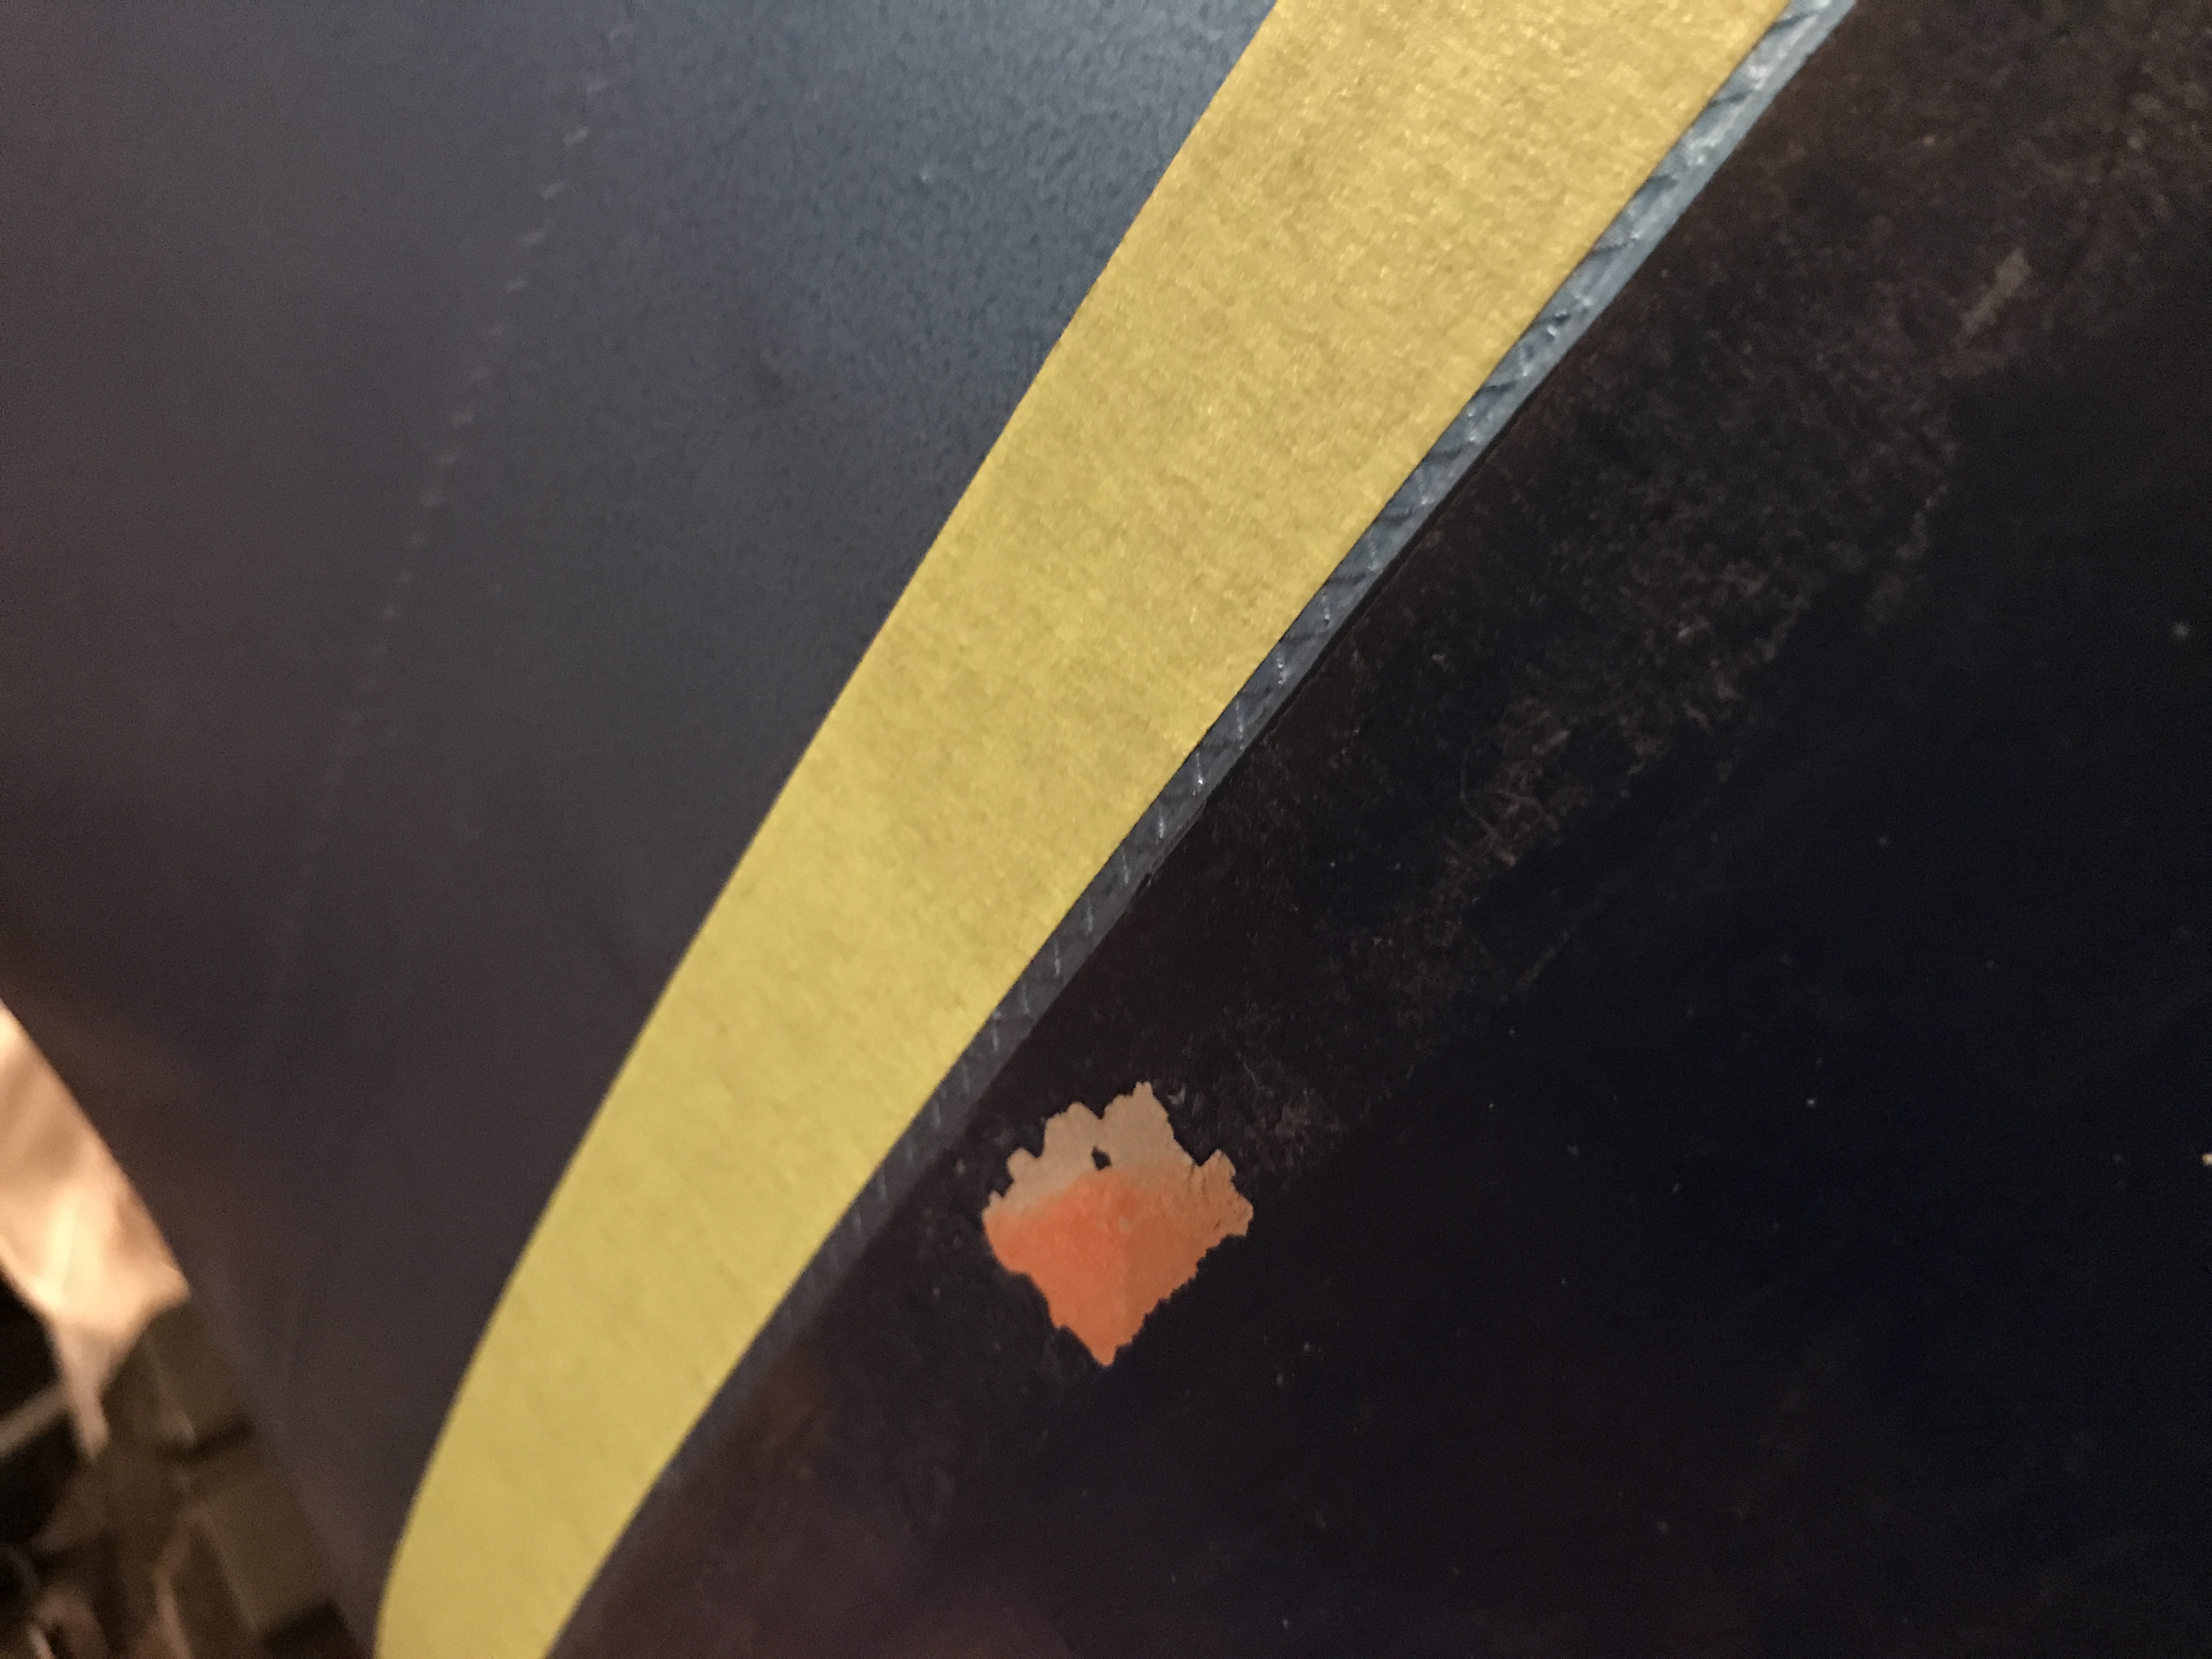
Yes, looking great. I have the same stuff. I did find that it seemed to sag after polybrush. I accidentally did one wing side at 275 instead of 250, and it turned out better. Here is a pic of my wingtip with the rivets showing a little. I'm just ready for stripes on the wingtips. I had delamination from using blue 3M maskimg tape on the wingtips. Only use the green stuff.
 2 people like this


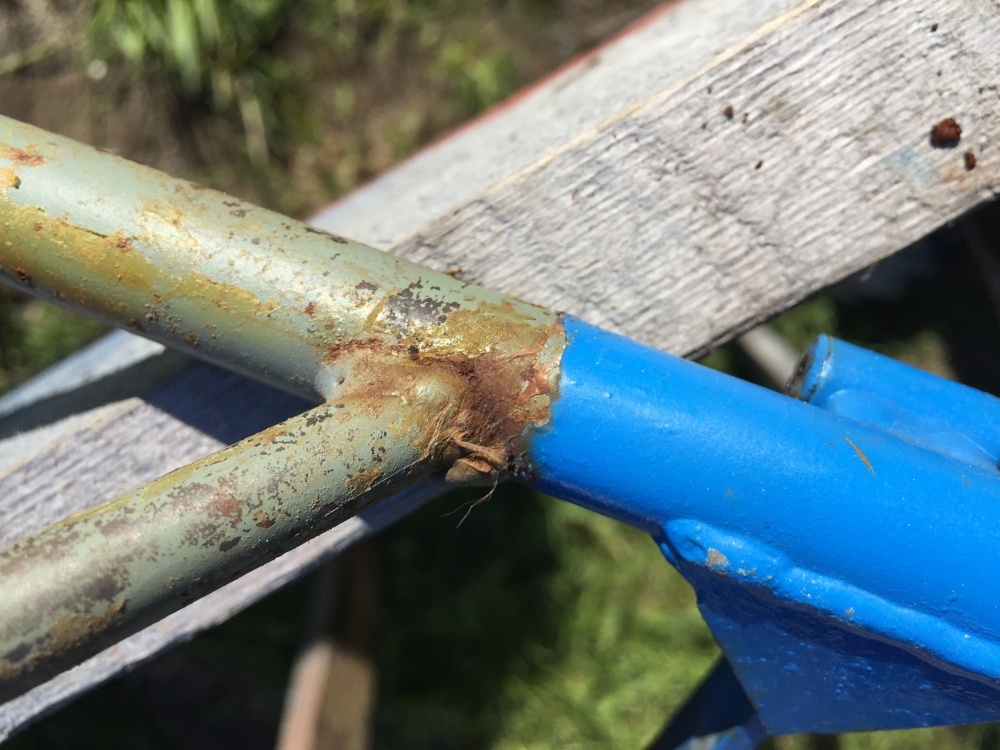
Bringing a Kitfox 1 back to life
in Kitfox I
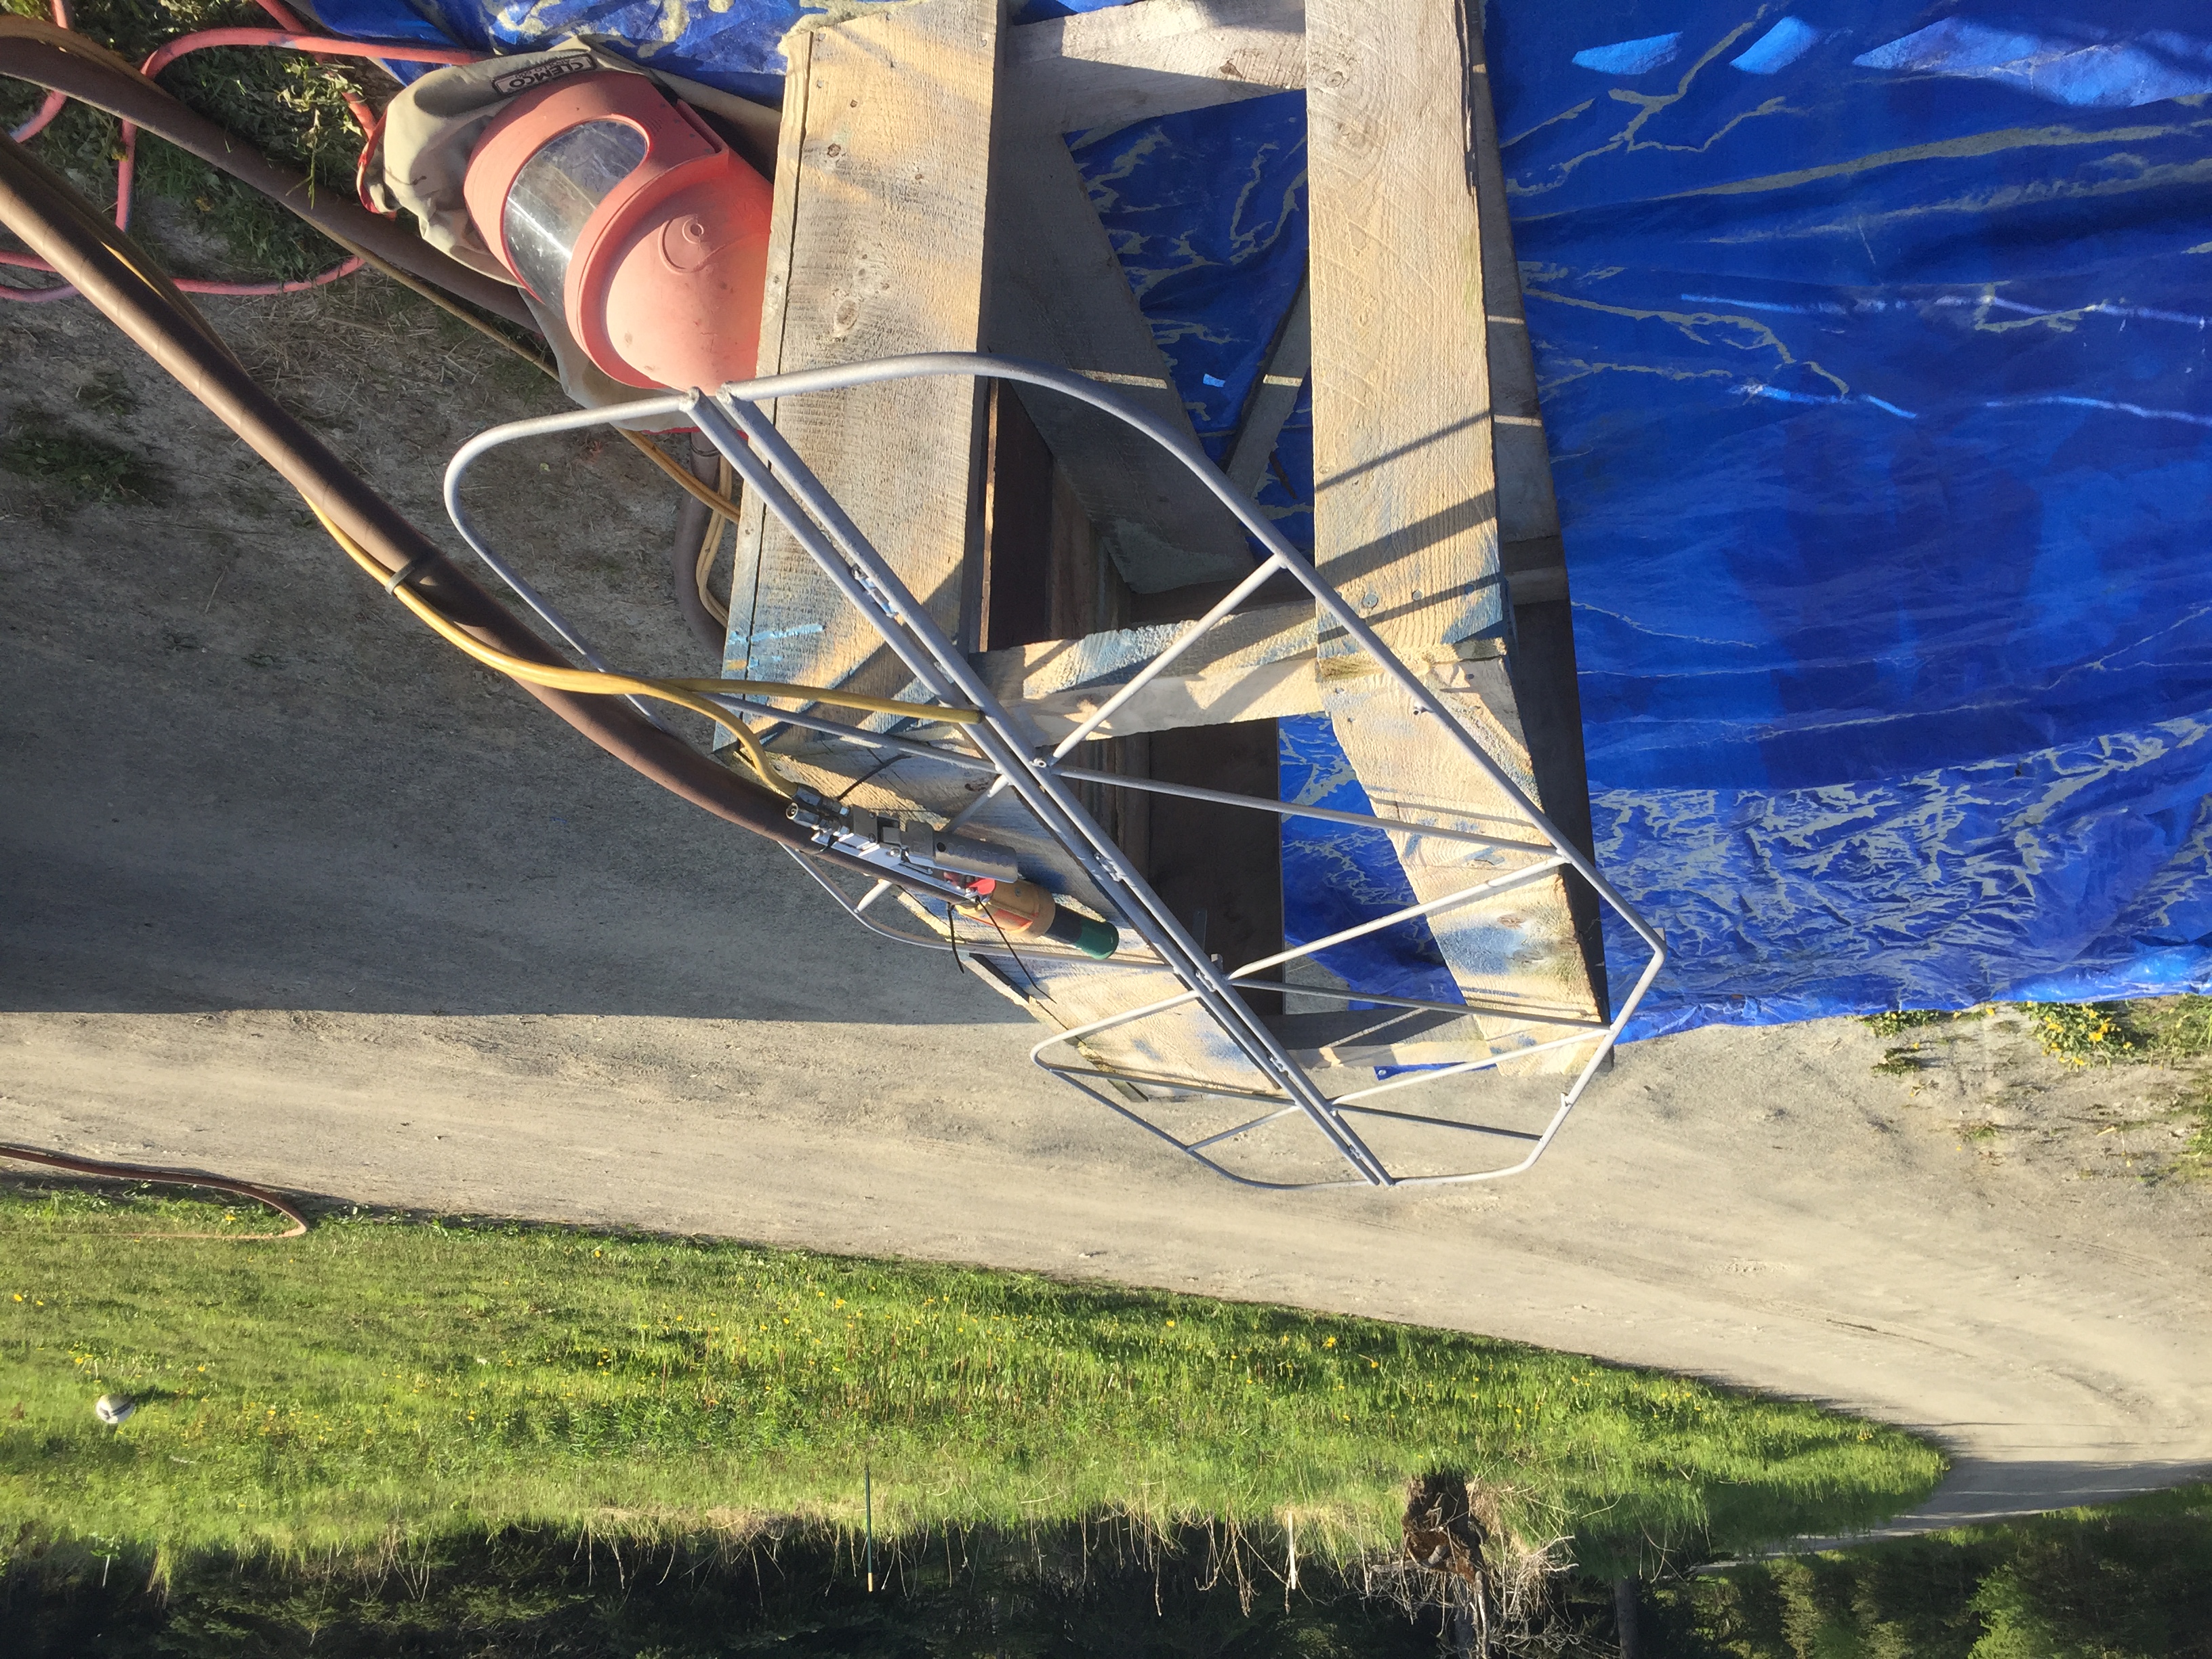
Posted
You might notice the loose hose on the sandblaster in the previous pics. It was loose like that when I first picked it up, but I was still able to use it. I had to shove the hose into the fitting and hold it with one hand while I worked. Good thing it was a small job. It wouldn’t have been hard to fix, if I was inclined to do so, but I made it work like that. I wish people would take better care of things. I made sure the rental company knew about it so they could fix it.