Shipl14
Members-
Content count
39 -
Joined
-
Last visited
Posts posted by Shipl14
-
-
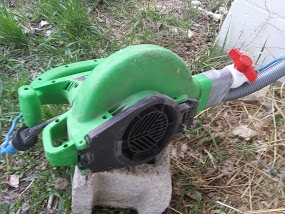
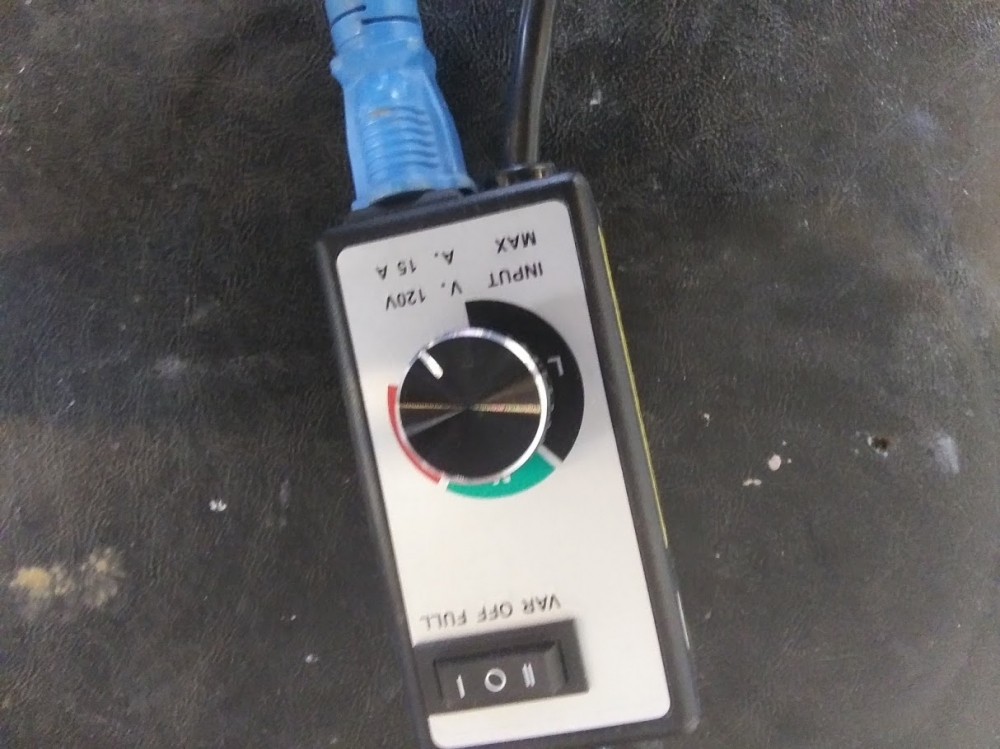
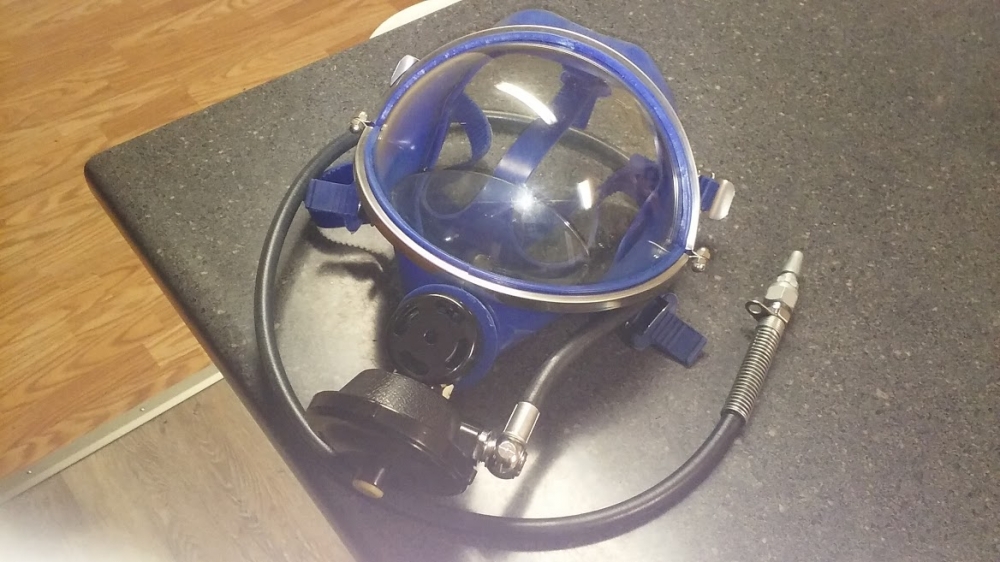
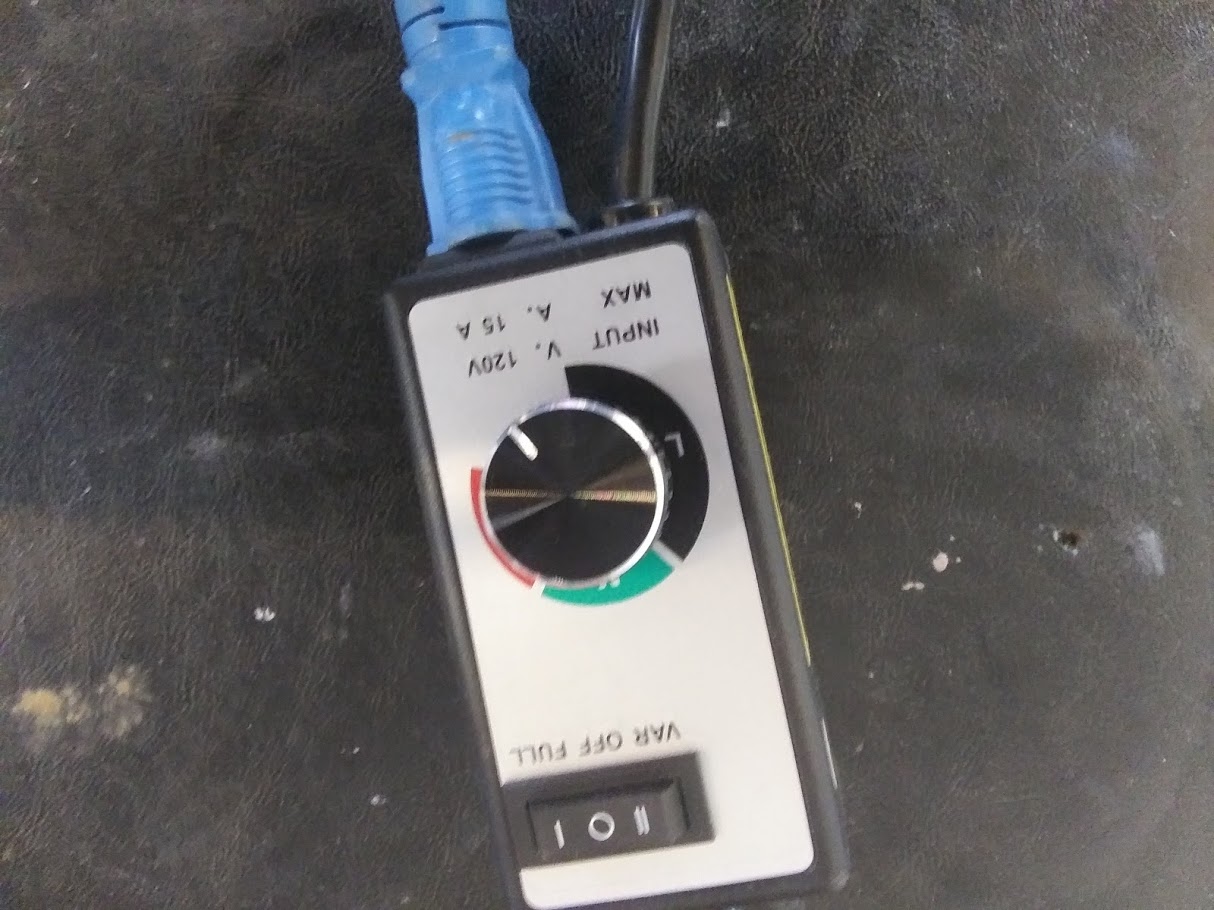
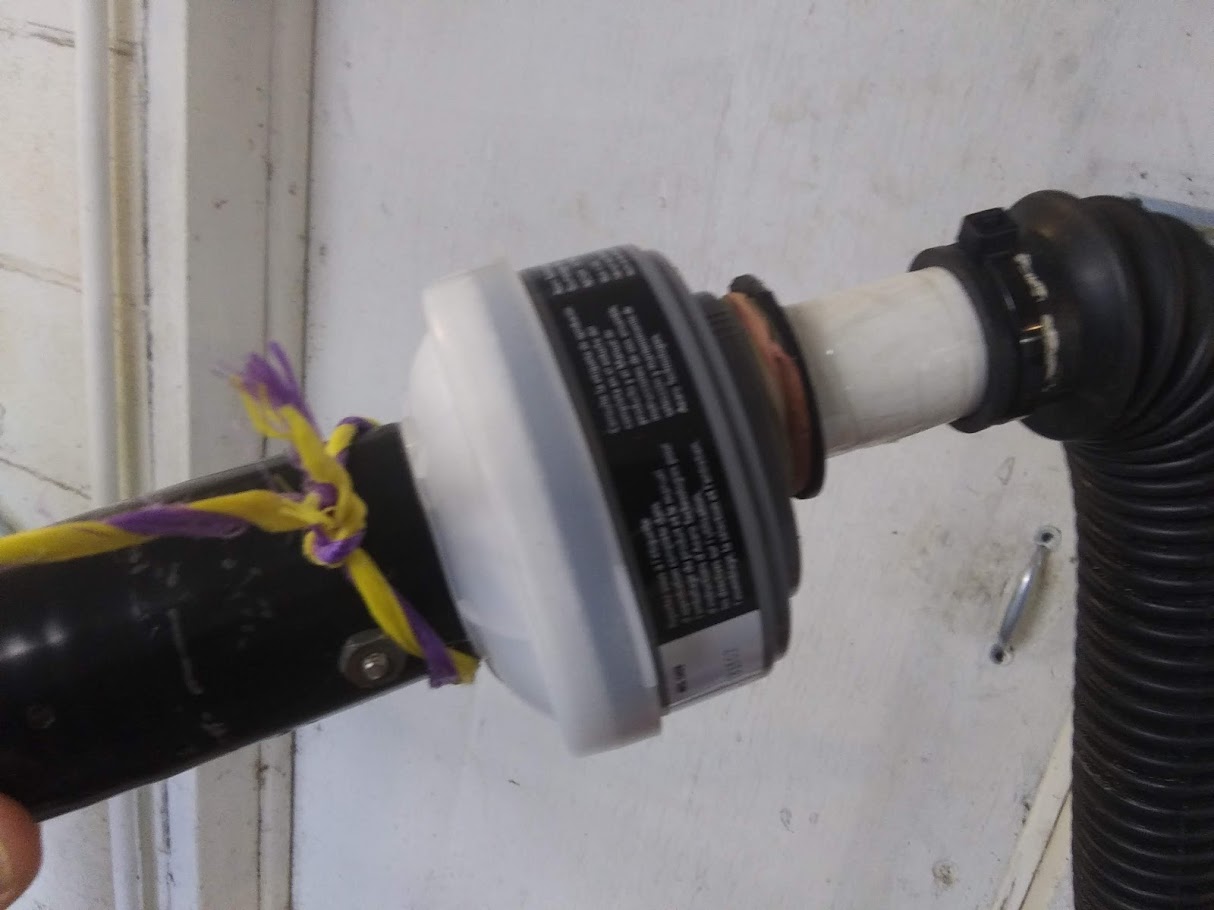
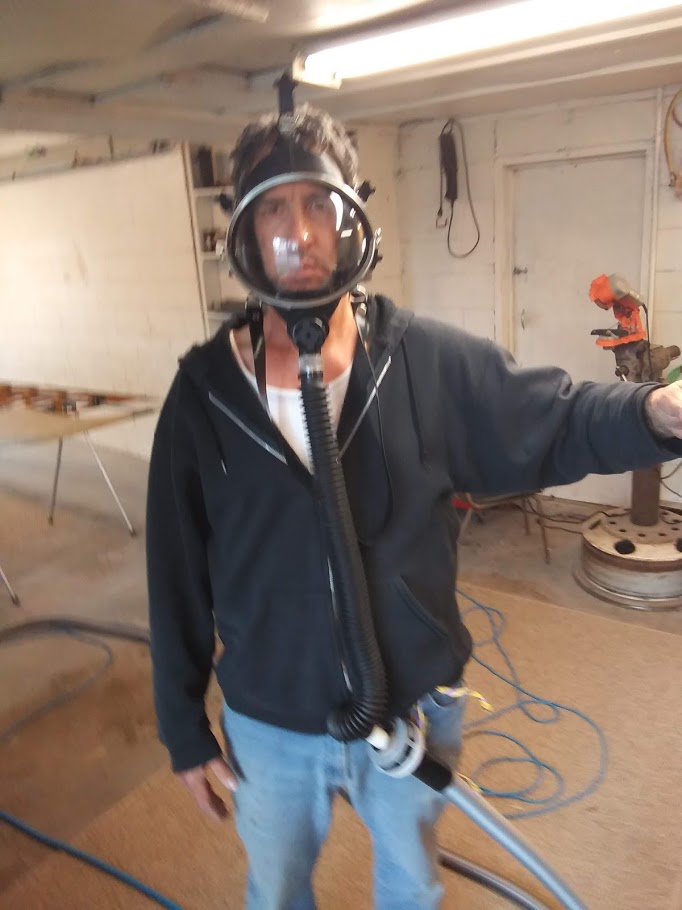
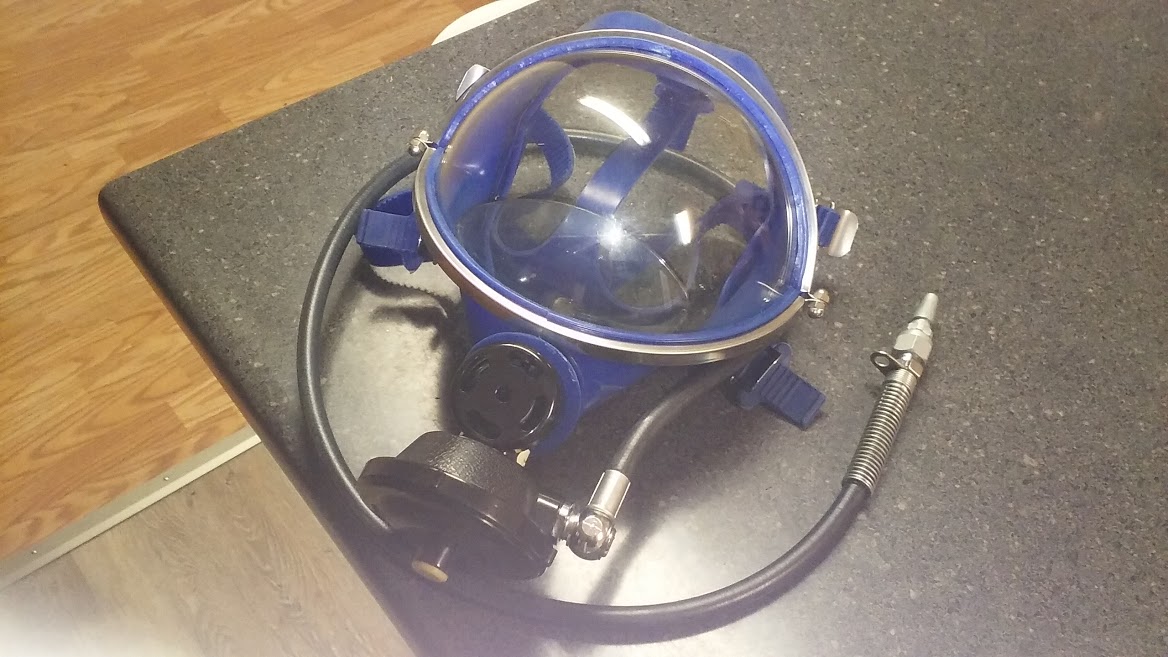
If anyone is interested, this is what I have come up with for a supplied air respirator system. It's an old SCBA mask I bought years ago for something else plus a leaf blower and a long vacuum hose. I got a speed control for the motor from Harbor Freight. I put a respirator filter cartidge in the line just in case the blower pulled in any vapors or whatever. The blower will be outside. The white and red valve is for bypass air, but really doesn't seem necessary. The filter restricts flow quite a bit. I've used it a little for some gluing, but haven't tried it with any Poly Fiber stuff yet. Seems fine so far, except it's a little clumsy dragging the hose around. I set the speed at just enough to keep the glass from fogging. The air coming in is kind of cold, but will be better in warmer weather. Actully, a little cool air could be nice in hot weather. I'm thinking of using helmet tear offs for the visor when I'm spraying paint.

 3 people like this
 -
So I'm thinking of towing nose first. Any reason not to? (Yes I know loading is easier tail first).
-
When you guys tow tail first, do you brace the elevator/rudder with something?
-
Why? Do it by the book
-
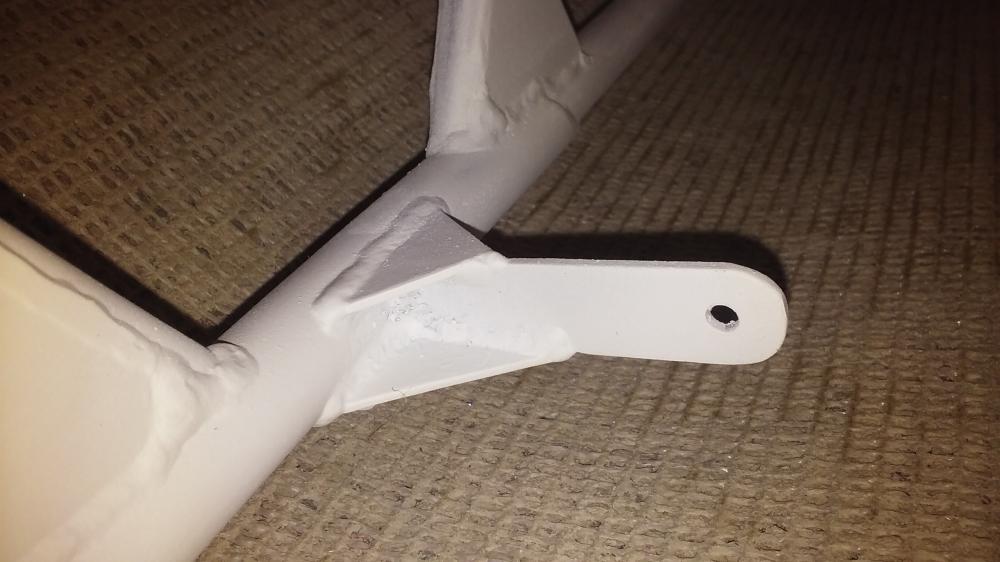
Very cool. Is that the approved attachment point for the bungees?
-
I'll check it out for everybody at my place. Shouldn't take more than a few months.
1 person likes this -
I've been using an old cartridge style respirator while working with the Poly Fiber stuff. Still get quite a bit of vapors. I've got an old SCBA unit I'm considering modifying into a supplied air mask. I have a Craftsman oilless compressor and a regulator. Anybody tried anything like that?
-
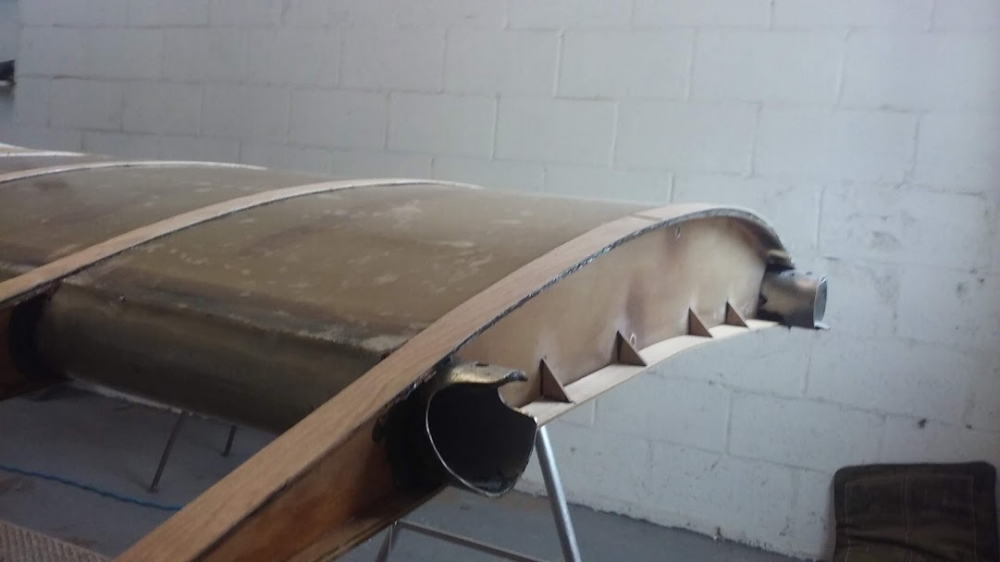
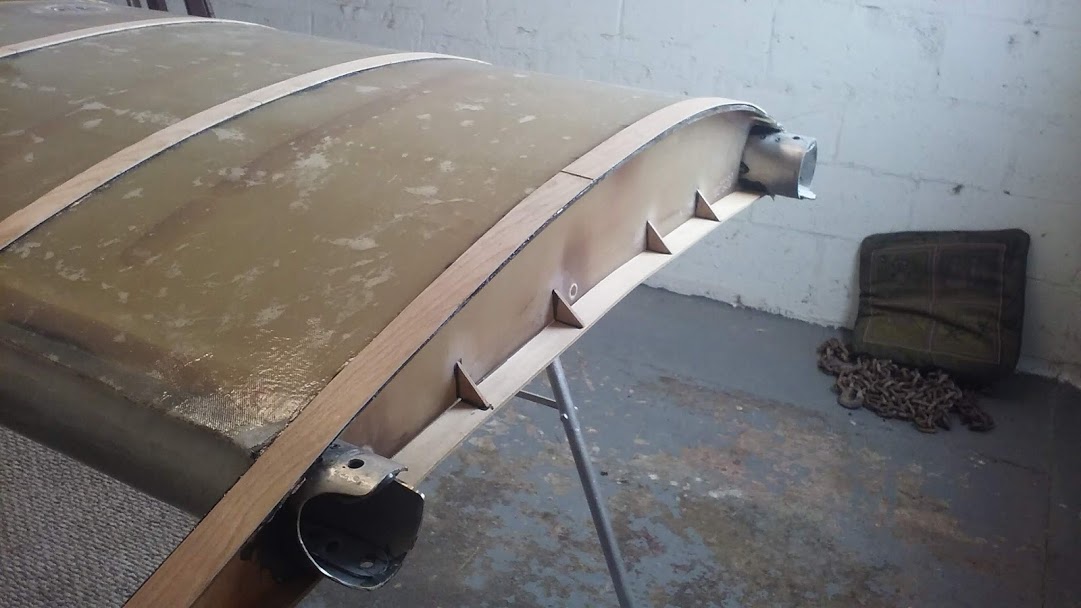
Yes a heat gun. I cut up the tanks and used heat to separate the fiberglass from the spars. I left the outboard end of each tank in the wing for a rib because my new tanks were slightly shorter.
-
Never heard of the flat bottom wing option. Anybody have info?
-
Anybody have good pics of a pitot tube attachment? Want something that can be attached after covering.
-
I talked to a local cabinet maker about having some fairings made. He said he could do it. Haven't heard back yet on the cost.
1 person likes this -
I didn't change the rear parts of the original ribs, except one I replaced. I have clamped the flaperons to the ribtails. Looked fine. Book says don't drill and attach til after covering.
-
TJay got any pics?
-
Never seen an Avid done like that before. Will you have enough room between the wing and butt rib when the wing is in place for flight? Usually the fuel tank forms the end of the wing. JImChuk

Yes I assembled the tanks with the wings on the plane. The rear part of the wing ribs are original.
-
On this same topic, what kind of wood was used in the original fairings? I think I'll just have some made.
-
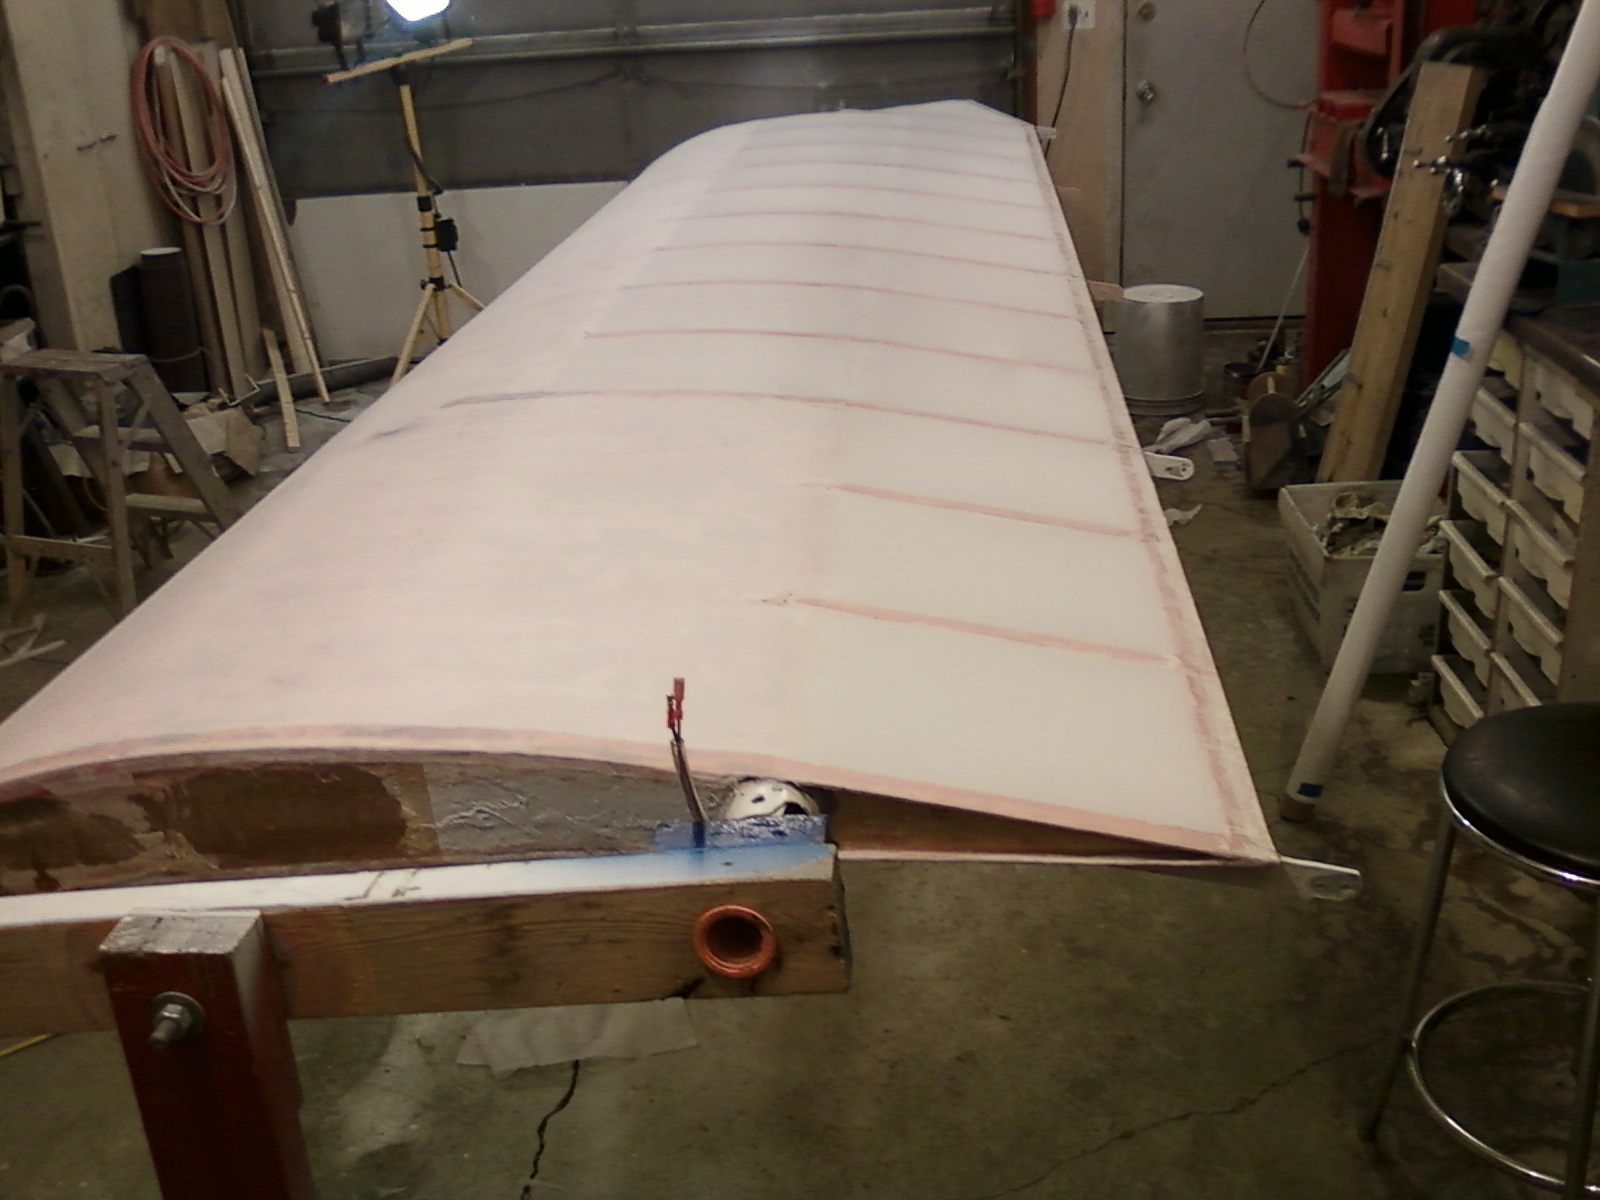
My Mk IV kit came with a wing tank "upgrade" set. The wing root end of the tanks has a flange about 1" deep (on the top only). I extended the bottom of the first rib with a 1/8" plywood strip with gussets glued to the tank. Now considering gluing in some vertical braces up to the top flange so I can stretch the fabric over the butt end of the wing. The fabric will not be glued to the tank except for the plywood rib strips. ( I glued in carbon fiber strips under the plywood for strength). Has anybody installed this type of tank? How did you do the fabric on the butt end?

-
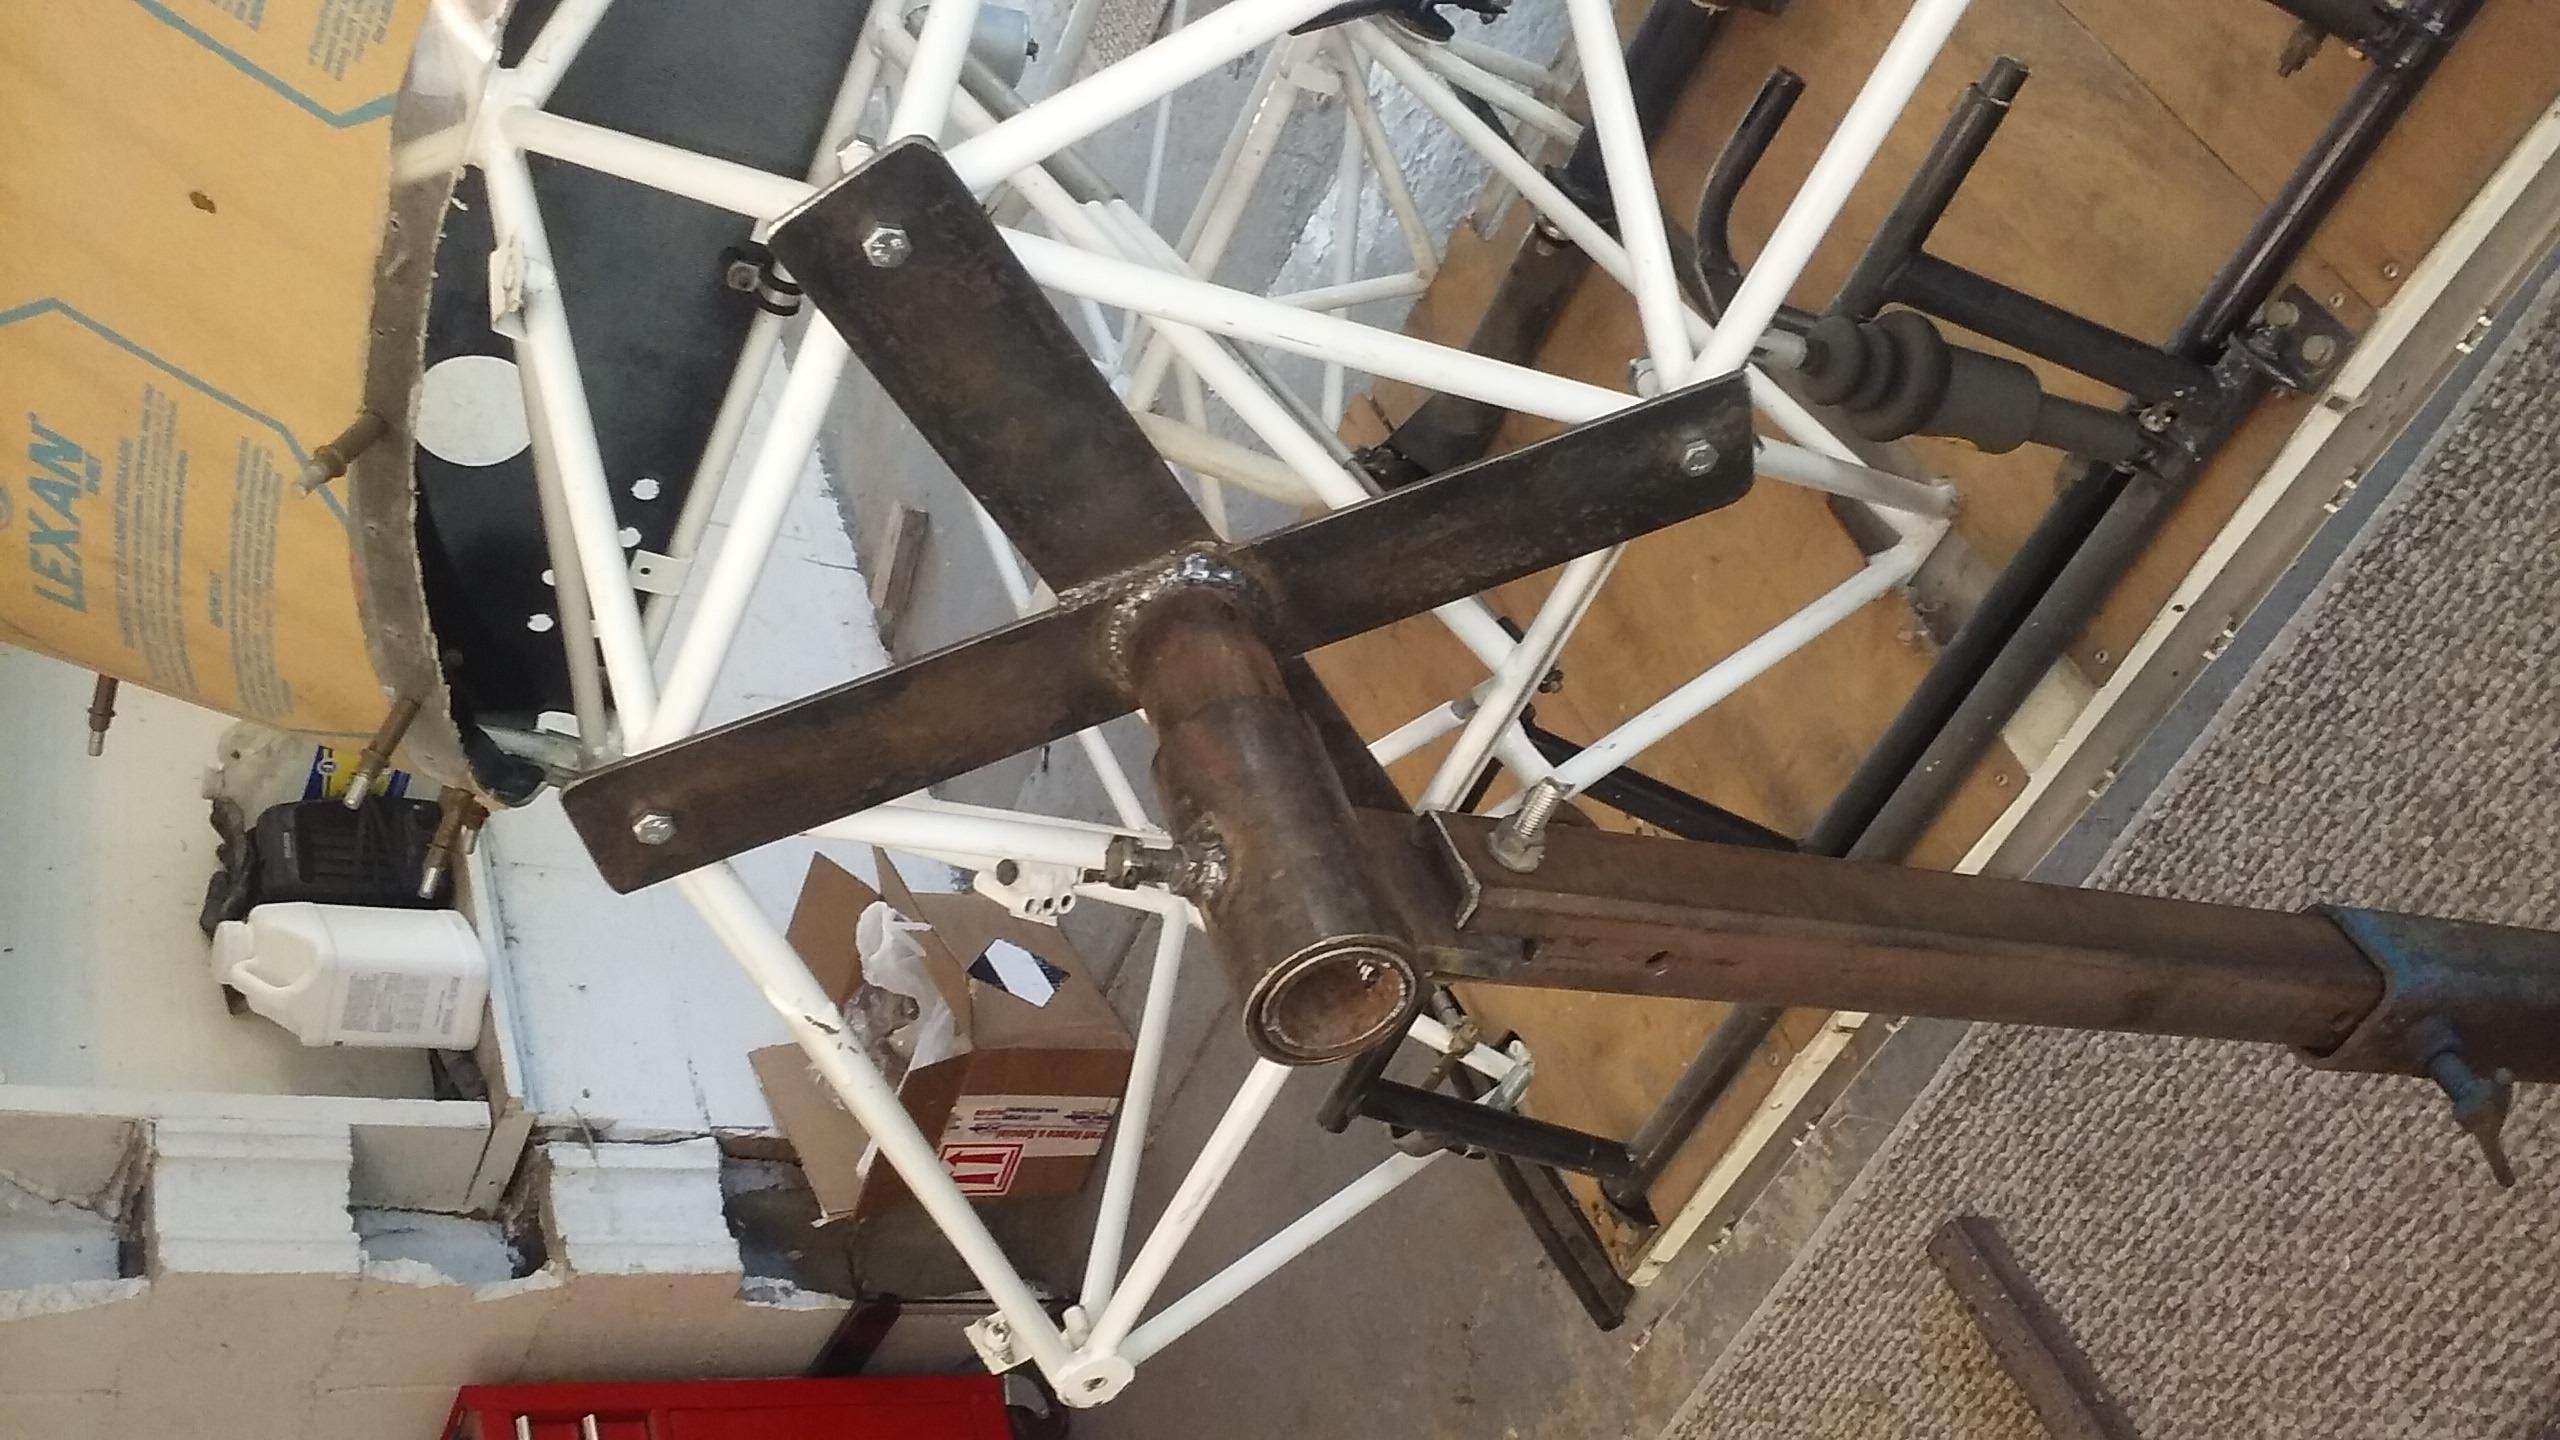
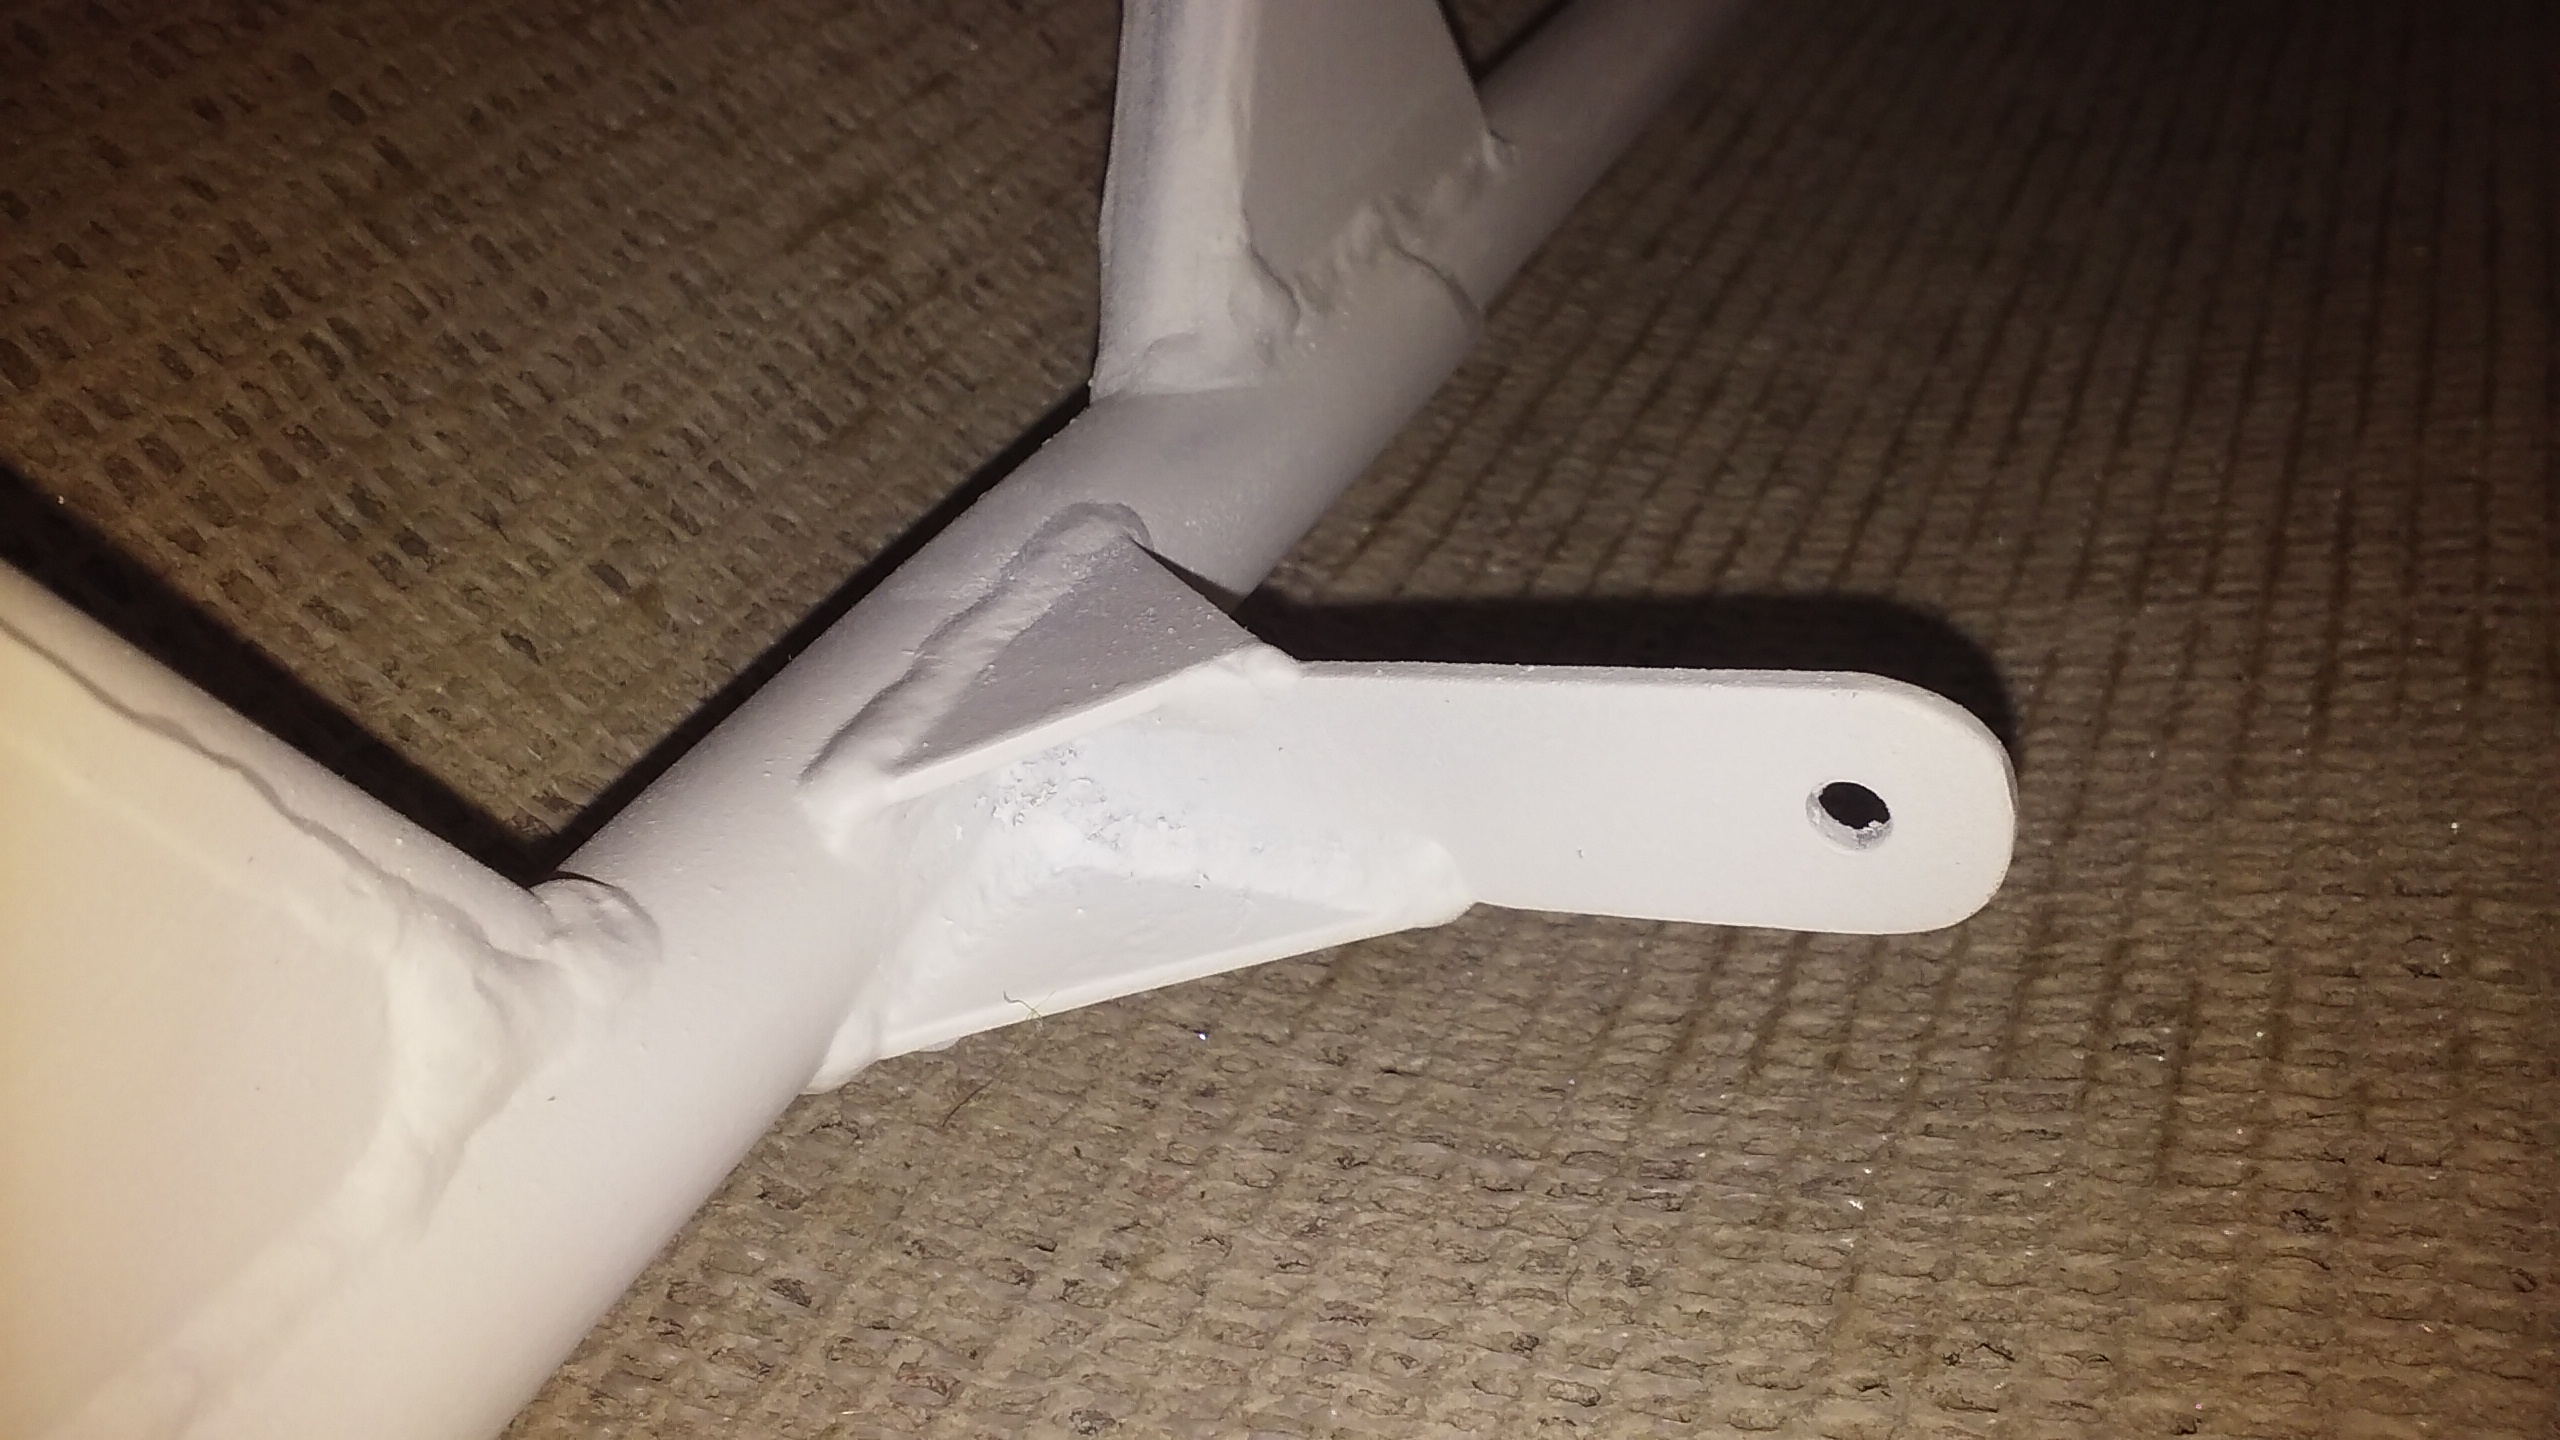
Cracked tube or weld?
-
91.205(c) part 2 - Approved position lights
Also part 3 - anticollision light must be approved (even in day VFR if aircraft is registered after March 11, 1996 )
Unfortunately 'experimental' is not a get out of jail free for this one.
Mark
Paragraph (a) does say standard category airworthiness certificate
-
Someone have a diagram or photo of how to plumb in a parking brake? I assume the brake lines for both wheels would pass through a shutoff of some sort.
Never mind. I went and looked on Spruce. It's all there.
-
Actually I had been considering modifying the rudder pedals to help keep my feet in the right spot.
-

 2 people like this
 -
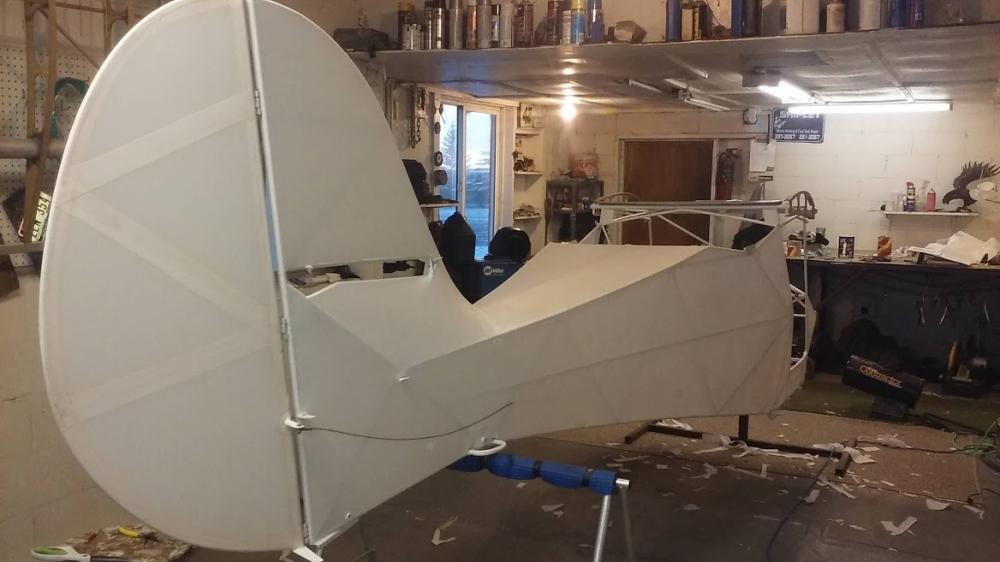
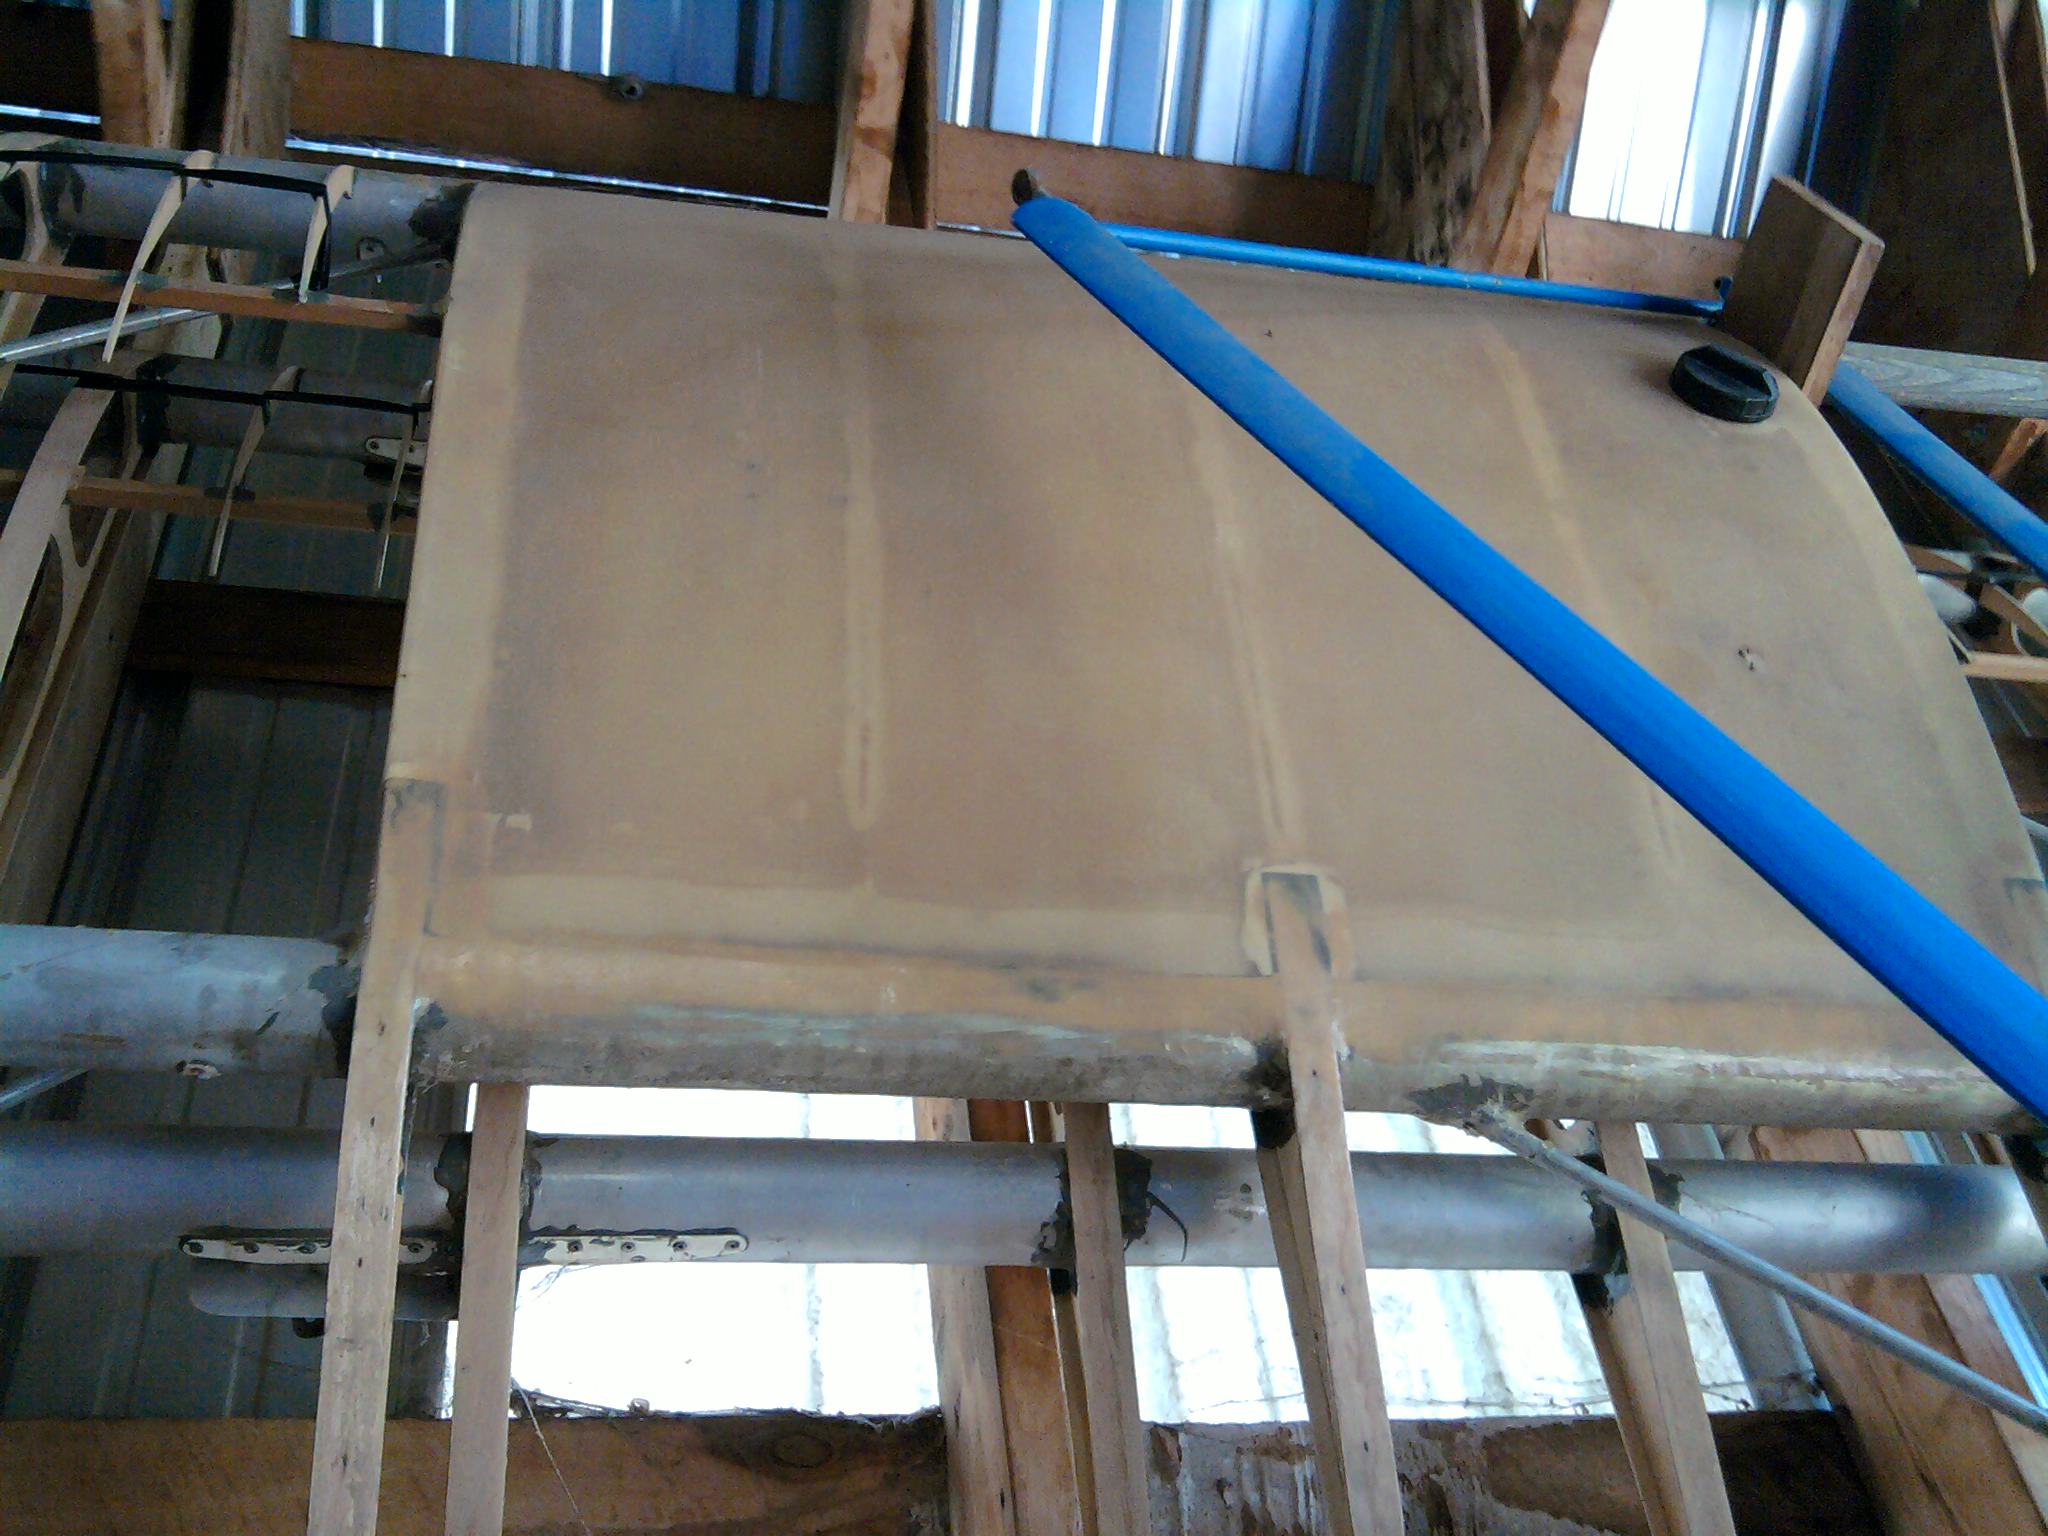
Like to see a photo of the turtle deck
-
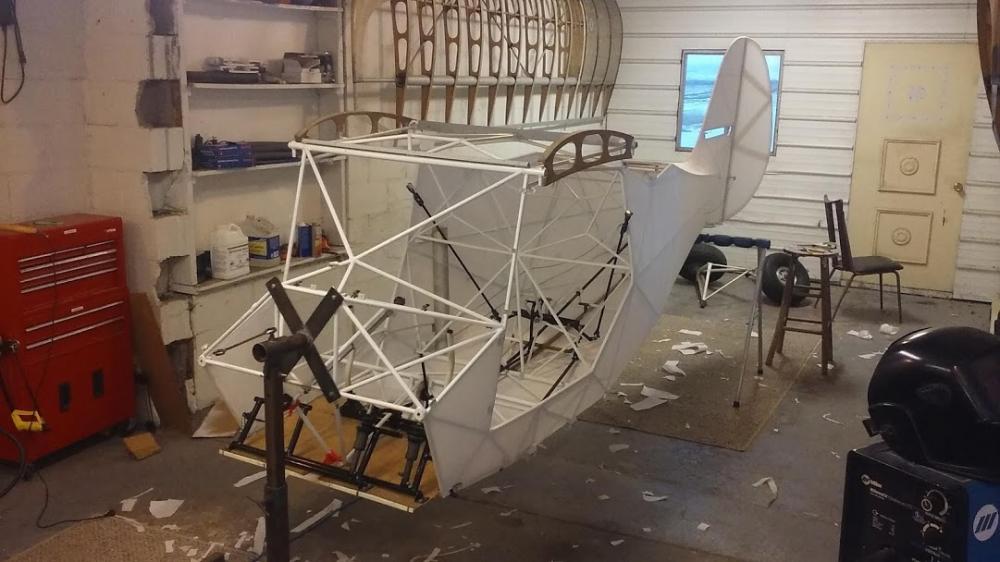
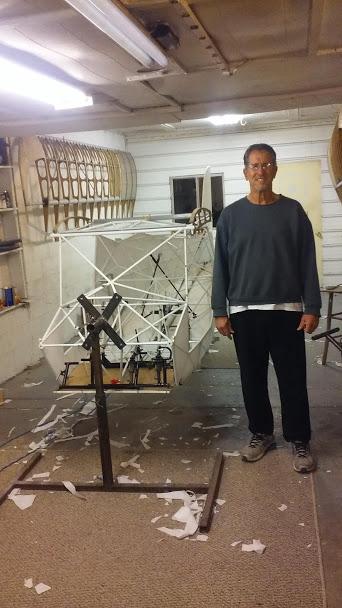
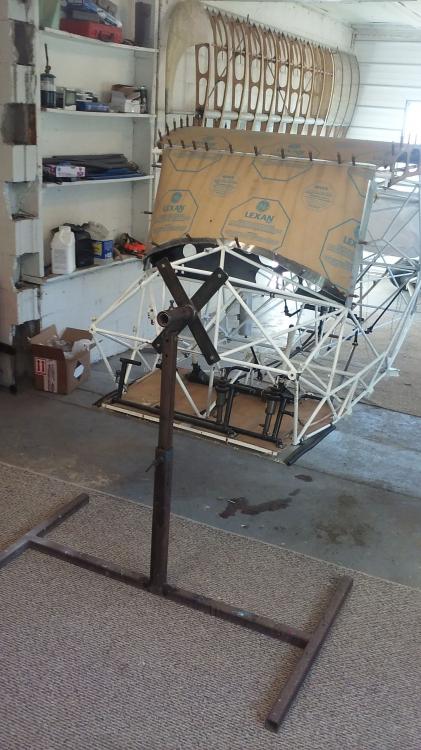
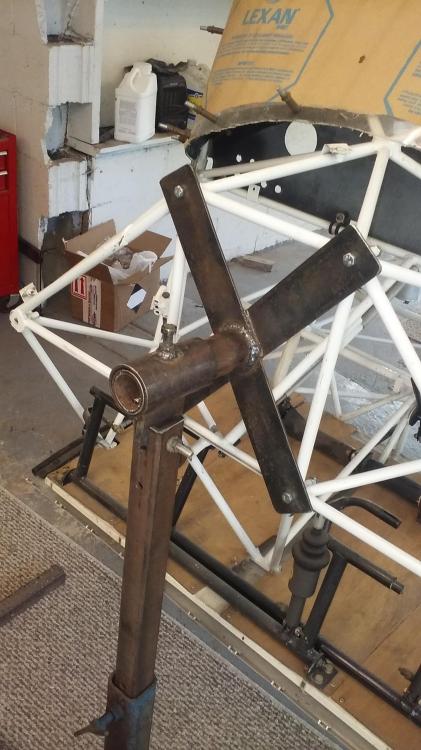
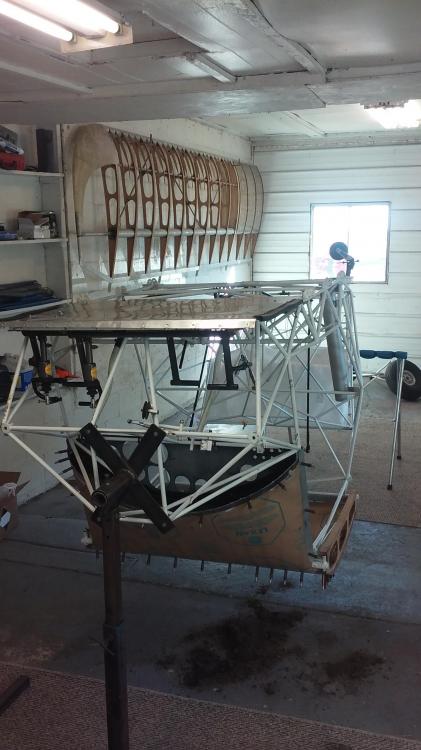
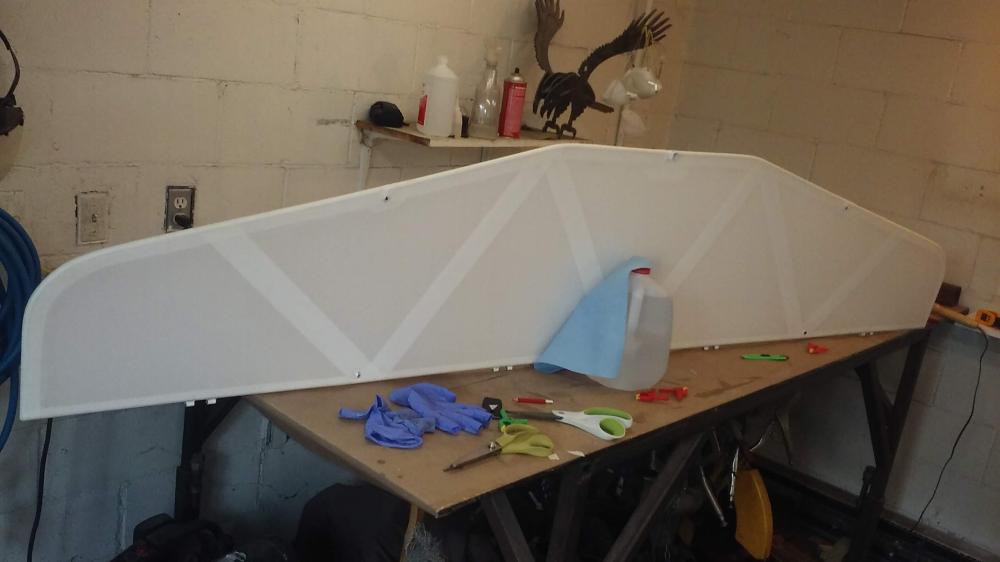
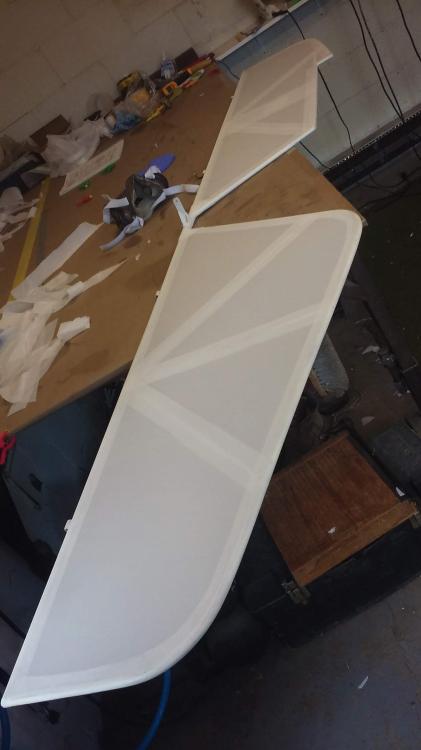
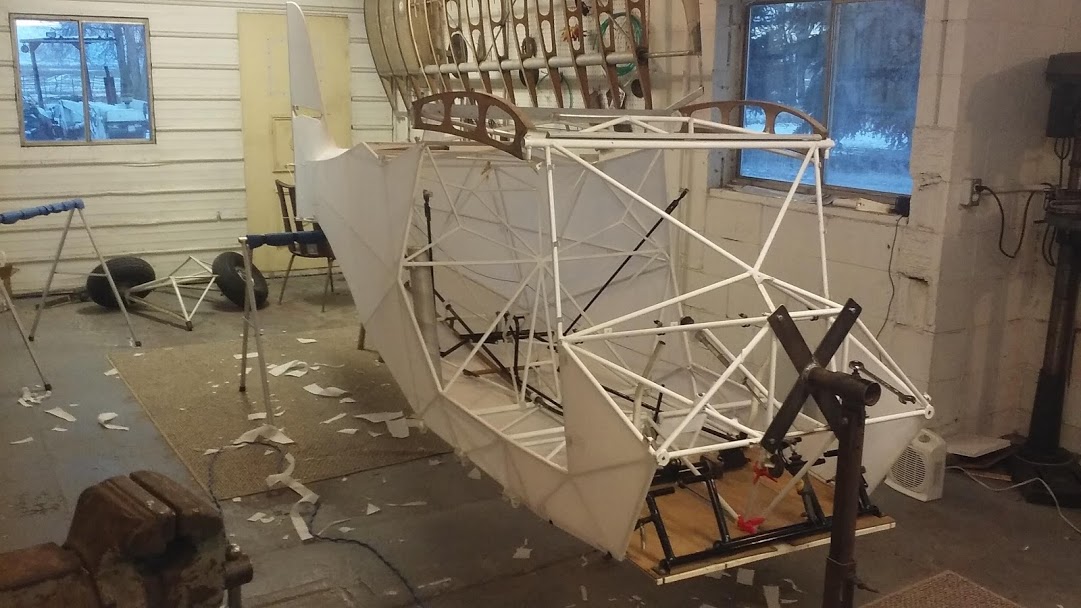
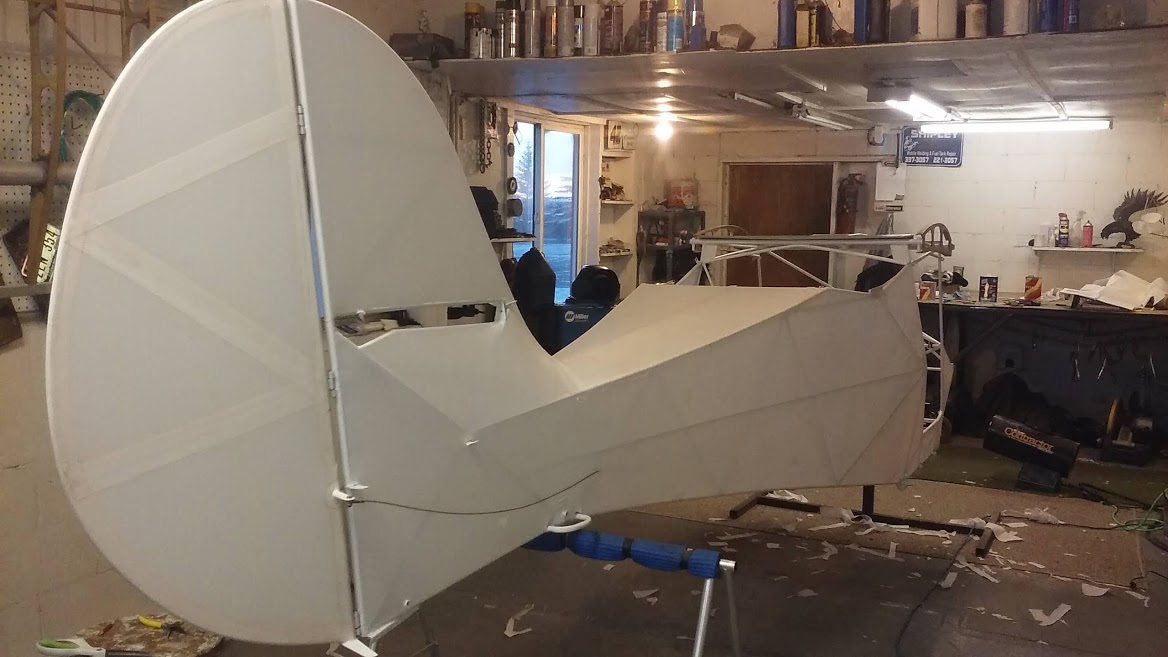
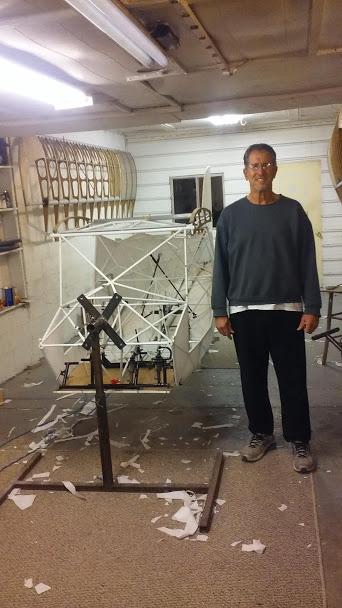
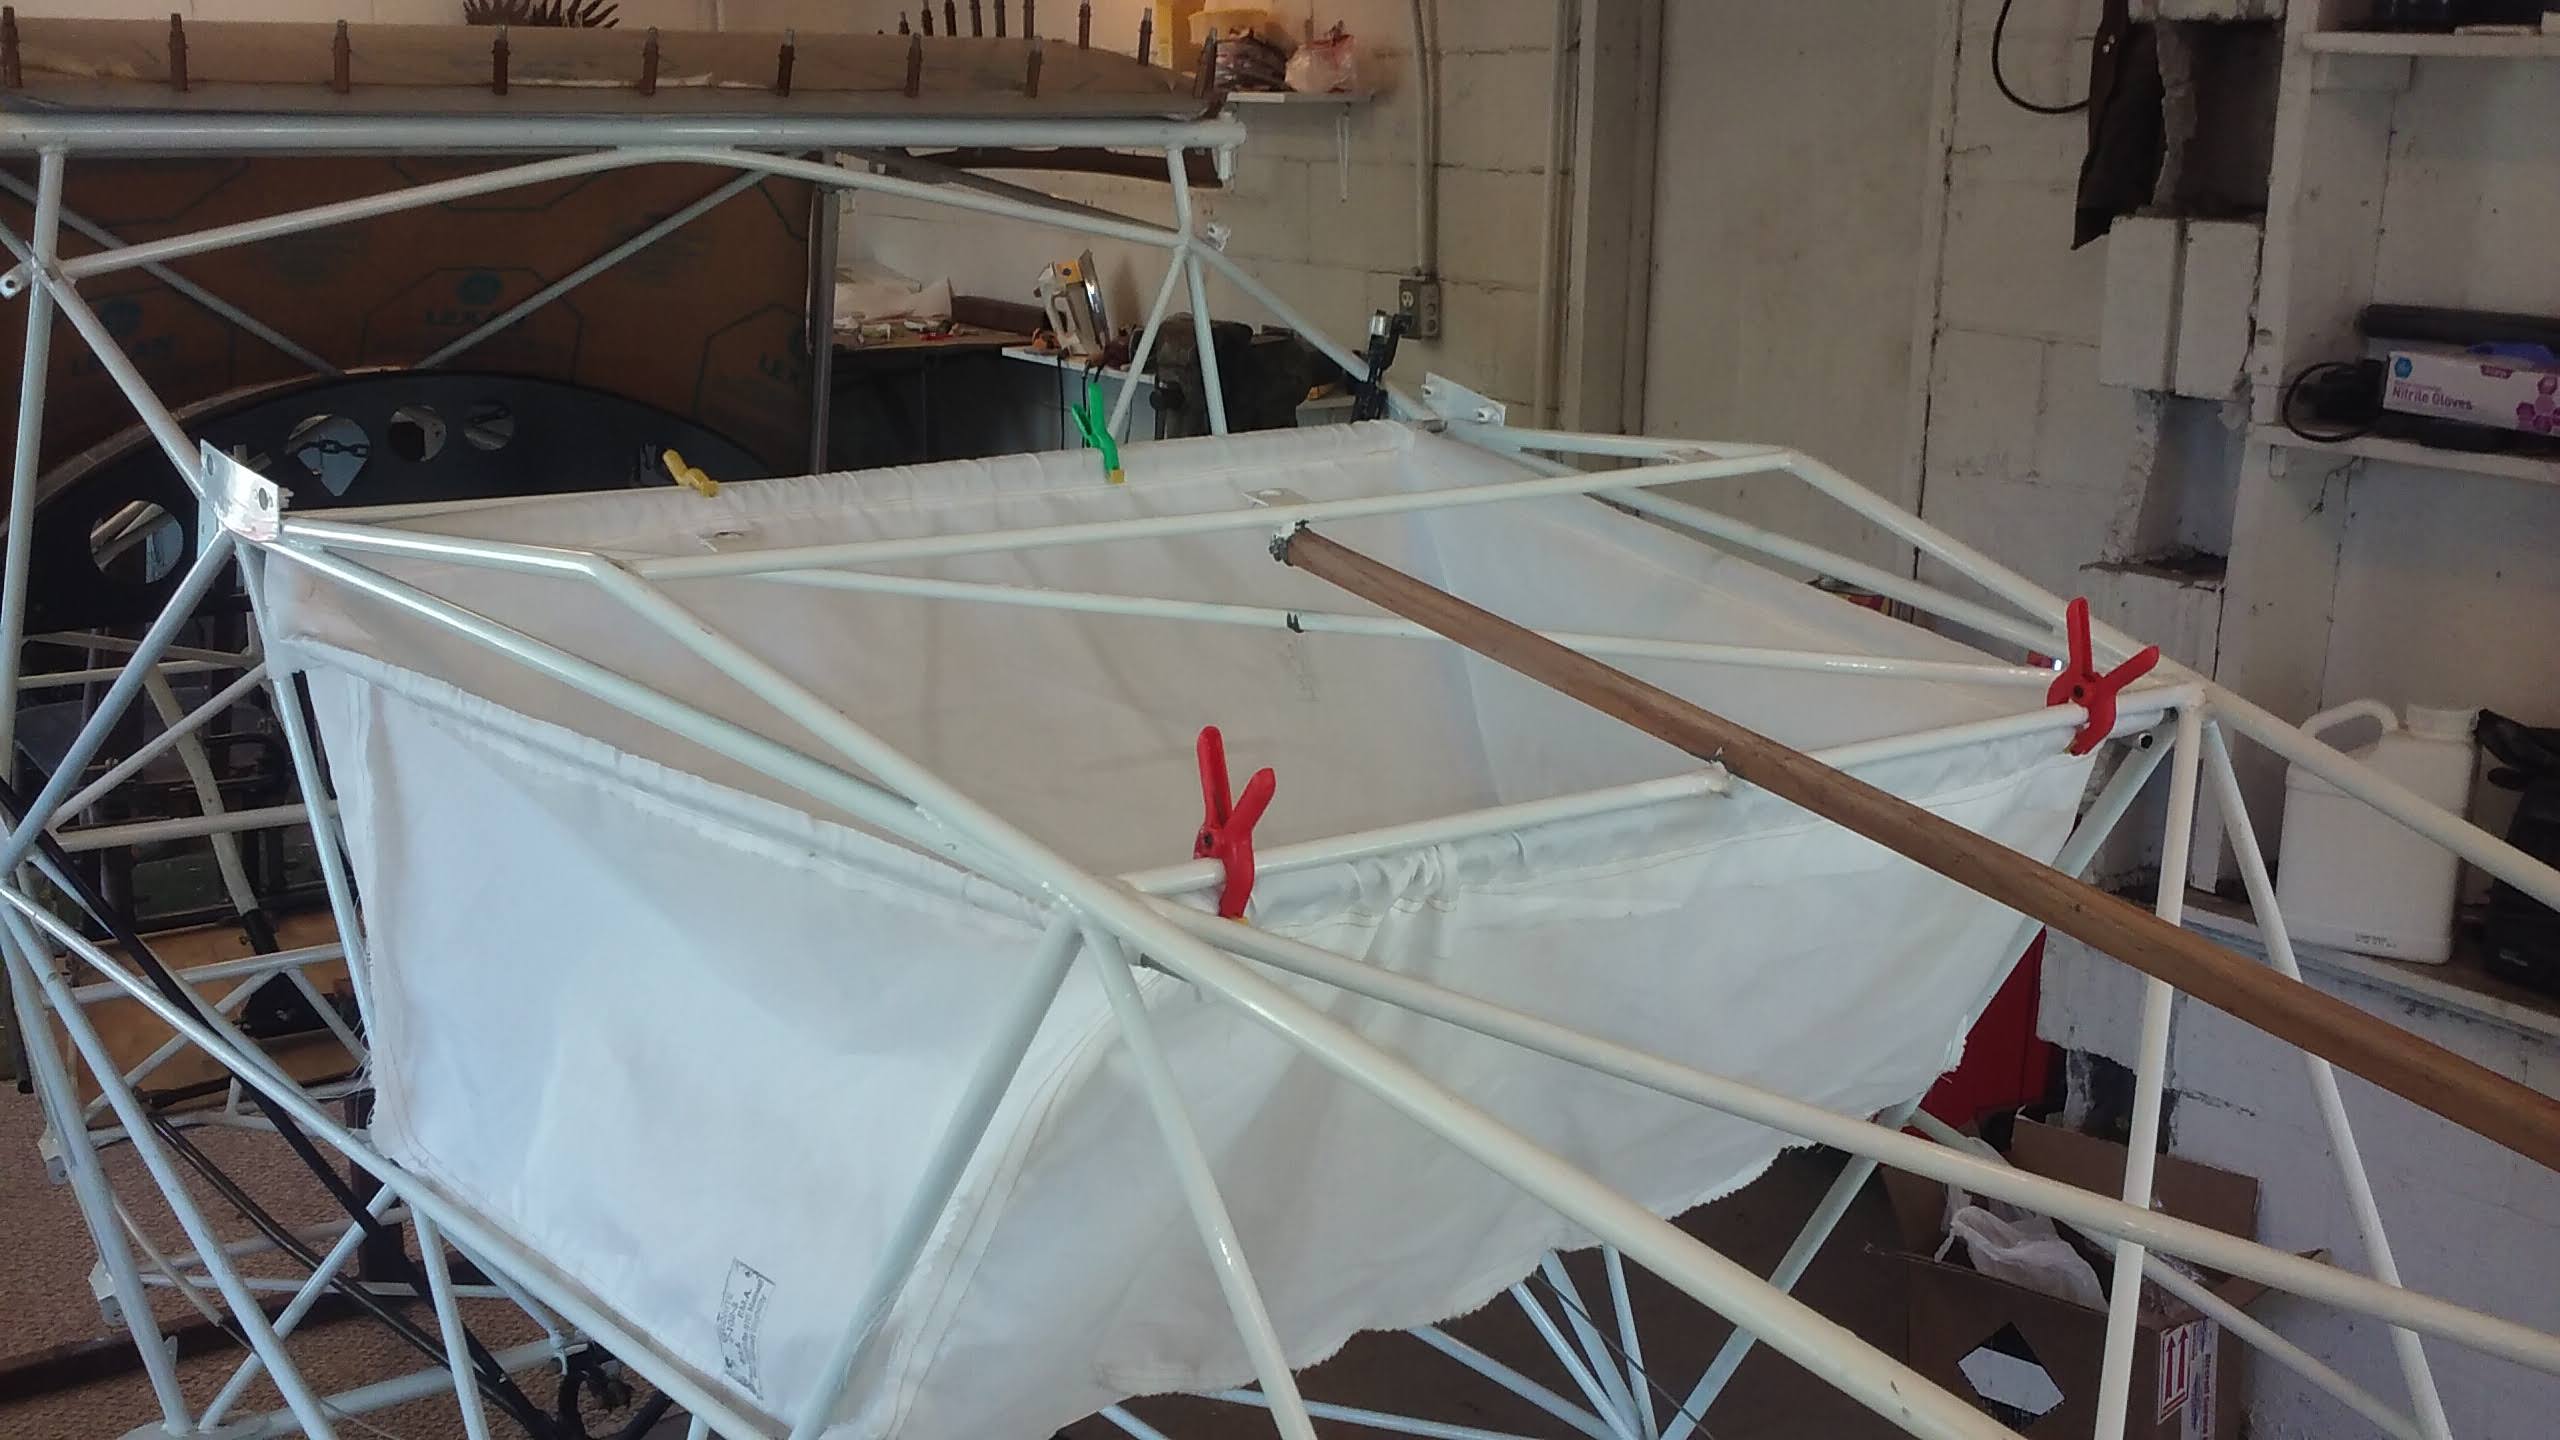
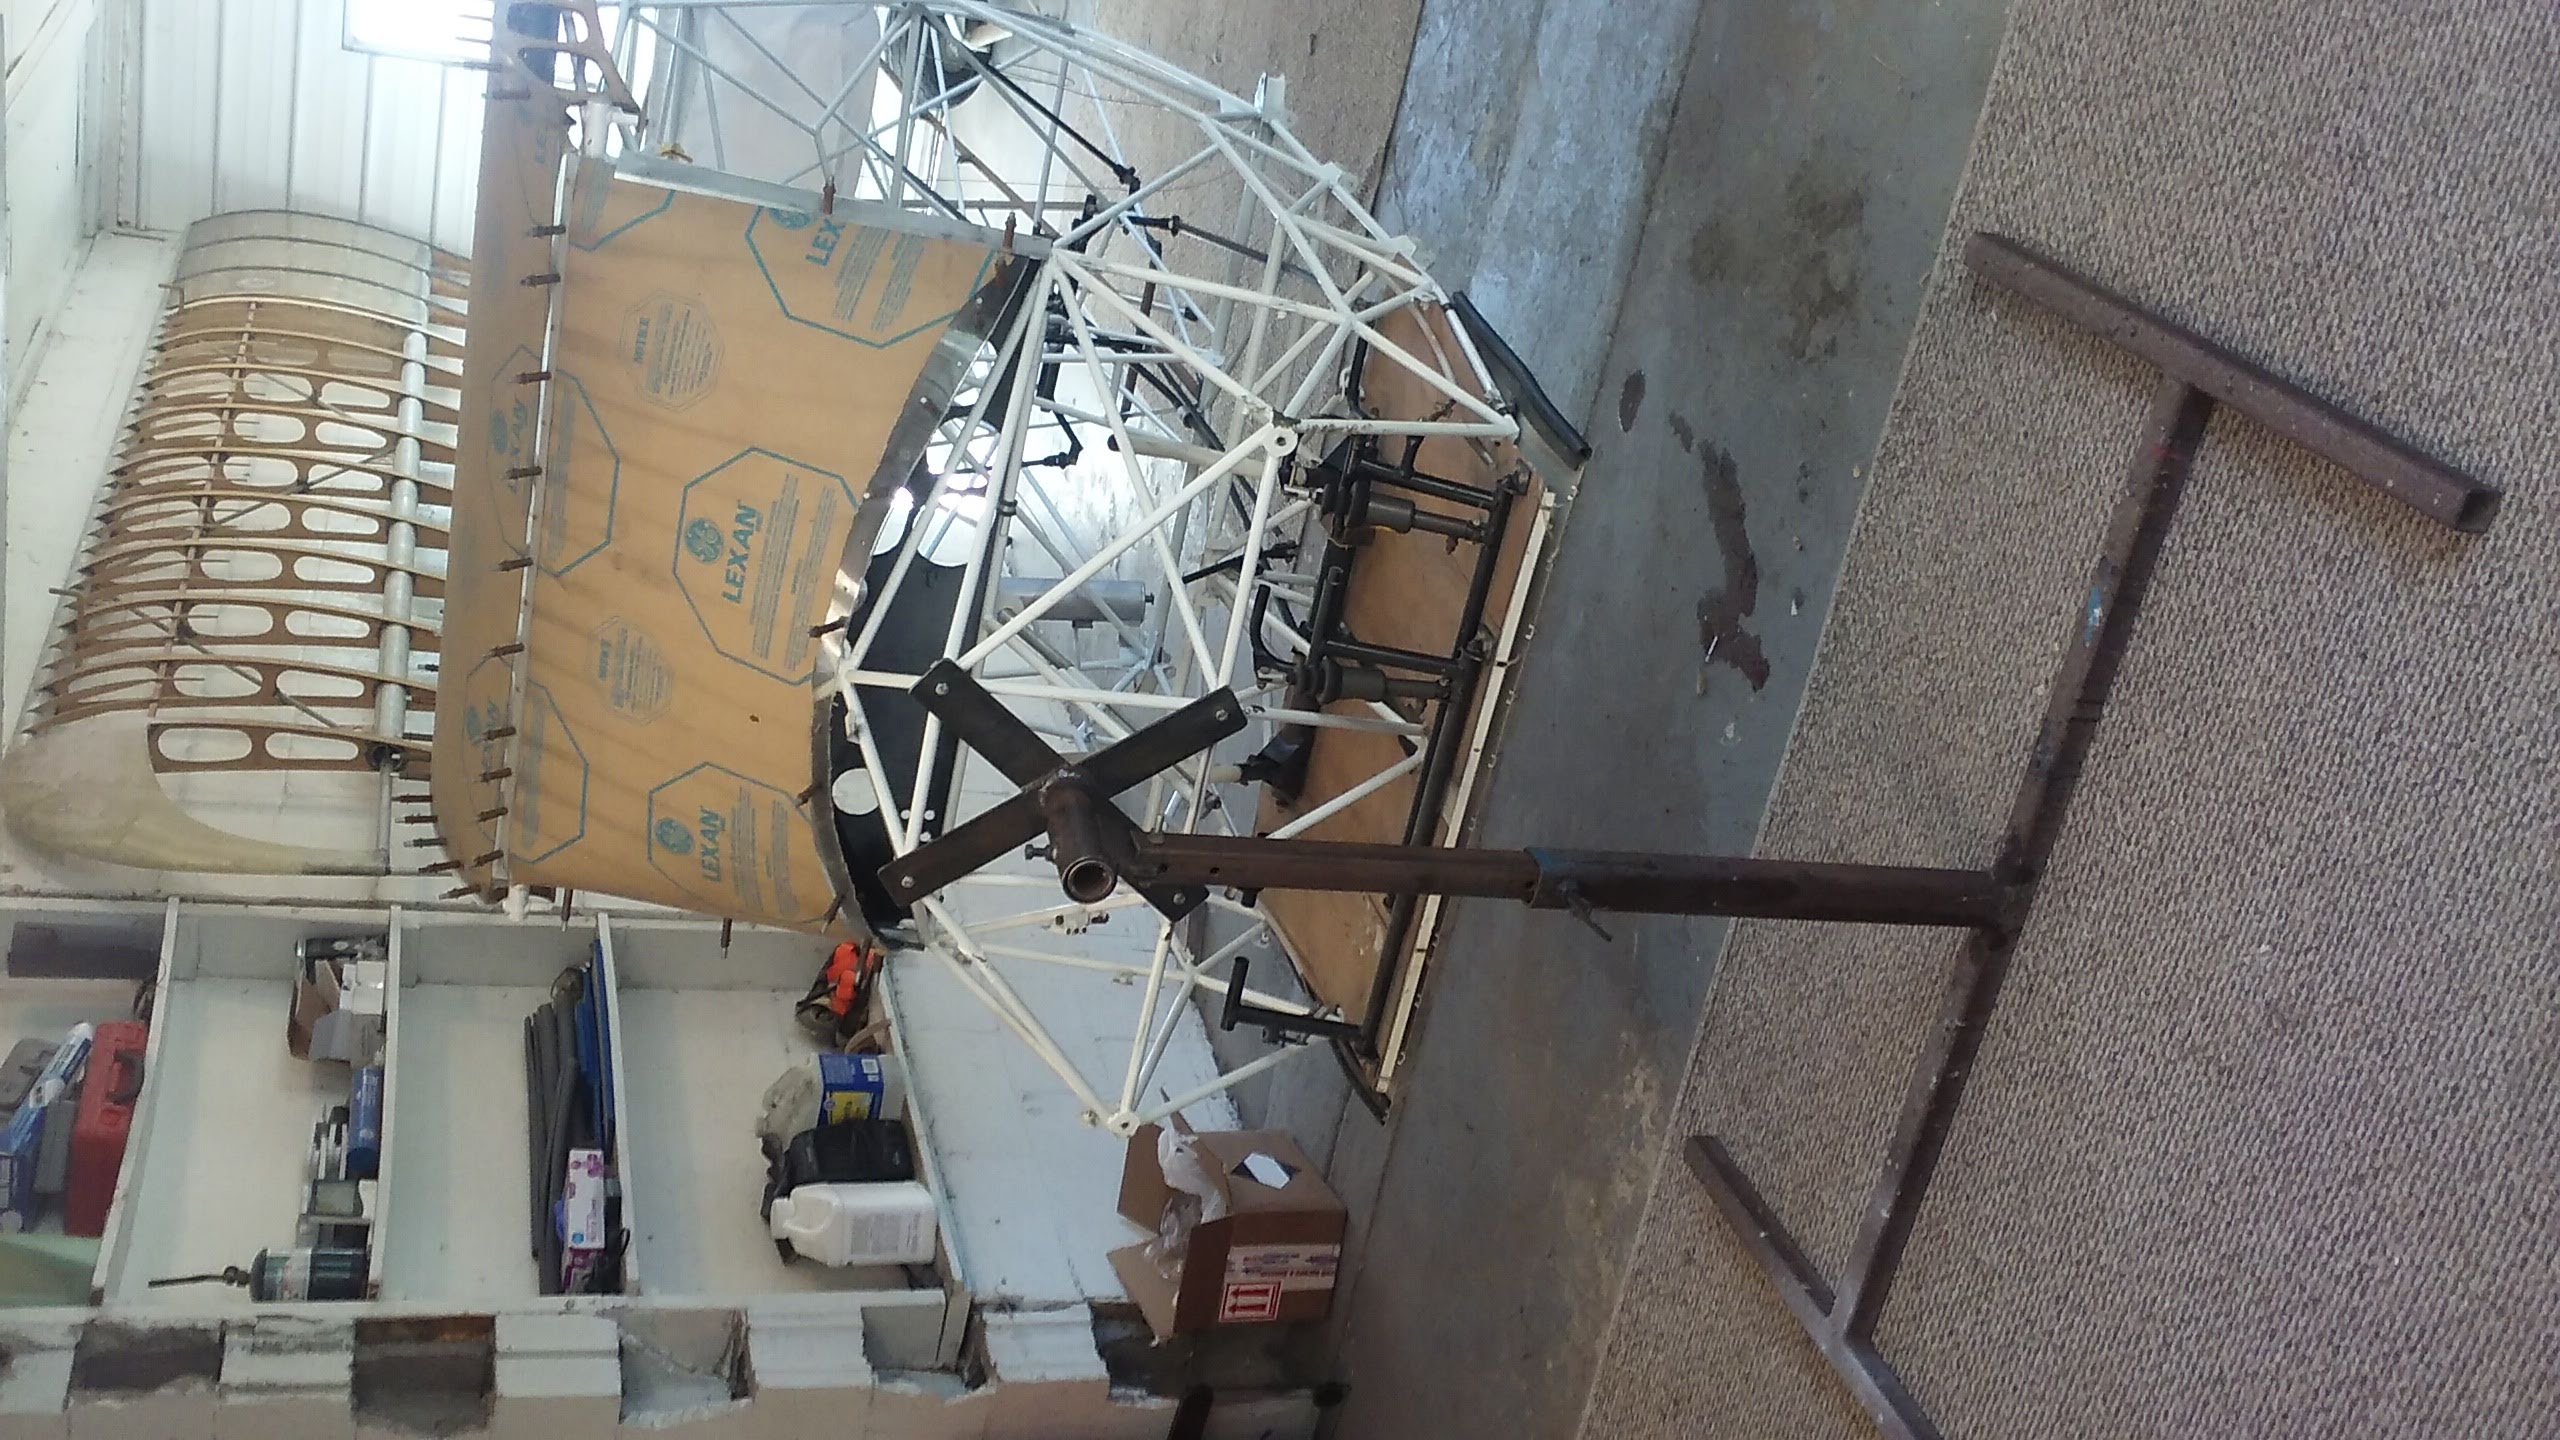
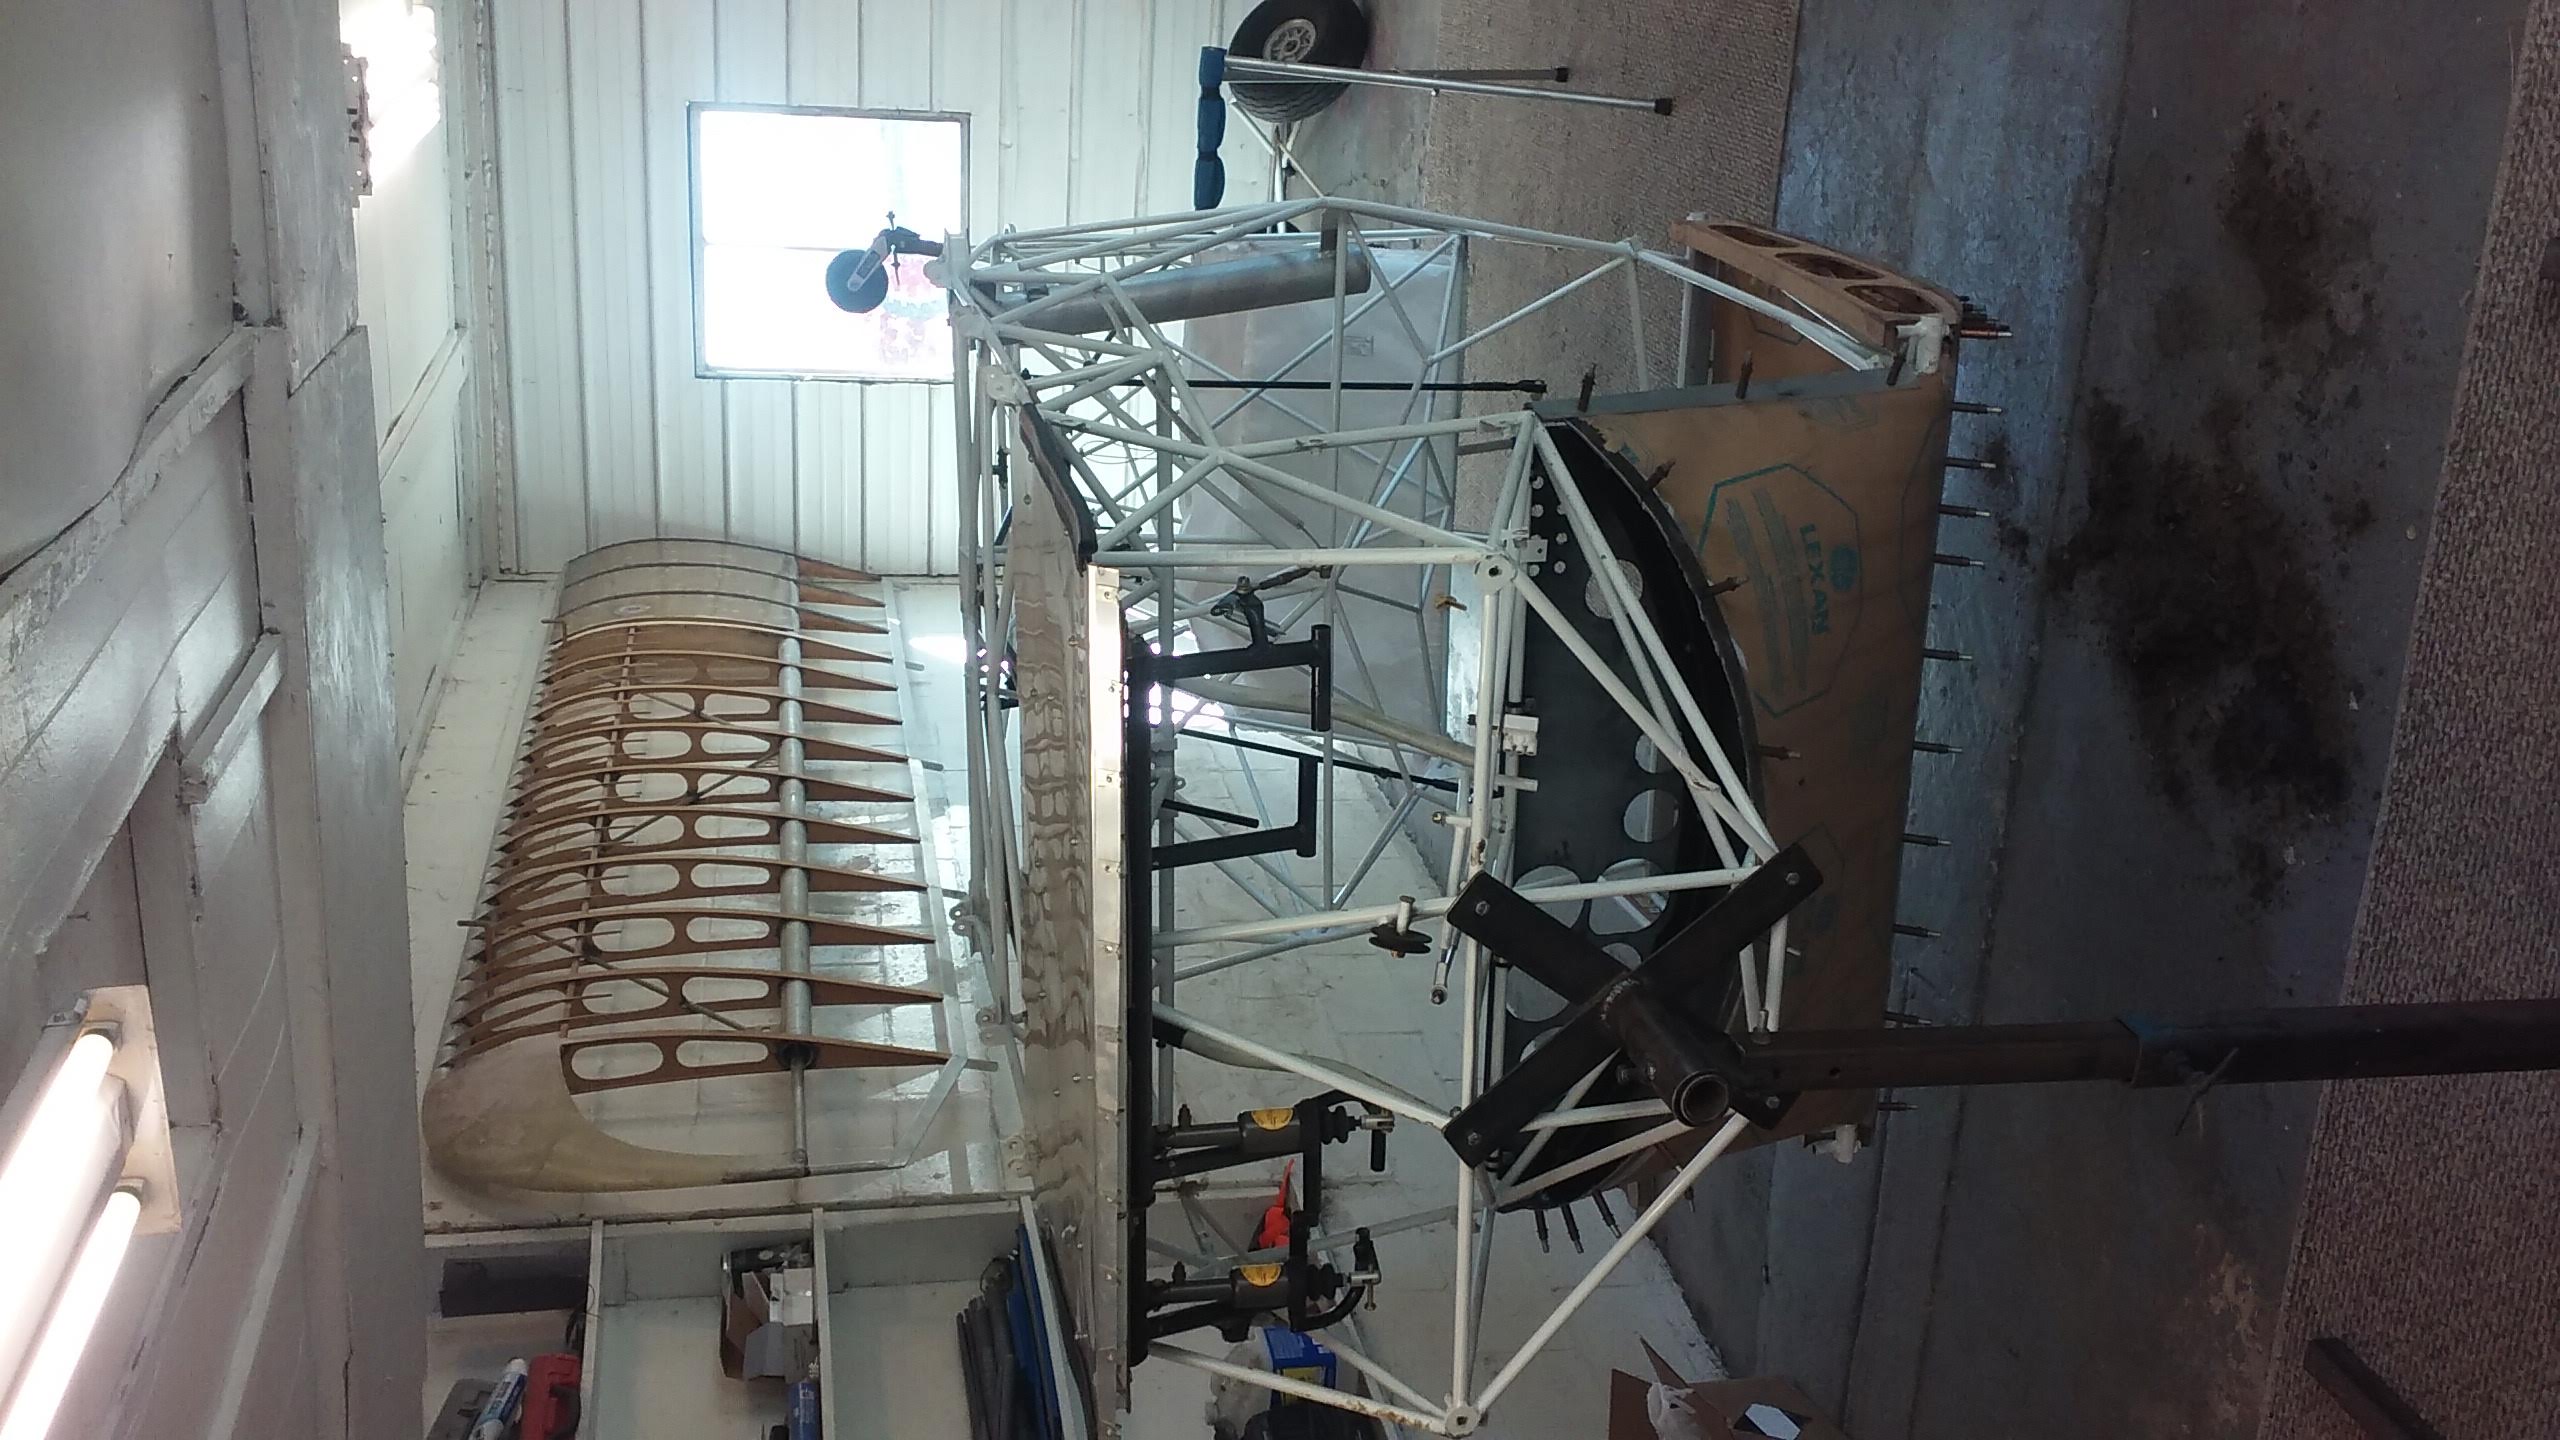
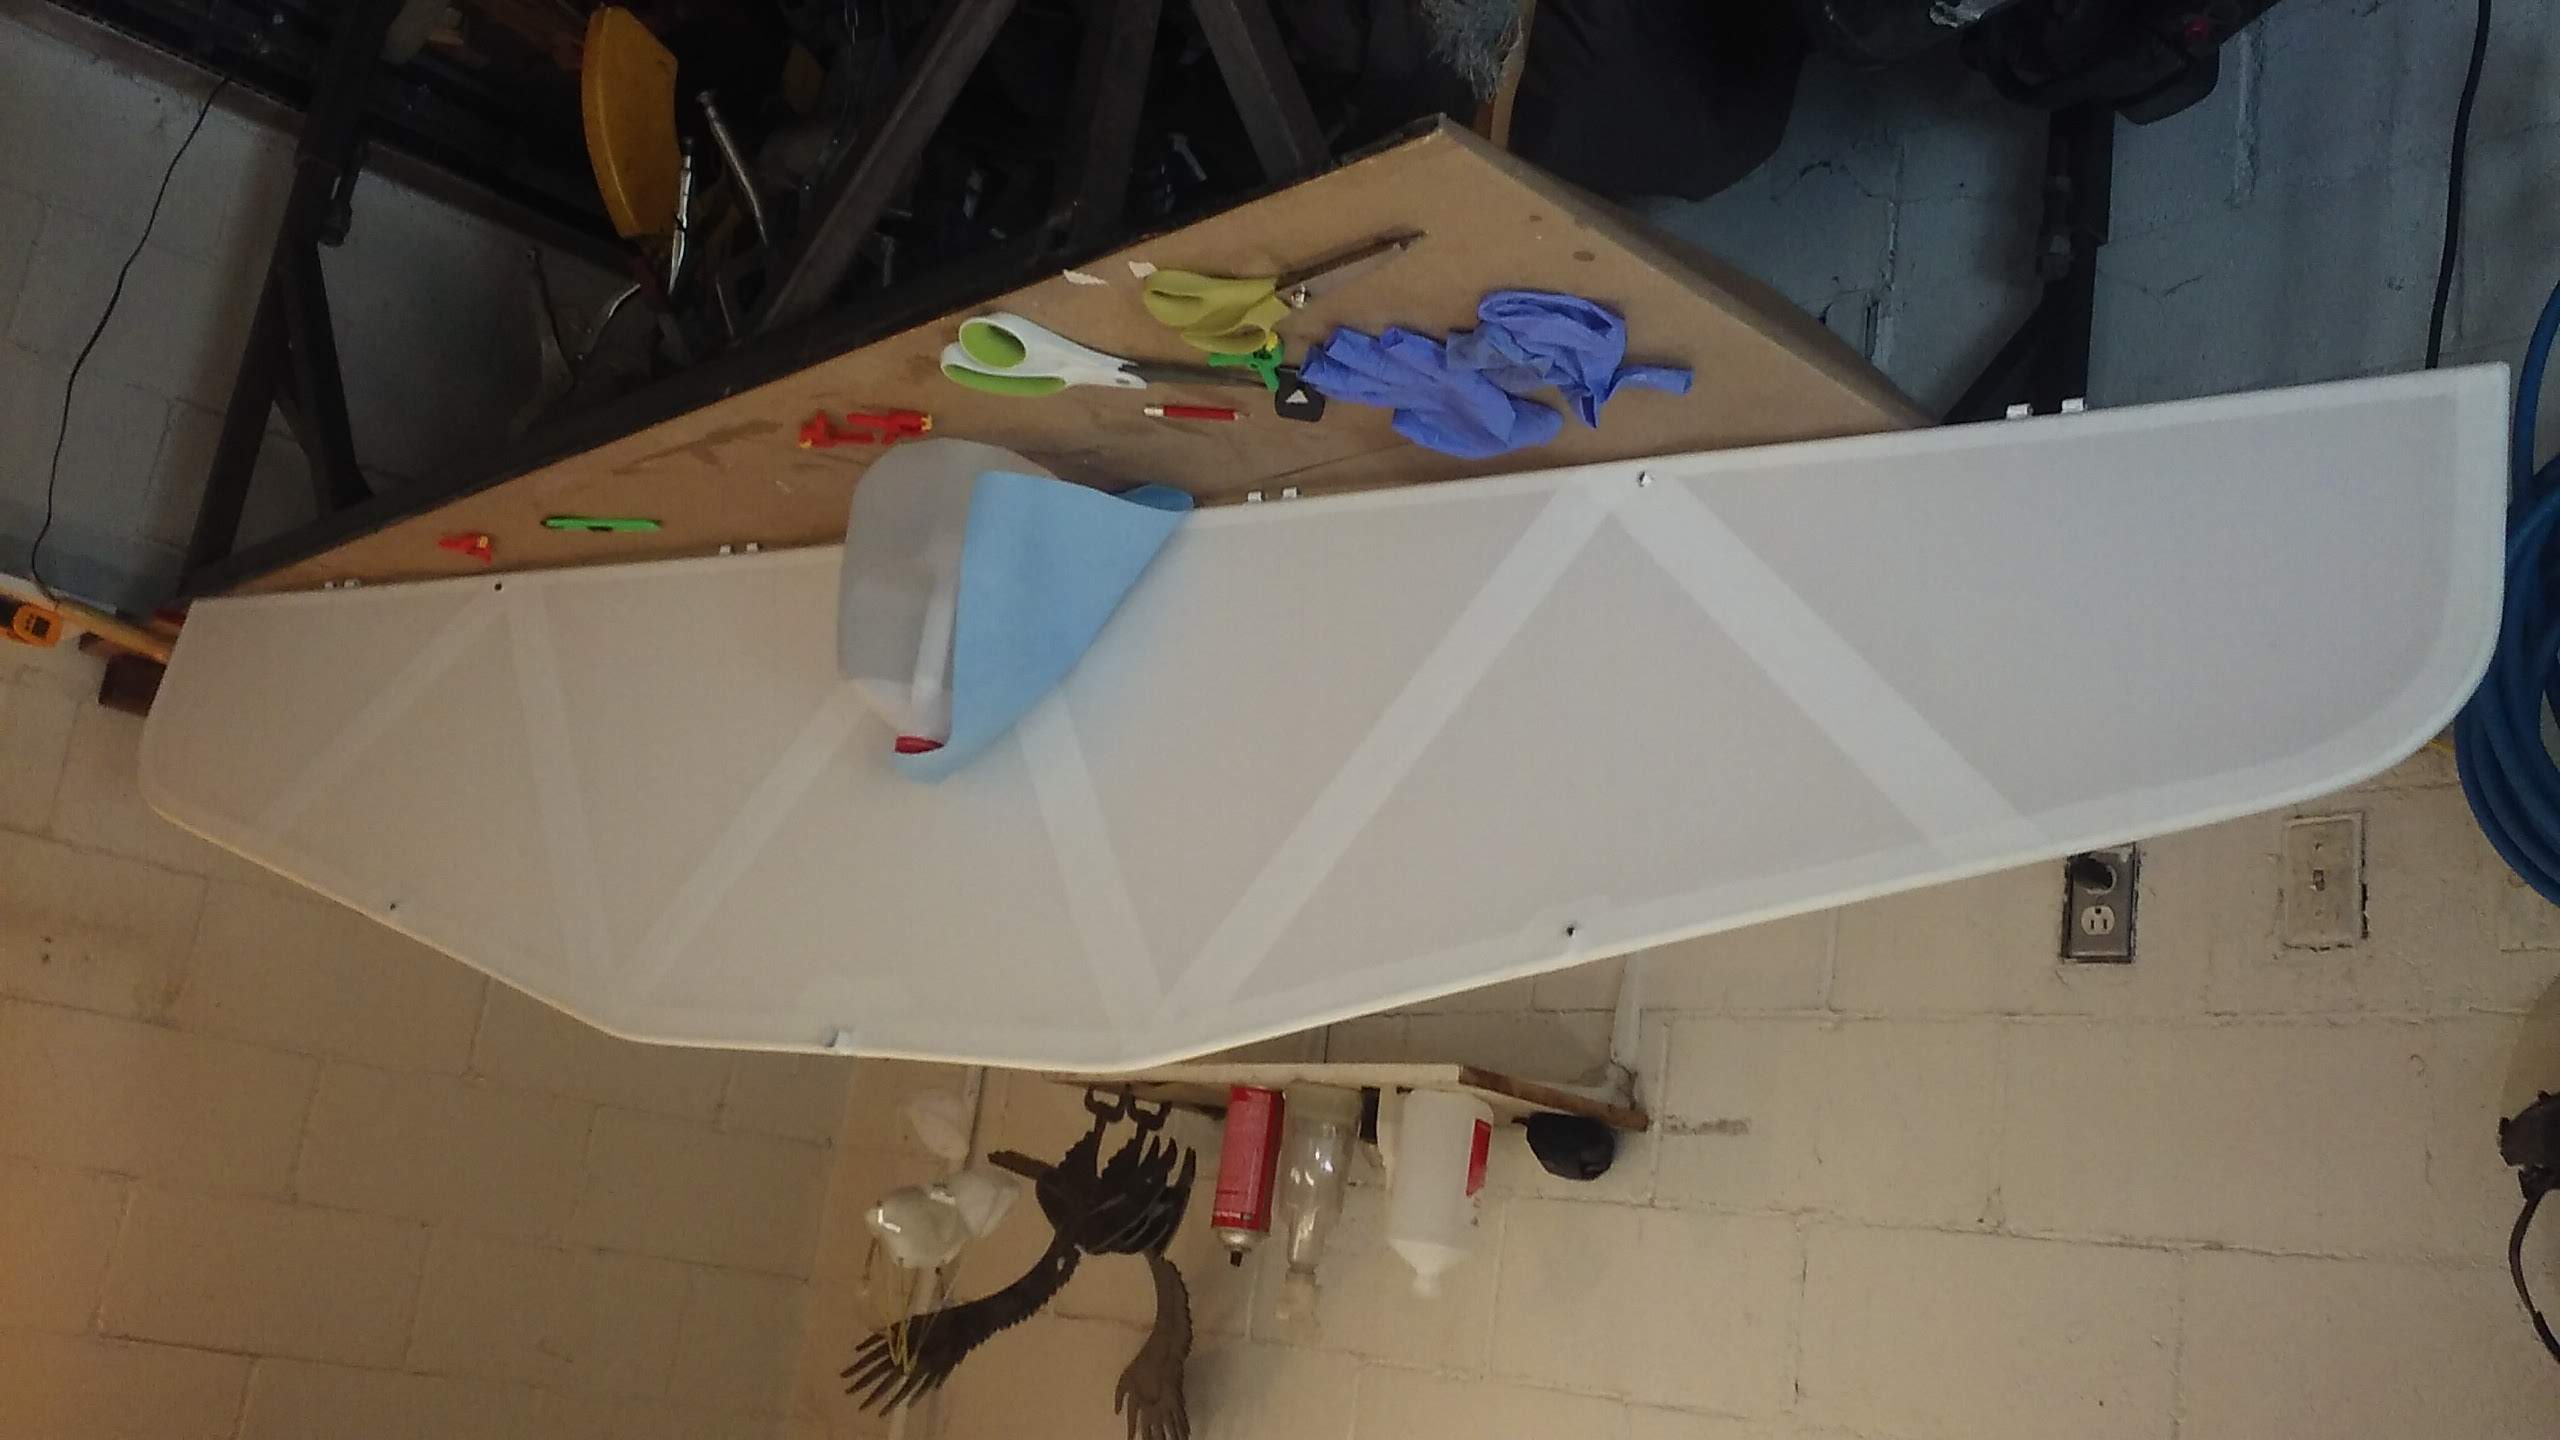
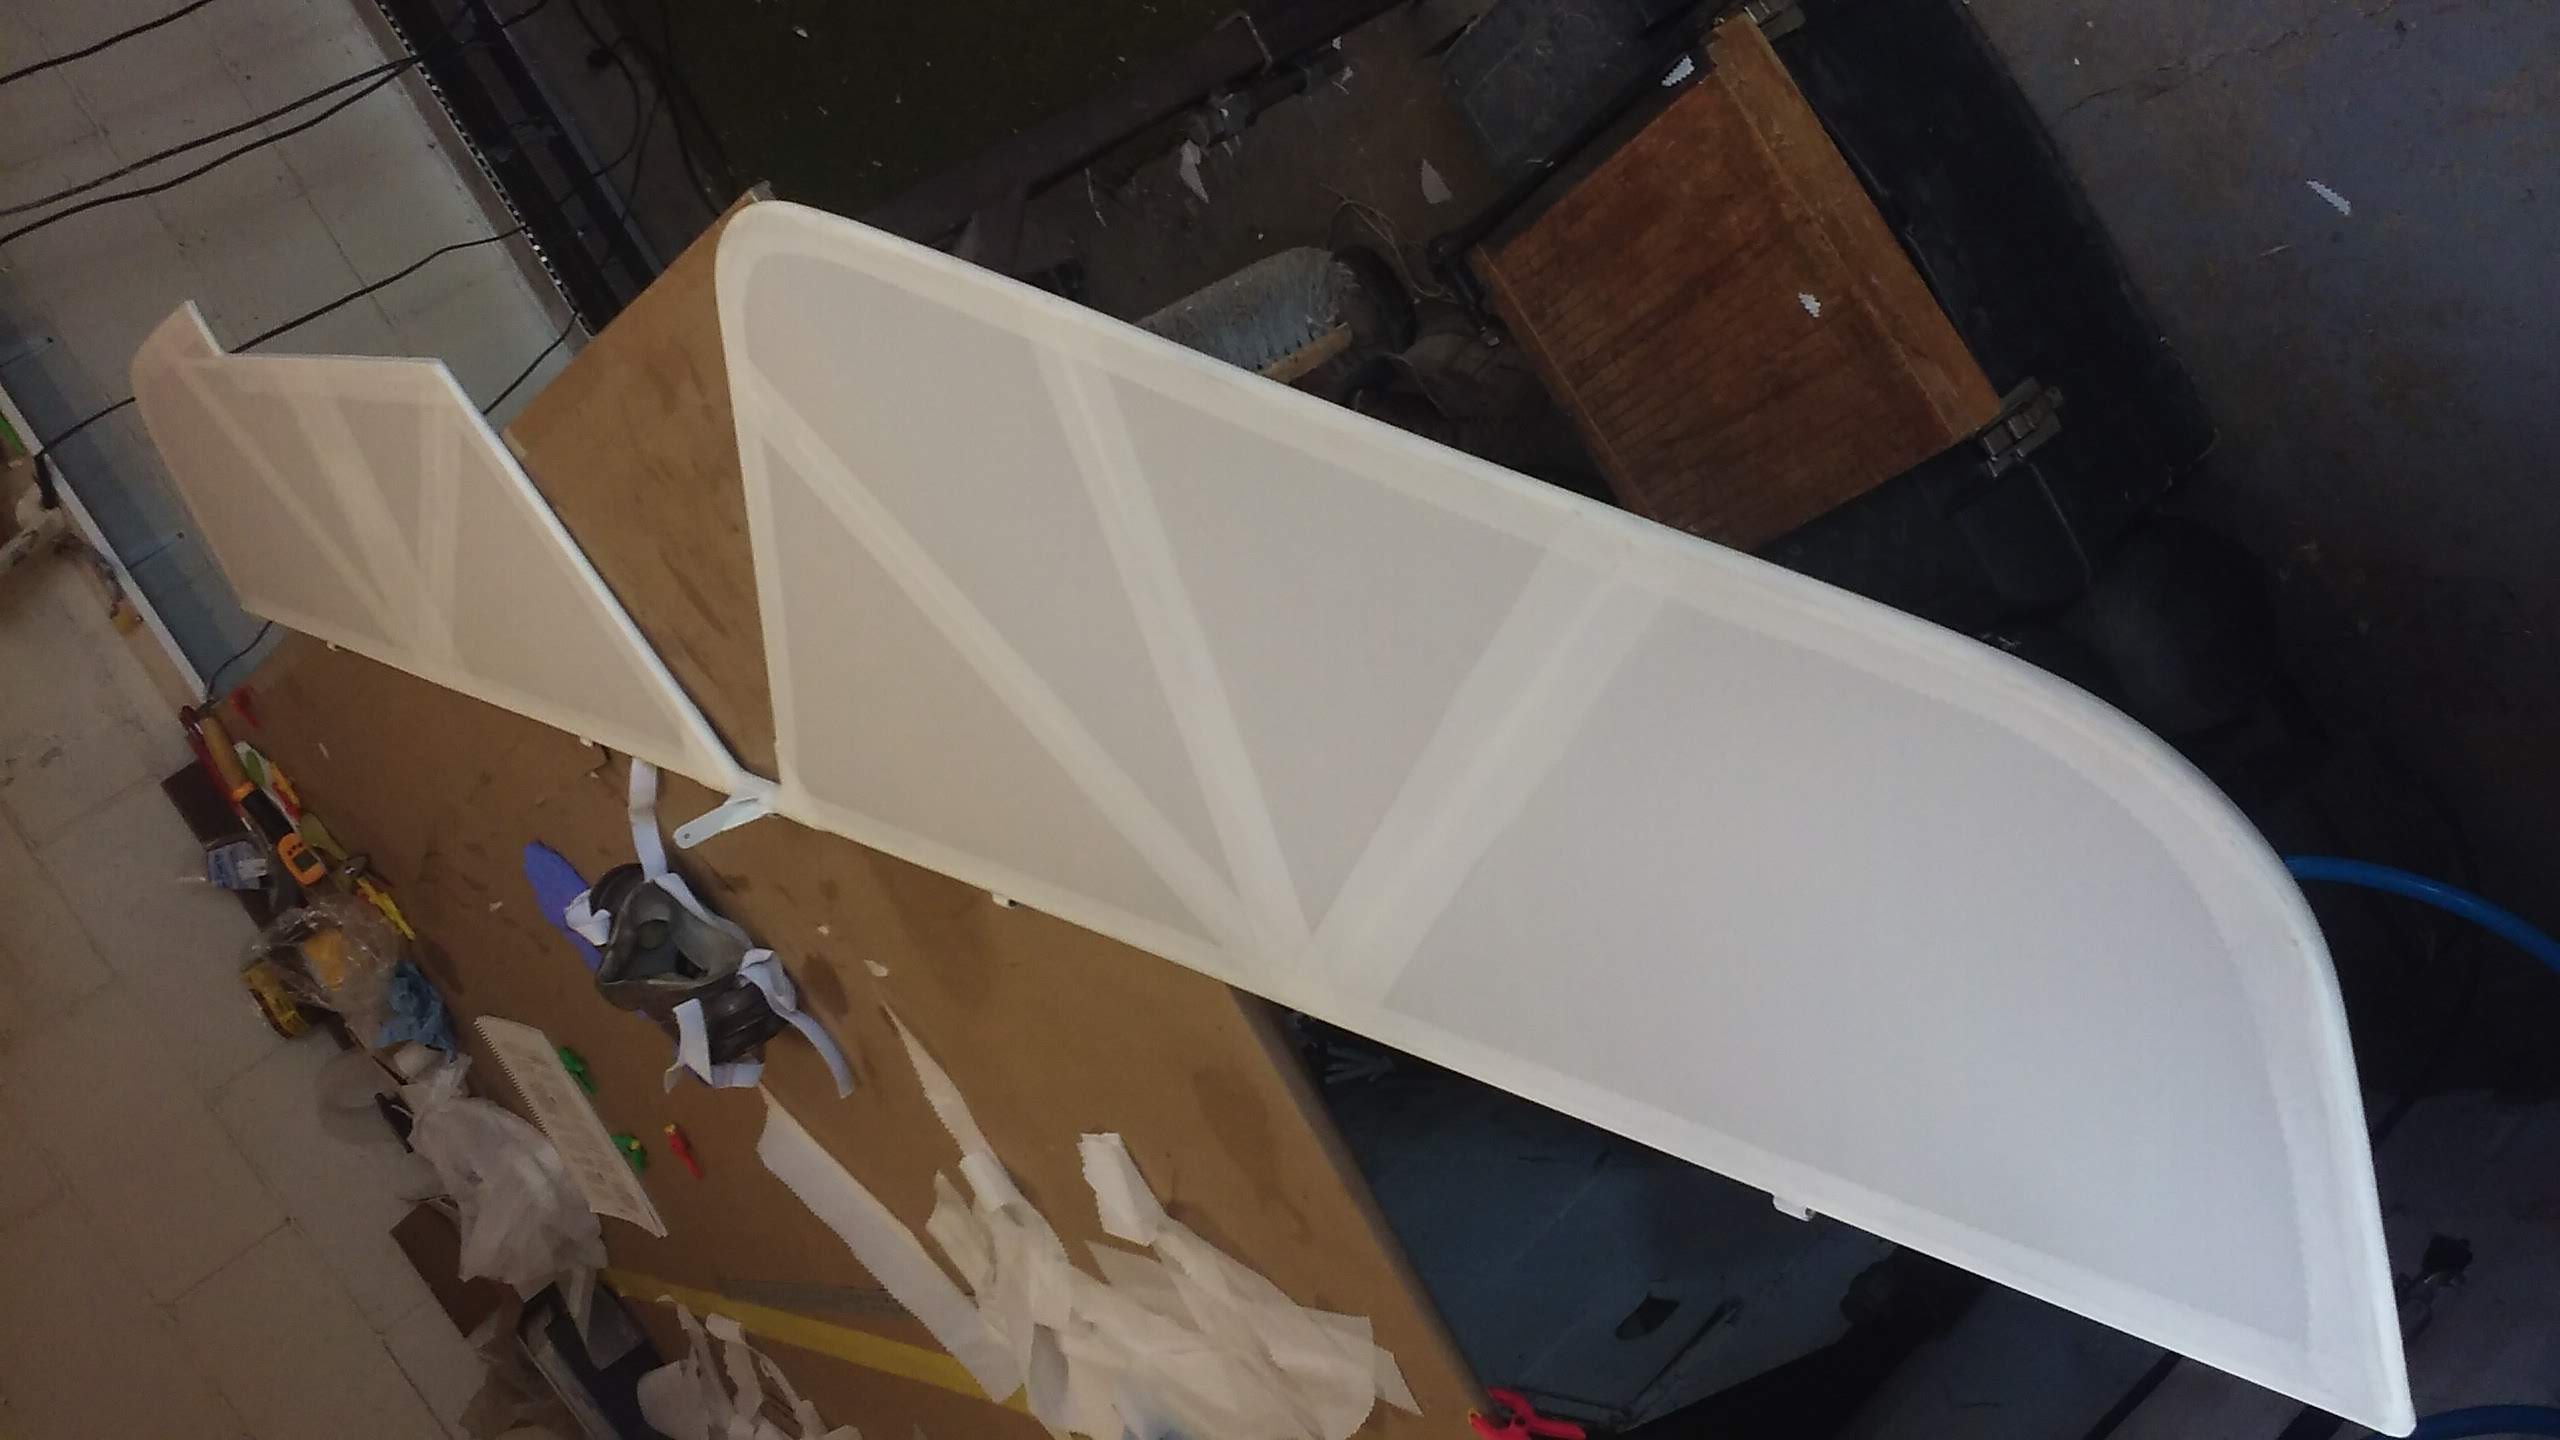
Thought I'd show a couple of things I've been working on. Fuselage rotator for covering and a baggage pouch made of covering fabric. Pouch has sewn in aluminum tubes that will be strapped to frame tubing. I was thinking of getting backpack or tent material, but then thought of the covering. Seems extremely tough. Any thoughts? Also a couple of pieces I have started covering. I will be reinforcing the landing gear truss this week before I start covering the fuselage.

-
Mine happens to be off


Gluing to ribs
in Avidfoxflyers General Hangar
Posted
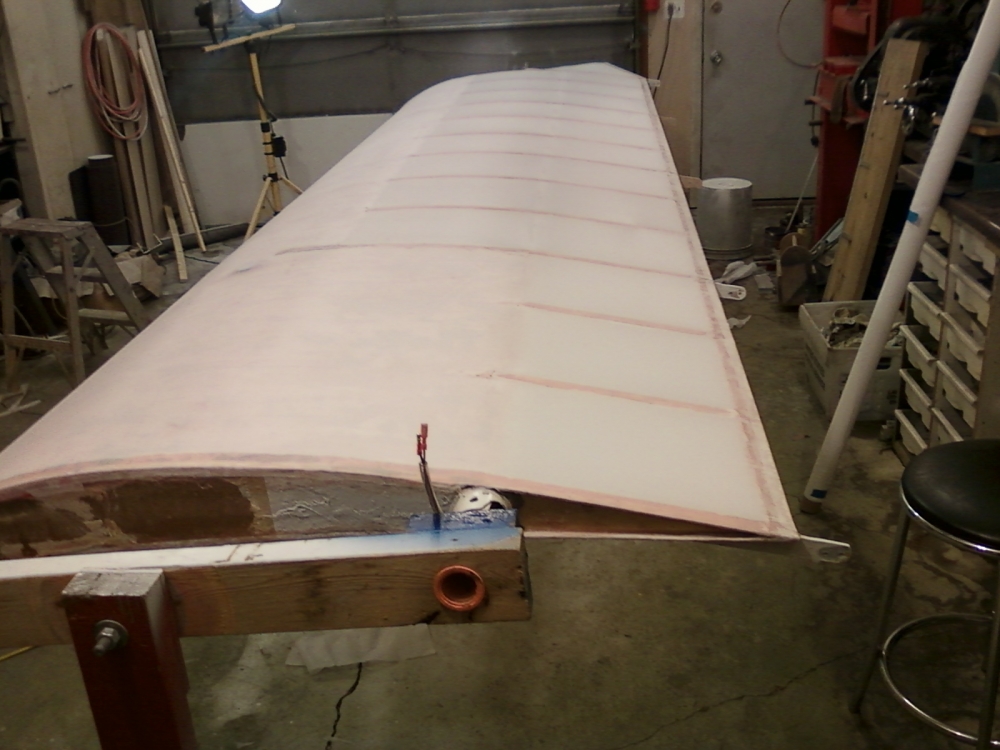
I'm sure this has been discussed before, but I can't find it. Seems to be a conflict between the Poly Fiber manual and the Avid manual on gluing fabric to the ribs. Avid says glue to bare wood, PF says put down reinforcing tape and don't glue. Course I don't know how to attach fabric to an undercambered wing without gluing. I do intend to lace the ribs. Any thoughts or advice? Photos would be much appreciated.