
fusionfab
Members-
Content count
107 -
Joined
-
Last visited
Posts posted by fusionfab
-
-
Hey everyone
so the plane is finally completed and some CG issues addressed.
I've been fortunate enough to have an experienced aerobatic show pilot offer taildragger lessons in my plane. However, my gross in the MKIV is 1150 but I think our weight will put us over that. I'm 205lbs and I'm guessing he's another 205-225lbs. With minimum 30lbs of fuel and the plane at 720 I'll only have room to accommodate 200 beyond my 205, but I believe he's over that. Do you feel this causes a big issue or is a handful of lessons going over 1150 manageable?
-
Darn I guess I was hoping to hear something other than what I was worried about. I guess I'll add a new one to my...list. Seemed weird though, like a gear problem inside.
-
I've never seen an altimeter act this way. Mind you my experience is limited to only 4 (3 cessnas and a challenger).
Thoughts?
-
It's a taildragger but has an ea81 engine and a 10lb weight to the tail.
Thanks for the info guys I'm going to look over them now. Much appreciated
-
Would it matter if I did a run up today until warmed up and took some temp measurements off the manifold and carb? Today OAT is 15.8F.
Just wondering how warm the manifold and carb base would need to be to avoid carb ice. Obviously above freezing but by how much?
-
Again guys EDMO, lostman, 1avidflyer and anyone else who may post in the future, thank you for the advice, input, suggestions etc. I am considering all options for best and simplest method to do the carb heat. If it's not needed then even better.
-
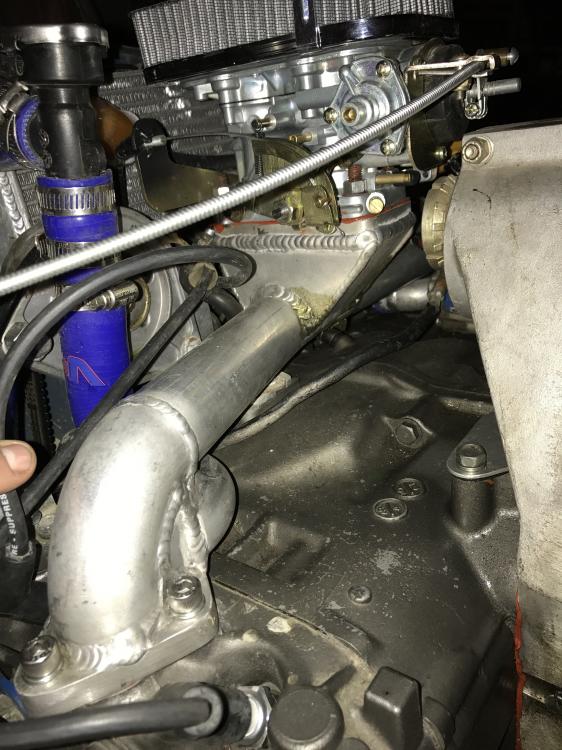
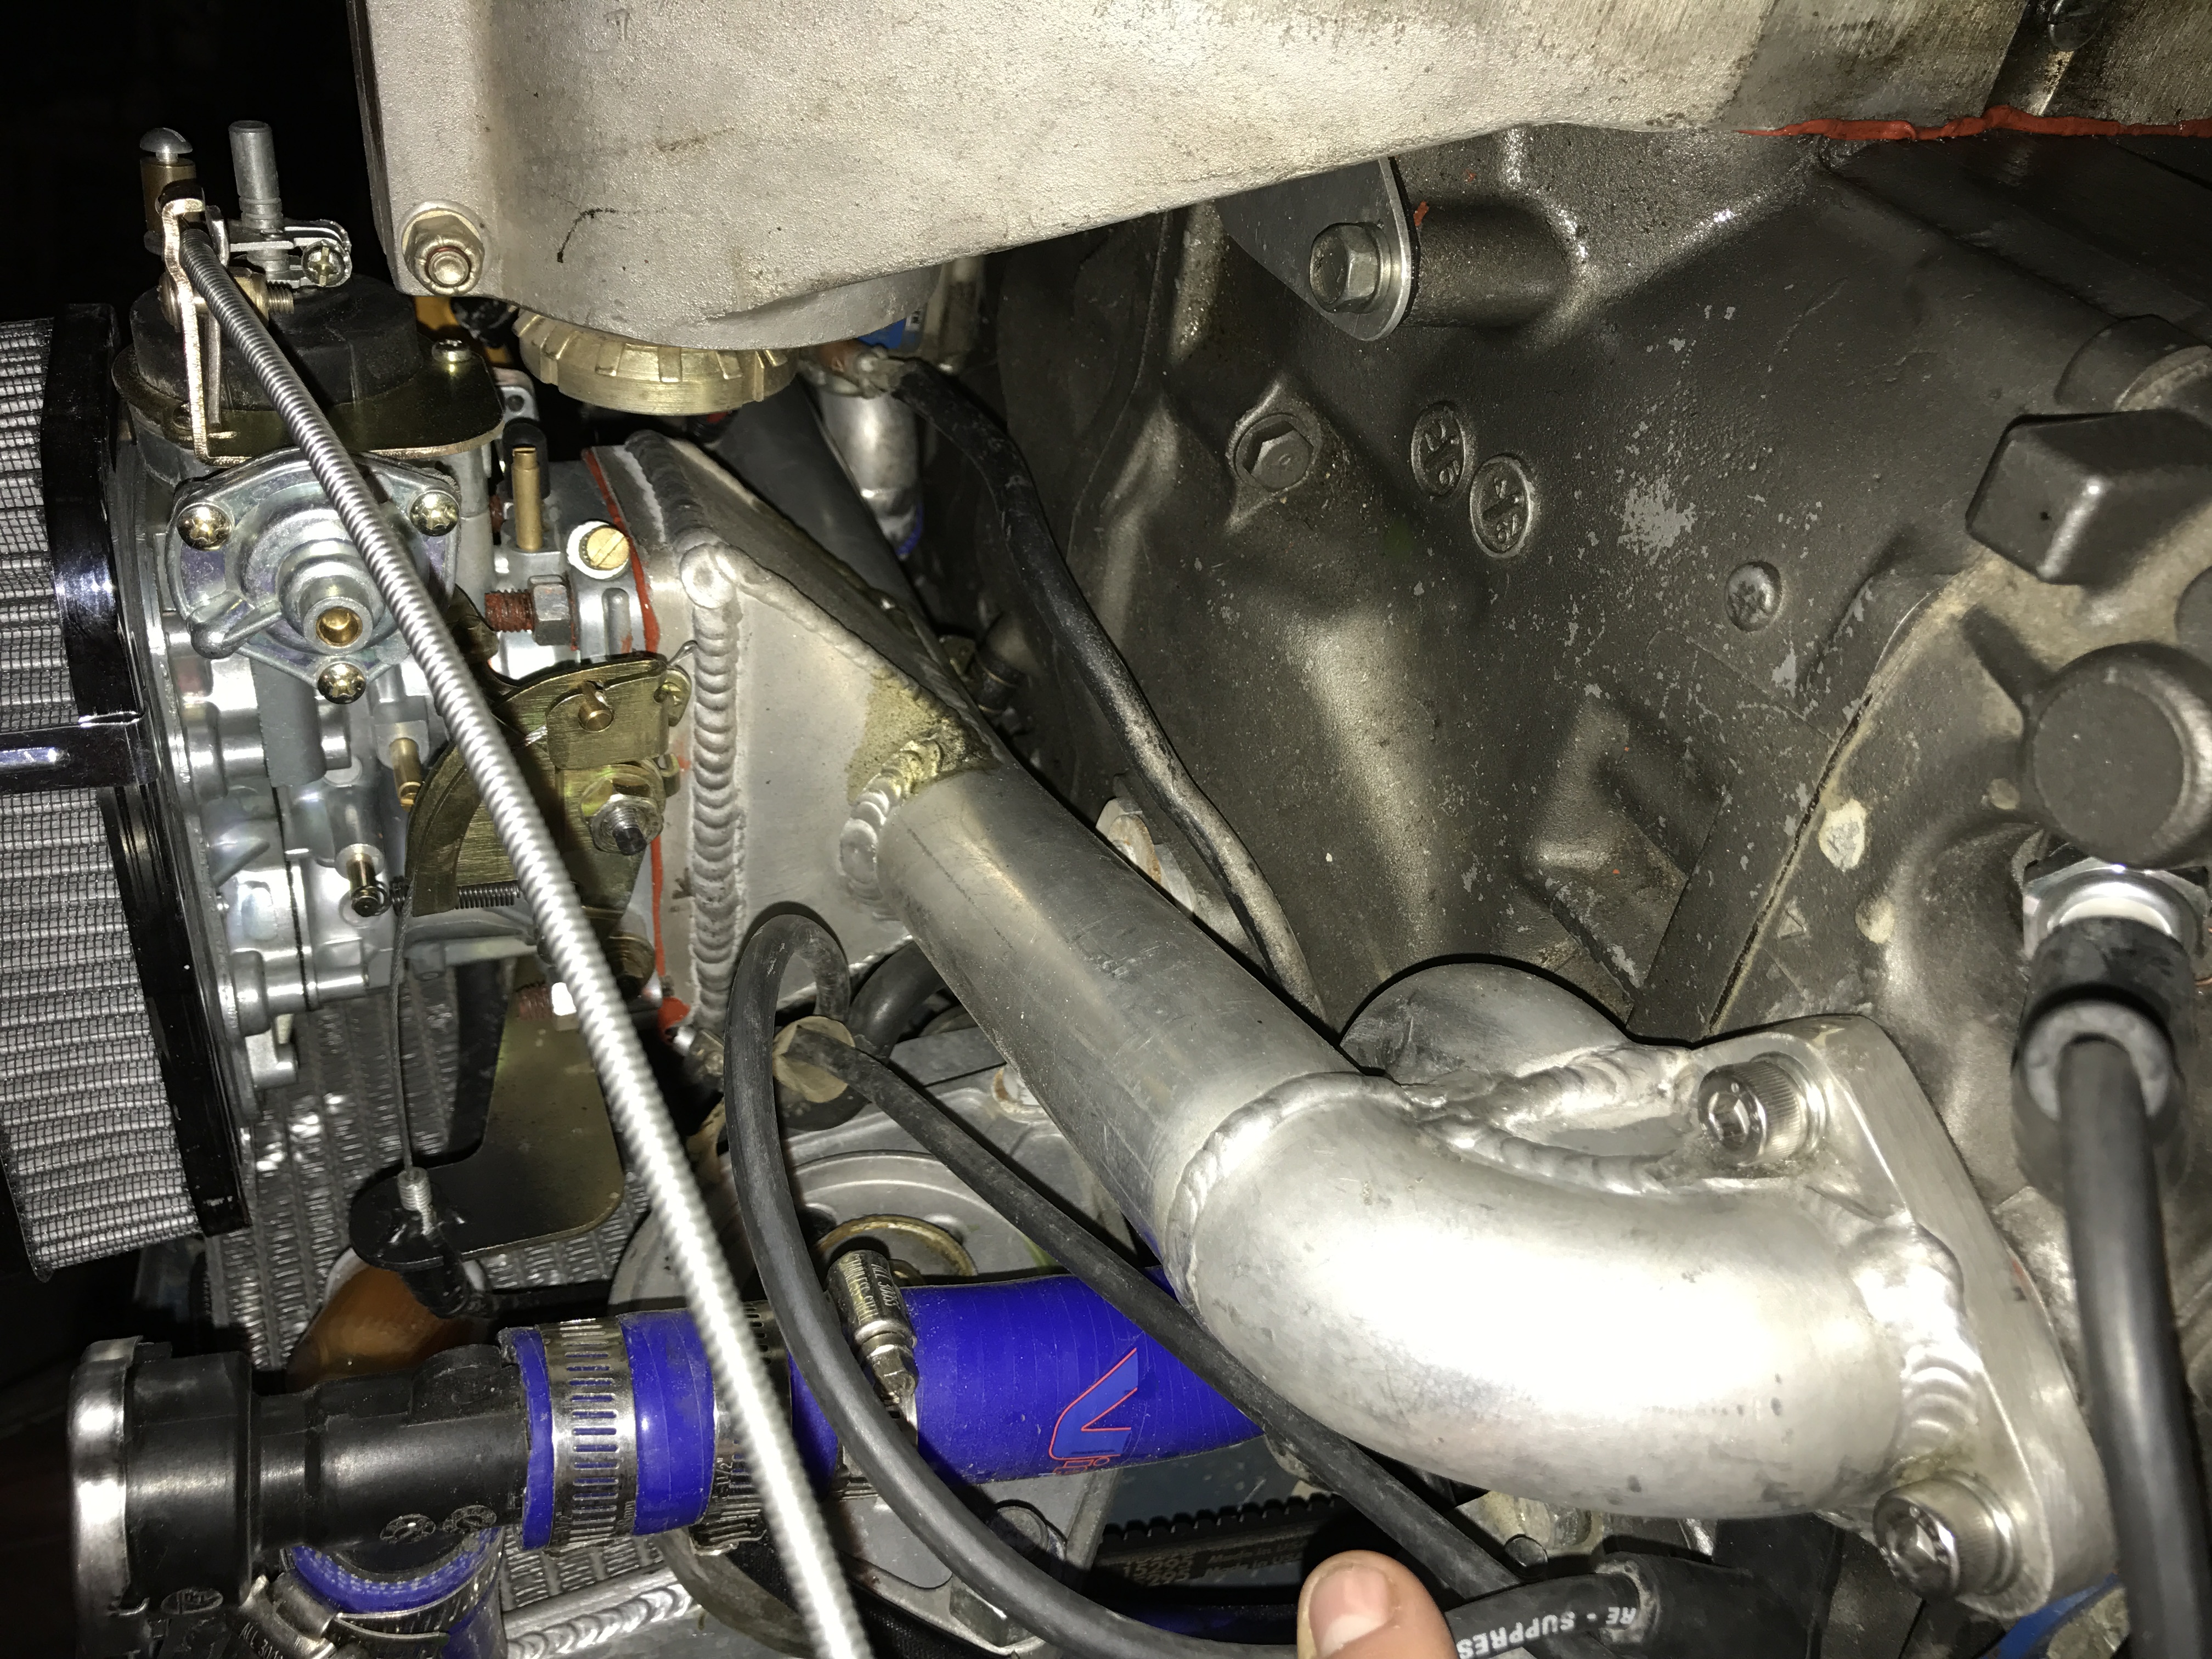
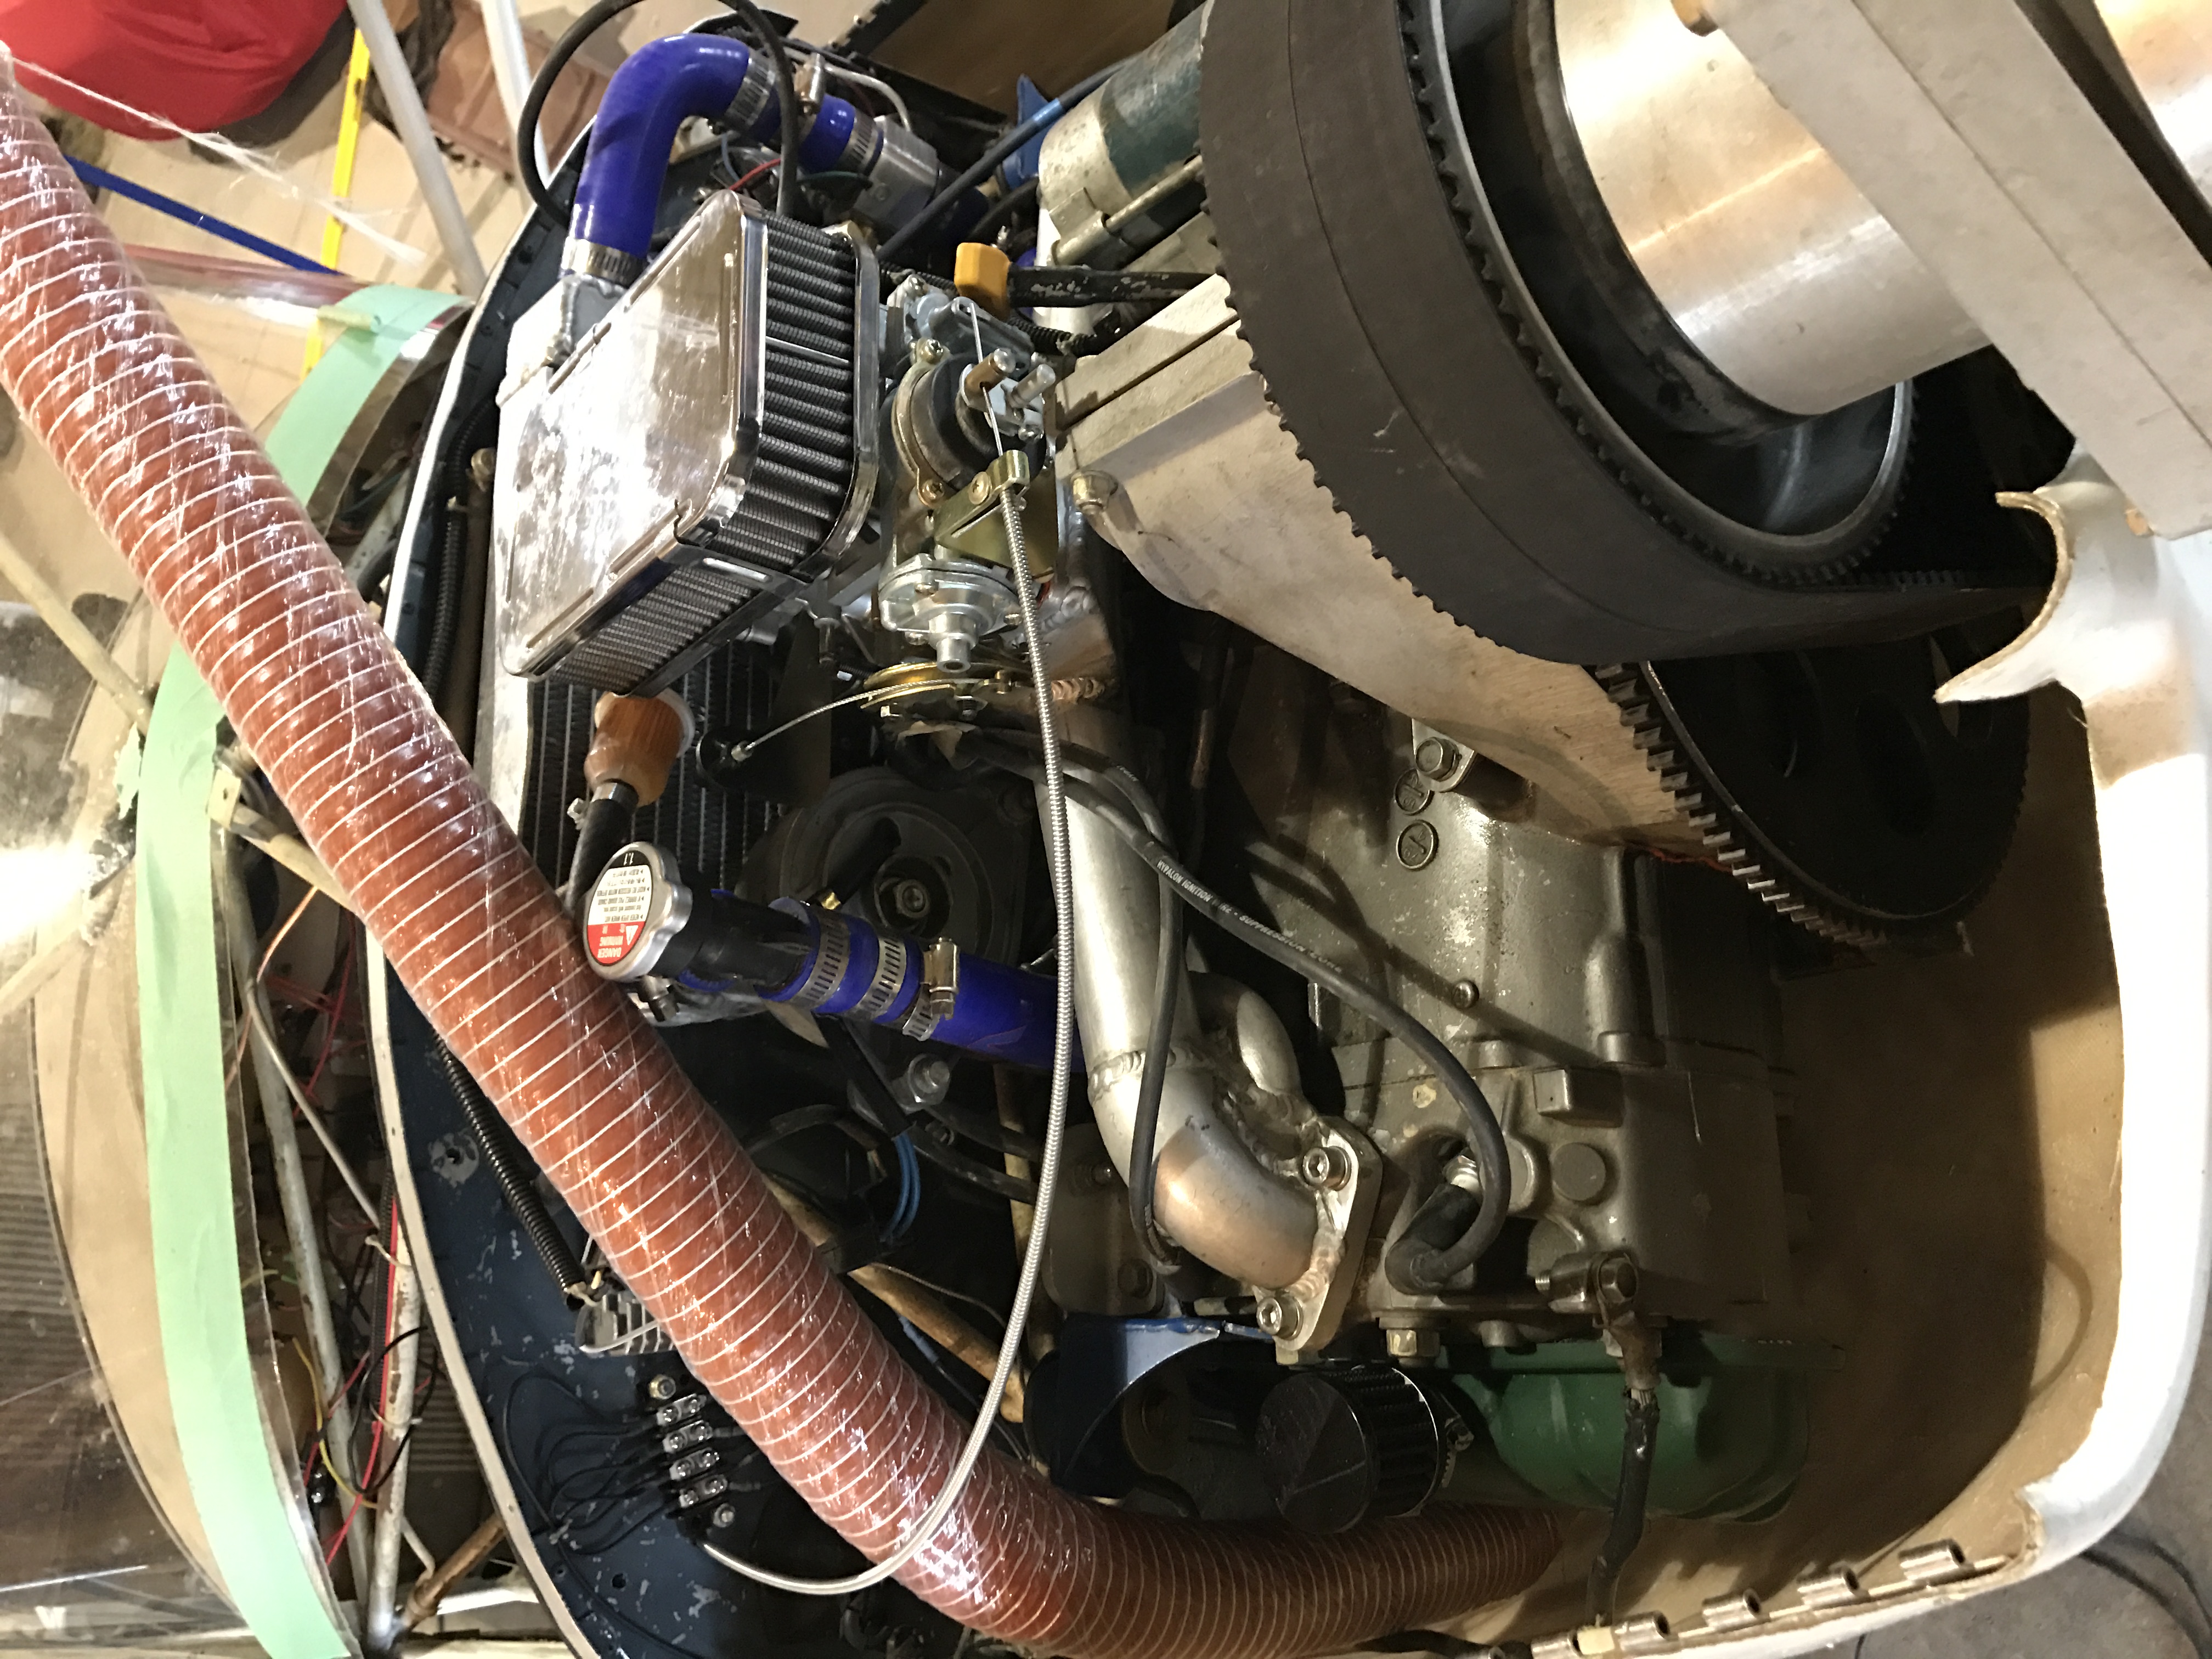
His manifold doesn't look anything like the factory built one on my Subaru engine that came in the Kitfox 4. I do have a manifold built by Ram performance that looks like his. It's just a pipe with the correct fittings on the ends. Mine doesn't have coolant going through it. I don't think this one does either. JImChuk
that is exactly what I have. I located a picture online and duplicated the design using 1-3/8" aluminum and then after I finished it machine all surfaces flat and even. But the coolant lines are separate. The intake portion does sit about 7/8" off the top surface of the block. I can try running it and see what temps that manifold itself gets to at the carb and so on.

-
Just put a quick video together to make it easier for me to explain
1 person likes this -
Hey again just looking for input and opinions on a control for carb heat.
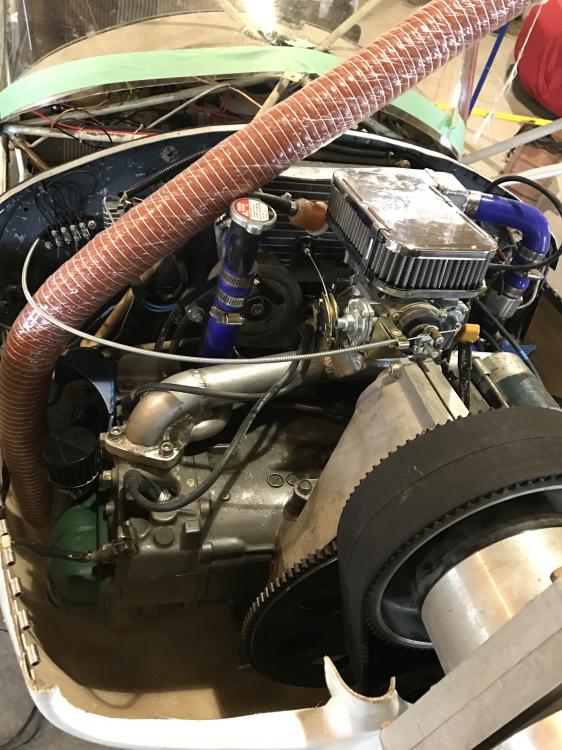
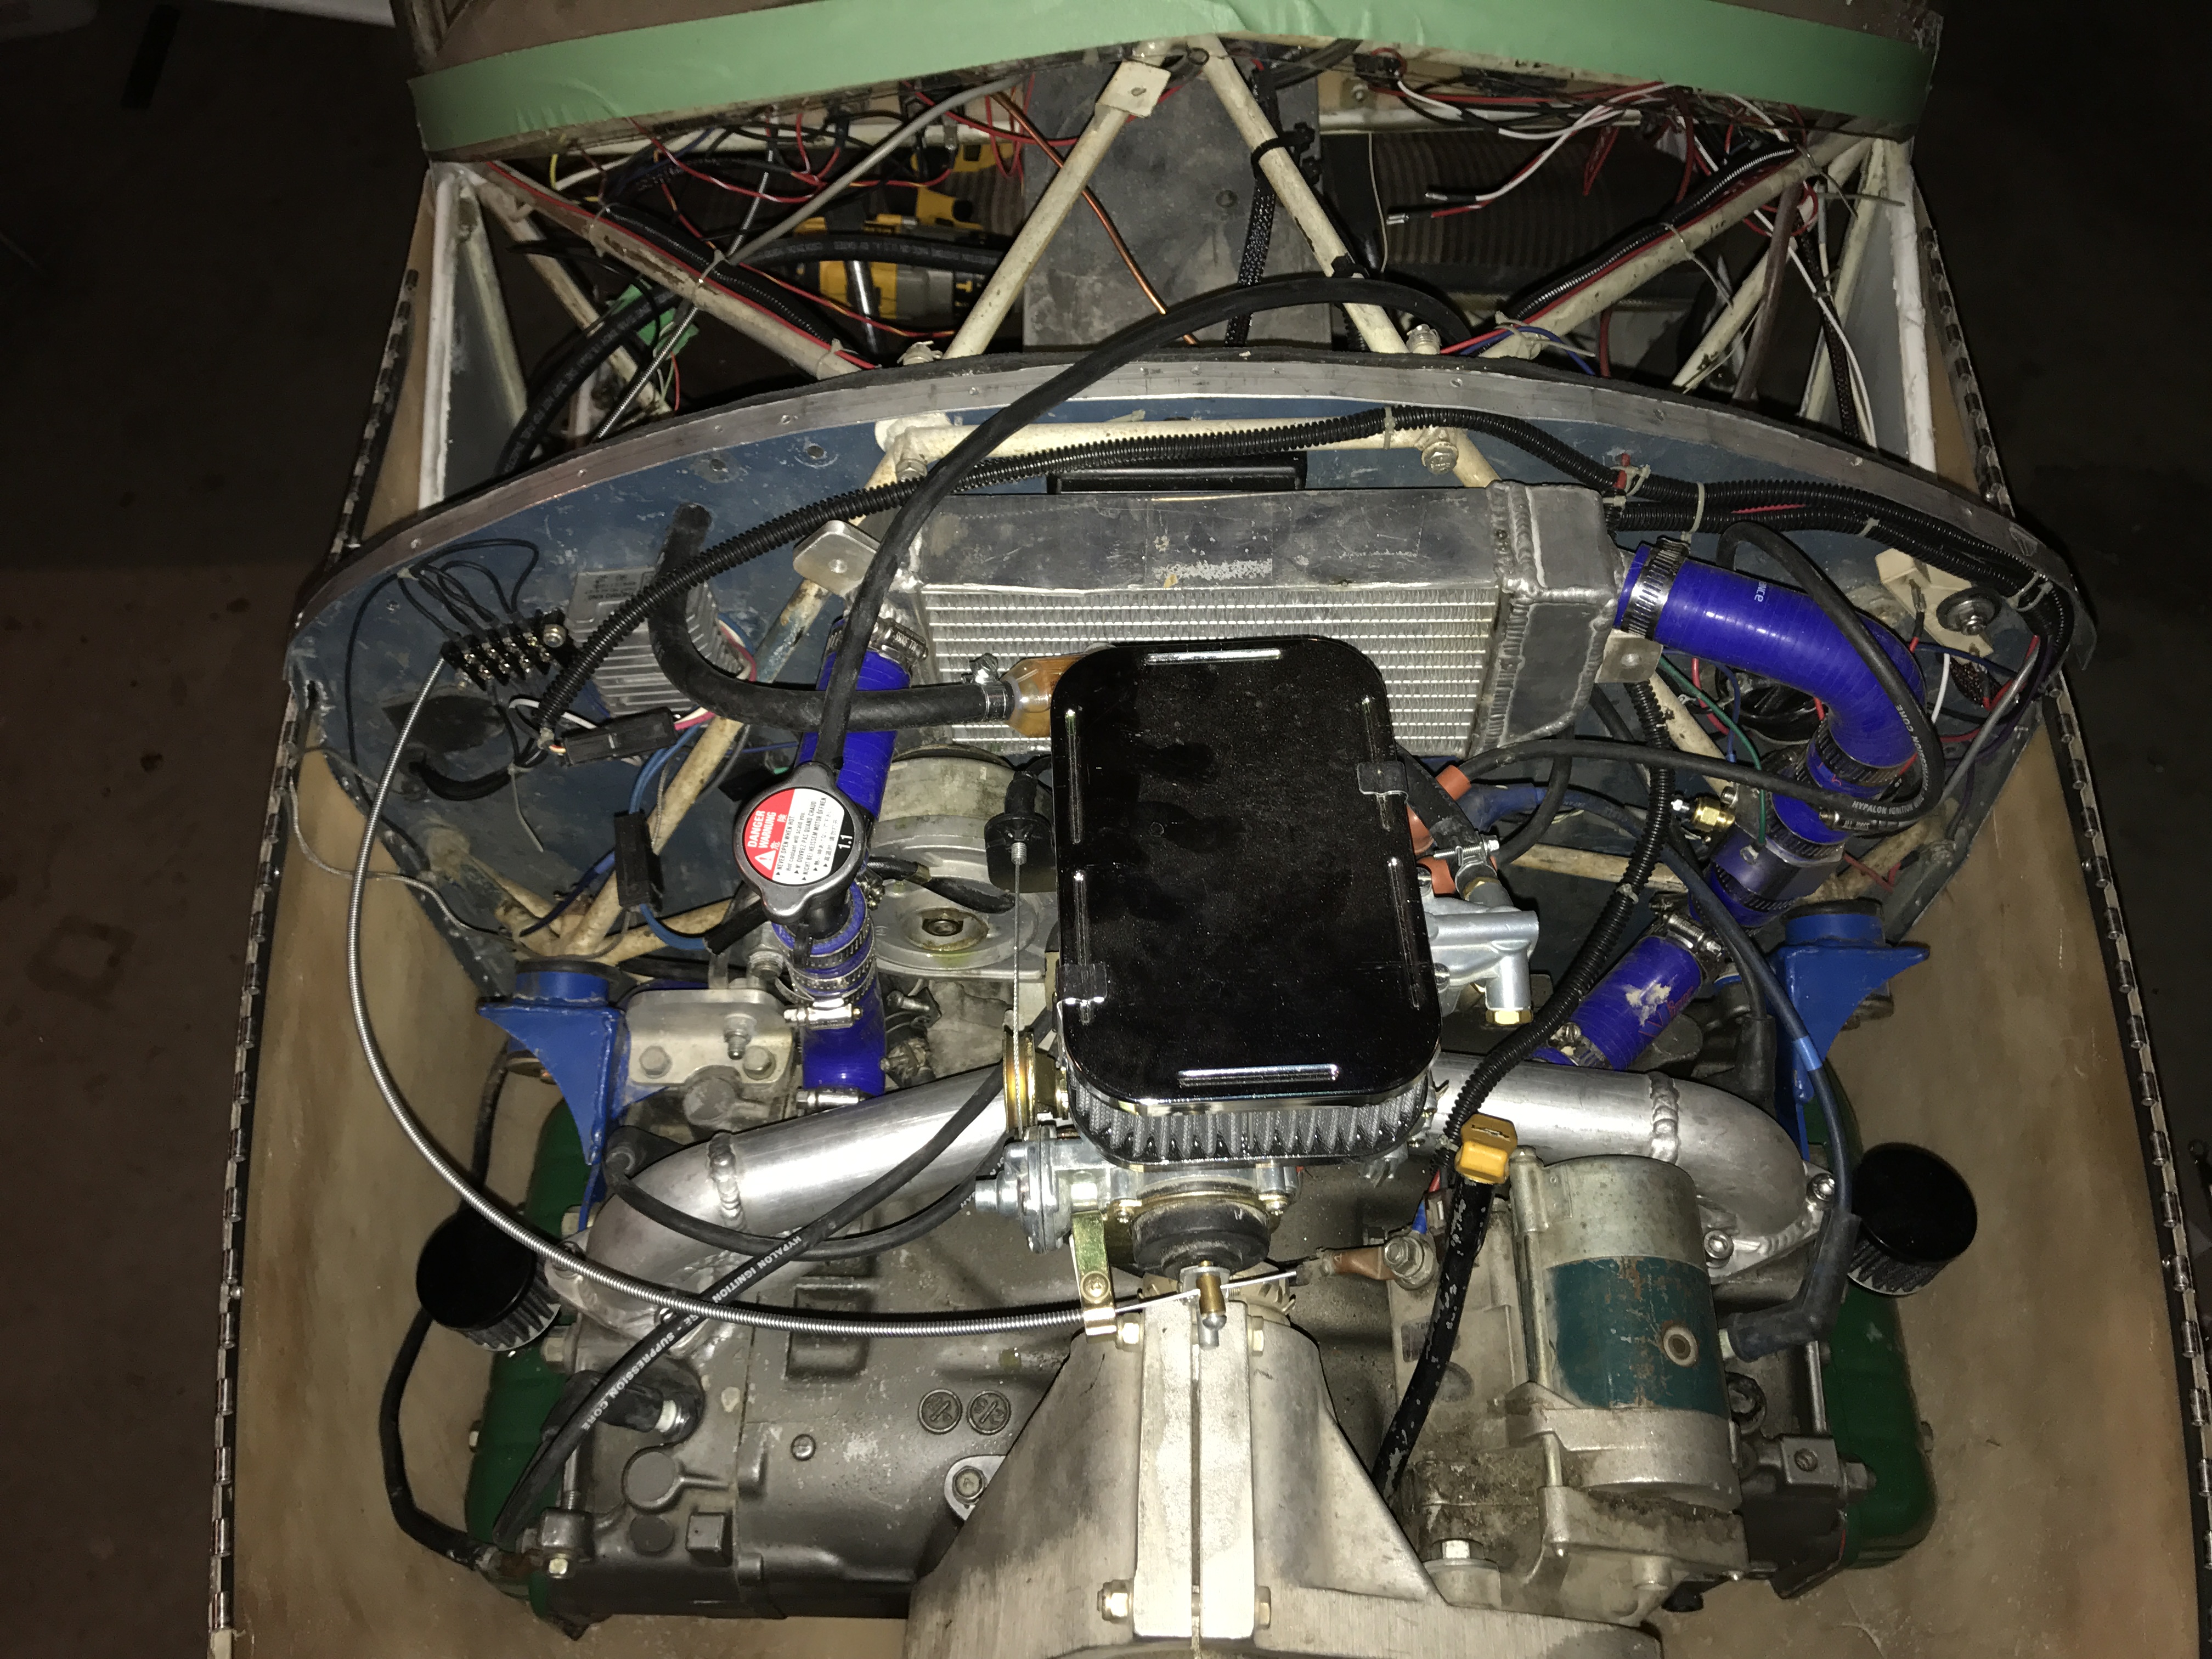
I am used to a Rotax 503 where we'd just leave the carb muff attached full time running warm air. But with this soob I am currently fabbing up the plumbing and airbox for it.
Now, should I just run it directly from the heat muff full time or fab a control box to alternate between cold air and warm?
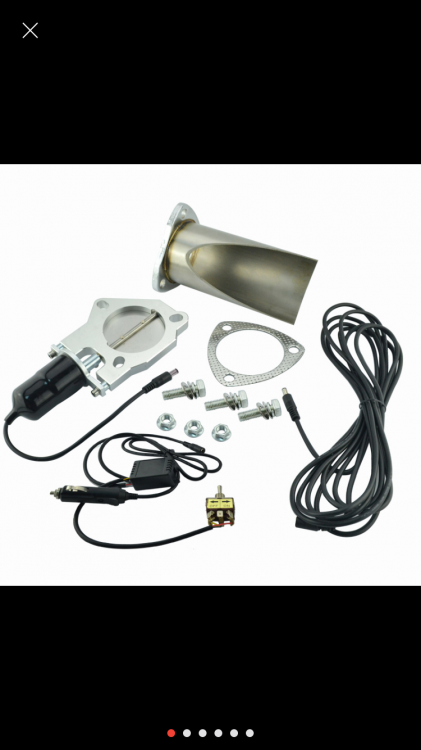
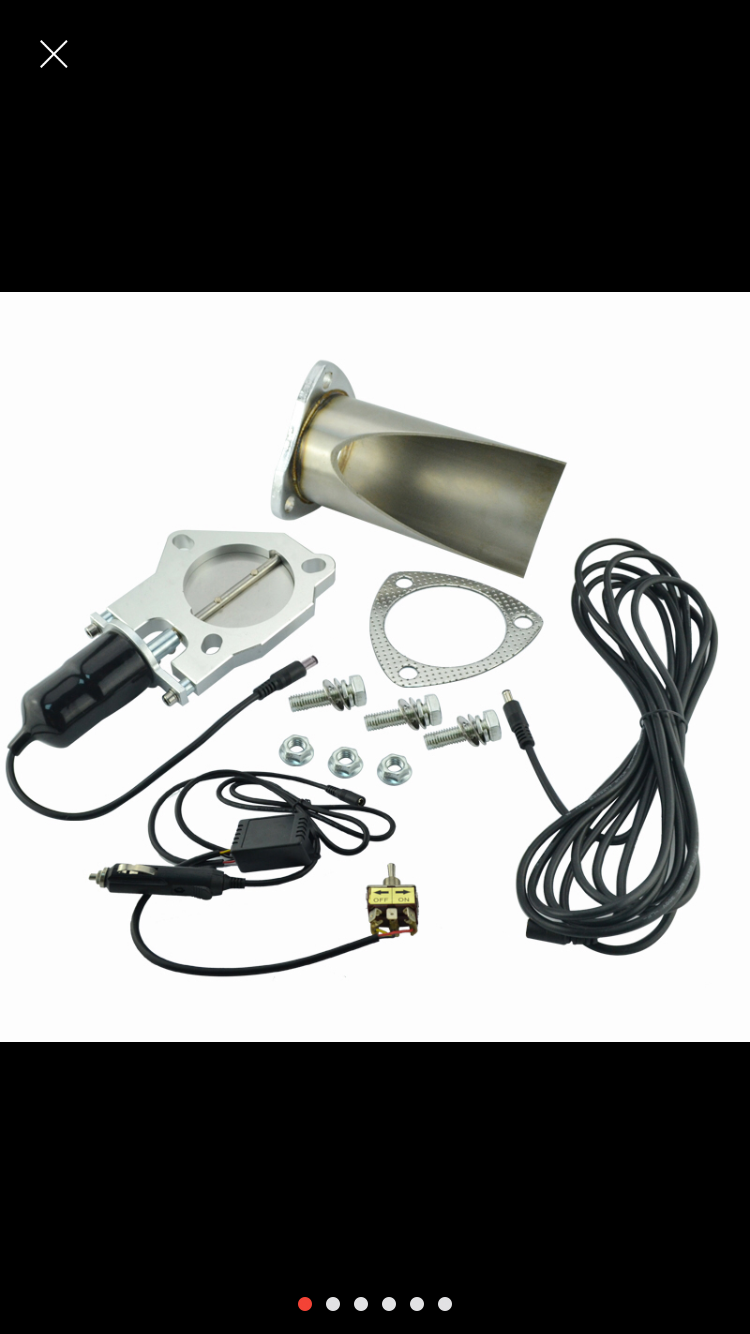
I was pondering the idea of running a small aluminum "Y" pipe from the intake box housing and installing an exhaust cutout on the cold side to be able to close it off and just suck back warm/hot air that's connect to other part of "Y".
Not sure what this unit weighs but I know the motor used is 0.350 lbs. That stainless pipe included would be scrapped.
-
So an update on this thread. I messed around with the thermocouples tonight switching them from side to side. It appeared one side was registering so I switched the wires from that side on the gauge end and now the other half of gauge was reading that same side. Both sides worked individually. Switched thermocouples and both worked on the same side. Confused as all hell I initiated the highly sought after and old fashioned knuckle tap on the gauge and suddenly both sides started working together. Running at even temps. One side cools faster when idling down. Going to let engine cool and will test again.
So guessing a thermocouple is maybe going bad which i'm not certain of because they both measure the exact same resistance. Or maybe something with the gauge. We'll see I guess....OR its just fixed itself now.
Sounds like you had a gauge problem - not thermocouple.
 EDMO
EDMOI was thinking the same thing EDMO, I only have a few things left to do but will have plenty of run ups and taxiing before any air time. So hopefully if theres an issue with it, it tells me sooner than later. Both side of the gauge were reading same resistance.
-
So an update on this thread. I messed around with the thermocouples tonight switching them from side to side. It appeared one side was registering so I switched the wires from that side on the gauge end and now the other half of gauge was reading that same side. Both sides worked individually. Switched thermocouples and both worked on the same side. Confused as all hell I initiated the highly sought after and old fashioned knuckle tap on the gauge and suddenly both sides started working together. Running at even temps. One side cools faster when idling down. Going to let engine cool and will test again.
So guessing a thermocouple is maybe going bad which i'm not certain of because they both measure the exact same resistance. Or maybe something with the gauge. We'll see I guess....OR its just fixed itself now.
-
Just took it out of the box and all of the cubes were not adhered inside, just stuffed in. Probably why I originally thought it was for packing surfaces.
Thanks for the help guys.
-
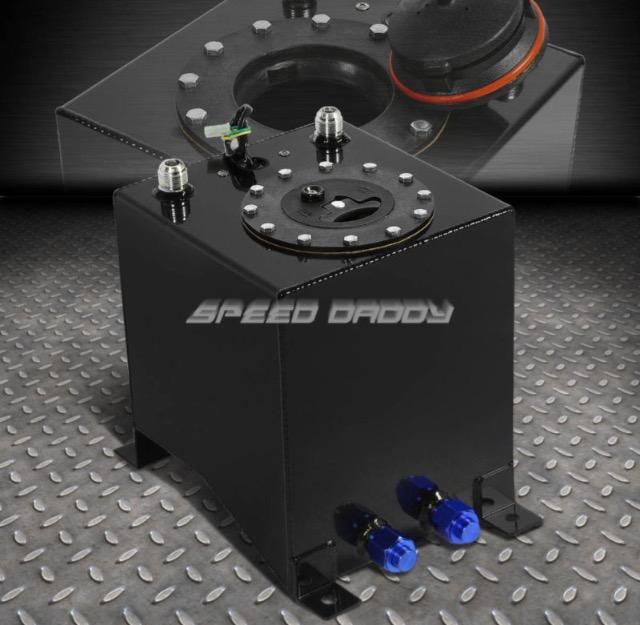
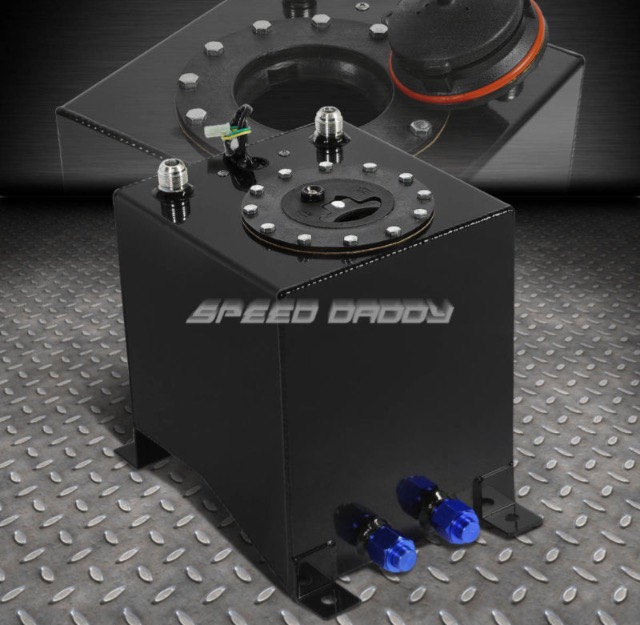
I'm not sure bout that fuel cell. I would do some testing on it, I would sure hate to see that filler cap start to leak,
And Jim that first video was pretty good I really thought you flipped for a sec there,
I was wondering about that cap too - Why would you need a cap on a header tank? Could you replace that part with a solid plate? It looks like the top plate is bolted on. EDMO
i haven't taken a good look it's still in the box on the shelf but I recall when I first had it it's a very tight seal. But I will for sure test it out, and if need be, I can remove it and weld on a plate to seal it off completely.
Looks to me like you could just unbolt the plate with the hole in it and make a solid one to bolt on top of the gasket.
WARNING: I read that this tank is foam-filled and cannot be used with Alcohol fuels! EDMO
There is no need for foam to be in a header tank - the tank should be completely full at all times, so there should be no sloshing of fuel. EDMO
Thank you for the heads up EDMO, the funny part is I thought the foam inside was just to protect for shipping or something. I had full intentions of removing it and still will be.
Thanks
-
Ah yes, that would be much easier.
-
And Jim that first video was pretty good I really thought you flipped for a sec there,
Glad you liked it. I enjoy humor where ever I can find it. ;-) JImChuk
I thought the exact same. Gave me an "oh $h!t" moment
-
I'm not sure bout that fuel cell. I would do some testing on it, I would sure hate to see that filler cap start to leak,
And Jim that first video was pretty good I really thought you flipped for a sec there,
I was wondering about that cap too - Why would you need a cap on a header tank? Could you replace that part with a solid plate? It looks like the top plate is bolted on. EDMO
i haven't taken a good look it's still in the box on the shelf but I recall when I first had it it's a very tight seal. But I will for sure test it out, and if need be, I can remove it and weld on a plate to seal it off completely.
-
I was just taking everyone suggestions on their experience that they handle much better with a 15" or more. Currently without making this modification my max load CG is low 12's and min CG is mid 11's. So I was just hoping to get closer to the middle if possible. Additionally I was thinking of making an adjustable bracket that'll allow me to move the header tank forward and back depending on how I felt she flew. Make small adjustments from there.
I do have an electric trim on the elevator.
-
I was once told that for every pound you add you lose 6fpm climb. Something to think about while bolting lead to your plane.
That is one of the many reasons why I despise adding lead to the tail and am in search of anything at all in order to avoid it. I have some days off coming up that I plan on using to install this fuel cell and pumps farther back. If it works to how I think it will that'll be all I need to do to gain better CQ numbers.
My thoughts are that I won't be adding any weight to the plane this way (other than the added 1.75 lbs for larger tank, and bracket to mount it), all I'll be doing is shifting weight thats already over the mains. Additionally should for any reason my wing tanks get used up I'll still be within CG limits, lastly should I completely run out of fuel, I'll still be within limits. Fingers crossed my vision pans out.
-
-
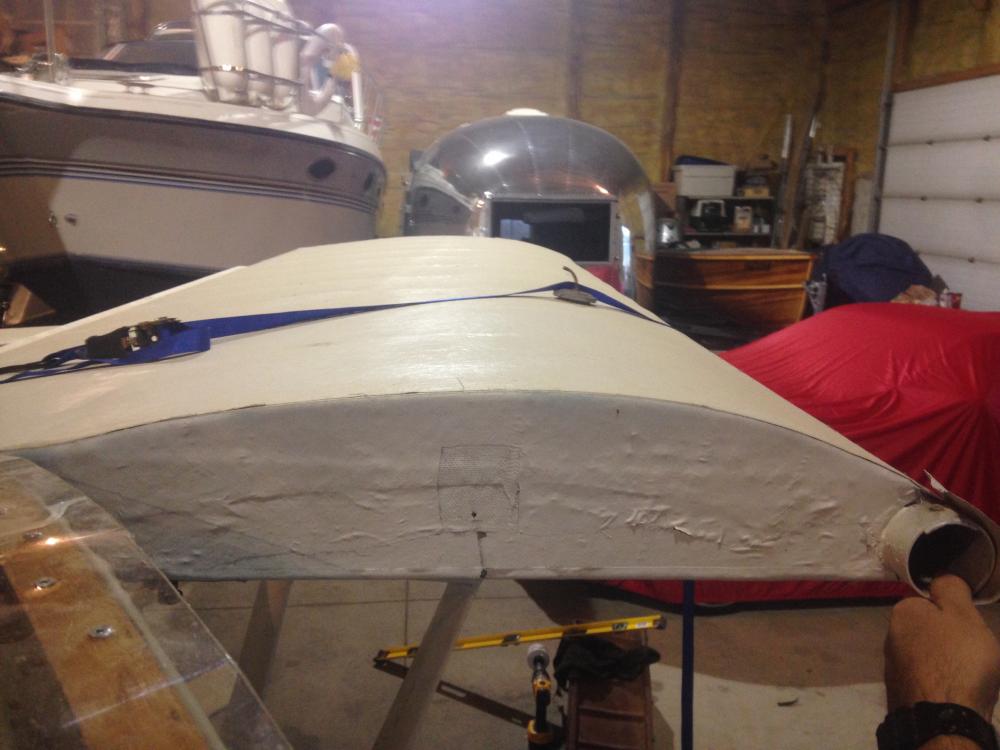
Looking over the sight tube idea, I don't think it will work out. I mean it would, but not how i'd like it. I would only be able to install the tube in such a way where I can only see half of the tank. Theres no way of accessing the tank halfway (horizontally) and down because of the butt rib and fuselage. Picture attached in next post.
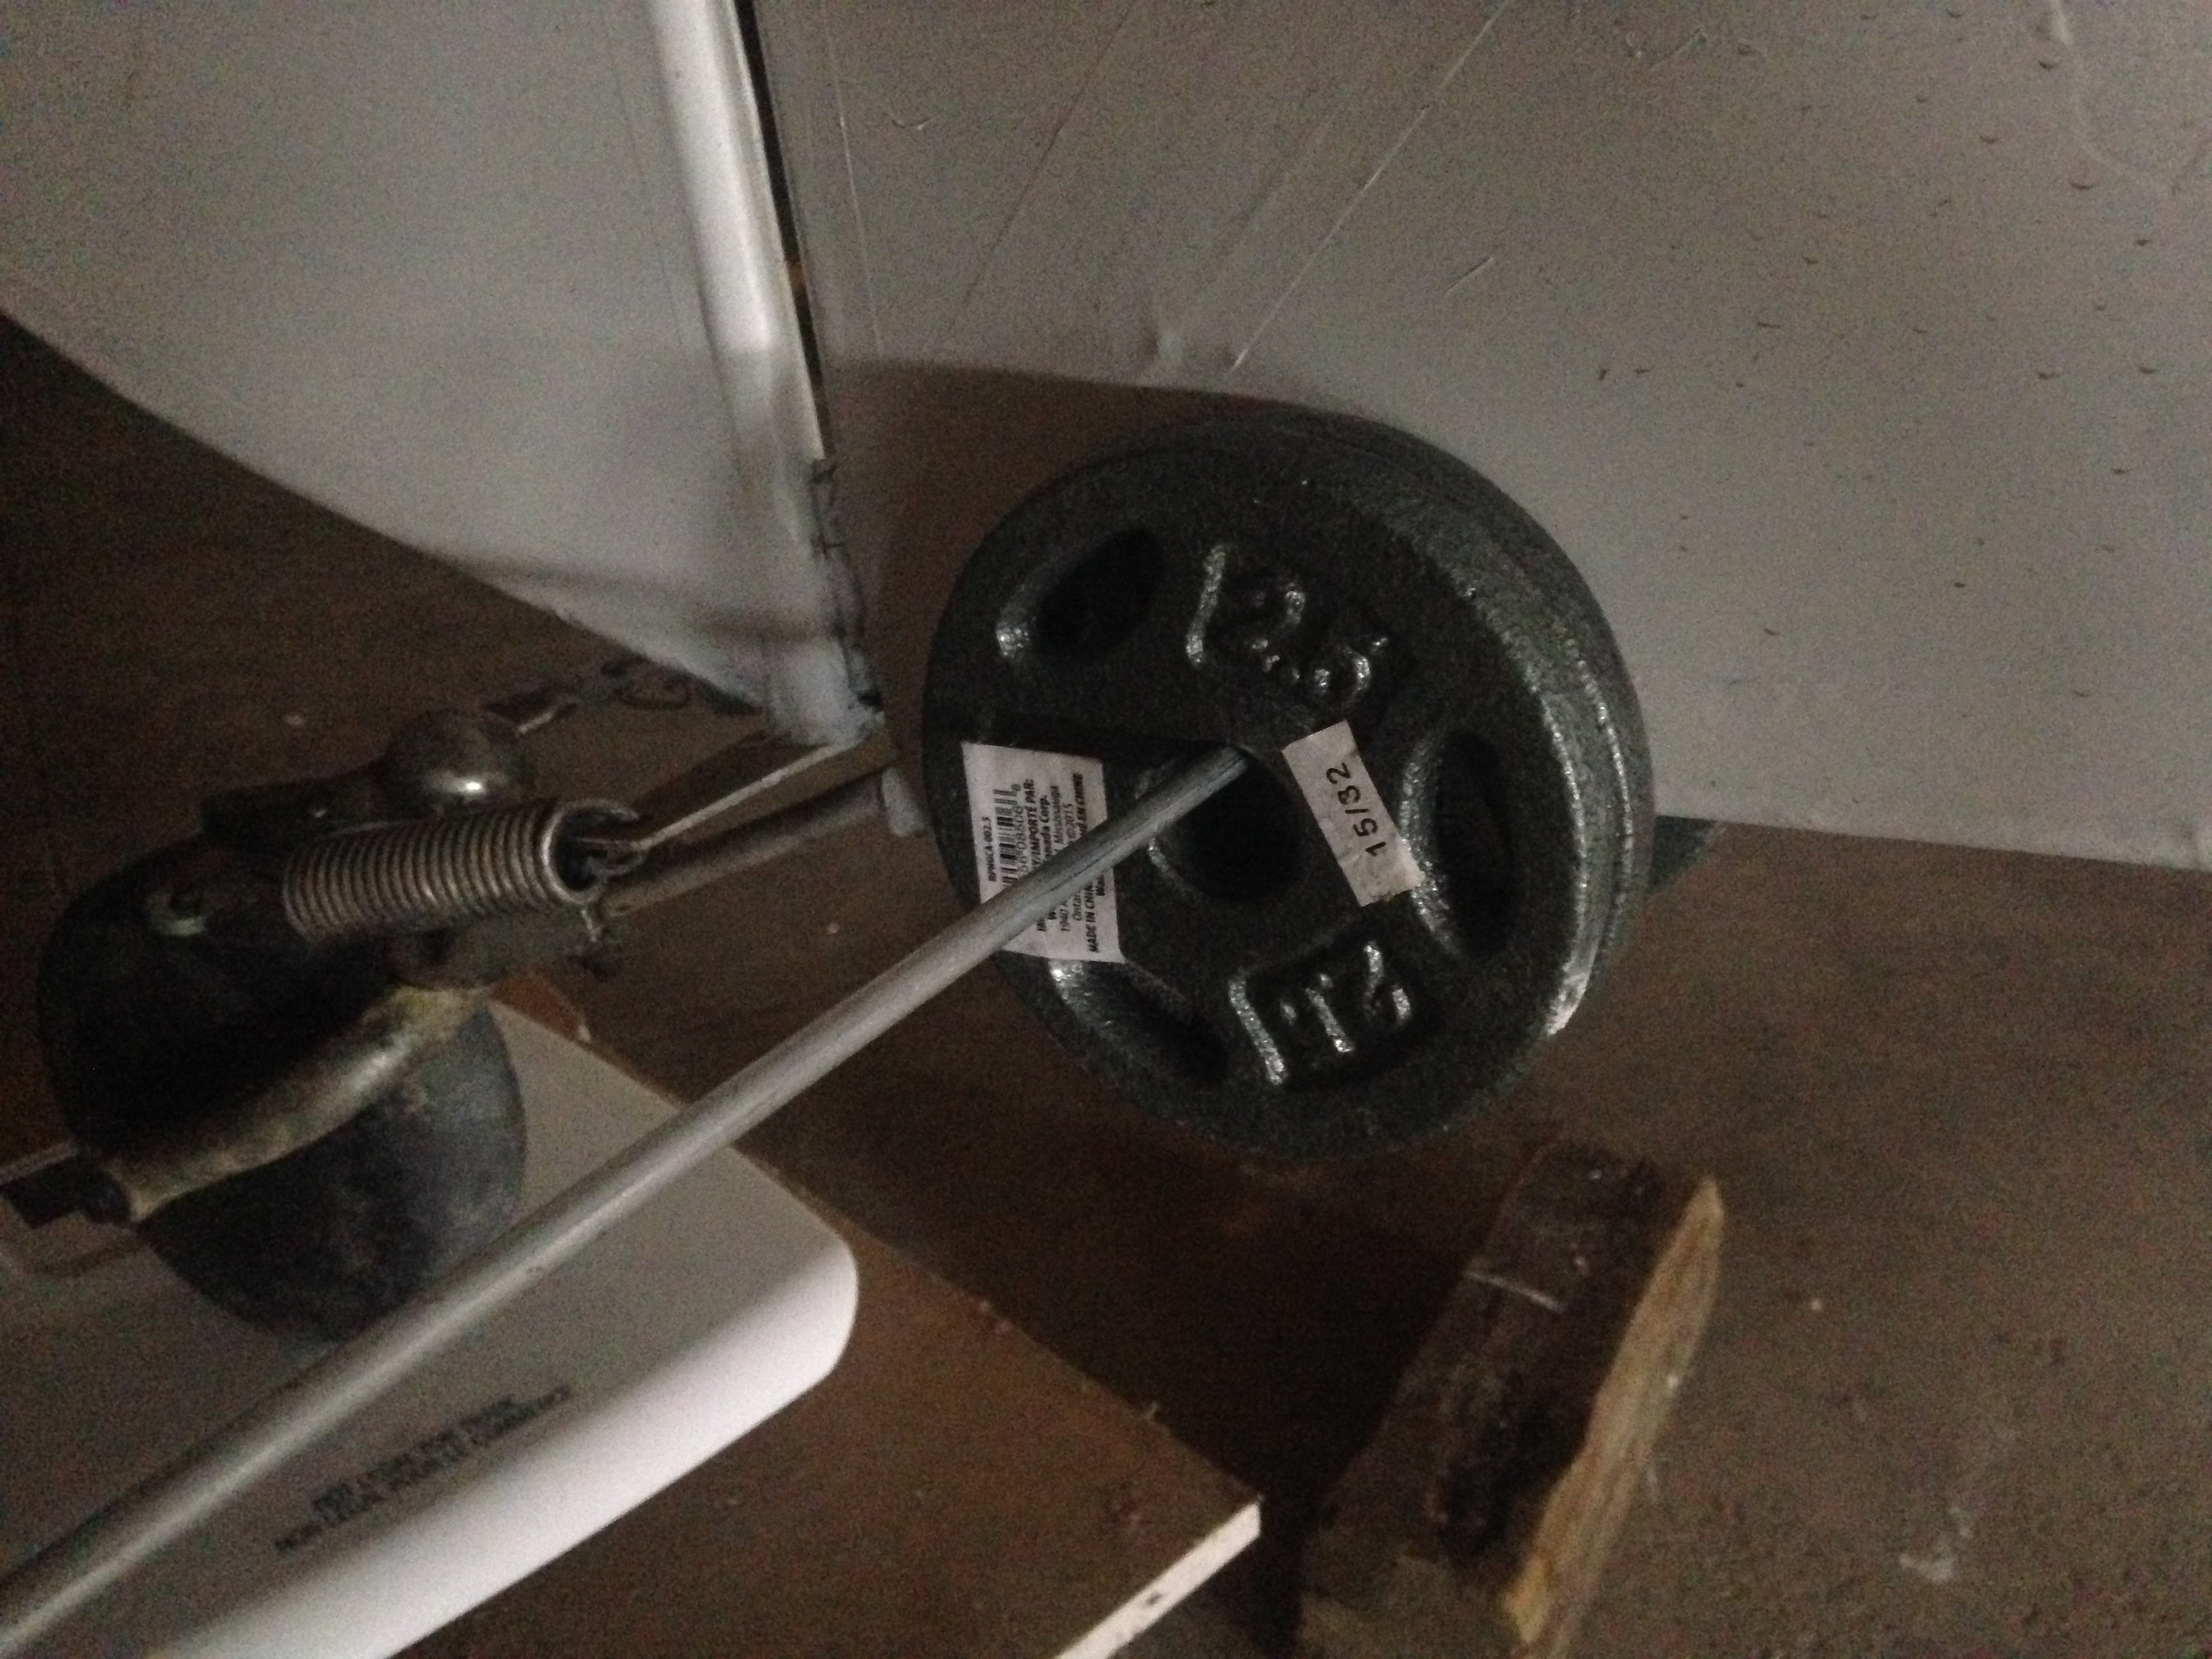
With regards to the weight in the tail - currently it weighs 61.2lbs. Ive temporarily modified the battery tray and moved it back as much as I could (8") and only gained 1.5lbs. According to the weight on the mains, my tail needs to be between 72lbs to get into the low -15's for CG. So I was thinking just as 1avidflyer suggested, of adding more lead directly at the tail. So I ordered some lead to melt down into rounded plates about 2.5" in dia. and bolting to both sides of the thru tube at the back. I've tried adding these 7.5lbs of plates (picture attached in next post) and gained 7.2lbs making the tail now a total of 68.4lbs. Note, these plates in the pic are just testing weight amounts. NOT a permanent solution. But I still need another 5lbs roughly and adding these clunky useless weights would keep me from sleeping. But, it is a quick an easy way of gaining tail weight that I'll keep in mind should the tank still not be enough.
So I figured that if I am to have a total of 5 gallons of fuel at minimum, and 15 gallons at max useful load I would prefer to shift 15+lbs of that weight that is already required to be there towards the tail.
I like the idea of the fuel indicator also and feel that its a nice backup to have if my burn rate was to be higher than anticipated. But will have to see.
Thanks again for all the help and suggestions guys.
-
I picked it up on eBay some time ago for a trike project. It's 2.5 gallon and they have 1 gallon also both coated or polished. I believe mine weighs just under 3lbs.
http://m.ebay.com/itm?itemId=201370338689&fromWatch=true
-
I'll be headed out of town to go check out a Murphy Rebel but when I am back I will attempt the sanding/polishing idea.
Looking closer it looks like I won't have any room with how the butt rib on the fuse mates up to the side of the tank. I wouldn't be able to see anything less than half way down to the bottom of the tank.
in another thread I am talking about my CQ issues with it being on the forward side of the spectrum. So another idea I am pondering as suggested by I think EDMO (apologize if I'm wrong) but to move my header tank and pump back. But if I did that I was thinking of using this fuel cell I have that's 2.5 gallons with a sending unit on it. That way I can pre calculate my fuel but on the cautionary side as soon as I'm left with just what's left in the 2.5 gallon header tank then the sender somehow lights up a dash light? Thoughts on this? It would only be an emergency notification if for any reason I am wrong or have used more fuel than planned? Also this would completely correct my CG and put me in the -15" range rather than -12 to -13".
 1 person likes this
 -
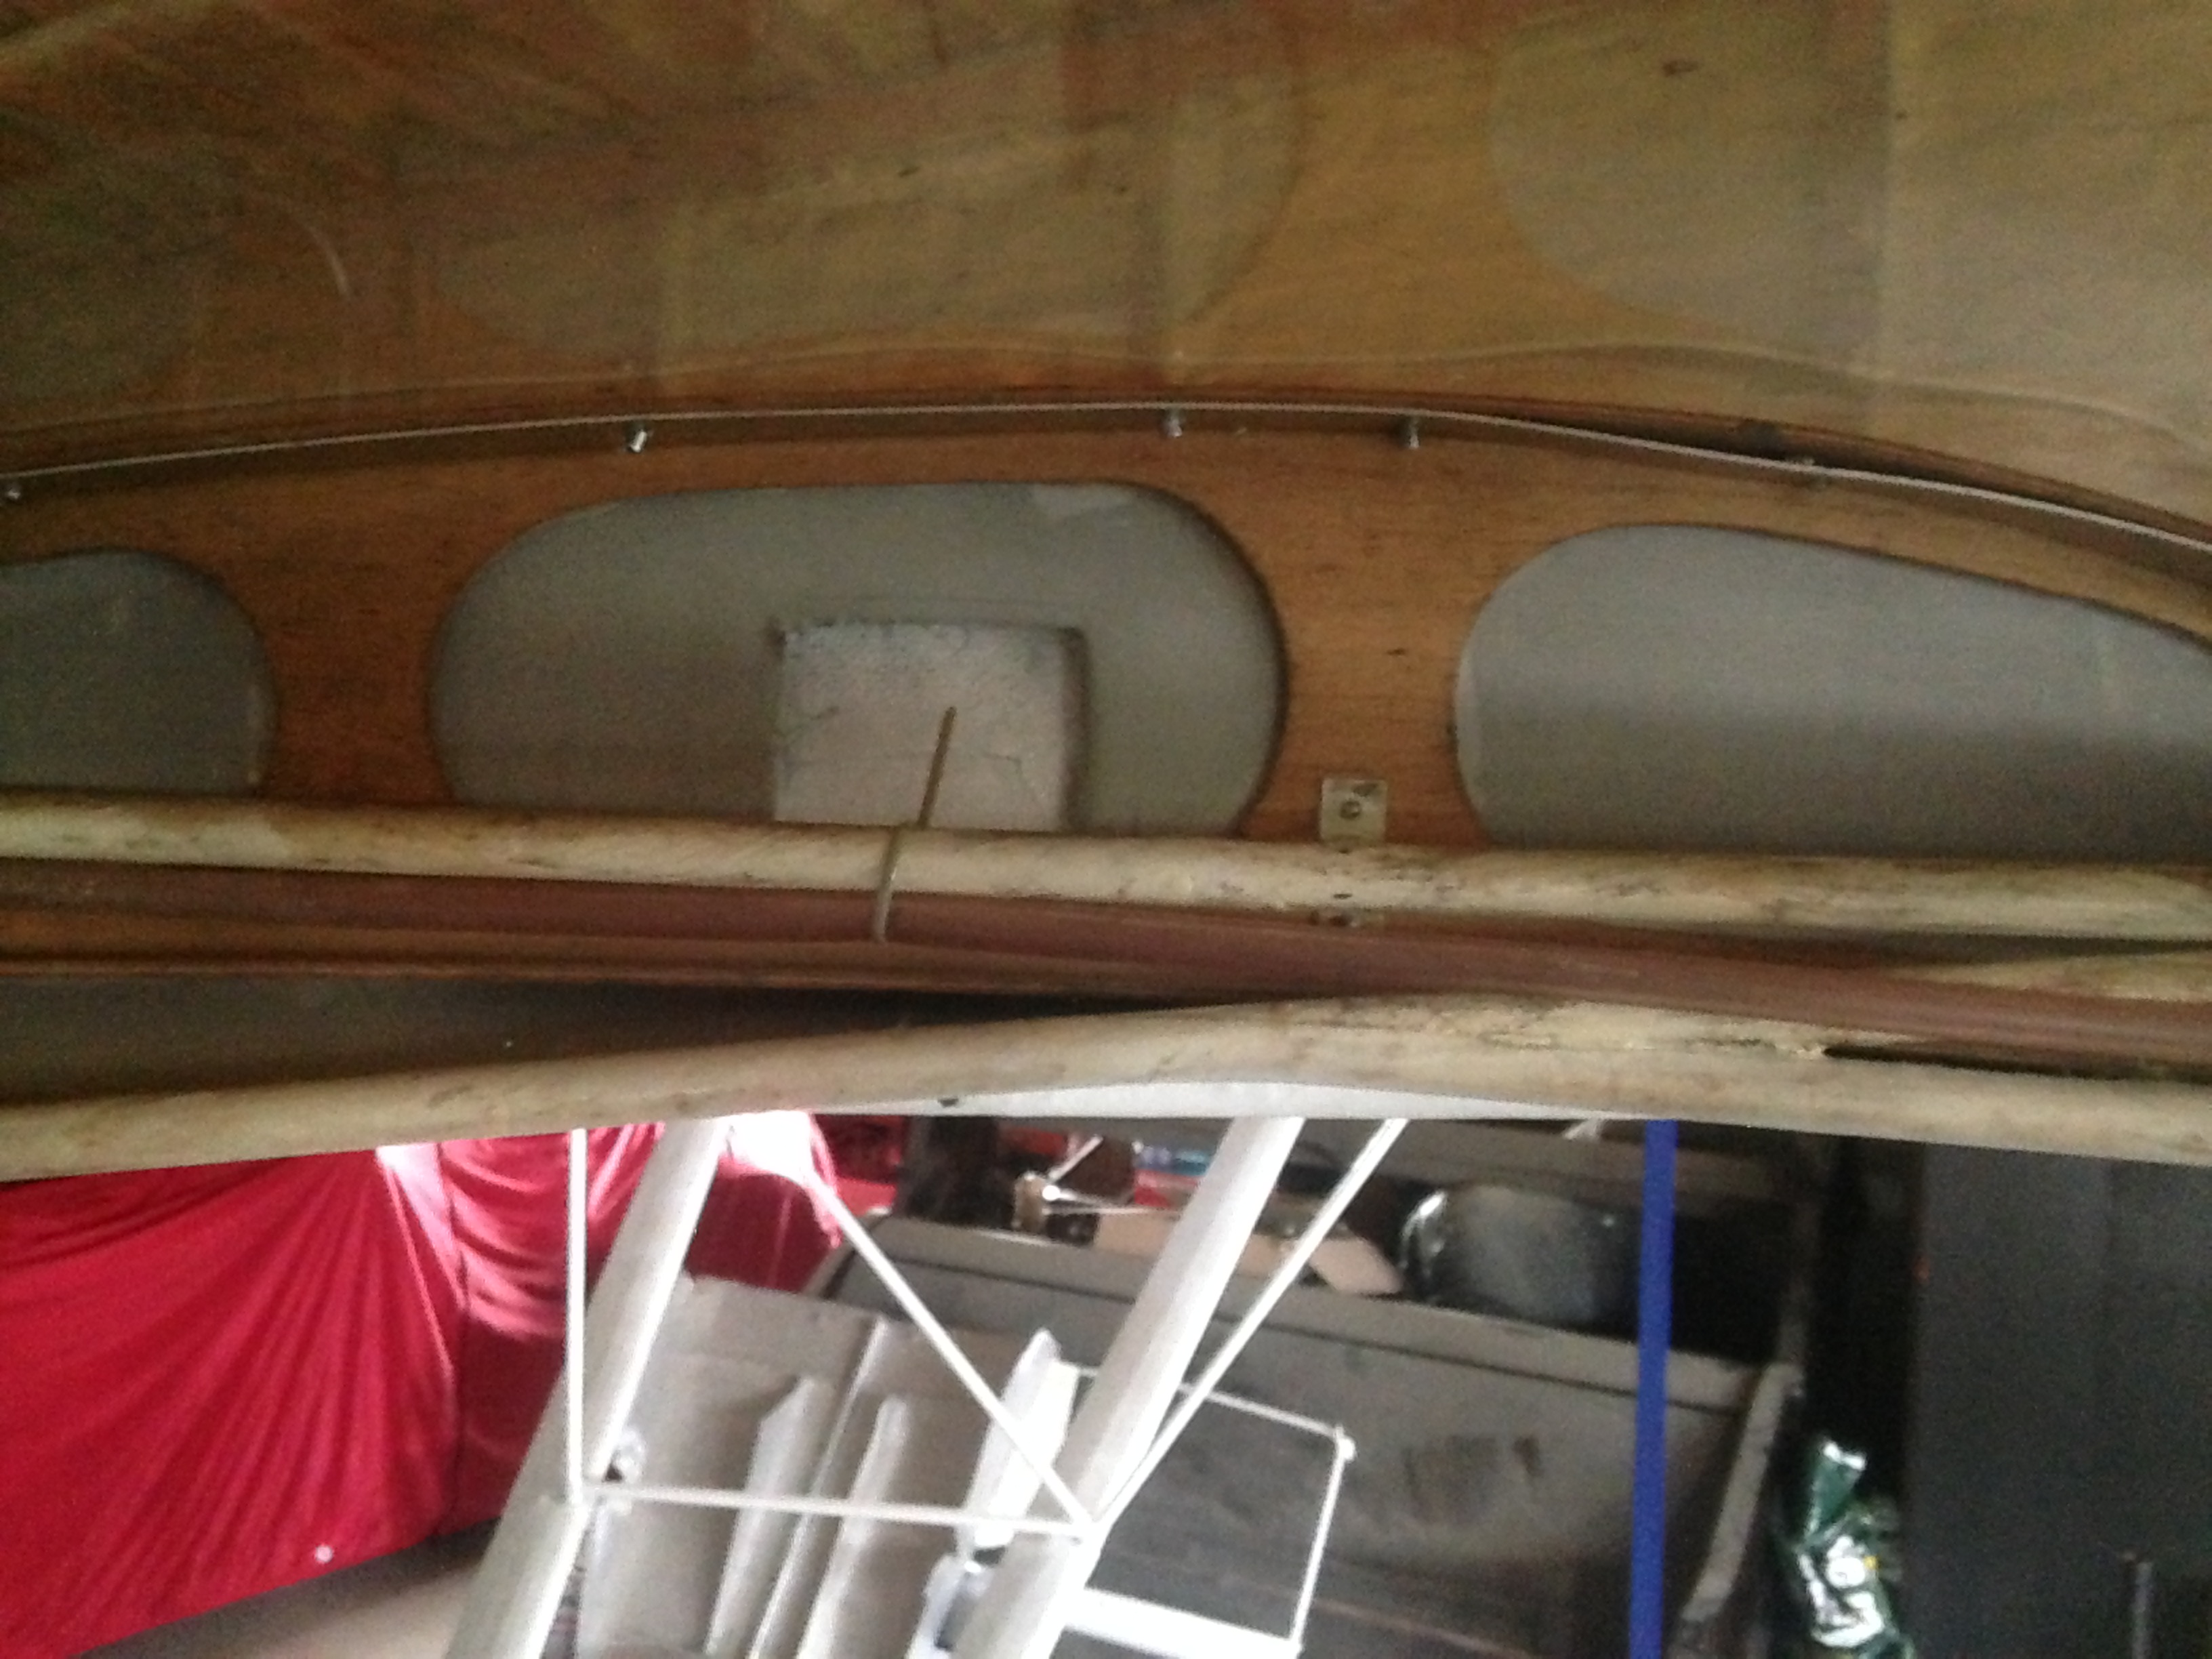
When I first bought it, it wasn't painted over and I couldn't see any fuel level. I had figured that's what that cutout was for and then because nothing was visible I figured it was like my Kitfox wings and had the butt rib that he glassed over. Now knowing that's not the case. Originally I was going to have the "spuddering engine type fuel indicator" but figured while I'm working on it I may as well keep going.
-
Okay thanks a lot guys. I took a closer look and it appears just as you stated.
My model 2 Kitfox had the butt ribs with wing tanks so I think that confused me believing they'd be the same.
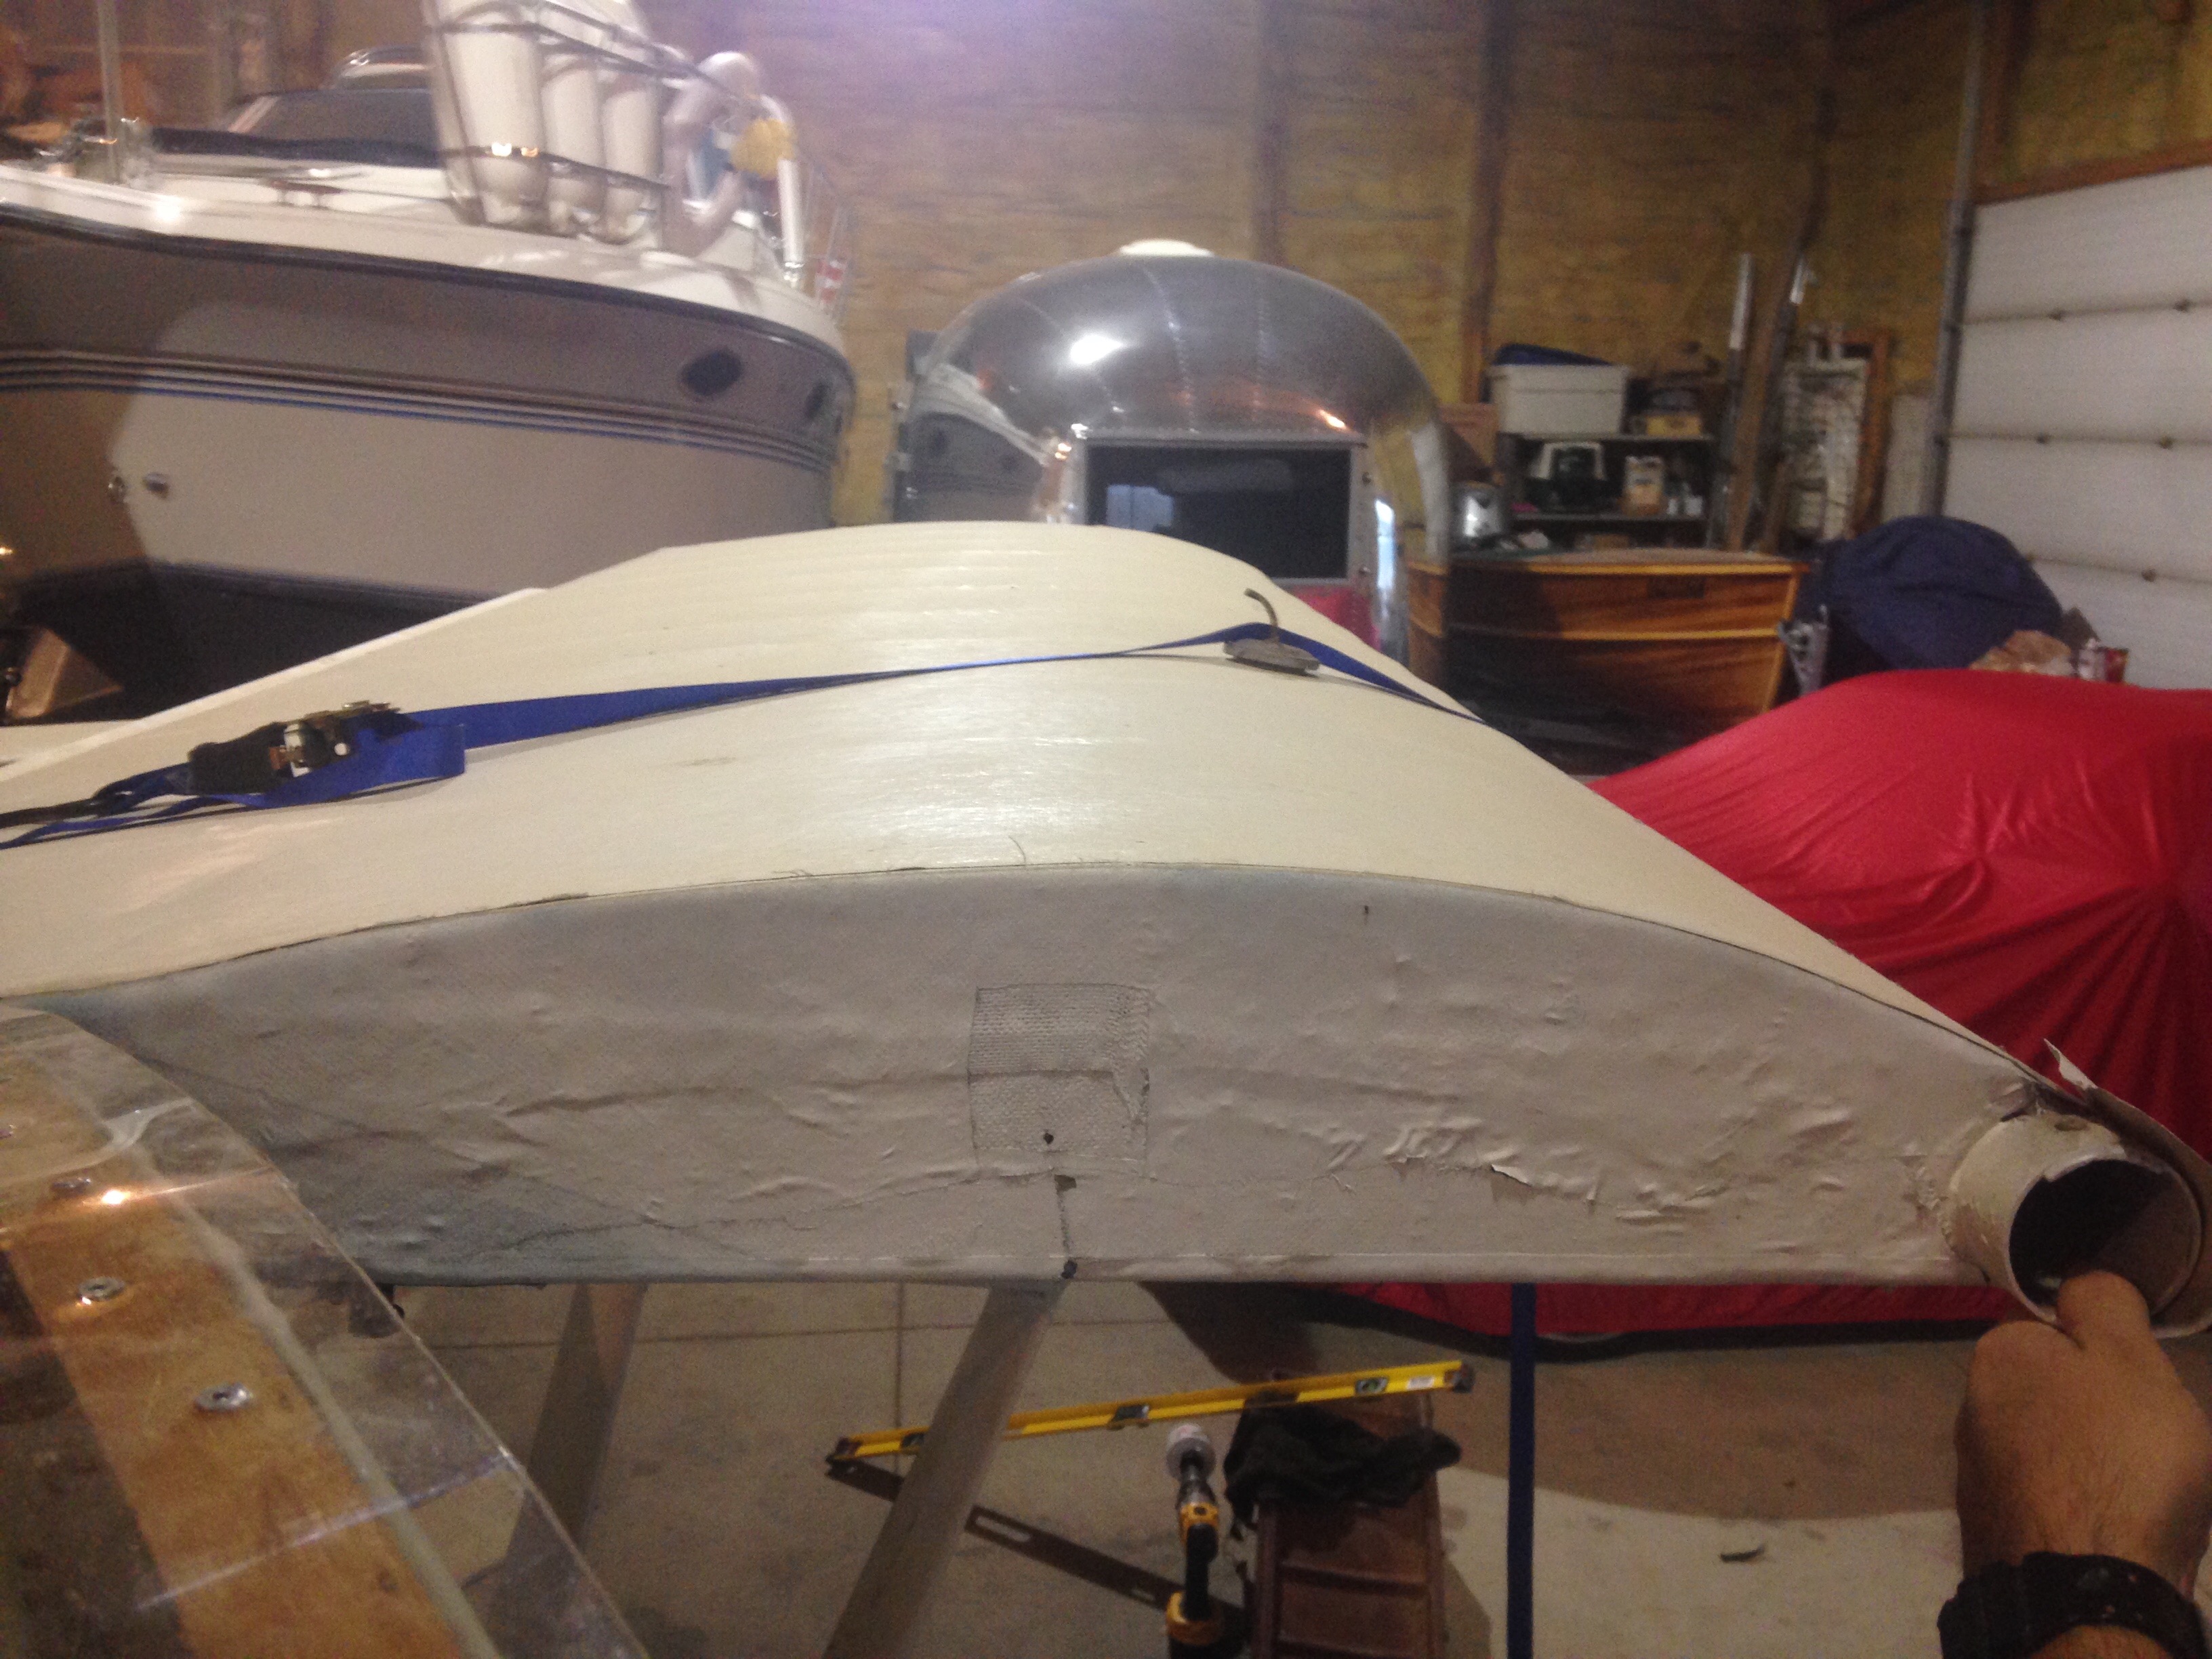
I was wondering why the previous owner had a horribly cut square cut out in the fabric that didn't show anything, even before painting. Picture attached.
Ive been posting a lot because I just want to be sure. After finding some worrisome work done to her I am looking everything over with a magnifying glass and getting all the direction I can. I've had to replace and repair nearly everything. Garbage bag ties used as cotter pins and wiring tie downs don't sit well with me. Oh and the 4 different colored wires all twist tied together with house merets that power the fuel pump....no thank you.
Borrow some gross weight?
in Avid Model IV
Posted
Thanks EDMO,
I am going to ask his exact weight. I'm yet to meet him and everything has just been by phone. I've only seen his airshow pictures so I'm completely guessing based on his pics. But last night I calculated myself at 205, him 220, 30 for fuel then CG will be at -15.1 and total weight will be 1175lbs. So if we can fit more fuel and 1200lbs is OK for now to be at then I'll feel comfortable with everything.
Ive been doing taxiing practice and getting up to speeds to lift the TW. But before I continue I'd rather have the safety net and expertise of someone with experience. Who knows, I may be doing something that is just yet to bite my ass so I'd like to know lol.
My grass strip is 1280' long. Regarding fitting in the cabin. He doesn't appear to be a wide built person. Just average I guess. Same with myself. My dad is 6'2, 225 but shoulders like an outhouse and he and I were snug.