High Country
Members-
Content count
479 -
Joined
-
Last visited
Posts posted by High Country
-
-
thanks leni that would save me from breaking more drill bits
-
No need to add a new one just keep moving along with what you have going along and get that bird in the air!!! good luck
[edit] there is no real need for a second one and this is the weakest point of the entire lift strut so why add a new weak point.
-
looking for a B gear box if anyone has one laying around they want to get rid of. I picked up a 582 to replace my 532 and need a box for it. will also be needing a new regulator rectifier as the one for my points engine is different.
Robert
-
great. I thought someone could put them to use. looked like a great price too. I would have gotten them but the ones I made up are working great. I can easily pick the tail up in the air without moving an inch and i'm just running the old matco brakes from KF
-
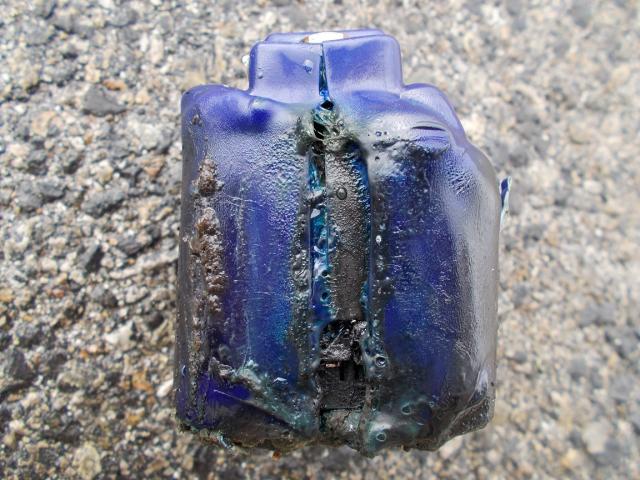
Leni i've thought of that but I'm not too sure how much epoxy would be on it by the the time I get it into the hole as I have to use my long flexable fingers to get it in and its quite a chore. I'm now thinking if I can get a bolt in it that is to long I can figure the location and pre drill it for a cotter pin. then I could hold the long threads with my fingers screw up a castle nut then two other nuts and lock them together giving me something solid to put a wrench on from the outside and tighten up the castle nut then just lock it with a cotter pin. then I could just cut off the excess bolt with a dremel and be good to go. sound like a feasible idea?
-
just found these on e-bay thought someone might find a use for them http://www.ebay.com/itm/Kitfox-Brake-rudder-Pedals/331279740092?_trksid=p2047675.c100005.m1851&_trkparms=aid%3D222007%26algo%3DSIC.MBE%26ao%3D1%26asc%3D24641%26meid%3D8781029242328690898%26pid%3D100005%26prg%3D10413%26rk%3D1%26rkt%3D6%26sd%3D331279743053&rt=nc
-
Put a better spring on it now. The one from Brett will not stand up.
I'm only one bolt and some paperwork away from being in the air I'm not changing at this point. thanks for the input though
-
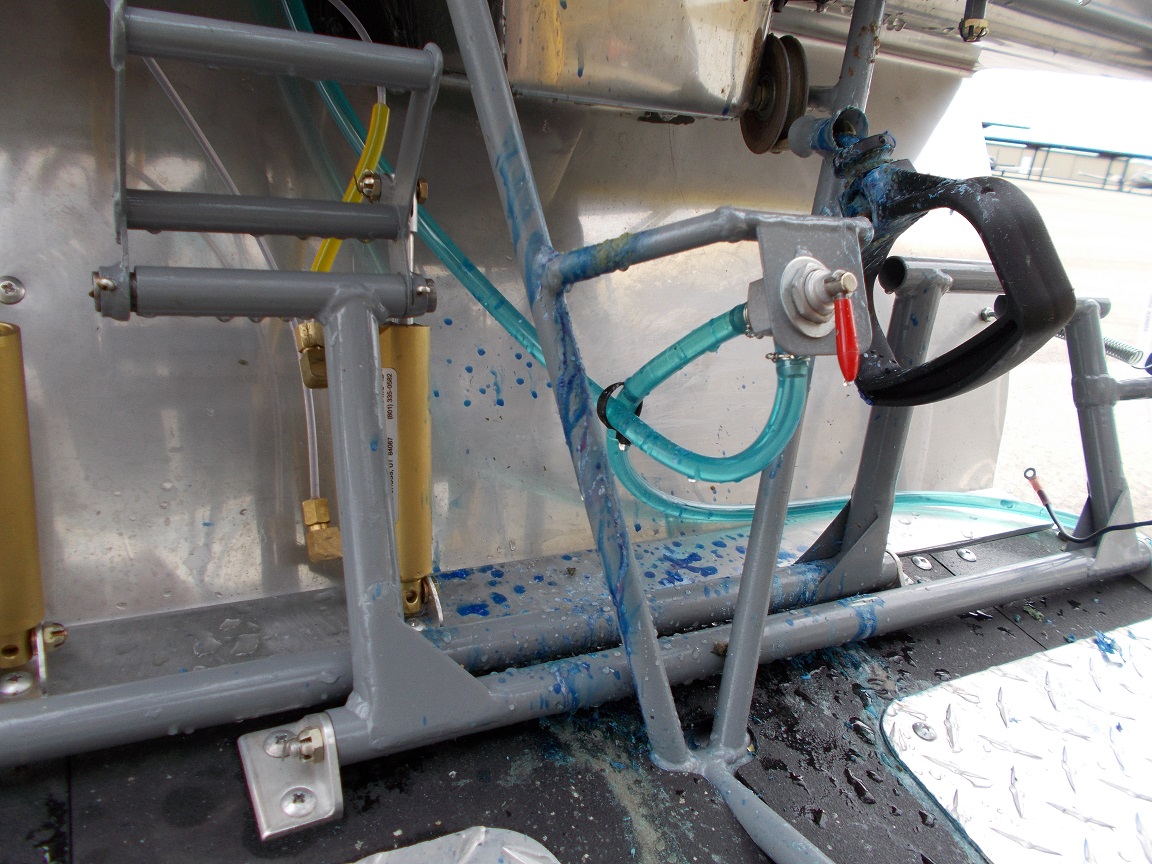
Leni. on my airframe the two lower tubes coming together where the bolt sits between has been filled with some sort of epoxy or something completely to the top of the tubes so its completely flat giving me nothing to hold against.
Ed- the strap and rivet may be an option I will have to take a look and give it some thought
-
I have installed Bretts two leaf tailwheel spring which adds a second bolt to mount it to the airframe I believe this bolt is more to keep the second spring from rotating from side to side rather than actually holding everything on. my problem is getting this second (rearward) bolt in. Bretts way was to grind off two sides of the bolt get it down into the airframe and through the bottom then just put on a locknut and the flat ground head would hold itself in place between the two lower tubes as they come together but on my airframe that whole area has been filled with some type of epoxy so I have to get something in there to hold the bolt while putting the nut on. has anyone else run into this problem there is no real room to work with and I really don't want to cut into my fabric just for this bolt. I did put in an inspection ring but its a bit to high and forward to really get directly onto this rear bolt. I had thoughts of trying to tap threads into the spring and just thread a bolt up through the bottom I know it will do nothing to hold it all onto the airframe but it will keep the two springs aligned which I believe is its purpose anyways correct
 I did have to grind just a tad off the top edges to fit up into the channel on the airframe which helps hold it straight but it is definitely not enough. other than making adjustments and tuning this is the last real thing I need to do before I can fly it.
-Robert-
-
easy don't mask anything and just paint it all the same color its not really seen anyways. some people don't even paint the fabric on the inside of the cargo bay just the tubing and controls before the fabric is even on.
-
Might try looking at a fine cabinet shop if you have one locally they often carry wood like this. would probably save quite a bit on shipping too if you could find it locally.
-
Ed, the nylon bushings are pressed onto the aluminum flaperon spar then the hinge rotates around the bushing. I've thought it would be beneficial to drill a small hole in the hinge so you could shoot some lube in there and rotate it up and down from time to time just to keep them moving real nice. I know mine are pretty stiff and i'm not to sure how to fix them.
-
does this Kitfox gear have the same mounting locations as the Avid?
Yes. on the gear legs up through the MK IV's not sure what KF had after that.
No- on the cabane the widths are different
I had an avid gear, switched to a KF gear and now have a modified Ridge Runner gear. the fore and aft mounting locations are the same. might be off by just a smidge but it only took slight filing and all dropped into place on all three gears onto my avid airframe.
-
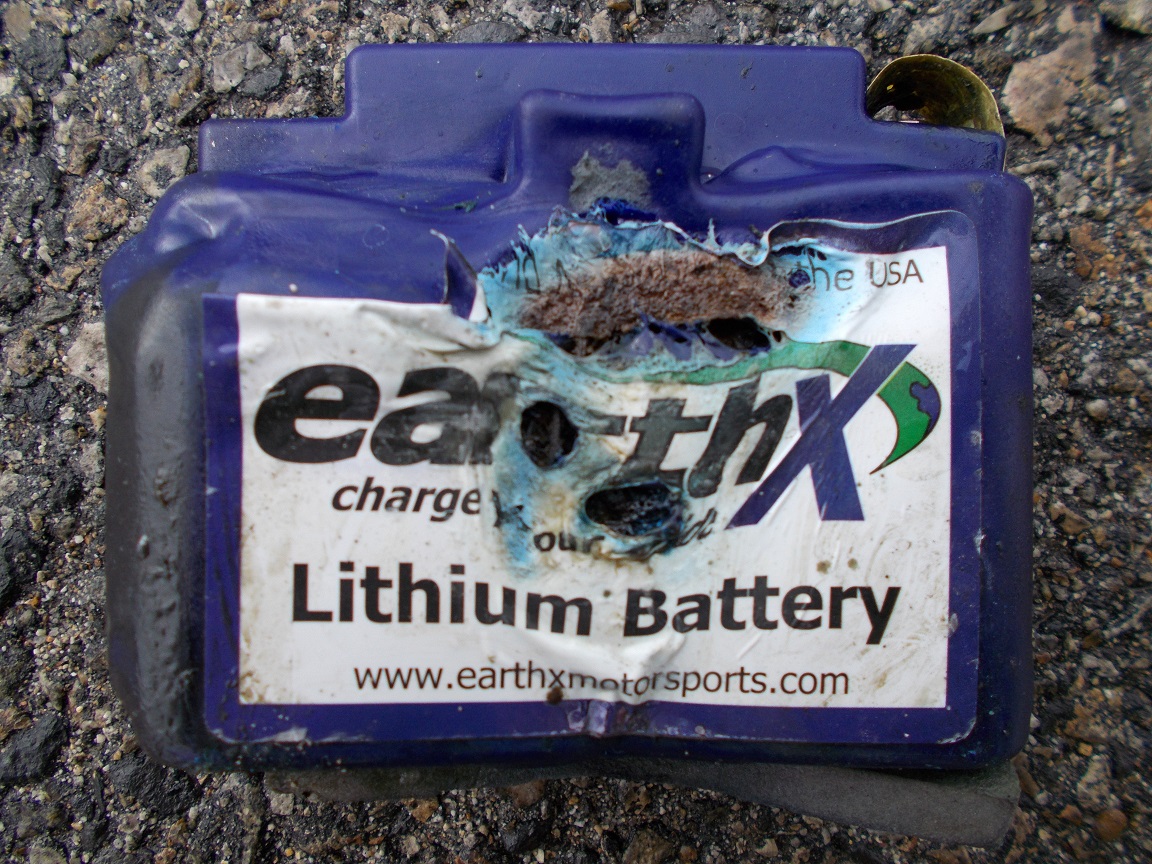
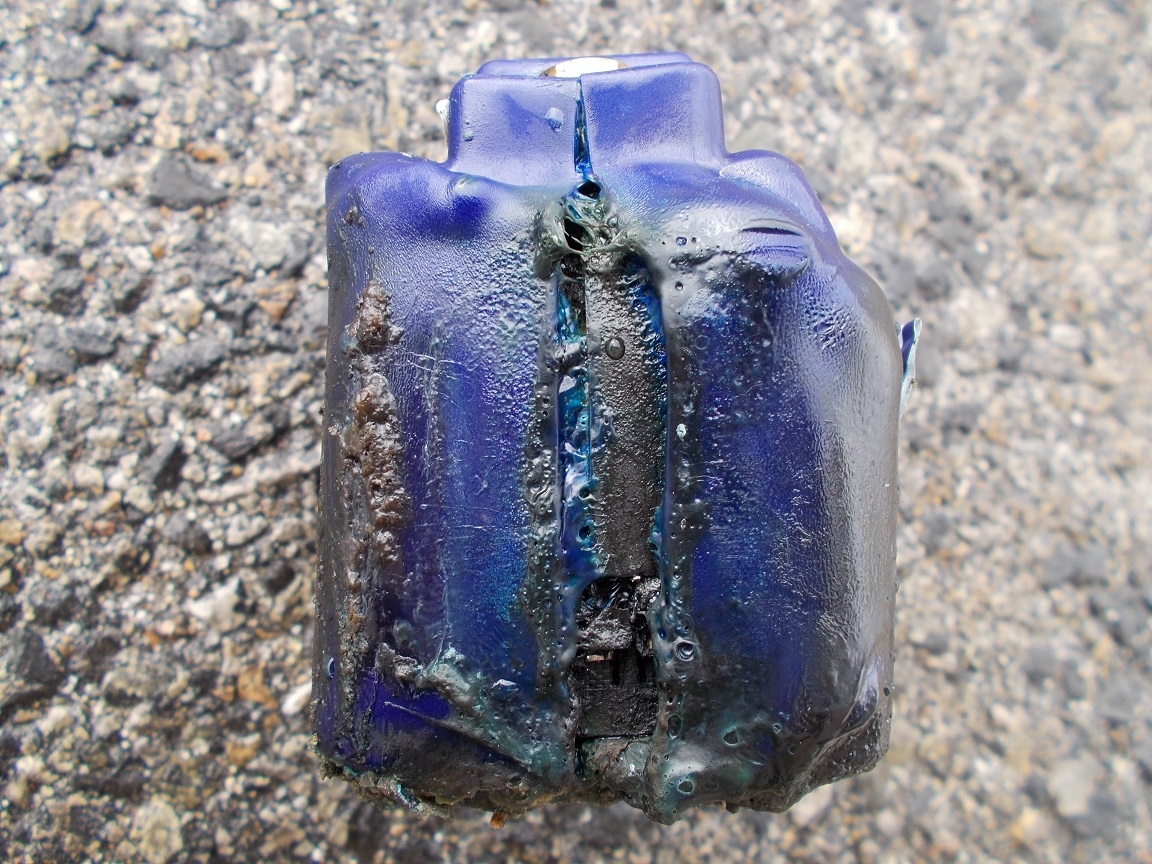
I was running the ETX 12A
Earth X had and engineer call me direct at home last night. He seems to be a great guy that knows what he is talking about. My voltage output is only 14V so thats not an issue. None of my fuses were popped. It may have just been a bad battery and not a huge concern for others... hopefully this is the case. I'm going to send them the battery for him to analyze and will post up the findings.
-
Luke- thanks this is my first build with little to no experience with most of the different processes and not the greatest tool selection so if I can do it I believe anyone can best secret I can give is to just be patient and don't lower your standards just to get done a little quicker. thats also probably the hardest part. I'm sure yours will be great.
Ed- I think all electronics are like that right. they work off the magic smoke and if it gets out there is nothing left to make it work.

-
I'm still not too sure myself. Currently they are trying to void the warranty saying that it isn't big enough to turn the starter... I have pull start grrr. I sent pics of the engine showing no electric starter and they haven't replied yet. in the mean time now I have to decide on a different battery... any suggestions I'm running a 532 with pull start mainly just need it for my MGL engine monitor. I will keep you all posted as to what we find with the problem and what results come from it.
-
Ed, thats the battery It landed there when I quickly removed it from the plane while it was still smoking, It stayed hot for several hours even after being soaked in water. it was still warm the next morning. I think it was having some sort of chemical reaction still.
-
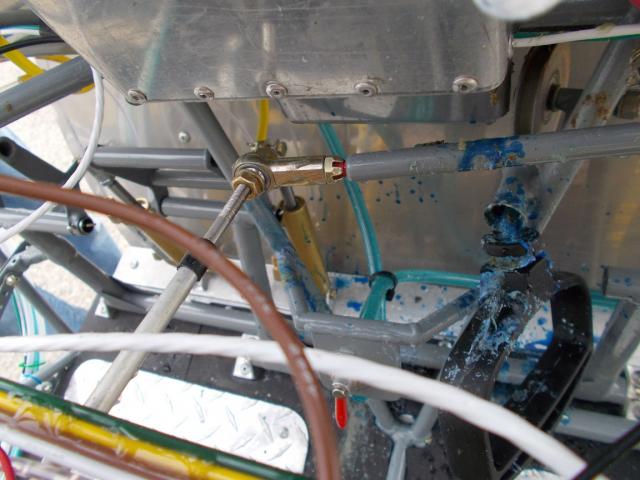
I've decided to relocate the battery forward of the F/W and at some point plan to replace the fuel lines with aluminum. I've contacted earth X and am working on getting this taken care of. will definitely be going with a different battery. I've lost faith in lithium technology.
-
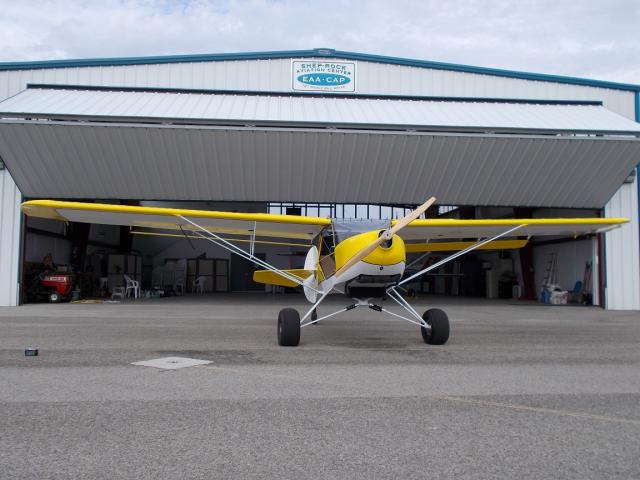
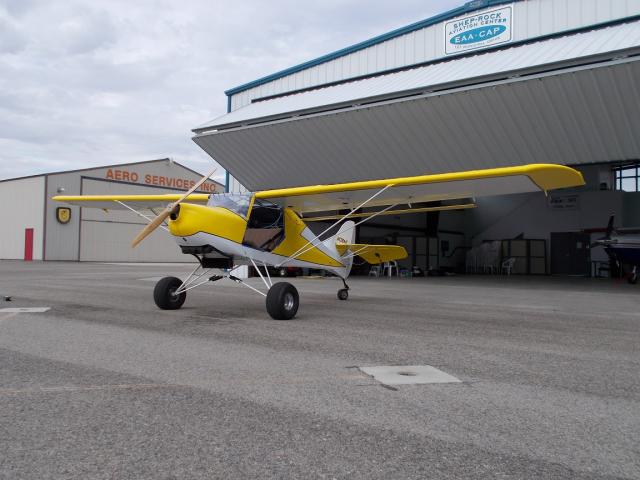
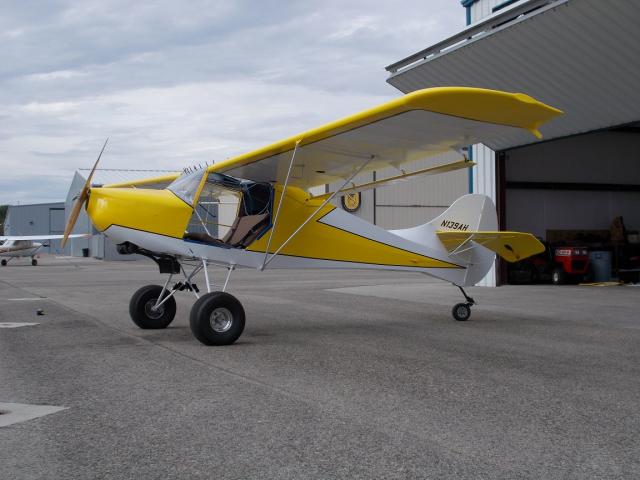
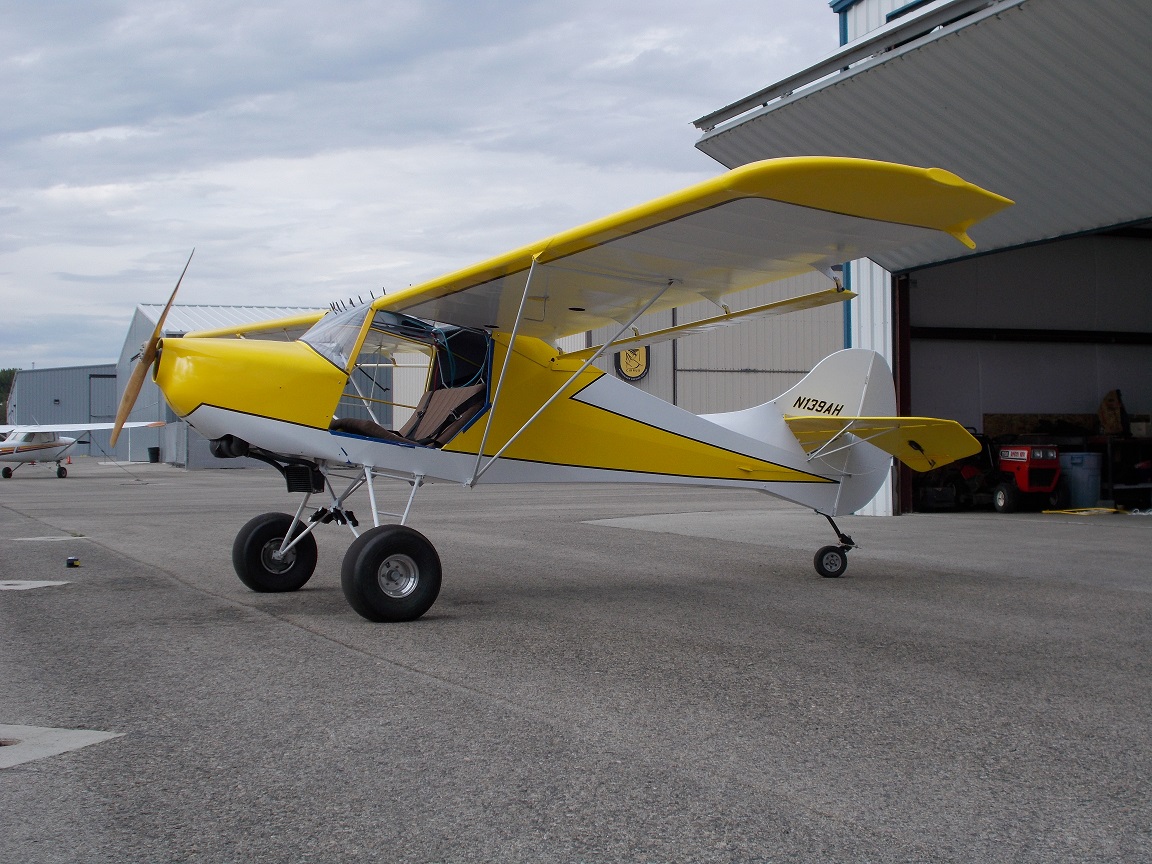
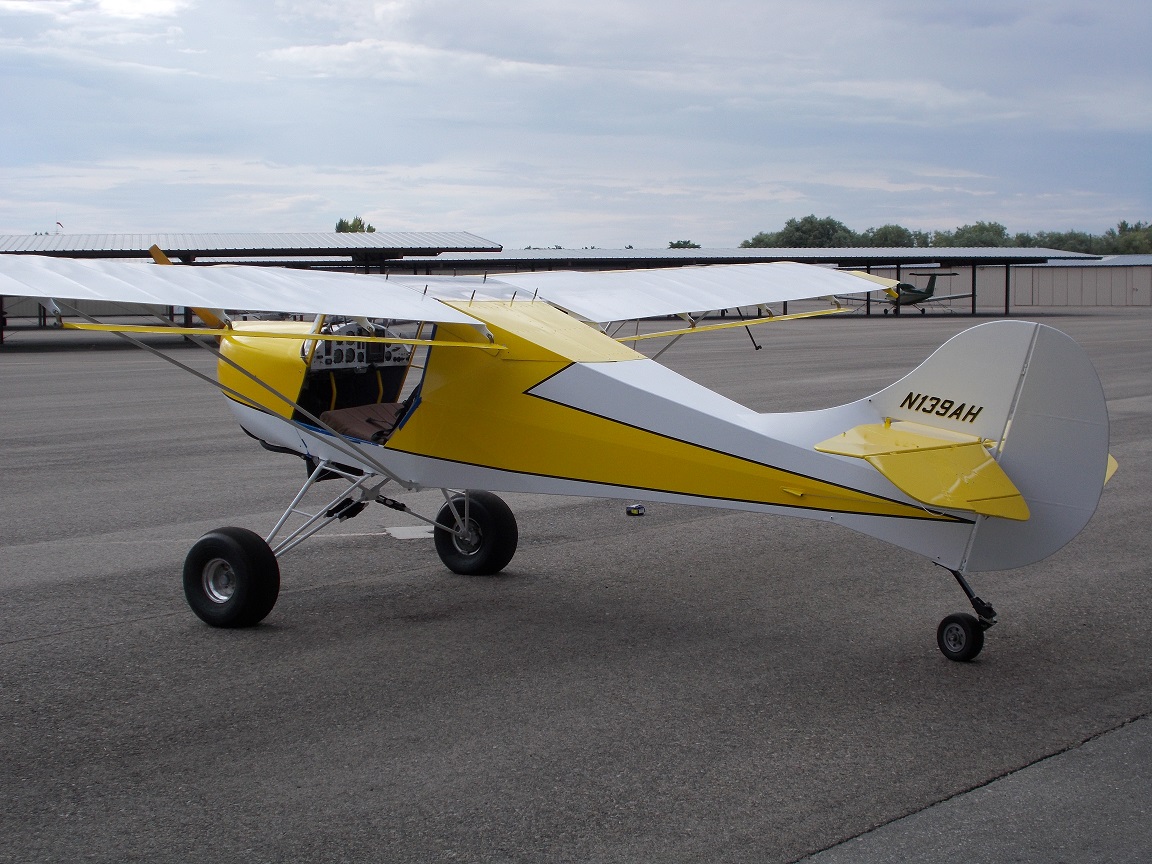
The main gear legs and bungee struts are from Ridge Runner. I made the cabane from scratch. It would be a piece of cake to make bungee struts for the factory bush gear that Brett and others sell if someone wanted to convert from the springs. This gear also sits 10" wider than Bretts. its awesome on ground handling.
-
One step forward and two steps backwards. guess that's how it goes sometimes. I made my first engine start and taxi this past weekend all was great up until my earth x battery had a major meltdown. once I get that all fixed I will be pretty close to having the DAR come out and take a look

 2 people like this
 -
So I finally made my first engine start this past weekend! all was good went through the rotax break in procedure then did a little taxing, (love the extra wide gear)]when I pulled back up to my hanger I notice blue liquid dripping down into my floor boards followed by lots of white smoke. when I finally had the whole instrument panel to firewall soaked in water and got the battery out it was not a pretty sight. bad ending to an otherwise great day. as it turns out its not too uncommon for these earth x batteries to just have a major melt down like this I'm just grateful I wasn't in the air when it happened. I was hoping to be ready for inspection in a week or so but now im a couple more weeks out as I have to go and fix all the damage. also plan to relocate the battery to the engine side of the firewall in case there ever were an incident again it would at least be going down the fire wall to the ground rather than on my feet. I will not be using nor would I ever recommend an earth x battery to anyone after this and reading about many others who have had this exact same problem. when I get my money back I'm going with a different brand.


 1 person likes this
 -
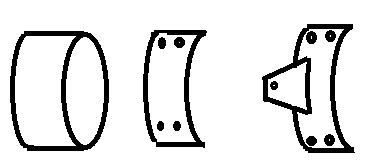
Ed, My avid uses two small steel angles riveted/ hysoled to the spar as well. I have seen some that looked much nicer on other Avids though. and also on some Just aircraft. looked like someone took a piece of tubing with the same size inner diameter as the outer diameter of your spar cut out a small shim say 1/4" or so and cut that up into smaller pieces so when its cut you have a nice piece of material that is perfectly shaped to go around your spar but its only 1 1/2" or so long then you just weld a tab sticking down however far you need to bolt the jury strut onto this is then attached to the spar just like the others. hope that mad since.
-Robert-
[Edit] - crappy paint shop drawing to try and explain what I'm talking about
-
Doug, I'm glad you brought this up. so just to make sure I have 3 curtis quick drains in my system- 1 in each wing tank and 1 in the header tank. I'm planning to put fuel in for the first time next week. Do I need to replace the o-rings now to make sure they will hold up to alcohol or am I ok to just use them seeing as I don't plan to ever run alcohol except for the occasional time when I cant find the good stuff??? sorry to butt in but I had never considered this and now you have me thinking.
-Robert-
-
I currently have the 13lb on my project and that seems to be what was most commonly sent out... however I just came across this http://www.rotax-owner.com/rotax-blog/item/13-on-the-fence-about-coolant today while looking for what coolant I need and it states in the 2nd paragraph that if you're running a 50/50 mix you should be using an 18lb cap.
-Robert-
Edit: just found this to http://airplanepilot.sportaviationcenter.com/airplane-lsa-pilot/maintenance-inspections/rotax-airplane-operations/rotax-cooling/
Water Based System
- Maximum coolant exit temperature for 0.9 bar/13 PSI pressure cap is 239 F
- Maximum coolant exit temperature for 1.2 bar/17.5 PSI pressure cap is 248 F
- Recommend change to higher pressure cap if coolant temperatures are high
- Use distilled water, not tap water, to eliminate corrosion from tap water impurities
- DEX-COOL coolant (marked on manufacturers bottle) is common type to use. DEX-COOL American version is orange.
- Use only coolants and mixture ratios recommended by ROTAX at www.rotax-aircraft-engines.com


Wing strut adjustment bolt
in Technical tasks
Posted · Edited by High Country
Ed- you're right they are not an area of concern i was just pointing out that they are the weakest link. I guess if a guy wanted to put one in you could use an even bigger one than the originals too if it makes you feel better.
These are more for making fine adjustments not really for adjusting the actual full twist of the wing. what wing do you have and what is the twist anyways? If you had one in each wing you could split the difference in the adjustments rather than just matching the fixed one with the adjustable one but they should be built close enough anyways that it should not take that much to match up. just my .02 cents either way I say do what suits you best thats the beauty of experimental.