High Country
Members-
Content count
479 -
Joined
-
Last visited
Posts posted by High Country
-
-
Wishing everyone a safe and wonderful 4th of July, and Thank to all of our military servicemen and women and their families. our hats are off to all of you. We are so Blessed to call ourselves Americans and to partake in all of the Freedoms we have.
2 Corinthians 3:17 Now the Lord is the Spirit, and where the Spirit of the Lord is, there is freedom.
-
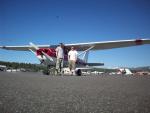
Ahh home sweet home. Gotta love it. Thanks for sharing these awesome pics Joey, Can't wait to see your video. Glad you made it back safely.
-
Is there not enough room to widen the hole up a bit to make it fit? another option may be to still replace the slip indicator move the gauge on the far left into the spot where your slip indicator currently is so that you can put your radio on the far left of the IP and then mount the transponder where your radio currently is.
-
I would have to agree with Dave B on this otherwise you will have to have it hanging down in the way. Dave where would one go about purchasing one of these add on slip indicators? part# ?
-
Thanks for the replies,I think I will try EAA and AOPA for insurance pricing. Thanks Ed for the suggestion on the IP, thought of that as I was putting on the design. I cleared the IP with a satin clear so will have to see when we get flying. Your probably write about the glare though.
Nice work, I made an instrument panel for my truck back in 2007 just like yours and covered it with the clear as well and it still looks great so you should be good. the glare shield on the top would be a good addition though.
-
I hope to get over to the airport this week sometime, I'll take pictures. I don't think you will be able to see much though. I glassed bothed sides and edges with the thinest cloth I could buy. Only glassed the rib tail that is exposed to the elements.
pics would be great thanks. so it sounds like you just wrapped it around the lower cap strip then onto the exposed tail is this correct? I already have some aluminum as i have mentioned and also have some 2x2 twill carbon fiber, still trying to decide which would be best.
-
Is that really easier than bending up some aluminum? You don't have to use .025†2024-T3 aluminum angles, any aluminum you put on there who'll be significantly stronger than without. Nothing in the scrap pile that might work?
I do have a piece of fairly stout aluminum that was supposed to be for mounting the side radiator but I plan to relocate it down under the belly so I will not need it. Also have the aluminum door panels for the lower part of the door that I plan to replace with lexan so I could use this as well, Would that do you think. If so should I just slit the lower cap strip slide it in and glue/rivet it in place?
-Robert-
-
Would think that a complete wrap would be stronger and more weatherproof.
ED in MO (ex SD & Caliber Press grad. too)
That's kinda what I was thinking, just trying to decide do I wrap it out and around the bottom cap strip and back into the webbing or do i cut small slits in the bottom cap strip against the webbing to allow the layers to just go straight through into the webbing? also I've never worked with carbon fiber before so I'm not to sure how many layers I need I'm thinking two layers per side, does this sound about right.
-Robert-
-
Thanks for all the input. After pricing the aluminum that the Kitfox mod used ouch!!! I've decided to use carbon fiber to reinforce them. I'm wondering if I should just layer each side or wrap a layer over the edges as well. hmmm. Hey Bandit you wouldn't happen to have any pics or input on how you fiber glassed yours by chance would ya? I will post up some pics when I get that far. I've been at POST academy for more training for the sheriffs Dept for the last couple weeks and another to go so it will be a little while.
-Robert-
-
Thanks alot and yep one day closer, hopefully just a couple months left till I hit the sky. Yea!!! Did git to take my wife out in the club cessna the other day had a great time.
-
did you just reinforce the tails or should i cut slits in the lower cap strip and continue them up into the web of the rib? what type and thickness of aluminum or how many layers of fiberglass was used? I'm now thinking of carbon fiber. hmmm the possibilities.
-Robert-
-
so I just got the last of my ribs from Brett and am preparing to start building my wings!!! my question is how strong are the standard rib tail hinge mounts, they seem a bit weak to me. I was thinking about adding thin aluminum pieces to each side of the wood tails but not sure if I should cut slits into the bottom cap strip so they go up into the web of the rib or just bend them and attach them right to the lower cap strip. what are some things others have done or should I just leave them alone. Pics would be awesome
-Robert-
-
Thanks for the info I will give Brett a call, I need to order some wing tanks anyways
-Robert-
-
How long are the spar tubes?
Off the top of my head I want to say around 9' but will have the check to make sure. they are the short tubes.
-Robert-
-
Hi, what's the covering system of the fabric ? and are there still available for sale ?
Eric
sorry I decided to go ahead and use this fabric
-
A friend of mine sent one of the door frames of his Avid Mk IV to LP Aero-Plastics and they made a mold for solid plexiglass bubble doors.
They are available from them.
Will these fit the "B" model by chance?
-
I just made notches where they seemed to be good. I don't have wings yet but did get an e-mail from Brett today saying my new spars and ribs are going to ship tomorrow, Yea!!!
-Robert
-
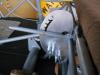
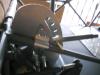
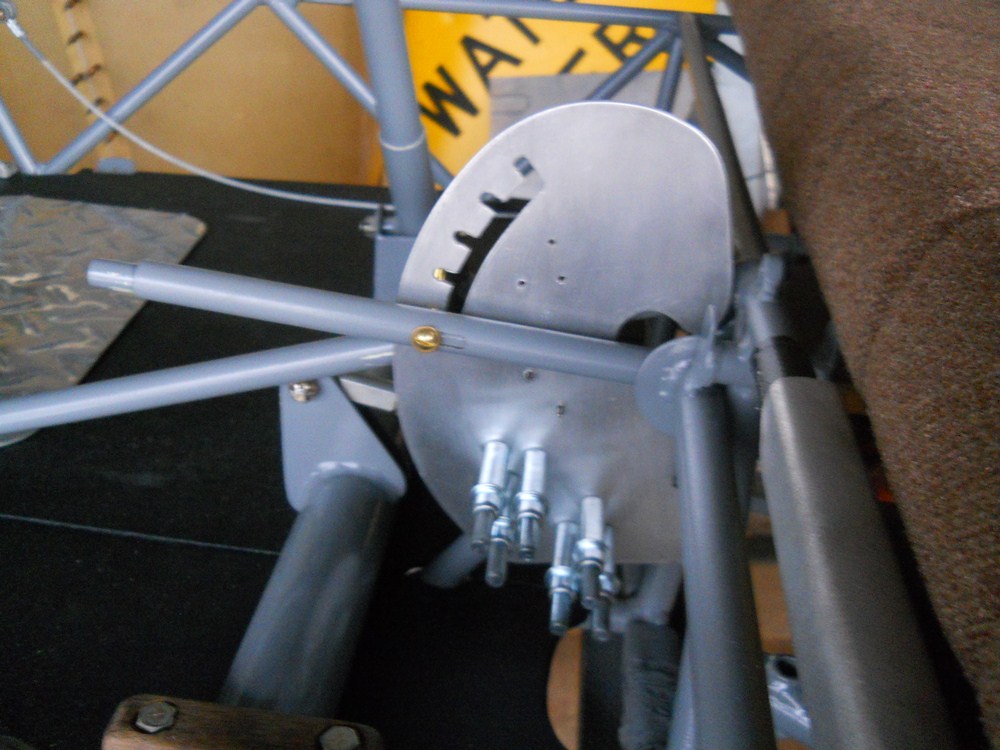
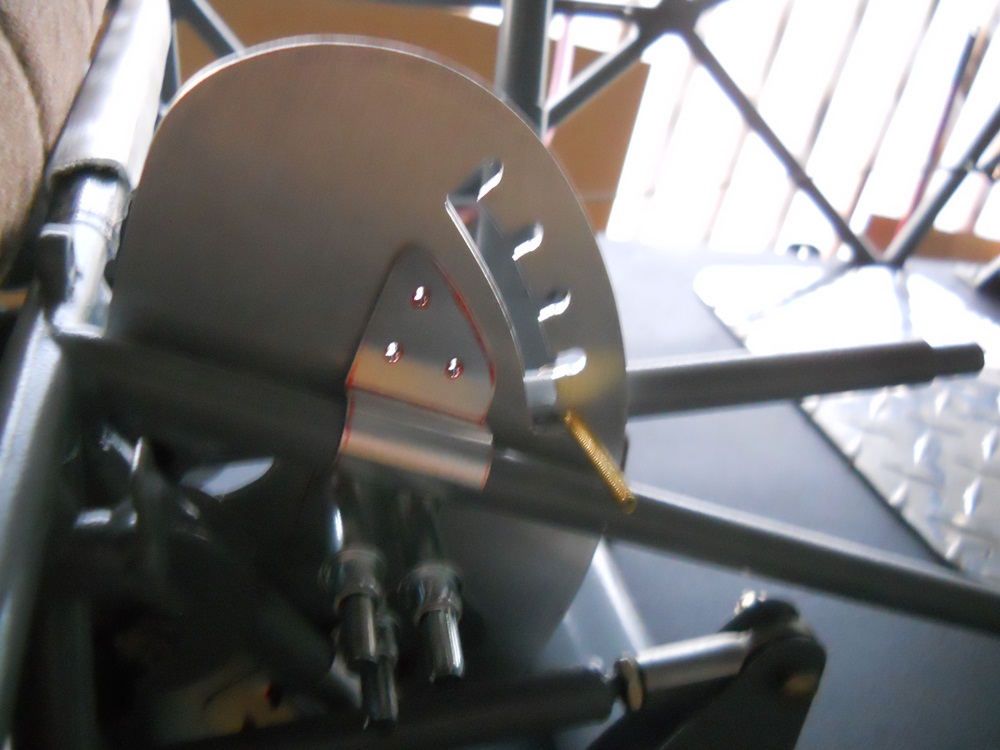
couple pics of the flap detente it will be bolted using the original flap mounting location and have two brackets riveted to it on the right side
It was close area to work with so when i welded on the handle i angled it to the left you can see a small relief cut near where the handle is welded onto the rest of the unit to keep it from rubbing until it is far enough away to just pass by.
[Edit] re-sized pics
-
hi robert,
what type of radiator do you want to use?
manu.
I think I would like to go with the belly radiator but was wondering what is the best set up. seems like its pretty tight space either way I go. I was hoping go see some pics of both and see what you guys think is best. what is the measurement from the bottom of the opening on the front (below the prop) down the seam to where it ends. I'm planning on cutting out a big chunk of the bottom to pull the exhaust forward and need to know how far to cut to. some pics of this area would be great especially if the exhaust and belly radiator are installed. I believe this is the same set up that Joey has.
-Robert-
-
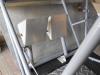
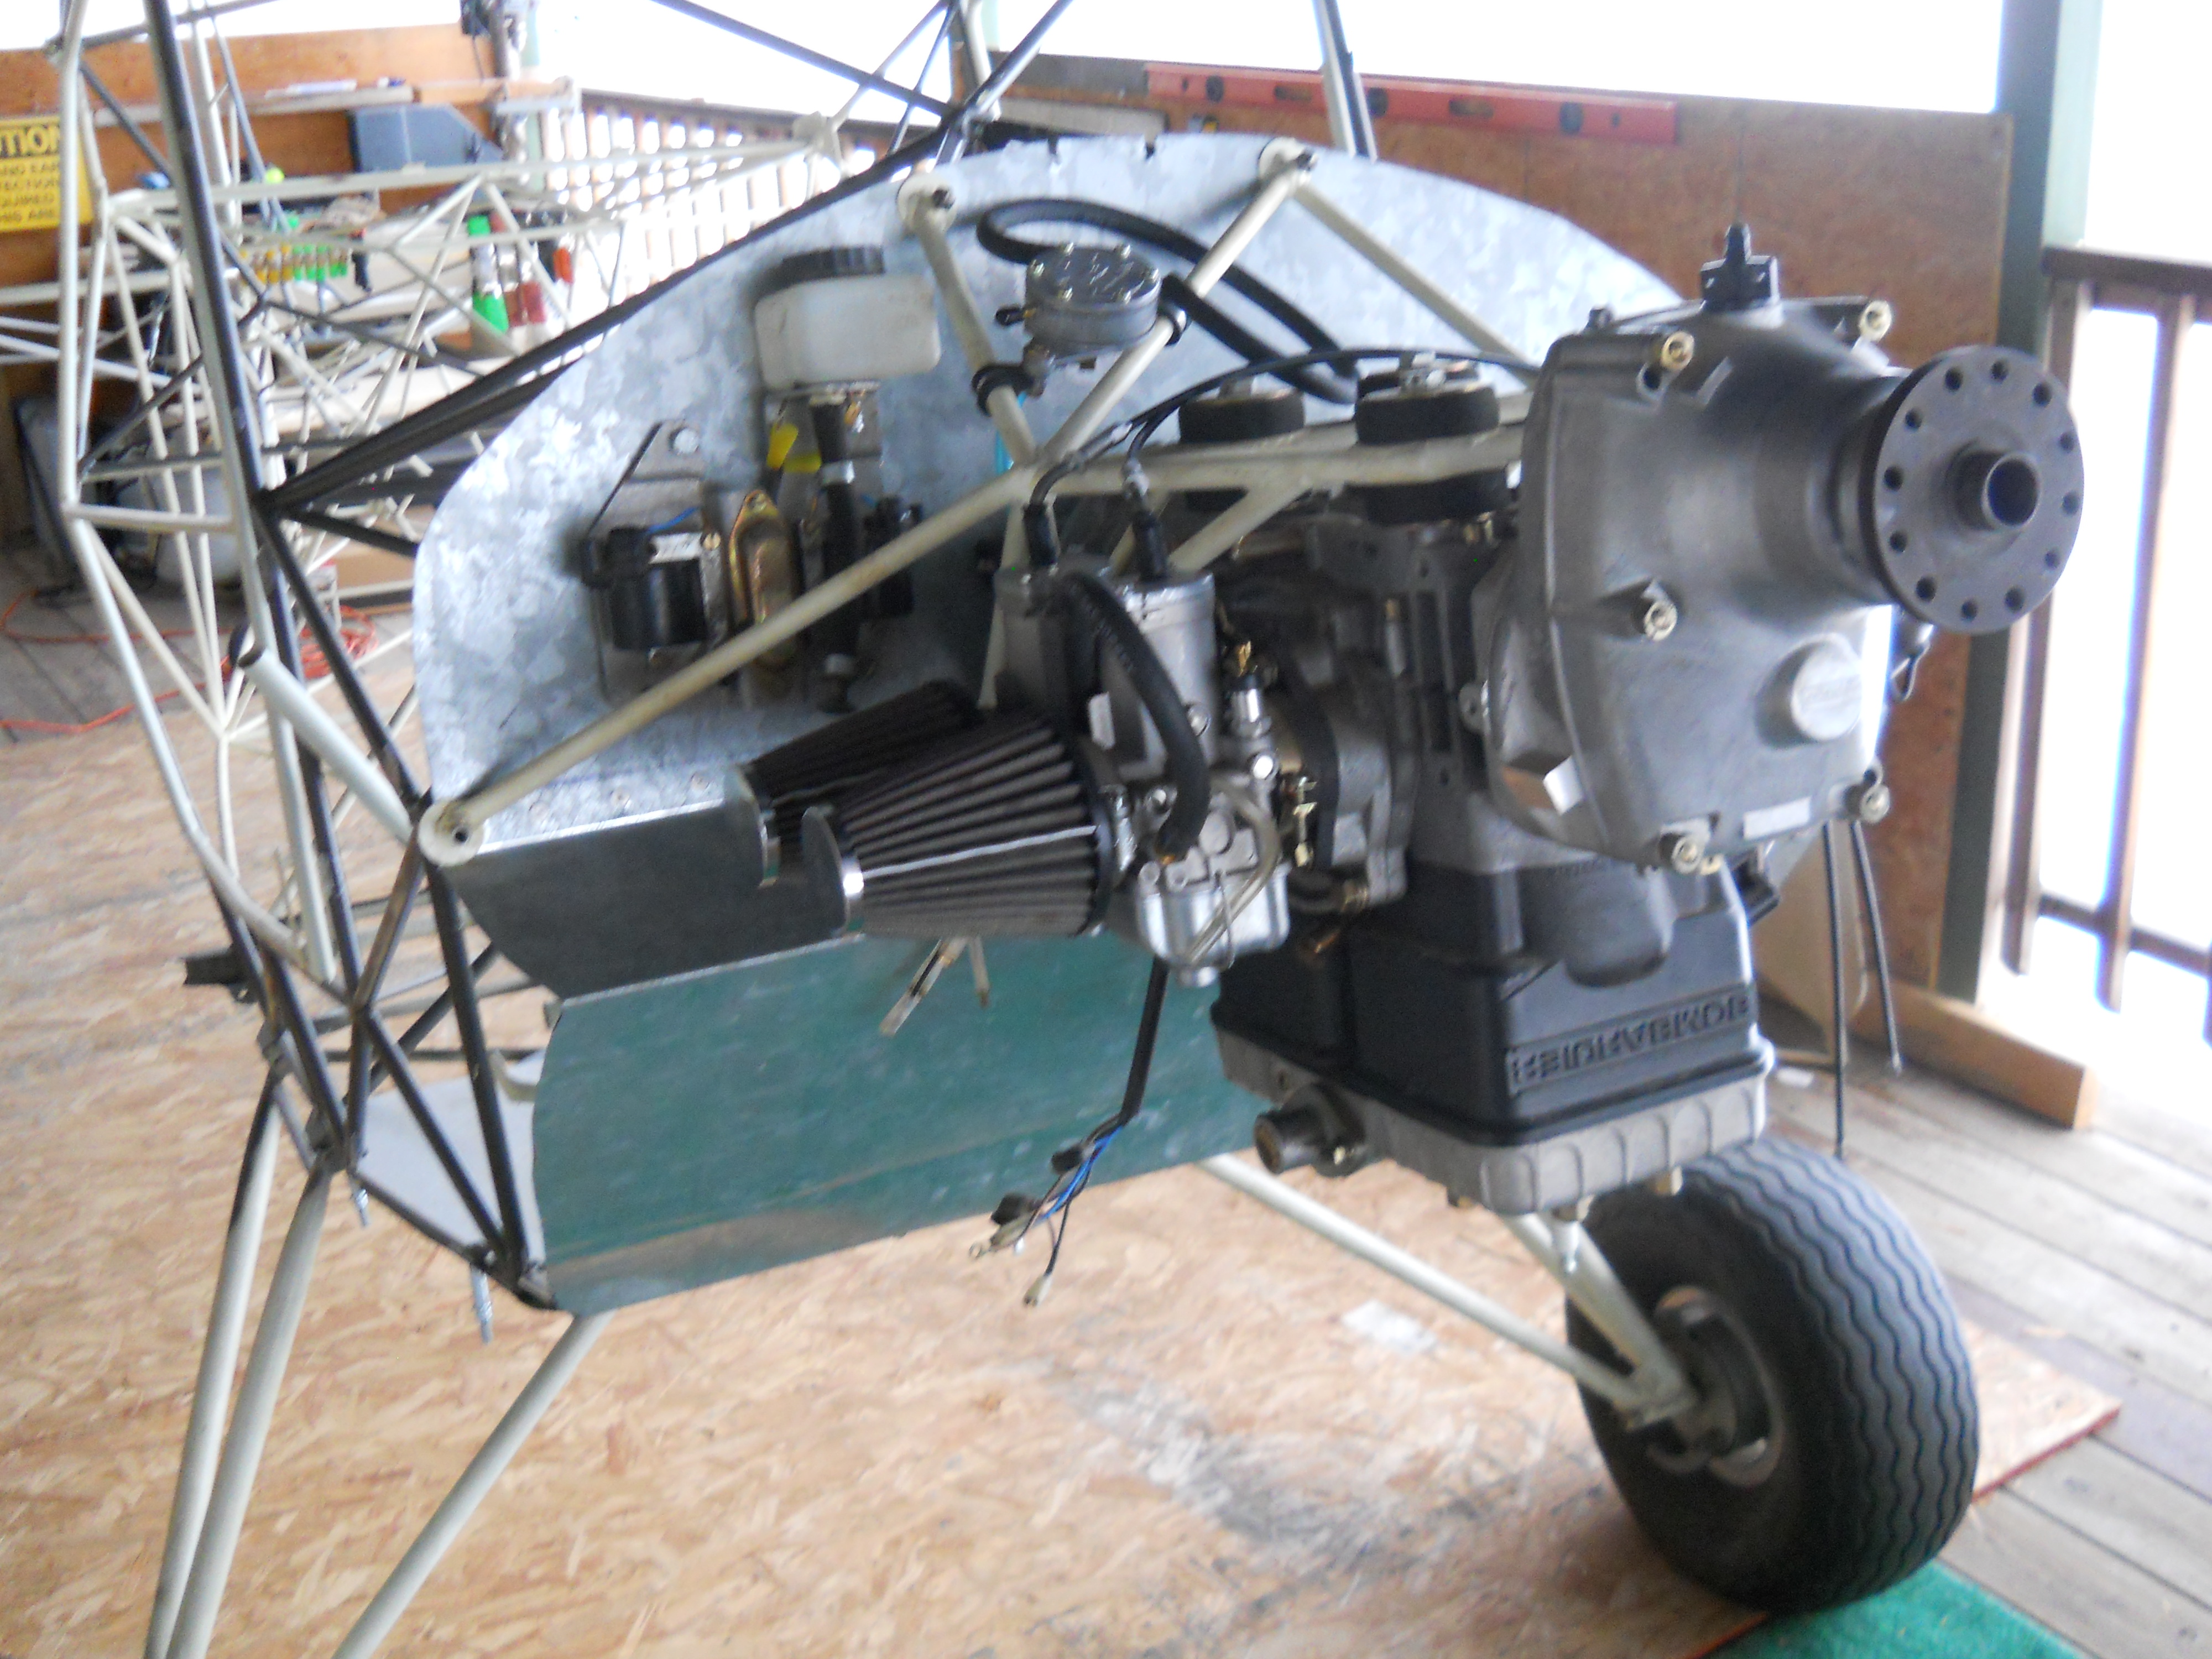
So I'm working on fitting up my firewall and cowl and have come up with a few questions. First I see on Leni's pics the firewall is flat on mine it has several bends (see pics)I was thinking I could make the bottom bend be more forward giving more leg room but to do this I would have to cut out the bottom of the cowl to rotate the exhaust forward. I can't find anything that would be a problem doing this. I have a new sheet of stainless to make a new firewall with. next is where to put my radiator(s) I don't like the original design of hanging it out the side. Is it better to do the two side by side in front or single down low? any pics of both of these being mounted and plumbed in would be great. how exactly was the cowling different on the C vs B models. I have the two piece that splits L and R, I was thinking of attaching them together and cutting it in half on the sides so as to eliminate the ugly seam on top. what would be my best method of doing this, also would it be beneficial to cut the back off and make the back portion into a boot cowl? I'm not really sure why everyone has gone to the boot cowl design, seems to me that by removing it all in just two pieces gives you better access to behind the instrument panel. and lastly (for now) seeing as i have a very tight area to work with what would be the best master cylinders to use i was thinking the Matco MC-4D, yes-no?
-Robert-
-sorry for the big pics I can't seem to figure out how to make them smaller-


-
Ok so I'm going to take a crack at this. I just finished up my private cert last June so its all still pretty fresh in my mind. The yellow mark on the airspeed indicator is NOT maneuvering speed it is for fastest cruise and only to be used during calm stable air. Maneuvering speed is NEVER indicated on an ASI because it changes with weight, reason being (going back to the beginning of this post) if you are flying a light aircraft you have to increase AOA a lot before the wing looses lift (critical AOA) and stalls giving you a lot of time to increase stress and load factors that may tear your aircraft apart, If you are flying a heavier aircraft you are already at such a high AOA that it doesn't take much increase in AOA to stall the wing, thus less time to break something. If your wing is stalled it is no longer creating lift thus it doesn't have stress on it and is completely safe as long as you recover from the stall which we should all be able to do with no problems right!!!
Hope this helps
-Robert-
-
Thanks for the input nice to know these things before your upside down. is the 19.5" OAL still good or should it be a different size?
-Robert-
-
Just made mine last week, according to my model "B" and "C" manuals the cable needs to be 19.5" end to end this should give the landing gear 3" of travel before it hits the cable it doesn't say anything about the size of the loops so I just made them big enough to slip over the posts snugly. as for the cable it says to use 3/32" hope this helps. good luck
-Robert-
-
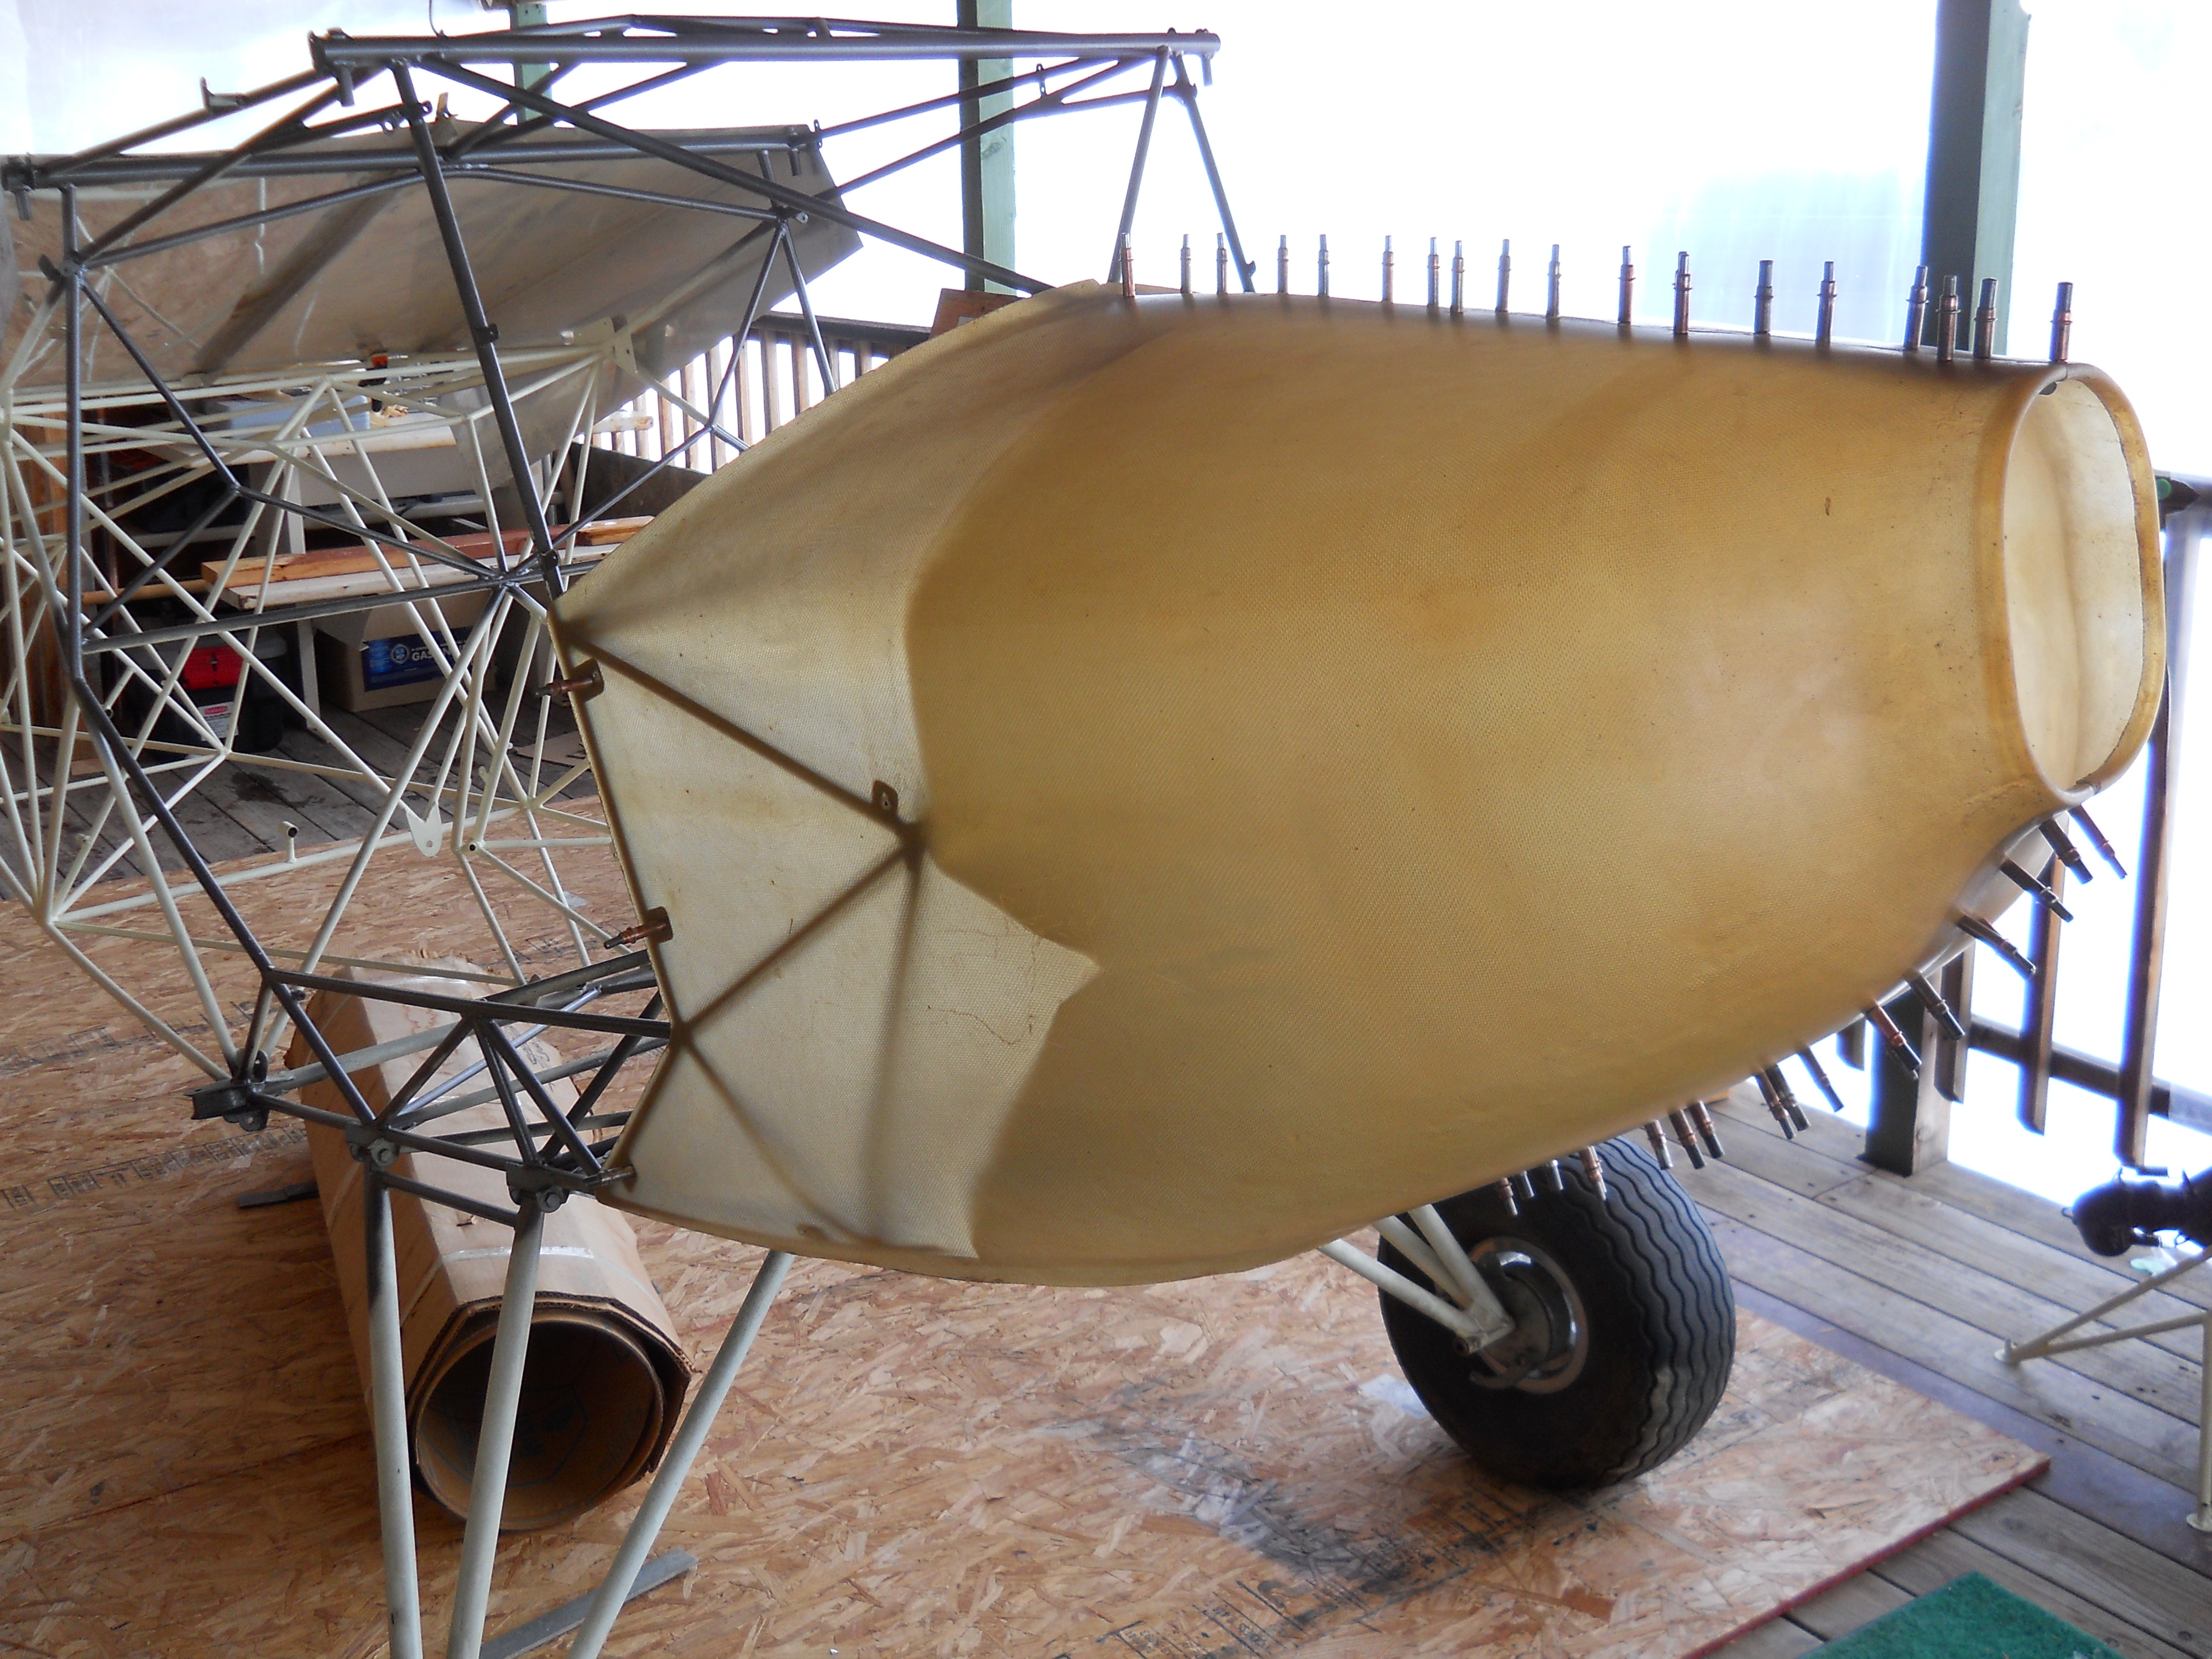
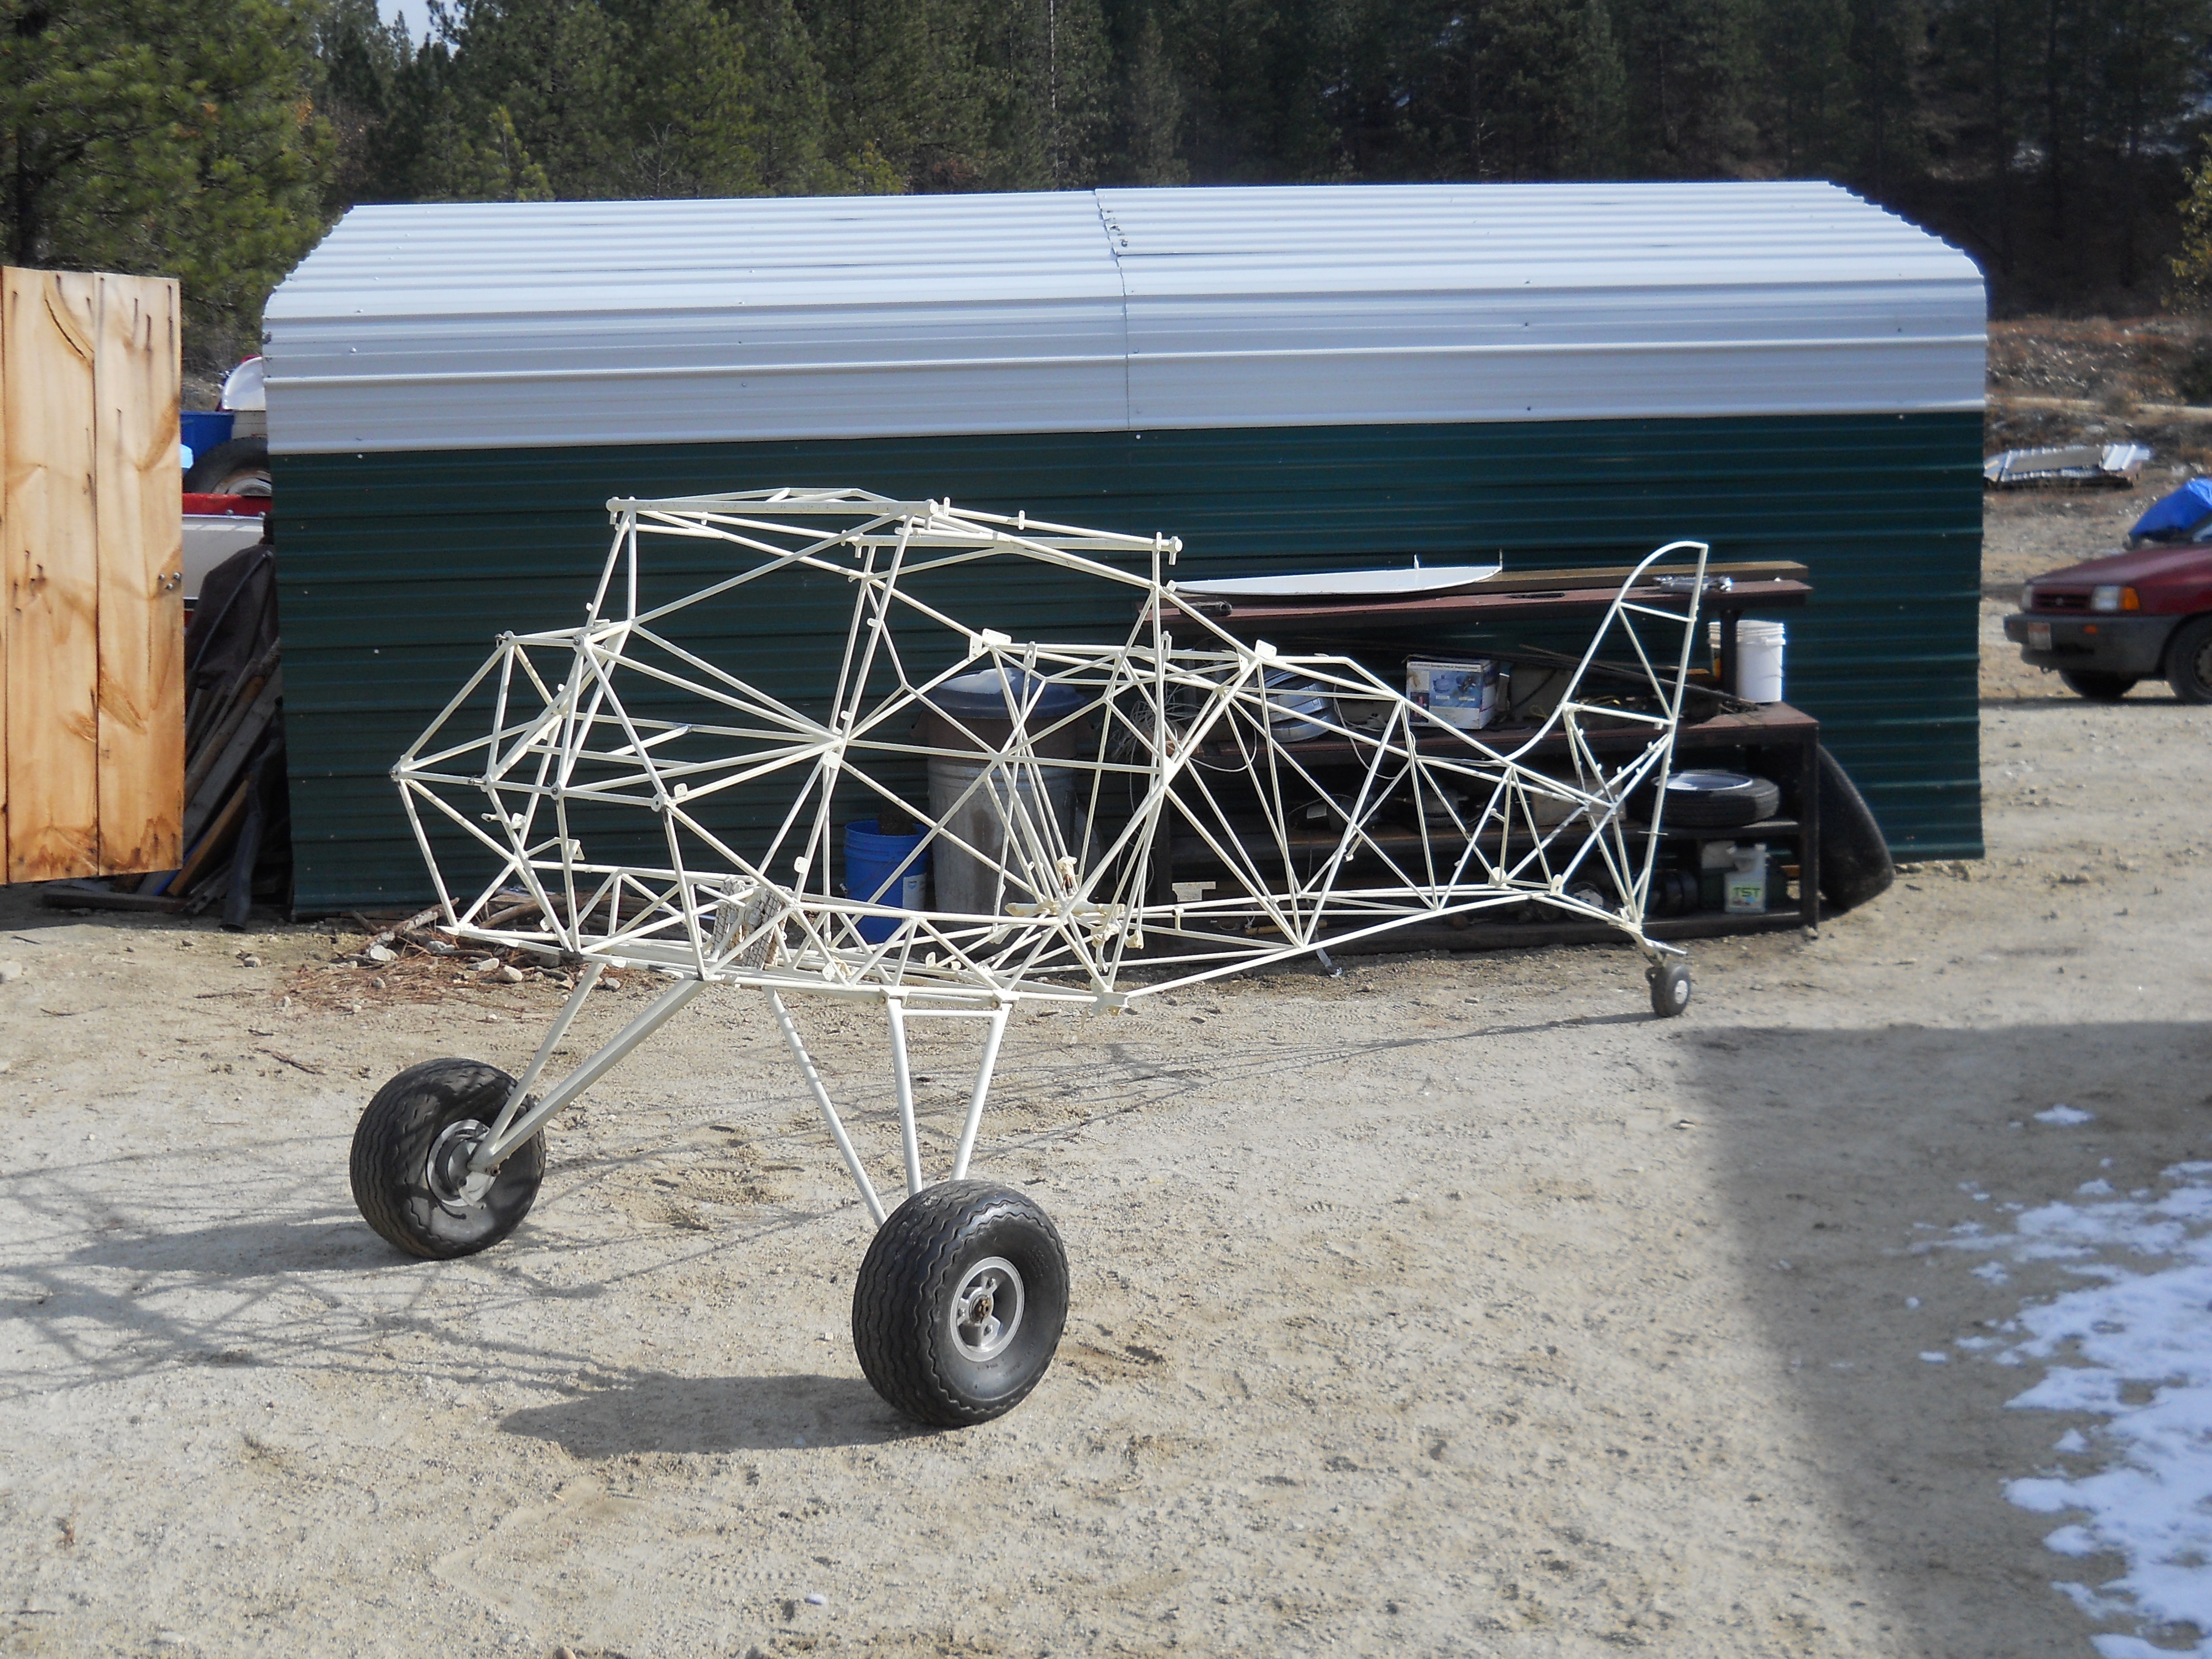
Seeing as this "B" Forum is empty I suppose I will add something to it. I Picked up this "Complete model C" kit in October of 2011 in Lake View Washington. After a long overnight trip to pick it up we loaded it pretty quickly and headed home. After I had a chance to really tear into the kit it turns out there are several pieces missing from my new model B kit. mostly hardware though and what I did have was in great condition as it had been well kept in a hanger since 1986 just waiting for me to build it. I didn't have time to start building until Jan 1st 2012, what a way to kick off a new year.
First pic is of the airframe as I got it.
-Robert-


TINTED WINDSHEILD QUESTIONS
in Avidfoxflyers General Hangar
Posted
Ed here is what I found in the FAR's regarding windshields it didn't specifically say how "dark" it could be there is a link at the bottom to where I copied this from. Someone else may have better info than I do, if so lets hear it. hope it helps. I saw a real nice home design in idaho city recently that had a nice smoke windshield first time I had actually seen that. It was a real lite gray and seemed to work great for the front. While on the topic where might one look to get the smoke lexan?
FAR's
Sec. 25.775 — Windshields and windows.
(a) Internal panes must be made of nonsplintering material.
(b) Windshield panes directly in front of the pilots in the normal conduct of their duties, and the supporting structures for these panes, must withstand, without penetration, the impact of a four-pound bird when the velocity of the airplane (relative to the bird along the airplane's flight path) is equal to the value of V C,at sea level, selected under §25.335(a).
© Unless it can be shown by analysis or tests that the probability of occurrence of a critical windshield fragmentation condition is of a low order, the airplane must have a means to minimize the danger to the pilots from flying windshield fragments due to bird impact. This must be shown for each transparent pane in the cockpit that—
(1) Appears in the front view of the airplane;
(2) Is inclined 15 degrees or more to the longitudinal axis of the airplane; and
(3) Has any part of the pane located where its fragmentation will constitute a hazard to the pilots.
(d) The design of windshields and windows in pressurized airplanes must be based on factors peculiar to high altitude operation, including the effects of continuous and cyclic pressurization loadings, the inherent characteristics of the material used, and the effects of temperatures and temperature differentials. The windshield and window panels must be capable of withstanding the maximum cabin pressure differential loads combined with critical aerodynamic pressure and temperature effects after any single failure in the installation or associated systems. It may be assumed that, after a single failure that is obvious to the flight crew (established under §25.1523), the cabin pressure differential is reduced from the maximum, in accordance with appropriate operating limitations, to allow continued safe flight of the airplane with a cabin pressure altitude of not more than 15,000 feet.
(e) The windshield panels in front of the pilots must be arranged so that, assuming the loss of vision through any one panel, one or more panels remain available for use by a pilot seated at a pilot station to permit continued safe flight and landing.
[Doc. No. 5066, 29 FR 18291, Dec. 24, 1964, as amended by Amdt. 25–23, 35 FR 5676, Apr. 8, 1970; Amdt. 25–38, 41 FR 55466, Dec. 20, 1976]
http://www.risingup.com/fars/info/part25-775-FAR.shtml