
dav8or
Contributing Member-
Content count
163 -
Joined
-
Last visited
Posts posted by dav8or
-
-
Fred, I also have another question if you don't mind. I have been thinking about this since I will probably be eliminating the safety cables from my gear. Did you test your secondary bungee with the main bungee off to see how far the gear moves before the bungee holds it? I thought that the cables were a safety in case one of the main bungees actually break which would allow the gear to collapse without the cables. I was wondering if a slightly stretchy nylon line of the appropriate length rigged like you have your second bungee would be adequate as a safety without causing damage if a main bungee should separate. It doesn't look like the bungee mounts on the gear will move very far apart from each other until the gear has traveled up quite a bit.
-
-
I have been trying to find a good way to fabricate the strut mounts for the door. I plan to rivet them on as well.
I suspect the extra weight he carried in the sailcloth cargo bag is part of the reason my hangar mate was always faster than me.
-
-
I like that. I have a one piece thin plywood deck that I made several years ago with the triangular hole for access to my ELT. Currently my ELT antenna is mounted just below the hole on a custom ground plane which rules out me trying to use that space for storage. Mine is a pain to remove/replace and I had thought about hinging it in the middle but now I may try to make one similar to yours although I have mine open at the top because I had planned to make a cargo bag out of sail cloth like my past hangar mate had in his Avid. I may stick with the plywood for now though unless I can find a better location for the ELT antenna.
I would love to see a close up of the door struts and how they are mounted. That is another project I wanted to do. I already have the gas struts for it.
Thanks, Dan
-
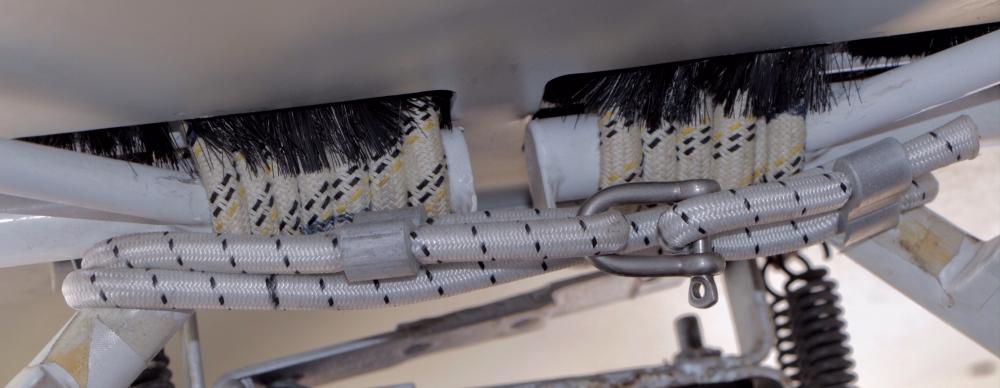
It only comes into play at any greater deflection and hardly at all at normal landings. I have had at least one landing that could compare to when I (the safety cable) broke the seat struss and had no issues, no prop strike or other damage.
It looks like you have 7 wraps of cord on the pilot's side gear and only 6 wraps on the passenger side. Am I seeing that incorrectly or maybe there is a reason?
I am ordering the shock cord right now to replace my bungees because I found a couple of spots that were chafed. The bungees I am removing have only a single black fleck so I am assuming they are the marine or some other non-aircraft part. Now I wonder how much it will change the handling with the new bungees when I get them on. I am also seriously considering leaving the cables off after reading all the discussion on them. I have flown around 200 hours on my Avid with no issues but why risk that kind of damage if I happen to have a hard landing.
Thanks,
Dan
-
I cut and re-welded the master cylinder mounting tabs on the pedals to get better leverage and I can now hold the plane at 4500rpm without creeping. I think it will get better as the pads bed in on the rotors. I am happy to have brakes that work finally.
2 people like this -
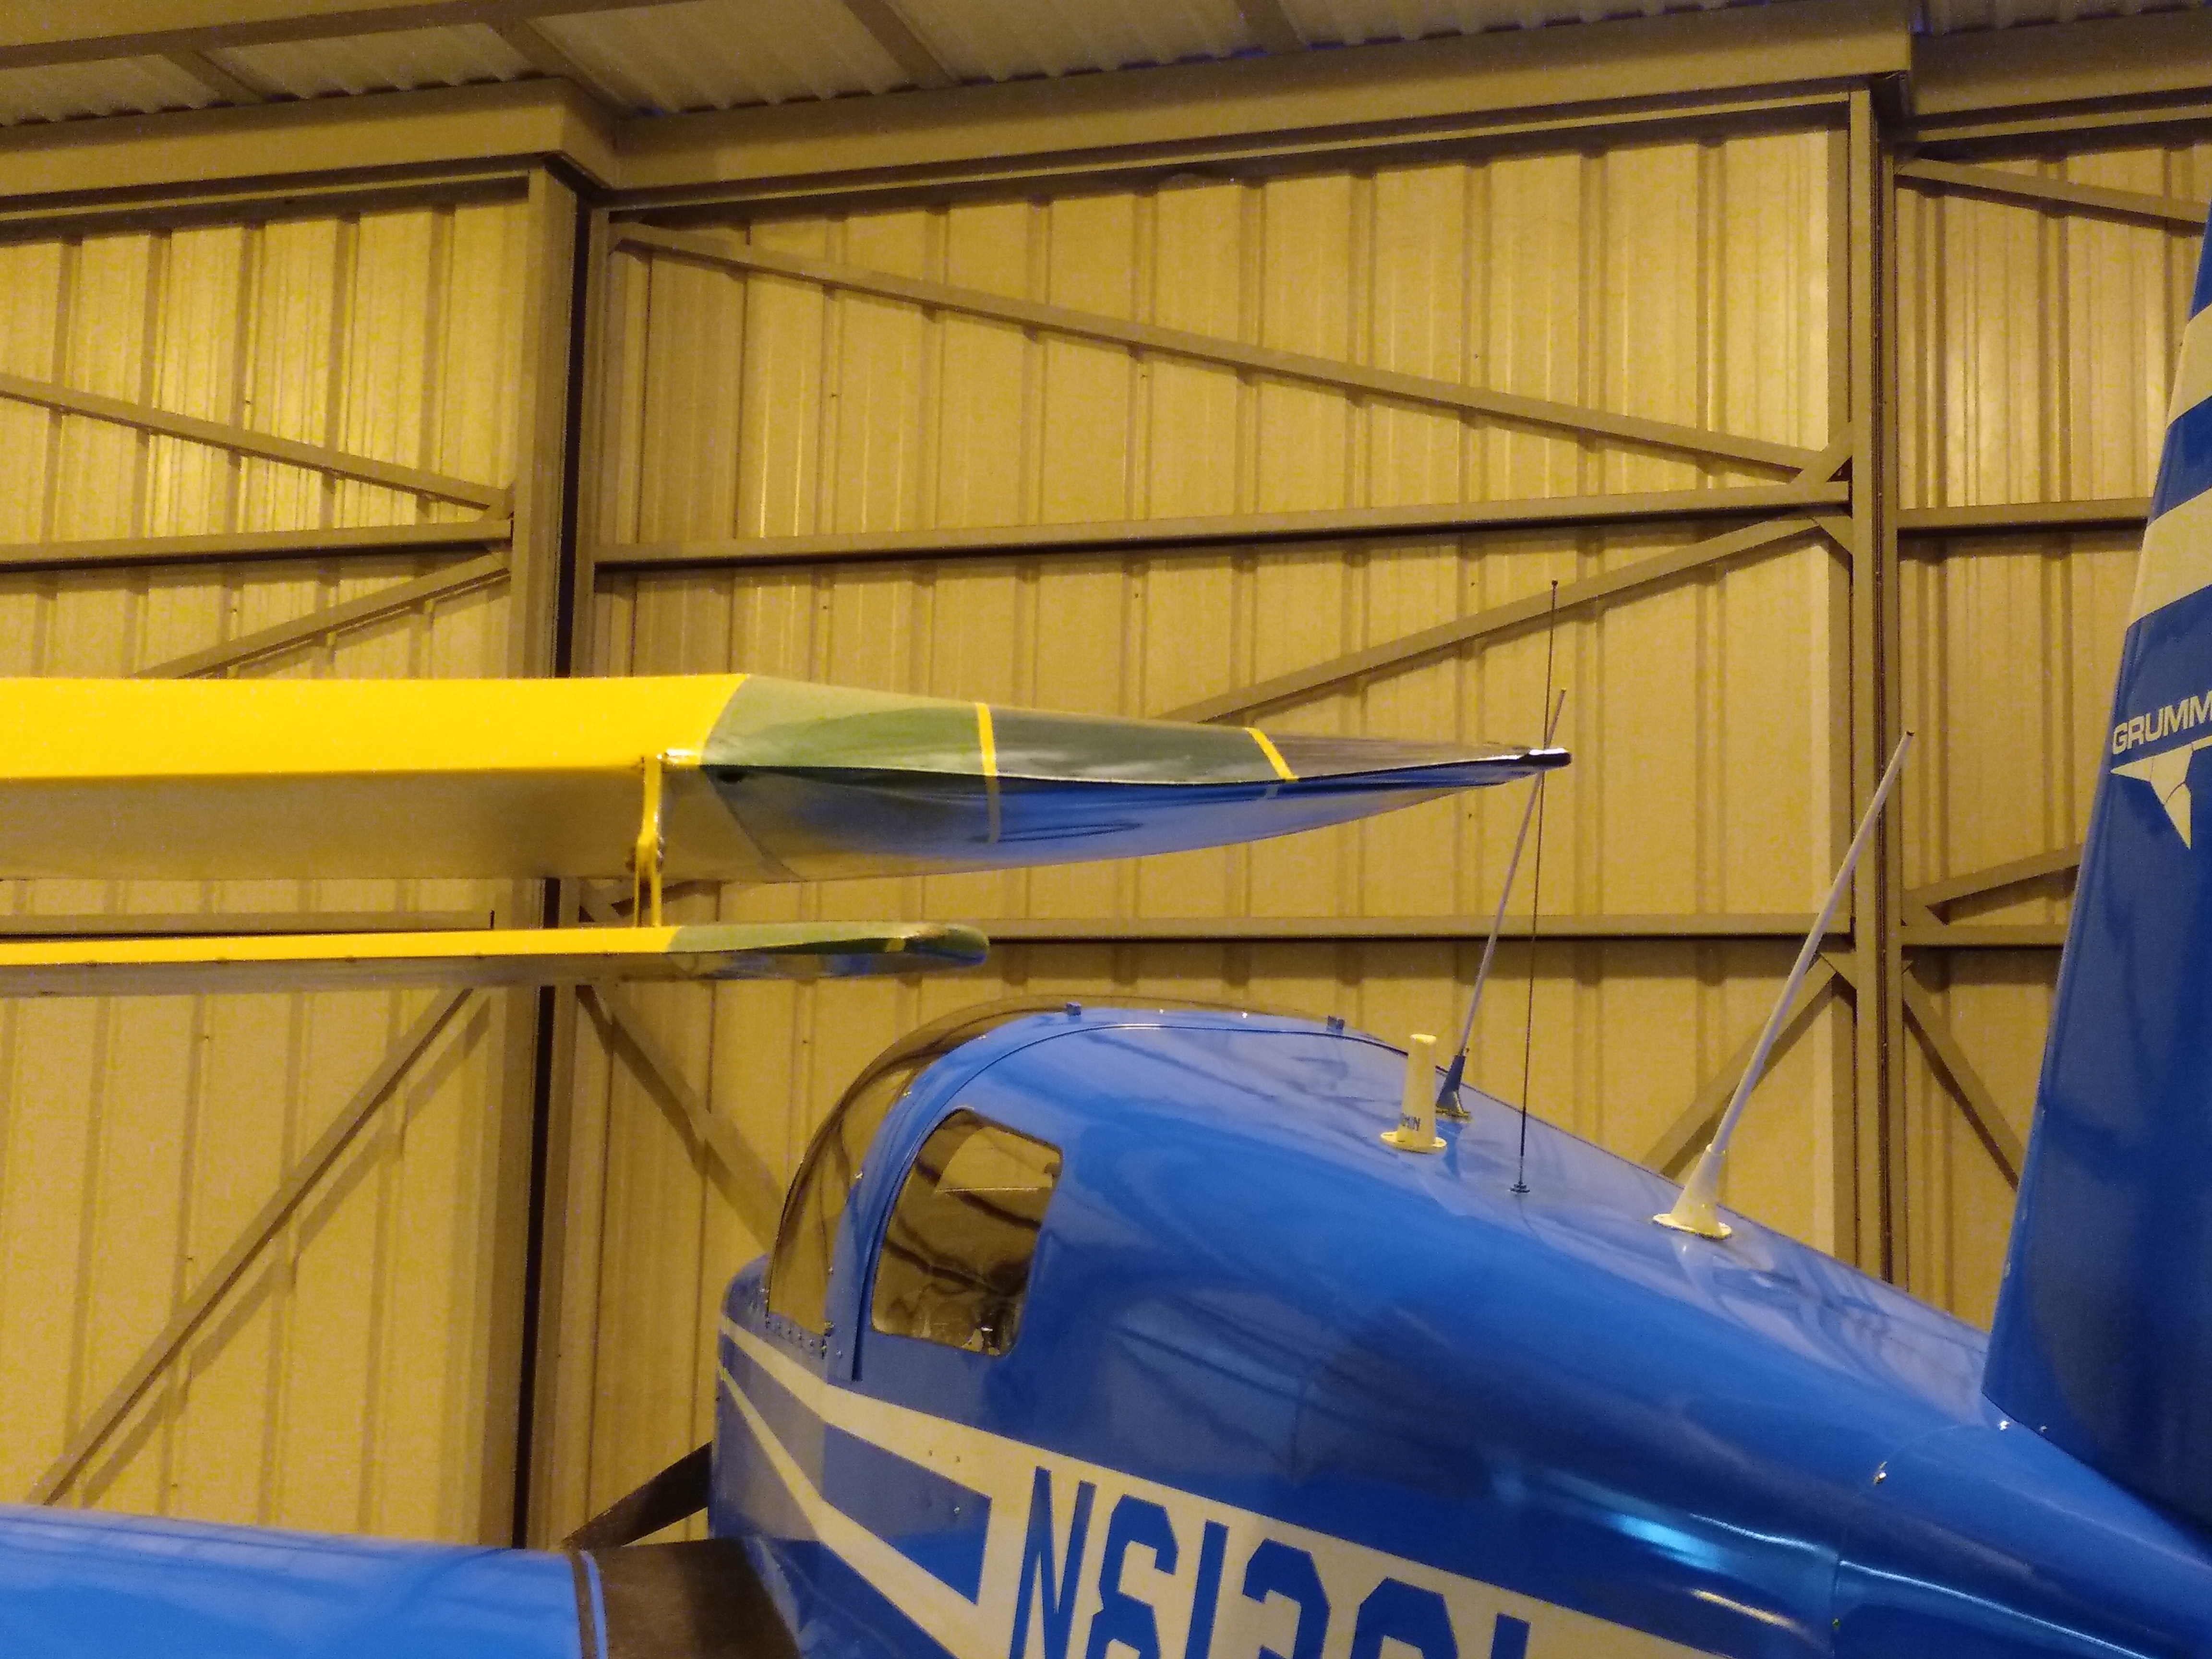
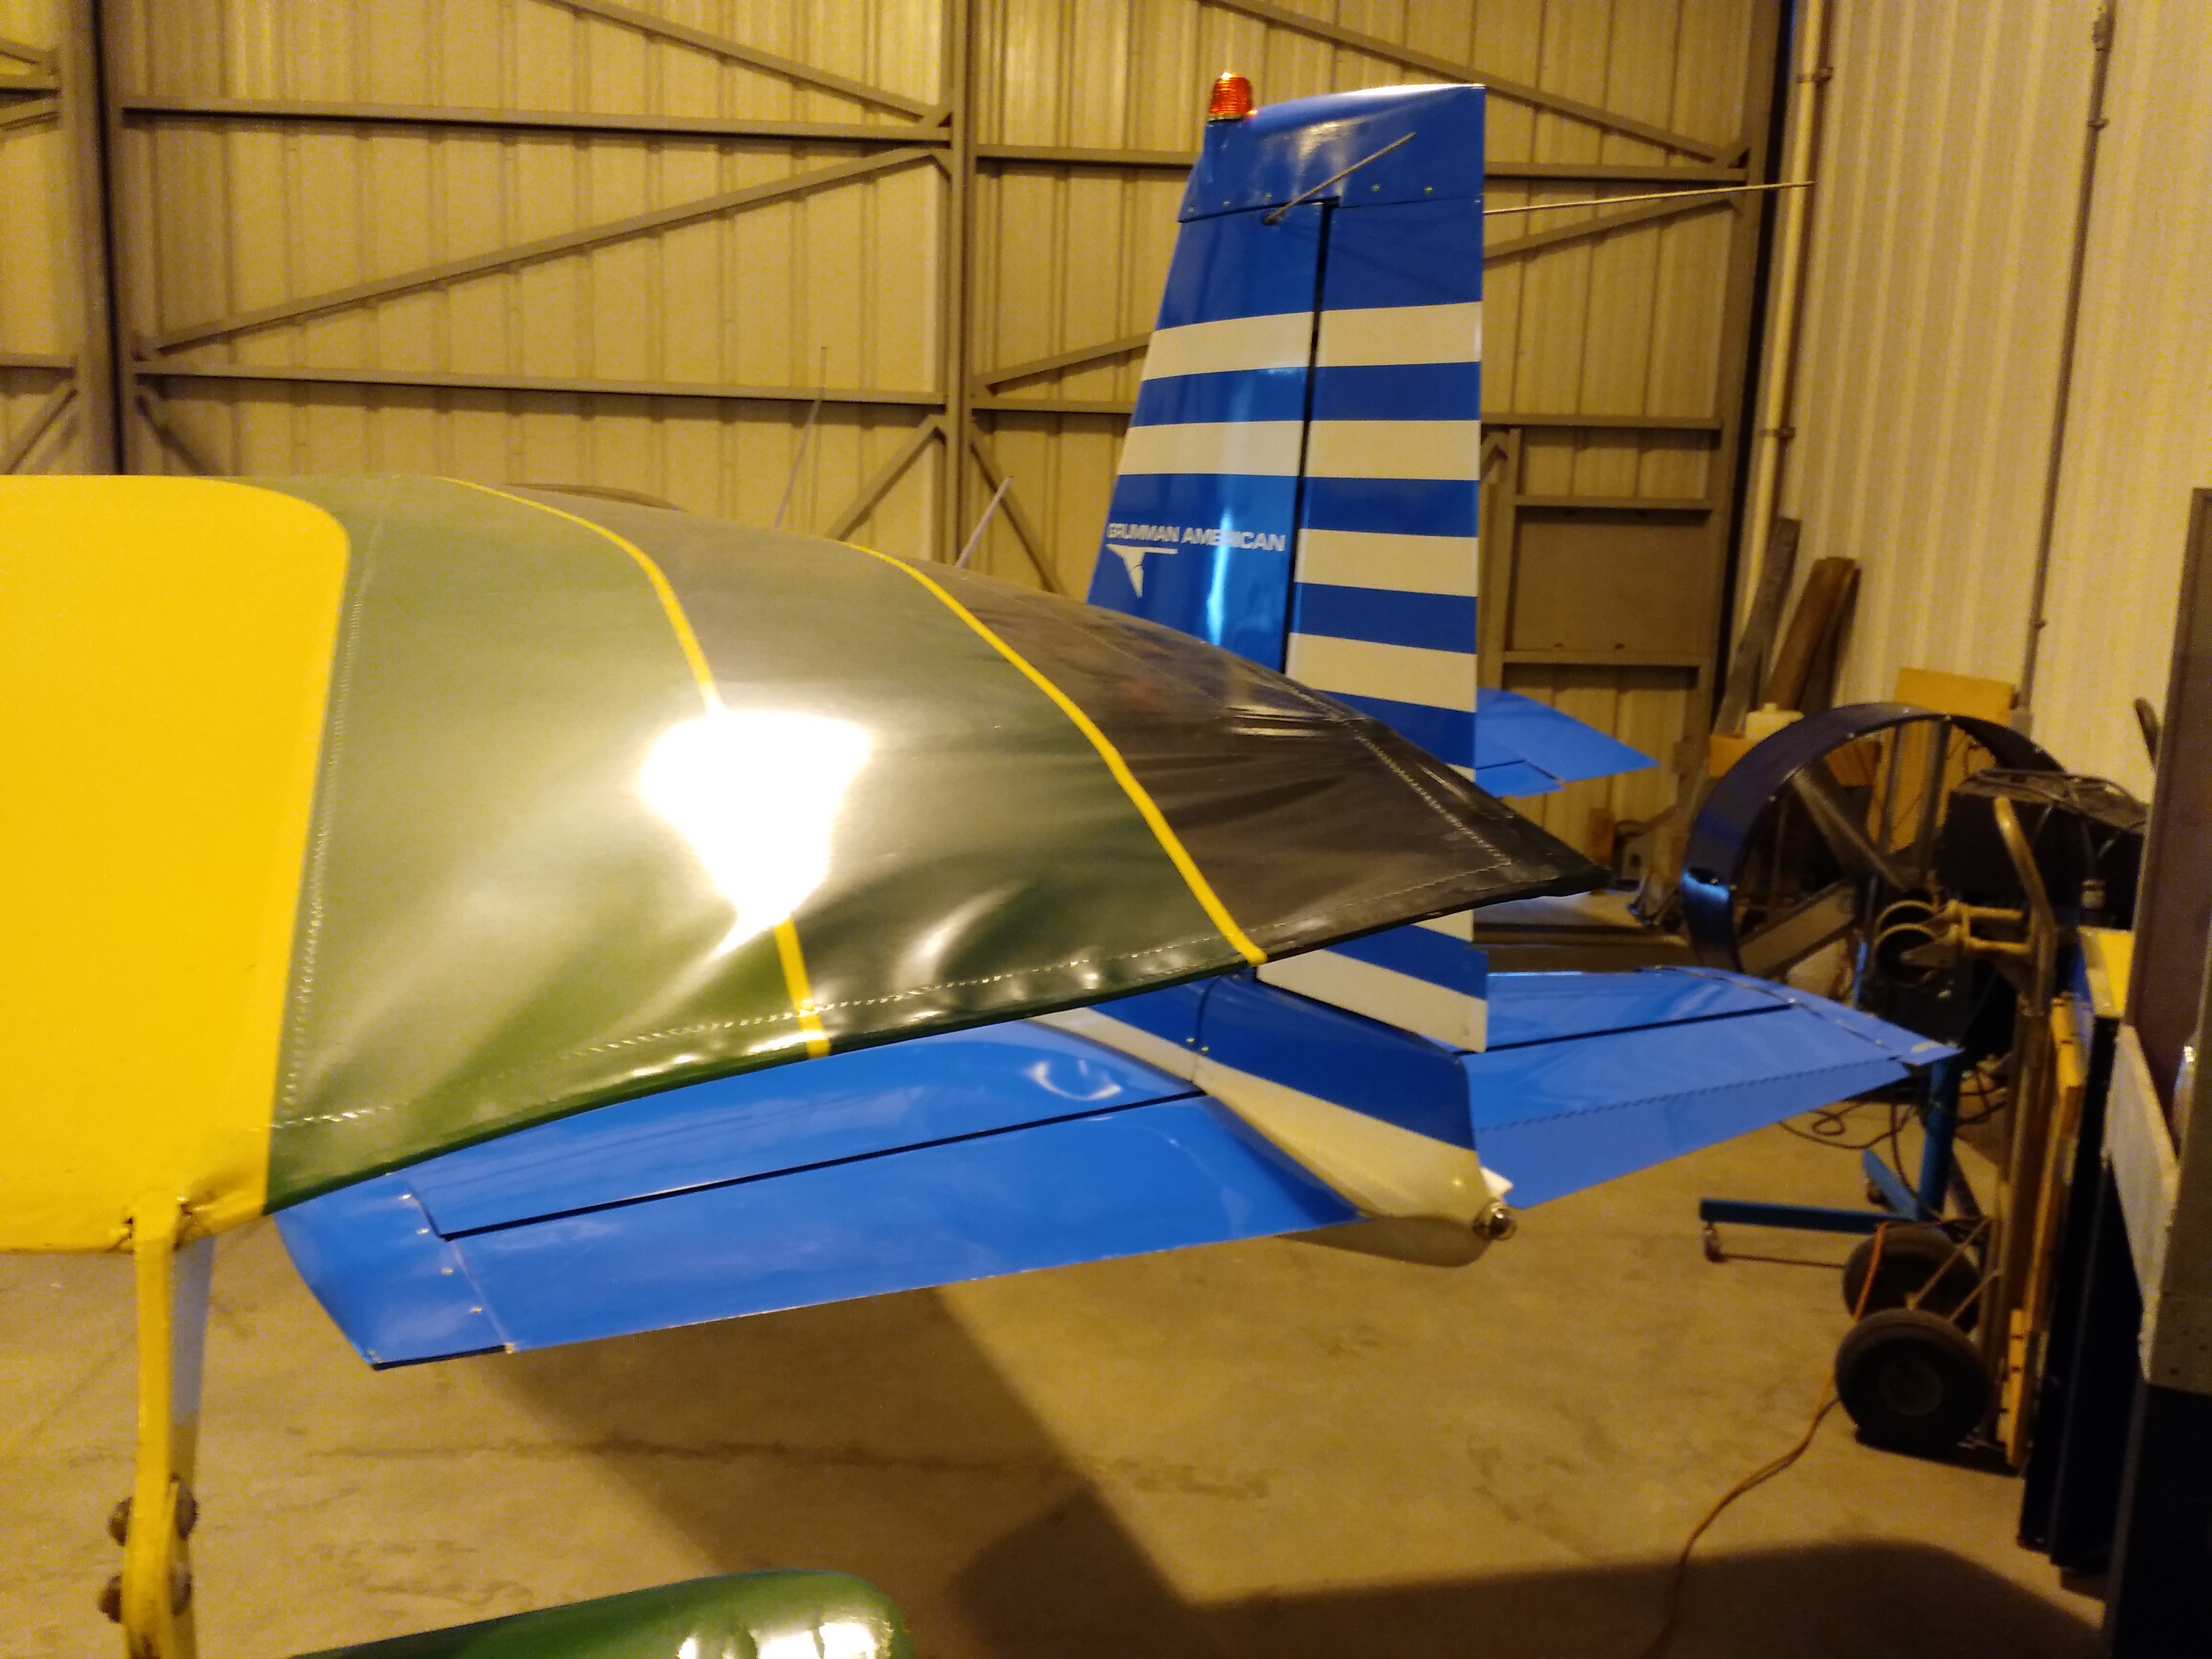
I got a couple more pictures. Weather has not given me a break here to get anything out of the hangar so I pulled forward as much as I could.
I am going to try a small iron one more time before I start cutting. I am also going to set a 4' or 6' level across the tails of the ribs on both wings to compare and determine if it is bent upwards because it is still pretty hard to tell.
i also happen to have a pair of Kitfox fiberglass droop tips. I wonder how that would affect the performance of my Avid Speedwing. They look like they would fit although it would reduce span by a few inches.

-
I took these 3 pics real quick while I was at the hangar today. I will have to pull the plane out to get better shots. I am not sure if I will have time to get over there tomorrow or not. Maybe Friday. It also depends on the weather. We have been having daily storms and I believe they are supposed to continue tomorrow. I don't want to pull the Yankee out in the rain.
-
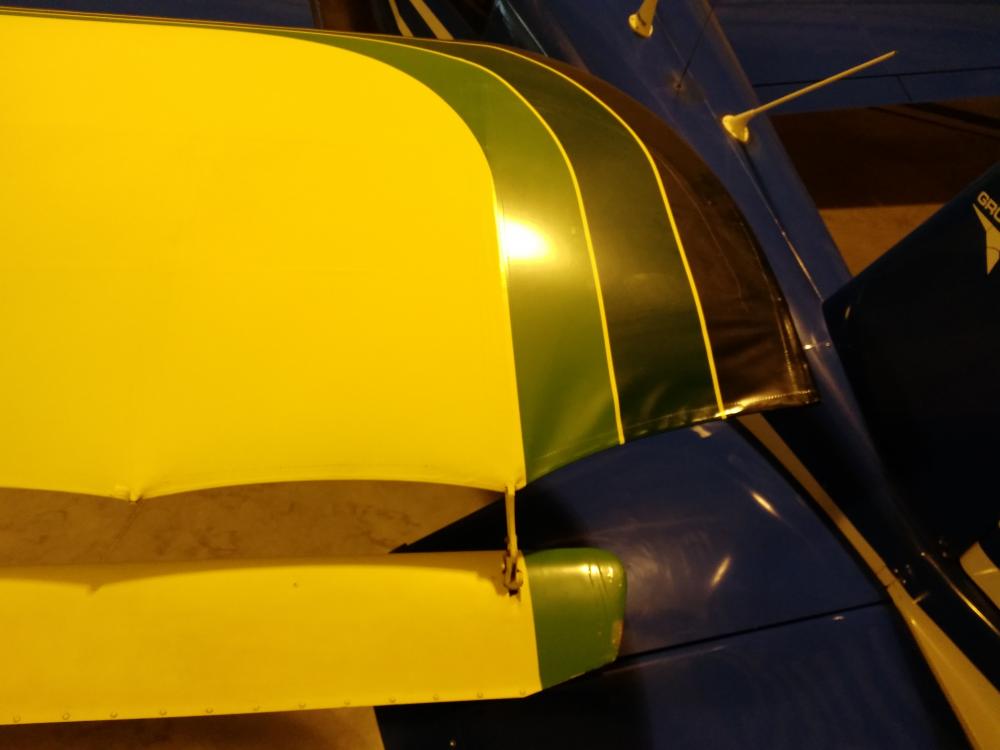
Fabric covering is a pain but I can do it. The custom paint is what I was trying not to mess up. The cable does tighten up when the tip is pulled down. Maybe that is the answer.
-
Another concern is with bending up or down. That is at the tip of the wing so if it is bent up or down more than before it will probably act like a big trim tab and cause a slight roll left or right when I let go of the stick. It already had a slight roll to the left so bending this tip down could make that worse. Of course I won't know until the first test flight after the repair. At least I will be on a 6000ft runway so I can land straight ahead if it is really bad.
-
I do have the bat wings. I know it is cable. The part that bent is the tubing where the cable terminates. That tip caught on the hangar wall while pulling the plane backwards into the unfamiliar hangar. I was not used to maneuvering in a V-shaped hangar and stopped as soon as contact was made but it bent that tube slightly up and in towards the fuselage causing slack in the cable in that bay along with the distortions in the fabric. If I were completely stripping both wings to recover I would convert to the straight aluminum trailing edge.
Dan
1 person likes this -
Here is a picture of the inside of my wingtip. There is also a builders manual in the files section that might help.
You might be able to bend the tip down and reshrink the fabric, like TJay said.
That picture is a great help. It gives me an idea to try before I have to cut into the fabric. Thanks
-
that has the metal trailing edge. you can straighten it out by hand and fly as is but it wont look perfect. if you are one that has to have a show bird, the only way to fix it right is to strip it and replace that short section of the trailing edge.
It is actually the cable trailing edge.
-
I unfortunately slightly bent a wingtip while pulling my Avid speedwing into my new hangar. I am looking for ideas about how to repair this and also if anyone has pictures of a speedwing wingtip that is uncovered so I can see what I will be looking at if I have to tear the covering off would be great.
Thanks,
Dan


-
I figured out the problem. Apparently the fittings had been tightened a little before they were shipped to me from ACS. The ferrules in the nuts were already compressed to the point that the tubing would not go in far enough. I noticed this when I opened the 2 spares that I had and was able to push the tubing all the way through. I ordered new replacement nuts by themselves and they went together fine. I have hydraulic brakes on my Avid now and it holds better than the cable drum brakes did. Now it is time to tweak the geometry on the pedals to get more pressure.
Dan
1 person likes this -
I am finally close to finished with my brake conversion from the mechanical drum to matco disk. I bought new nylaflow tubing and poly-flow fittings from ACS. I tried tightening them up today but when I gave a quick tug test on the lines they all pulled out of the fittings pretty easy. I can't find any info on installation for these things to figure out what I am doing wrong? Has anyone else used these things that can pass along the trick to connecting them?
Thanks,
Dan
-
Hi dholly,
The pictures are a great help. I should have mentioned that I am using the Matco axles because I have an early C model which does not have any type of mounting plate for brakes at the end of the axle mounting tube. The Matco axles have a plate to mount the caliper bracket to and a plate for the inner bearing to seat against which is already set for perfect alignment of the caliper to my early W62 wheel/brake setup. I don't think I can move them in quite as close as yours due to the brake caliper plate mounting hardware but I may try to rotate my calipers down a bit and get them in as close as I can. I will try to get some pictures next time I am down at the airport.
Oh yeah, I am not planning for skis, not much use around the Houston area

Thanks,
Dan
-
I have had a few delays in my project mostly due to Hurricane Harvey recovery but I am finally ready to install my new axles in the gear legs of my Avid. I am using new Matco 3/4" axles as an upgrade from the old cable drum brakes to Matco disks. I am trying to determine where I should locate the calipers both in distance from the gear leg and also if there is a best clock position around the axles like ahead of the axle or behind the axle etc. I have marked what looks good to me on the axle for a cut off and the hole for the pin bolt to lock it in but though I should check before I actually commit to cutting the new axles.
Thanks,
Dan
-
Went down to the airport and remeasured the axles. Not sure how I managed to measure incorrectly before but they are actually 3/4" axles. Felling much better about that now and my brake upgrade continues.
Dan
1 person likes this -
Yes they are installed in a piece of tubing with the single bolt securing it. I expect them to be stuck in there pretty good after all these years but will manage to get them out somehow.
-
They really are 5/8" and right now sealed ball bearings in unknown manufacturer 6"x6" welded tubeless wheels with Azusa mechanical drum brakes. I have checked them several times in the past with calipers. My Avid is based on a turf field and I land at paved, grass strips and off-airport. In my upgrade to Matco hydraulic brakes I have to replace the current axles with Matco 5/8" axles that have the mount for the Matco caliper plates. Now I am nervous about using the new Matco axles.
-
Well that kinda sucks then. They did make it look like a factory part and the gear is the same design as the other Avid I have seen up close. I just looked through the build manual and found the line item that says ream to .75" for axle. Of course I did not see any entries in the log books showing any modifications to the gear and cannot imagine why anyone would have done that. Now I am not sure what to do. This Avid has almost 400 hours on it. I have flown almost 200 of those hours. I would think that It would be a nightmare to attempt cutting the 5/8" ID tubing out and welding in 3/4" ID in its place. I would be afraid that the gear alignment would not be maintained in the process and it handles great right now.
-
A little more research shows that Azusa sells the 3/4" tapered bearing with a sleeve adapter down to 5/8". Dan


Hatrack Avid Flyer
in Technical tasks
Posted
Thanks! Those are great pictures of your door brackets and gives me a new idea to try for mine. I believe the gas struts I have are a little shorter but I think they should still work as long as I get the brackets positioned correctly.