FoxDB
Members-
Content count
100 -
Joined
-
Last visited
Posts posted by FoxDB
-
-
Dave,
Was the file posted on the yahoo groups done by you? If so, I would like to post it here also. I looked at the gear many times in the past and was ready to build it based off that design, but time and other projects stopped me from doing it. I know the reason I was able to buy a wrecked Avid was do to the gear failures (twice) so I beefed up the fuse. If my fuse fails at the truss or longerons, I wont be around to worry about it. After seeing Joeys gear and his failure, I would want to play with lighter springs for sure!
Jim,
I was thinking the same thing you are. Cut the tubes across the top and then make the cabane strut system. I am also thinking of using a snowmobile shock on them like the guy is going for the RANS S-7 I just happen to have a pile of shocks from old race sleds that I could use and I have a good buddy who can actually get them tuned and valved right so the rebound and compression is perfect. Not to take anything away from the guy that is building them for the Rans, but the FOX floats that he is using SUCK! We tried for years to get them dialed in on my Cross Fire and the Mountain sled and they just dont work very well as there is not enough volume in them to really dial in the spring rate using air. The newer EVOLS work good, but I am not going to drop 2000 on shocks


Leni,
I am not the guy who posted on yahoo. My strut is a down sized version of the Bearhawk strut. I have not seen the John Roberts Rage Gear just a picture but it is evident the Fox Shock is paired with a Bungie.
-
I think your cost factor for the tubing at $100 is WAY low. $250 would be closer. What wall thickness tubing were you using? 4130? What about the plate/sheet that is needed? That crap is really spendy compared to the tubing.
The prefabricated spring conversion for a (experimental) Cub is available from Wag-Aero, p/n M-222-101, $555.00
You will be hard pressed to fabricate the landing gear with all of the spring mechanism for less than $500.00. It does require machine work to do the spring mechanism and if you have machine equipment at your disposal that will be the cost, but if you have to sub that out, double the price.
Do you have a welder? Are you skilled at welding sufficiently to trust your life with it? Do you have the tools, equipment to jig the whole thing? That's not an option, either. This is not a small shade-tree project.
Being part of the R&D I know that the Medium/Heavy springs are too stiff. I don't remember what Brett finally went with, but they were a much lighter rate die spring.
Anyone can build anything. Nothing is impossible. I just want to point out some items maybe not thought of.
Factoring in labor the $1200-1500 that is the going rate for this gear is not out of line. I don't know if Brett is still in business or not. (He won't return my calls either...) Lowell Fitt at Highwing LLC is making cabine style gear. I think they are getting in the $1500 range for theirs.
Jim, I built my Bush Gear for my KF1 but used the air frame as the jig. I Also built a trailer for testing and performed a 2000 Lb. static test, a 1000 Lb dynamic test and a 1000 Lb drop test using the trailer. In the fall I botched a landing on a steep grade. The gear held up fine but fuselage failed. Mainly due to the tab location allowing a torsion on the longeron.
Dave
-
I am interested in adding brakes on the passenger side of my Model 1. Please let me know if you would like to sell your MC-3 master cylinders.
-
The inner race should be easy. Clean the inside of the wheel and use a brass punch and hammer and keep going around the outer race until you drive it out. Put the new race in the same way, or, you can drive the race in with a tube or pipe that is slightly smaller. Schedule 40 PVC will work too, if you find the right size.
A press will work too, but manual press is better - you can ruin a wheel with a hydraulic press.
Something else that helps, is to freeze the outer race (the big one) before you drive it in, and the inner race (the small one) should be as warm as you can get it without torching it.
ED in MO
Do to the difference in thermal expansion (Aluminum being greater). I would heat the hub with a heat gun and the race will come out easier.
-
Never thought about 3/16 - Guess it works OK or you would have changed it by now.
Thanks,
ED in MO
The original builder used it in a thinner wall. I changed it to this when I installed my bush Gear.
-
Didnt want to have to scroll thru 2 or more pages of the stuff the came from the post about bearing and pad numbers to ask a simple question, and hopefully, get just a simple answer.
When you guys are talking about 1/8 inch brake line, I am supposing that you are talking about the ID of a .250 OD nylon line?
Do I understand this correctly?
Do I order 1/8 or 1/4 line from Spruce?
Really not wanting a debate about which line is better.
Also, if I use my gundrilled aluminum Grove landing gear, where the line attaches to the bottom of the leg, going up to the caliper, is this same line the one to use, or do I need Aerowhatever rubber lines?
ED in MO
Ed,
I used the 3/16" O.D. tubing per this Link
http://www.aircraftspruce.com/catalog/appages/nyloseal.php
Dave
-
Stick around John. You have added valuable information on this site. And you were the only one who answered the post.
We can disagree and still respect each other, and sometimes have a laugh.
I get my tit in the wringer once in a while - but never claimed to walk on water either !
closed minds dont work anywhere.
Keep on Trucking, and writing.
Good Flying,
ED in MO
Yes John,
Please stick around and keep posting.
And Ed,
I did post the part number for the brake pads.
Dave
-
Mike thanks for the info. Everything is the same. I used to run my lines down the back legs of my old gear so the line was long enough to run down the front legs of the new gear. I'm using the 1/8" line from the bottom of my MC's to the calipers. I had a hard time getting the air out of the system this time around. I also think I may have gotten some fluid on the pads. One of my pads is missing a chunk too that's why want to replace them.
Joey,
Have you checked your braking pressure?
Dave
-
Happ was really nice and considerate to me when I called him some time ago.
Matco makes a slide-in sleeve for the 5/8 ID MCs brakinglike the later ones. It is supposed to increase your braking power by 30%.
I asked him if they made a kit for my MC-1(?), and he said the bore was already 1/2 inch, so no help there.
I have a complete set of Cleveland wheels, MCs and Big heavy calipers and discs off of a twin Piper - but too heavy for your plane.
Maybe twin-puck Matco might help you? Happ will have all the info.
ED in MO
Ed.
The increase would be 56%.
Joey,
What Master cylinders are you using? If they are 5/8" bore the intensifier kit would increase your braking pressure quite a bit. My masters are the MC-1 with the 1/2" bore and I have very good braking. I do use the RA66-106 pads they may have a greater friction coefficient.
Dave
-
Does anyone know the part numbers for the Timken tapered bearings on the Douglas wheels? I'm also looking for the Matco part number for the pads that were used with the original Kitfox brakes. I called Kitfox and as usual they were of no help with a product that thousands of their airplanes are using.
Joey,
I use Rapco RA66-106 Pads for my Kitfox Matco brakes. I did have to get the longer rivets from Matco as the aluminum backer plates are thicker than the steel used for clevelands.
Dave
-
Joey,
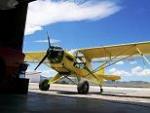
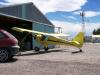
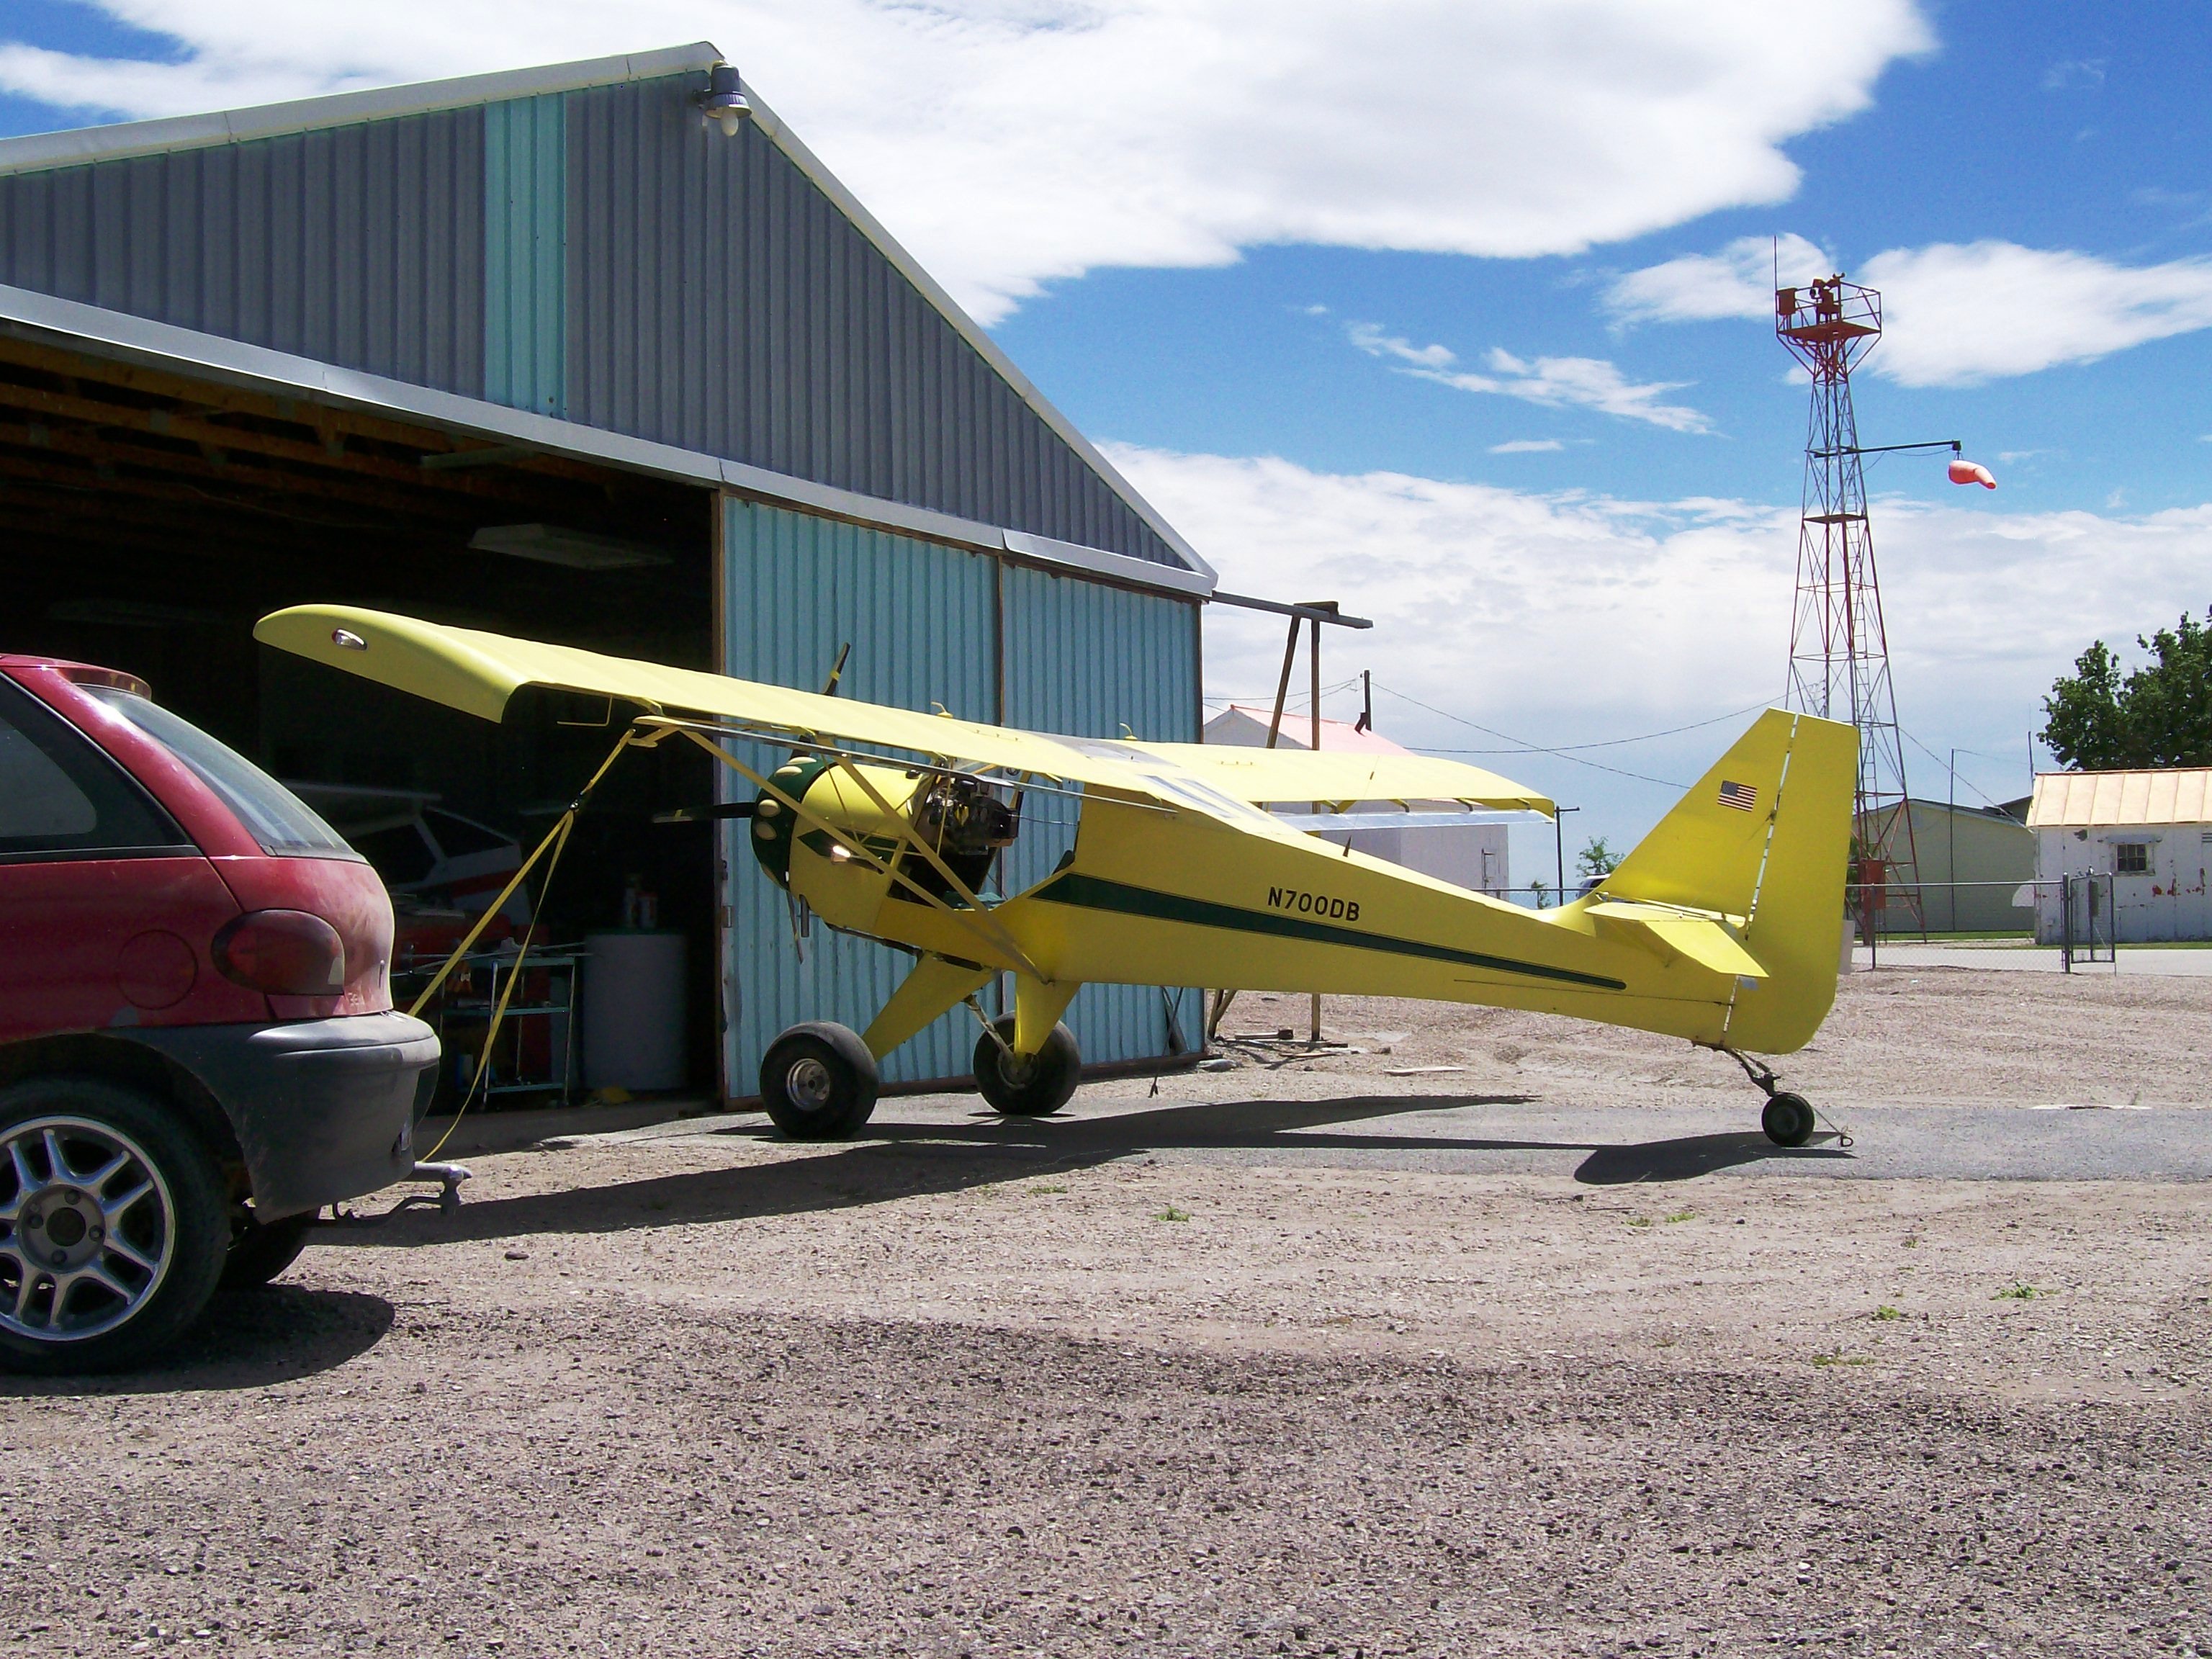
The new gear looks great. Love those jacked up Avids. Mine is 65" at the spinner, just wonderering what others have?
Gotta have big gear and big tires. With big gear and big tires you can take on any challengers! LOL. I thought this was pretty funny; this past Saturday they had the annual FAA pancake breakfast at Palmer and Elmendorf brought a C17 so I had to get a picture of my SuberAvid with it.
Also, one of the guys in the Achorage EAA chaper just finished his Cristian Eagle last week. He flew it to the breakfast with 4 hours on it; pretty cool!
Super avid,
My Kitfox would be 60" to the center of a spinner like yours if I had one. The prop to ground clearance is 23 1/2". I built my own gear and designed it to be 4" taller than the original gear. I have the Nanco N800 tires.
-
I have a generic Tiny Tach. I checked the grounds on the mags and the switches work fine so I'm sure the grounds are there at the switches. I did wrap 2 plug wires (1 from each coil) for the Tiny Tach rather than just the one and the mag drop is the same per ignition ~120 RPM. So I still don't know the cause but I could just disconnect the Westach so it does not bother me.
-
I have a 582 in my Kitfox with a Westach Quad gauge. The last 2 flights are showing an RPM drop of 1000 on one mag but only about 100 on the other mag, yet I can tell by the sound the drop is about the same. There is only one tach lead from the engine so I don't know how it could be the tach. I am wondering if there is a flaw in the ignition/electrical system that would cause this. Any help would be appreciated.
-
I was only able to find (2) 545's. The difference seems to be size and what motorcycles they fit.
-
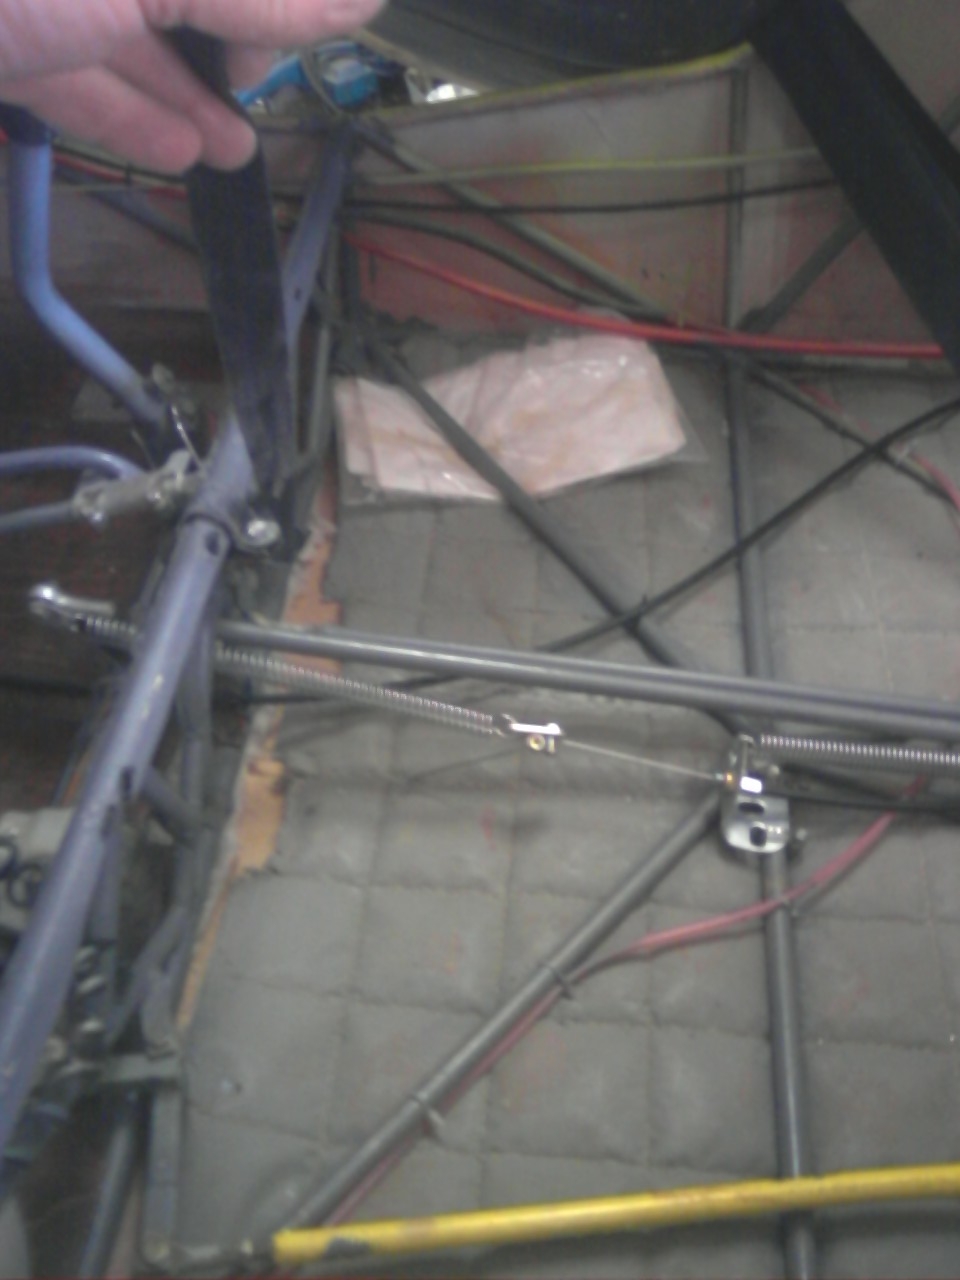
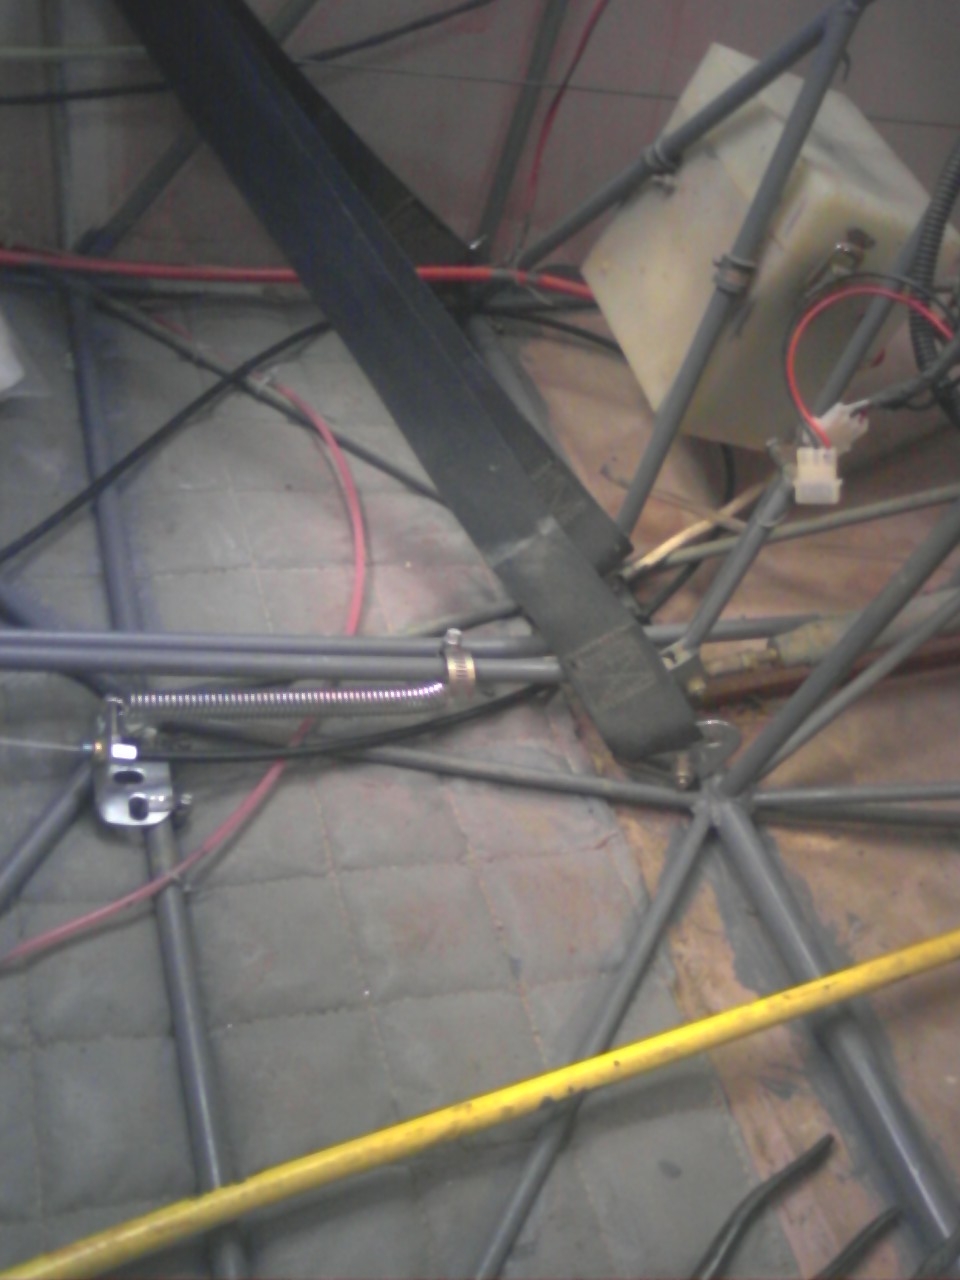
I have installed the AeroVee trim kit as well. Attached are photos of my Kitfox 1 installation. I did end up changing to a lighter rear spring after I took the pictures. It seems to work well. I was able to remove the fixed trim tabs on the elevator and can now trim with the AeroVee Knob alone.
Dave
-
I would not change to something other than Polycarbonate (Lexan).
Here is a 4 x 8 sheet on ebay http://www.ebay.com/itm/polycarbonate-sheet-clear-1-16-x-48-x-96-/360374137557?pt=LH_DefaultDomain_0&hash=item53e7f8f2d5
-
Have seen some discussion on the forum about heaters and thought I'd share my experience. The heater core in the pictures was installed when I bought the plane, but I quickly found it was mostly useless. So to fix the problem, I machined up a spacer to put the thermostat out far enough to take the heater hose off the engine side. Now the only drawback to it is that the computer fan doesn't move enough air. I need a good squirrel cage fan. I haven't flown in really cold weather with it yet, but when it was about zero F on the ground, I was able to fly without gloves. ( about 40-50 F depending on where in the cabin you measure)
Hope somebody finds this useful.
Dave
Thanks for the info Dave. I have planned to do that for a while but have not got to it yet.
Dave
-
I need advice on the Kitfox belly pod that a attaches to the floatplane attach points before I buy a used one.
This is not the torpedo design.
This pod came off a model 4 with a Jabiru so there was no belly radiator like my 582 has which interferes with the front compartment of the pod.
Is moving the radiator forward 8 inches an option to clear the front section of the pod or do I put the radiator in that front section and seal off the rear section and trim the pod to get air to and from the radiator?
This idea would lose storage space but could be an esthetic surrounds for the radiator.
Does this pod require a new FAA inspection or just a new weight and balance?
Does it add significant drag.
My model 1 does not have front float attach points. Any suggestions on how to attach the front part of this pod without having to weld on attach points to the longerons?
How about bolting thru the floorboards like the radiator is attached
I will appreciate your sharing your experiences.
Thanks Herman
Herman,
I am considering adding a cargo compartment in the fuse under the rear half of the Turtle deck with an outside door on my mod 1. You might consider that as well.
Dave
-
I saw one that was made by making the 90 degree bends in a sheet of lexan with a sheet metal brake.
Can someone tell us the thickness of the Lexan Turtle decks? I would like to build one for my Kitfox 1.
-
If you want to leave your options open, An outfit called Acrolite sells plans for skis made from uhmw(that thick plastic) and aluminum for a very resonable price. Check them out at acrolite.com.
Jack
Thanks, I just looked at the web site and that made be a good option.
Dave
-
I dont have any plans, but I do have some fiberglass ski's for mine. I can take some pics and measurements when I go to storage in a couple days and post those up for you if it would help!

Thank you that would be great. I made be able to design from that.
Dave
-
Does anyone know were I can get plans for skis. I have time but not money to buy skis. So I would like to build them. I am interested in fiberglass type. Thinking of a foam core covered with glass.
Thanks
Dave
-
I don't know what is normal practice but I put slime in my 21x12-8 tires to prevent a flat. I had Goat Head stickers in them after I landed in our airport's grass strip. That got me concerned.
-
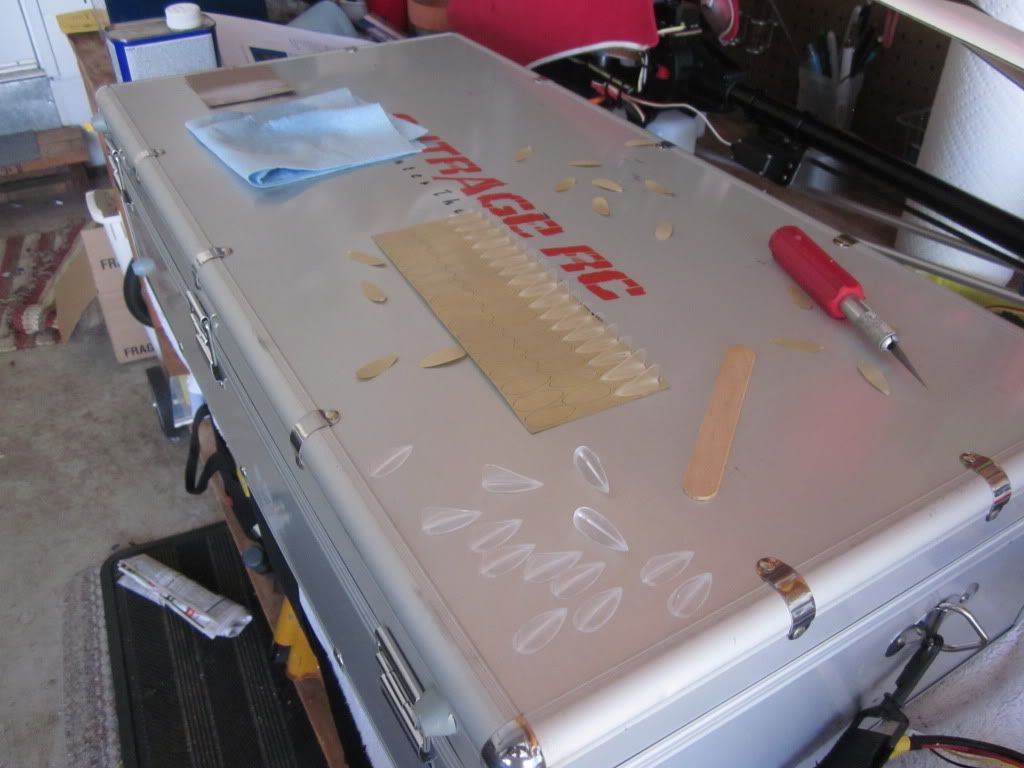
Well I finally got around to installing these things today. I put the tips of them at 4" from the gap between the horizontal and elevator. It's a lot of further forward than any other airplane I've seen. This was per the instructions I received via email from Stolspeed and it's also what he has published on his site so I went with it. Here's a bit of tutorial on the install.
First off because they were made for a wing they have a very slight curve and the instructions call for a slight rub on some sandpaper to flatten them out some to go on the flat surface of the stab. I used 220 and just a couple of passes.
So step one...sand sand sand, then wipe on a rag of denatured alcohol, then set aside.
Luckily the Stolspeed comes with their adhesive laser cut to fit the foot of the VG.
You have to peel the first layer off the 3M adhesive with the tip of an exacto. They come right off.
Next stick the VG to the adhesive. All of this is somewhat time consuming but not too bad. I did all of this at home in about an hour.
I used a pencil to mark out 5 or 6 marks at the 4" point. Rather than draw on my fabric I used some painters paint to make my line.
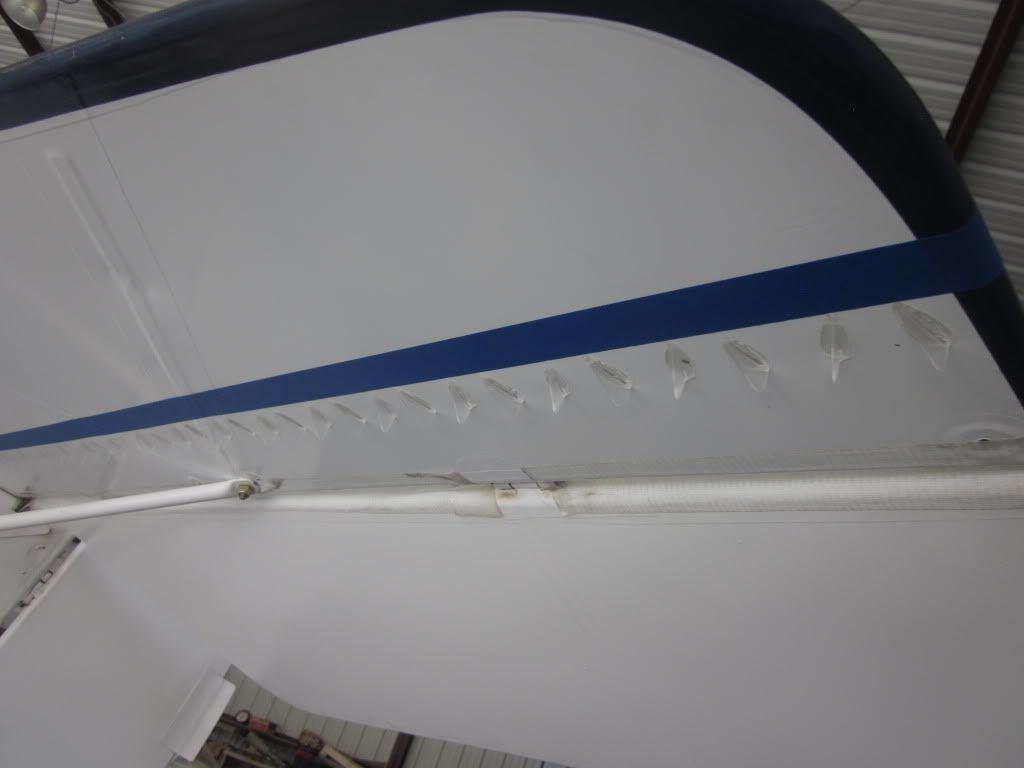
The stolspeed VG's come with two templates in the kit. The one for the stab is 30mm spacing. Once you get going with the template the actual install goes pretty quickly. I put 36 on each side. The adhesive they use is a 3M product and works well. It's fairly easy to peel one off if you don't' like the placement. Here are some pics of the install.
The sanding, cleaning, sticking station...this part is a bid tedious but not too bad.
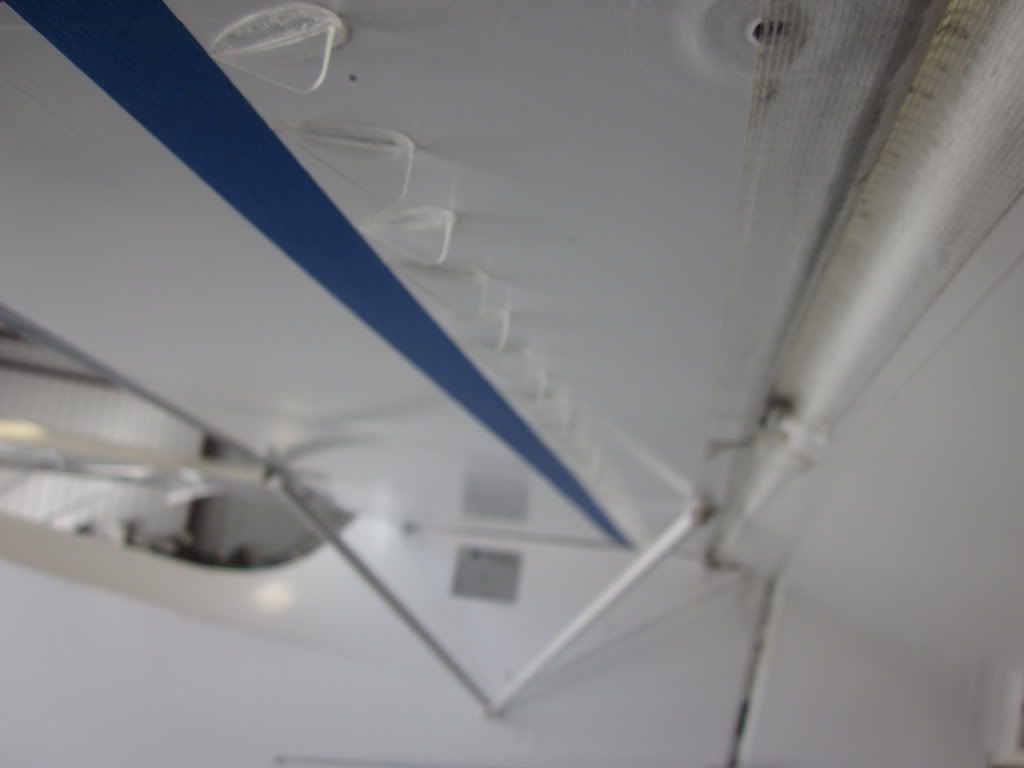
Some shots of them installed before I pulled my tape line.
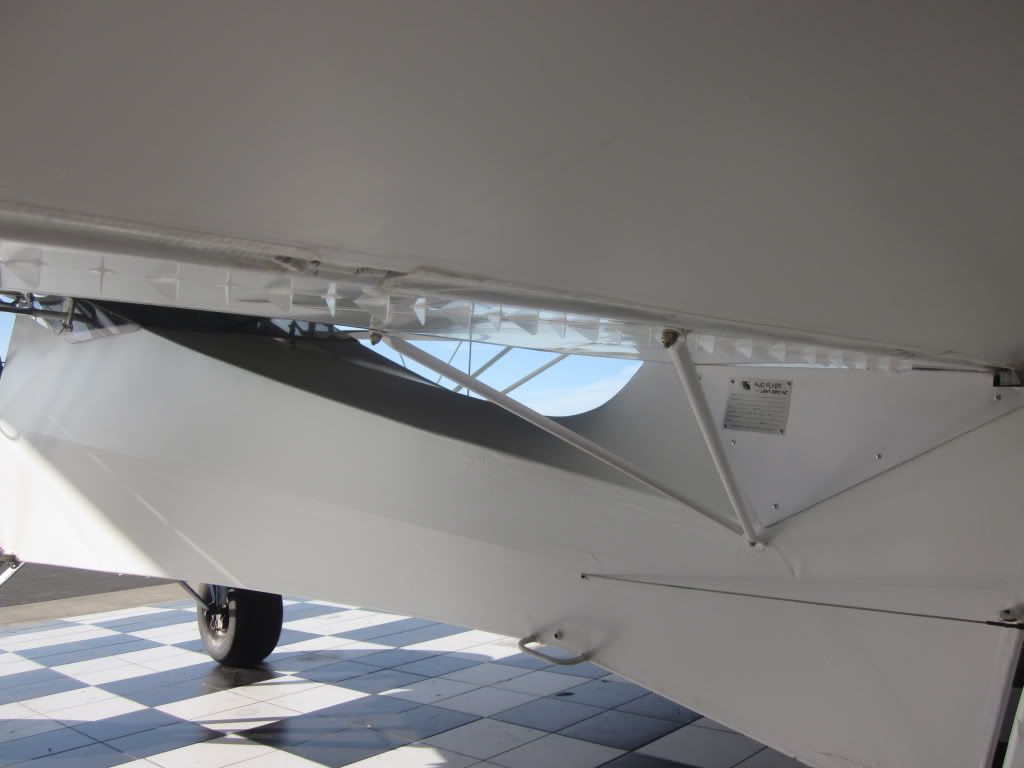
And now what you've been waiting for...well do they work??
Conditions: OAT 98 degrees Winds 10 degrees off at 7kts Field Elevation 120ft Density Altitude 3200ft Empty wt 535lbs 9 gallons of fuel on board
On my initial takeoff I did my normal thing and the first thing I noticed was the tail came up extremely quick. Climbout felt normal. I went to 3500ft msl to try and get out of the heat. During the climb the stick was farther forward than it used to be.
Once the OAT got down to 75 or so I started doing various stalls. I started with a power on and right away I noticed that there was a noticeable buffet and break which I never used to have. Not sure of the speed as I was damn near vertical.
After that I went into slow flight I was cruising easily at 45mph IAS flaps UP. Flaps down I was able to stay level at 40ish. Before anything below 45 and I was falling out of the sky.
Next was power off. Flaps up before power off stall was 44ish. After was 40 with a noticeable buffet and break once again more like a Cessna. Flaps down stall was 35-36. Overall I decreased my stall speed by 4-5mph.
After the stalls and falls I opened her up and headed back to the airfield. The stick in cruise is farther forward now than it used to be. I flew my first approach at my normal speed of about 55 on final. Pitch felt way more solid. I did a stop and go. On the go I held the brakes and shoved the stick full forward with the flaps at 15 degrees and I was able to lift the tail and hold it level without moving. I could NEVER do that before. I let off the brakes and the tail dropped some but I was able to pull it off slower for sure. On my second approach I flew it at 50 which before would work but without a lot of power I would touch TW first. 50 felt great so I tried my next one at 45 hanging on the prop which I anticipated a TW first landing and plop onto the mains which happened but it was about the same as flying an approach at 50 before.
I can't wait to get my taller gear on. With that I think I can comfortably fly an approach at 45 to get in super short.
Keep in mind these numbers are just my numbers on my indicator. As a trend I was able to fly approx 5mph slower all the way around which in the world of STOL is pretty huge. I'm happy with the results and it was pretty cheap. I think I'm gonna go ahead and put them on my wings next and try it.
I got my VG's from www.stolspeed.com He's a nice guy, the instructions are clear, and the product is nice. Sheesh I wish I could leave this thing alone.
Hi Joey,
Are you any closer to installing VG's on the wing? I would be very interested in your results.
Dave
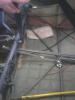
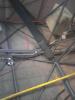
homemade spring gear
in Avidfoxflyers General Hangar
Posted
I would like to see the design of the Bungie Strut gear as in the Standard Highlander or the John Roberts gear without the Fox Float. I used a down sized version of the Bearhawk Gear struts but it is not easily tuneable. I believe the bungies could provide more travel and be easier to tune. If anyone has pictures of the strut parts without the bungie installed I would like to see it.
Thanks Dave