Durham66
Members-
Content count
96 -
Joined
-
Last visited
Posts posted by Durham66
-
-
Was there any mention of what this motor mount costs? JImChukI
I think he said 1500
-
Sand them and put some ospho rust inhibitor on them then prime and paint . I also have a set of 9 gallon wing tanks that might work for your plane .
are your tanks alluminum? are they the fuel resistant ones? i have one 9ngallon alluminum tank on one side and storage on the other. Ill probably replace both. I yanked the nosetank. the cockpit smells like fuel so im redoing the fuel system.
-
did you put new control surfaces in your model 3?
-
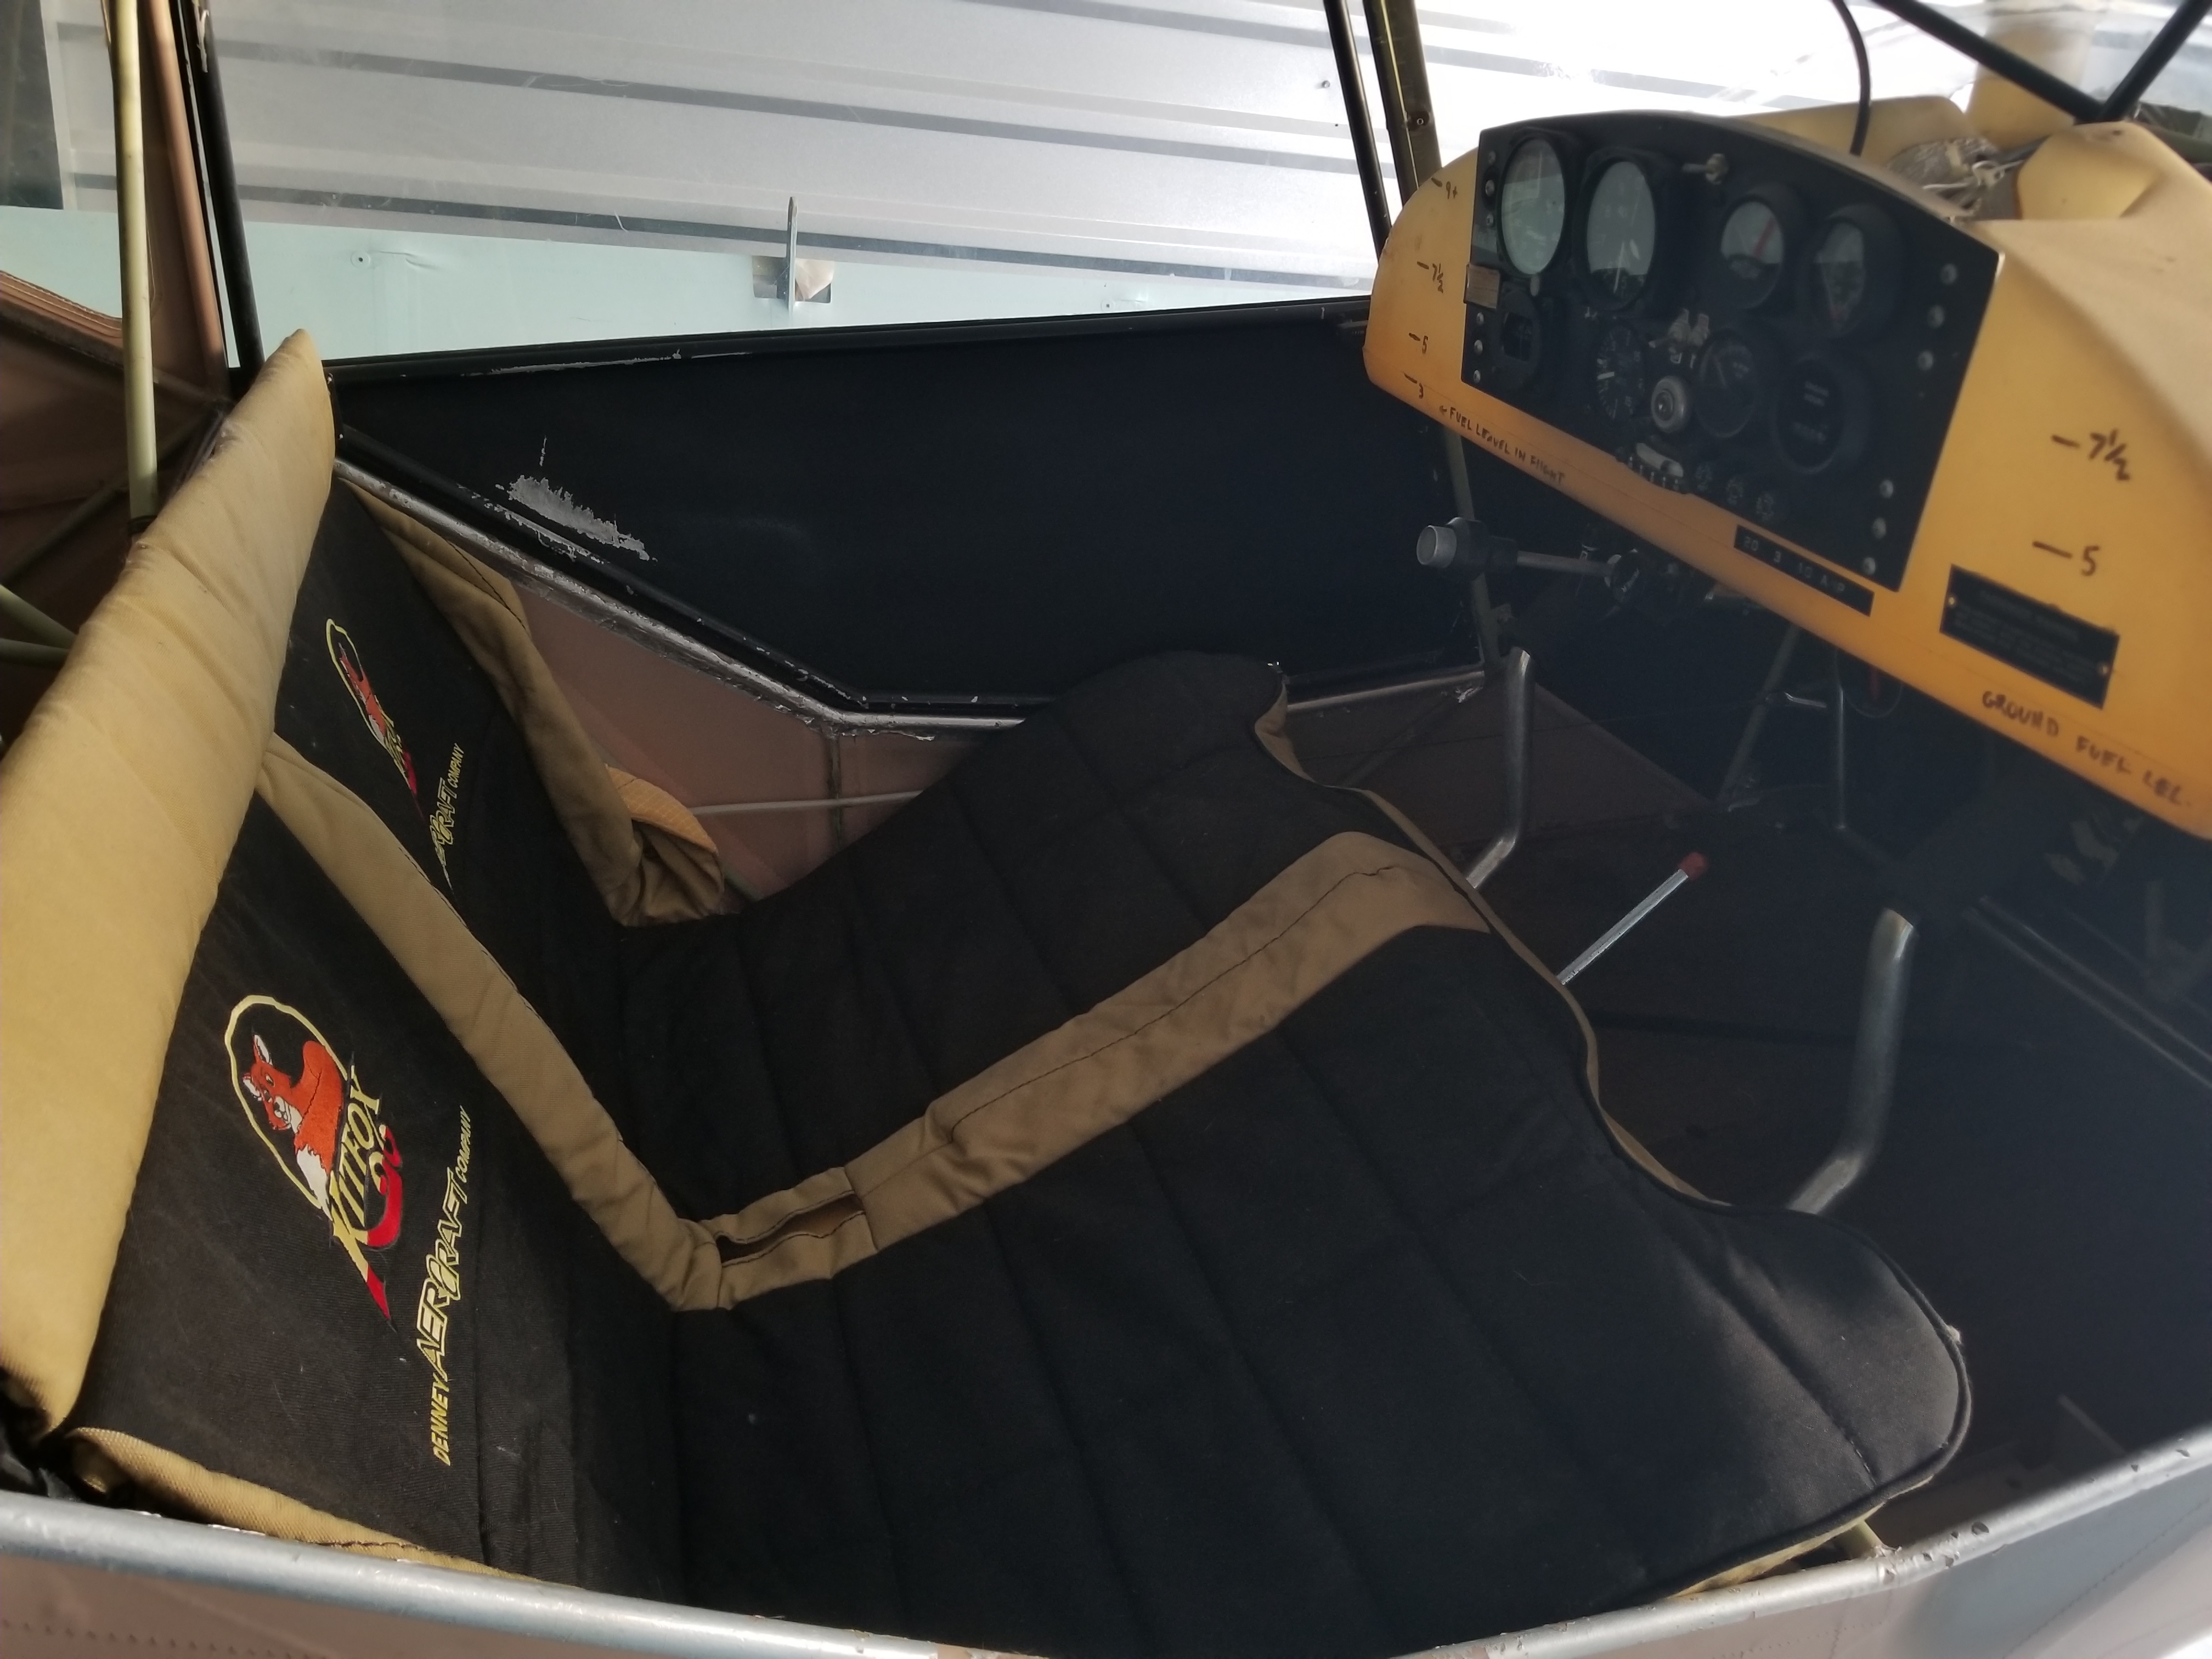
ok so im having the sone trouble with thr seat pan rubbing the control surfaces. I read about it in another forrum that listed some sugestions such as straps and netting. I also notice some of the tubes are bent but i read thats normal. what do you guys think?
-
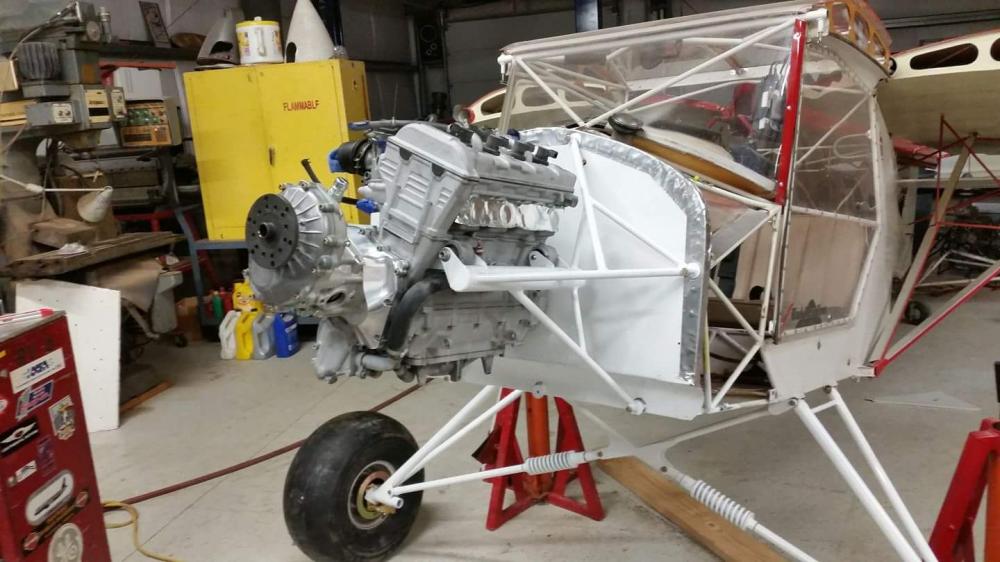
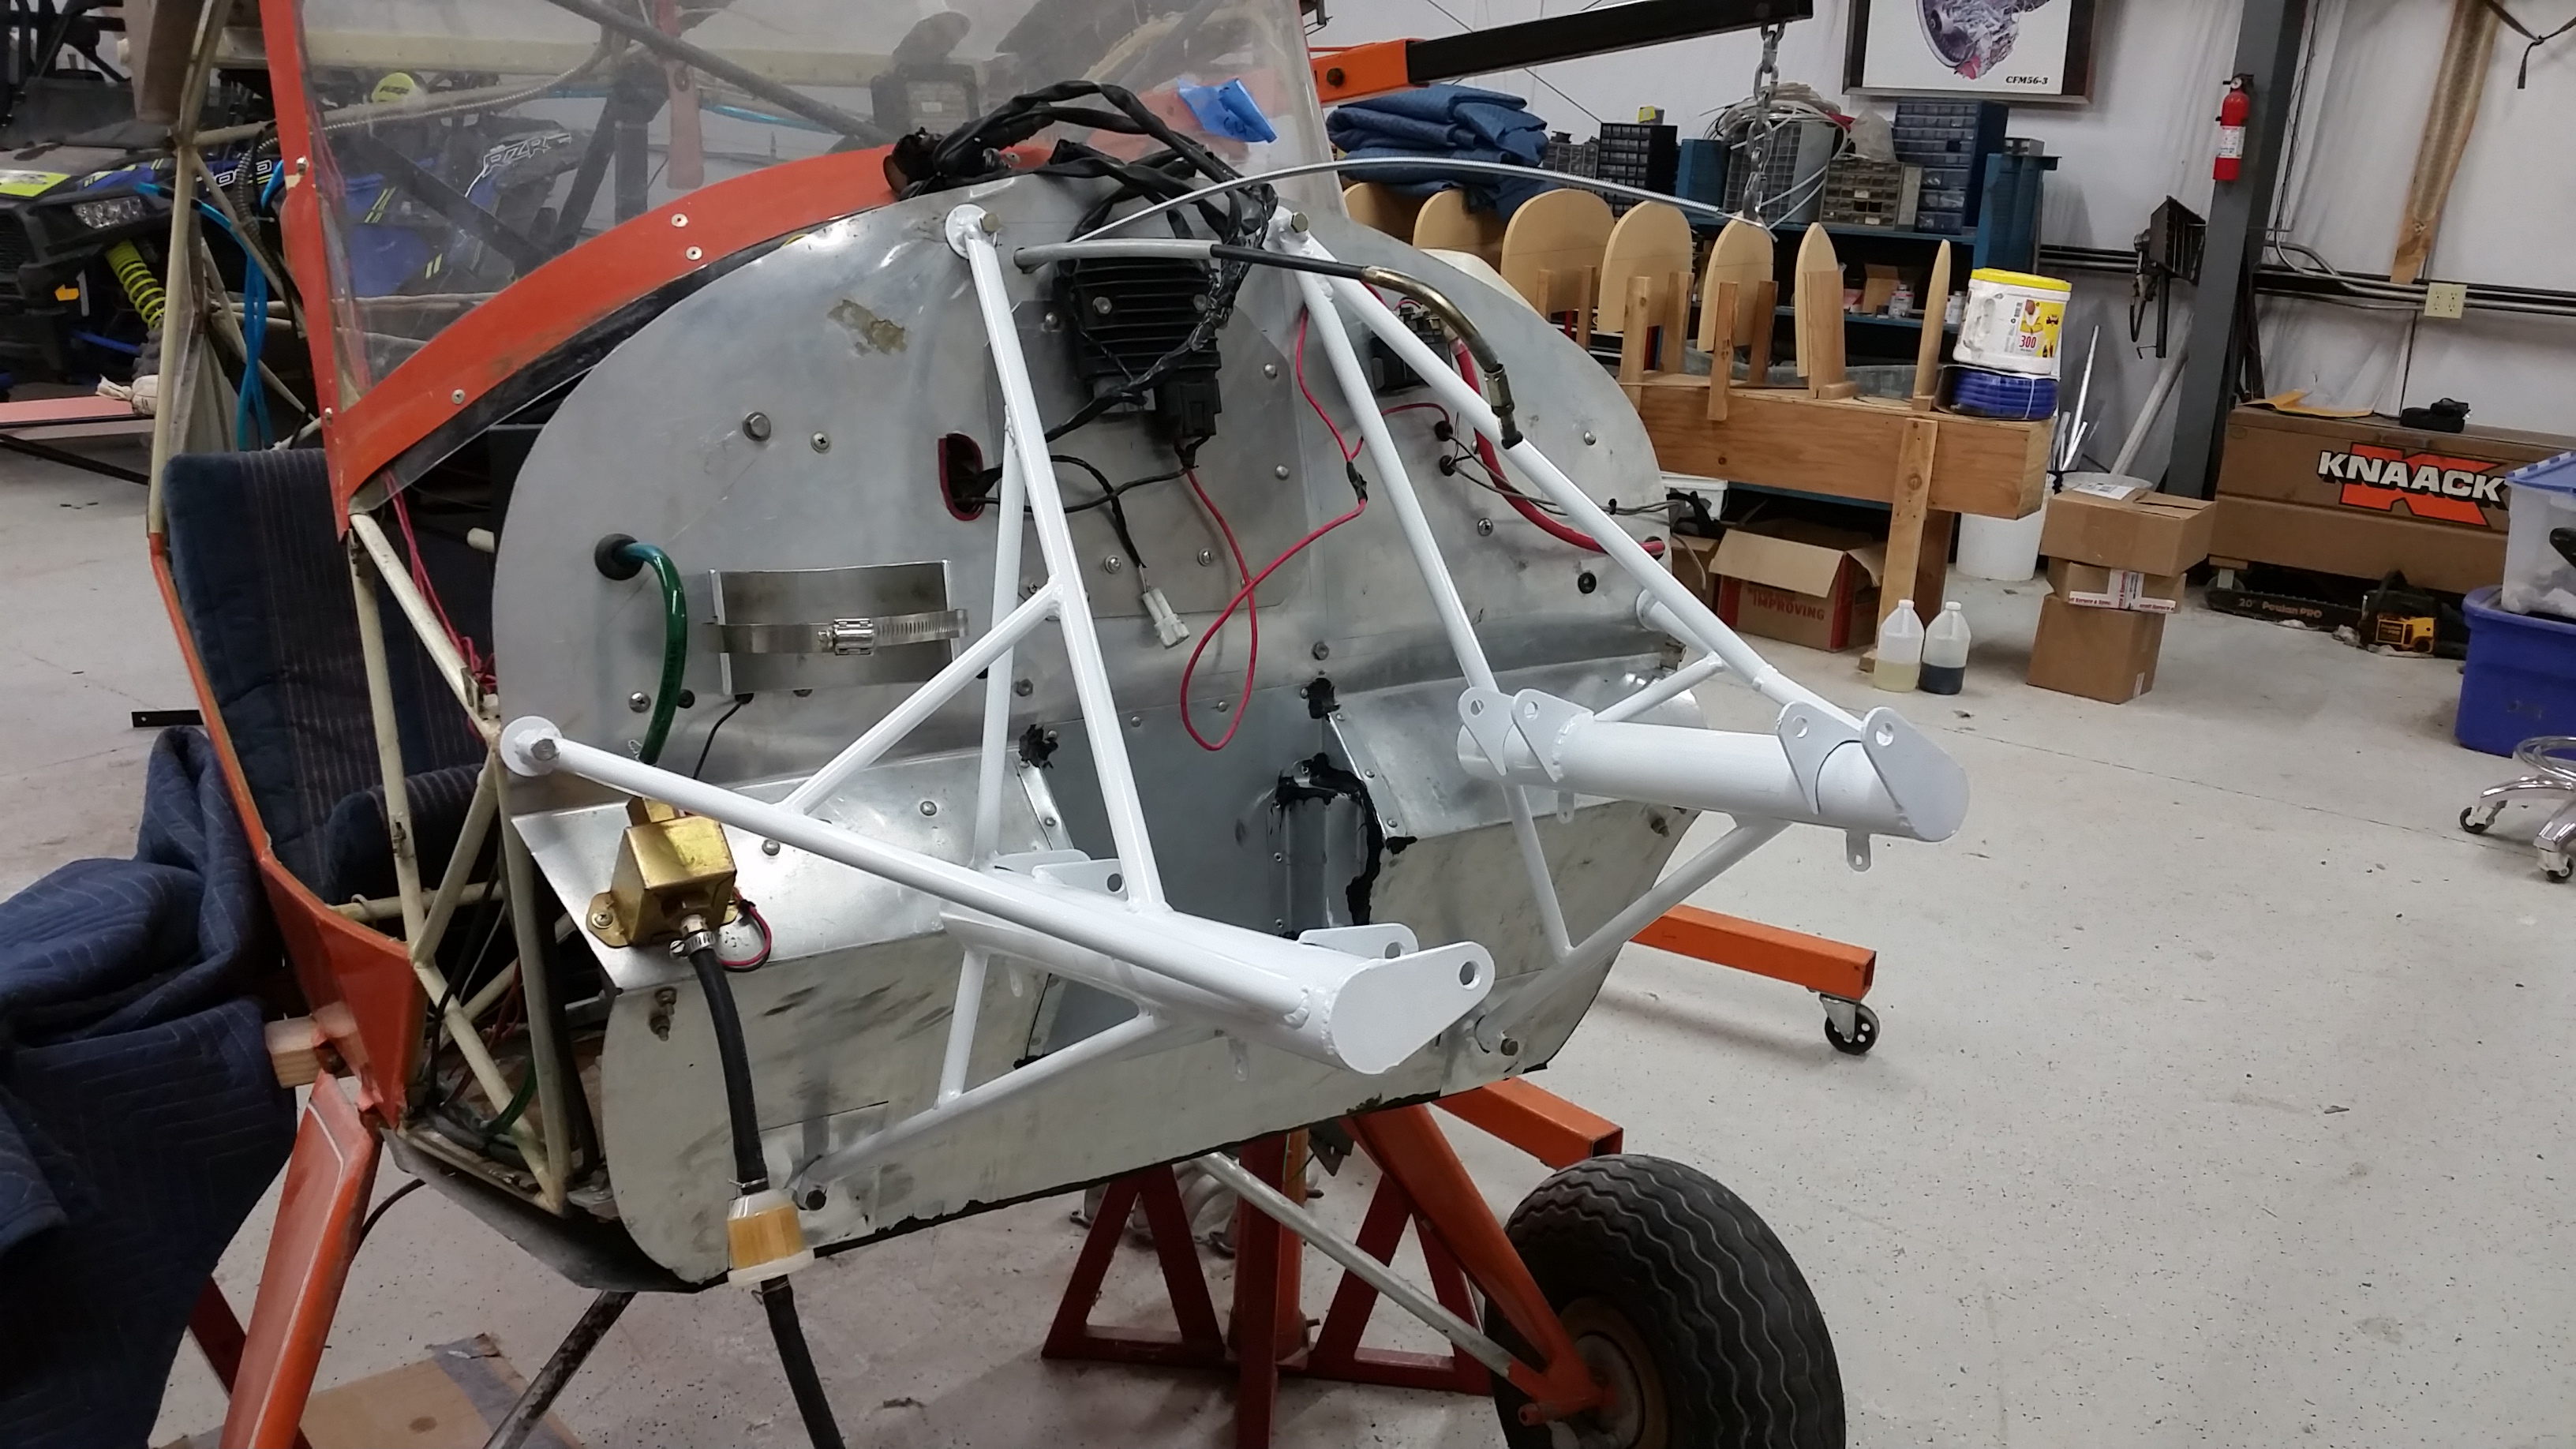
Here is a picture of the engine mount glen (flyingwrench) makes and has for sale.

how can we get ahold of the flying wrench?
-
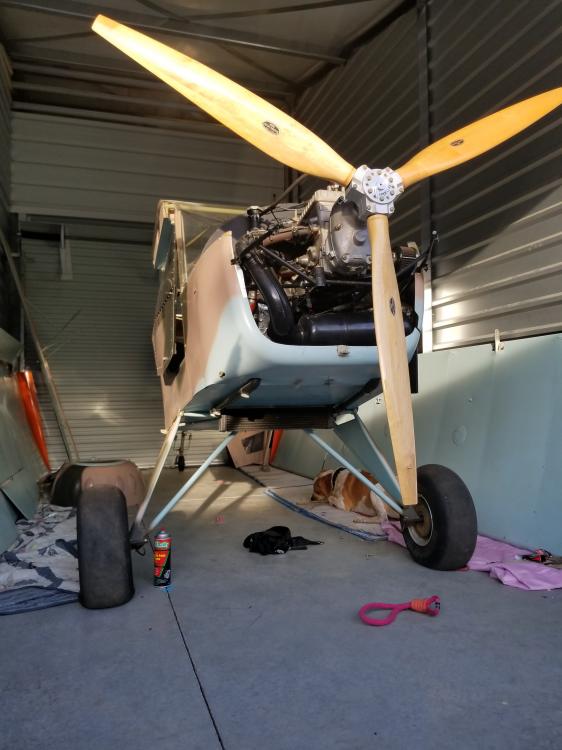
Found this picture on Facebook which helps to explain the large diameter tube.
do you know anyone who csn fabricate the motor mount?
-
ahh so no glue but revet it, sounds like a good temporary sotution untill the re cover job. im so tempted to take the fabric off but I cant bring myself to do it because its in really great condition.
-
what do you guys think about the wooden flaperon attachment points? i've read about the alluminum reinforcements to ensure more side load strength. If I want to reinforce it will i have to remove all the fabric on the wigs and recover. Mine seem to be in good condition but ive heard the horror stories, id sure feel better if they were reinforced.
-
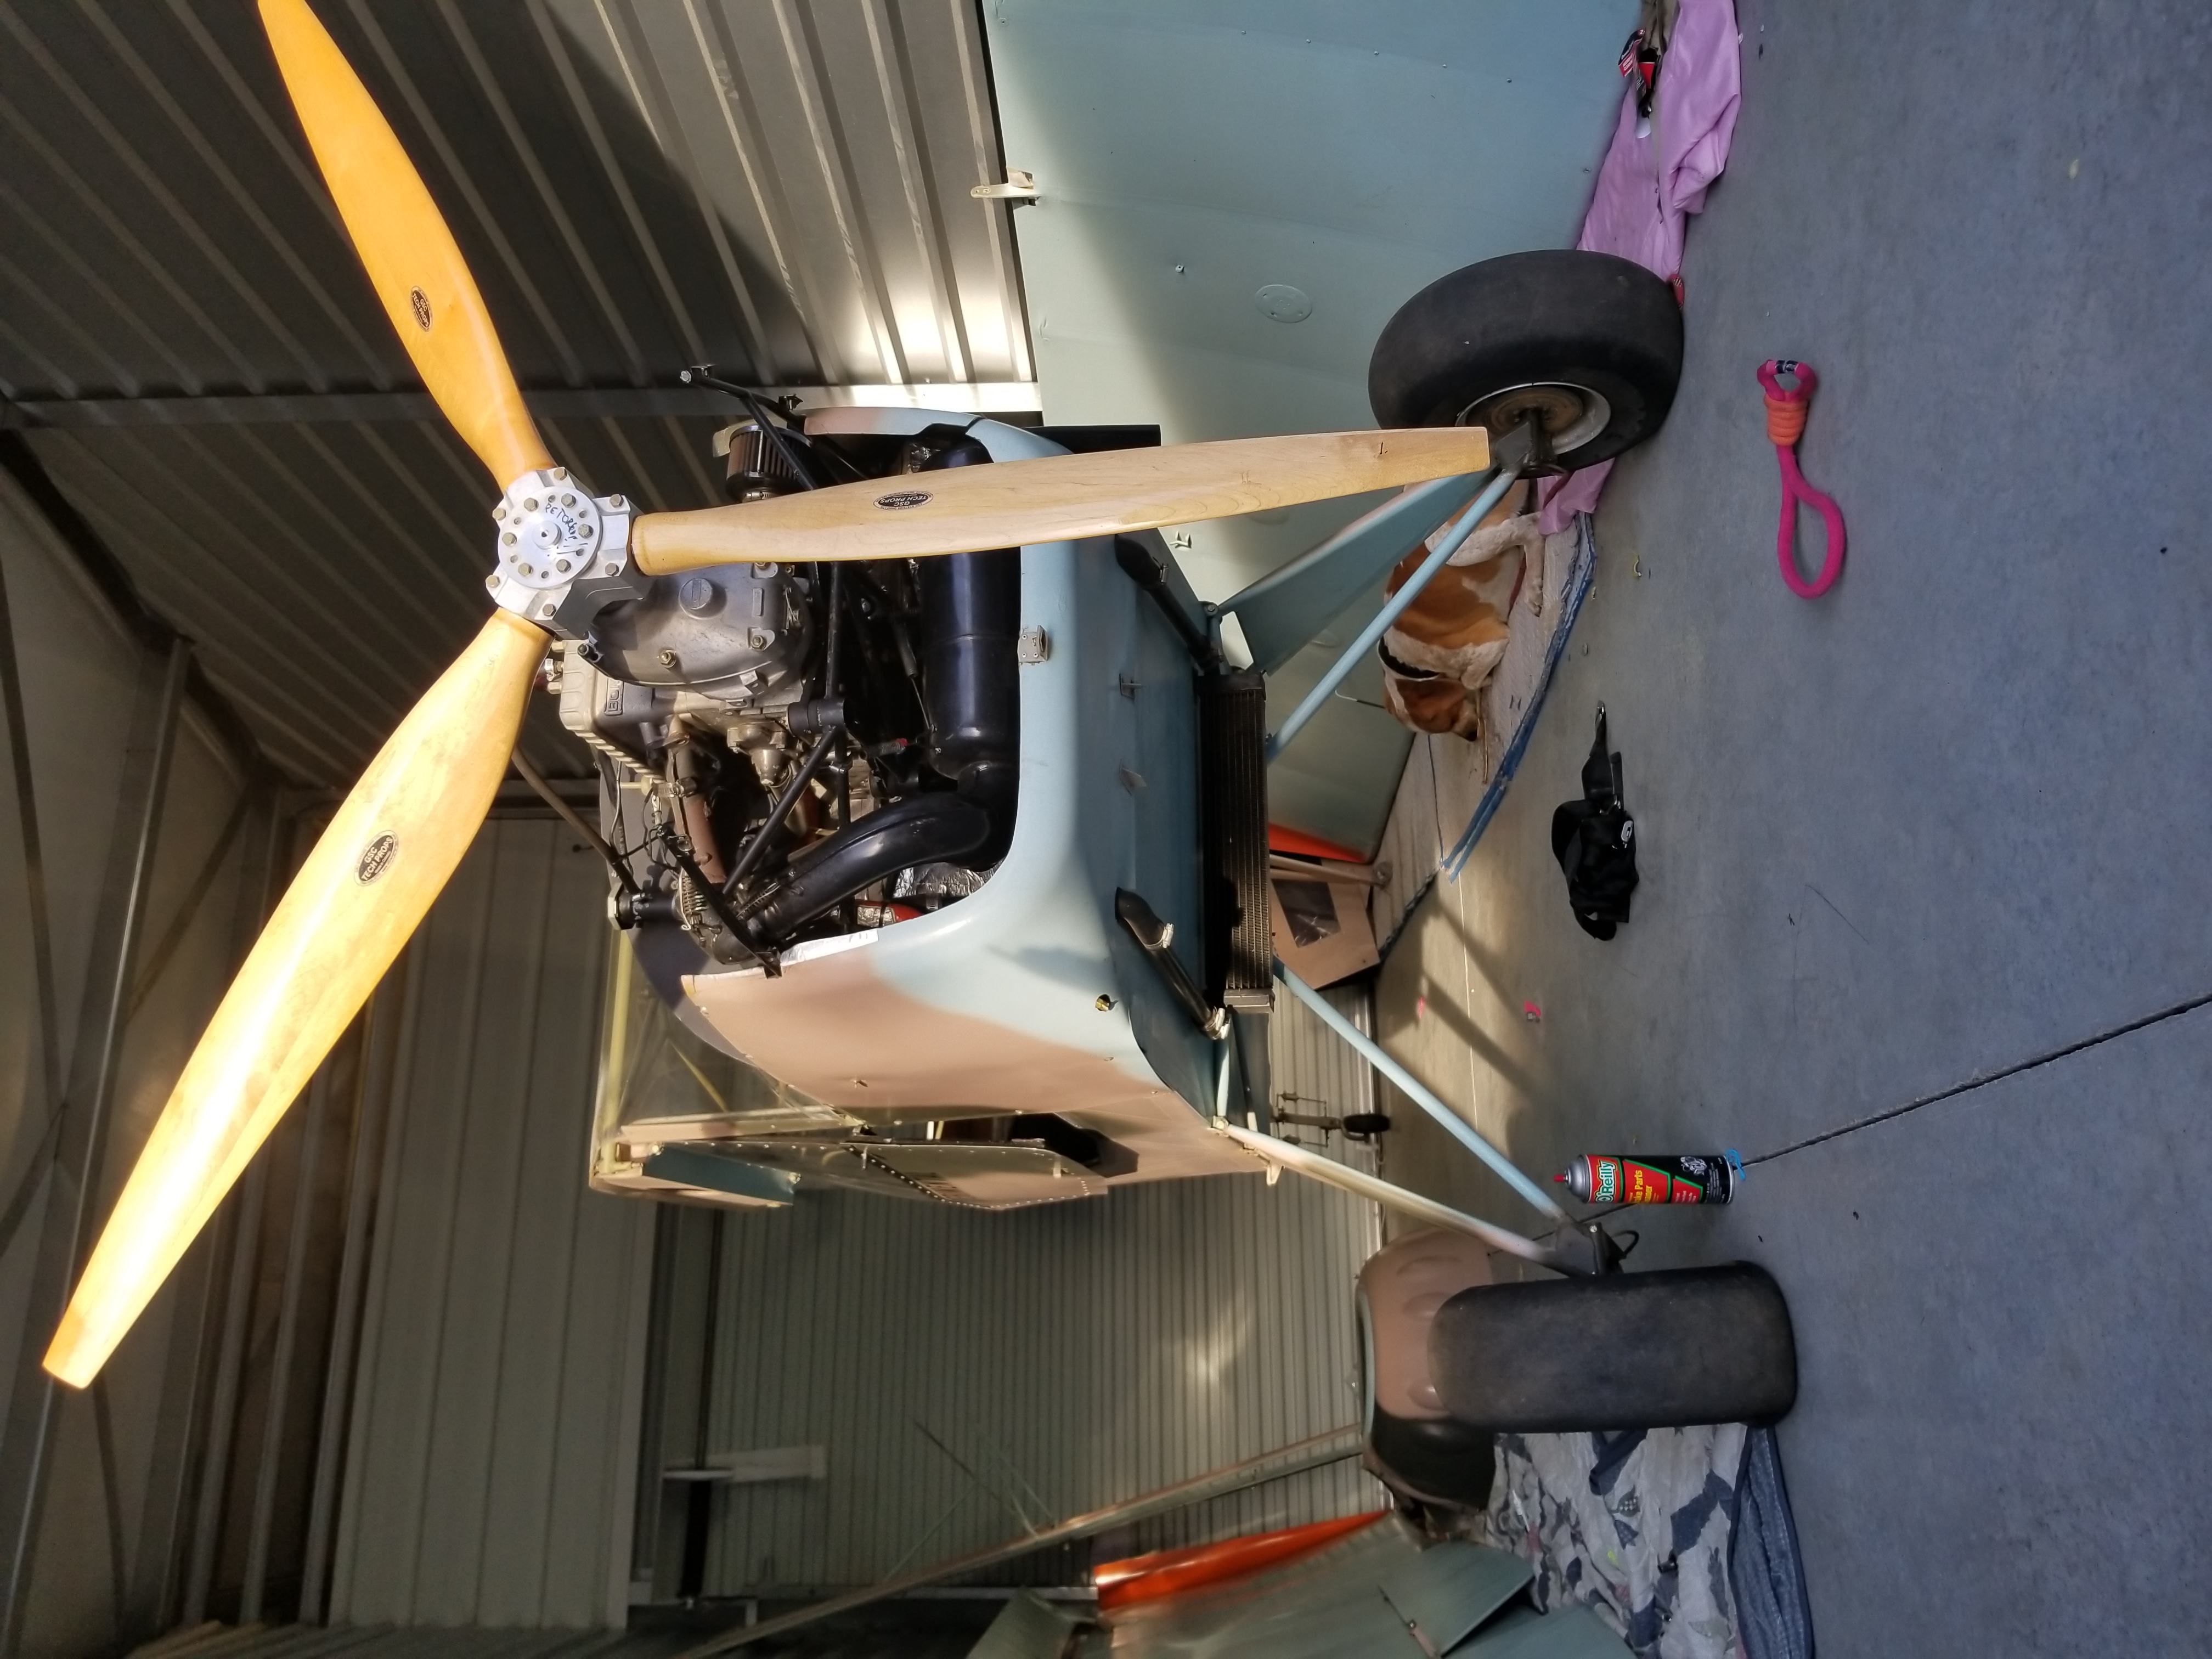
can you run a two blade prop with the RX-1. is it possible to save weight that way?
-
Nice work on the model one I had a blast building mine, should make a fun airplane for ya.
hey Tjay, did you have any issues after adding the Jabiru? Isnt it a little heavier than a 582? I think i read 138lbs. Im trying to decide what to put on it. I need to get rid of the 532. I live in Central Oregon, nothing but trees. The Yamaha RX-1 isnt much heavier, i wonder if it woukd fit under the cowling. Did you add weight to the tail?
1 person likes this -
Sand them and put some ospho rust inhibitor on them then prime and paint . I also have a set of 9 gallon wing tanks that might work for your plane .
it has one wing tank on one side and the other side has storage. I haven't investigated the wing tank that much yet. Will it be necessary to add another winf tank if I yank the nose tank. I know I'll still have a header tank behind the seat but I don't imagine it will hold as much as that massive nose tank.
-
I think it's pretty good, the foam was still there with only a tiny bit missing so I decided to just keep it simple and epoxy it shut. you can see a clear epoxy layer in there but I think if I paint it it will look fine. I'll add a revet or two later. I'm curious as to how to move the header tank. It smells like gas in the cockpit, does moving the header tank and putting a new panel give you a little more knee room? I could use it. ok one more question for now, I'm milking you guys for everything your worth :). how should I address the surface rust on some of the tubes? I was thinking I would Sand the rust that I can get to and then primer and paint. the rust isn't that bad but it's an eyesore and I wasnt to stop it from getting worse.
-
-
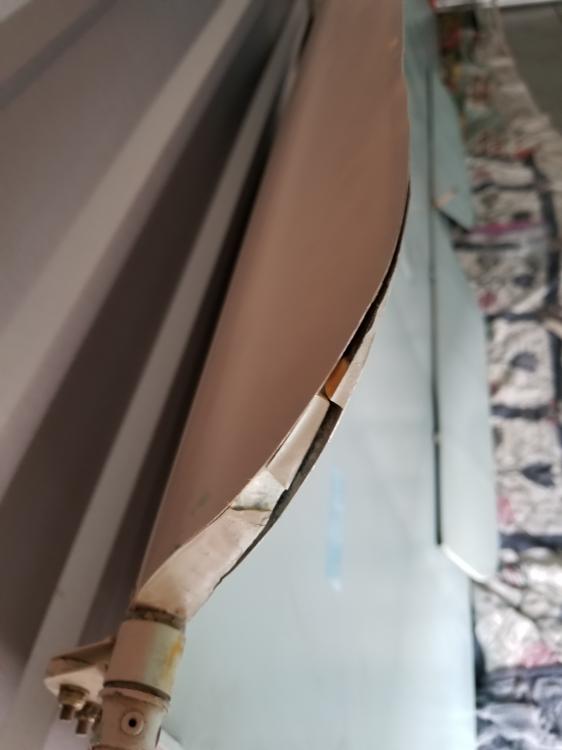
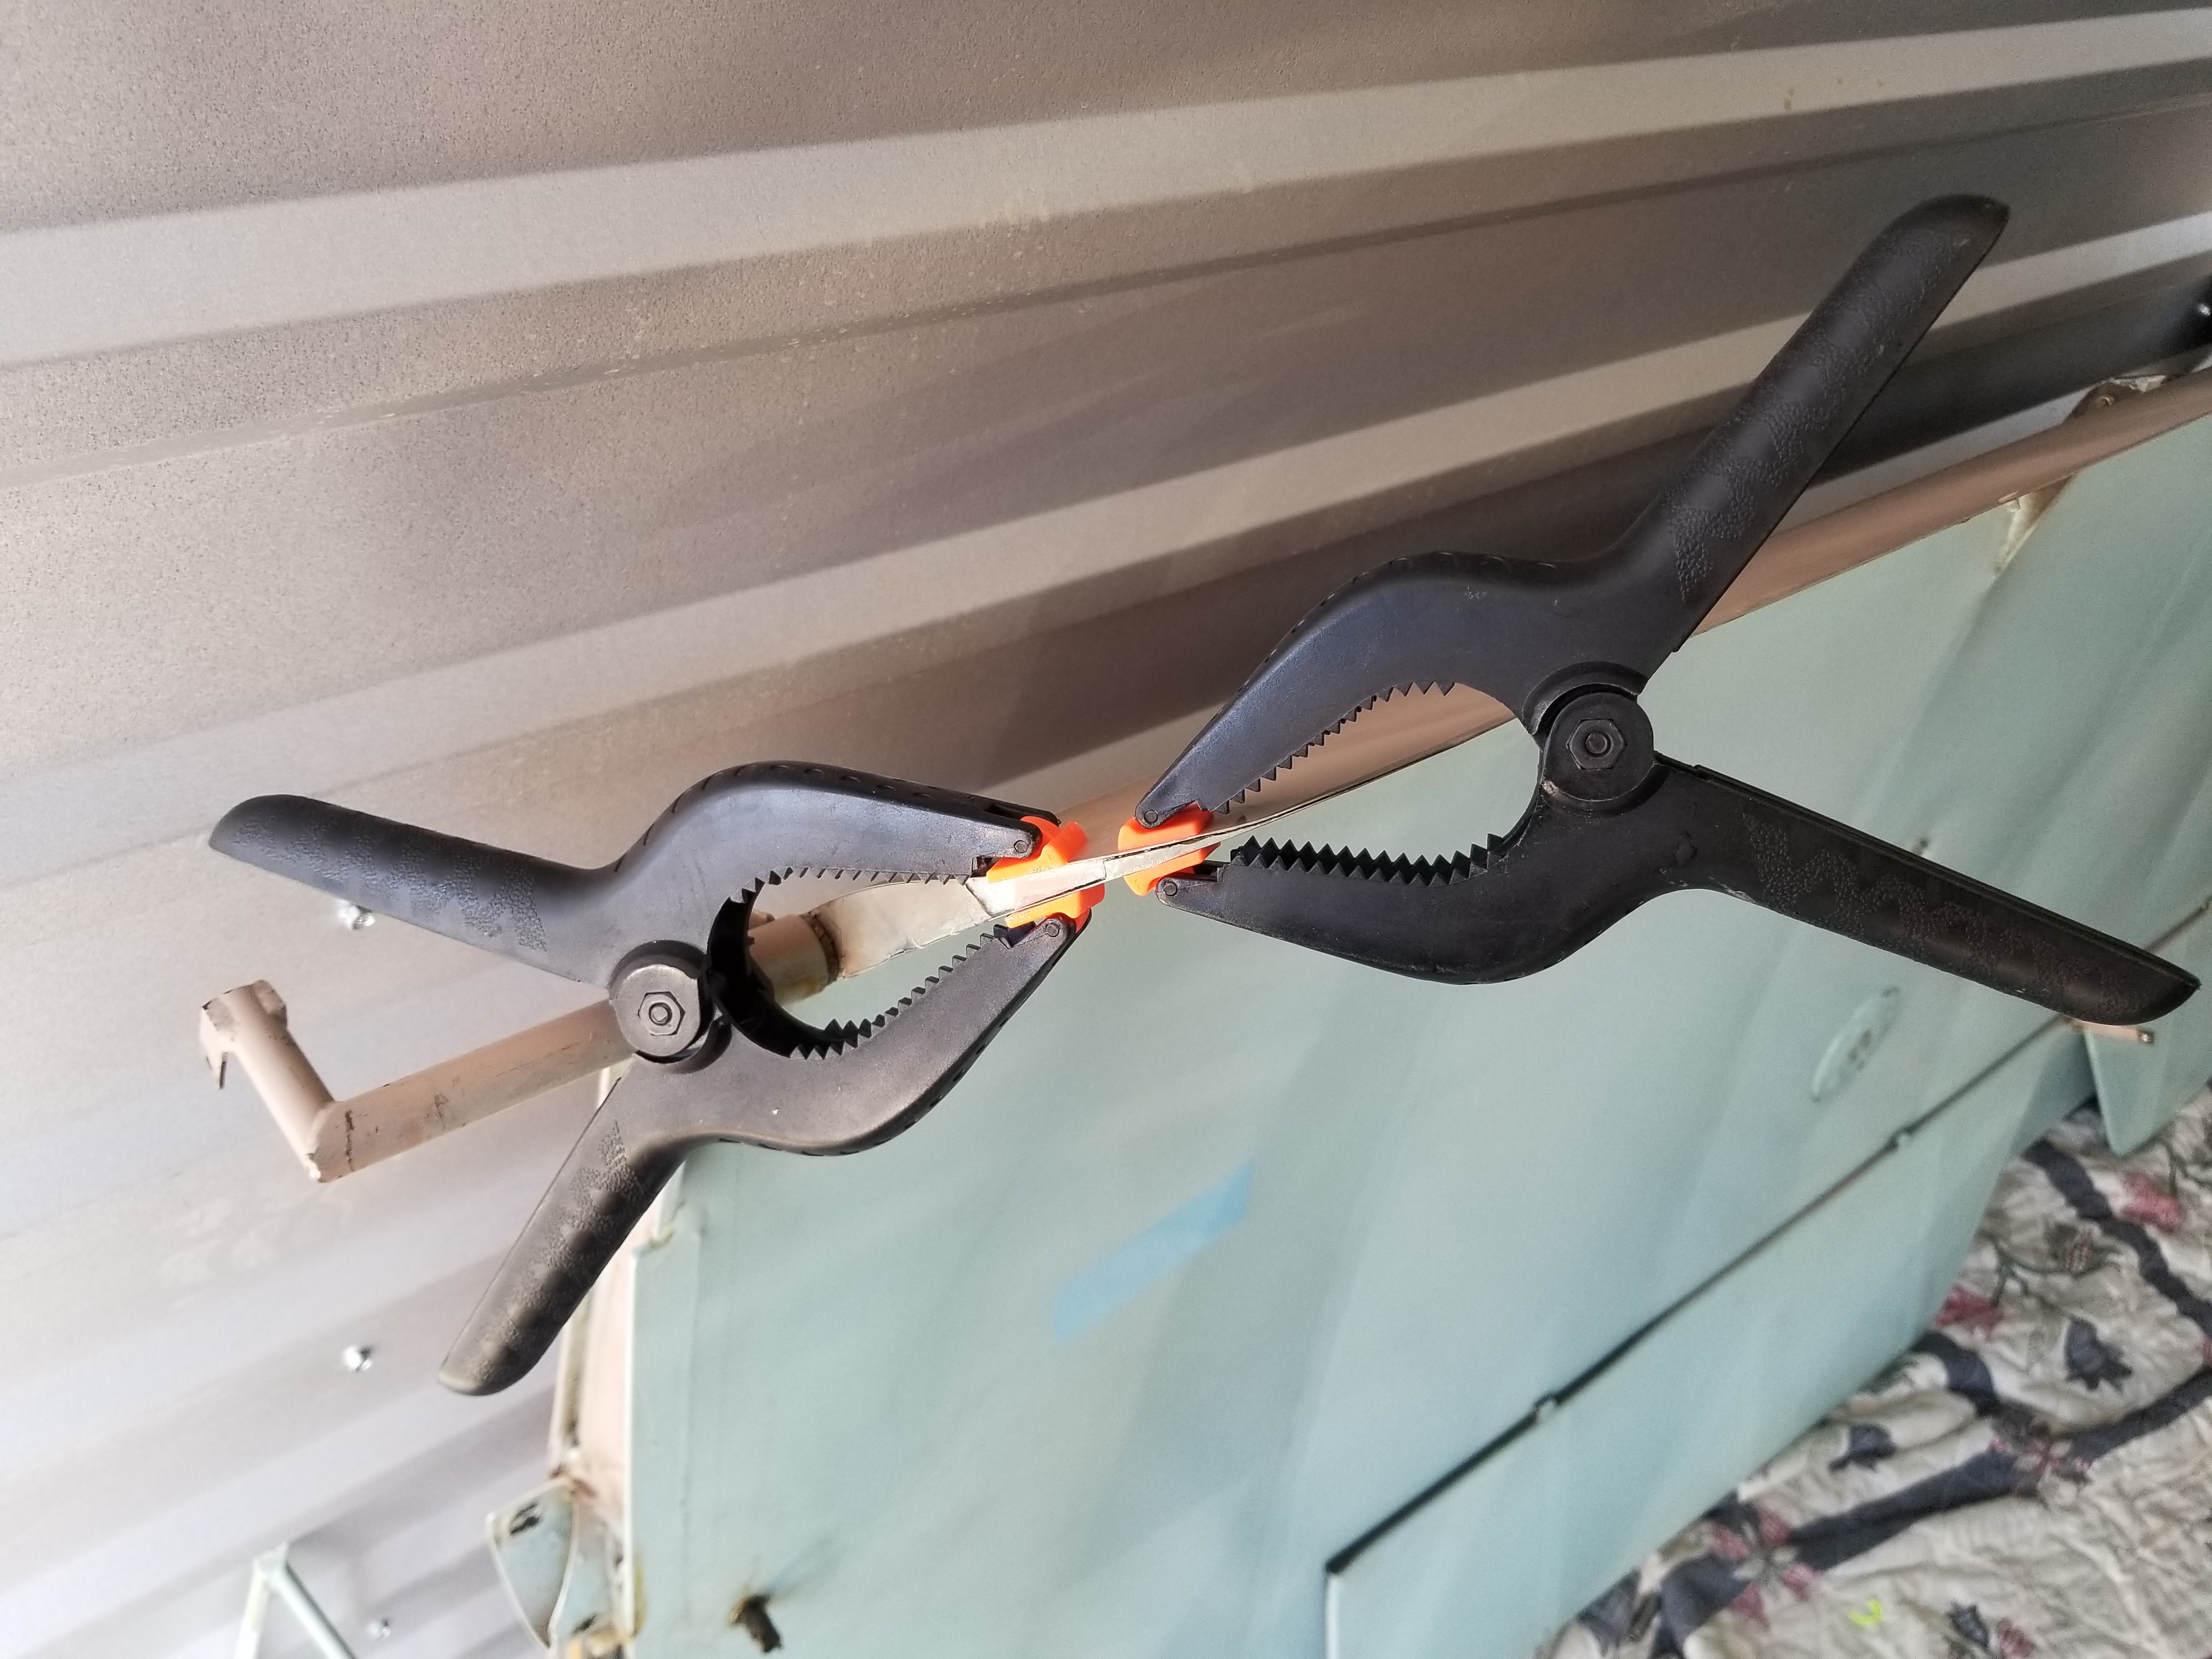
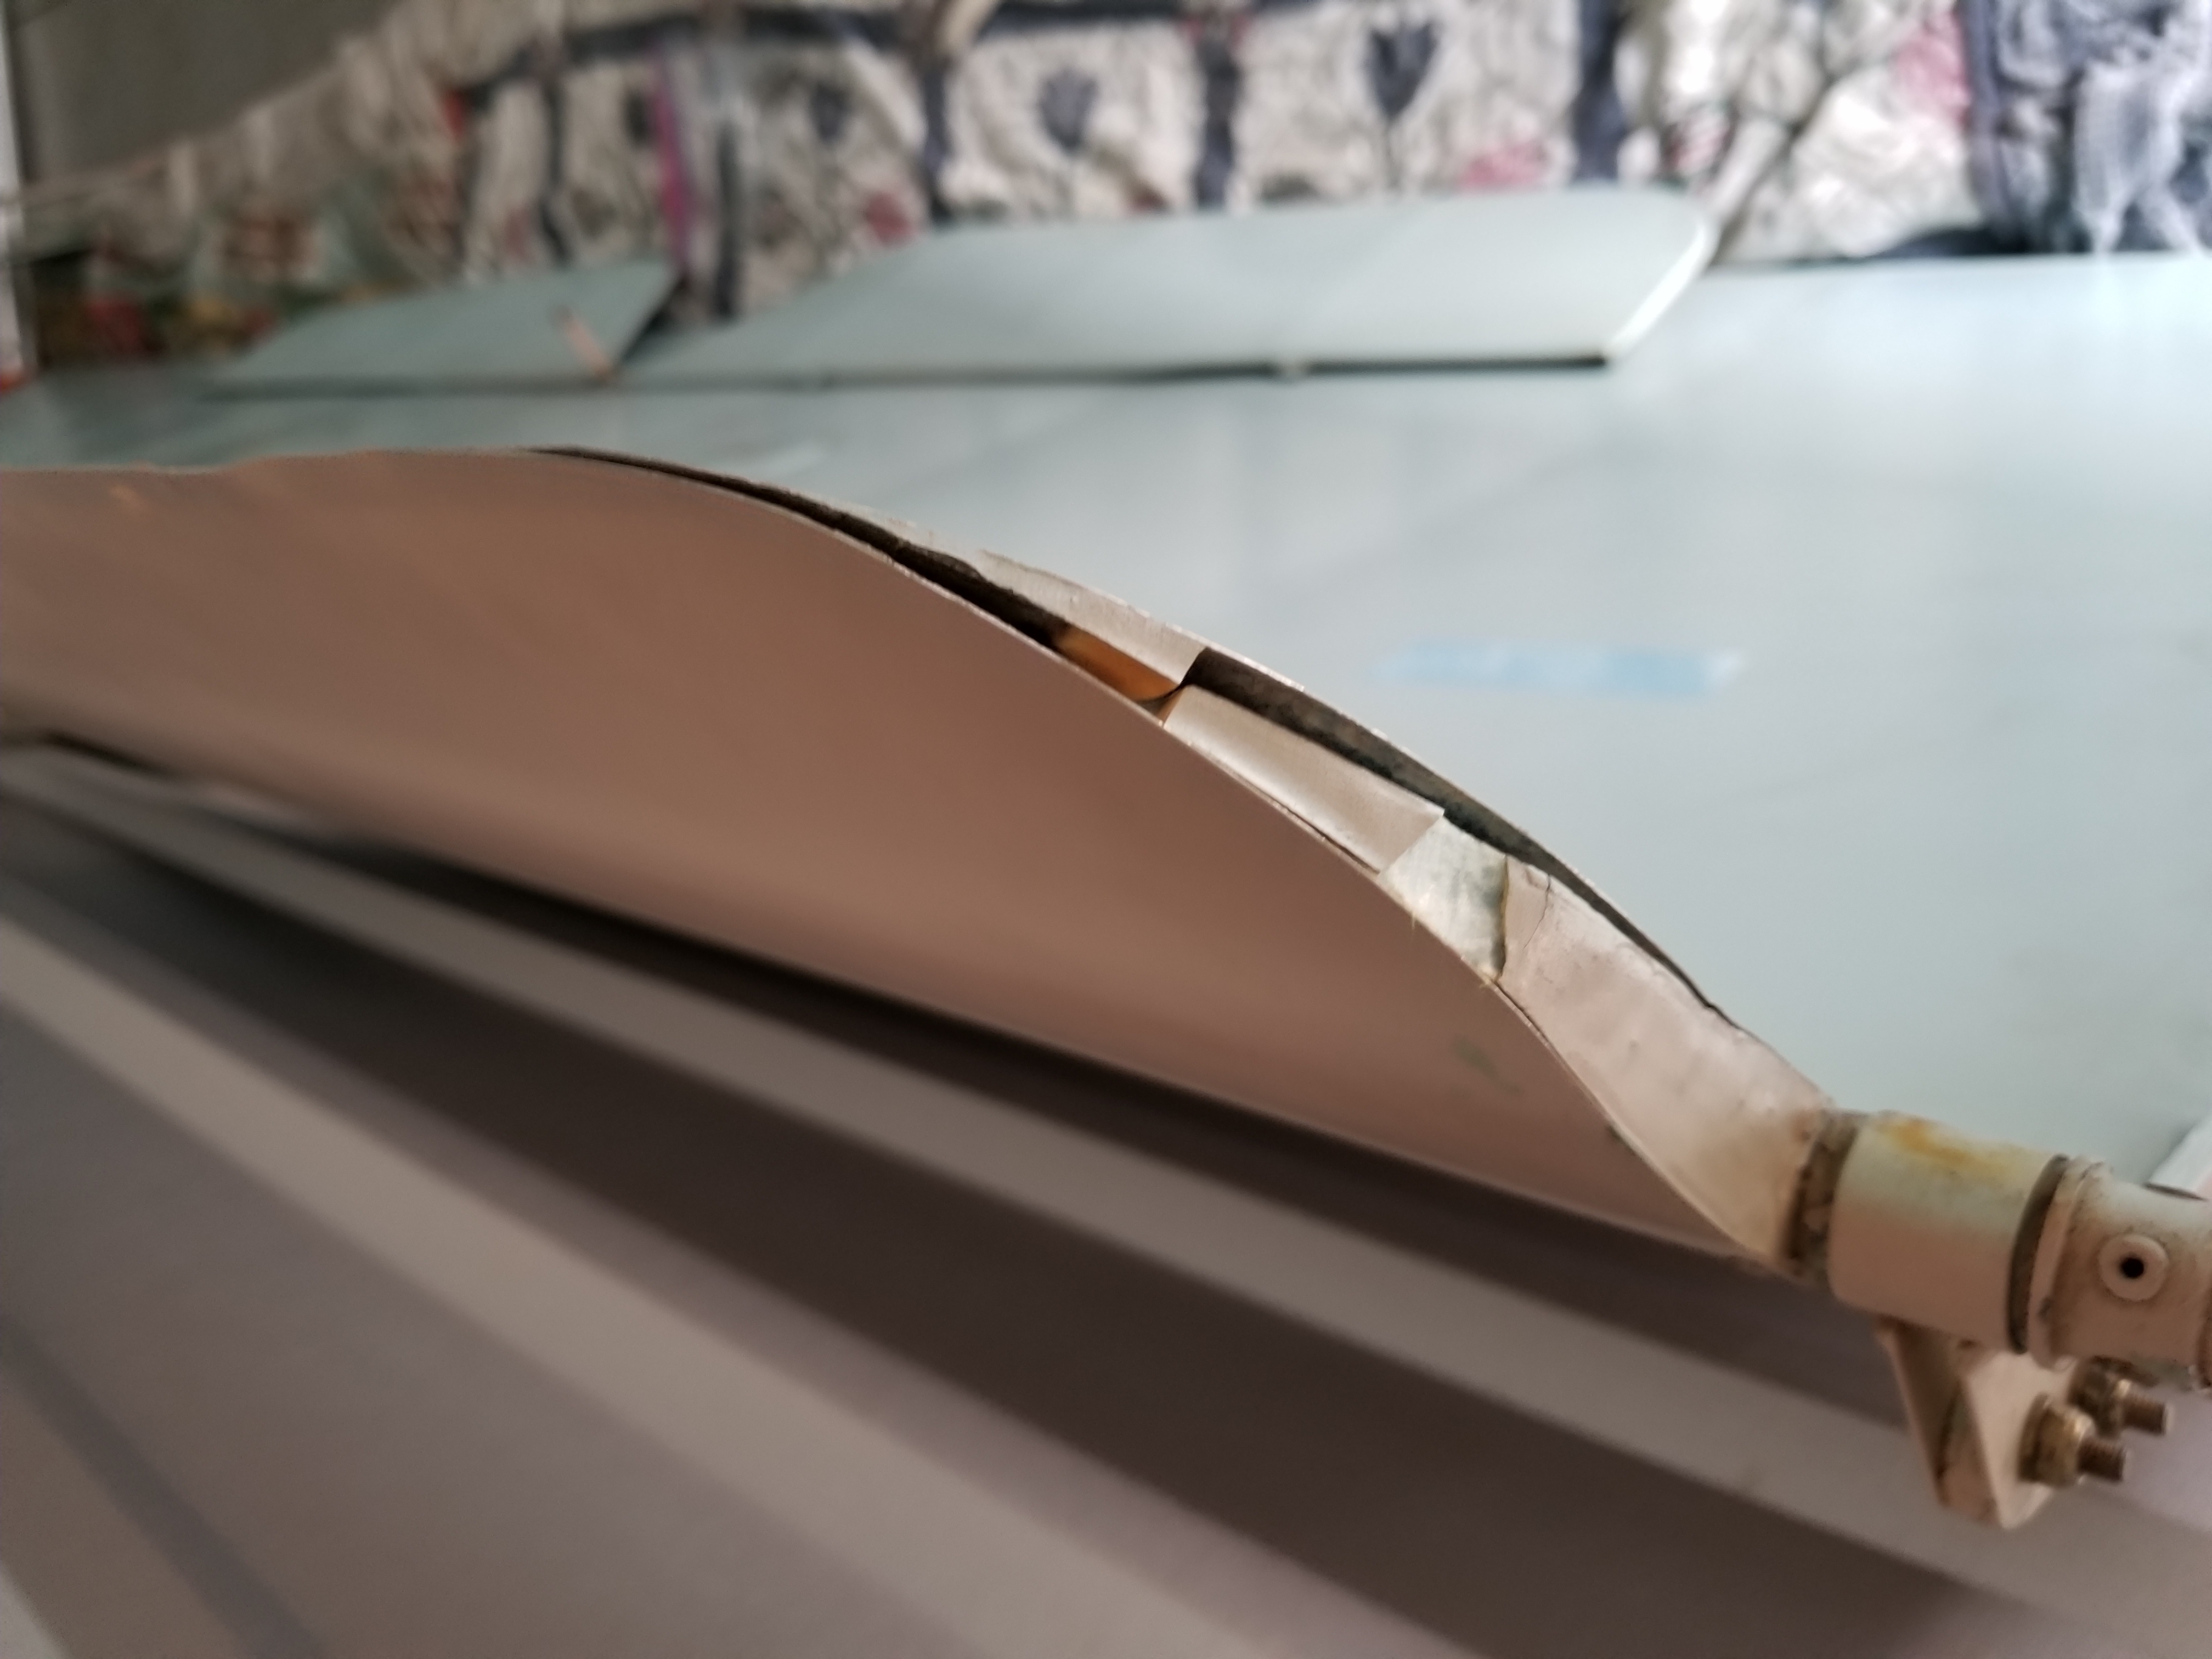
It would be good to know how the flaperon got that way - was it damaged in a wreck - careless handling - flutter? Is there a balance weight on it? The only thing inside is the pivot tube and some stripes of foam. The outer part is just a sheet of aluminum bent in front and riveted at trailing edge. I guess it would be possible to just replace a section of it and overlap that and rivet that to the old part? I would need to see more photos. Someone else may have a different opinion on how to repair it. I don't know of anything about repairing flaperons being published. EDMO
they do have the weights on them. I'll post more photos
-
Back to the bungee question. With the lug that you use to hook the end loop to so close to the flap push-pull rod. is it going to make any difference on how the bungee interferes with setting the flaps unless that lug is moved over to where the ones shown in the other pictures are located? That end loop and the clamp are still going to put pressure on the rod, aren't they?
Jackak
It probably will still rub, I need another solution.
-
The damage to the flaperon looks like someone tried to fold the wings with the flaperon deflected down and the inboard end hit the top corner of the fuselage. Guess how I know that can happen.
I think you are right about how it got damaged.
-
they look remarkable straight, which makes me wonder how it got damaged. The point that it is damaged the aluminum widens out and isn't touching. I think it's the inside part, to me it doesn't look like a recover job but I could be wrong. the flaperons come built from the factory dont they? I hope I don't have to open it up any more, I feel like I could easily make it way worse.
-
I don't understand the flaperon photo - are those trim tabs on the flaperon? Also, that's MAJOR DAMAGE on them - they are sheet metal - cant understand how that could happen - looks like a re-skin job!
 EDMO
EDMOI'm not ssure what you are seeing, in the background you can see the elevator leaning on the wing and I'm holding up the flaperon. So that looks really bad? I'm going to take more pictures tomorrow. I can feel it's aluminum with the foam inside. can this be repaired?
-
how should I fix this flapperon? glue? This is the only damage on them.
-
-
Avid flyers wrap around the top of the seat truss. If that's what he had seen before, then maybe that's the way he thought the Kitfox was supposed to be as well. JImChuk
That could very well be.... I'm definitely switching it. Also, the seat doesn't wasnt to stay in place. do you use zip ties?
-
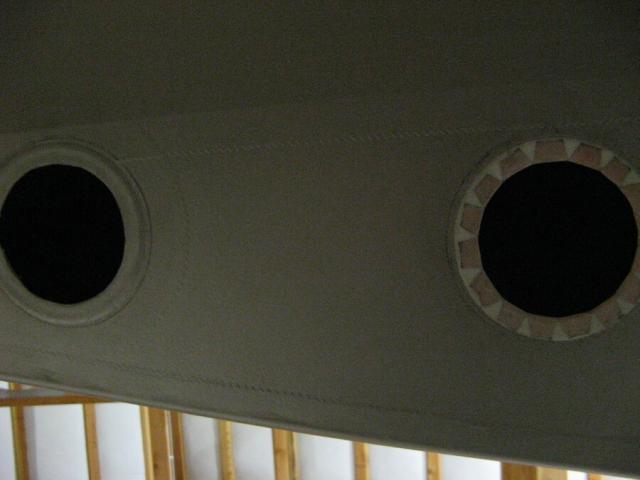
If your paint is polytone, and I suspect it is, here's how to install an inspection ring on a plane that is already painted. Bond the ring down with poly-tack. When cured, cut out a circle inside the ring about 1/2 inch smaller than the diameter of the ring. Then make a series of radial cuts in the fabric to the edge of the ring. Fold these fabric tabs back over the ring and glue down with poly-tack. This will strengthen the mounting of the ring to the fabric without creating a large area that would need to be repainted.
I installed one on my belly under the elevator tube bushing when covering but when doing my first annual inspection I found I needed two hands to clean and re-grease the bearing. I then installed the second inspection ring.
On the flap controls rubbing the bungees. A fellow here in Ellensburg has a Kitfox model 2 with the same problem. He put a tie wrap around the whole cluster of bungee wraps and that small section of verticel tubing on the right side of the bungees and sinched it up tight enough to pull the loop end of the bungee out of the way of the flap rod.
FYI, here's a photo what they did on the model 4 to fix that flaw.


ahhh ok I'm going to look at it, that makes allot more sense. I wonder why they wrapped it on the top tube? Thanks for the info on inspection plates. that's my next step.
-
Adding an inspection ring it pretty easy - glue down a plastic reinforcing ring http://www.aircraftspruce.com/catalog/cspages/inspectring.php cover it with some pre-shrunk fabric using polybrush, finish....
I would highly recommend buying the polyfiber book - the cover this sort of thing reasonably well. http://www.aircraftspruce.com/catalog/bvpages/polyfiberCover.php
Thank you, will be doing for sure!!
-
I just noticed your bungees are wrapped around the top tube on the truss. I think they should be down on the short section of horizontal tubing like in my photo above.
i didnt notice that!! idk why the previous owner did that maybe it allowed him to use different bunjees? there are cuts in the seat to allow him to do this.


Kitfox Service Bulletin #45 Elevator Bolt Replacement
in Kitfox III
Posted · Edited by Durham66
EDMO, how did you change the fork end to a rod end? do the just screw into the bottom of the elevator tube? what size, I have a Model 1. My Manual calls for an AN23-9 bolt, would you still use this bolt with a rod end?