3CW
Members-
Content count
33 -
Joined
-
Last visited
Posts posted by 3CW
-
-
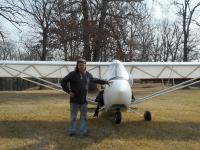
I bought a wreck out in South Carolina and hauled it back to Illinois. It’s got a 200hr grey head on it that, I didn’t see it, but was told it still runs. I’m thinking that I’ll have it gone through and use it. It has electric start and C drive. The mount on it is bent, but I have a 532 mount that came with my kit. The wreck looks like a C model, but the data plate says it’s a Mark IV. He said it was a dyna-vibe mount. Will that 532 mount work? On an eyeball, it looks like it would. The mount on the wreck think could be repaired too.
Wyatt
-
Thanks again guys!
Like I said, Chome-A -Lite didn’t register with the feller I dealt with and he sold me what I showed. The only time I’ve used the micro balloons was when I glued and riveted the strut attachments. Ribs and such I used the cotton flux with the Hysol. So I really don’t know if I should use micro balloons the since the stuff I has kitty hair.
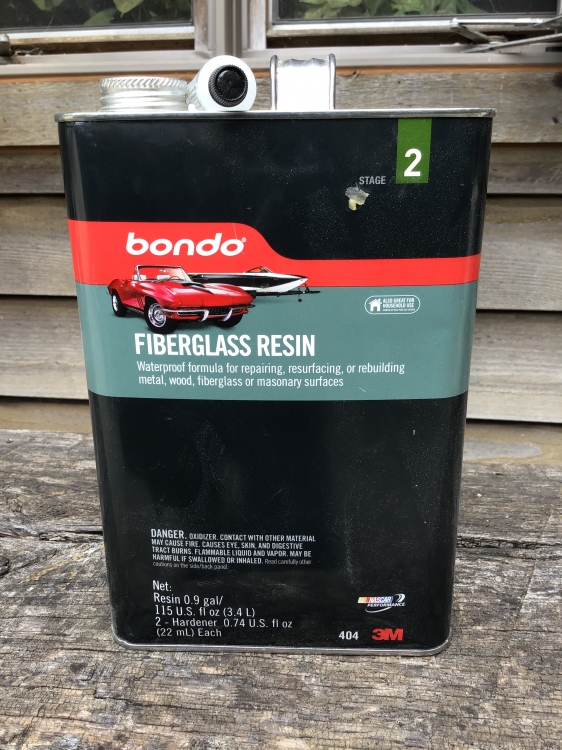
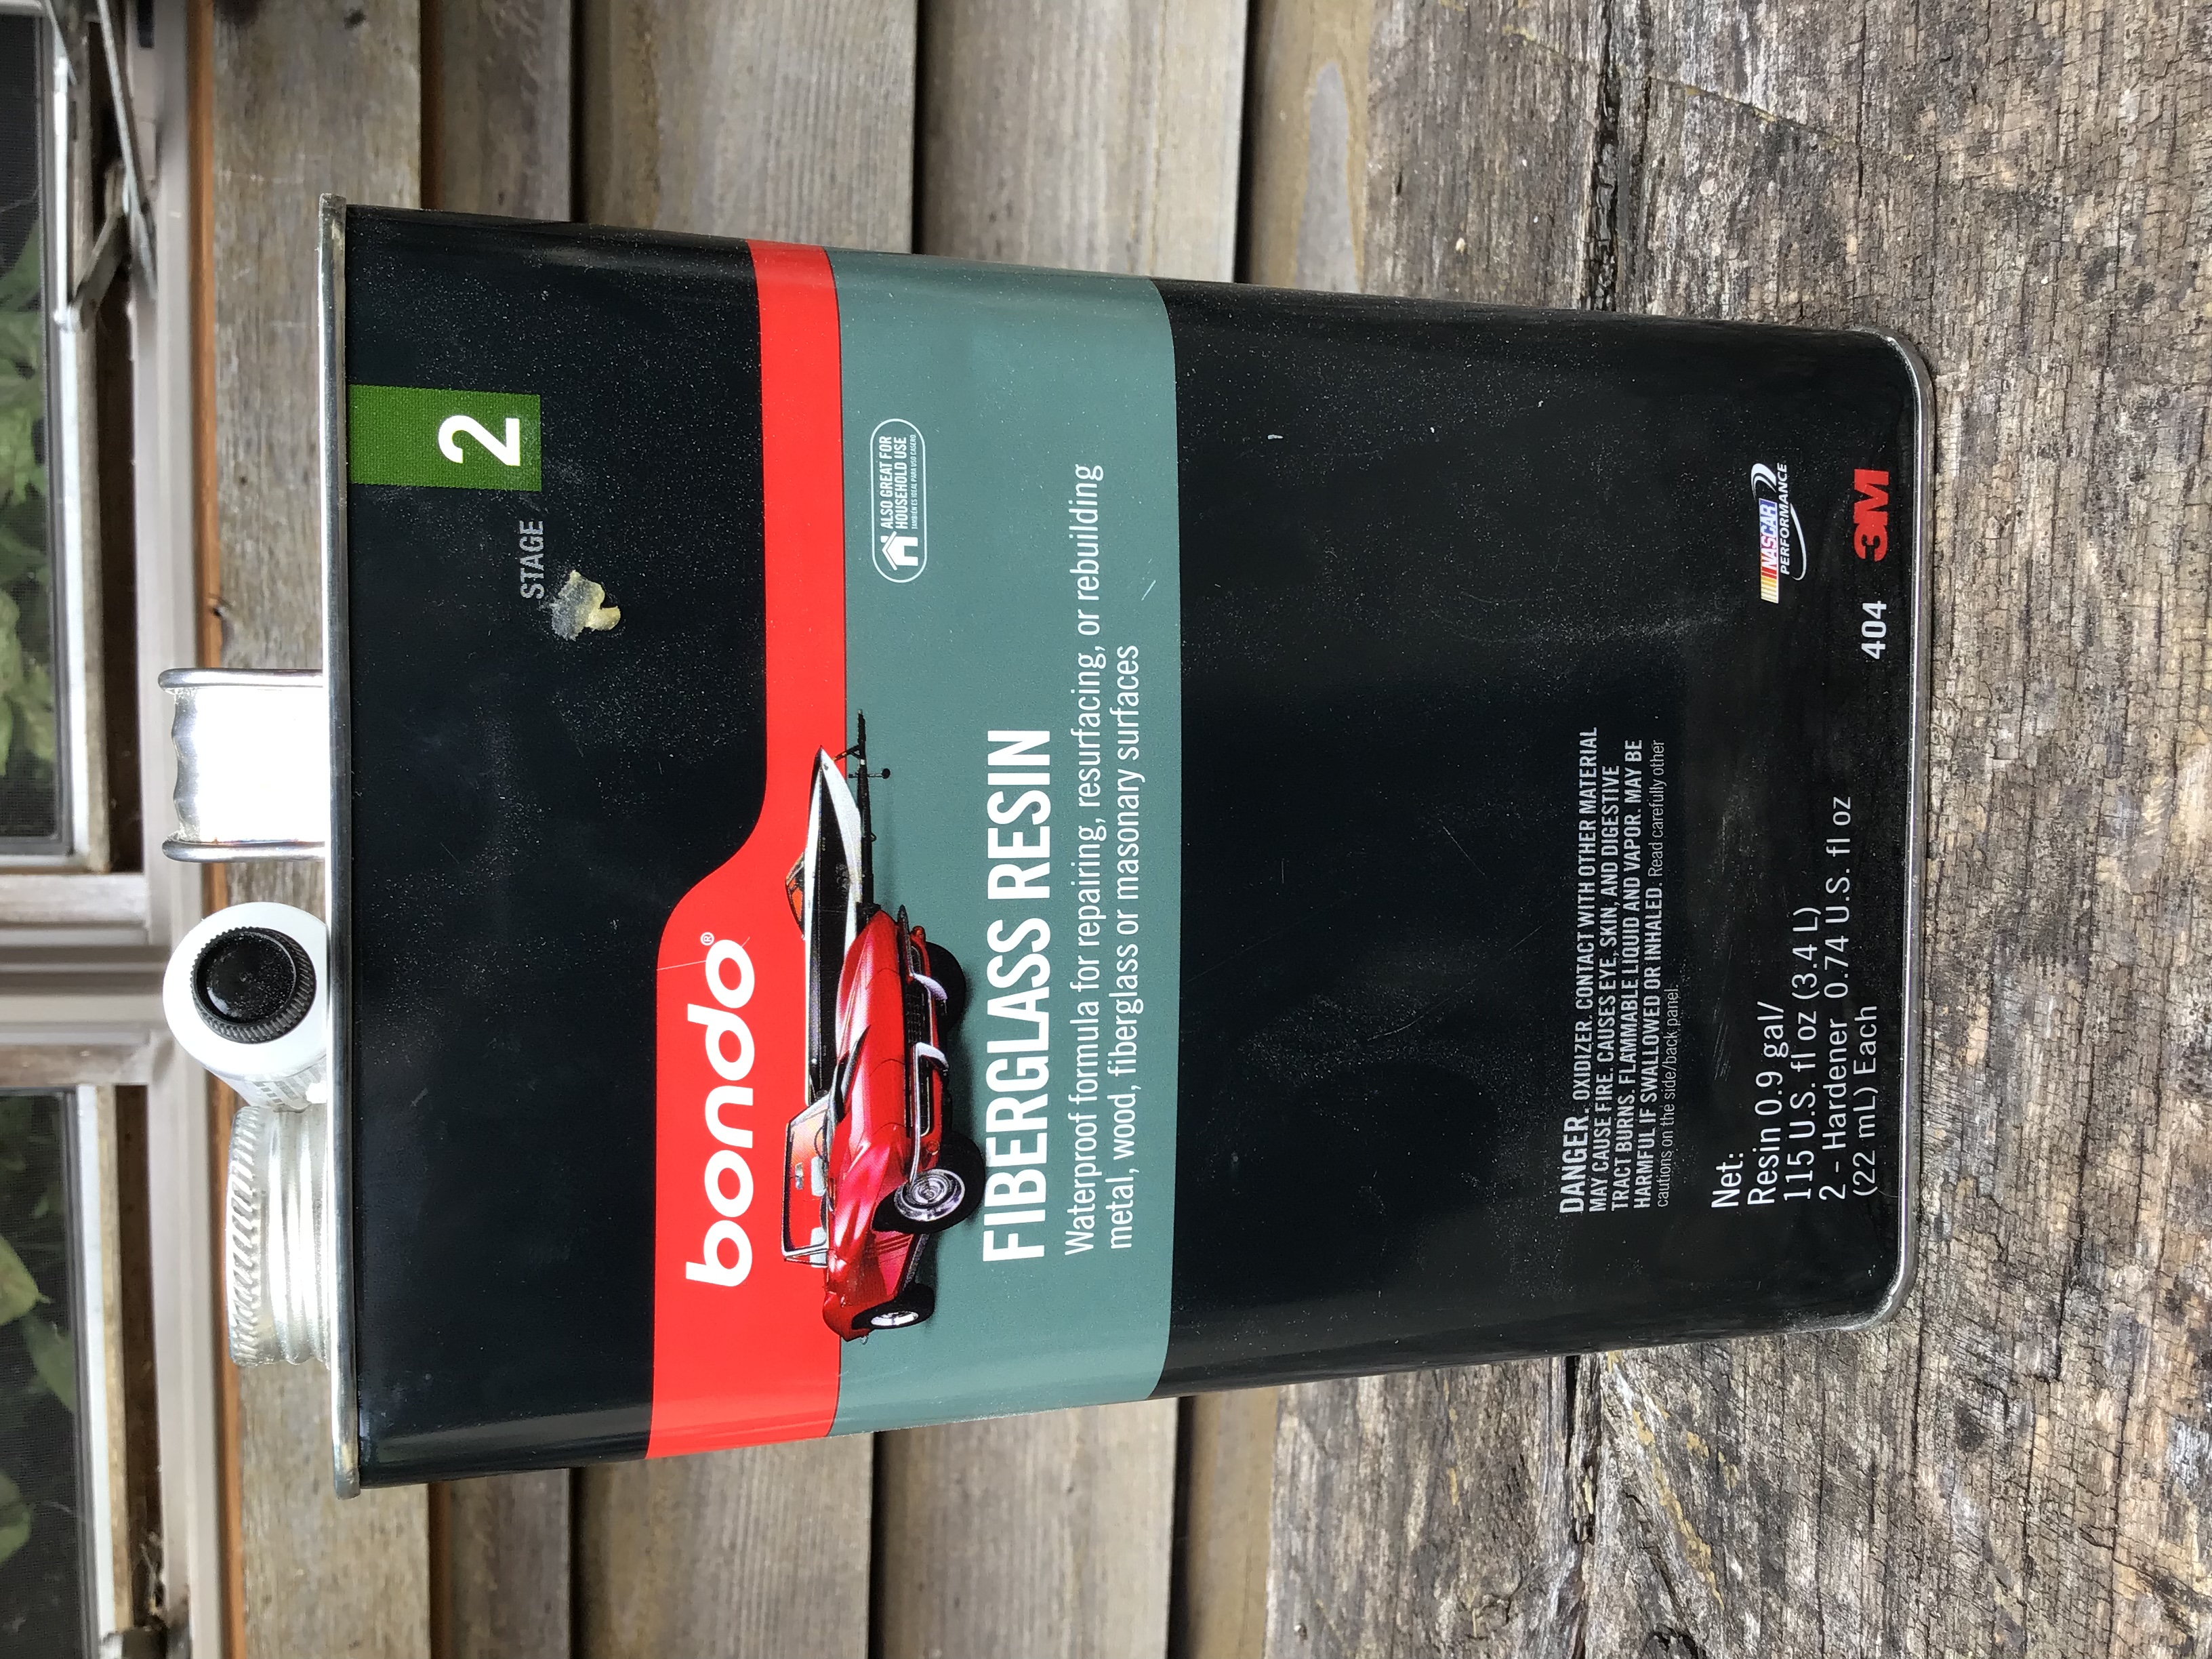
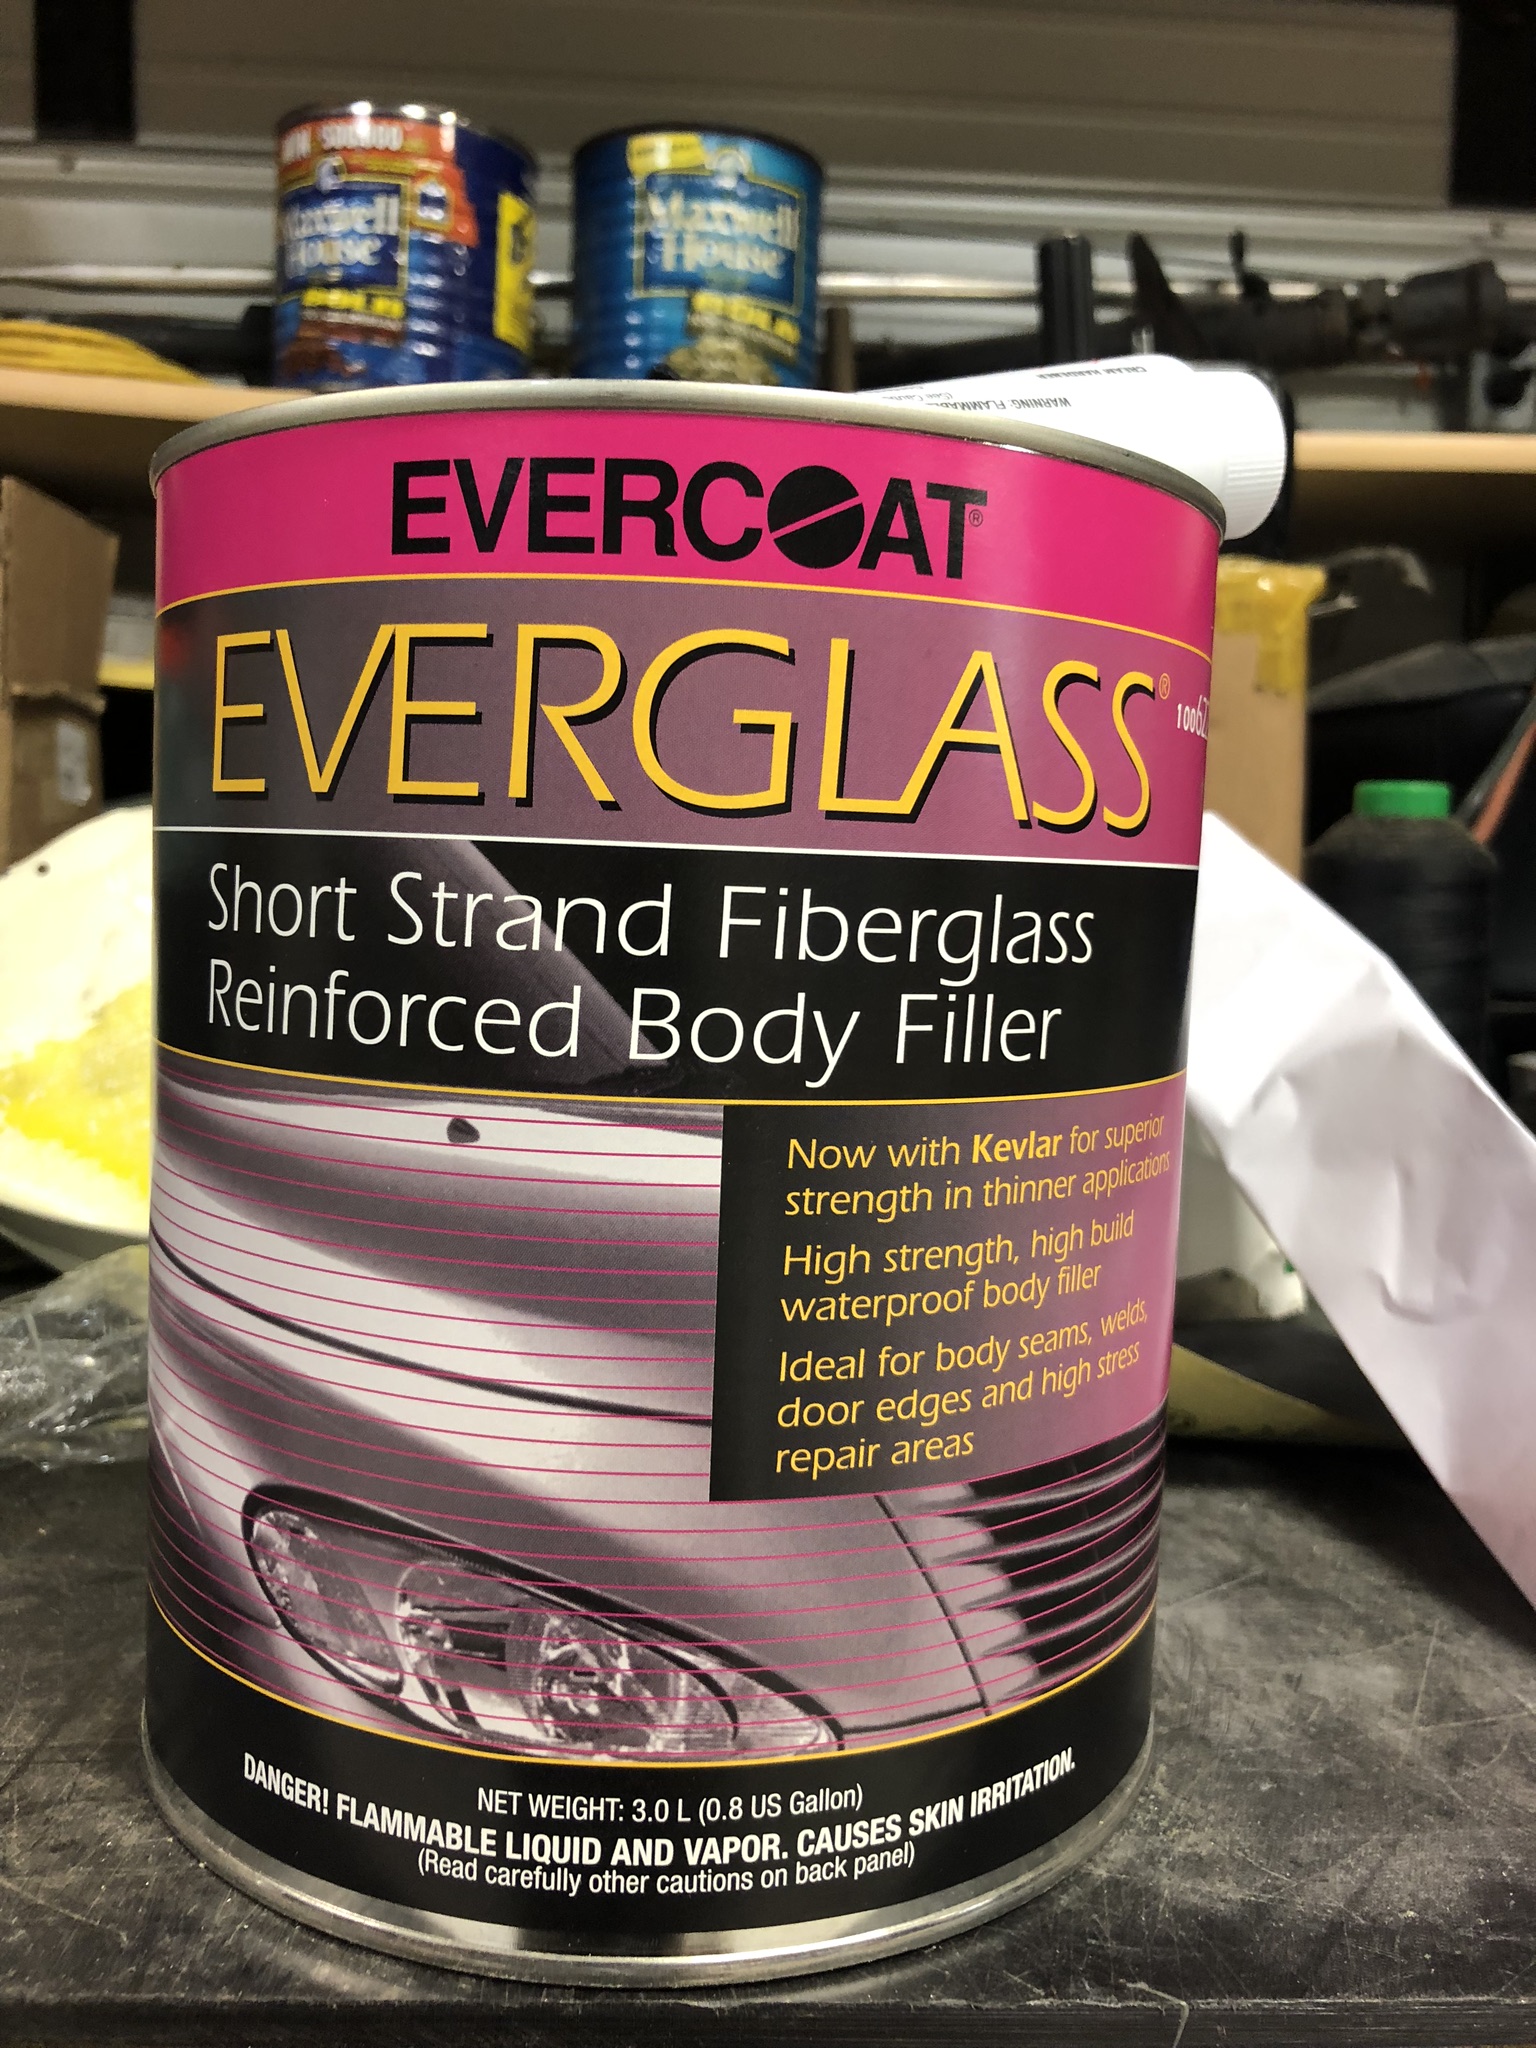
We’ve feathered down the first repair. Other than the color not matching, it looks and feels good. But I’m like you Paul, I’m a little scared of it. Hell, the Bondo fiberglass resin shown here says it’s Polyester Polymer;Syrene Monomer;Silica. I probably should’ve just used it! It is what I’ve bought to wrap the tank. When the epoxy is built up and dries it feels almost rubbery. You can press your fingernail in and it will leave a slight impression then retake it’s shape. Sanded down it feels hard, but flexible. Whadda you guys think? Should I take them back down or as the guy at the counter said, “Wrap it with the fiberglass and call it good”.
The Aspen are a turnin’ in Colorado, so we’ gonna ponder the next move and head out!

-
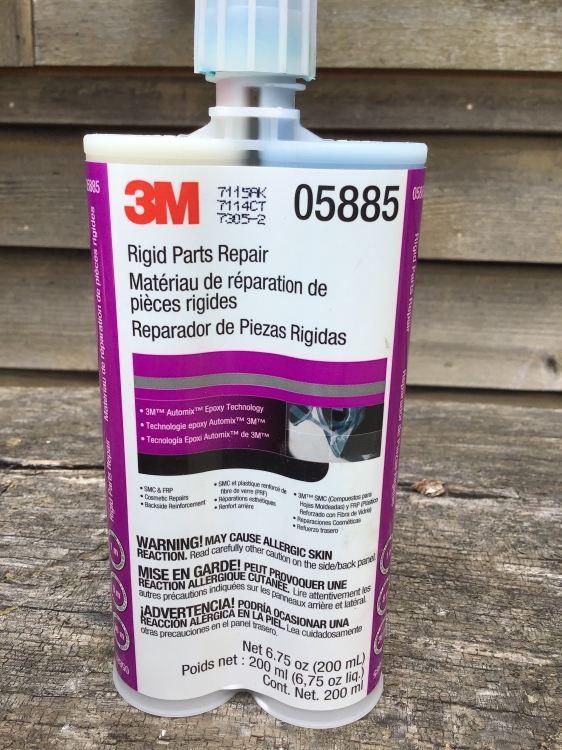
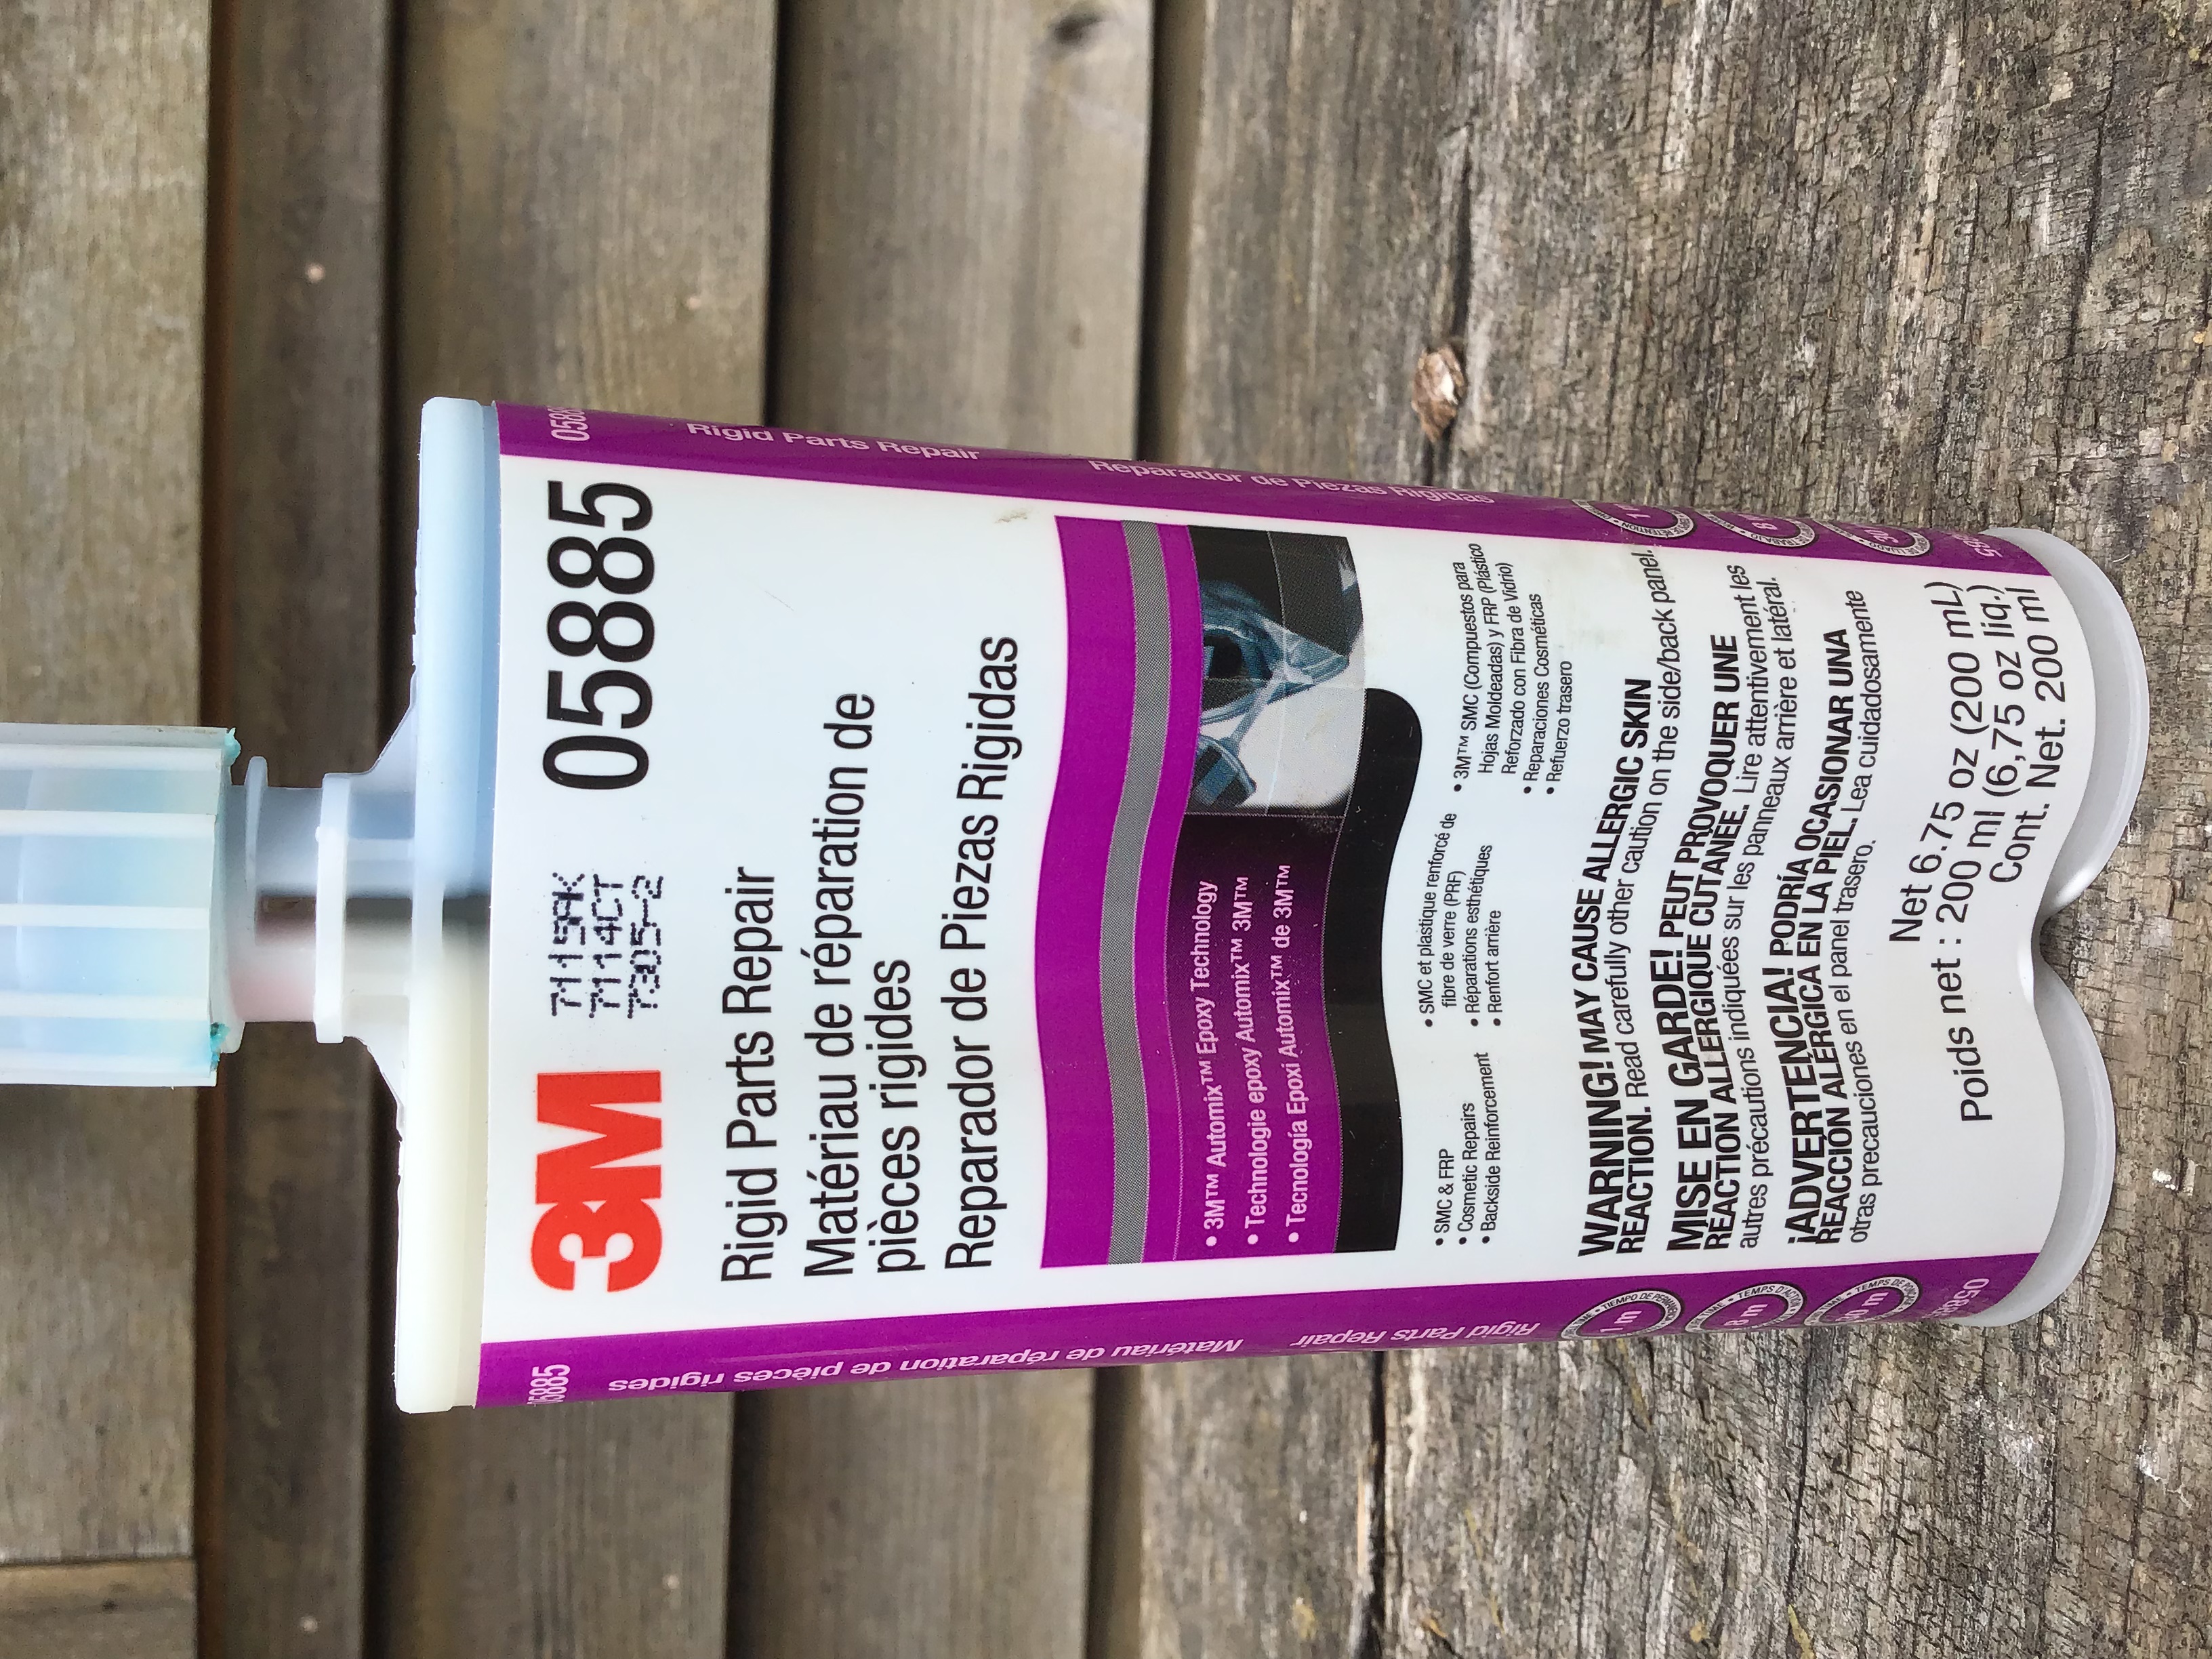
Well damn! As always I’m a day late ‘n dollar short. Got the repairs done yesterday afternoon. Took 2 areas down to paper thin, put in fiber mesh with adhesive on one side, then used this blue 2 part epoxy made by 3M (05885). It was pretty tedious as the wall was 1/8 or less, but I did get down to the cracks. The paper work said it was formulated to be used on most composite substrates such as SMC and fiberglass either a cosmetic filler and or adhesive. When I saw this latest post I called the counter man at the paint department of the auto parts store that recommended it. He said he would make some calls to check the compatibility of the product. I hope I didn’t make a a bad situation worse. I didn’t understand the fiberglassing process, but have an idea now. I’ll find out in the morning if I’ll be starting over with the repairs.
I drove to this particular place because they carried Evercoat products. This is what he sold me. Would I also use micro balloons? It has kitty hair in it. He couldn’t come up with Chrome-A-Lite.
Wyatt

-
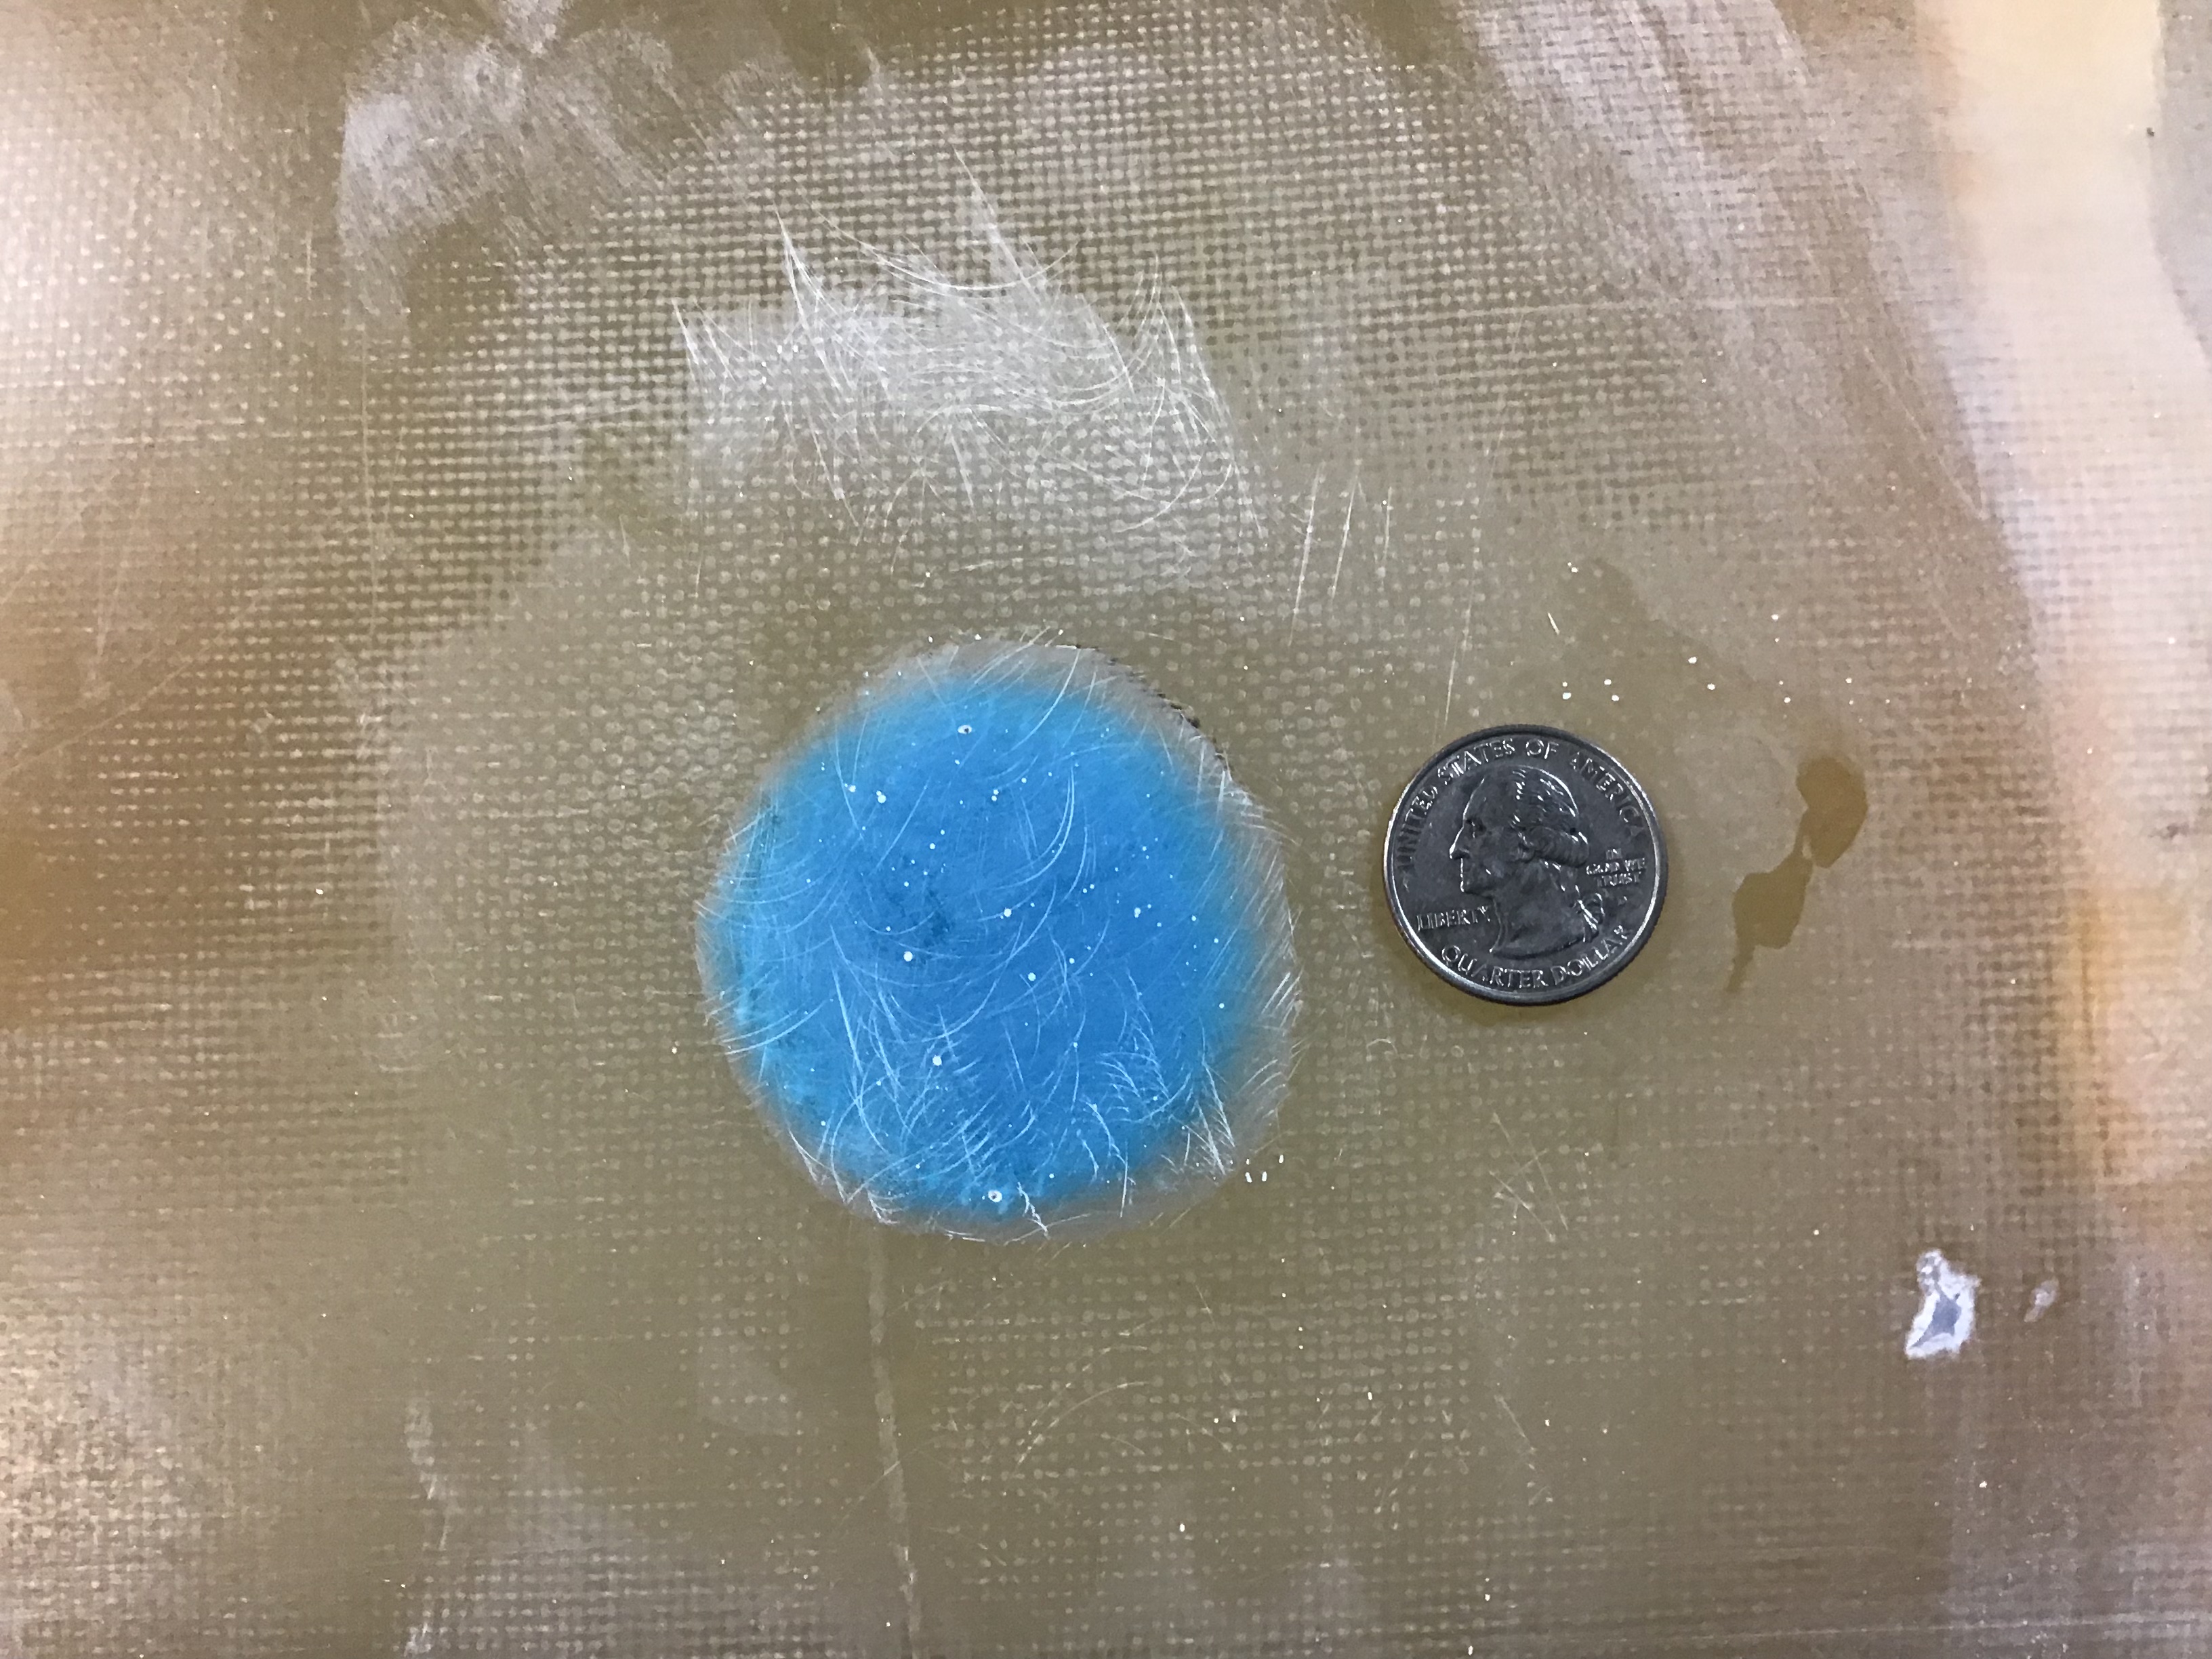
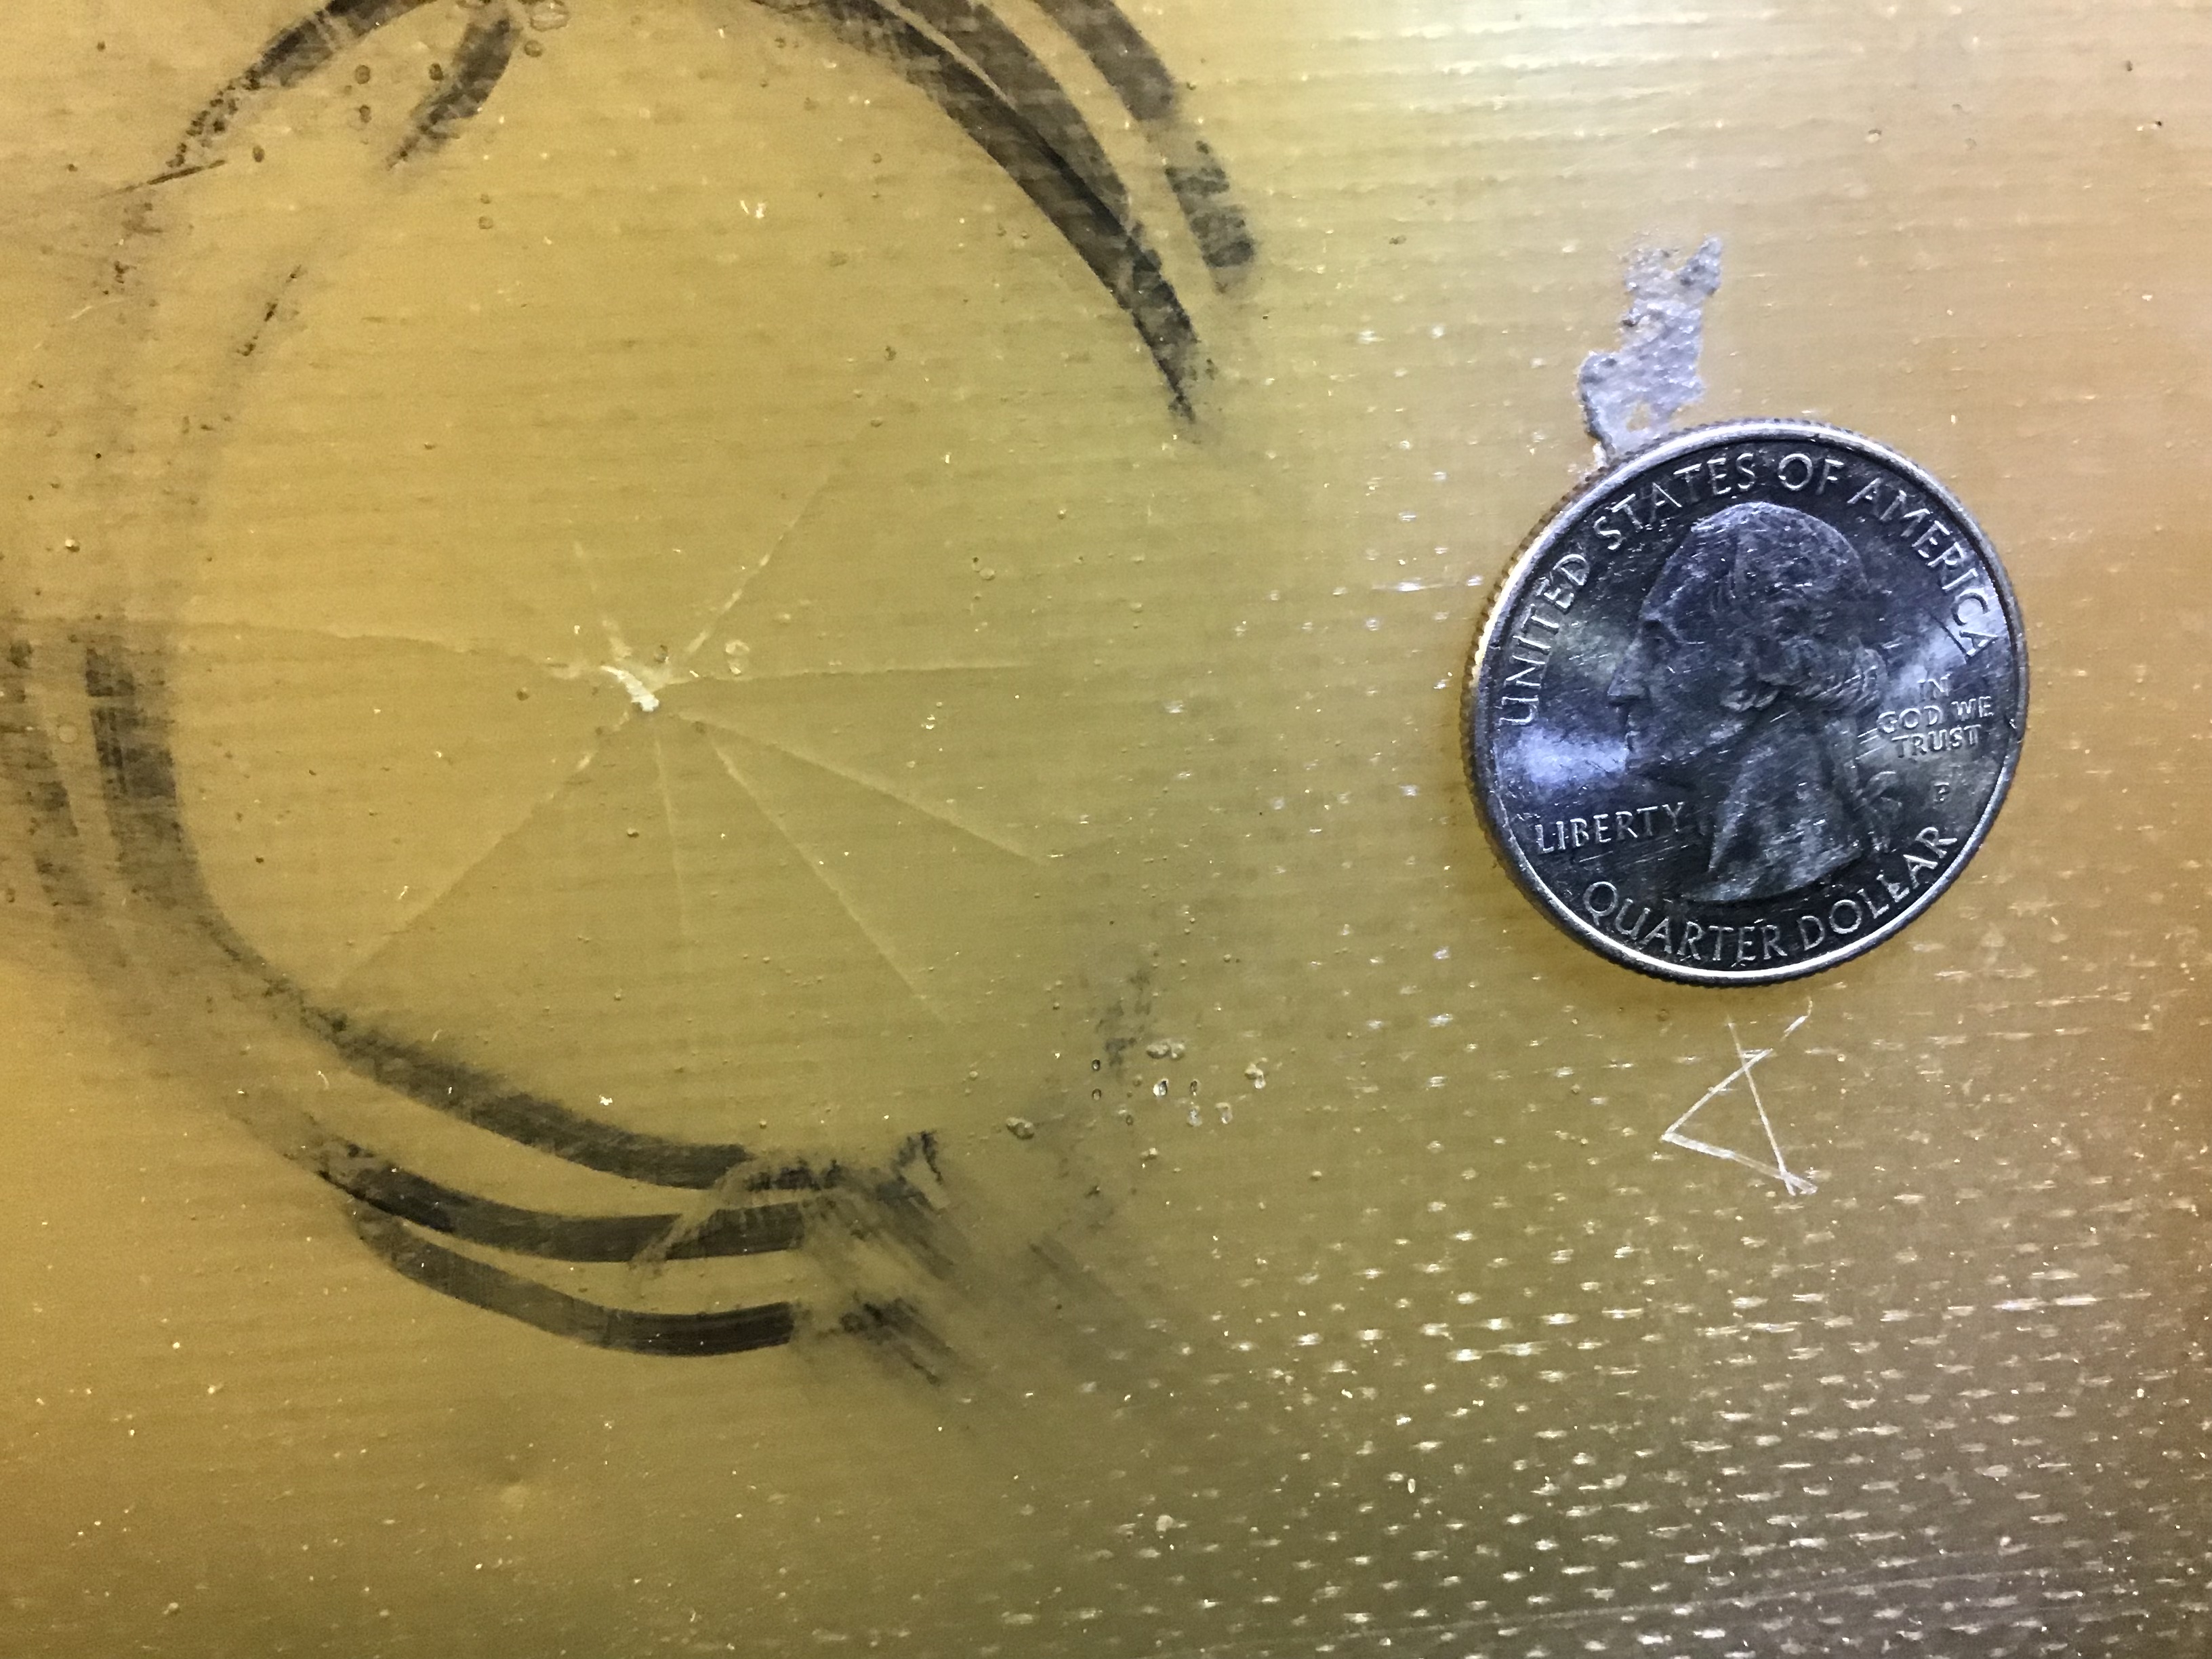
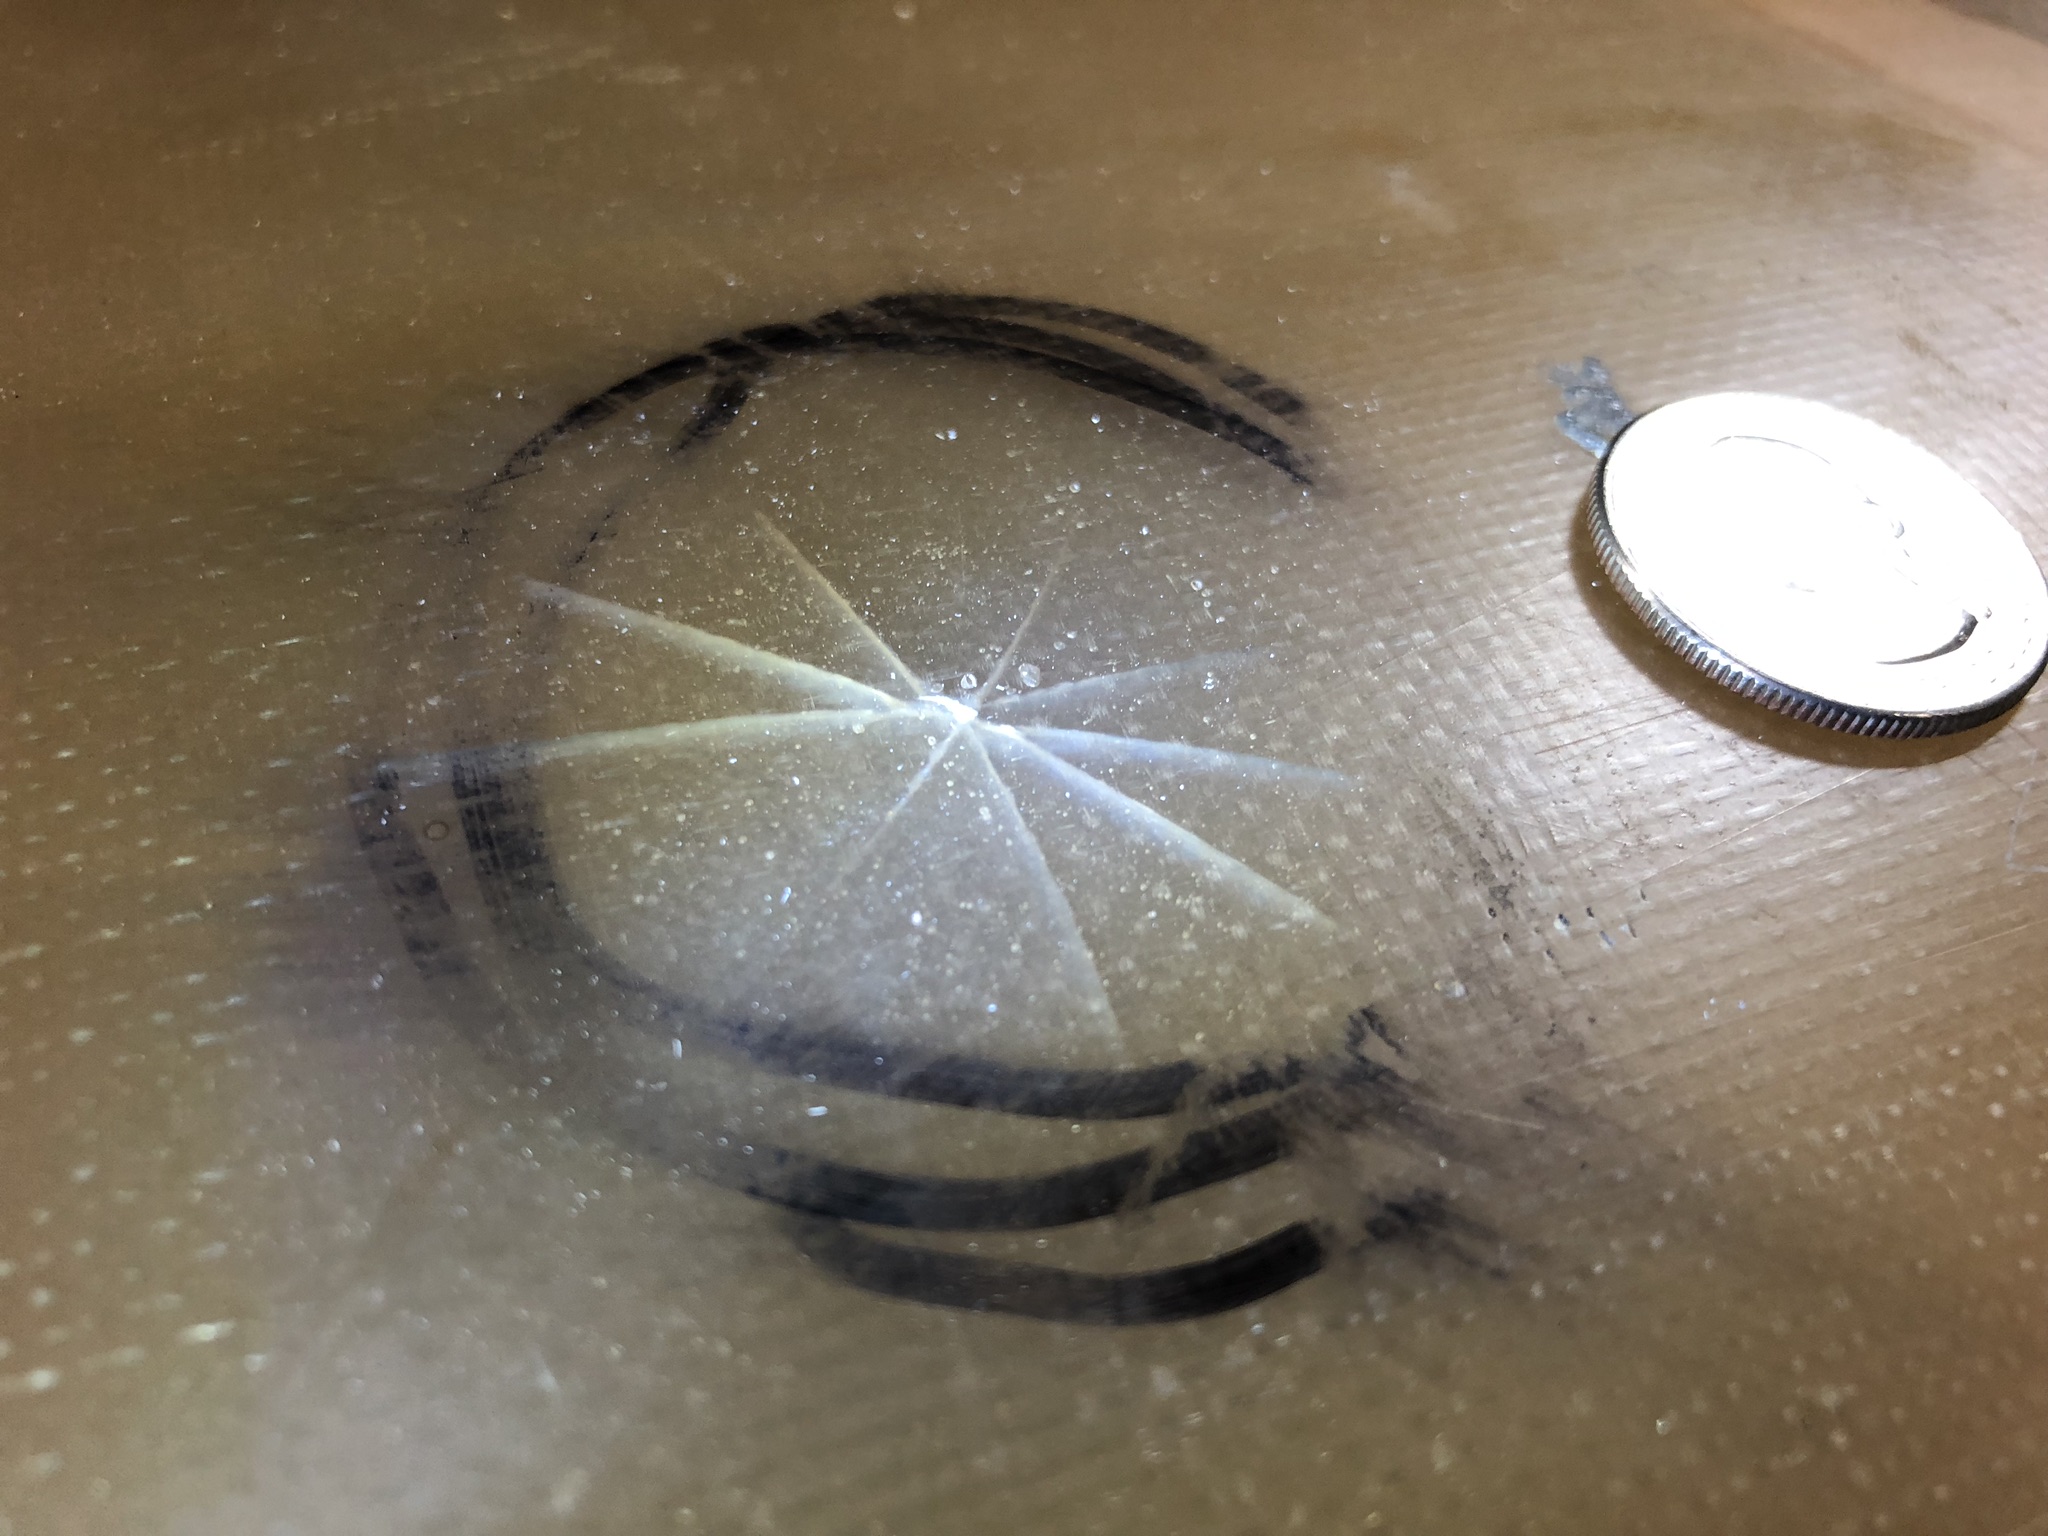
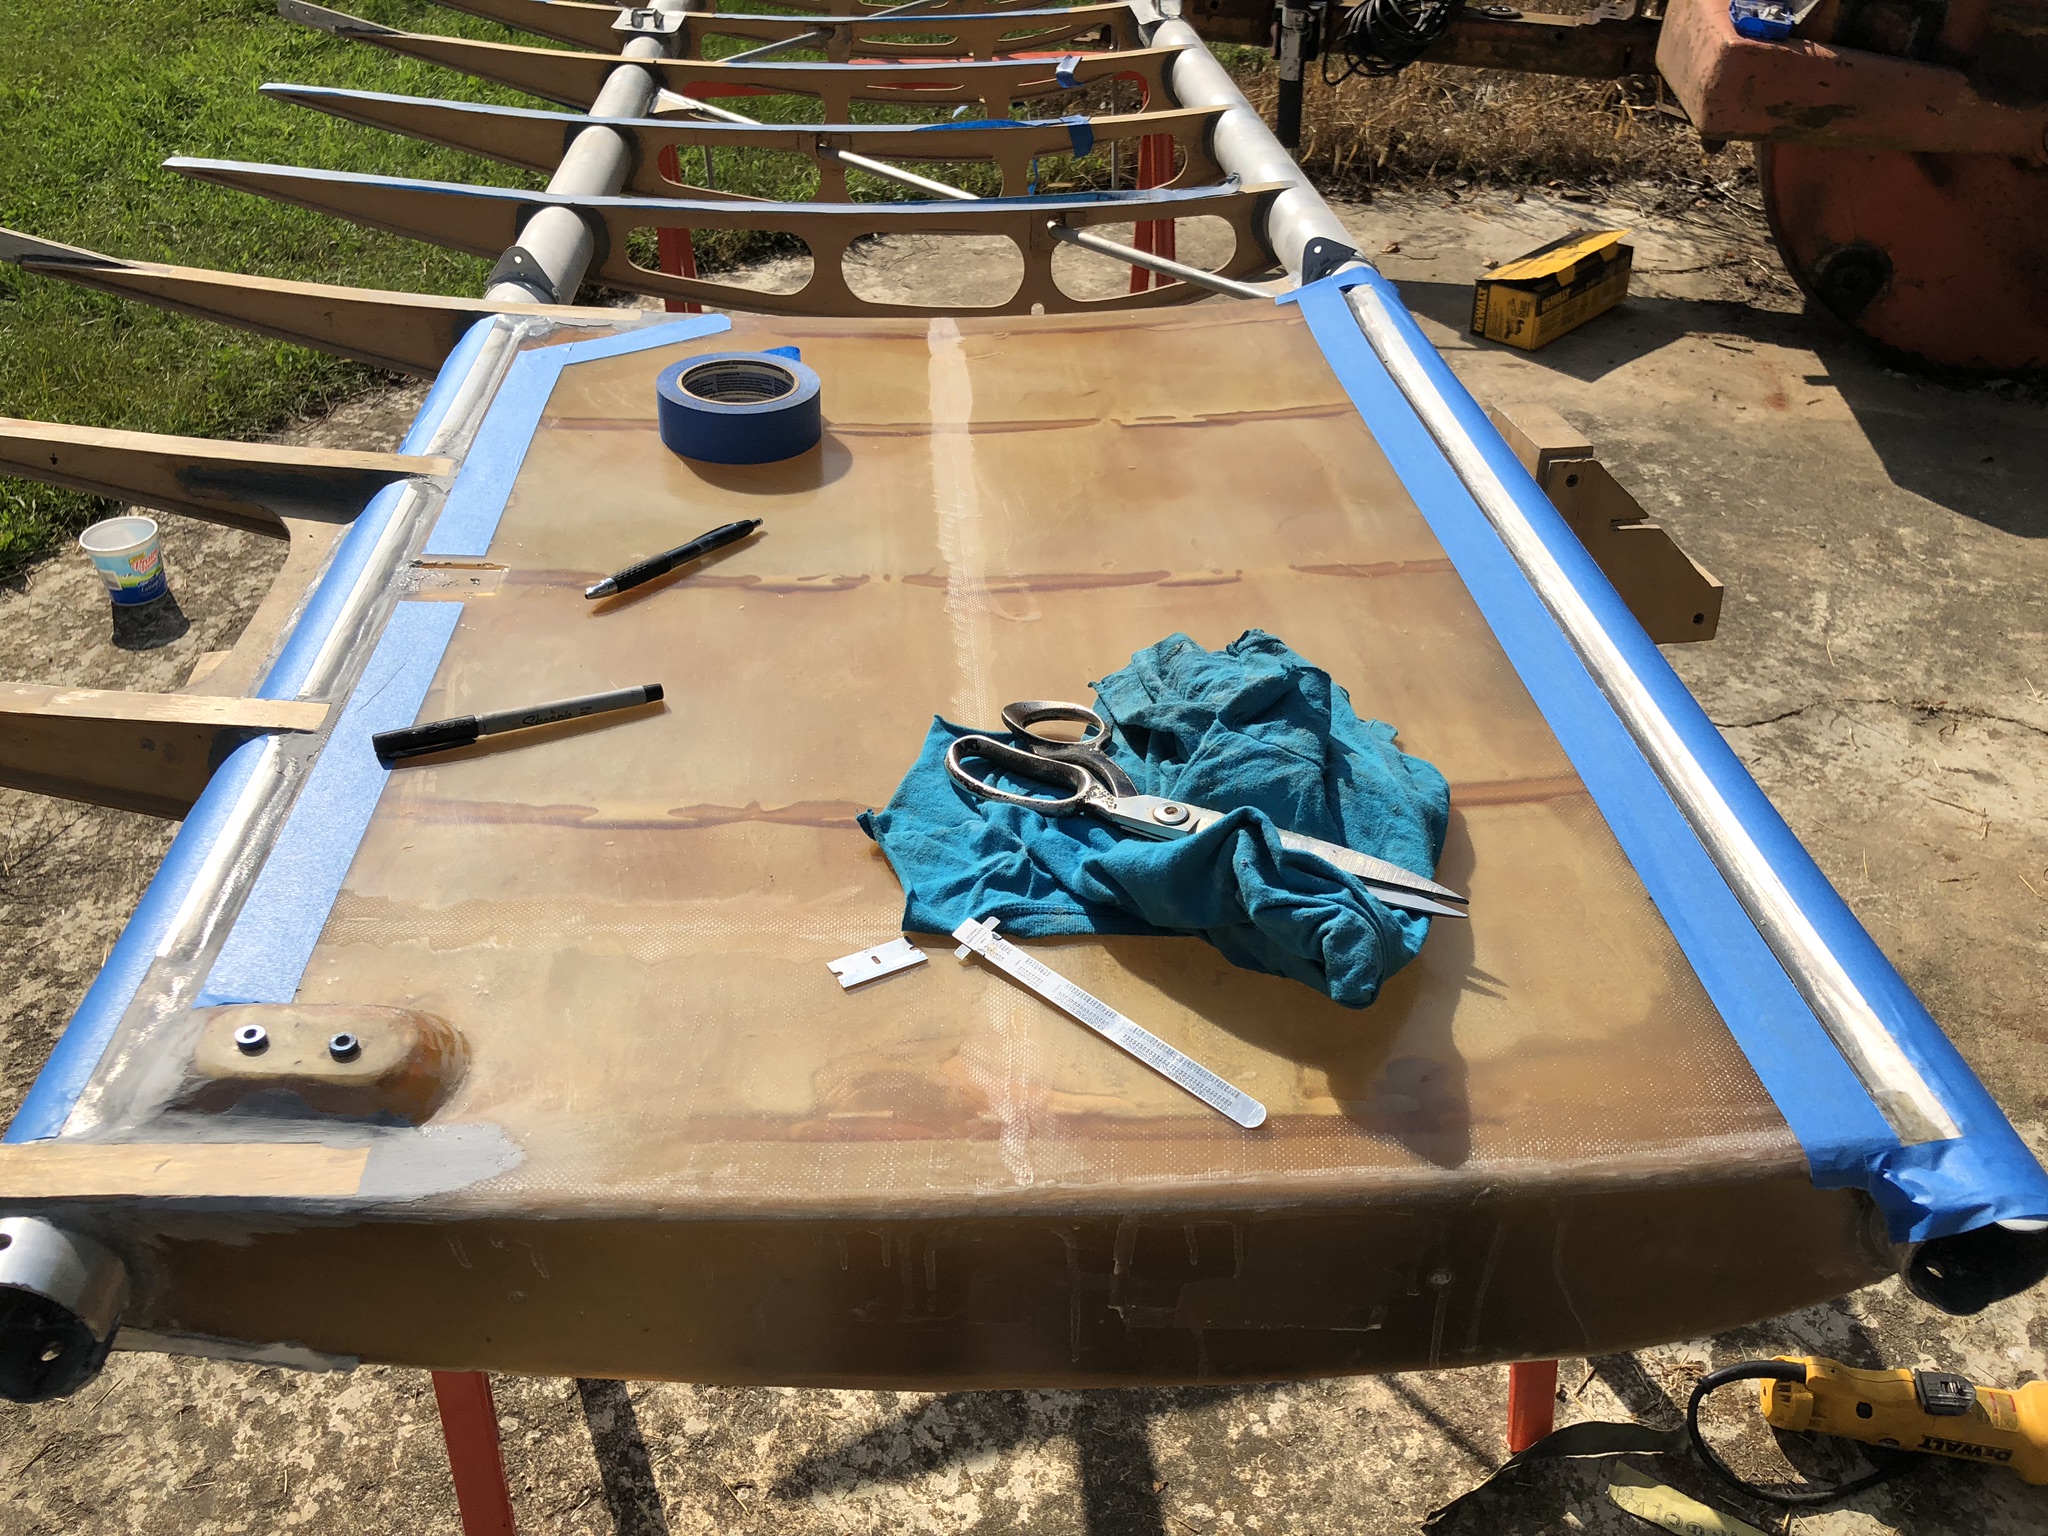
Thanks so much for getting back. We’ll go with the Evercoat. Is there a certain number or grade of the Chrom-A-Lite? I just went down to have a closer look at the spider crack on the fuel tank. It appears to me that the tenicles are on the inside of the tank, but the center point would penetrate the wall and create a leak. Hell, even found another one, but it’s all internal. I sure don’t recall dropping anything on them. They may have been like this since I got them. Nonetheless I do need to make repairs. I lightly sanded the area and the only “dust shadow” that showed was the center point. Pretty certain it would leak there. The fiberglass cloth favors the outside, so the inside is smooth with the heavy side of resin. That’s where the tentacles show up. I do feel compelled to at least gouge and fill with some type of fiberglass resin around the center point. Would you know what type of fiberglass the tanks are made of so I can get a compatible resin. I was told the options are ester, polyester or urethane. The pull sheets simply say, fuel tanks left/right STD. The kit is #504, sold in 1989. Here’s a picture.
Thanks again for your help,
Wyatt


-
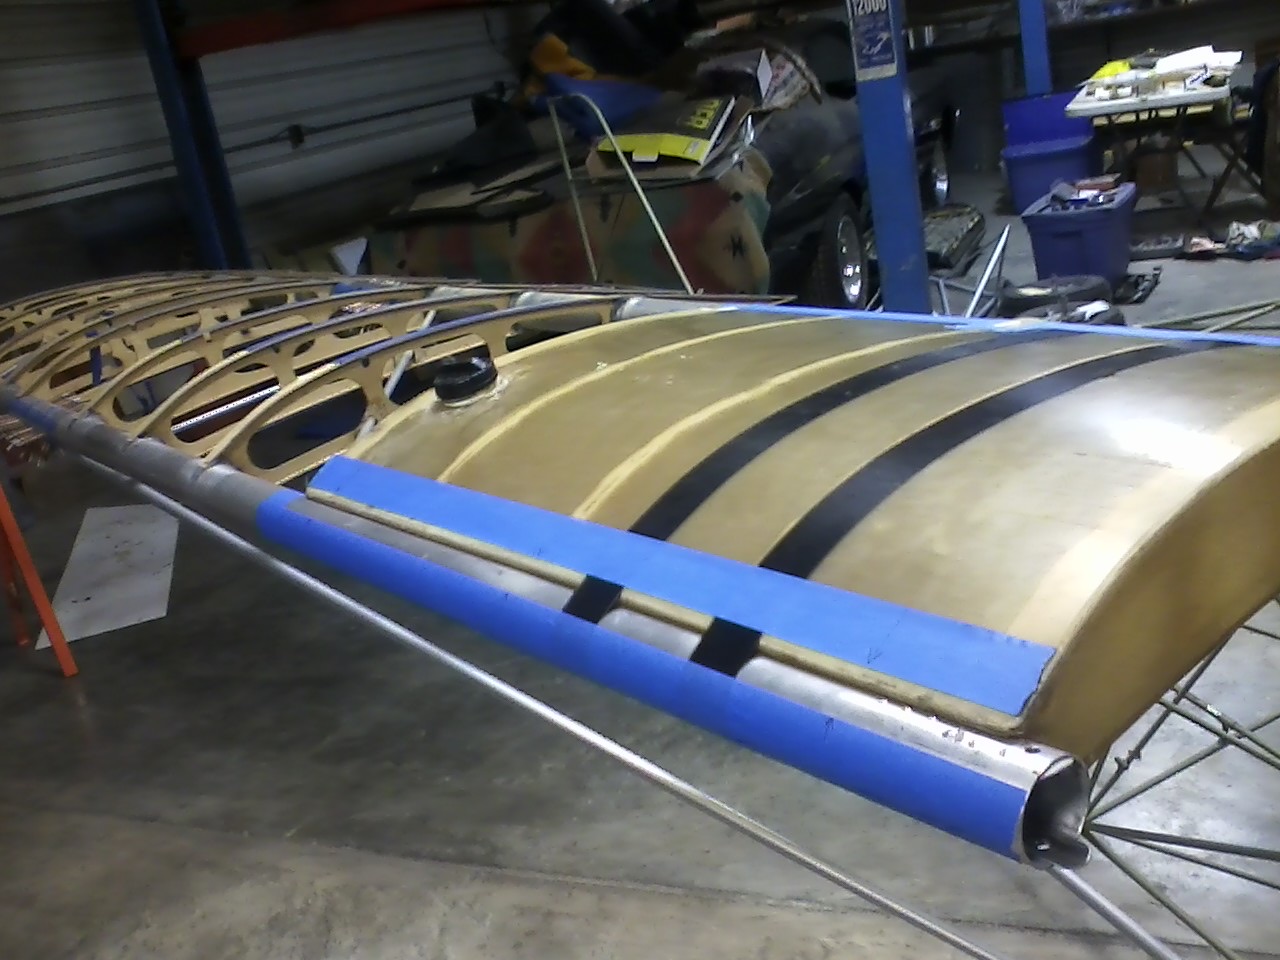
Hi guys! We’re back to work. Our next step is wrapping the fuel tanks with fiberglass matting. Prior to the wrap I need to smooth and blend the tanks to the spars. What do you use? Bondo? My buddy suggested using the Hysol. Also, when smoothing down the areas where I glued the tail ribs, I noticed a spider crack with tentacles about the size of a silver dollar. Whadda think? Gouge down in the cracks and fill with fiberglass resin?
Wyatt

-
Yeah, kinda figured that. Haven’t even cut out the turtle deck. Didn’t know how much room I had. Must be pretty tight.
Thanks Jim,
Wyatt
-
Hey guys!
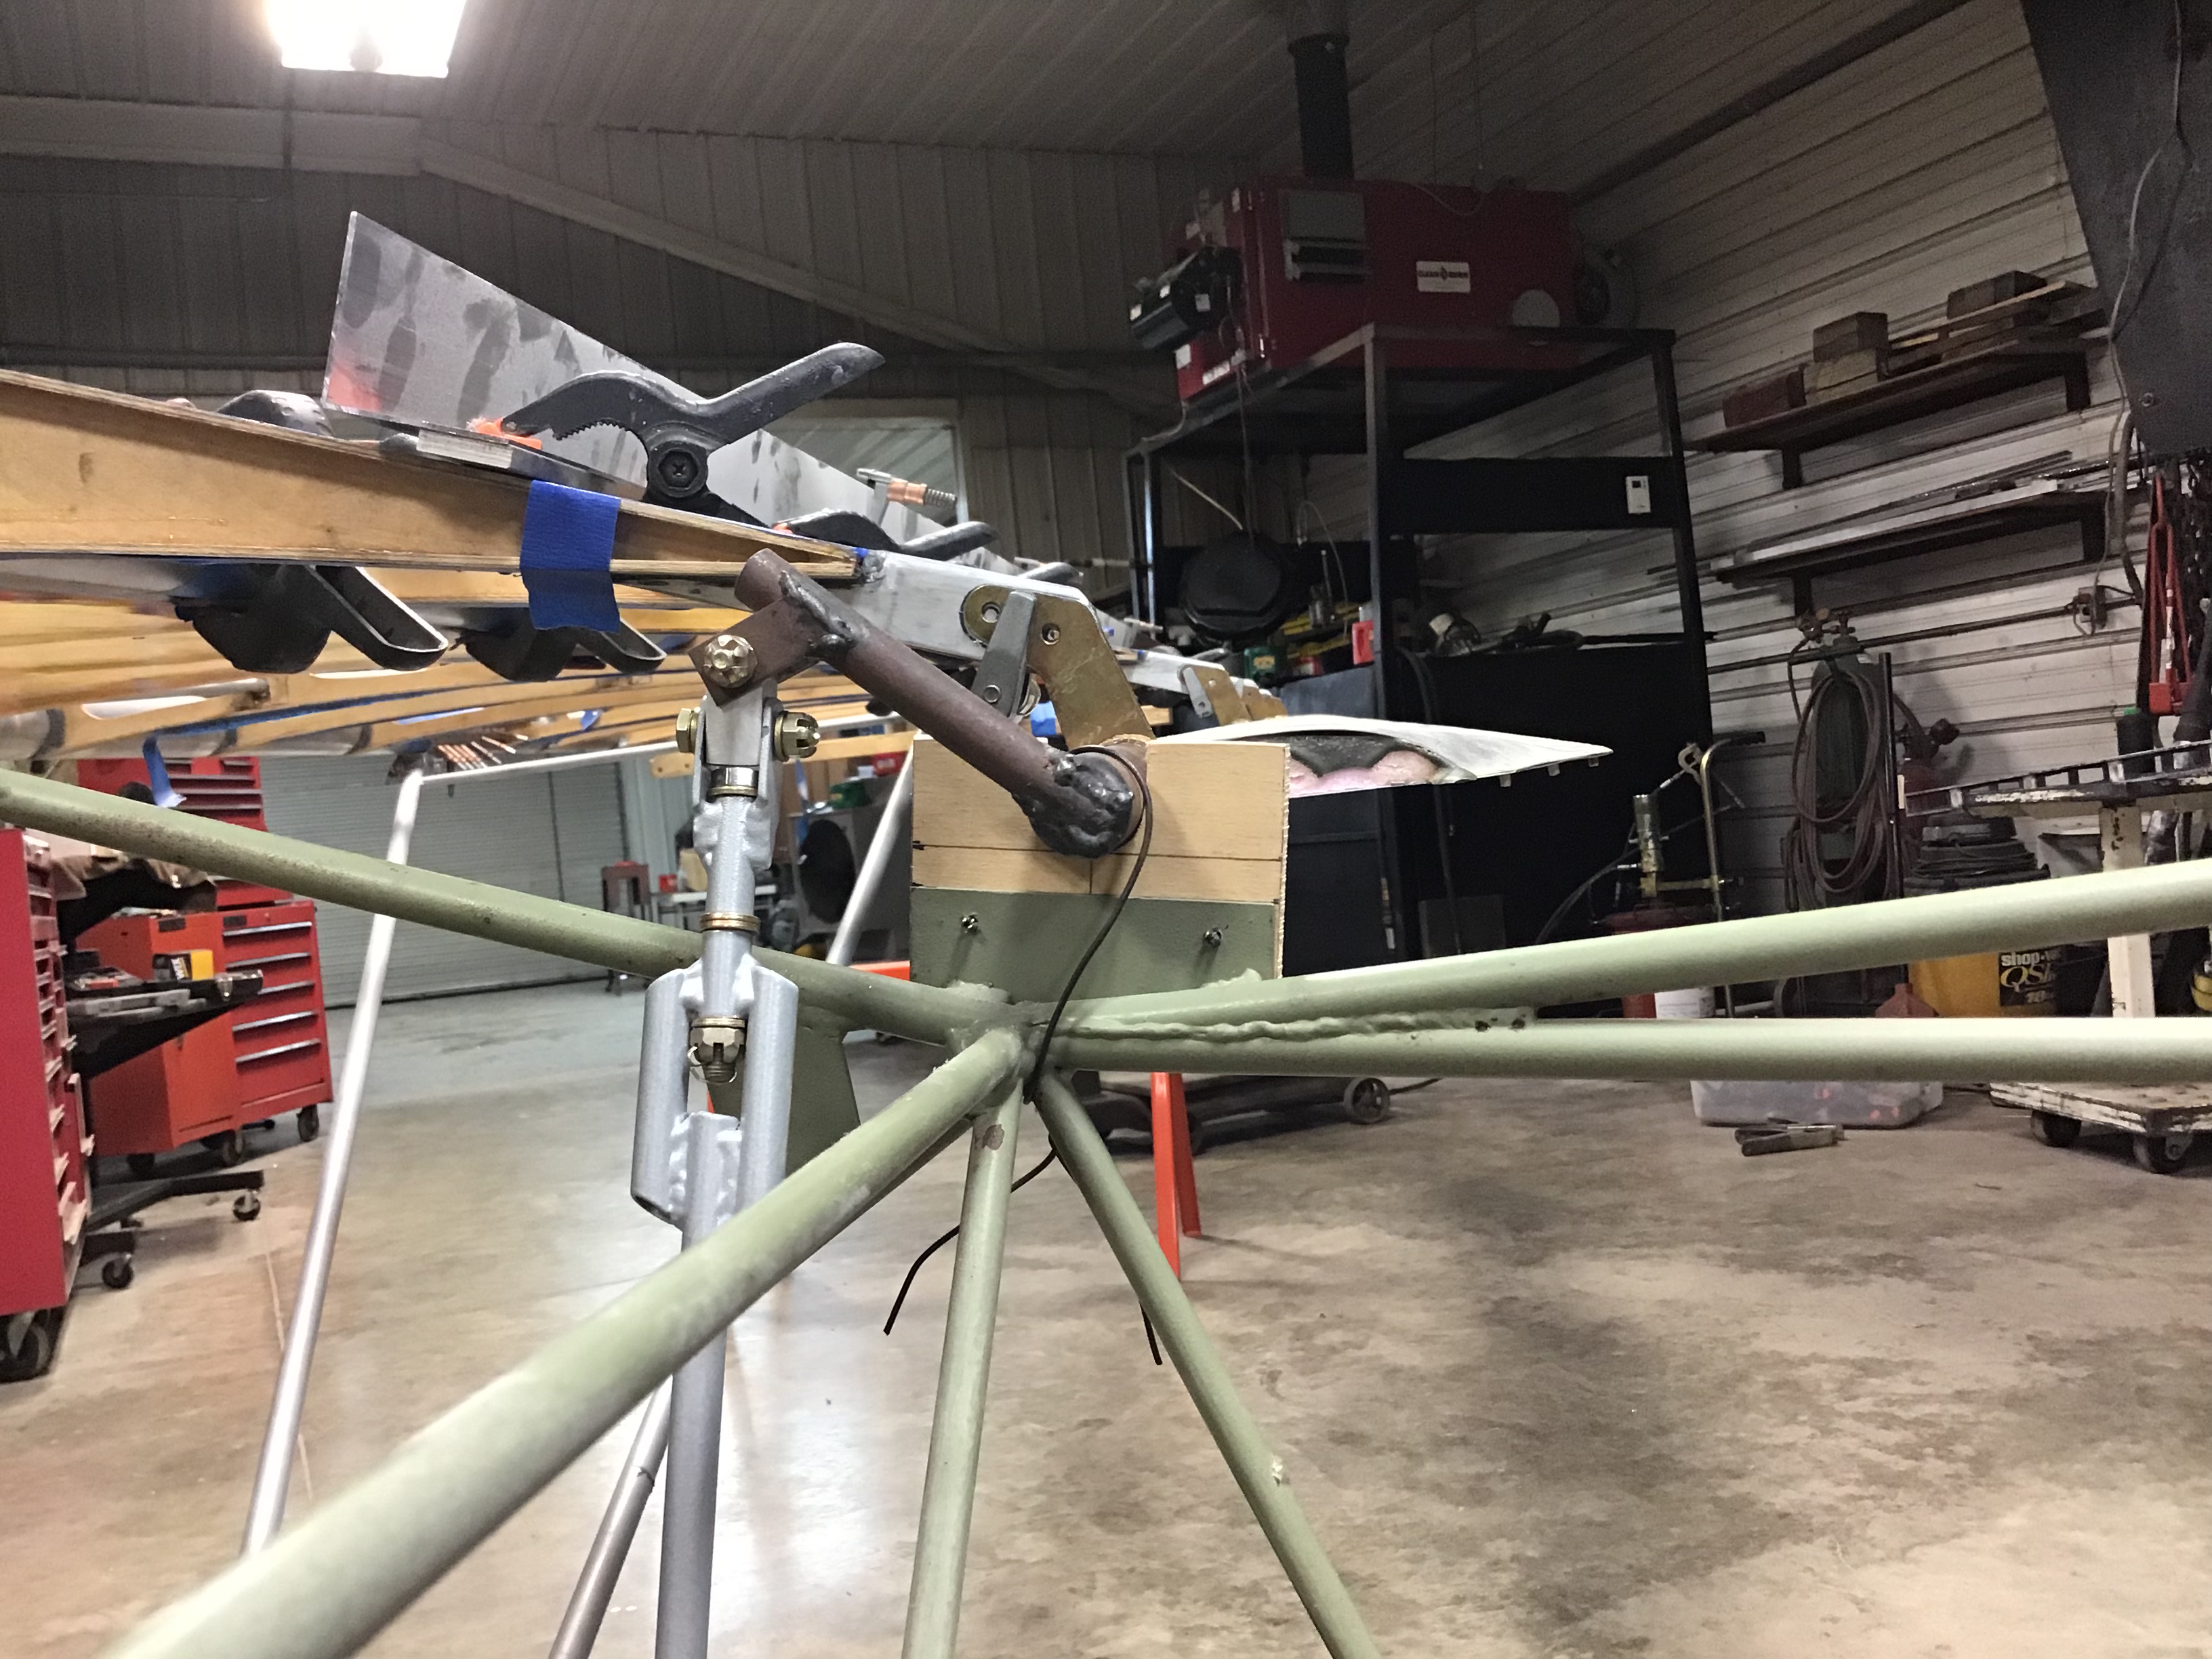
We kinda took a different tack and put together the flaperon control and saw what they were talking about in regard to the flaperon bearing. What kind of issues would there be if I raised the flaperon horn up off of the 3/8”? Coming off of the 2” washout to 1 1/4” has came back to bite me again. By lowering the tip 3/4” and pivoting on the center hinge raises the horn. I don’t like it, but I can cheat it in. Raising the horn would help. In hindsight, 2” washout will help the build, maybe not performance. Should’ve stuck with the instructions.
I also have conflict with the flap horn and the elevator push/pull tube. I guess just a little bend in it to clear.
Wyatt

-
Thanks so much for gettin’ back JimChuk!
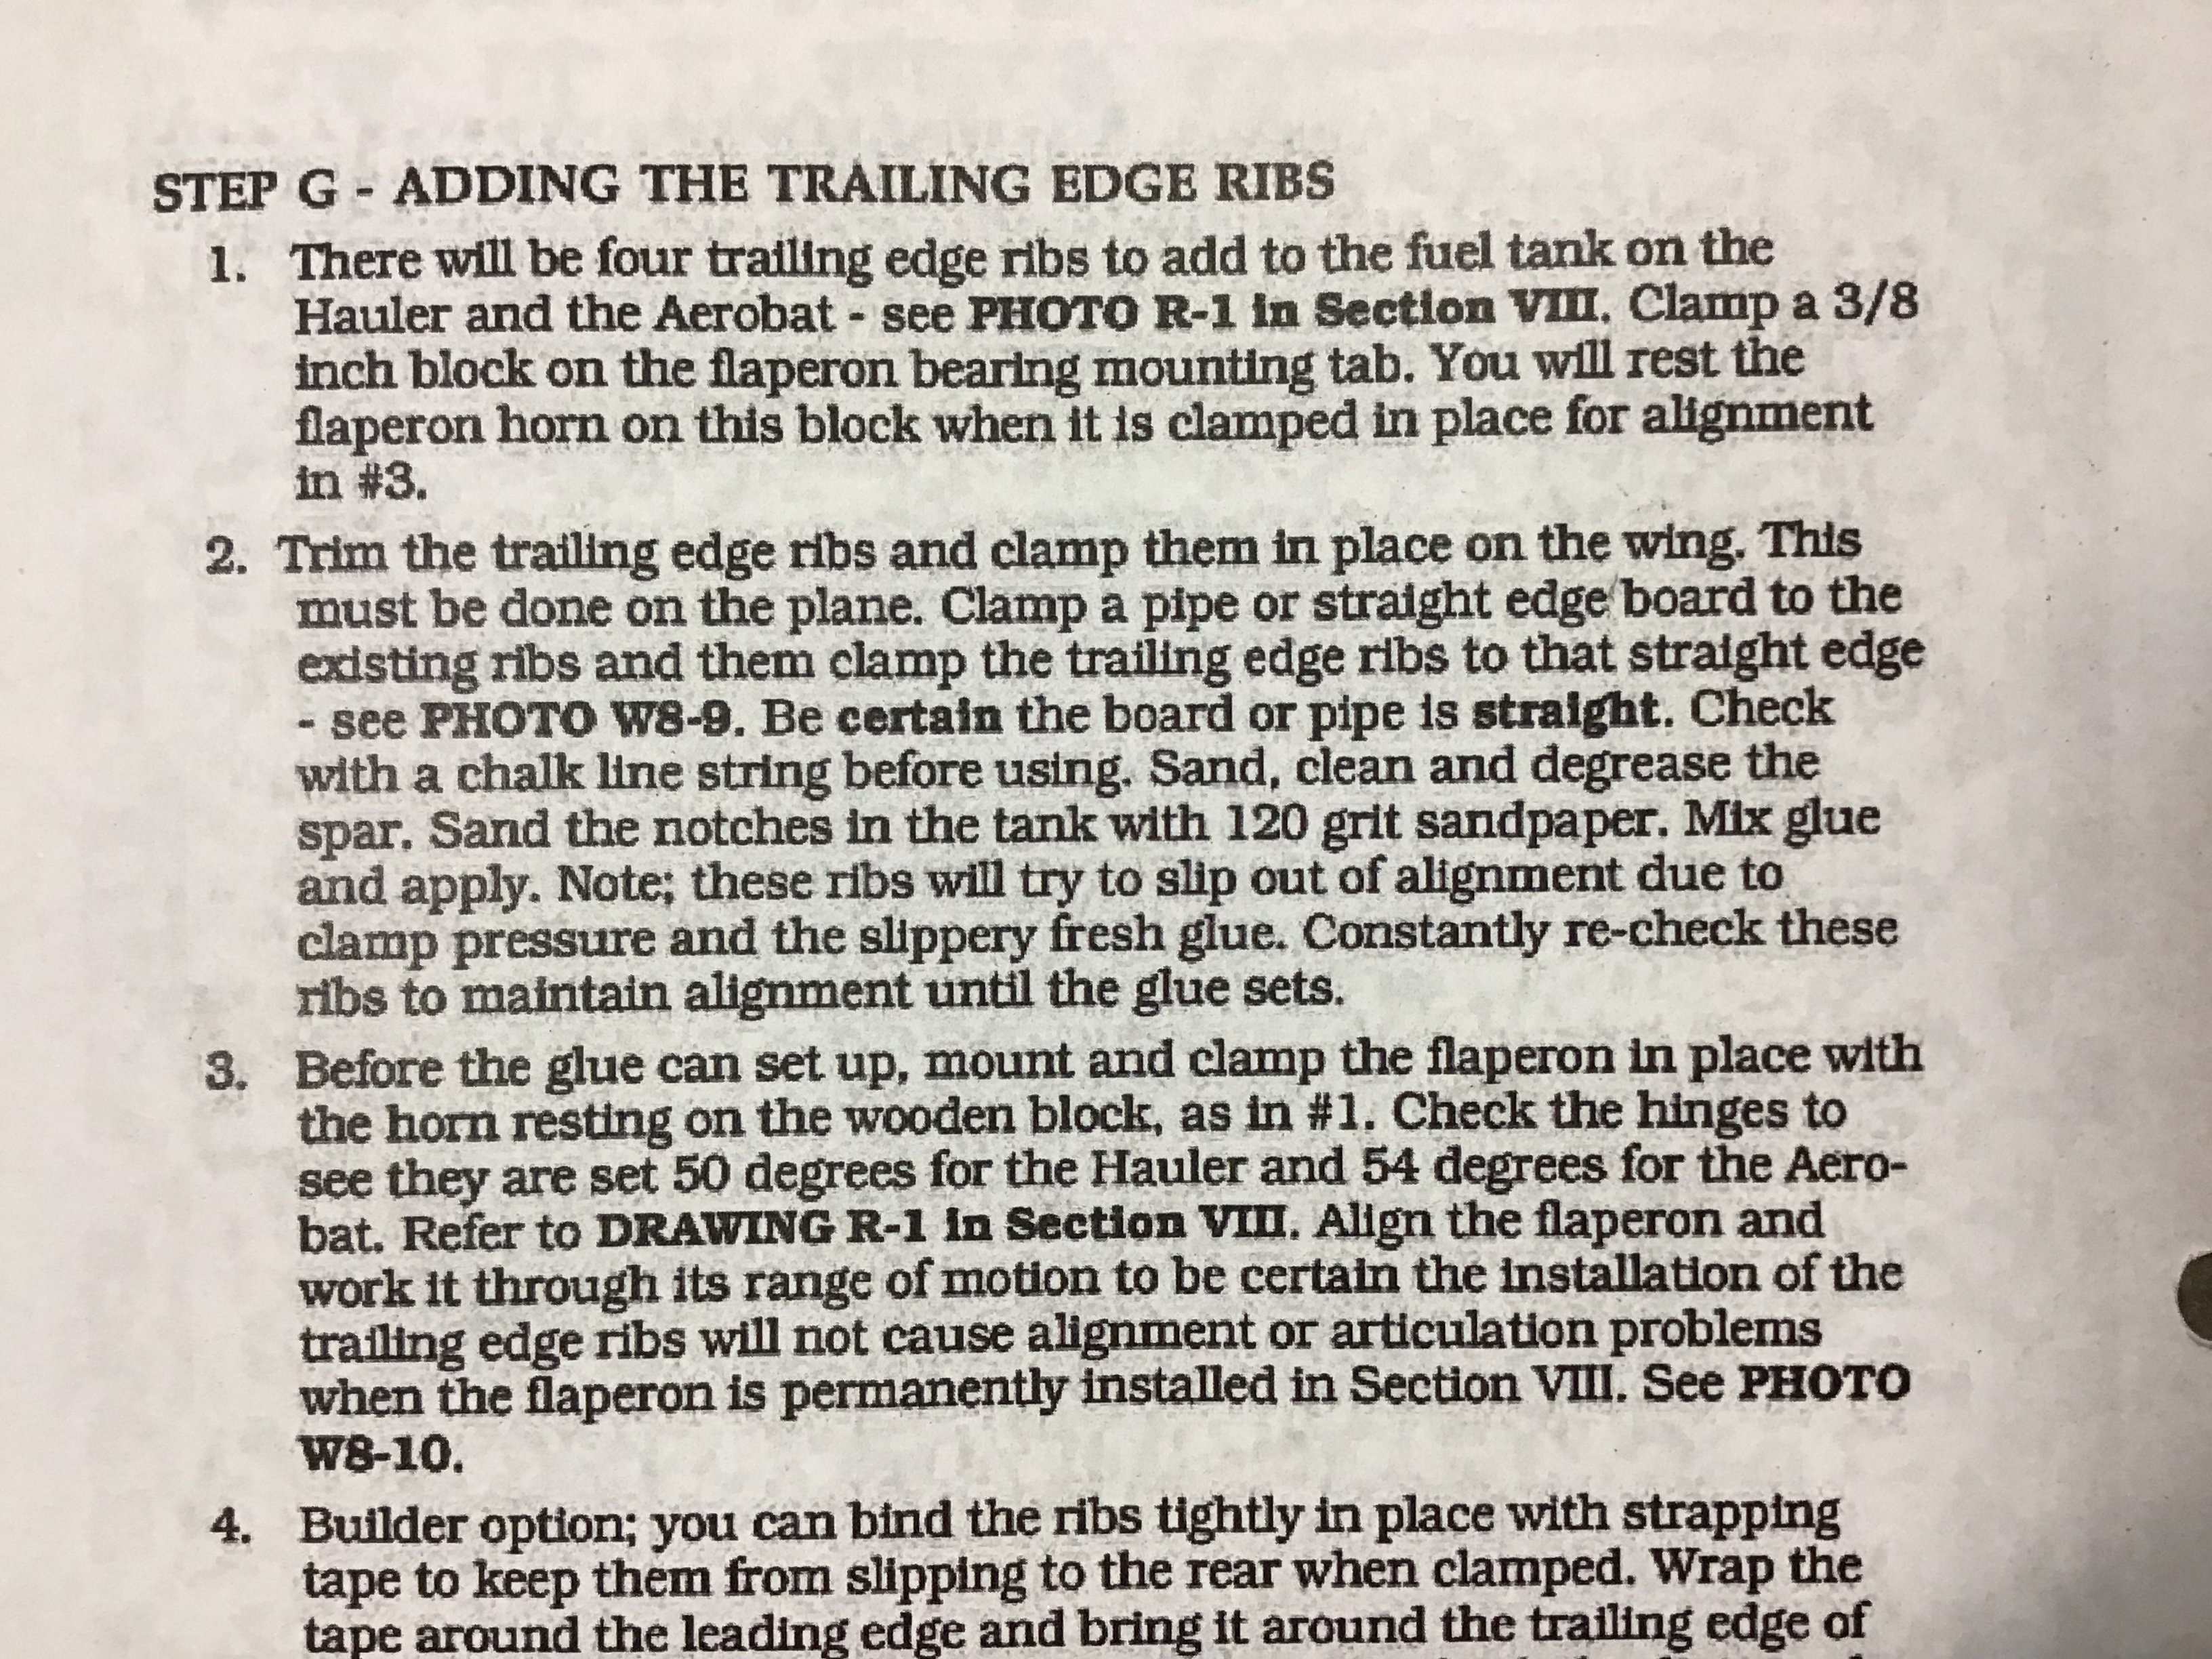
The manual that came with the kit, just says “Avidflyer”. It simply says, glue ‘em on! Everything in that manual is hand drawn. I am using the Mark IV manual that I downloaded and printed off of the forum. It’s a lot more detailed. The picture, R2-1 isn’t clear on my copy and looking back in here, it’s not clear either. Sure wish I had an original!
Wyatt
-
Hi guys,
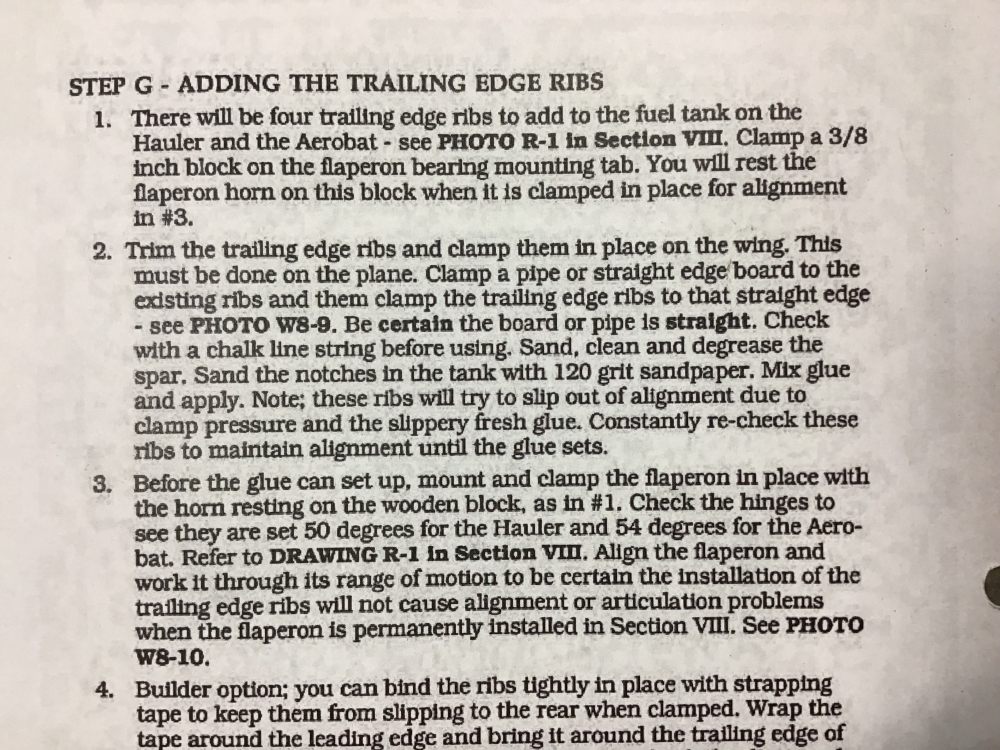
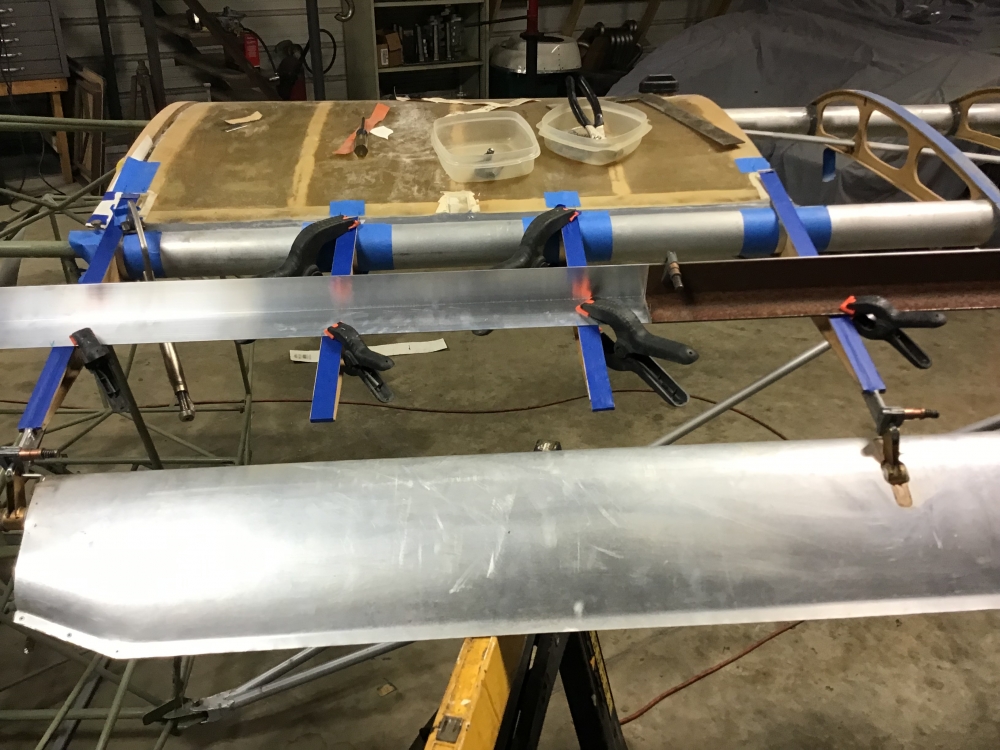
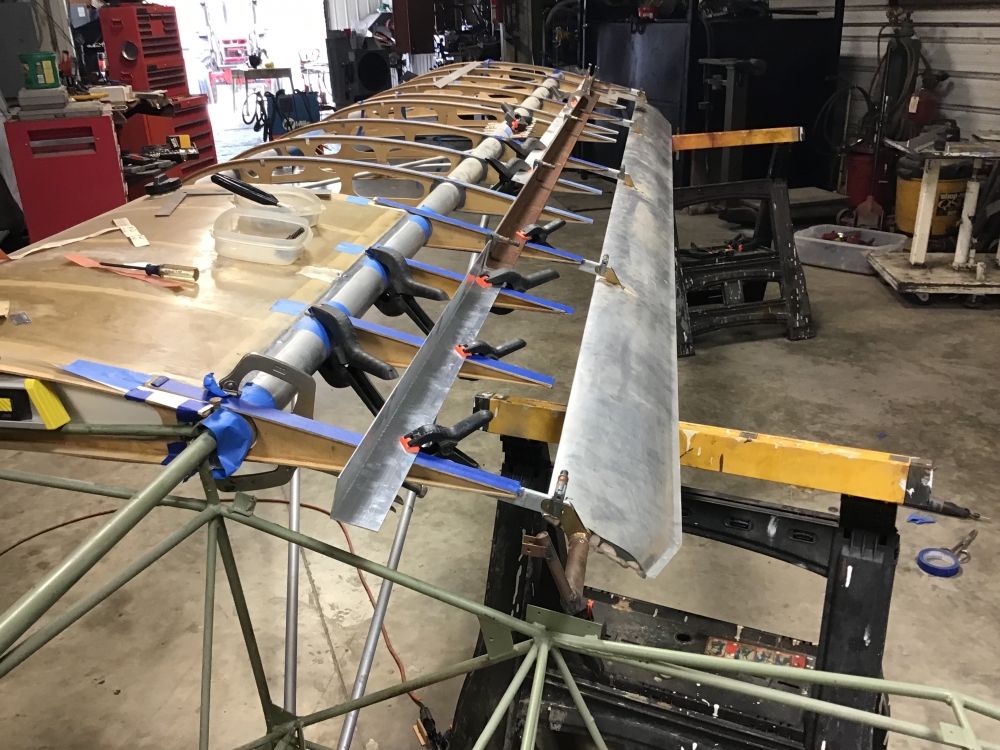
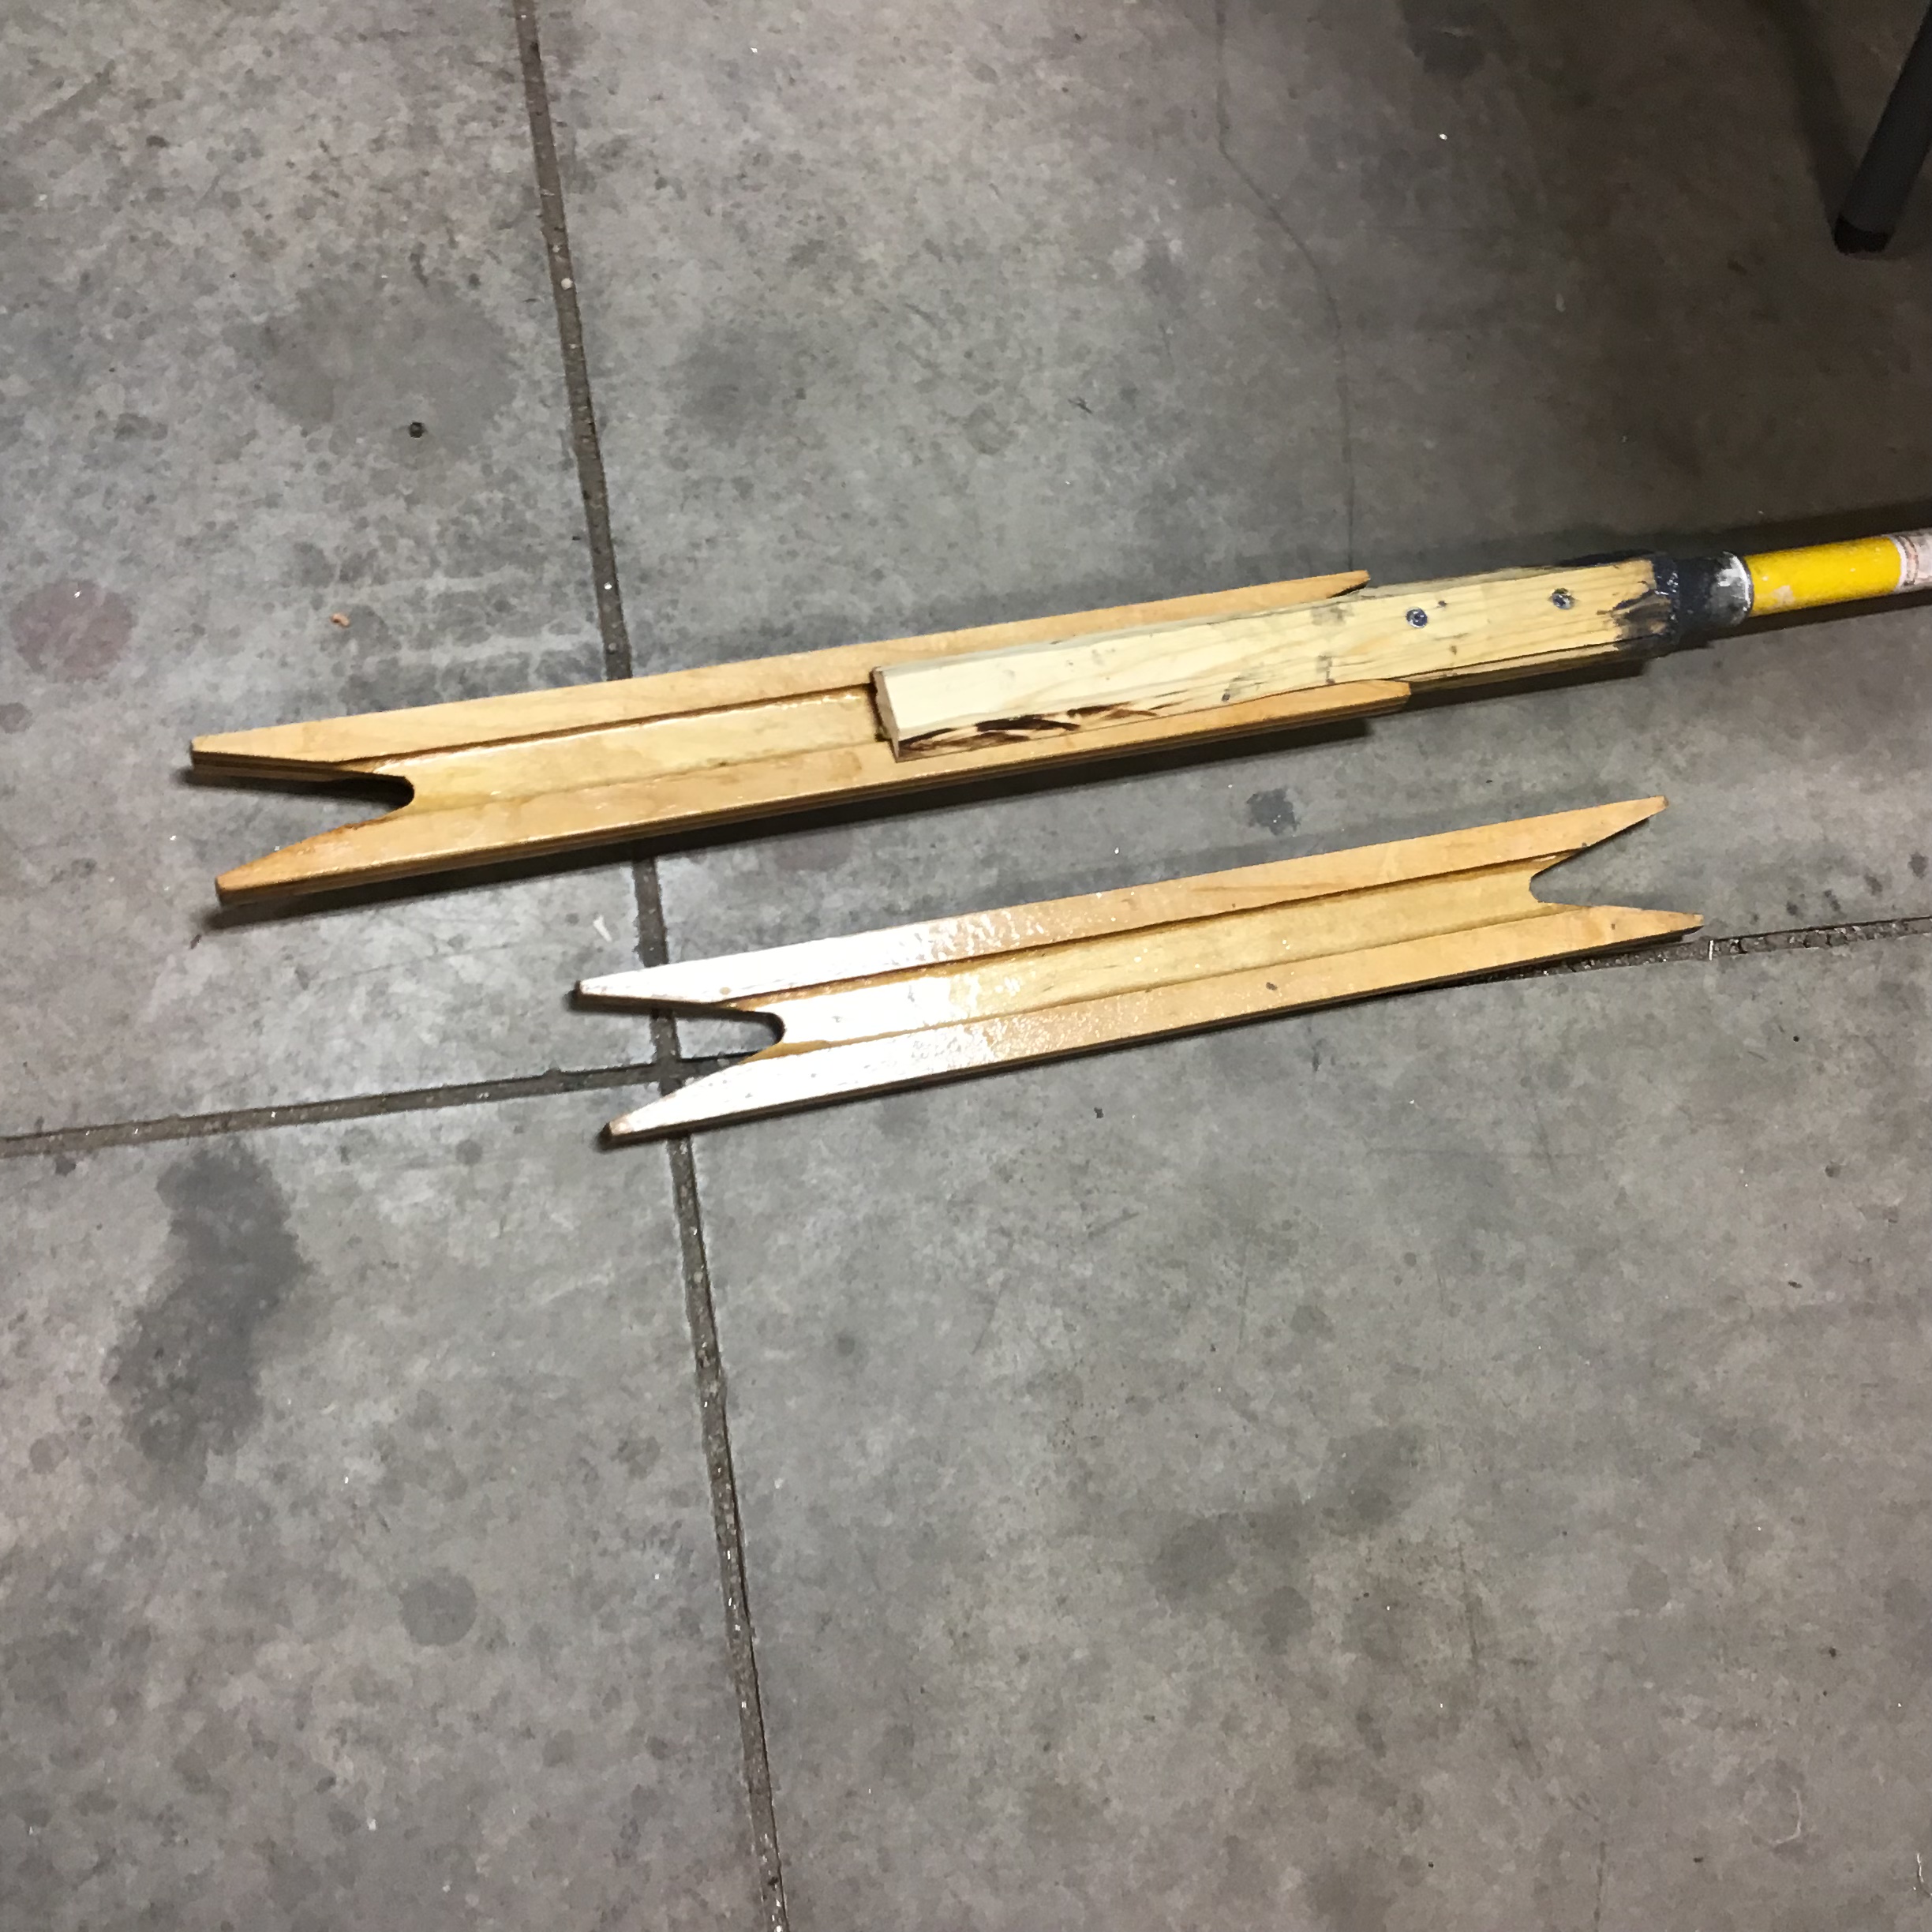
I'm ready to glue the trailing edge ribs. Can anyone explain what they’re talking about the clamping of a 3/8” block?
Wyatt
-
Hey Barry, I sent you a PM with my phone number.
Wyatt
-
Hey Barry, do you still have that tail wheel spring? I have a Model C with a Maule tail wheel. I’m talking about the main spring from the fuselage to the wheel. I don’t have my project here, but I think it’s a metal strap about 1 1/4” wide. I moved my project a while back and I can’t find mine anywhere. Yours might work. Might be interested in the spinner too.
Wyatt
-
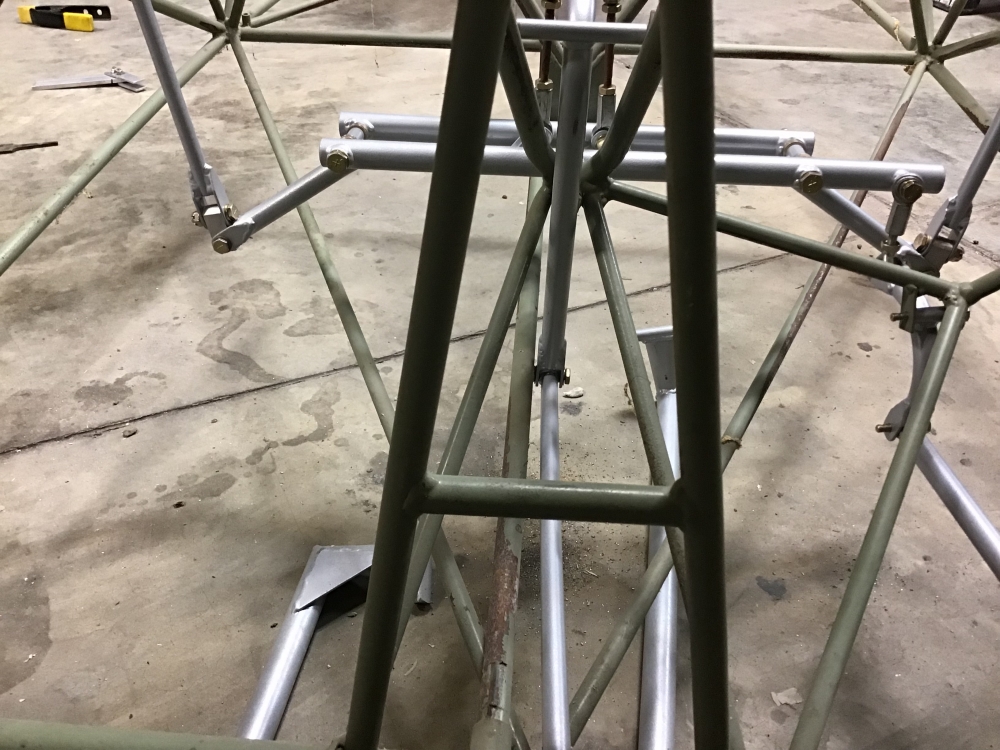
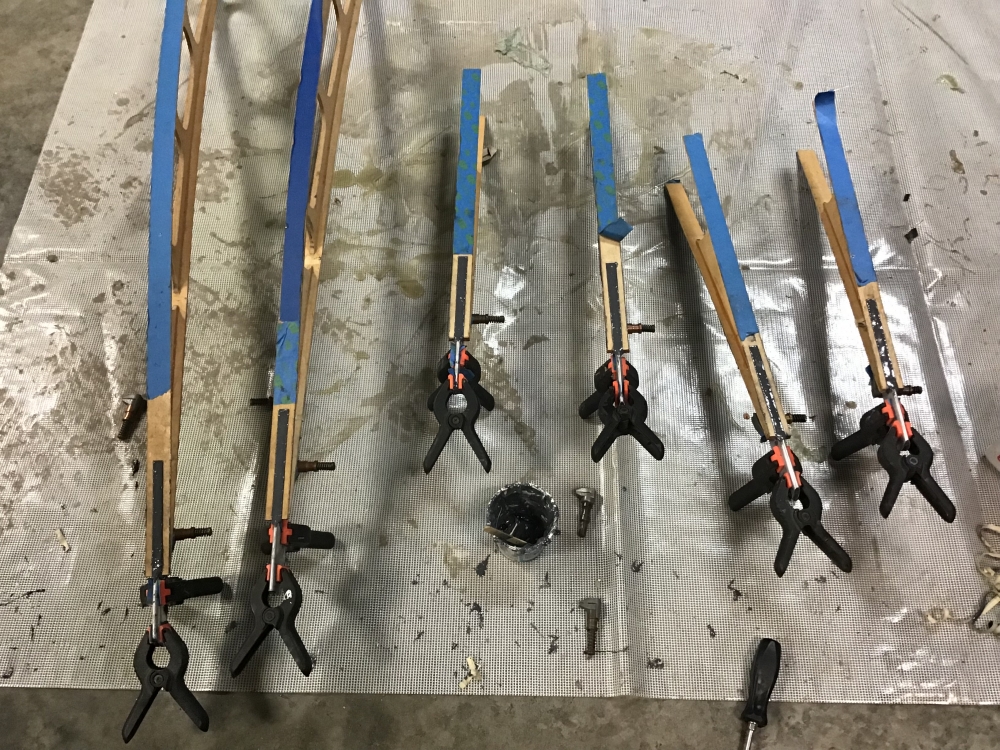
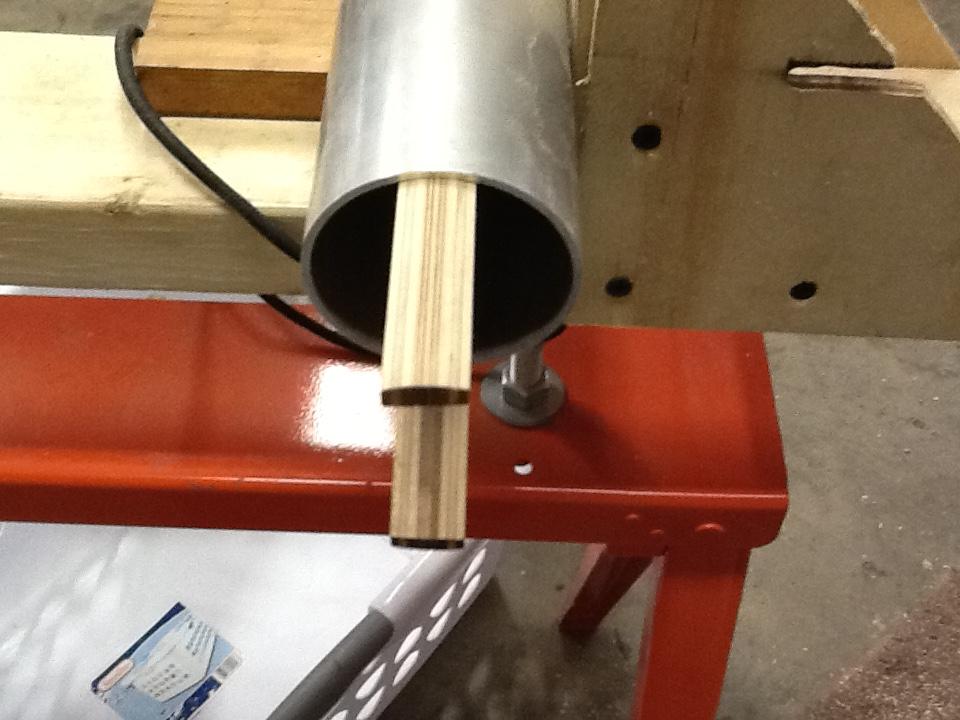
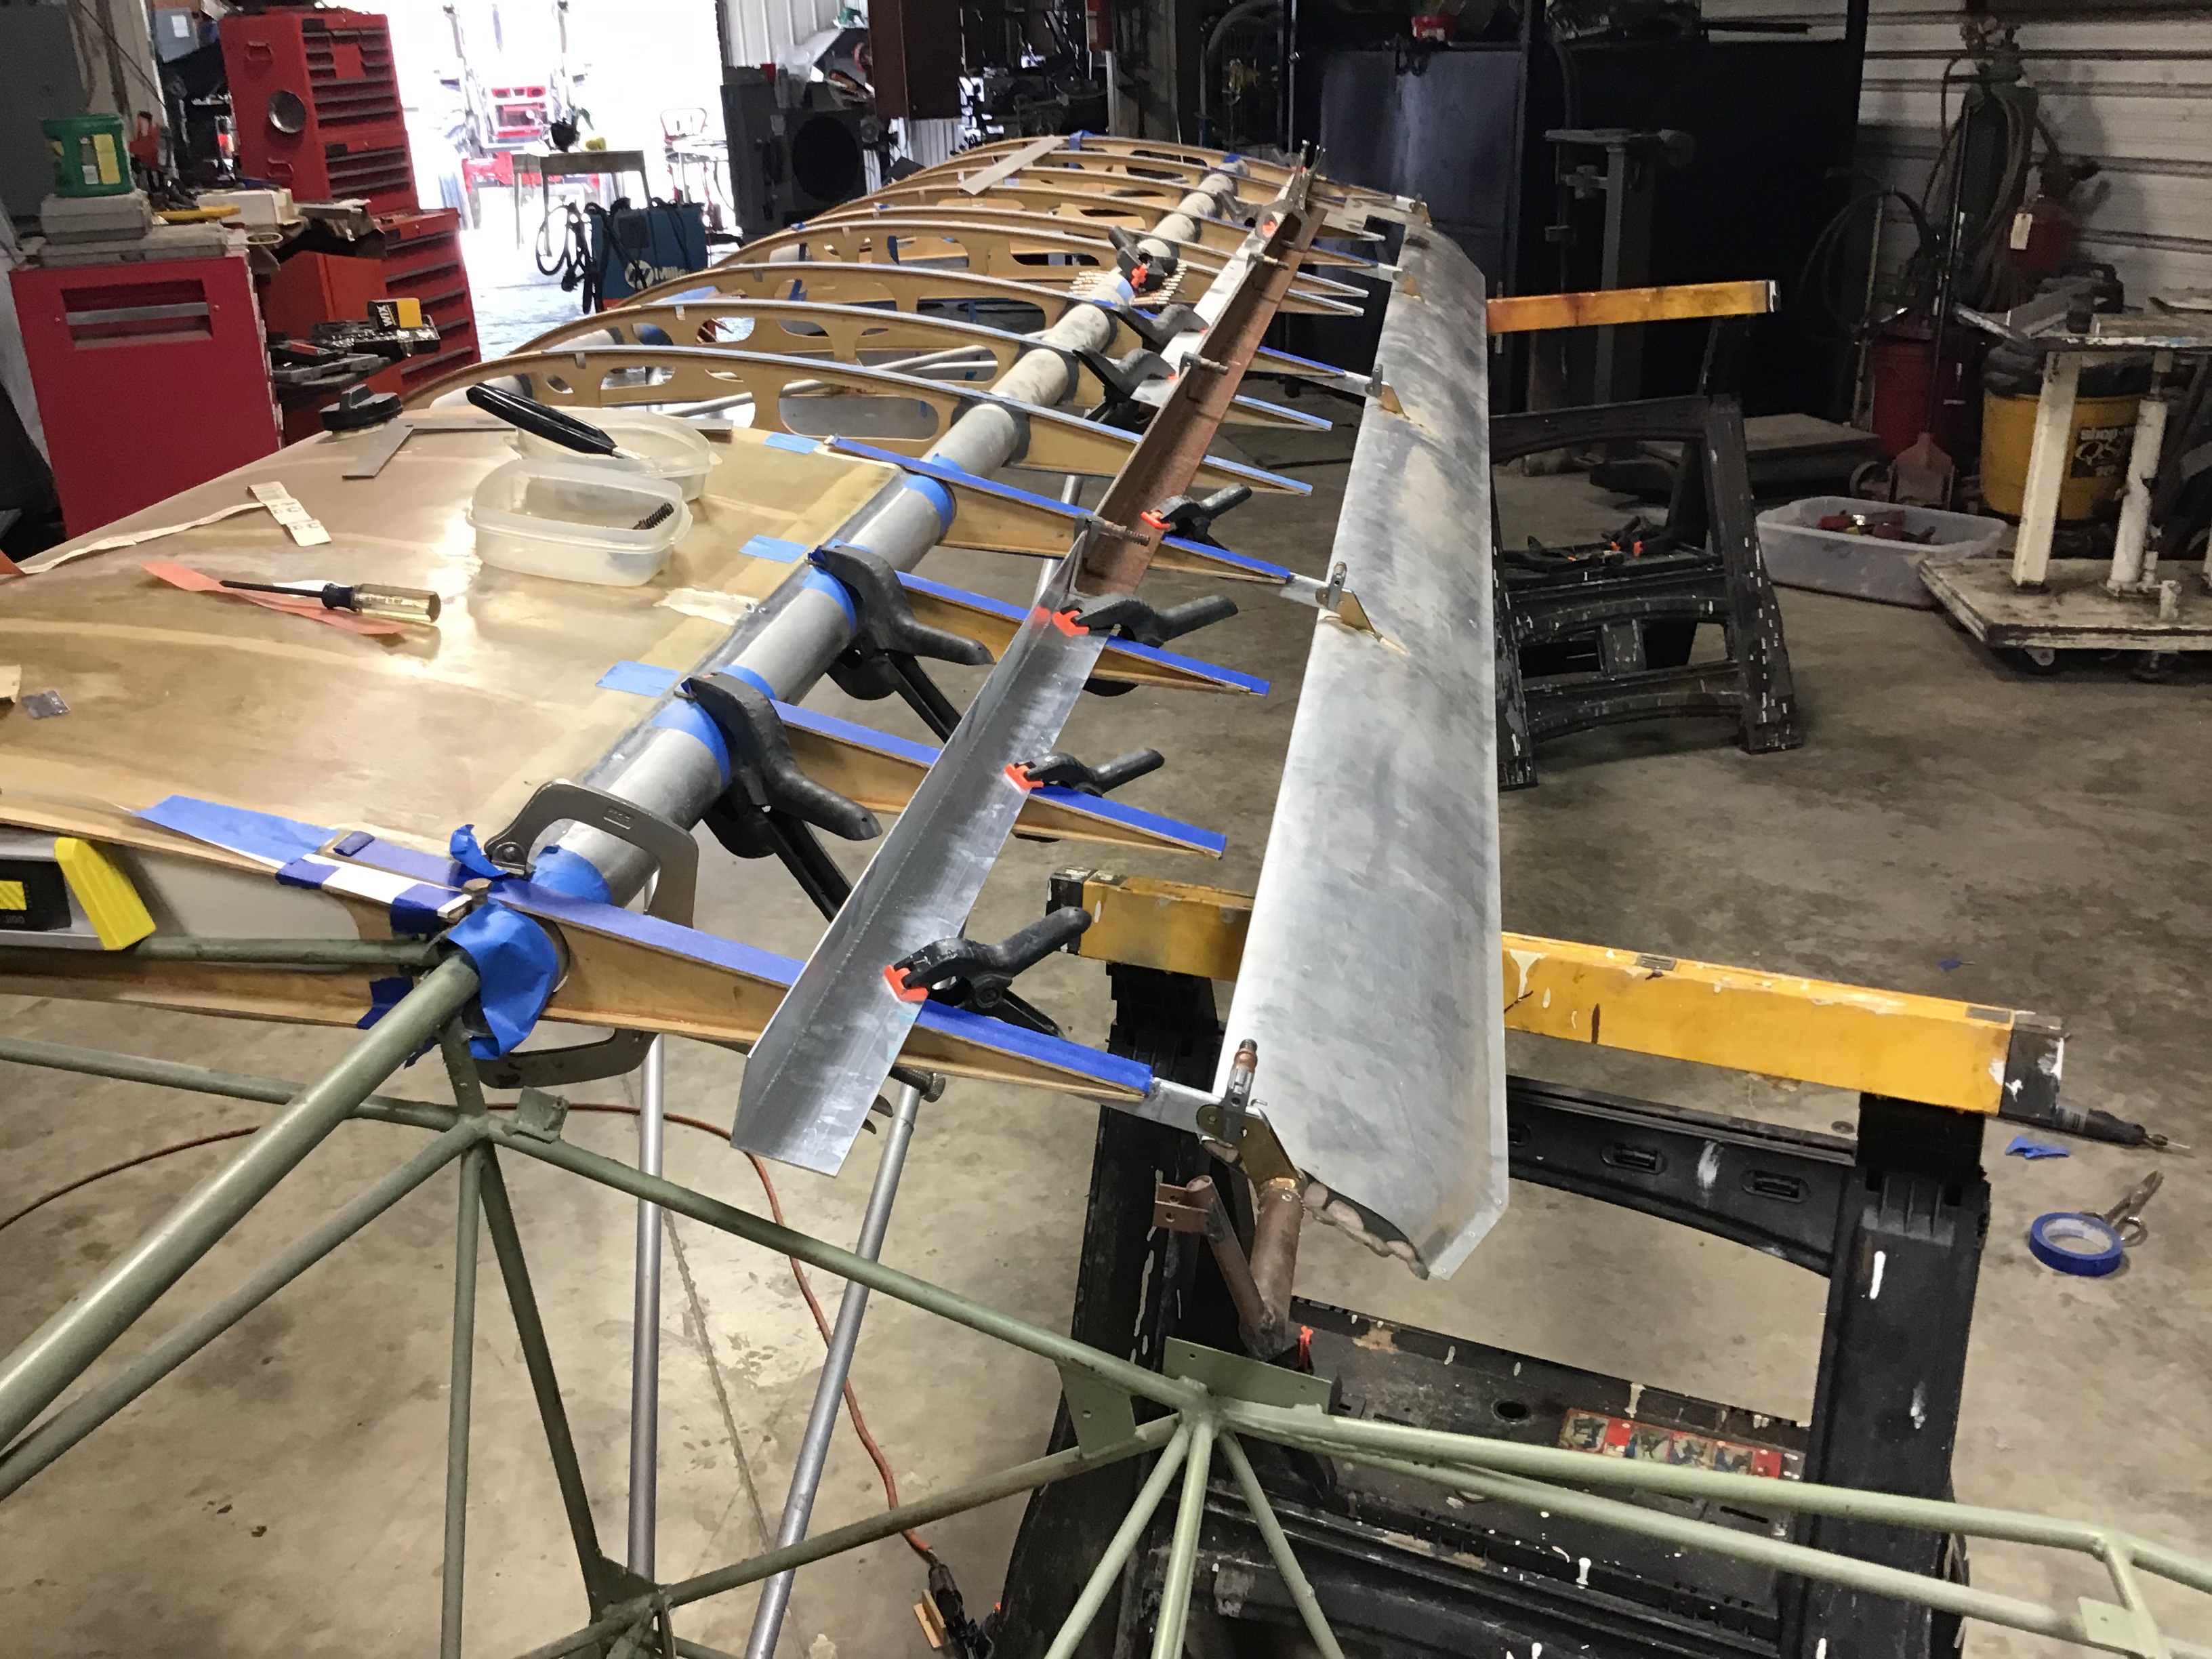
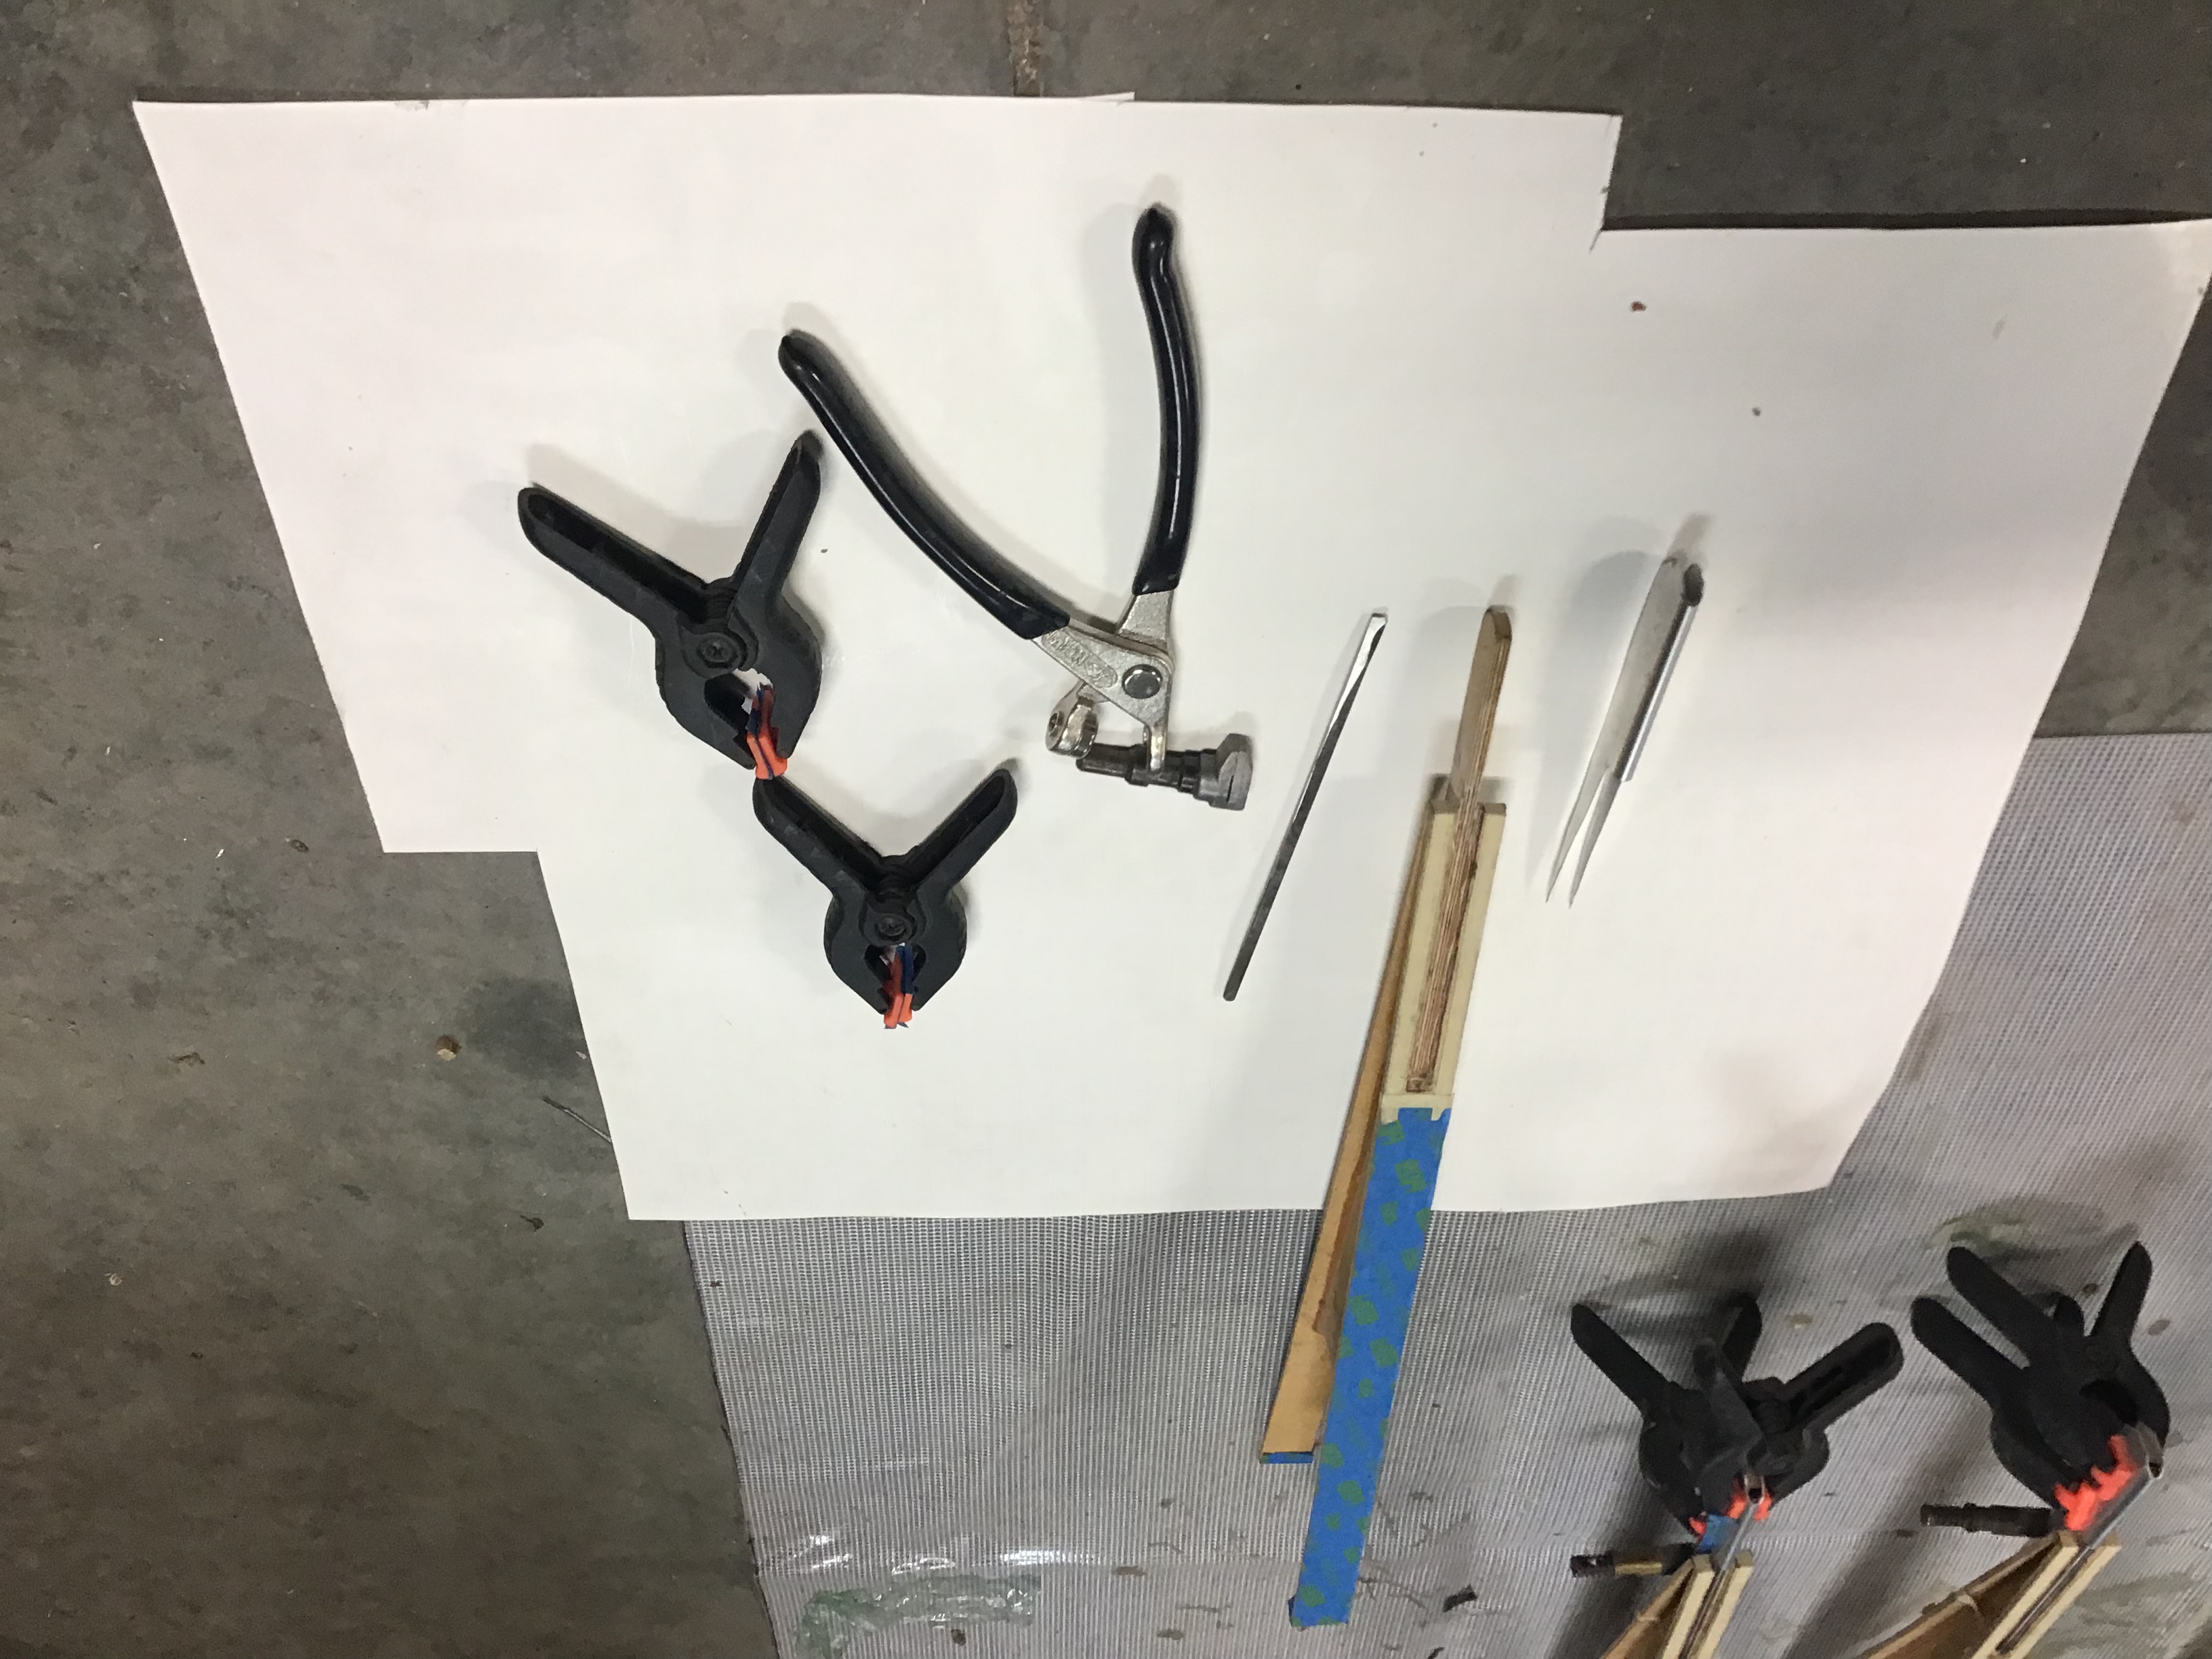
I just reinforced my rib tails. You can see that I removed the cap strip immediately above the web of the rib. The lamentations of the wood provided a great depth gauge. Dremel with a rotary file for the edges then a grinding blade did the trick. I then ground down one side of a 3/16” X 7” titanium rod, epoxied it in the gouge extending to the end. I had fabricated aluminum by bending it in a “U” shape. I used a brake to bend it past 90, then put a rod on the bend and completed the “U” in a vise. It was fairly thin, not real sure about the gauge. My buddy had it leftover from his Titan. Making it slightly oversized, after the glue dries I’ll profile it to match. If a truck hits it it’ll probably fail, otherwise it ought to be pretty stout.
Wyatt
Hope the pictures show up, ain’t real good with this.
-
Need a little advice. I’m ready to install the wing tanks. My original plan is to Hysol them in and use enough to feather the profile to the spars. Afterward they’ll be wrapped with fiberglass. To even the tank surfaces to the butt rib on the fuselage, resin with glass shards will be used. My buddy suggested to use the same to blend in the tanks with the spars. Also could you tell me what’s the best degreaser for glueing. A degreaser came with the kit. I can’t identify it by smell.
Whadda think?
Wyatt
-
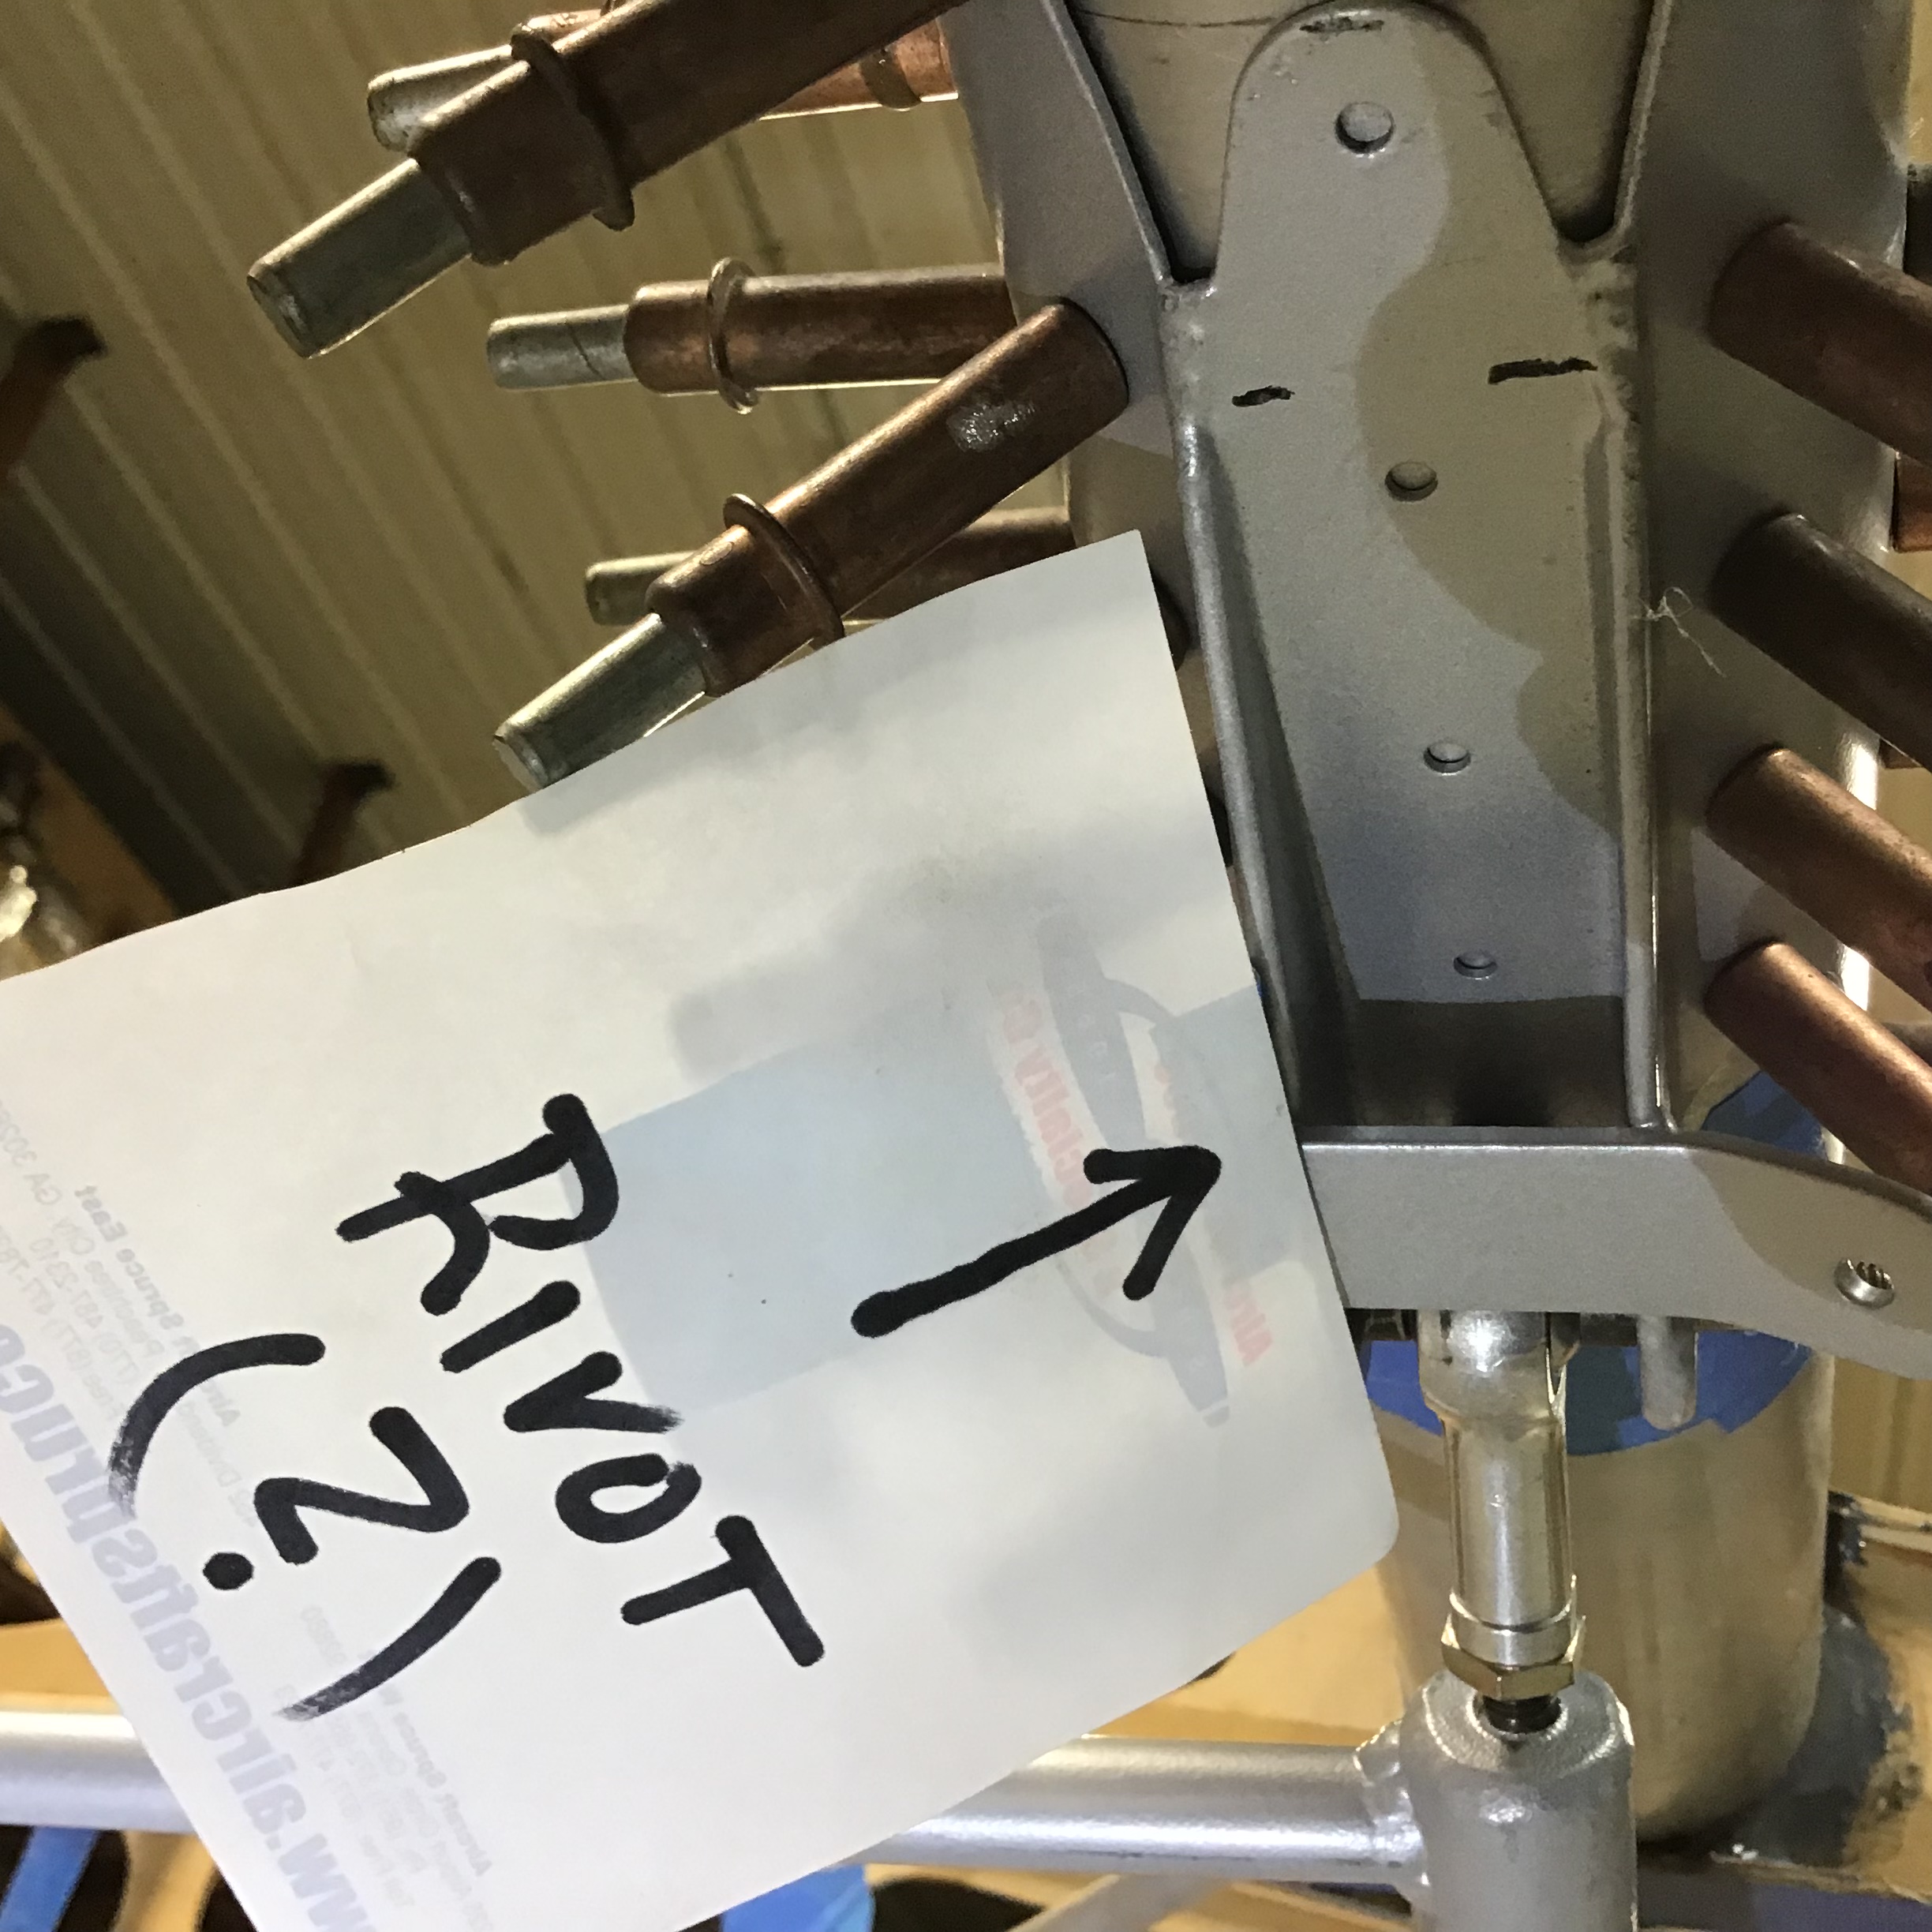
Hey fly wise! Just heard from Dave at TriMas. Evidentially, they do not make a fastener 1/8” dia. 5/32” is the smallest. There’s got to be a way to pop this rivet! Anybody who has ever built an Avid has run into this. How the hell is it done?
-
Look at Barnstormers. Search ads, write in Avid parts. The ad says wing tanks.
-
Fly wise, you’re an engineer aren’t you! I have a call in to Peerless Aerospace for Visu-look fasteners. Hopefully they’ll have a cross-reference the rivot. Still waiting to here back. Got their name from TriMas who makes them. Thanks!
Has anyone ever dissected a fiberglass fuel tank, 14gal? The tank end which butts to the fuselage needs some profiling work for a good tight fit. One is sunken in the middle where I would need to build up or take down the corners. The other is a good 1/4” out of square. How thick are the ends? Can I sand them to fit? I’m guessing they are an 1” thick.
-
Who do you deal with to get those Jo bolts? I looked at Hanson Rivet, but didn’t see a contact number. I have no idea how to cross reference a SS43FS rivet.
-
Thank you very much for your reply. I Googled Jo bolts and I guess and would have to buy the whole shebang tool and all for 2 rivets. Did you buy the kit? I saw $490, rivets were about $2.50 apiece.
Wyatt
-
Hey guys,
I was hoping to hear from someone in regard to my questions of applying glue to the stiffeners or not. In my opinion, for what that’s worth, I don’ feel they can move when the strut attachment is riveted. I do have a good snug fit on the inside of the spars. The instructions say nothing about glueing them. Ed did mention it though. Also, I haven’t figured out how to get that rivet under the clip. Can’t get the rivet gun in there to pop the rivet.
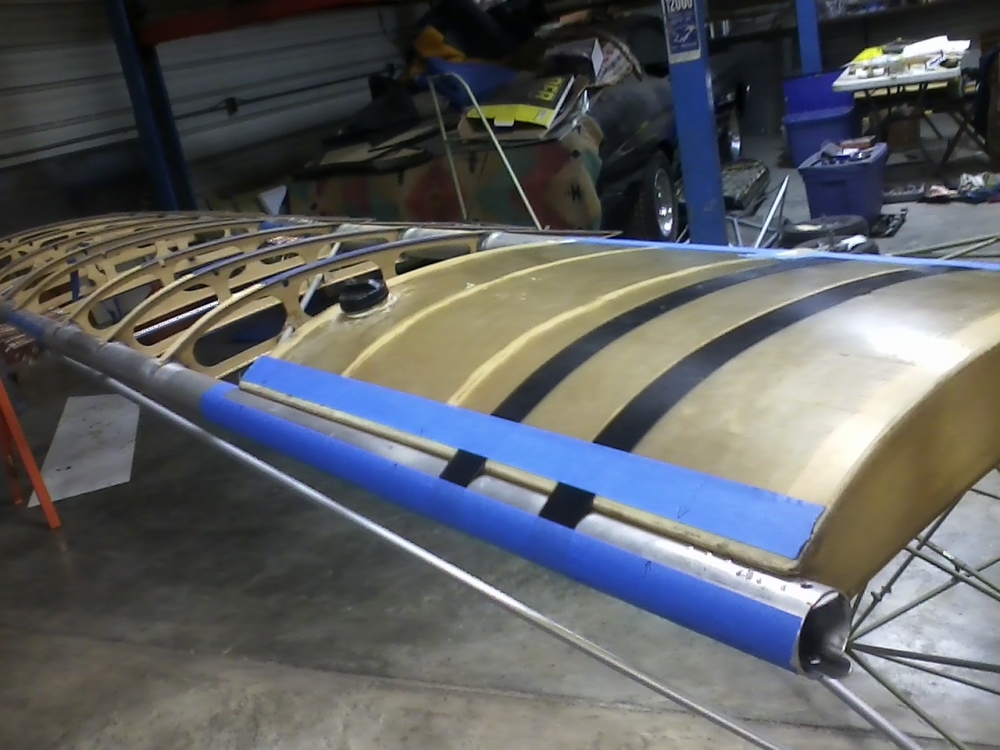
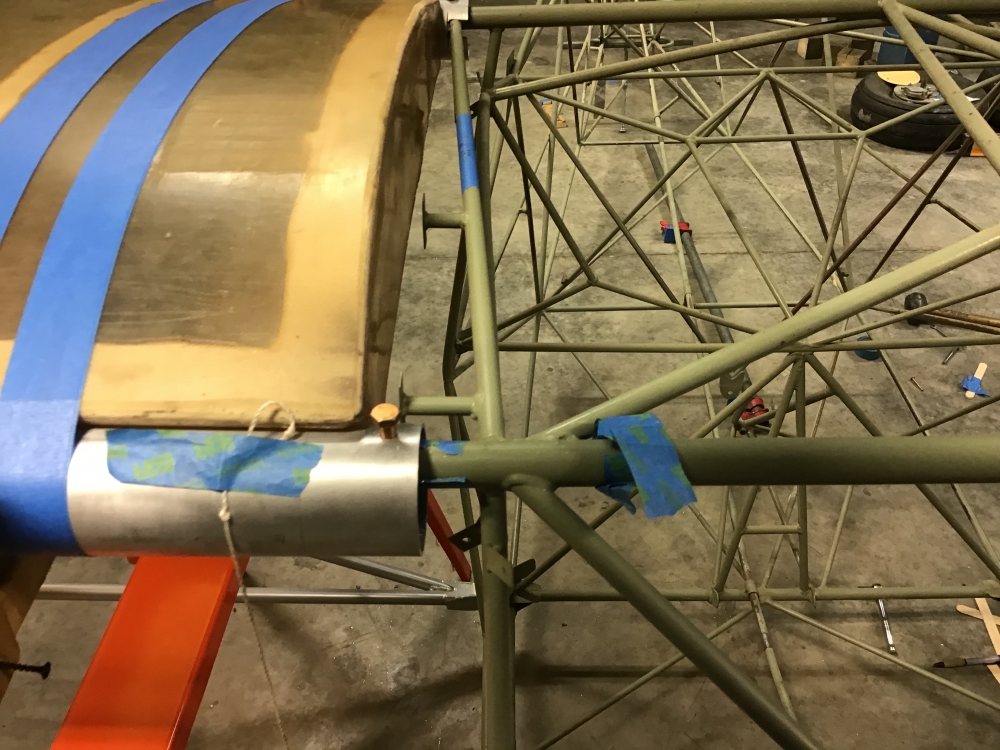
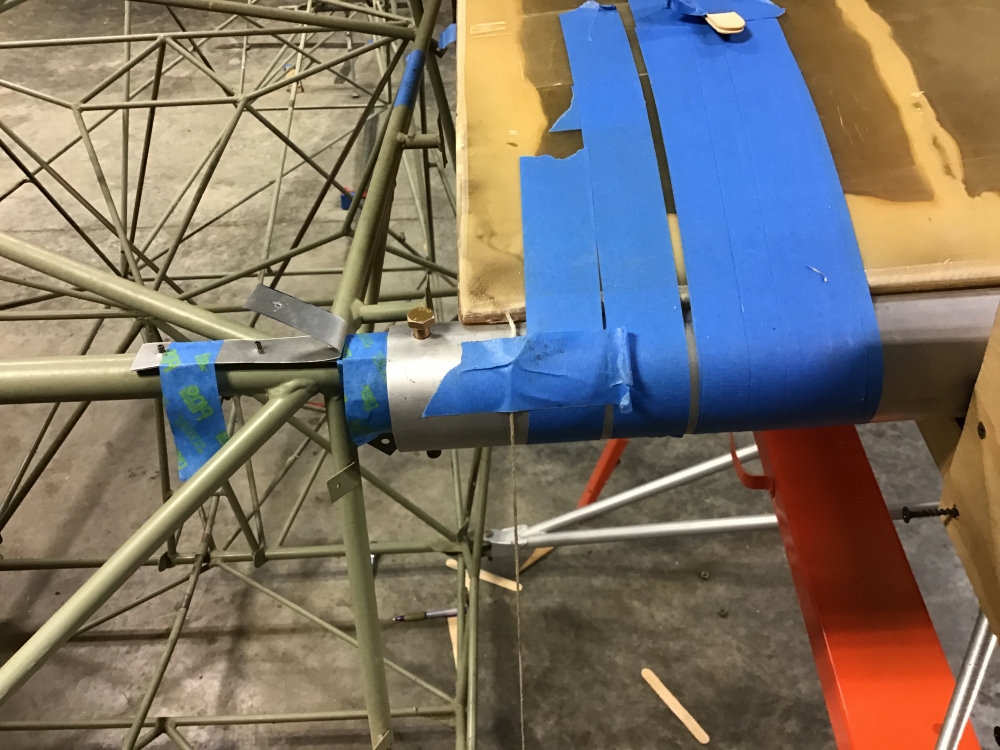
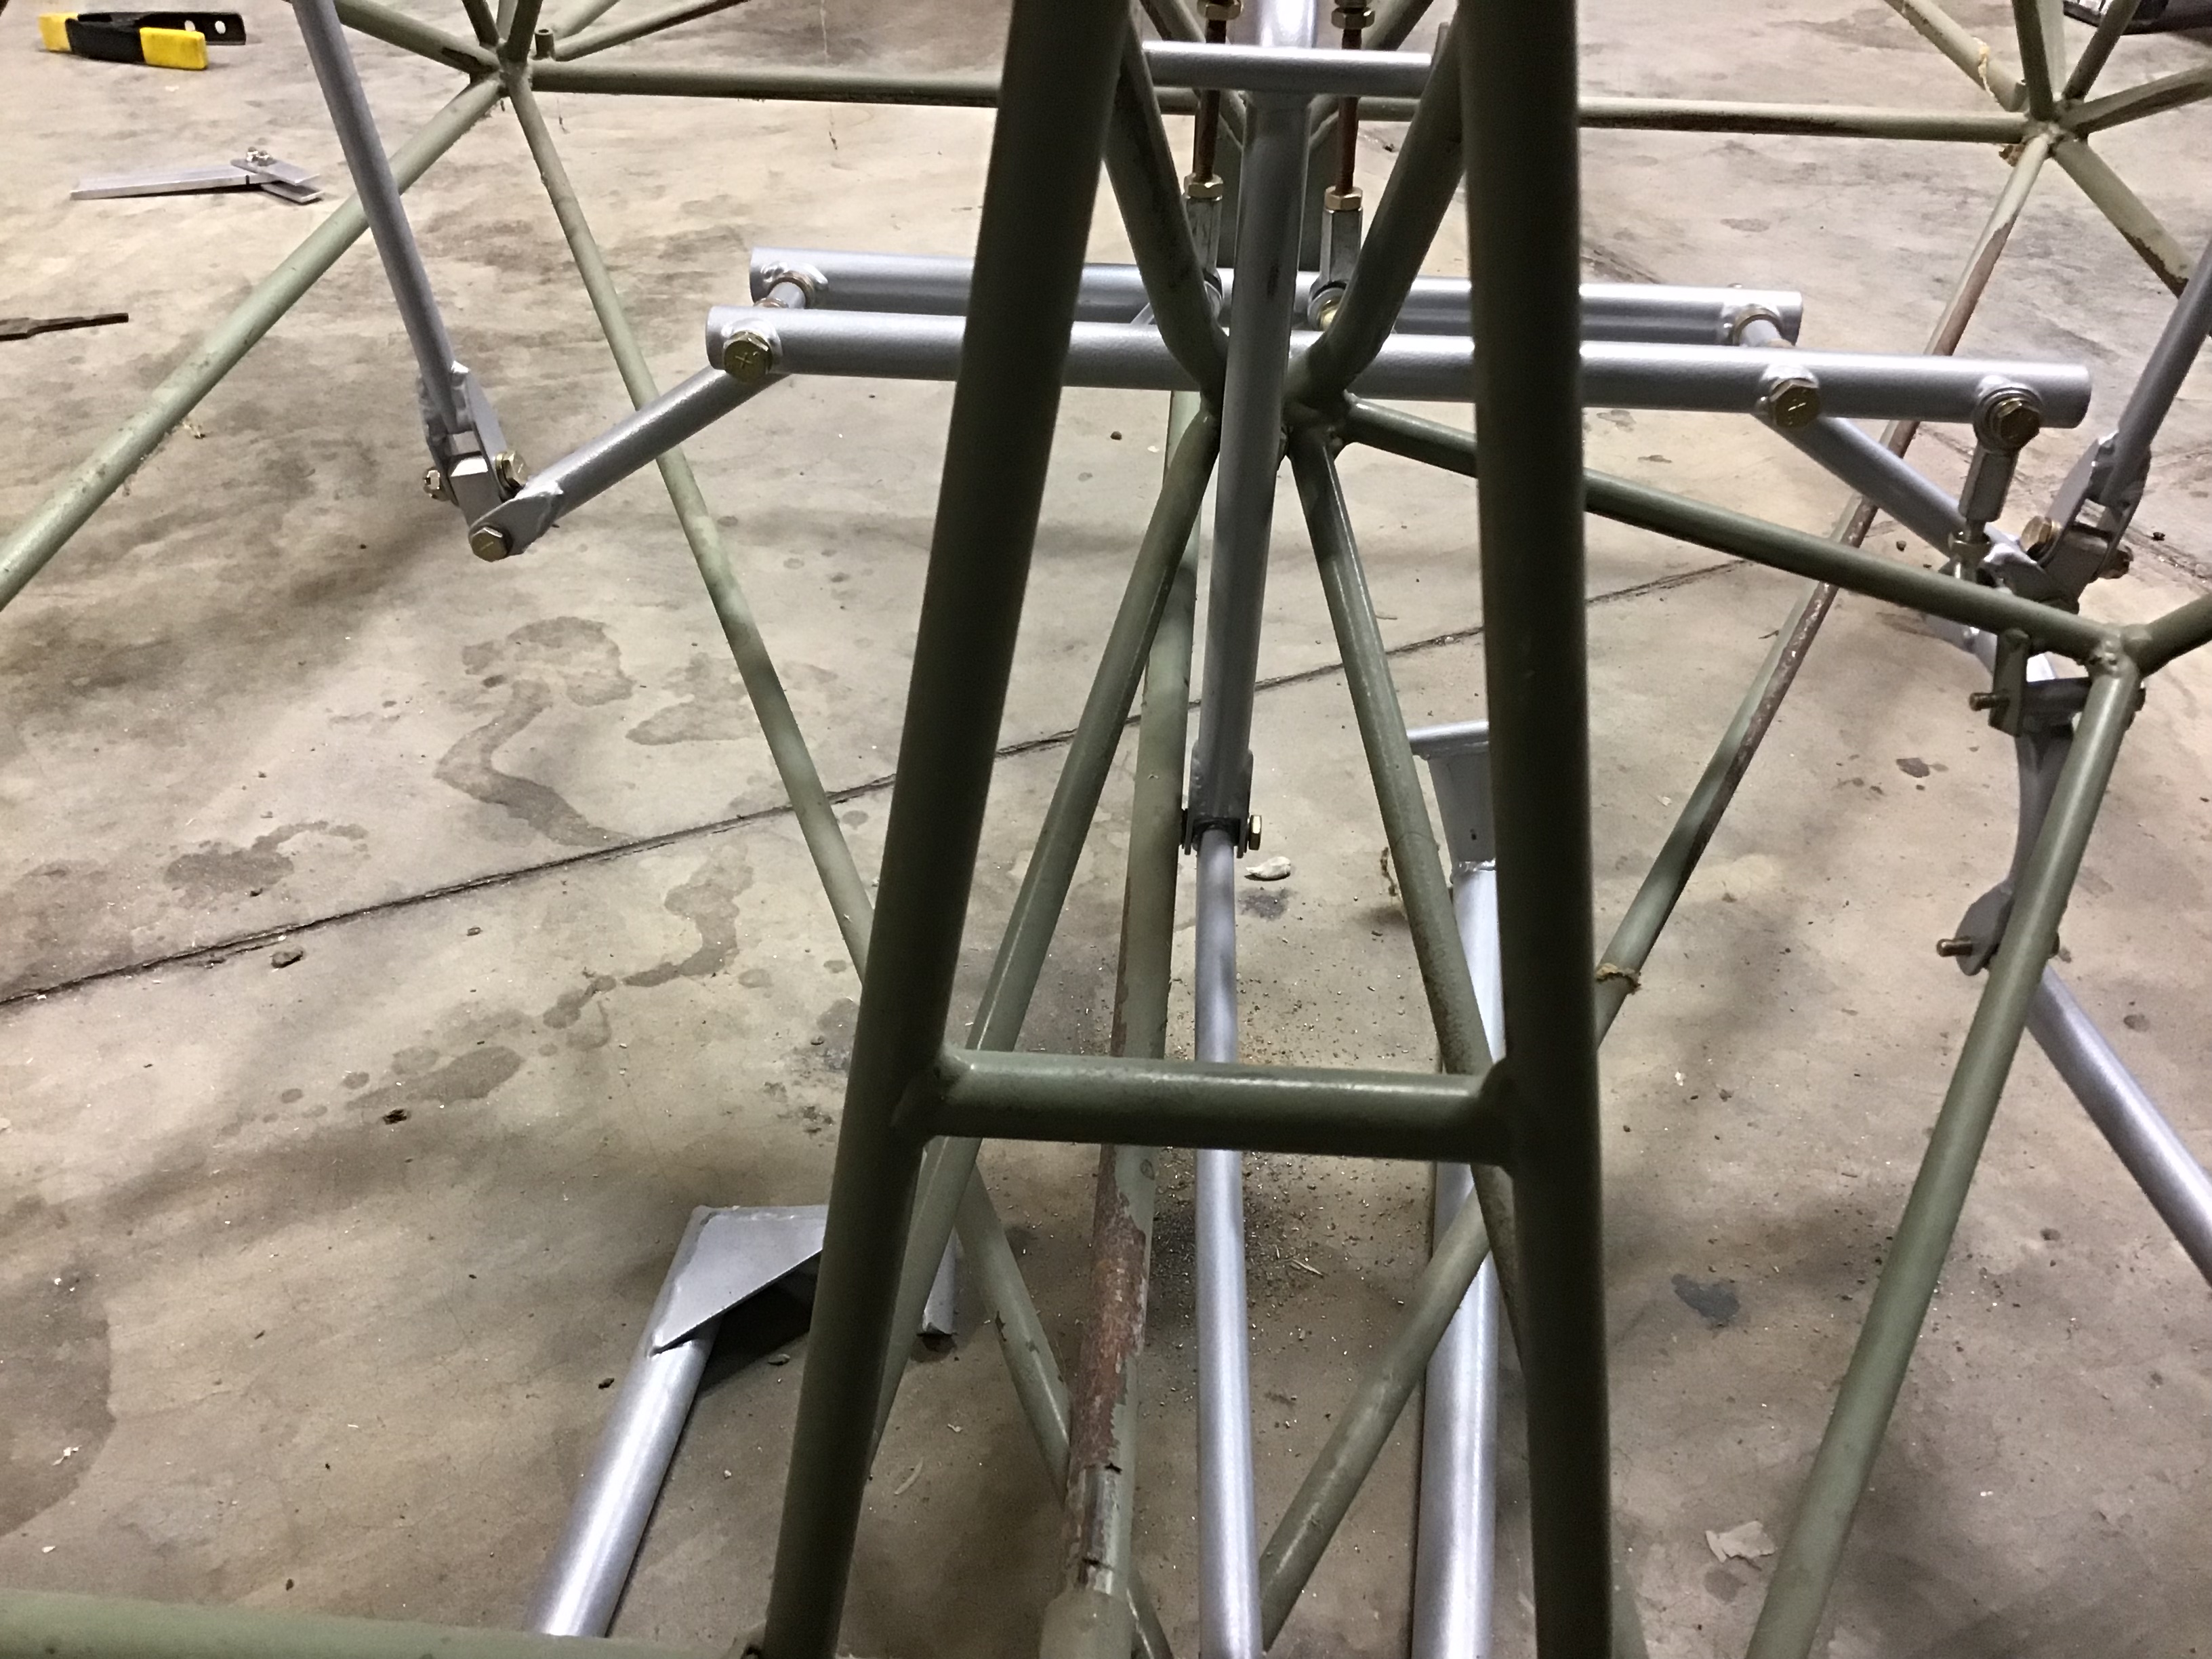
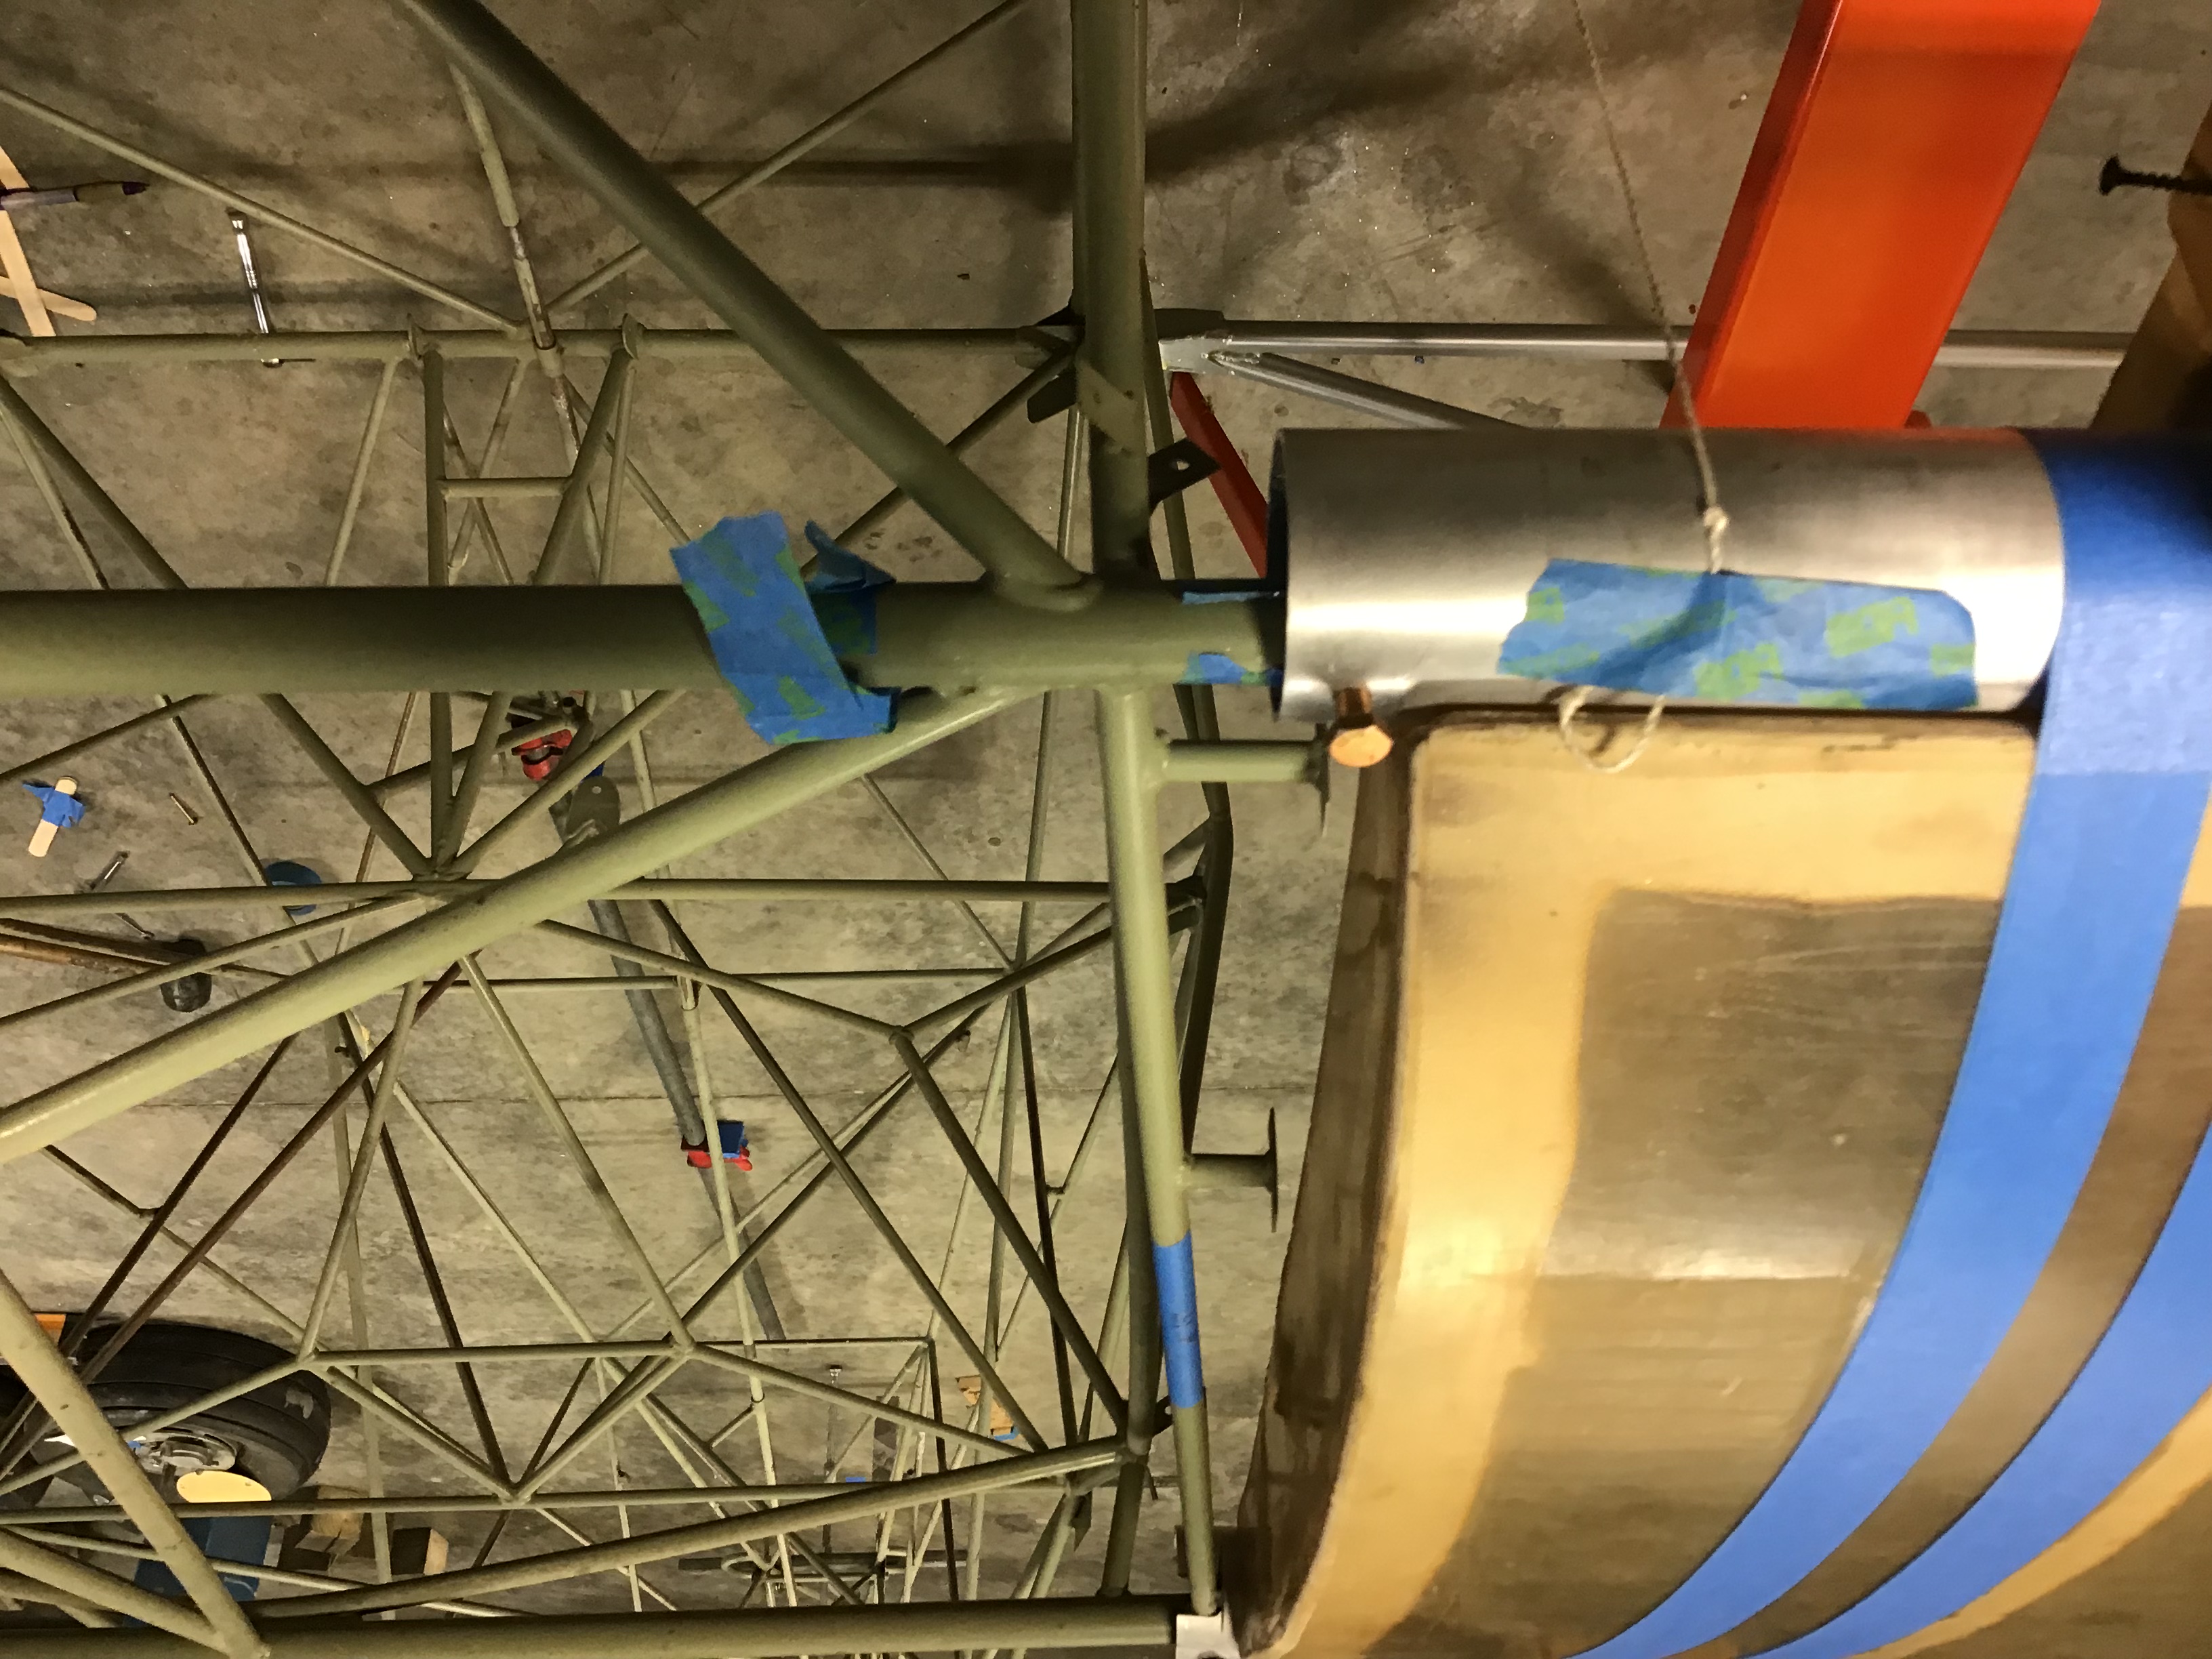
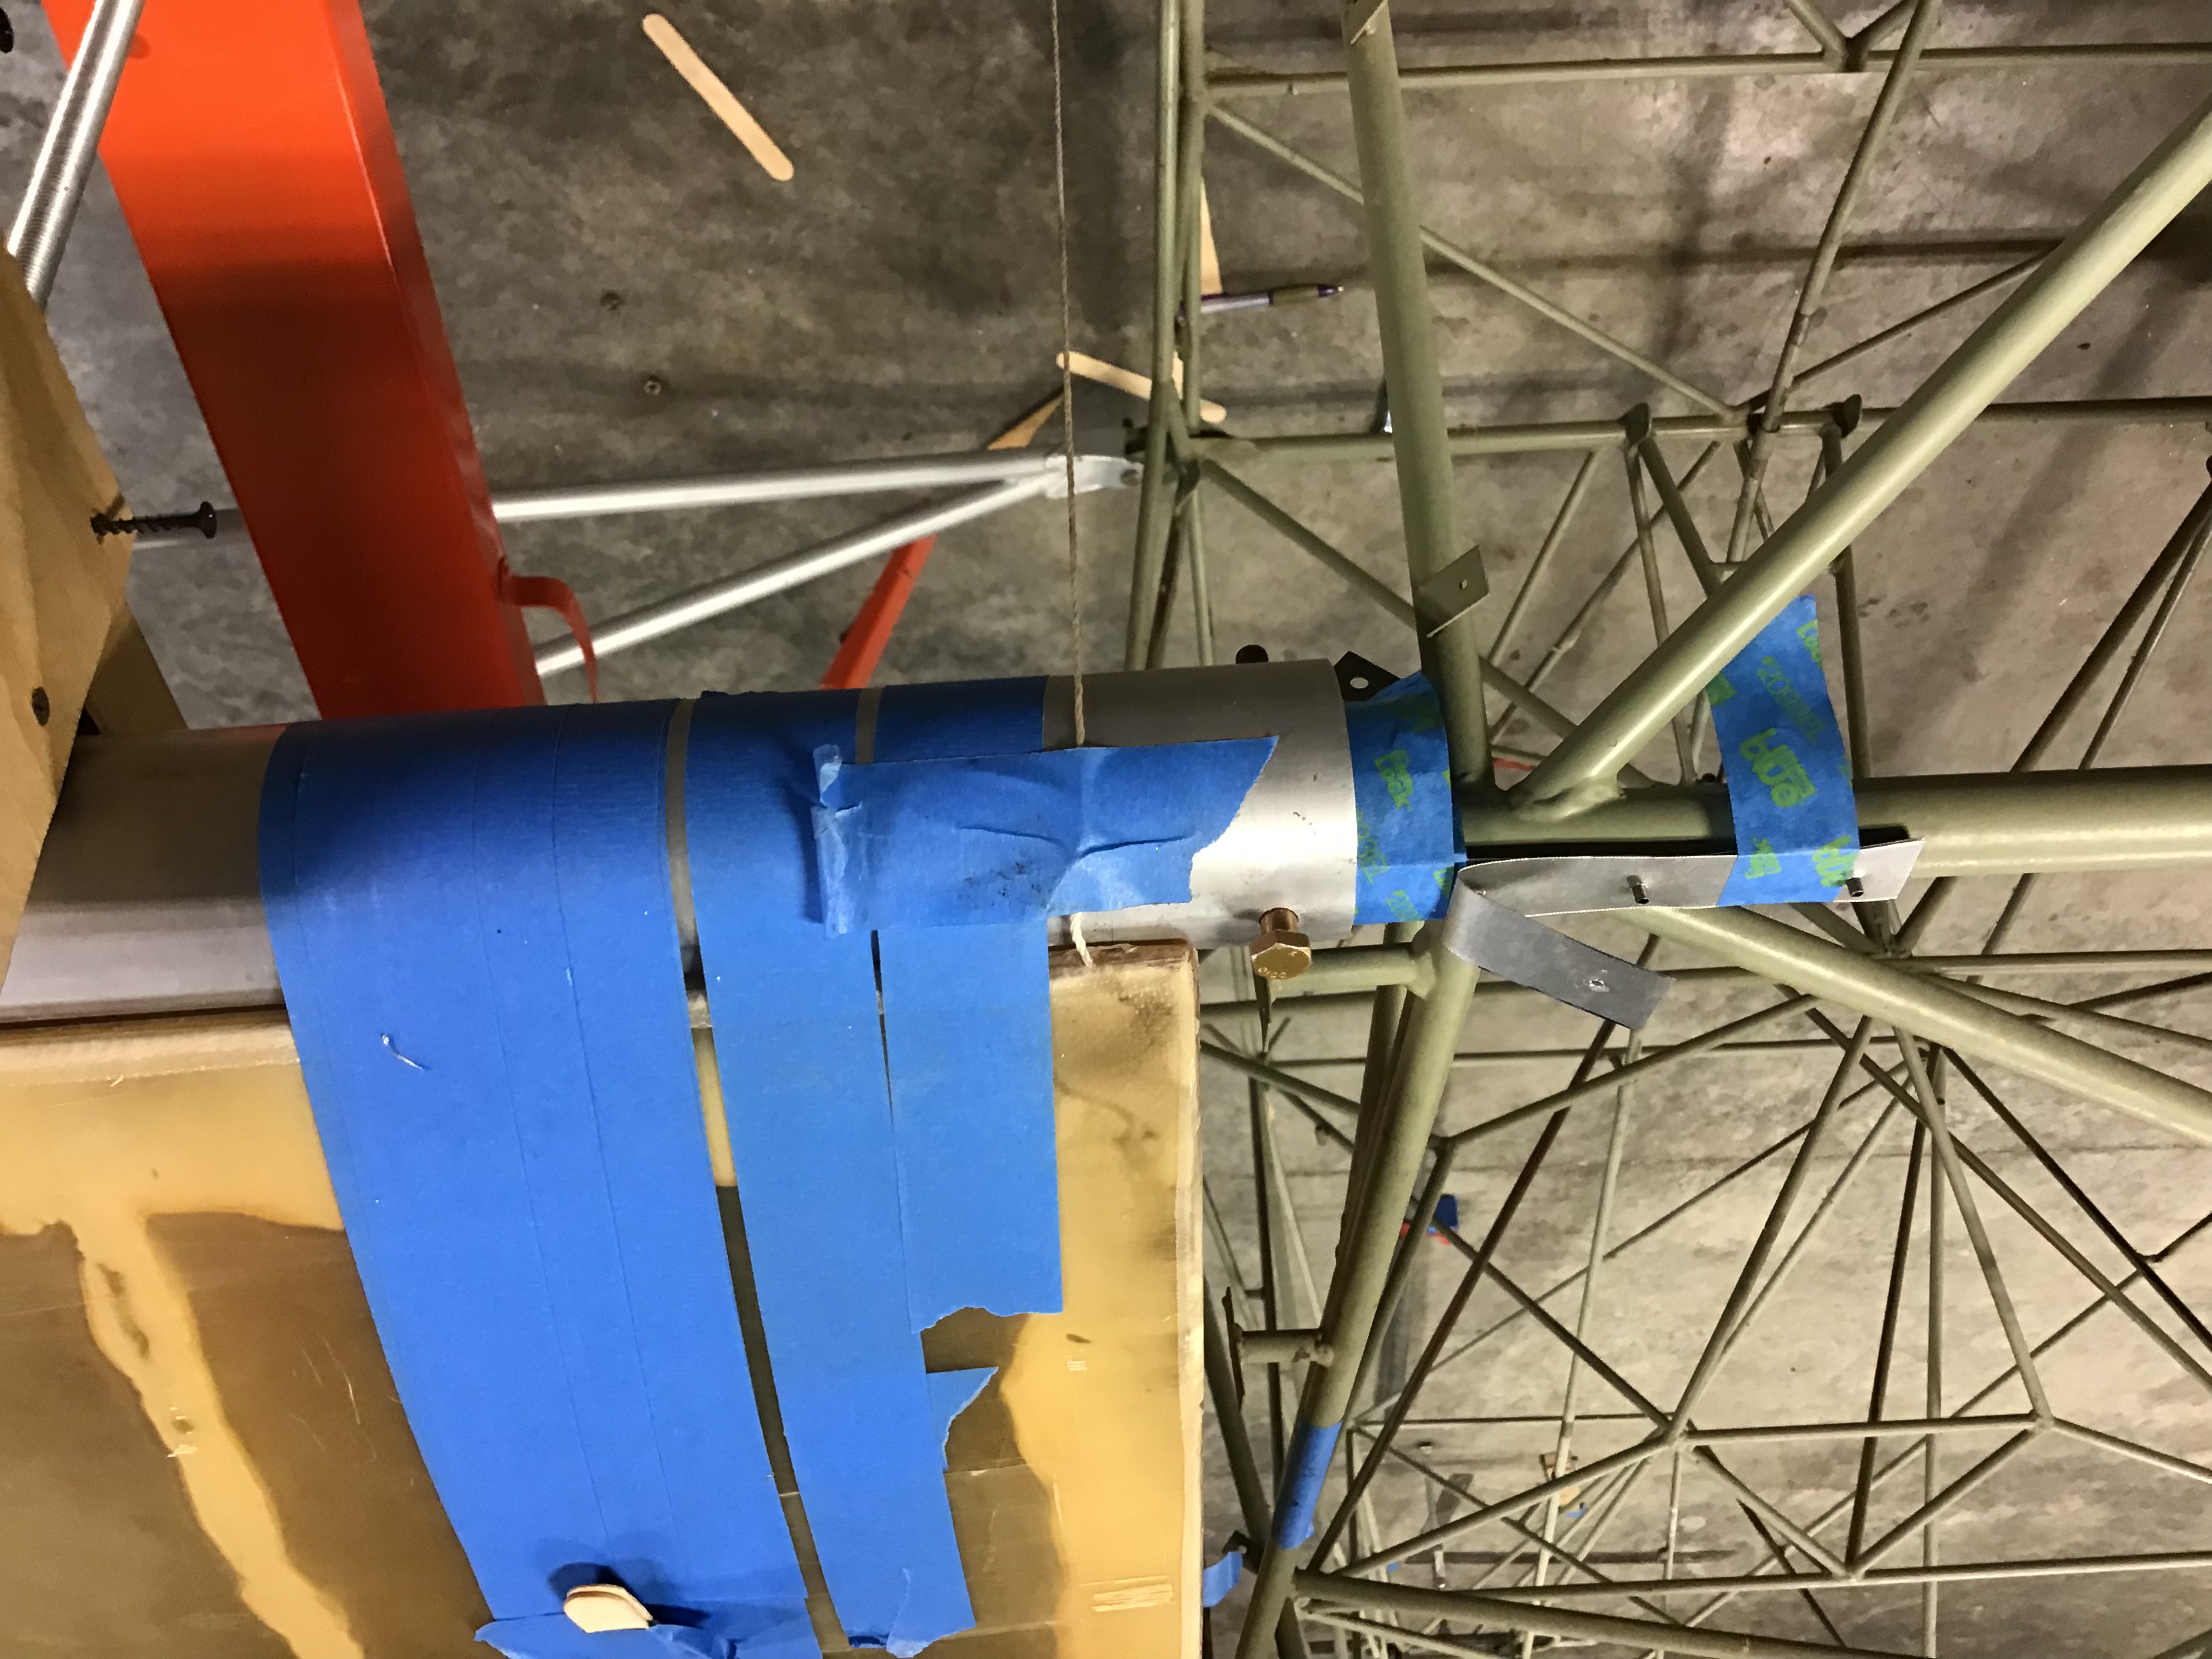
With the spar attachments clecoed in place, I did go ahead connected the wings to the fuselage. Plumb bobs/string line on the leading edge and triangulation from the tips to the tail prove I got a good result. I did this with the wing tanks in place on a dry fit. When glueing the ribs to the spars the washout was set to 3/4”. It was mentioned that the tanks were made with a twist to allow for washout. They do. At the time, didn’t think it would be a problem, but the spars do have a bind. Not bad, but a bind. The left strut was made at the factory to be adjustable and the right was not. I did modify the right strut to match. The adjustment will hold the bind, but to relieve it somewhat, the washout will increase to a 1 1/4”, the book called for 2”. I am pretty sure I’ll have to modify the jury struts too.
I’m heading out to clean the fuel tanks with 1 gal acetone:1 gal AV gas. After sloshing it around we’ll leak check and further flush by filling them up with fuel.
I would appreciate guidance anyone can offer.
Wyatt


-
Howdy guys!
Decided not to coat the tanks. They tested fine.
I have a couple of questions:
1st: To secure the wooden spar stiffener, do you reach inside the spar with epoxy on a stick or just depend on the rivets on the centerline of the strut attachment.
2nd: How can you pop the rivet behind the clip on the strut attachments?
Wyatt
-
Hi guys! Gonna get back to work on the wings after a long absence. We’ve relocated the project. How do you guys feel about the fiberglass fuel tanks? Issues?
Wyatt
-
Thanks TJ! I thought that might be the best way.
Wyatt
-
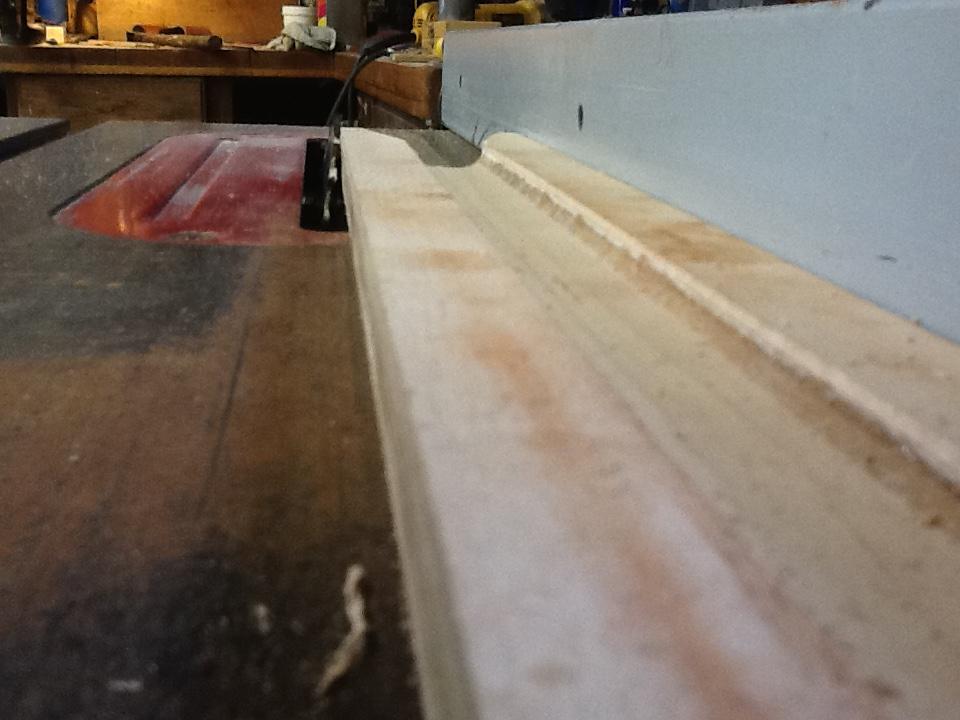
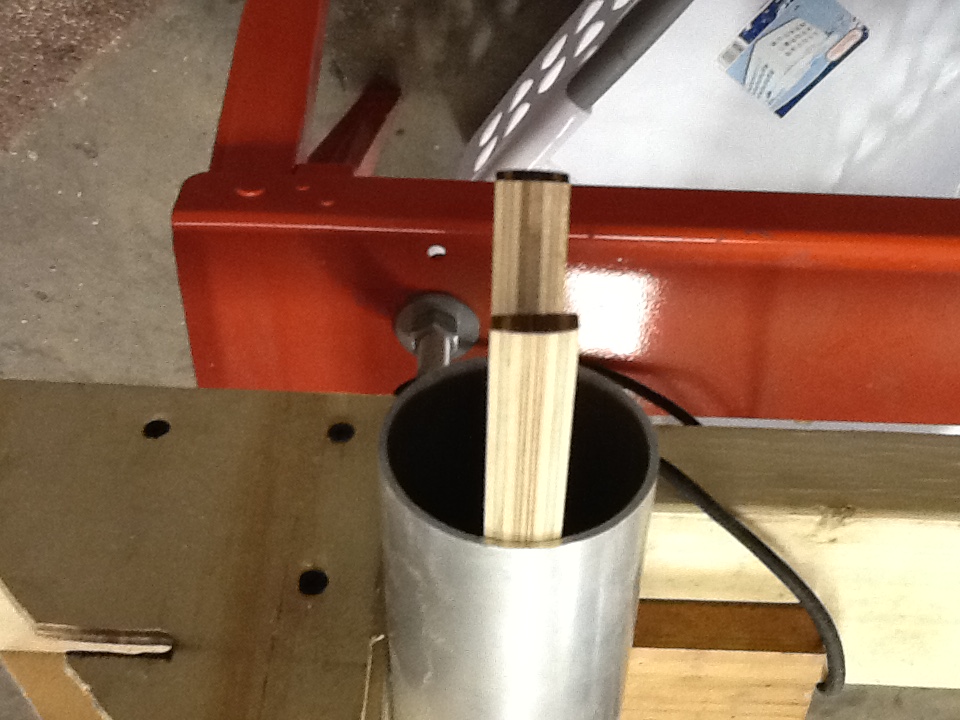
Hi guys!
Feel like I got a good fit on the spar stiffeners. I used the table saw like a planer to true them straight, and shaving them down to the height that was slightly taller than the I.D. of the spar. Then I set the blade to a 10 degree angle and ran them down the 4 corners. Just shaving the stiffeners left burn marks on them. When I sanded out the marks out and tried them, they fit perfectly. Now I'm going to varnish them with Poly-Fiber epoxy varnish. I know, after varnishing, I'm gonna have to do some more sanding since I've got such a good fit without. How many coats would I want on the stiffeners, and the ribs too for all that matter? Another question: Is there any kinda of lube I could use to slide them in place? It just takes time!
,Like I said, I'm gun-shy about drilling the rivet holes for the strut attachments on the spars. I'm thinkini' that I'm gonna leave the attachments hose clamped, attach the wings to the fuselage and drill/cleco the holes in place. I feel like this would insure their exact location. Am I nuts?
-
Yessir, thanks Doug! I'll be glueing spar #8 to the spar attachments on my wing build. It was a question I was going to ask!
Wyatt


Will a 532 mount work on a 582GH
in Avidfoxflyers General Hangar
Posted
I bought a wreck out in South Carolina and hauled it back to Illinois. It’s got a 200hr grey head on it that, I didn’t see it, but was told it still runs. I’m thinking that I’ll have it gone through and use it. It has electric start and C drive. The mount on it is bent, but I have a 532 mount that came with my kit. The wreck looks like a C model, but the data plate says it’s a Mark IV. He said it was a dyna-vibe mount. Will that 532 mount work? On an eyeball, it looks like it would. The mount on the wreck think could be repaired too.
Wyatt