
Barry Cole
Members-
Content count
201 -
Joined
-
Last visited
Posts posted by Barry Cole
-
-
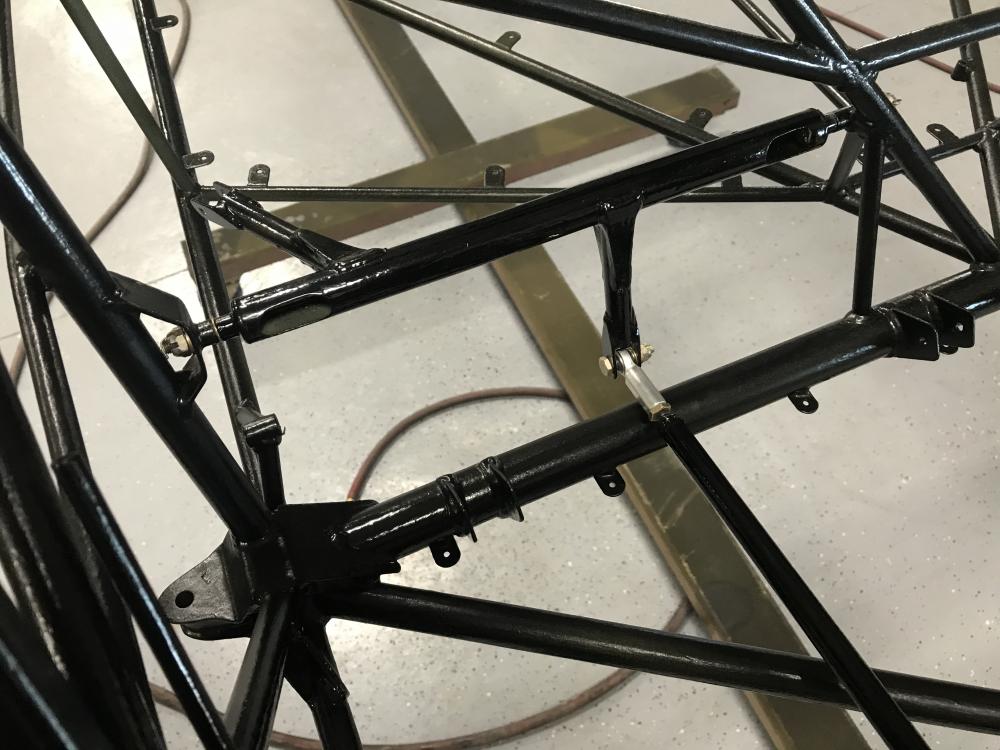
Today I installed the elevator and linkage. Not happy with the position of the control sticks as related to elevator position, seems the only fix is to shorten the length of the push pull tube unless I am missing something? The stick is way to forward especially when pushing nose down attitude. I also checked the elevator for number degrees of up and down required by the manual. Then I installed the header tanks.


-
Hi, I have hit a stumbling block on my Magnum build. I am at the point where I need to pour melted lead into the elevator and rudder. The manual is very vague to say the least on how to do this and where exactly to put the lead, it only states to pour it in front of the hinge center line? I can assume that the elevator lead goes in the outer front tips of the elevator where the flat plate gussets are. But I am at a loss as where to put the lead on the rudder because there are no openings at all on it?
Thanks in advance on any suggestions!
Barry

-
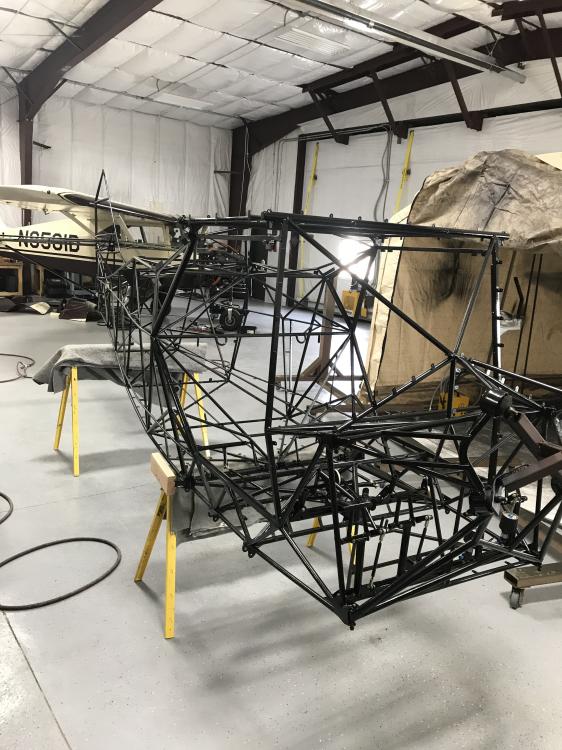
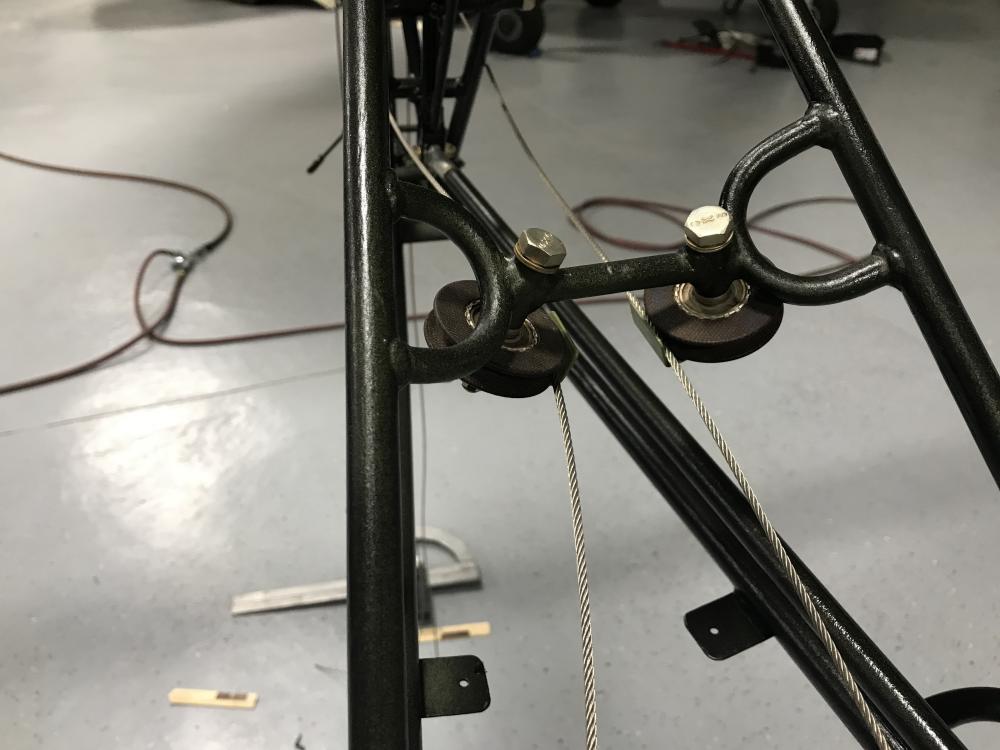
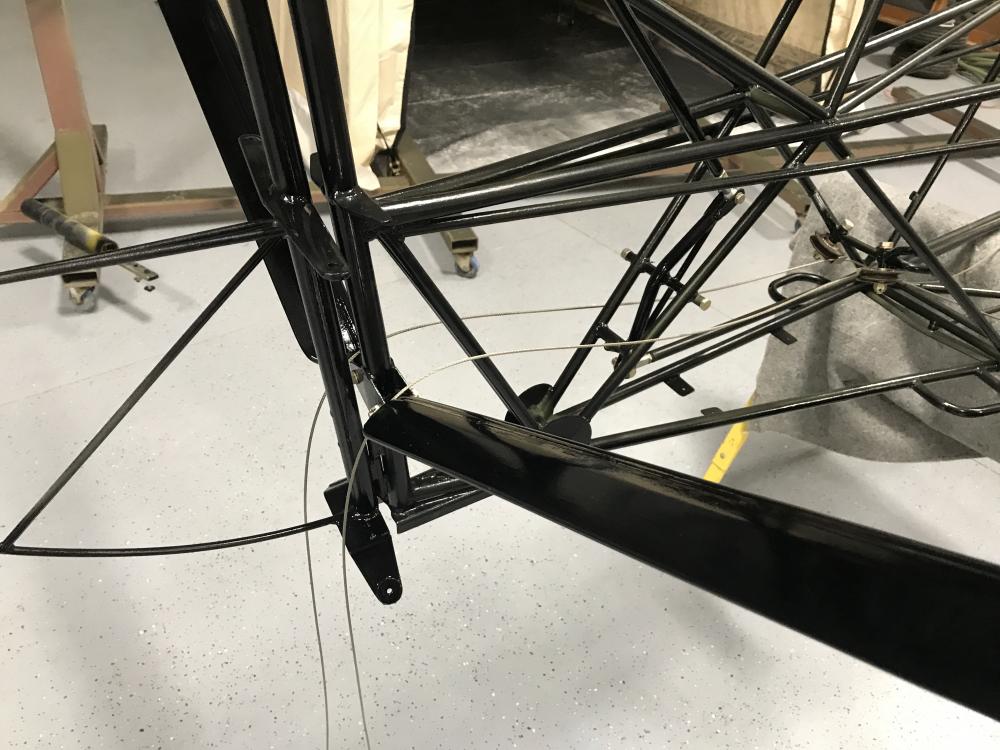
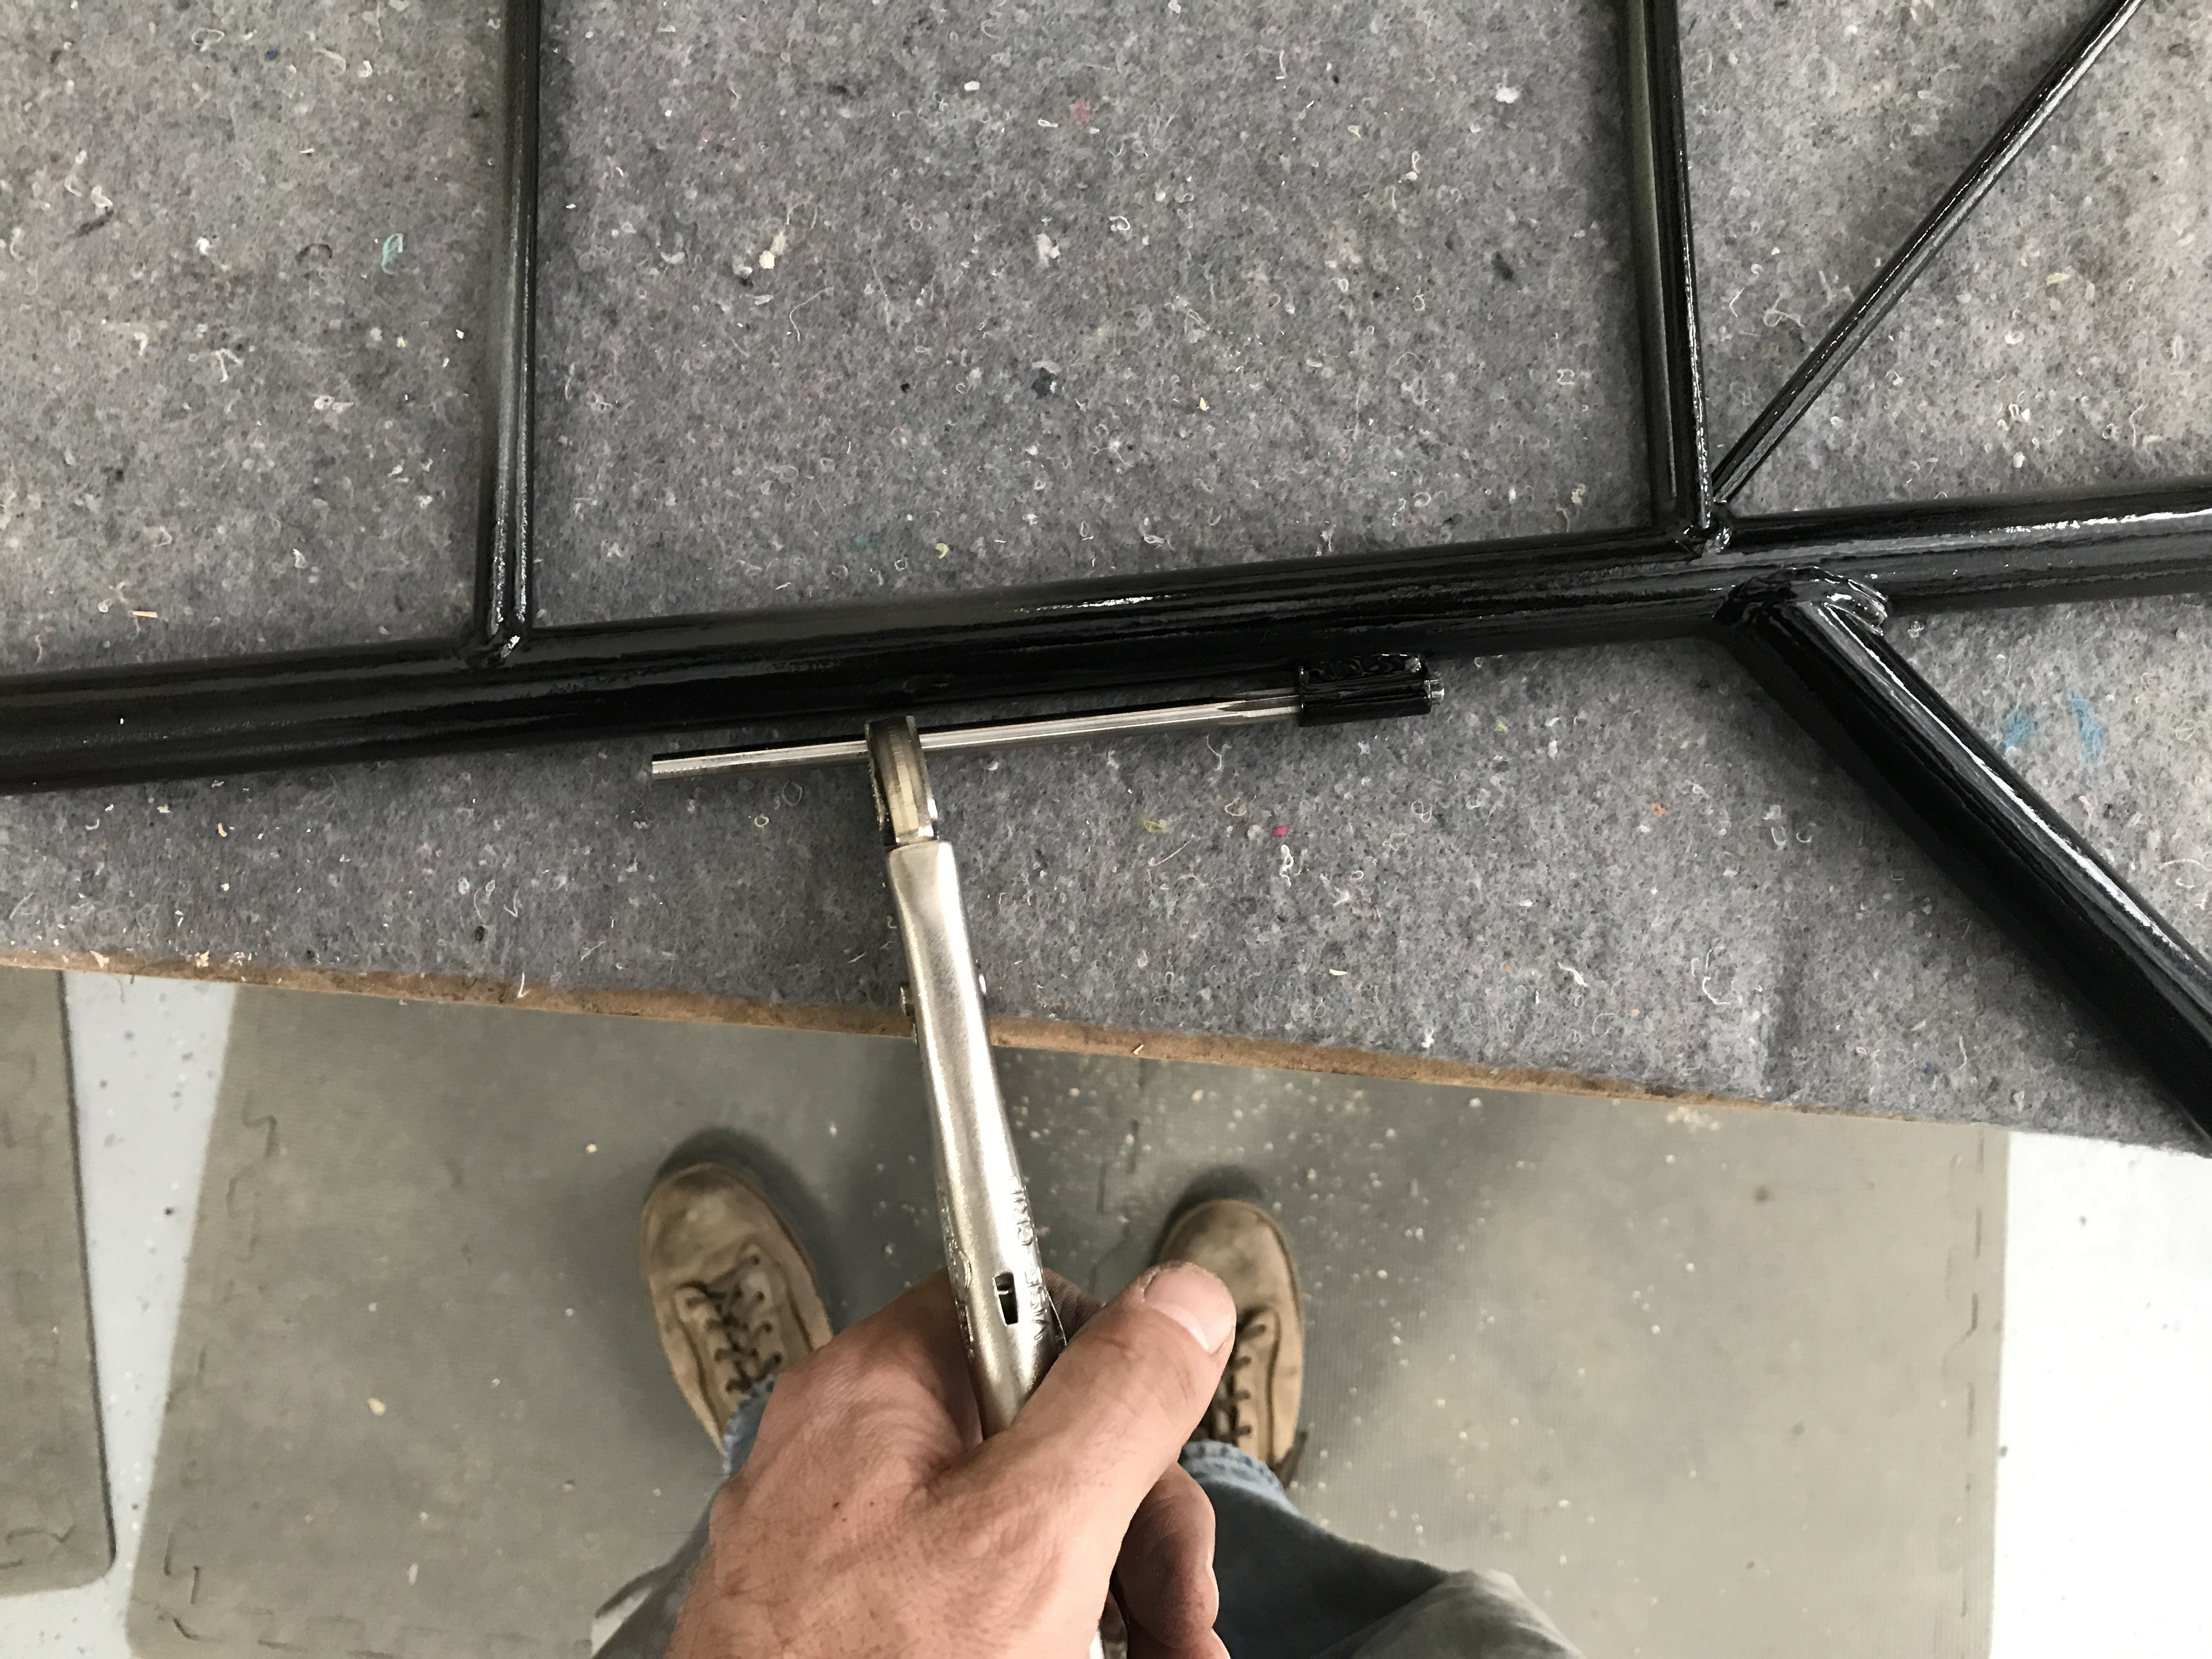
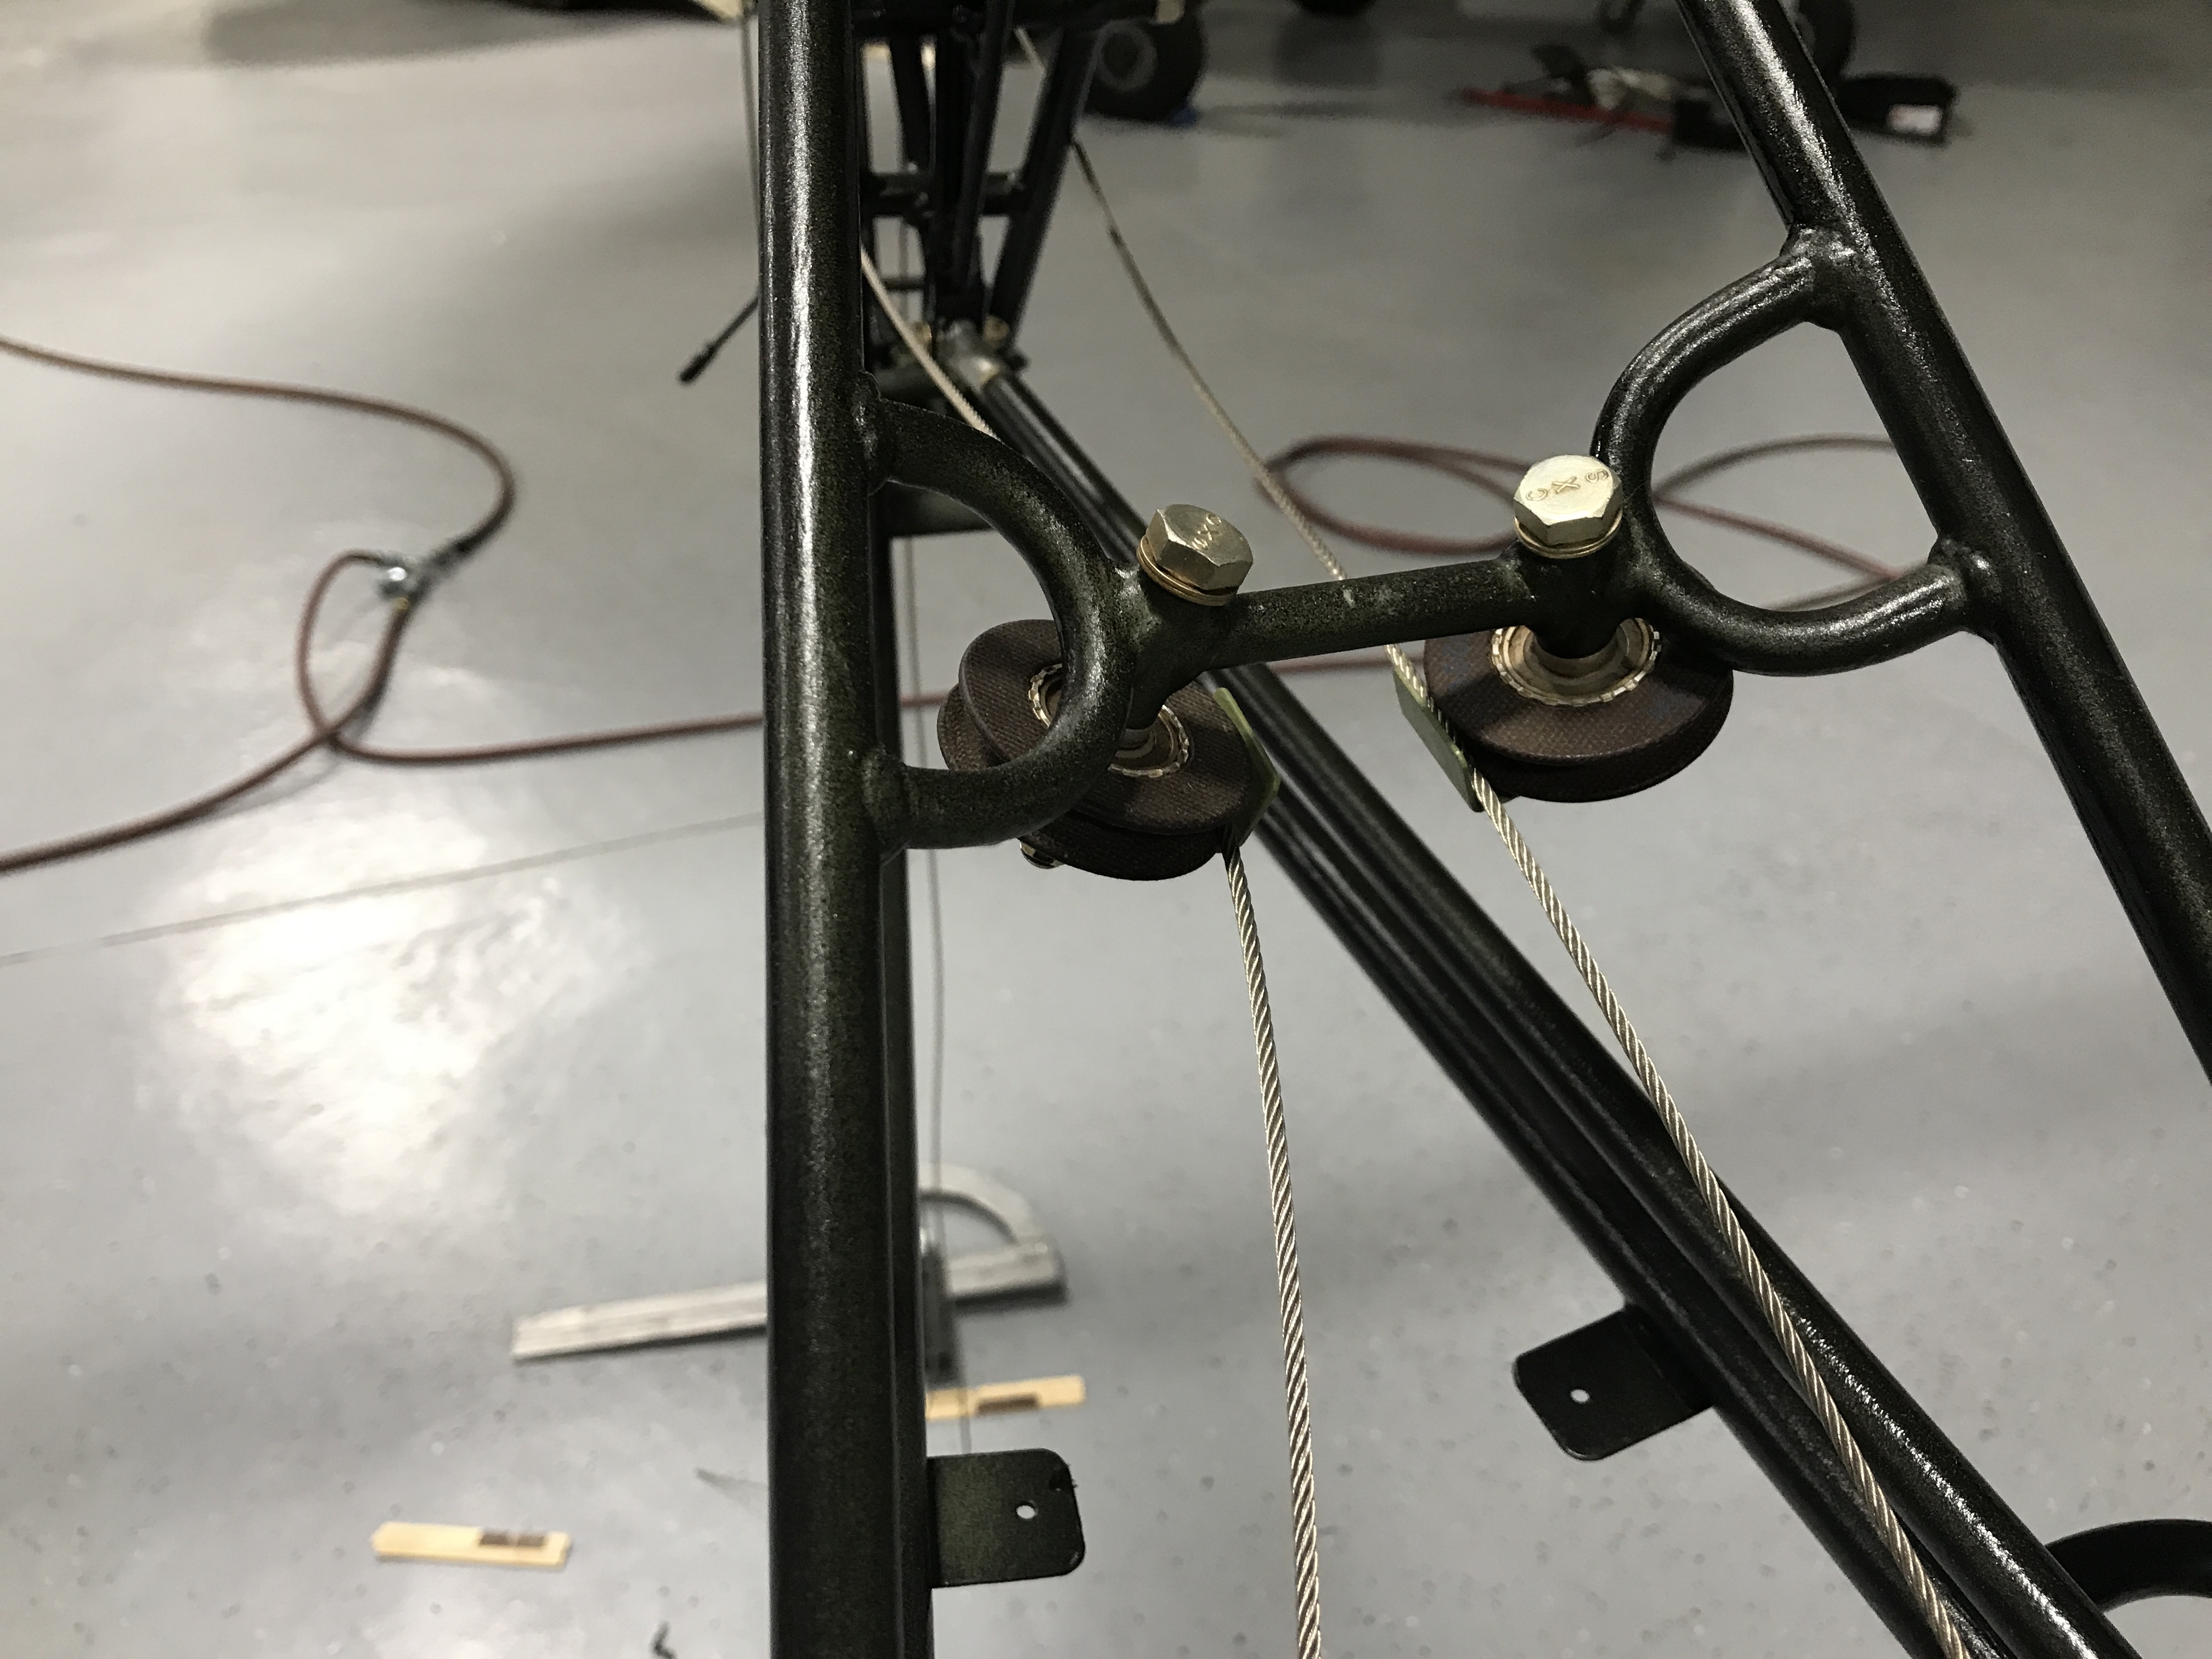
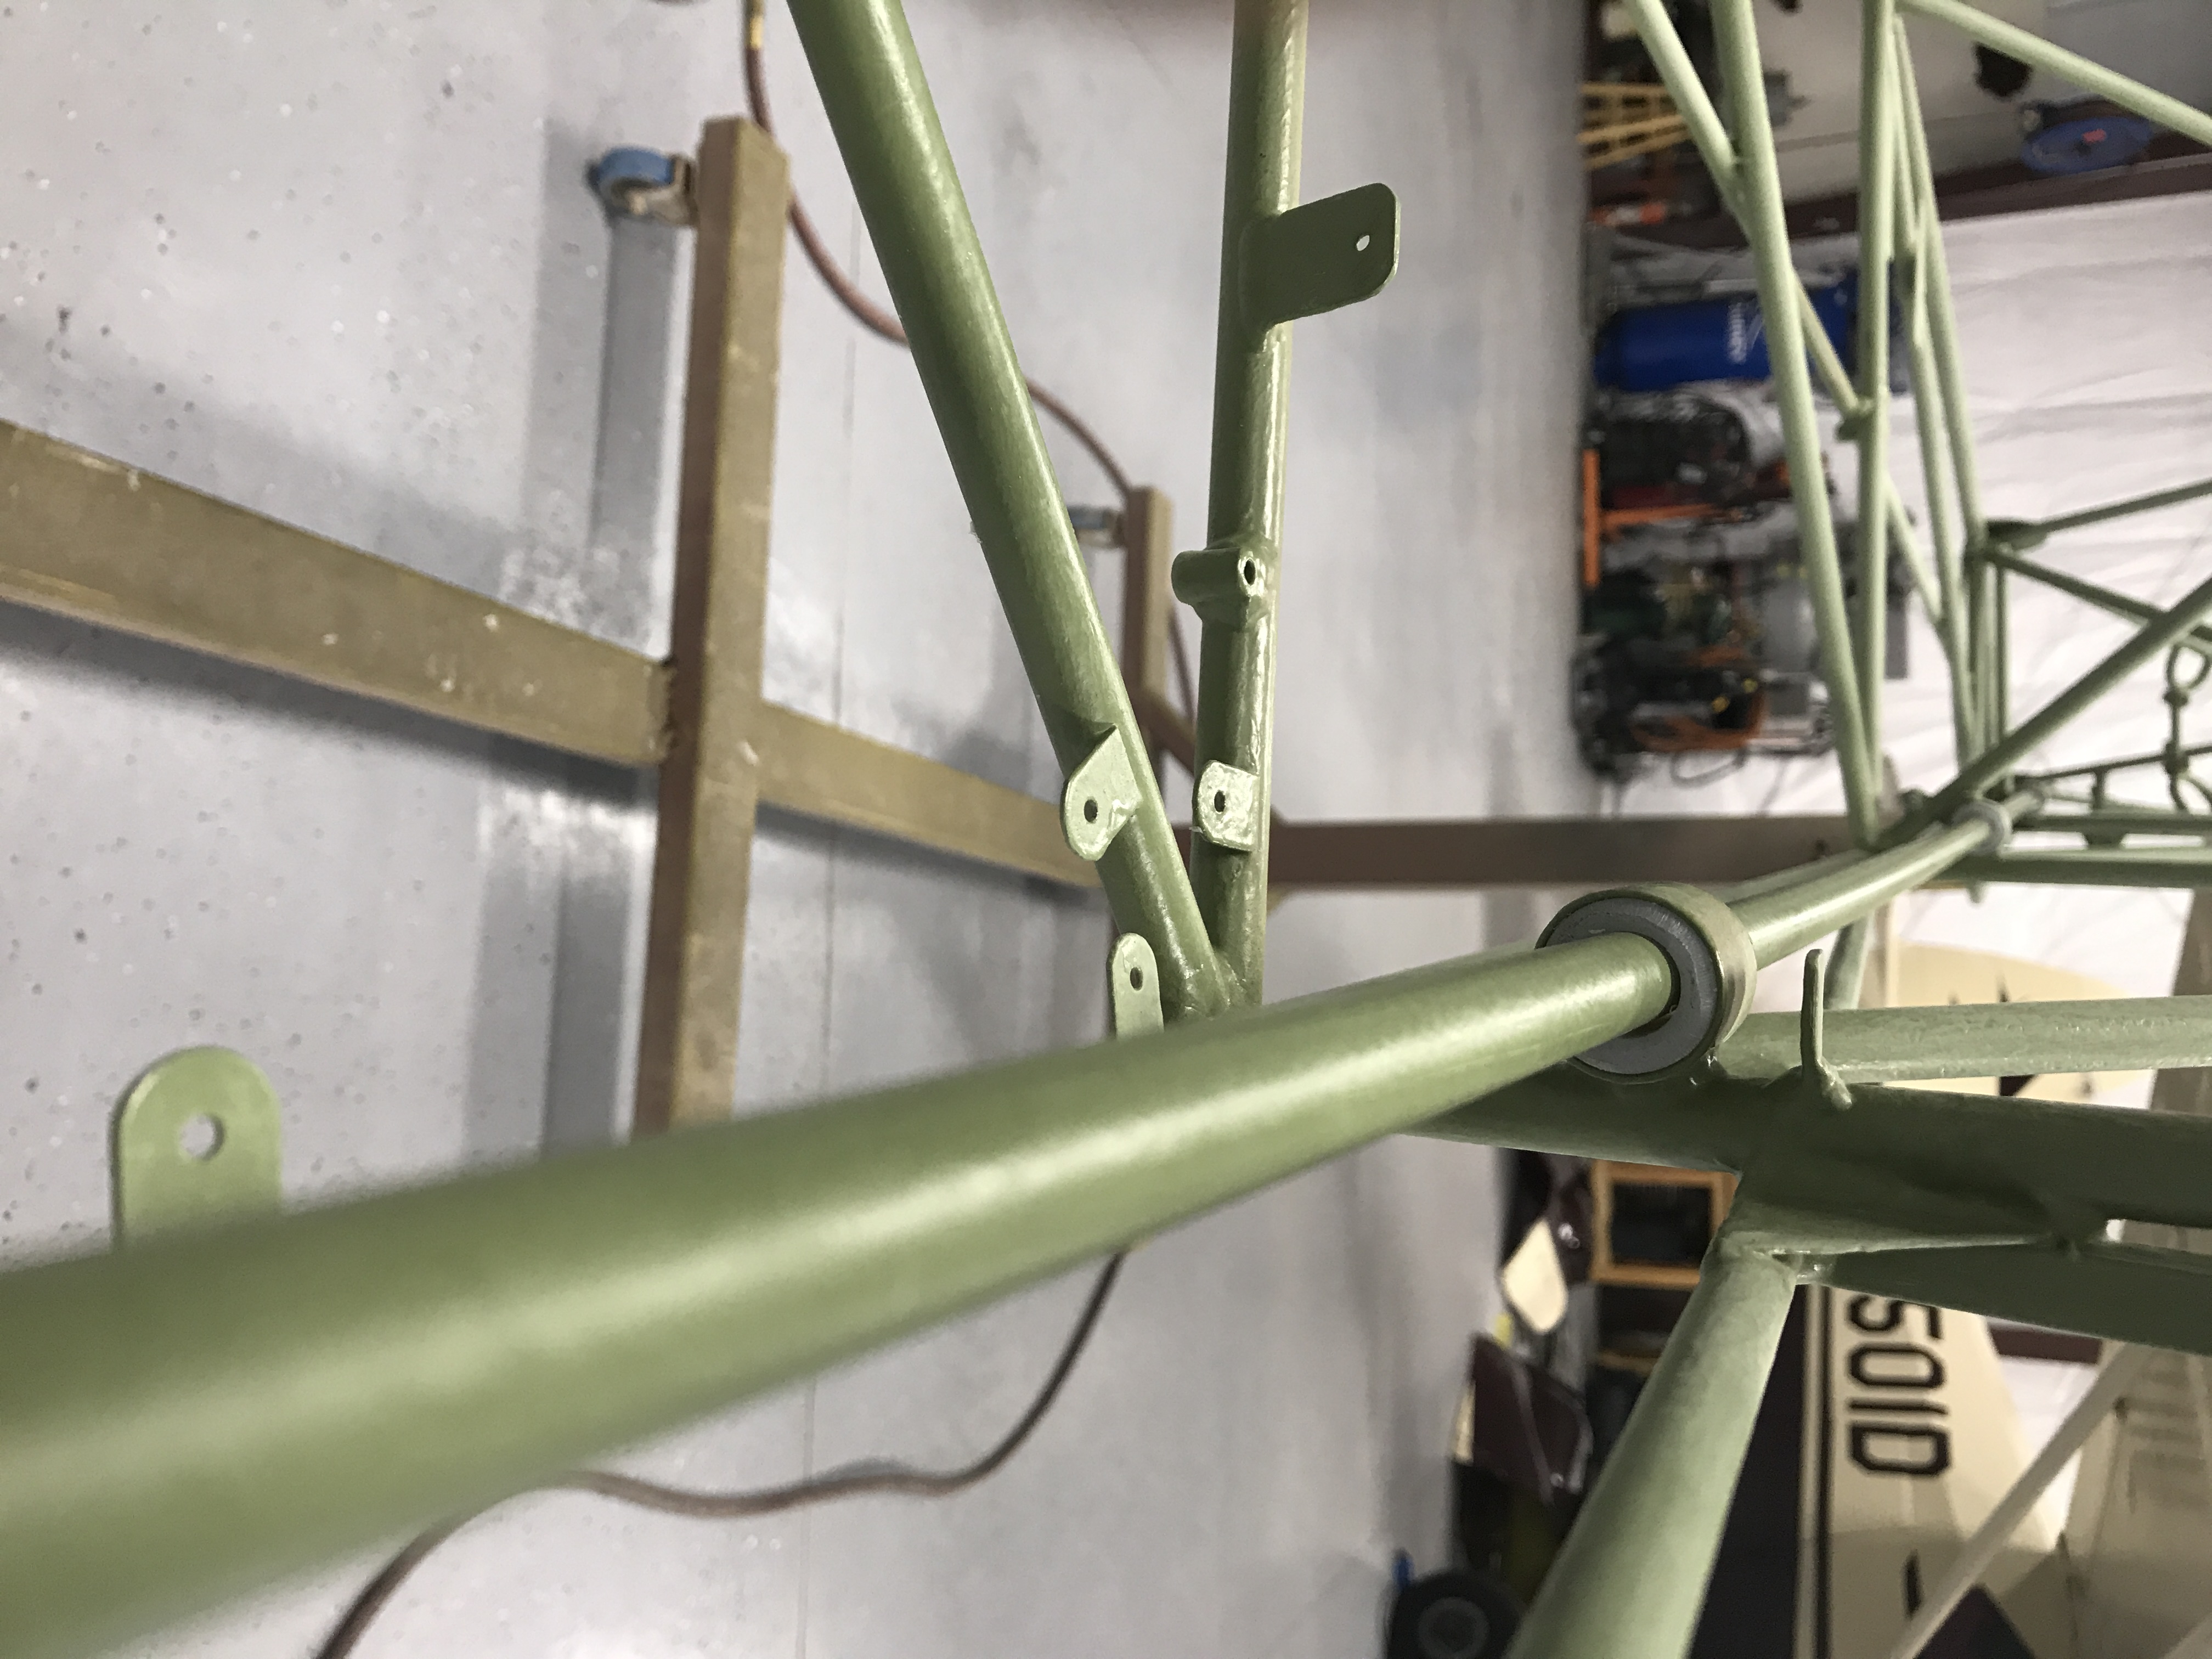
Today I took the fuselage off the rotisserie and set it on the saw horses so I could mount the horizontal stabilizer and rudder. I made the spacer block for the horizontal front mounting bolt. Then drilled holes in the adjusters for the rudder cables. Checked my 25 degrees of movement for rudder control. Then started to make and run the rudder cables. I also found out the factory welded my rudder trim tab solid to the rudder, so I have some cutting and welding to do there.
-
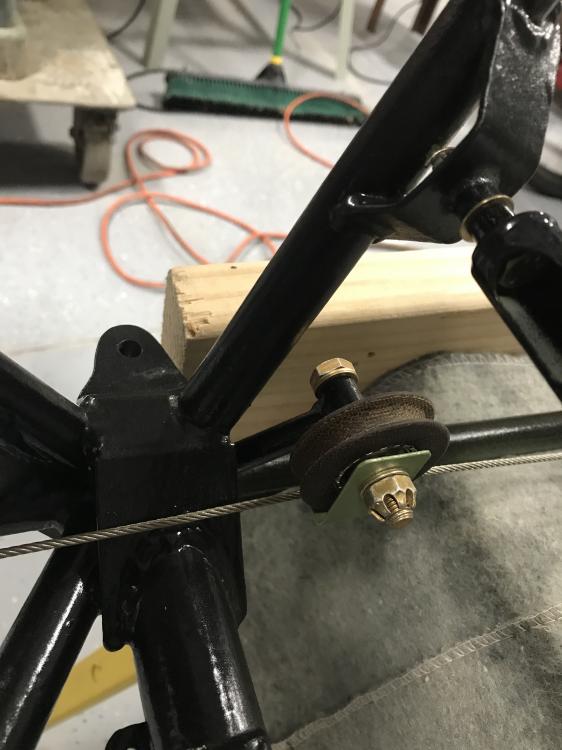
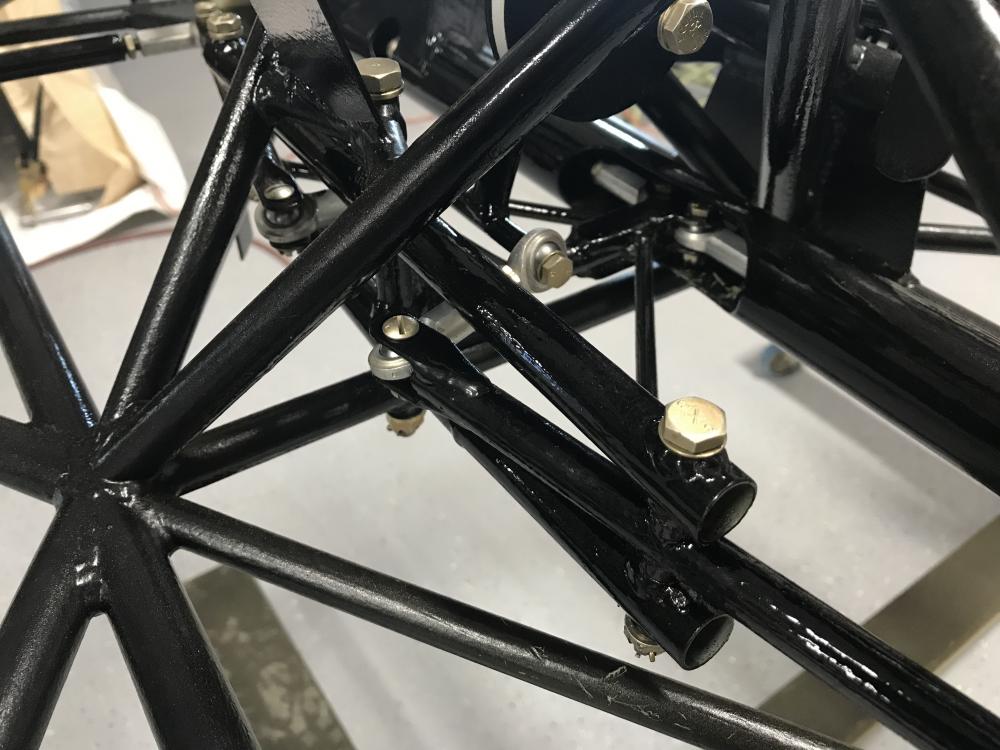
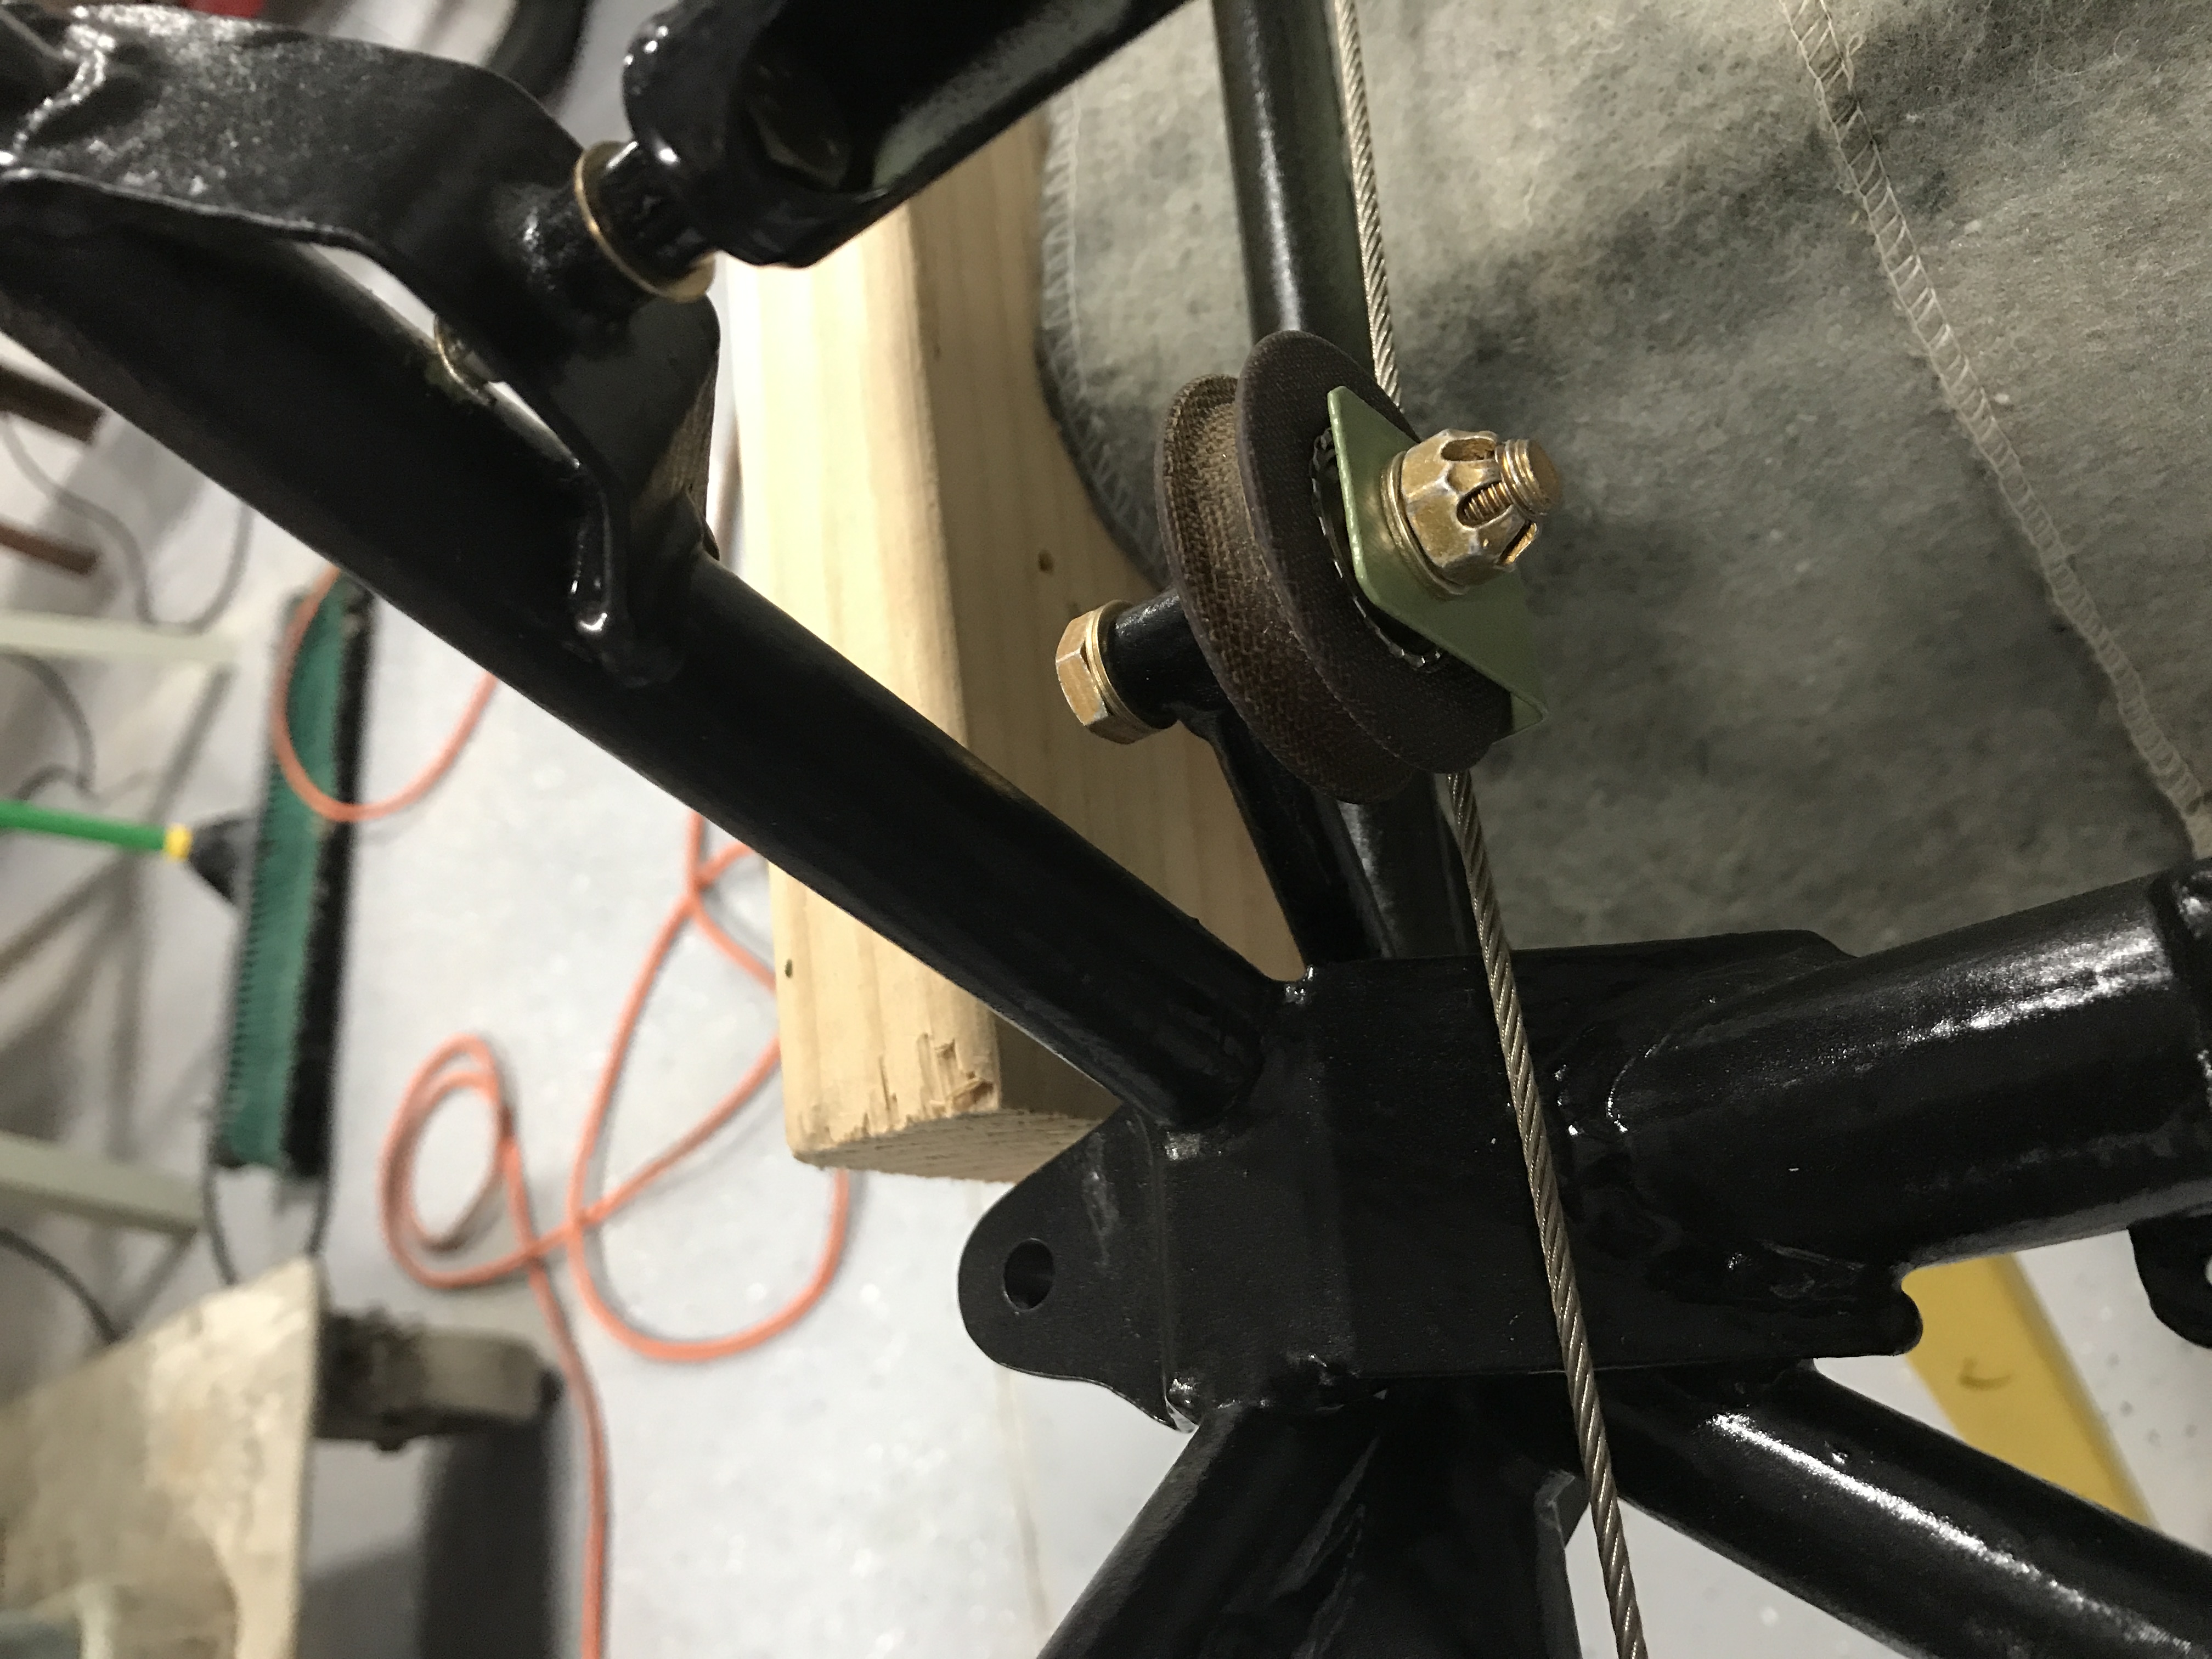
Laurent,
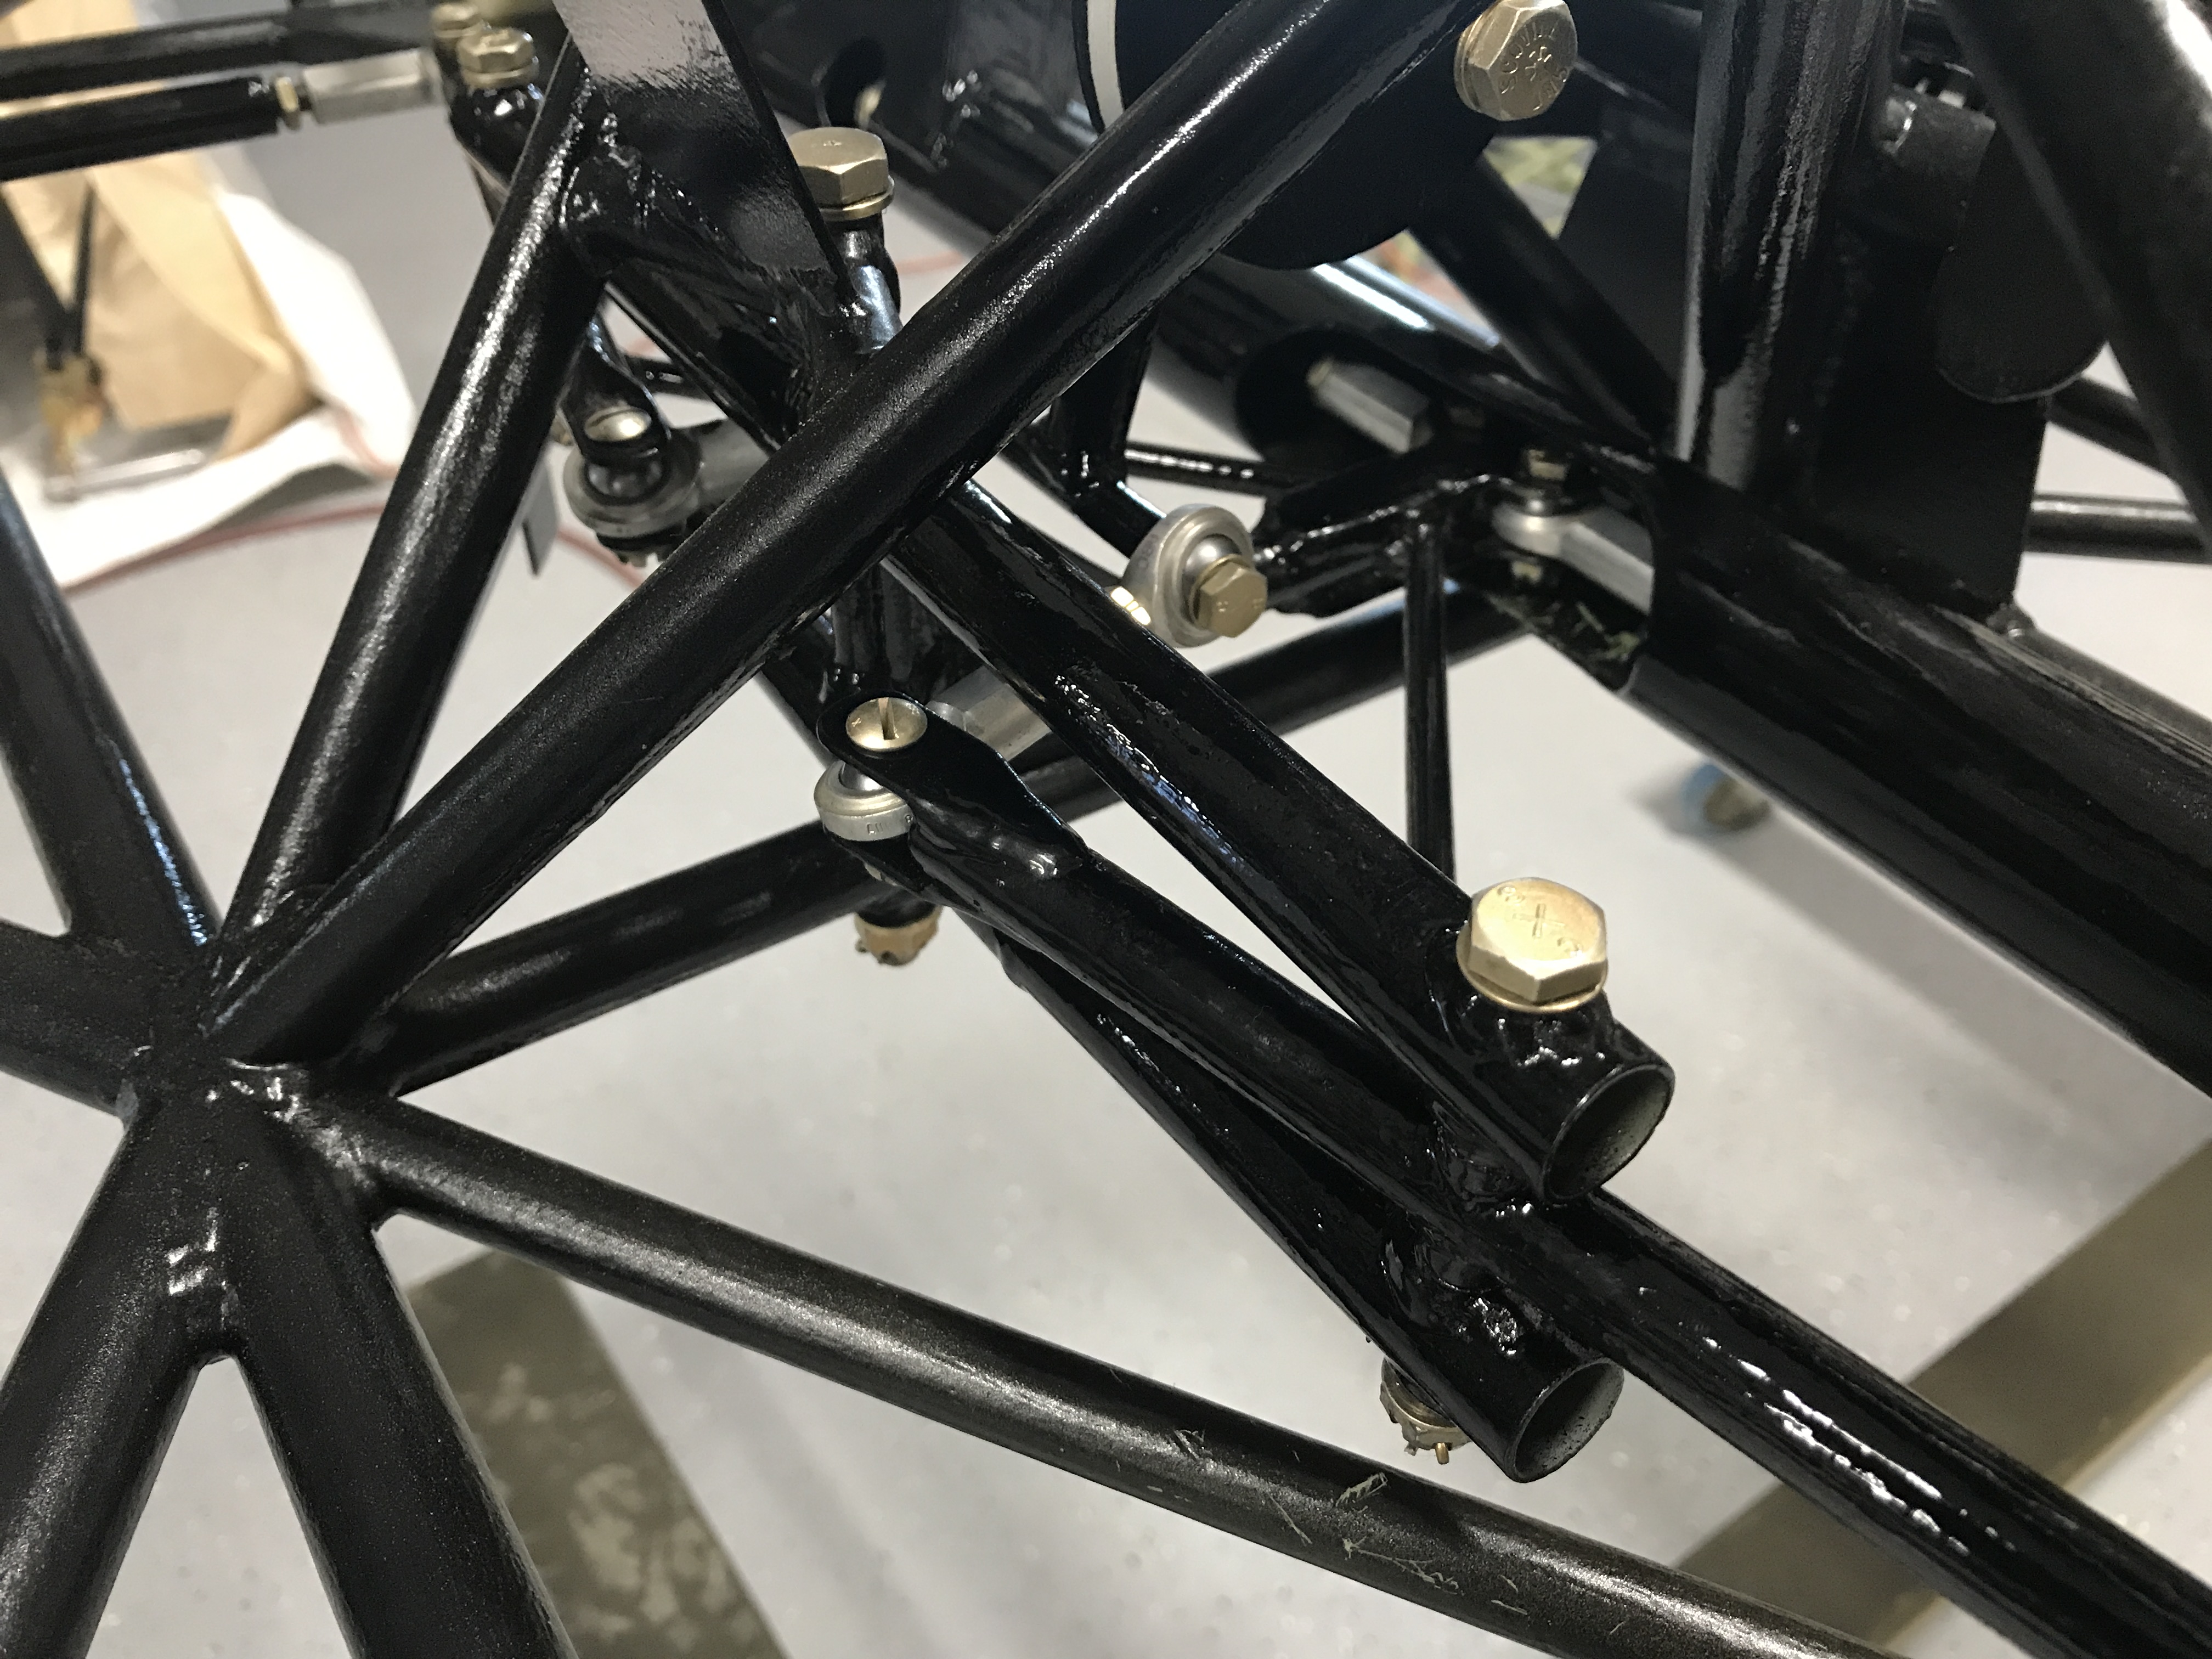
Great safety idea, hope the rod ends last my lifetime ;)) We used them on sprint cars back years ago, they are pretty tough as long as they are maintained. A few washers for peace of mind won't hurt!
Barry
-
Jim,
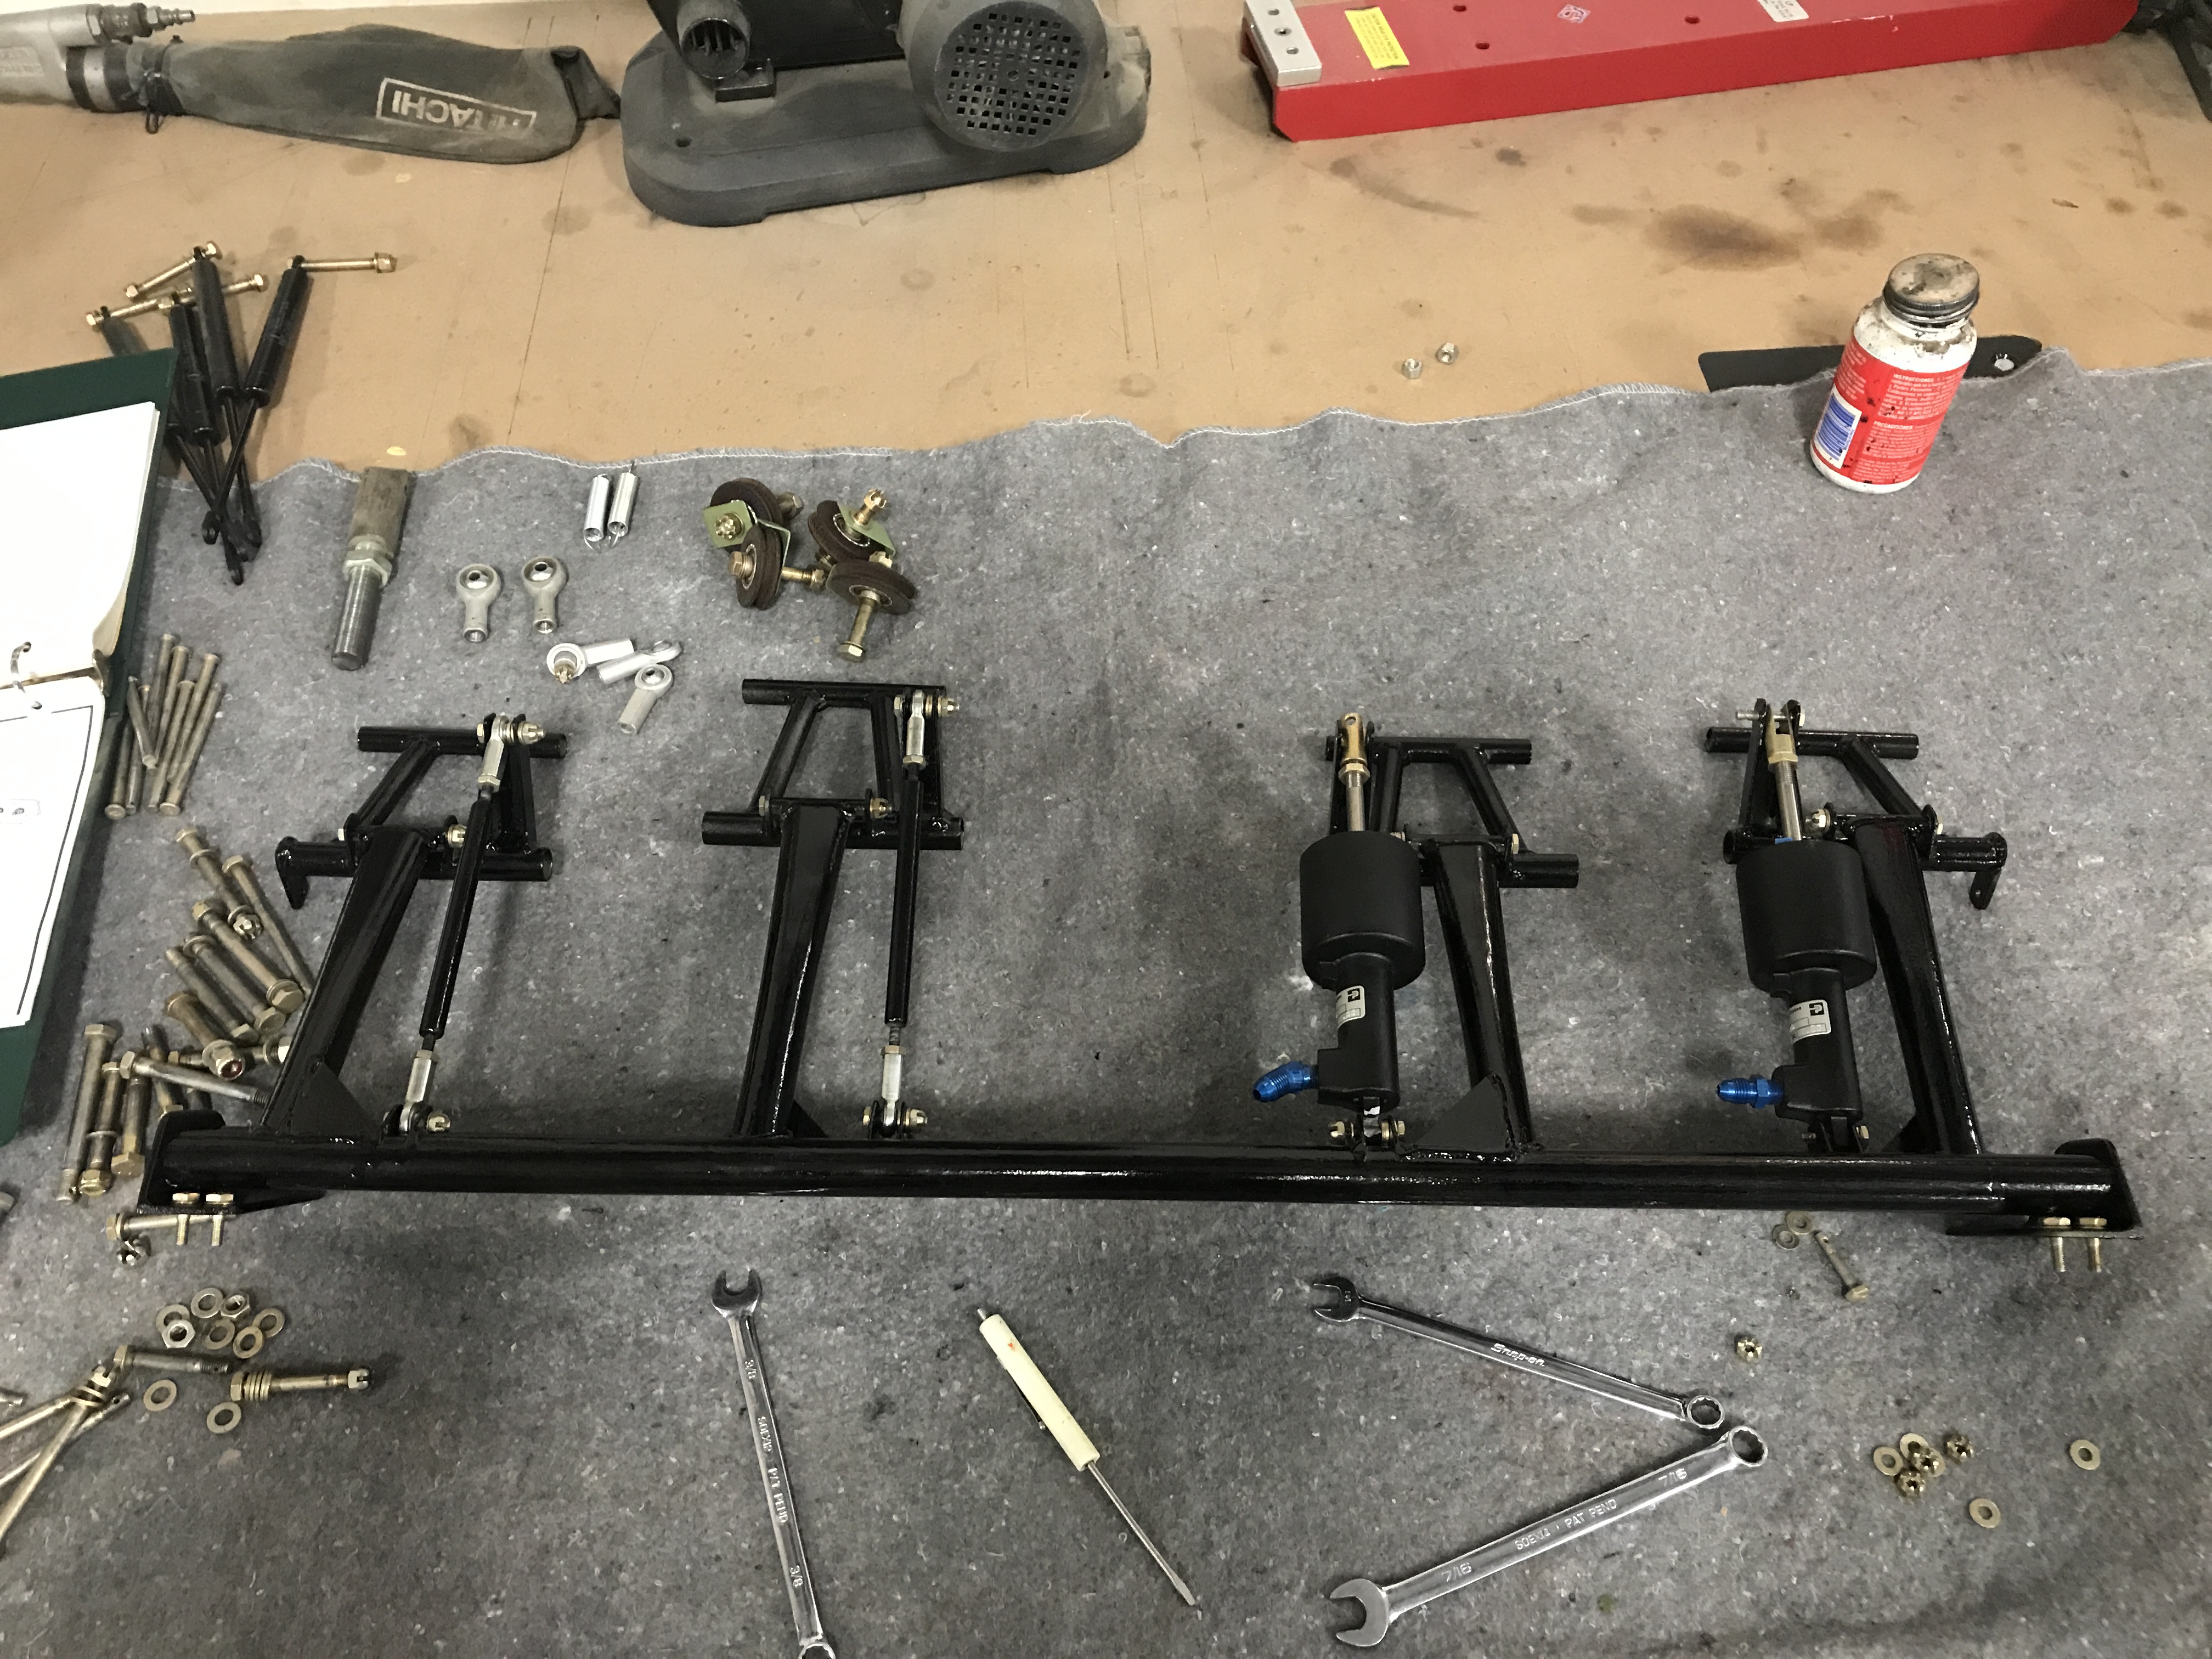
Those rods just take the place of master cylinders on the passenger side. I thought about eliminating them, but I think it makes the pedal stronger by using the rods. It is the procedure used if you are not using dual brakes.
Barry
-
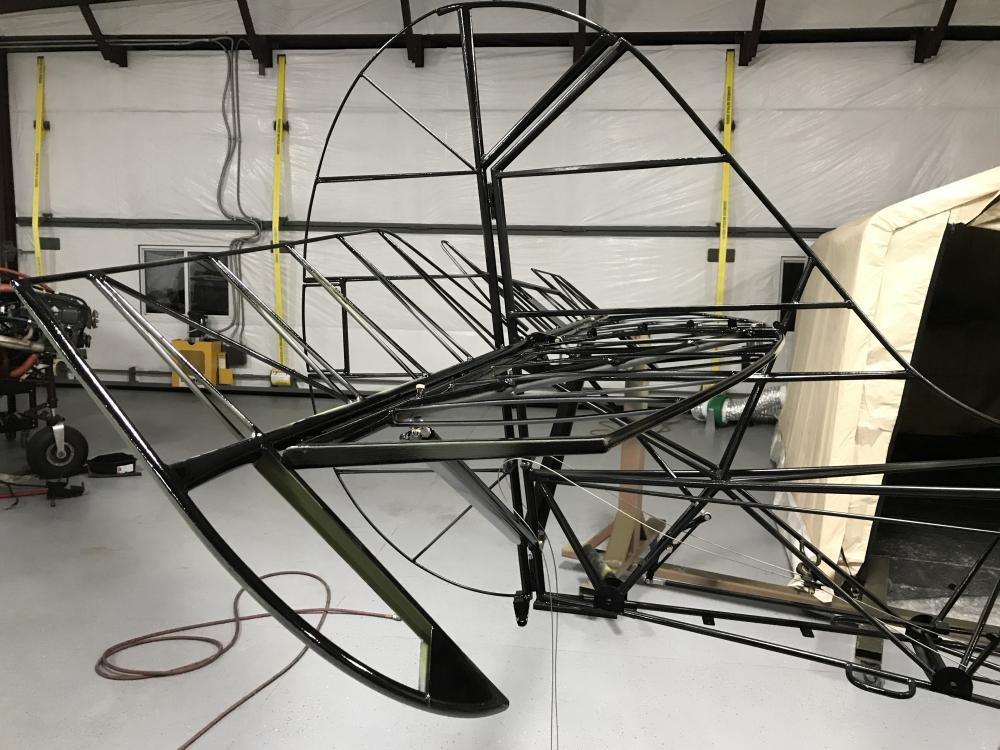
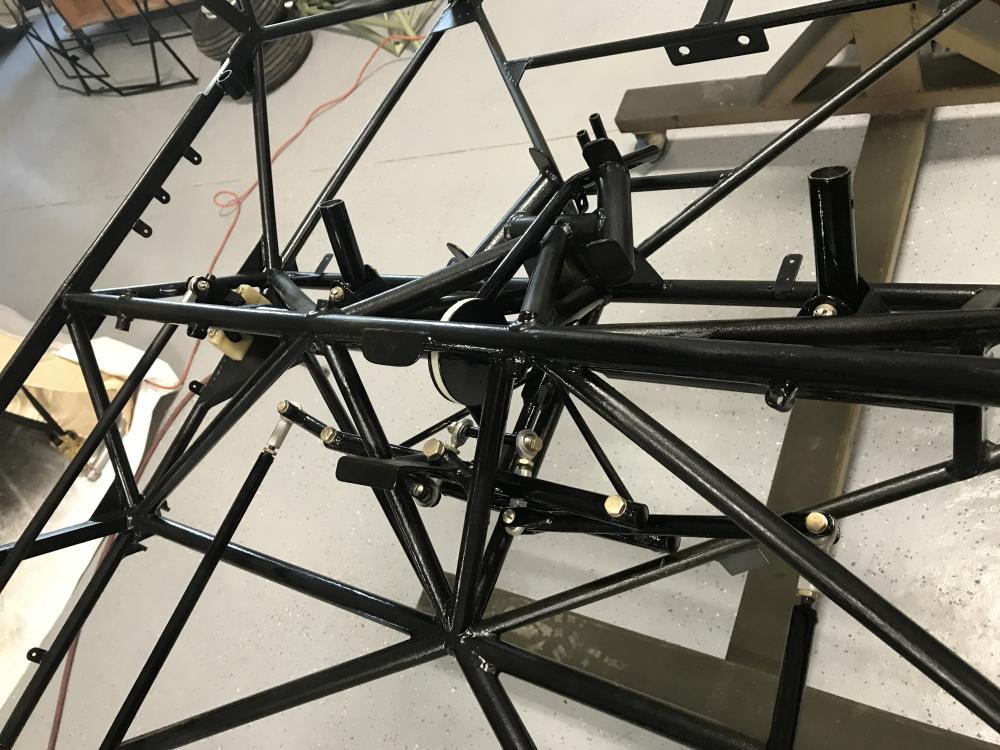
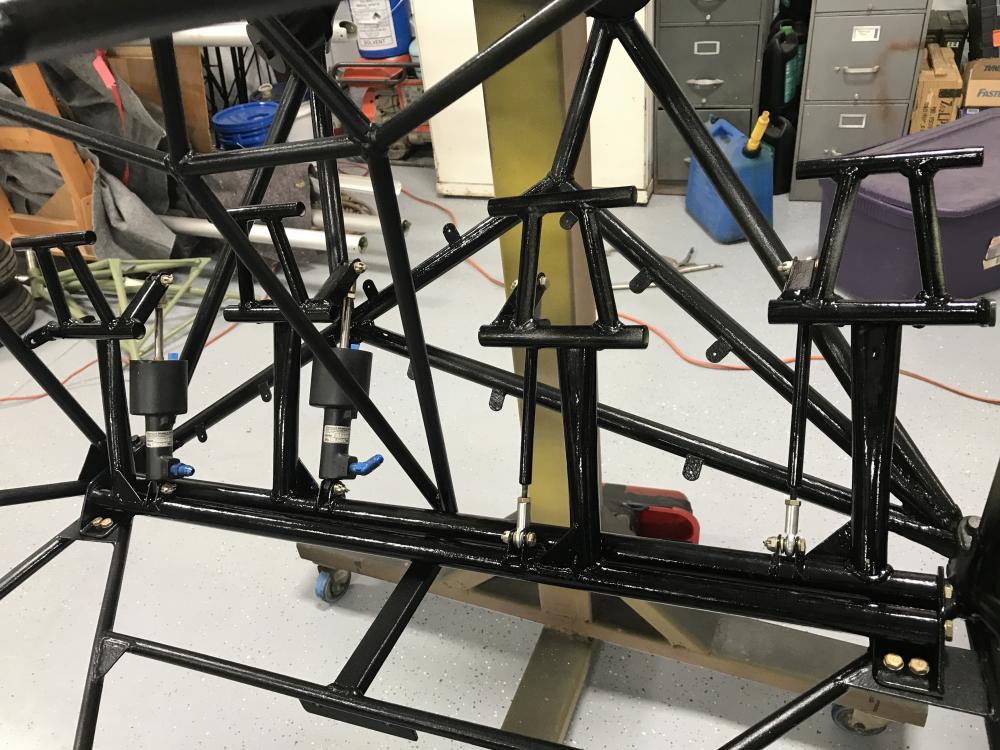
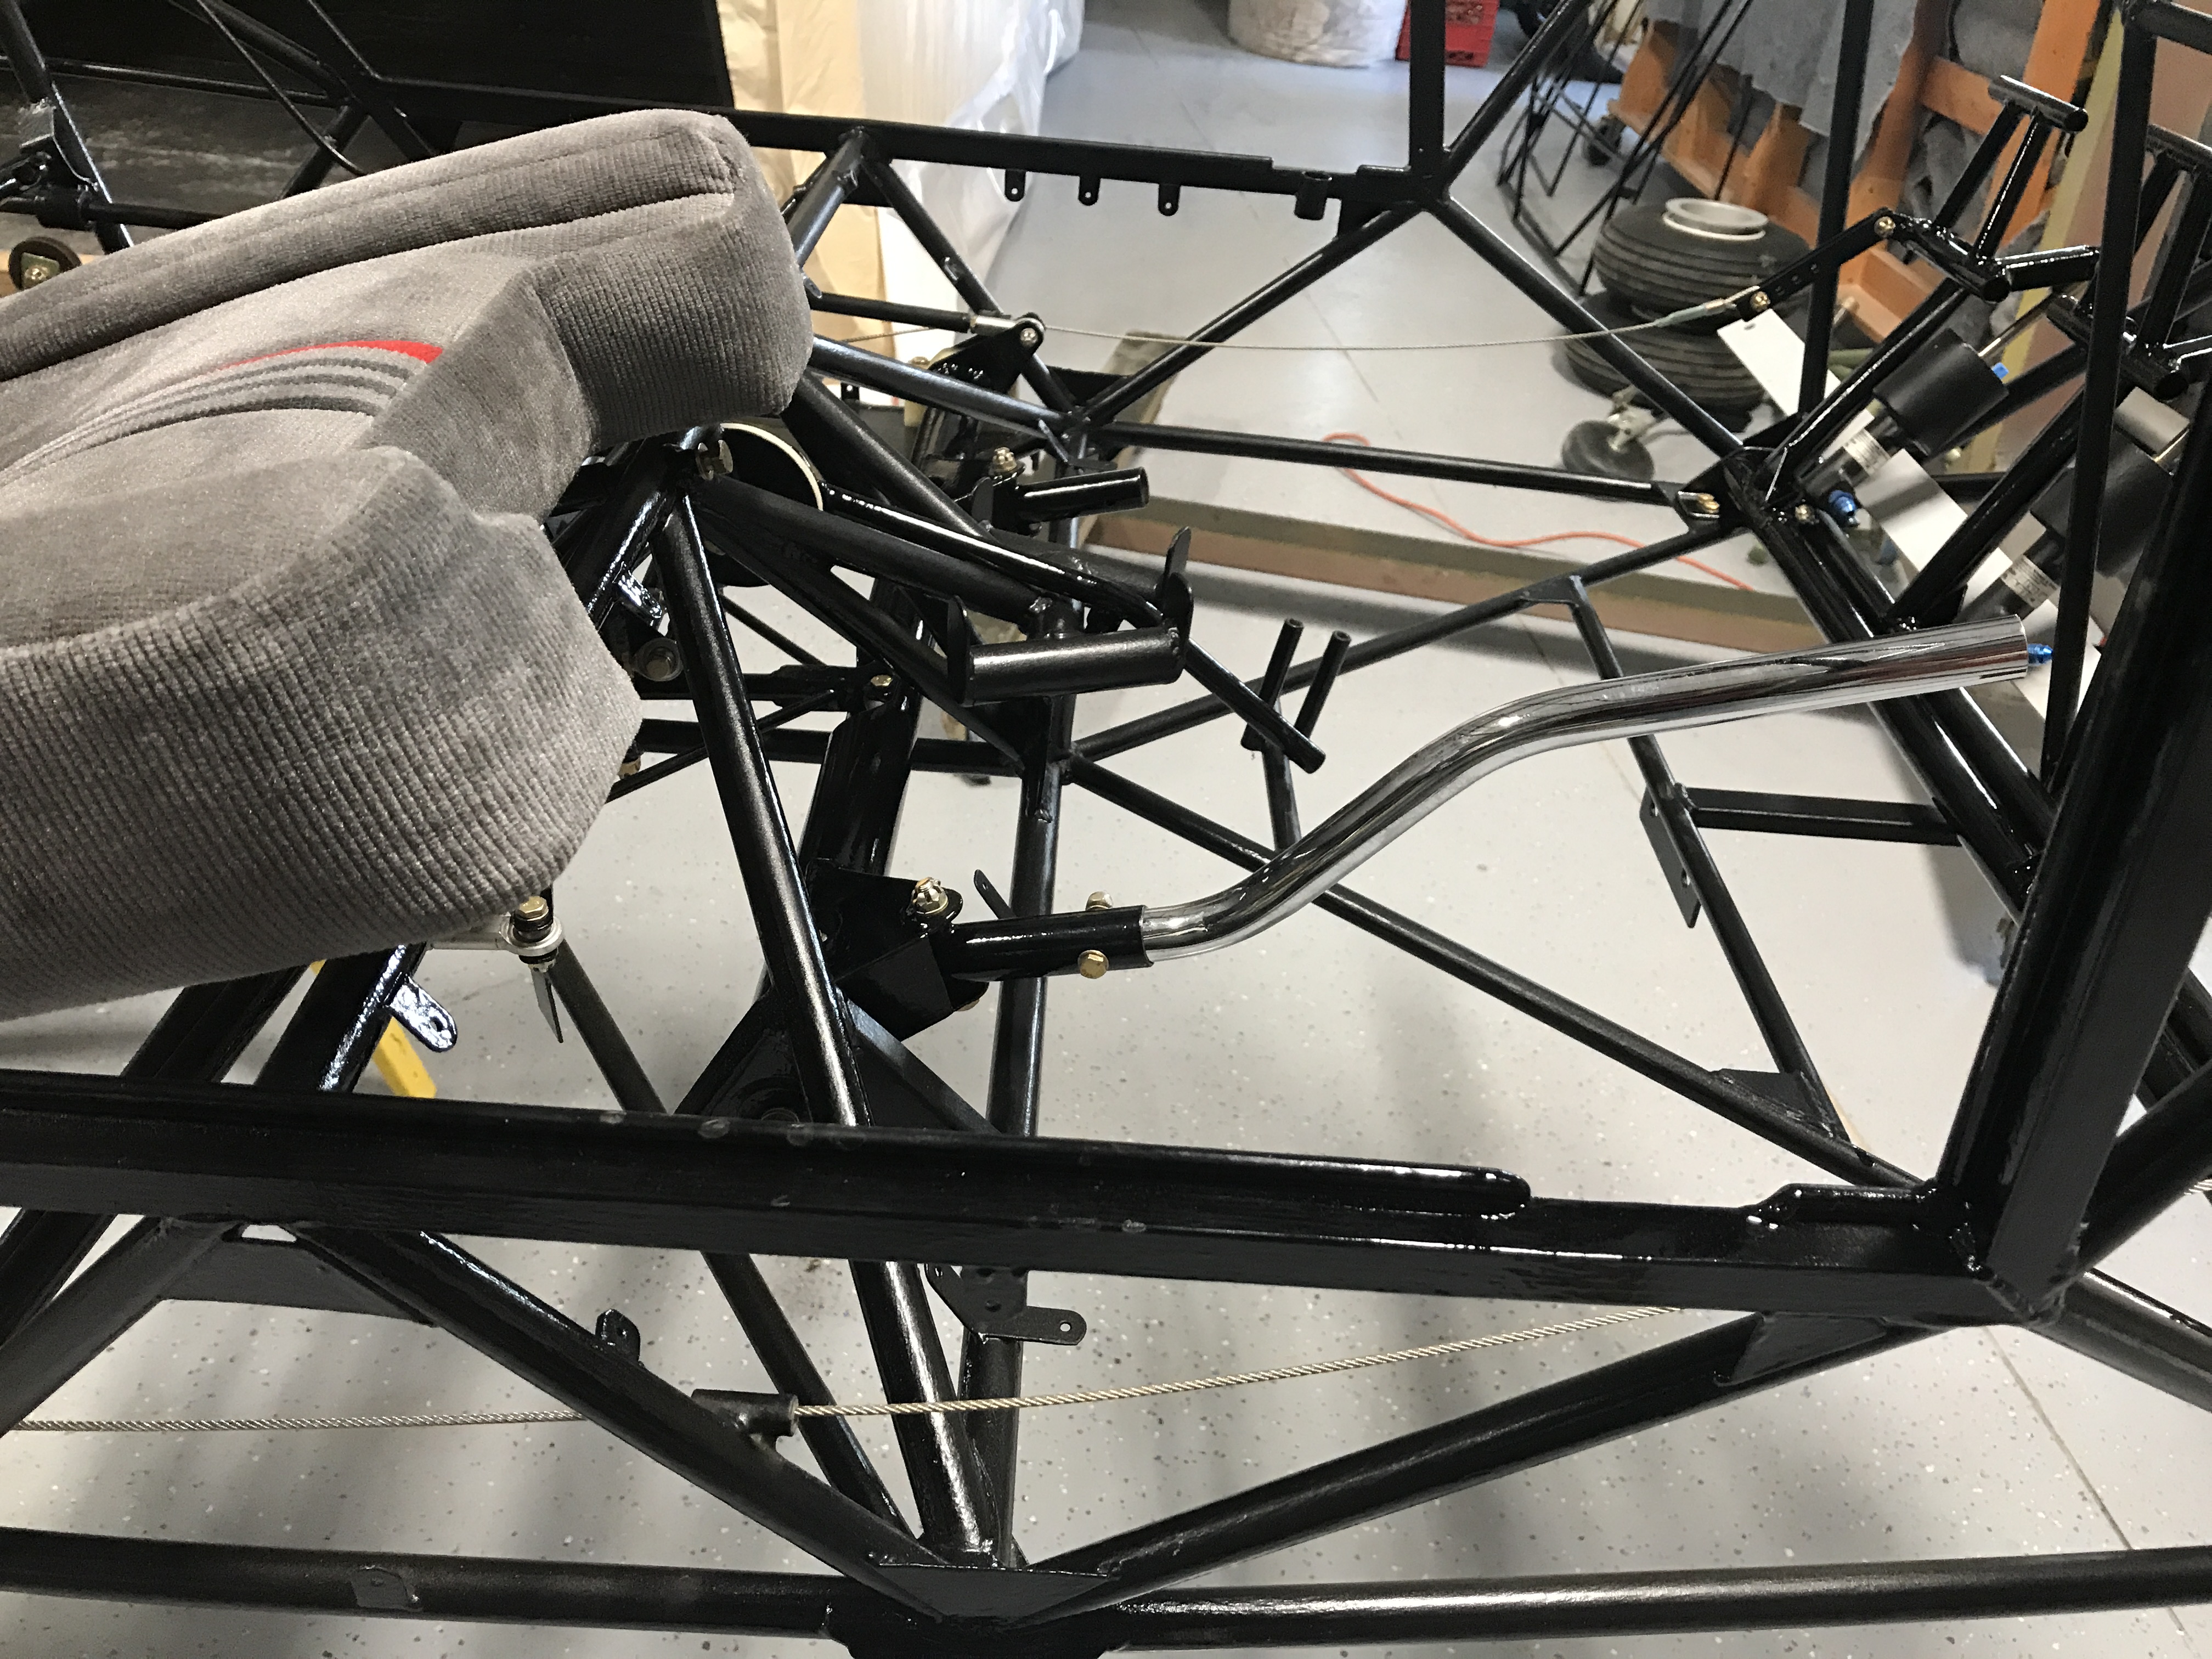
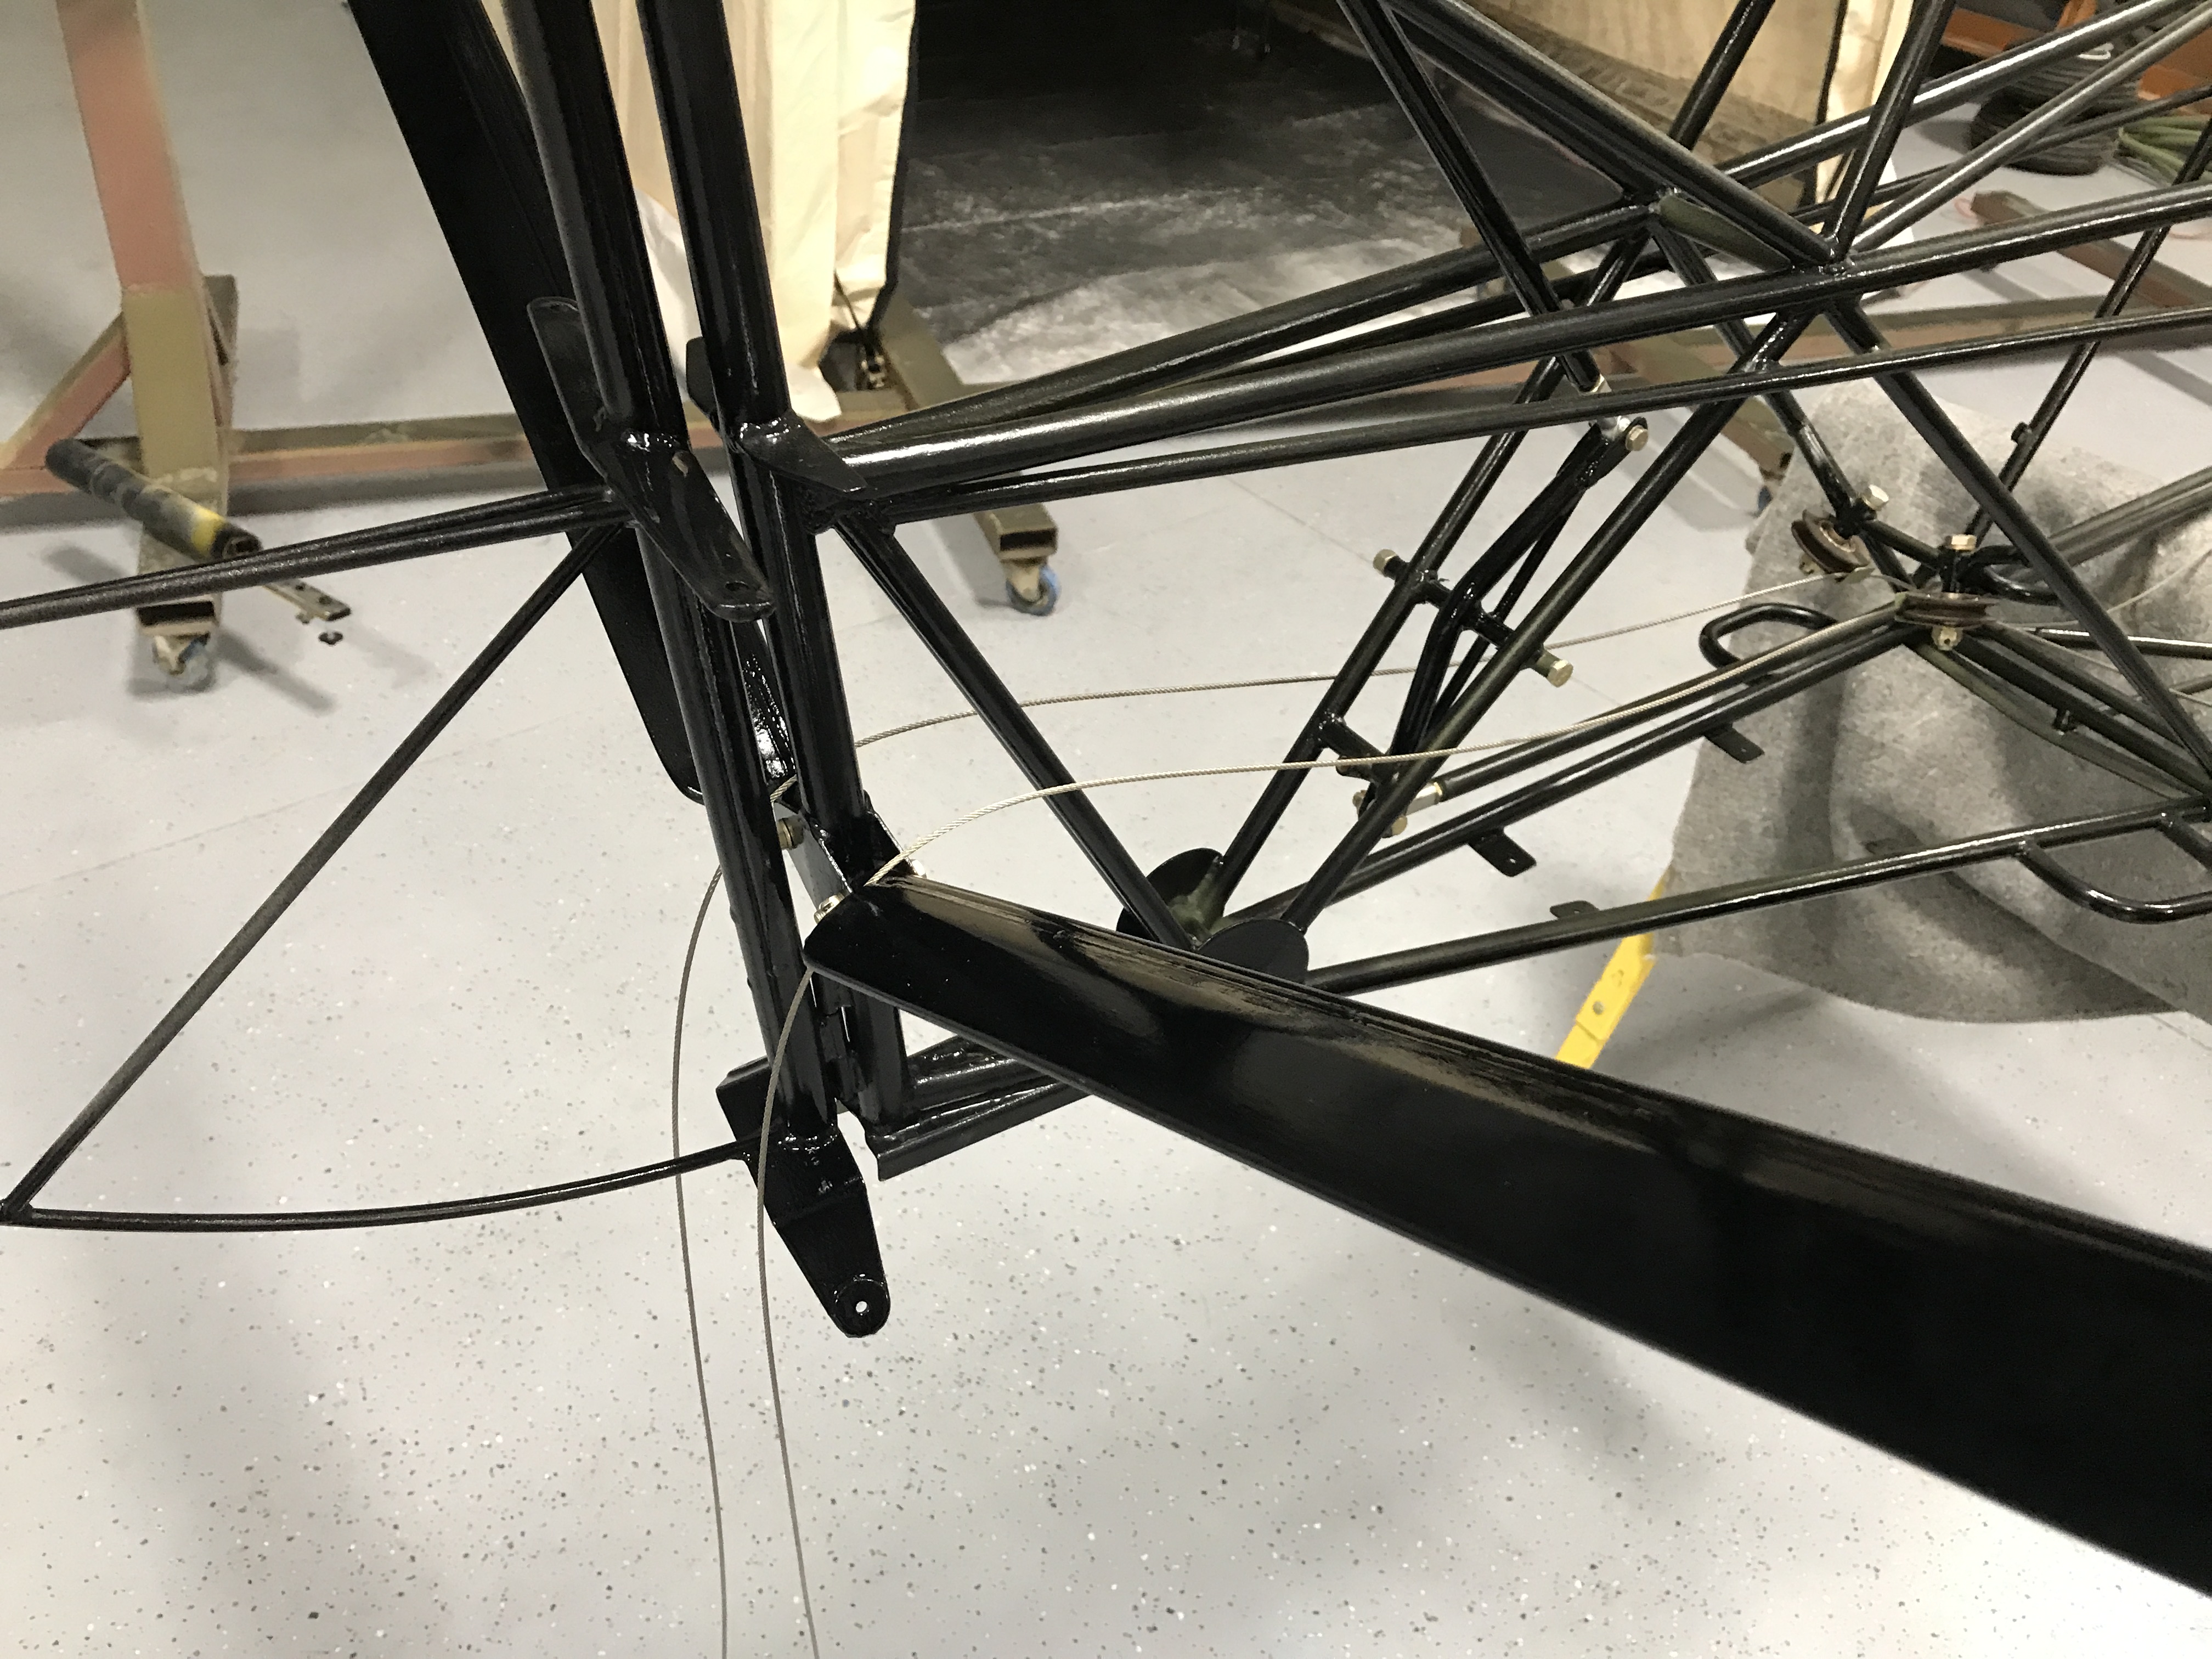
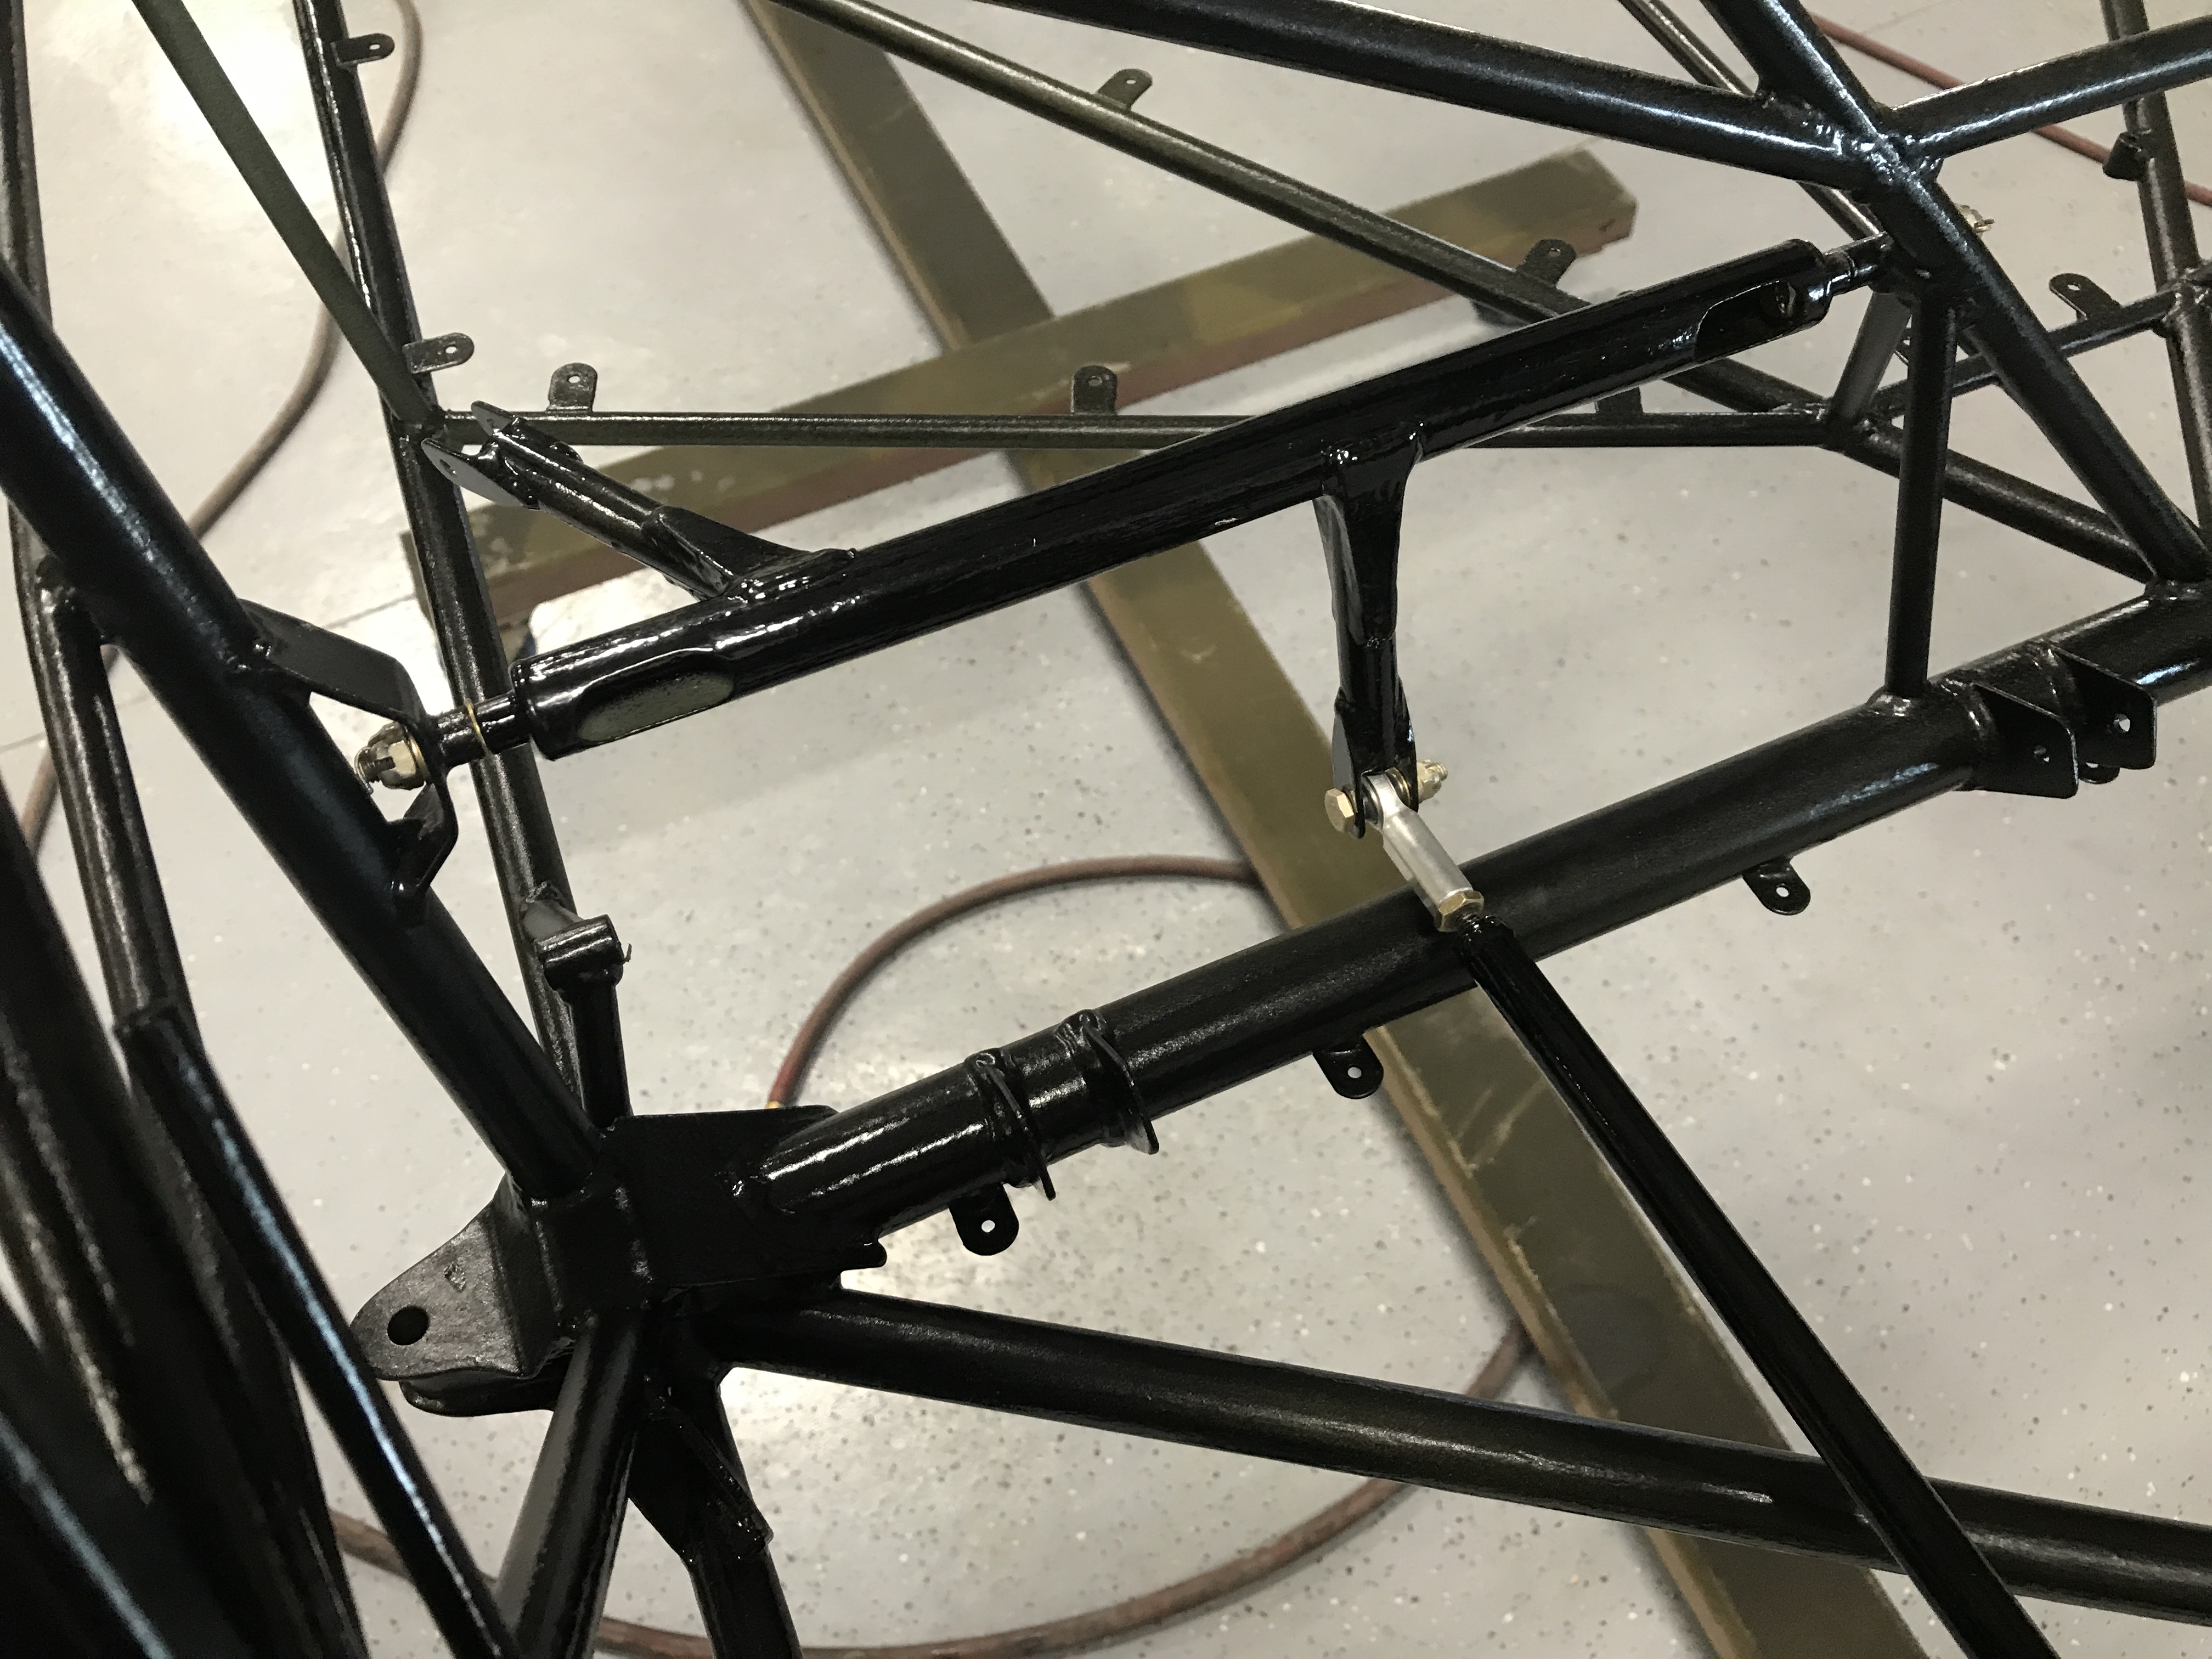
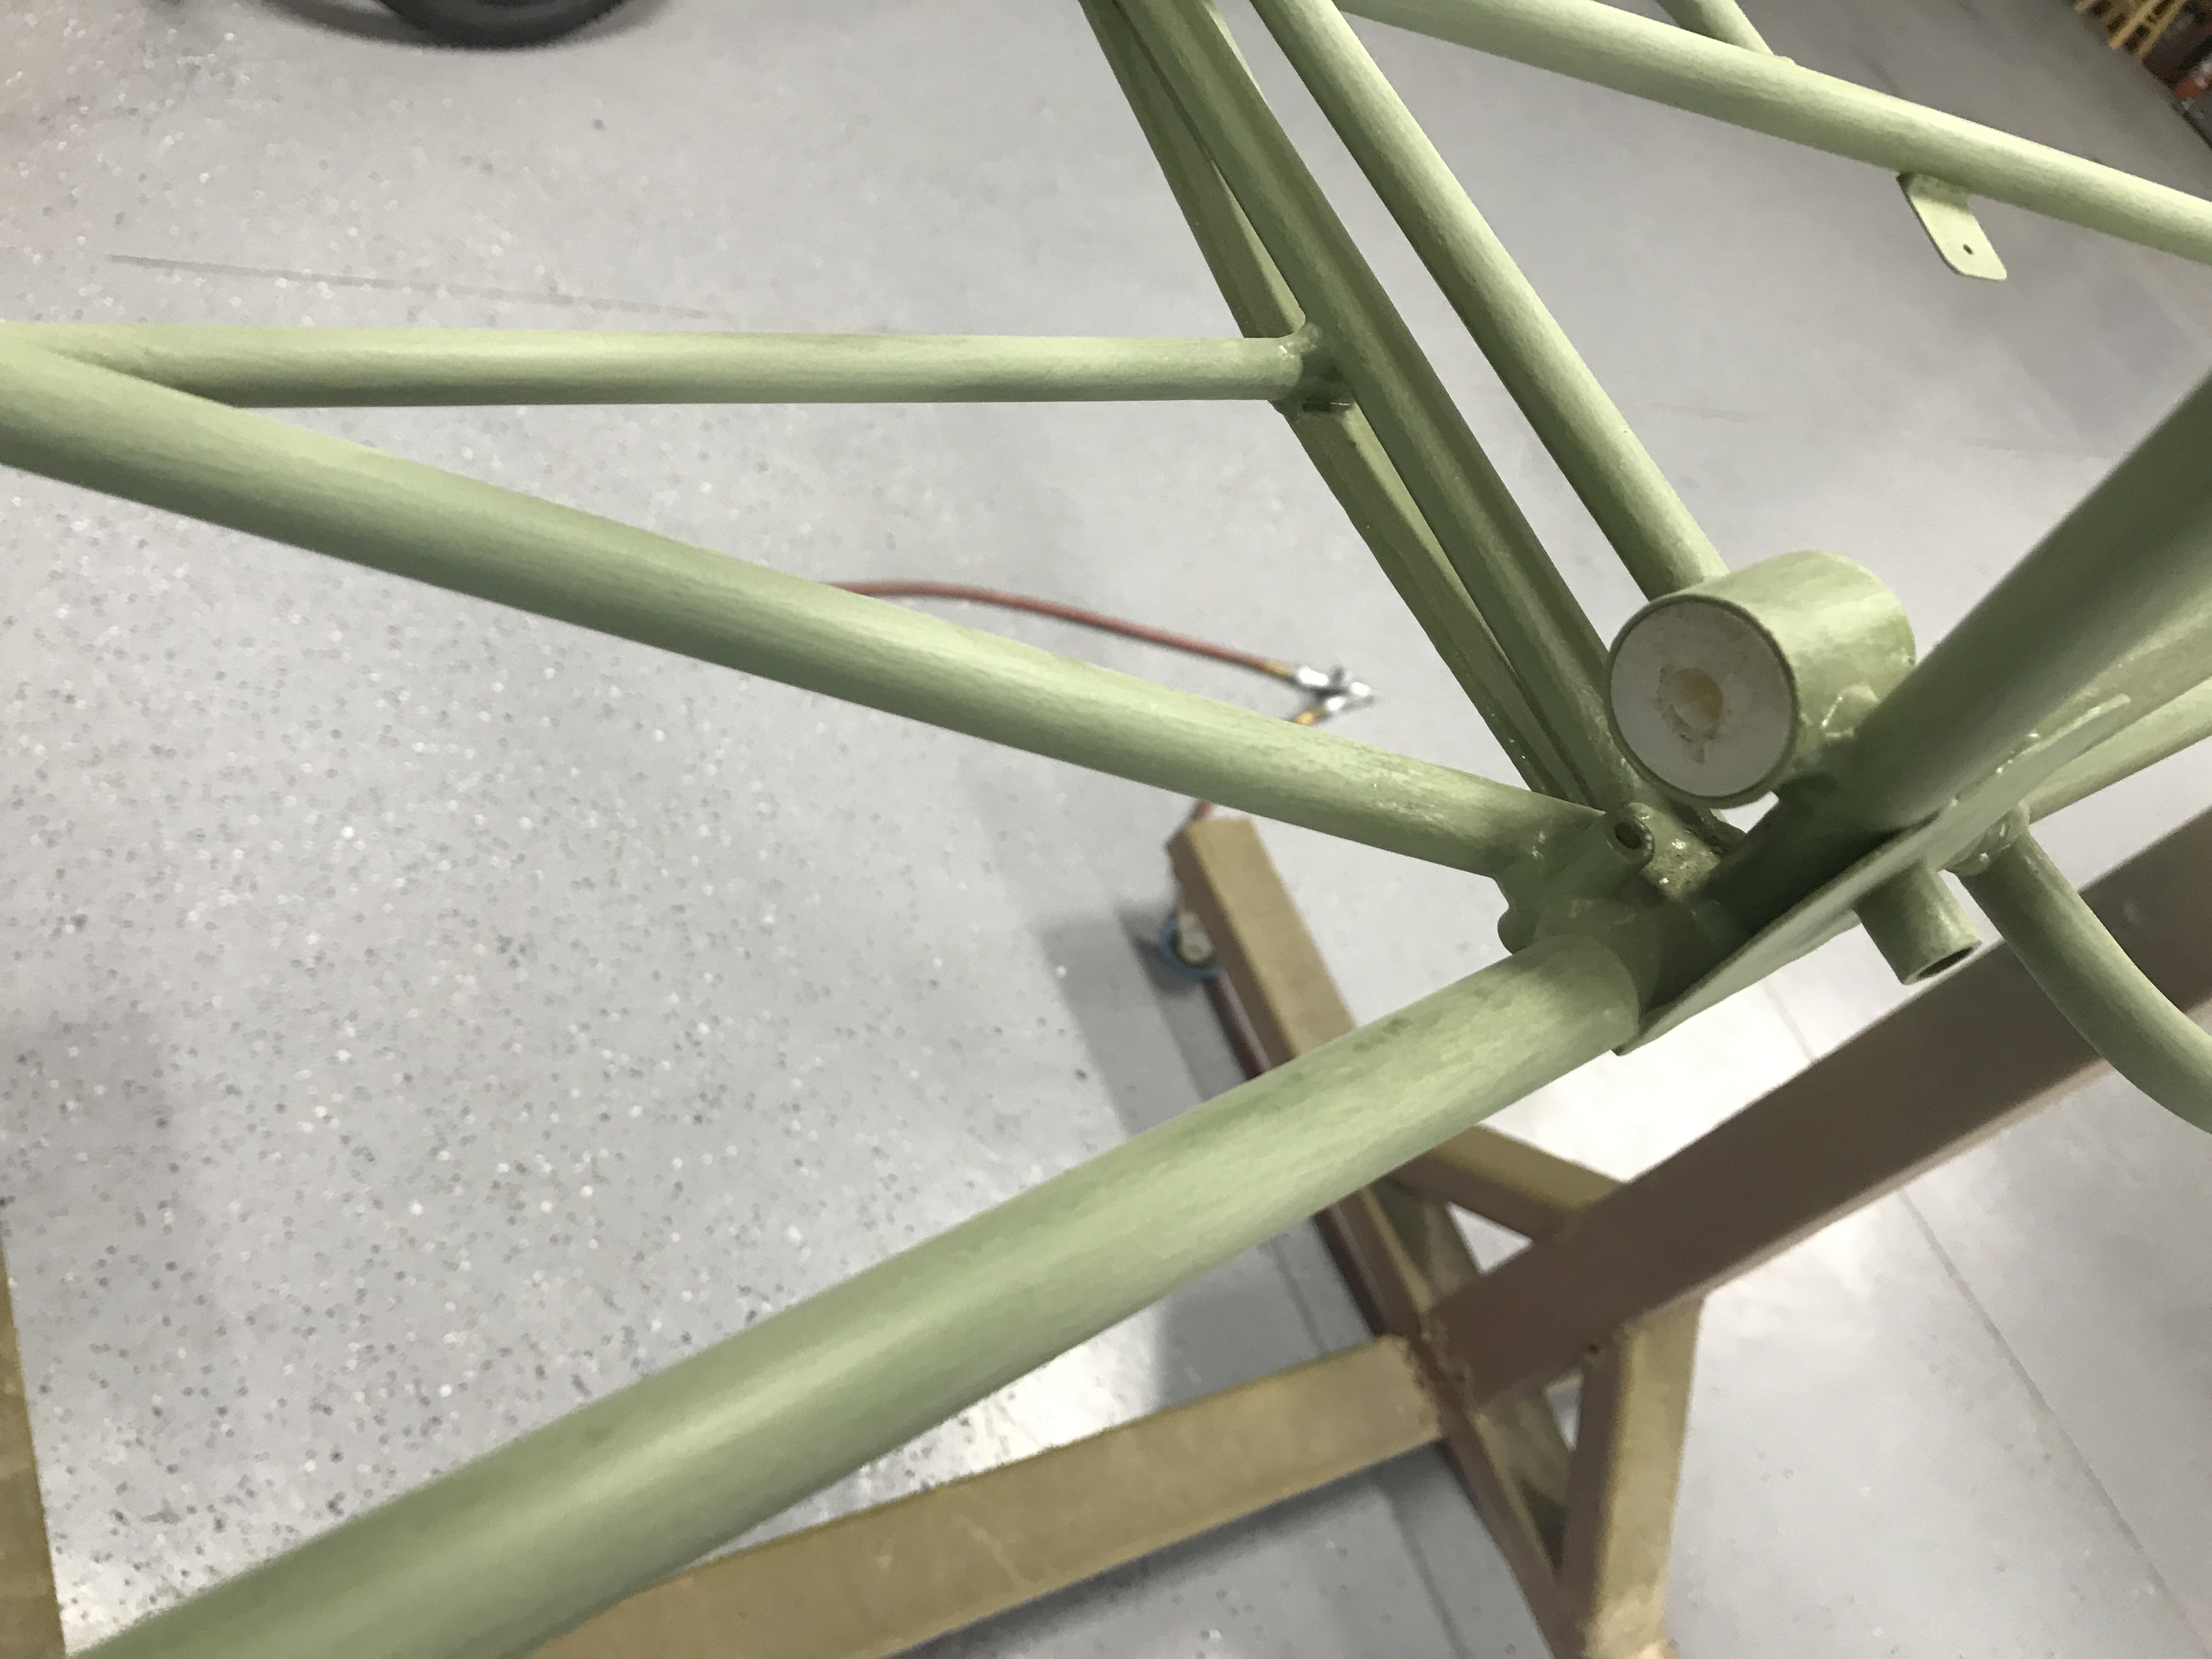
Had a good day working on the Super Mag today. Got the flight controls put together on the bench, then installed. Then I put the rudder pedals and brakes together on the bench and installed them. Installed the flaperon bell-cranks and the push pull bell crank and linkage. Then I started to install the horizontal stabilizer so tomorrow I can level and square it to the fuselage.


-
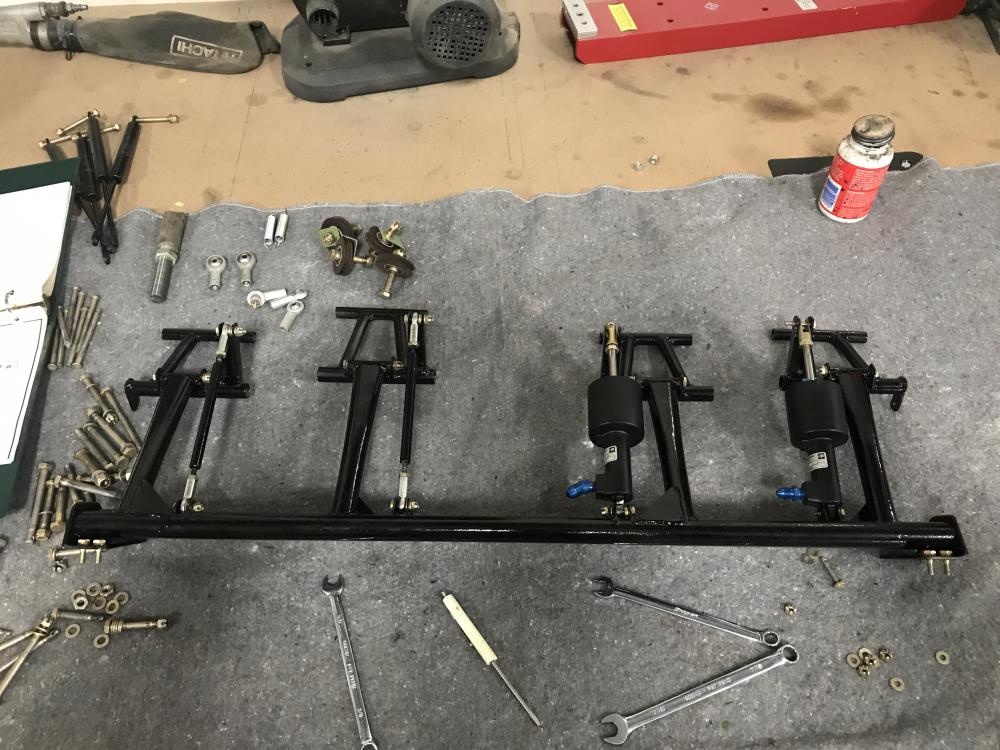
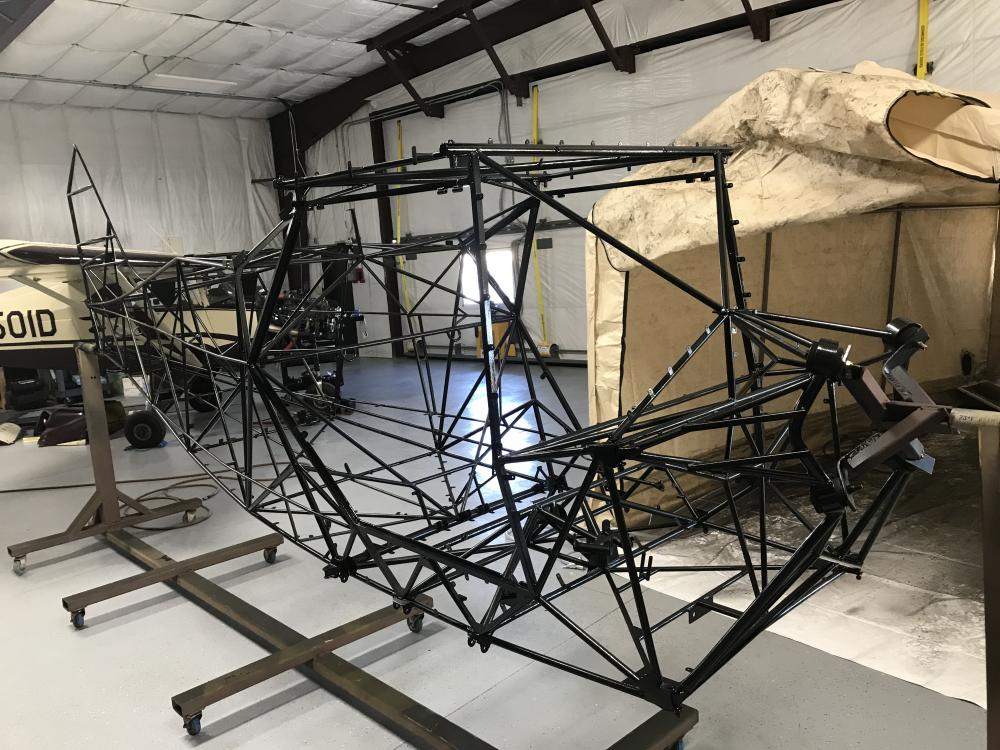
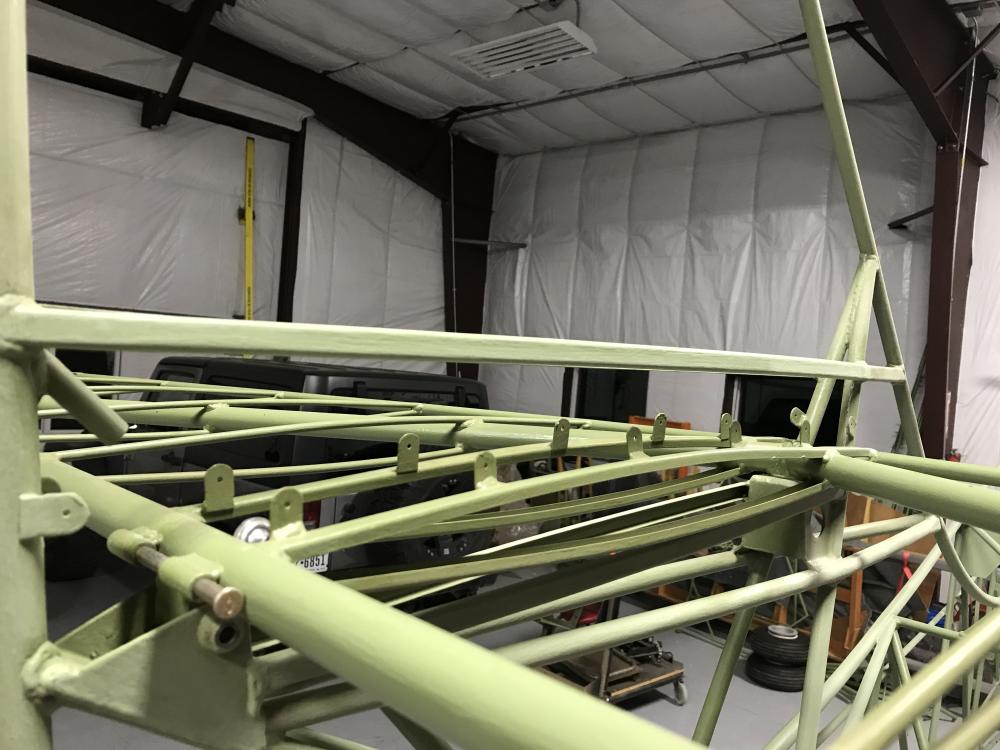
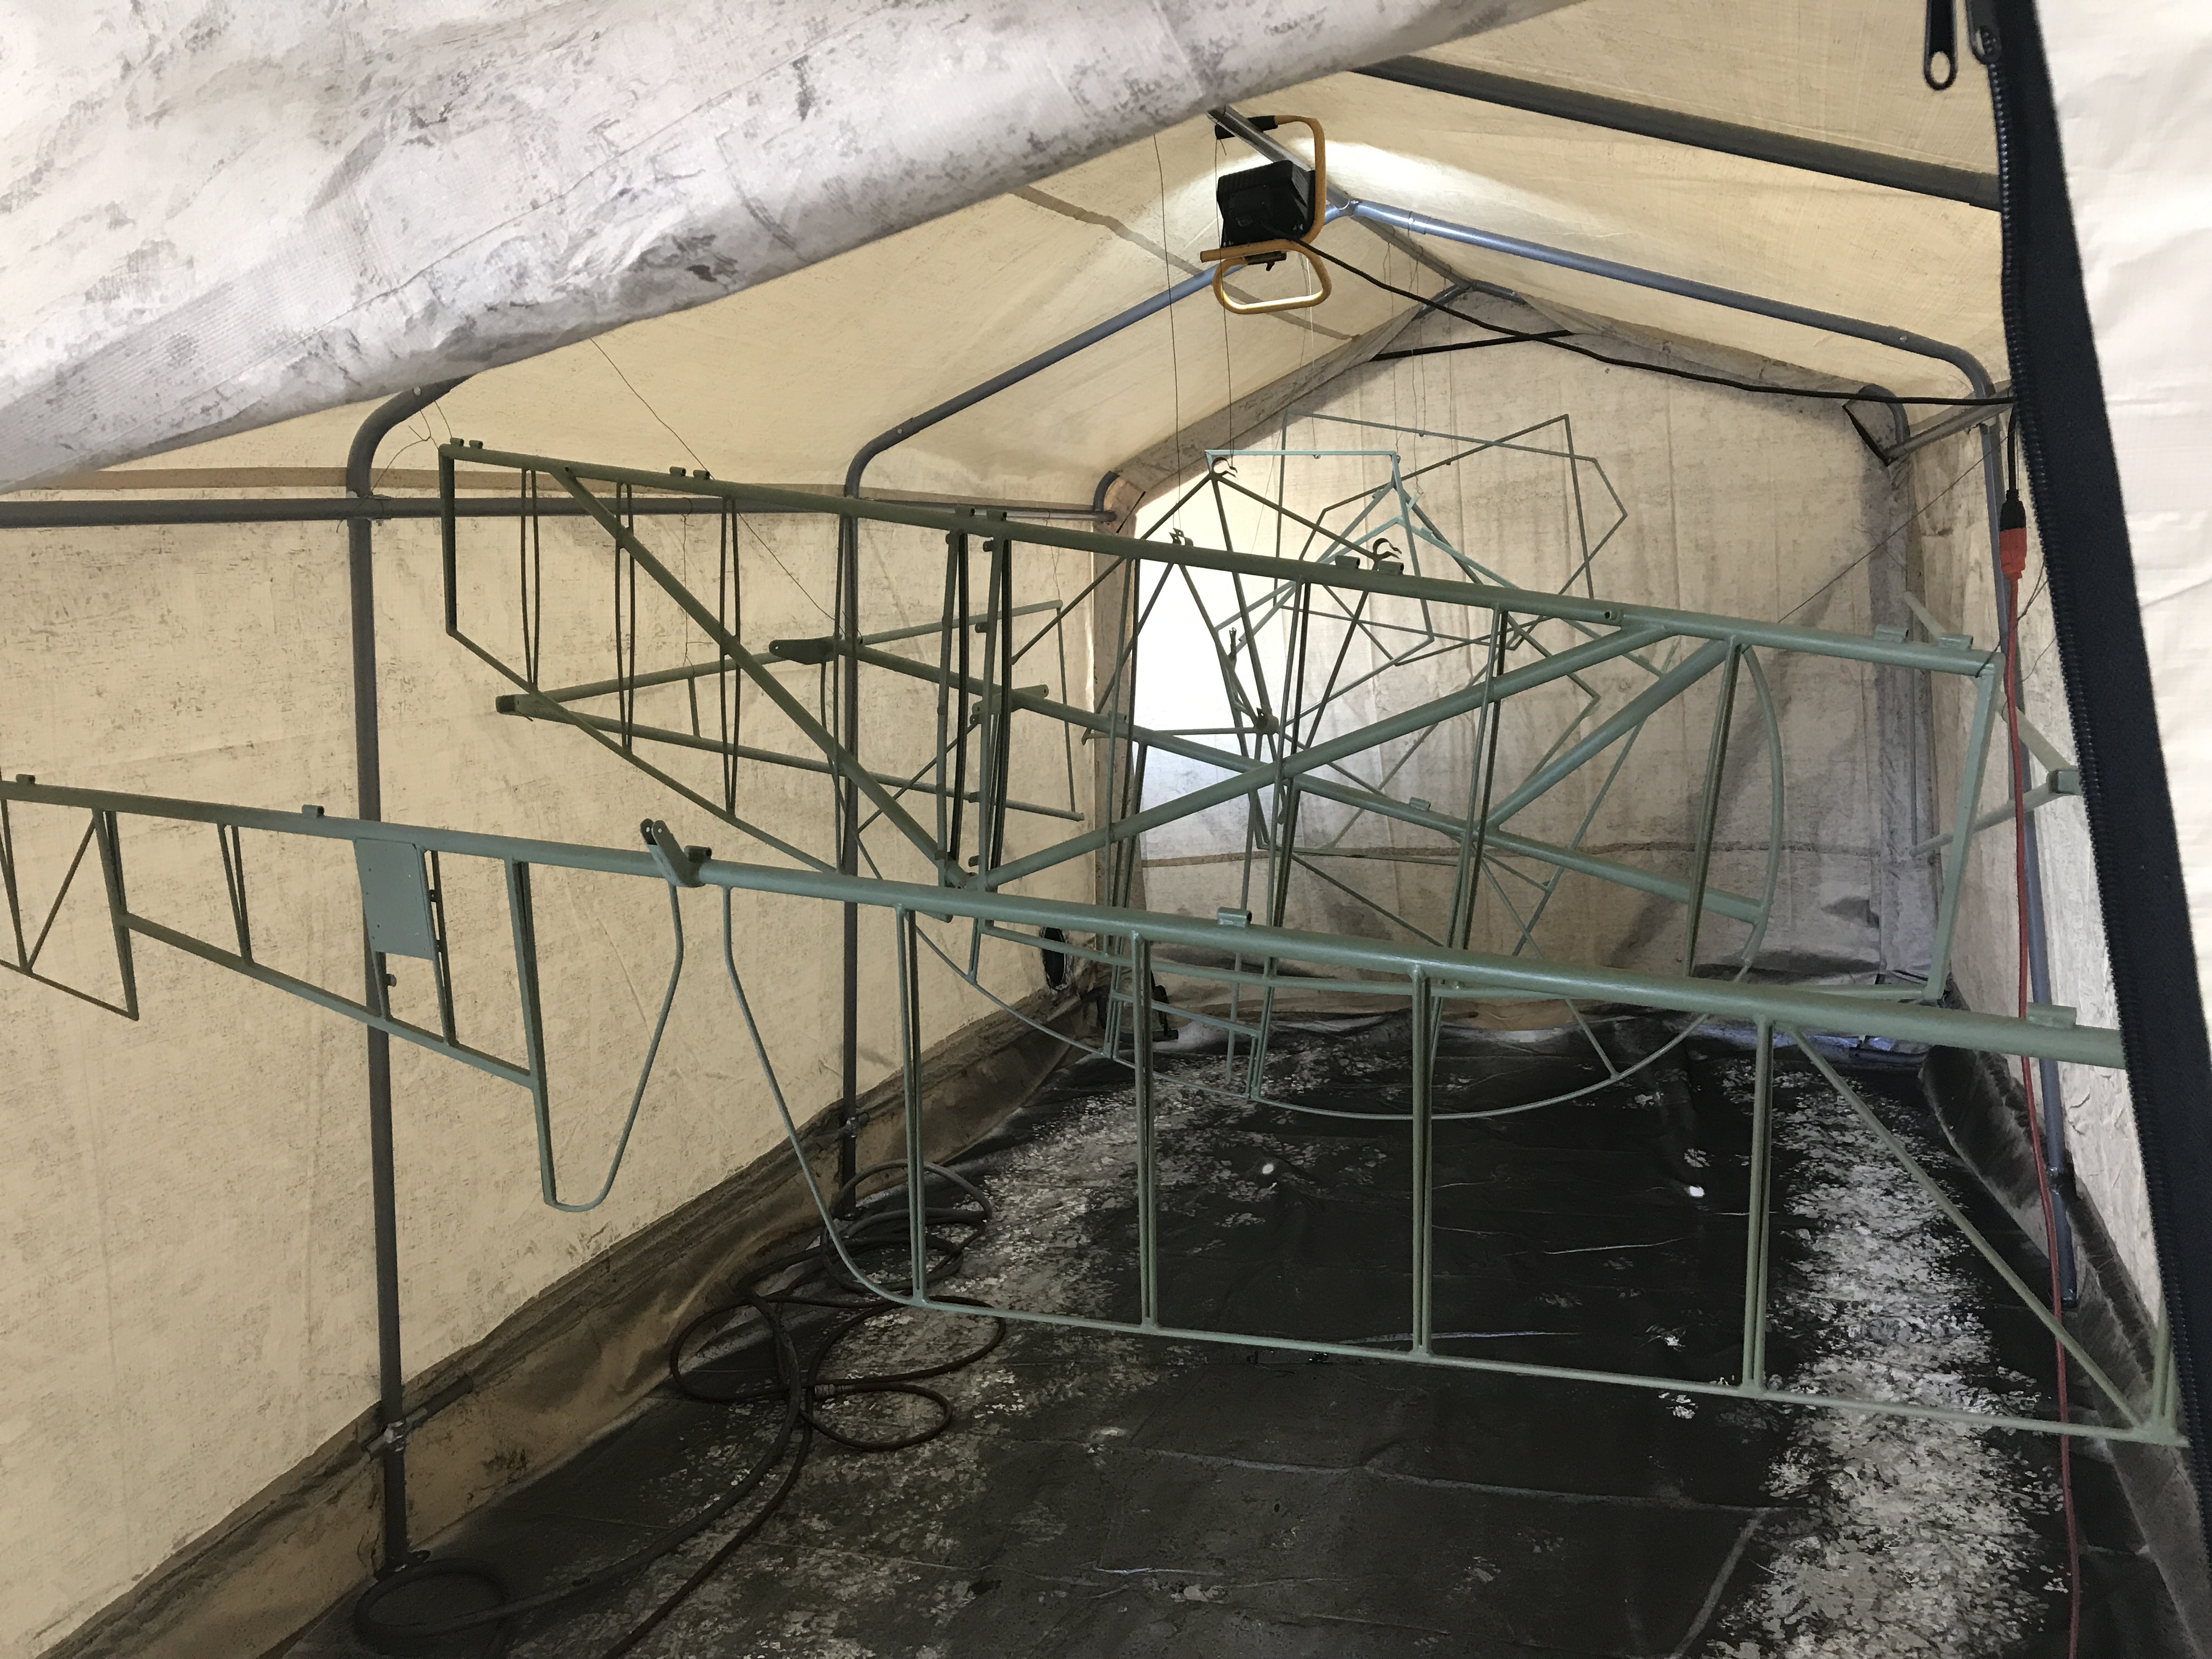
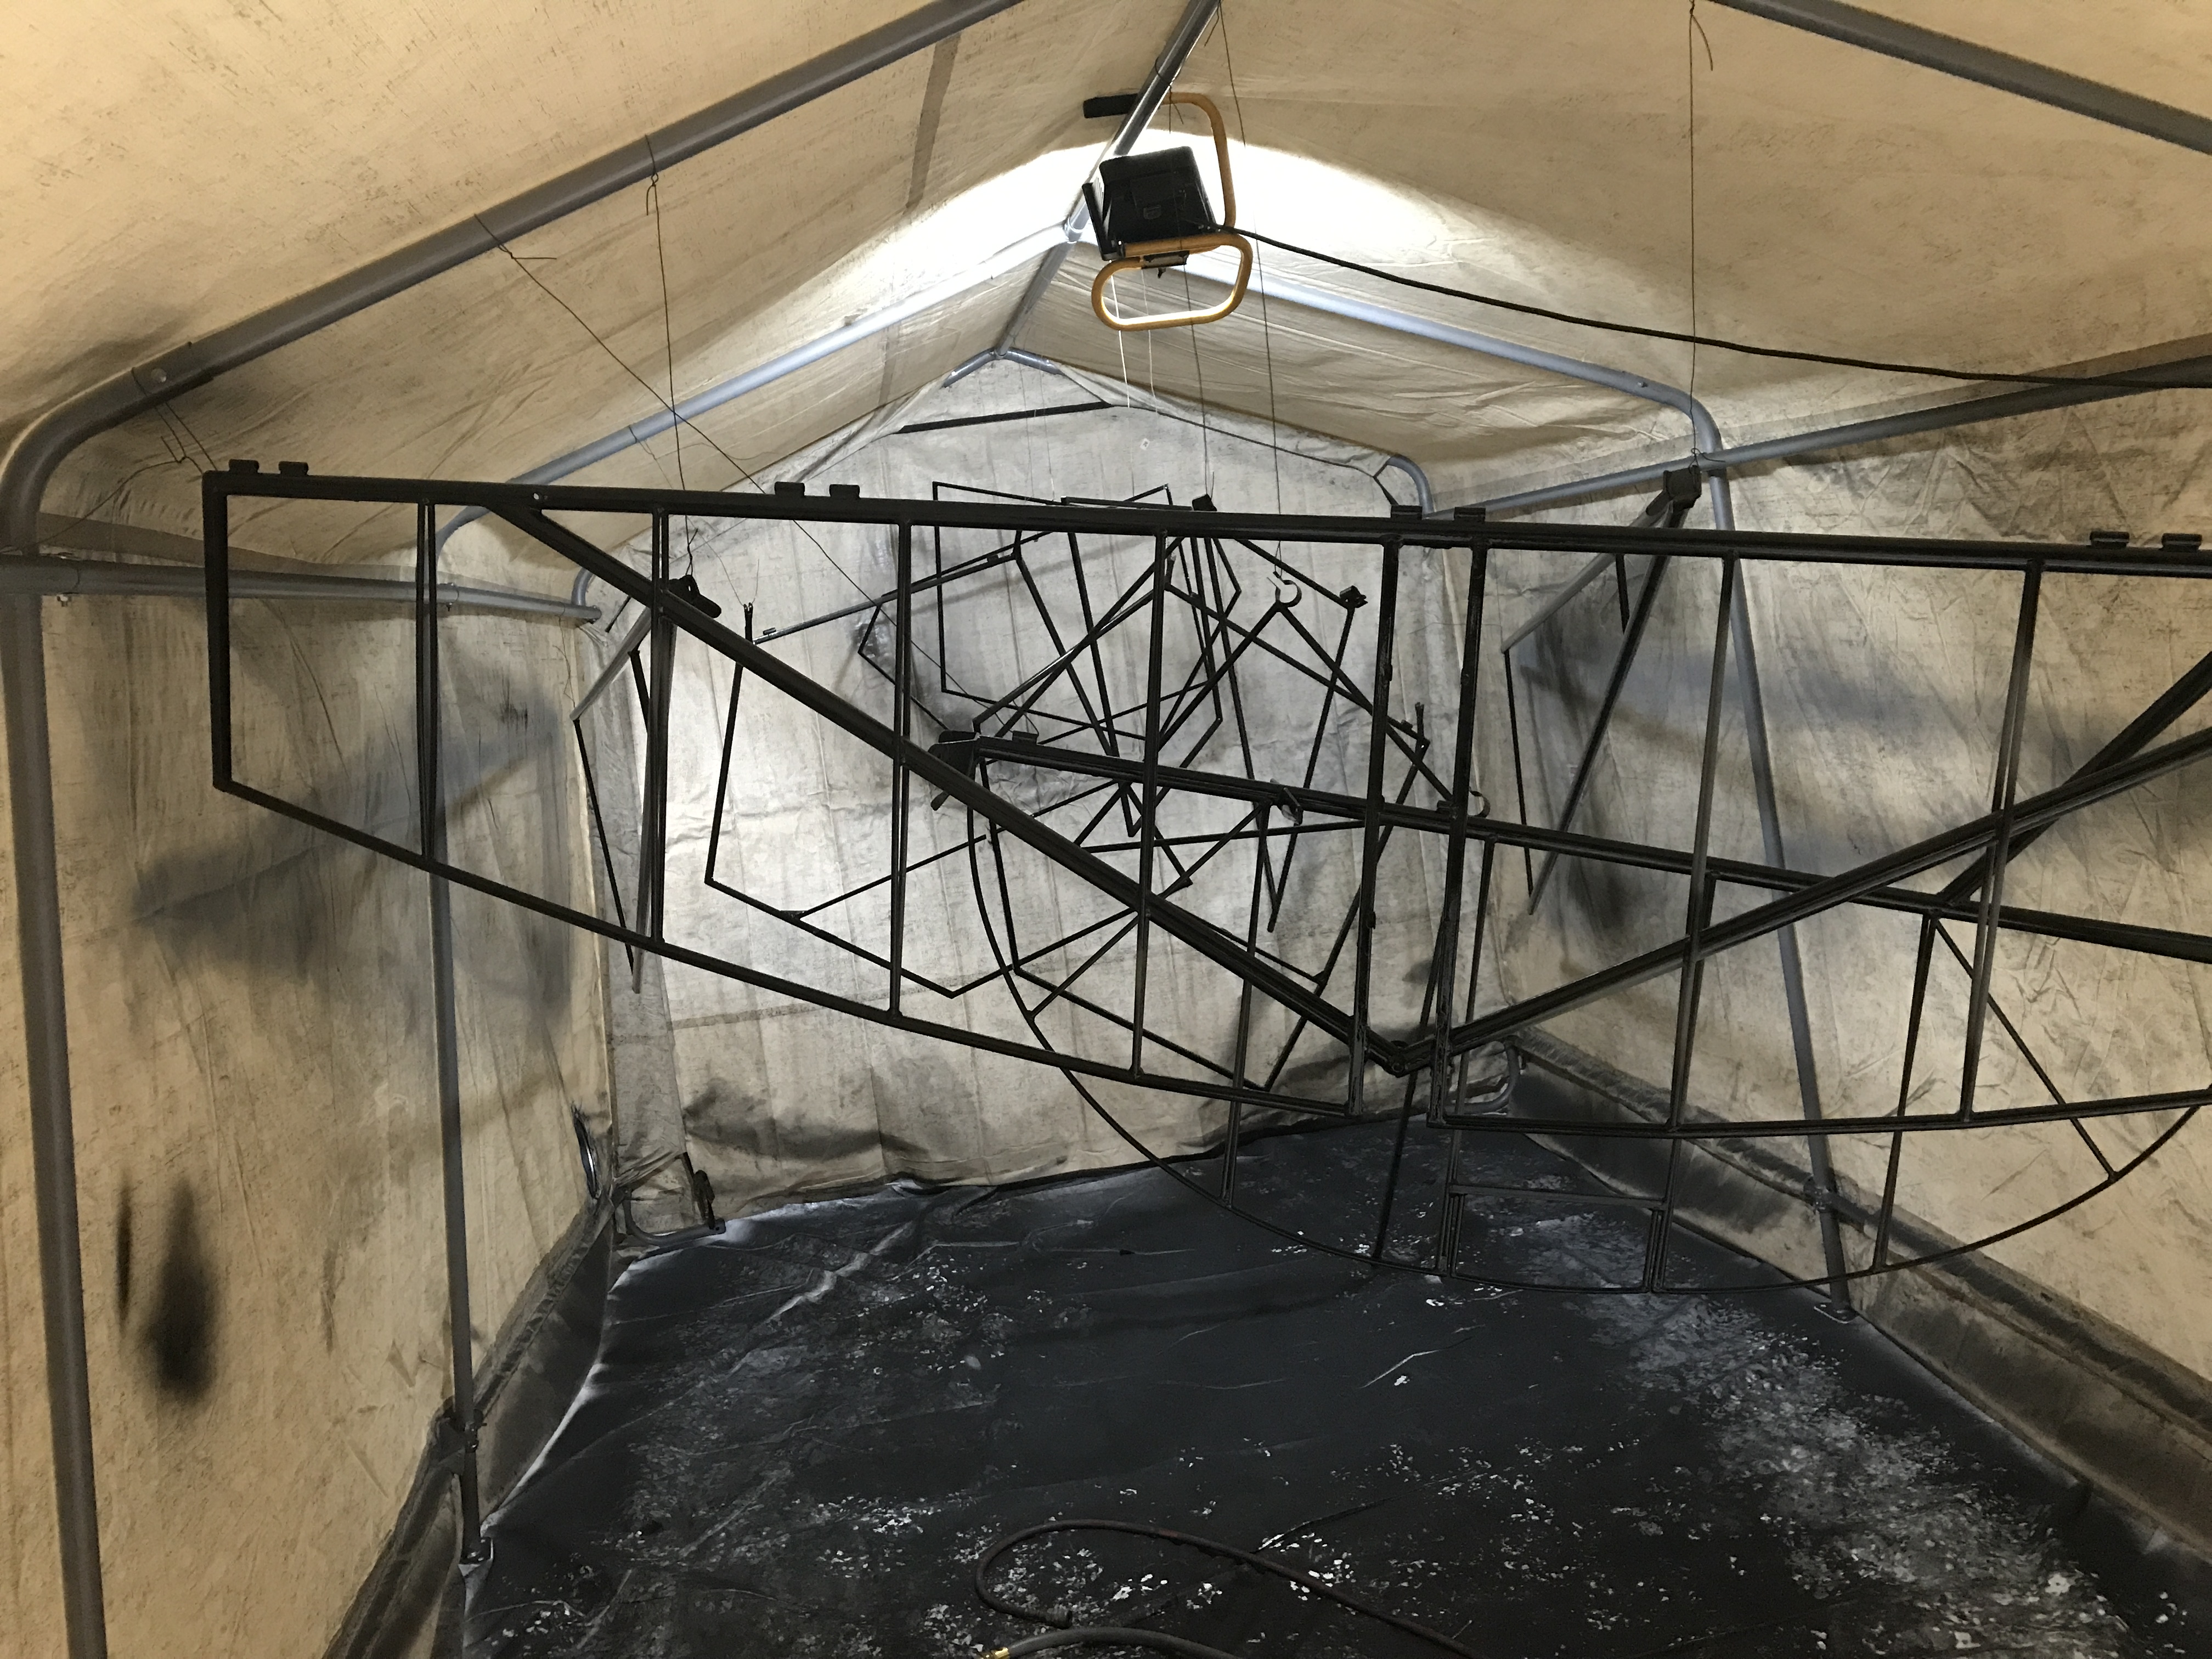
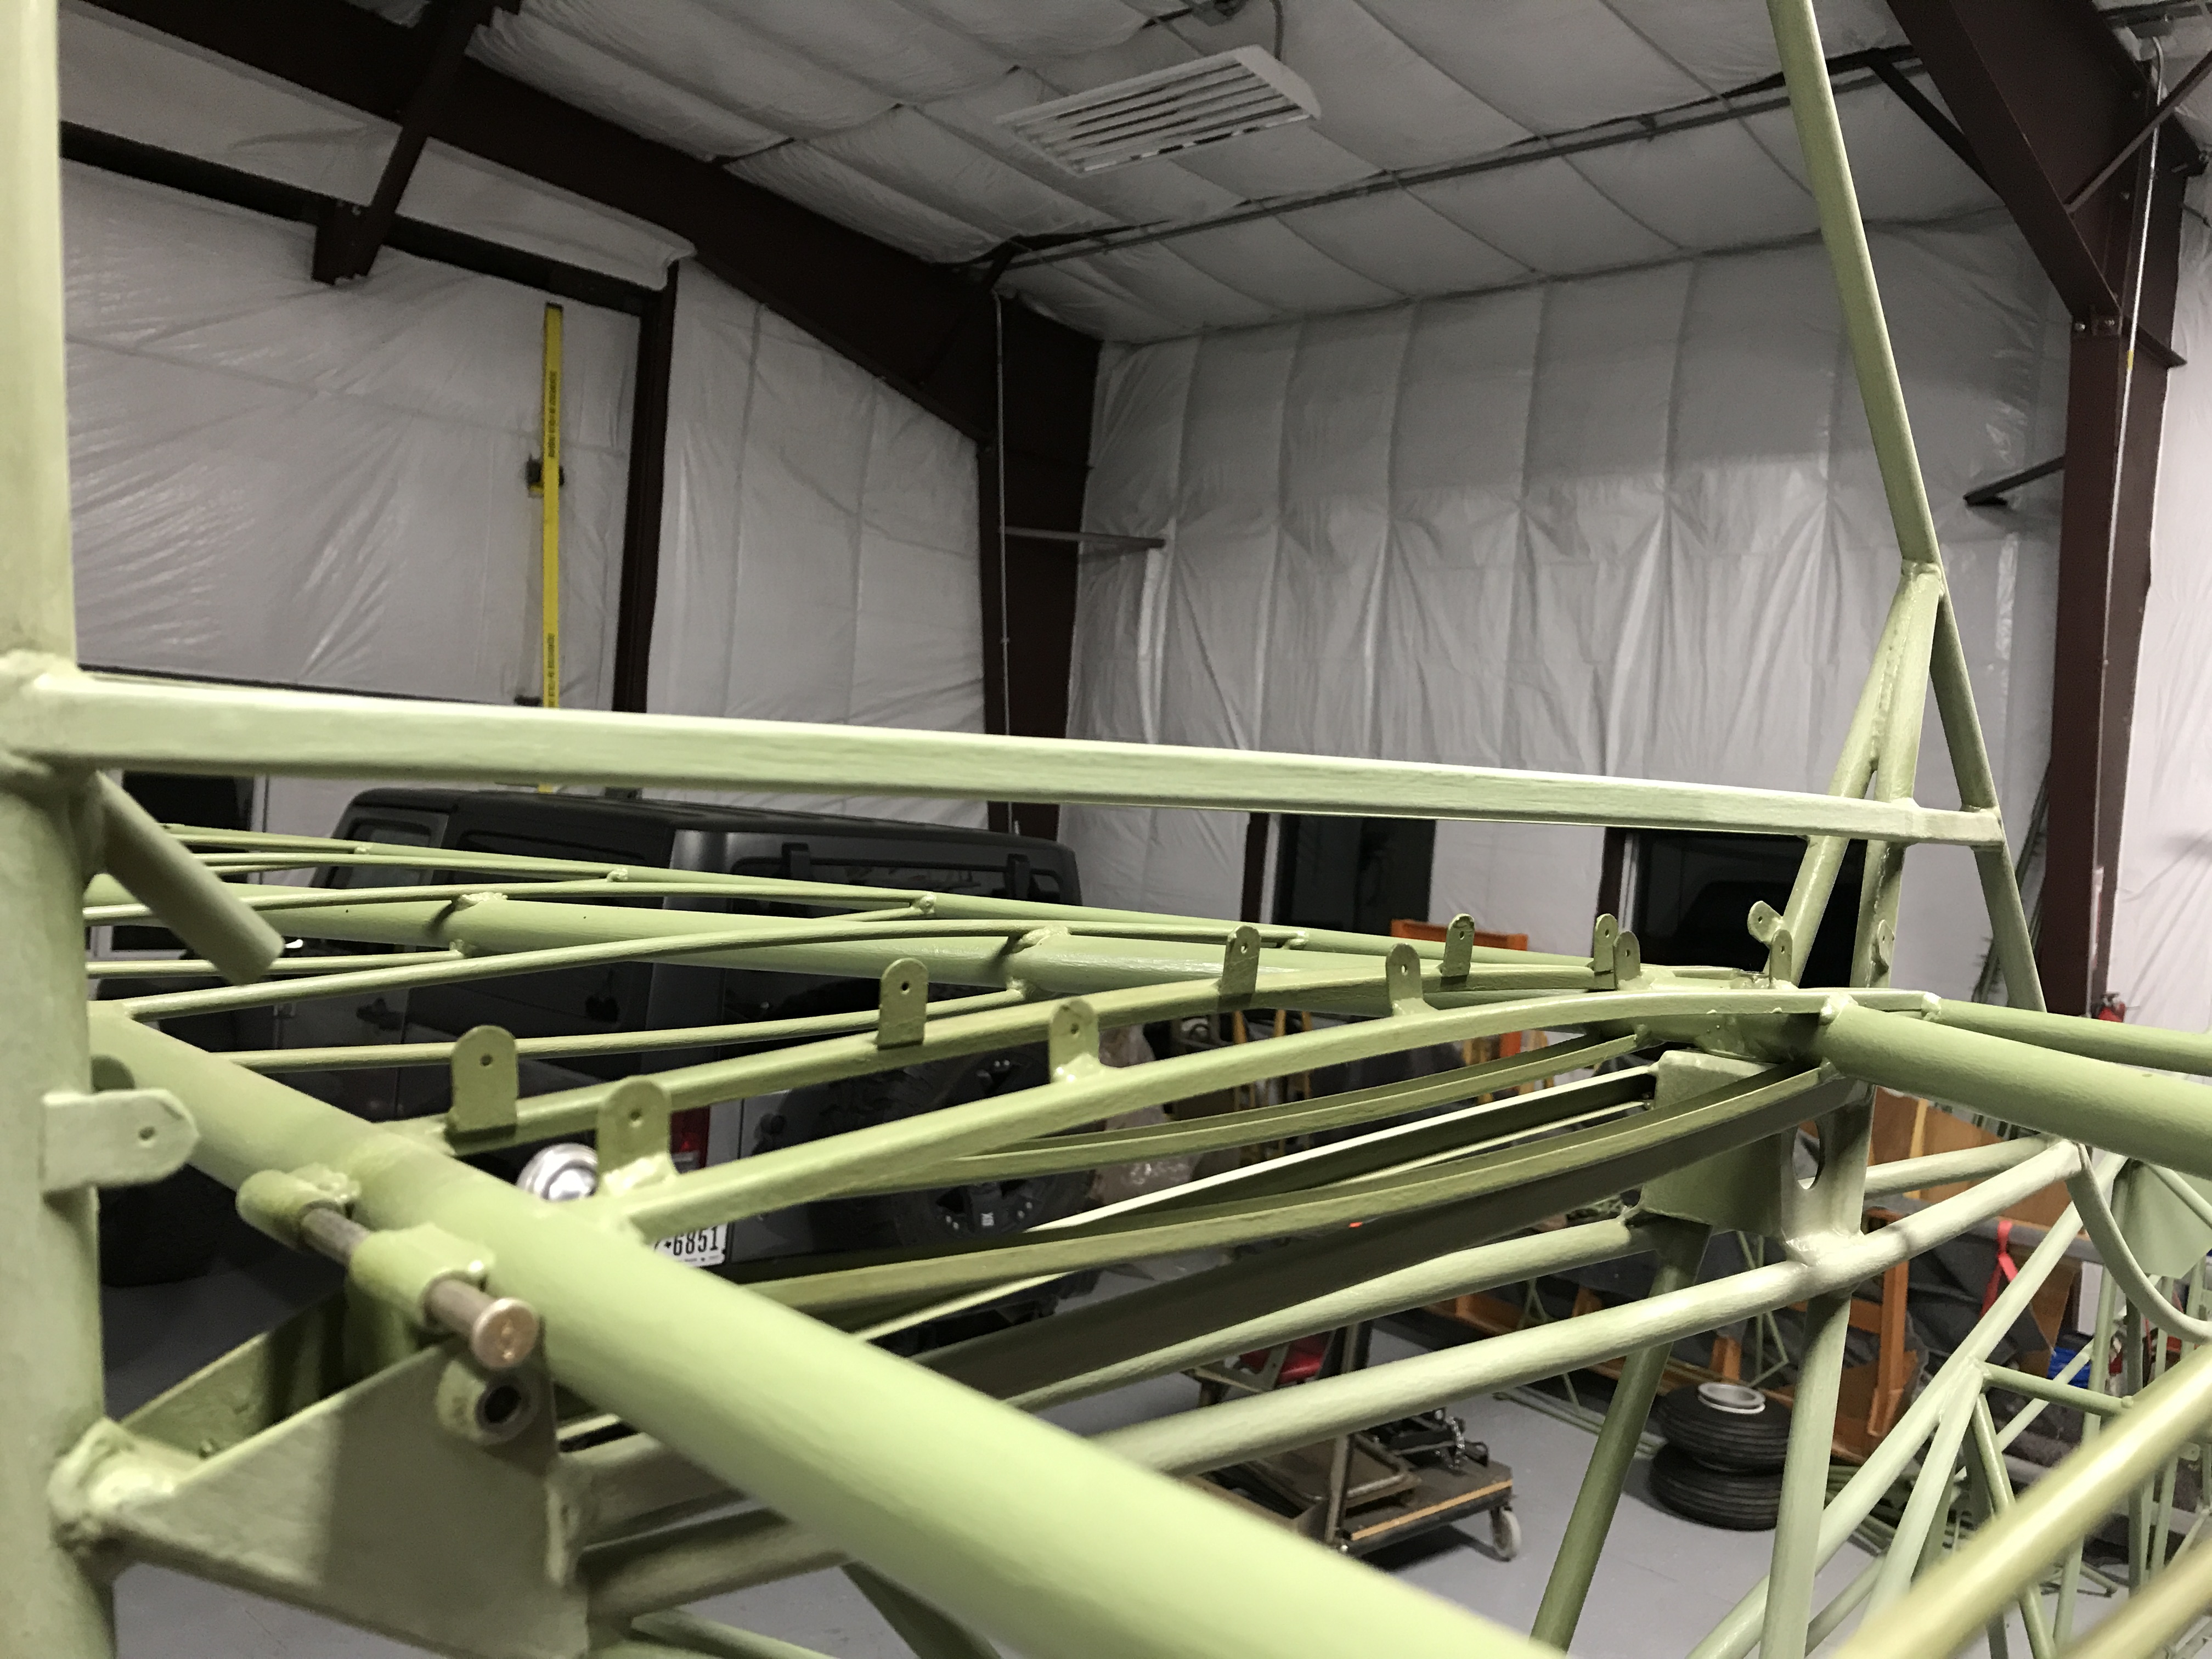
Today I installed 3 more lights in the paint booth, and wow what a difference! Finished painting all the small metal parts today. I no longer have any green parts!!! Now I will move on to assembling as much as possible on the fuselage before beginning any fabric work. I will also have some welding to do as soon as my landing gear arrives.
-
Yes, and I knew better, the older I get the worser I see........ Loving the build, fun times! The primer the previous builder used cost me a lot of time, and now I know why powder coating is so popular!!!!
-
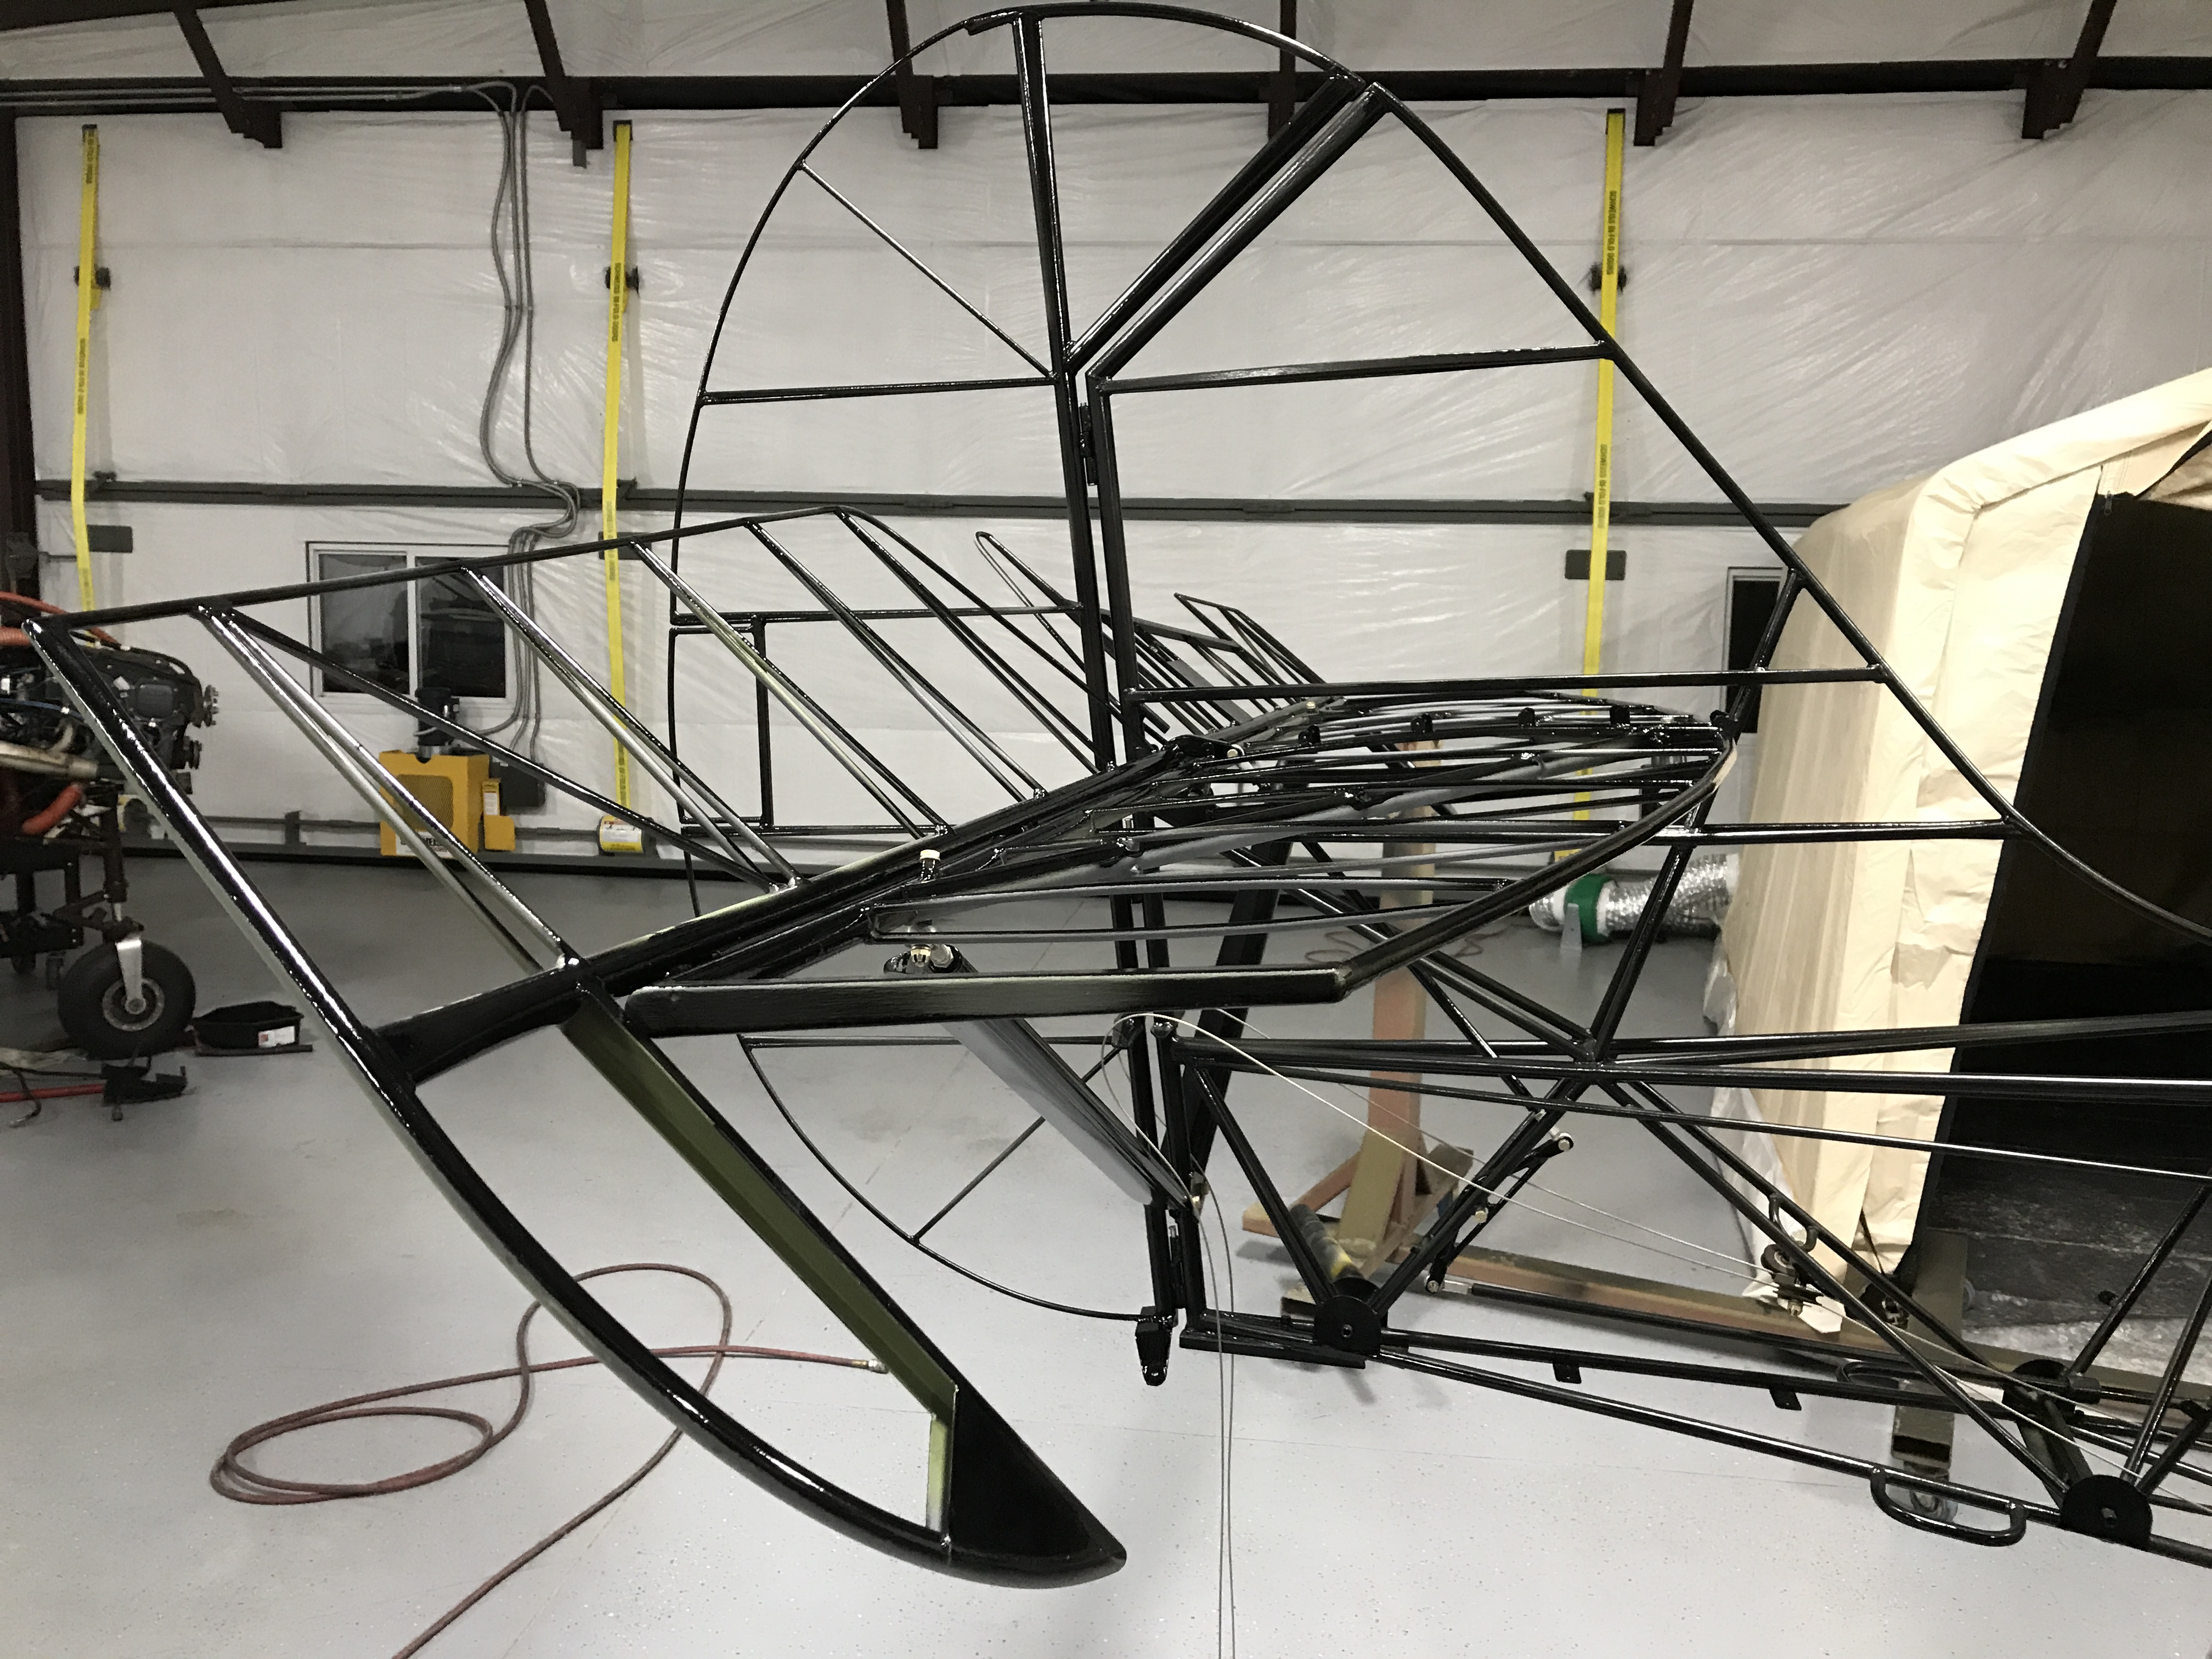
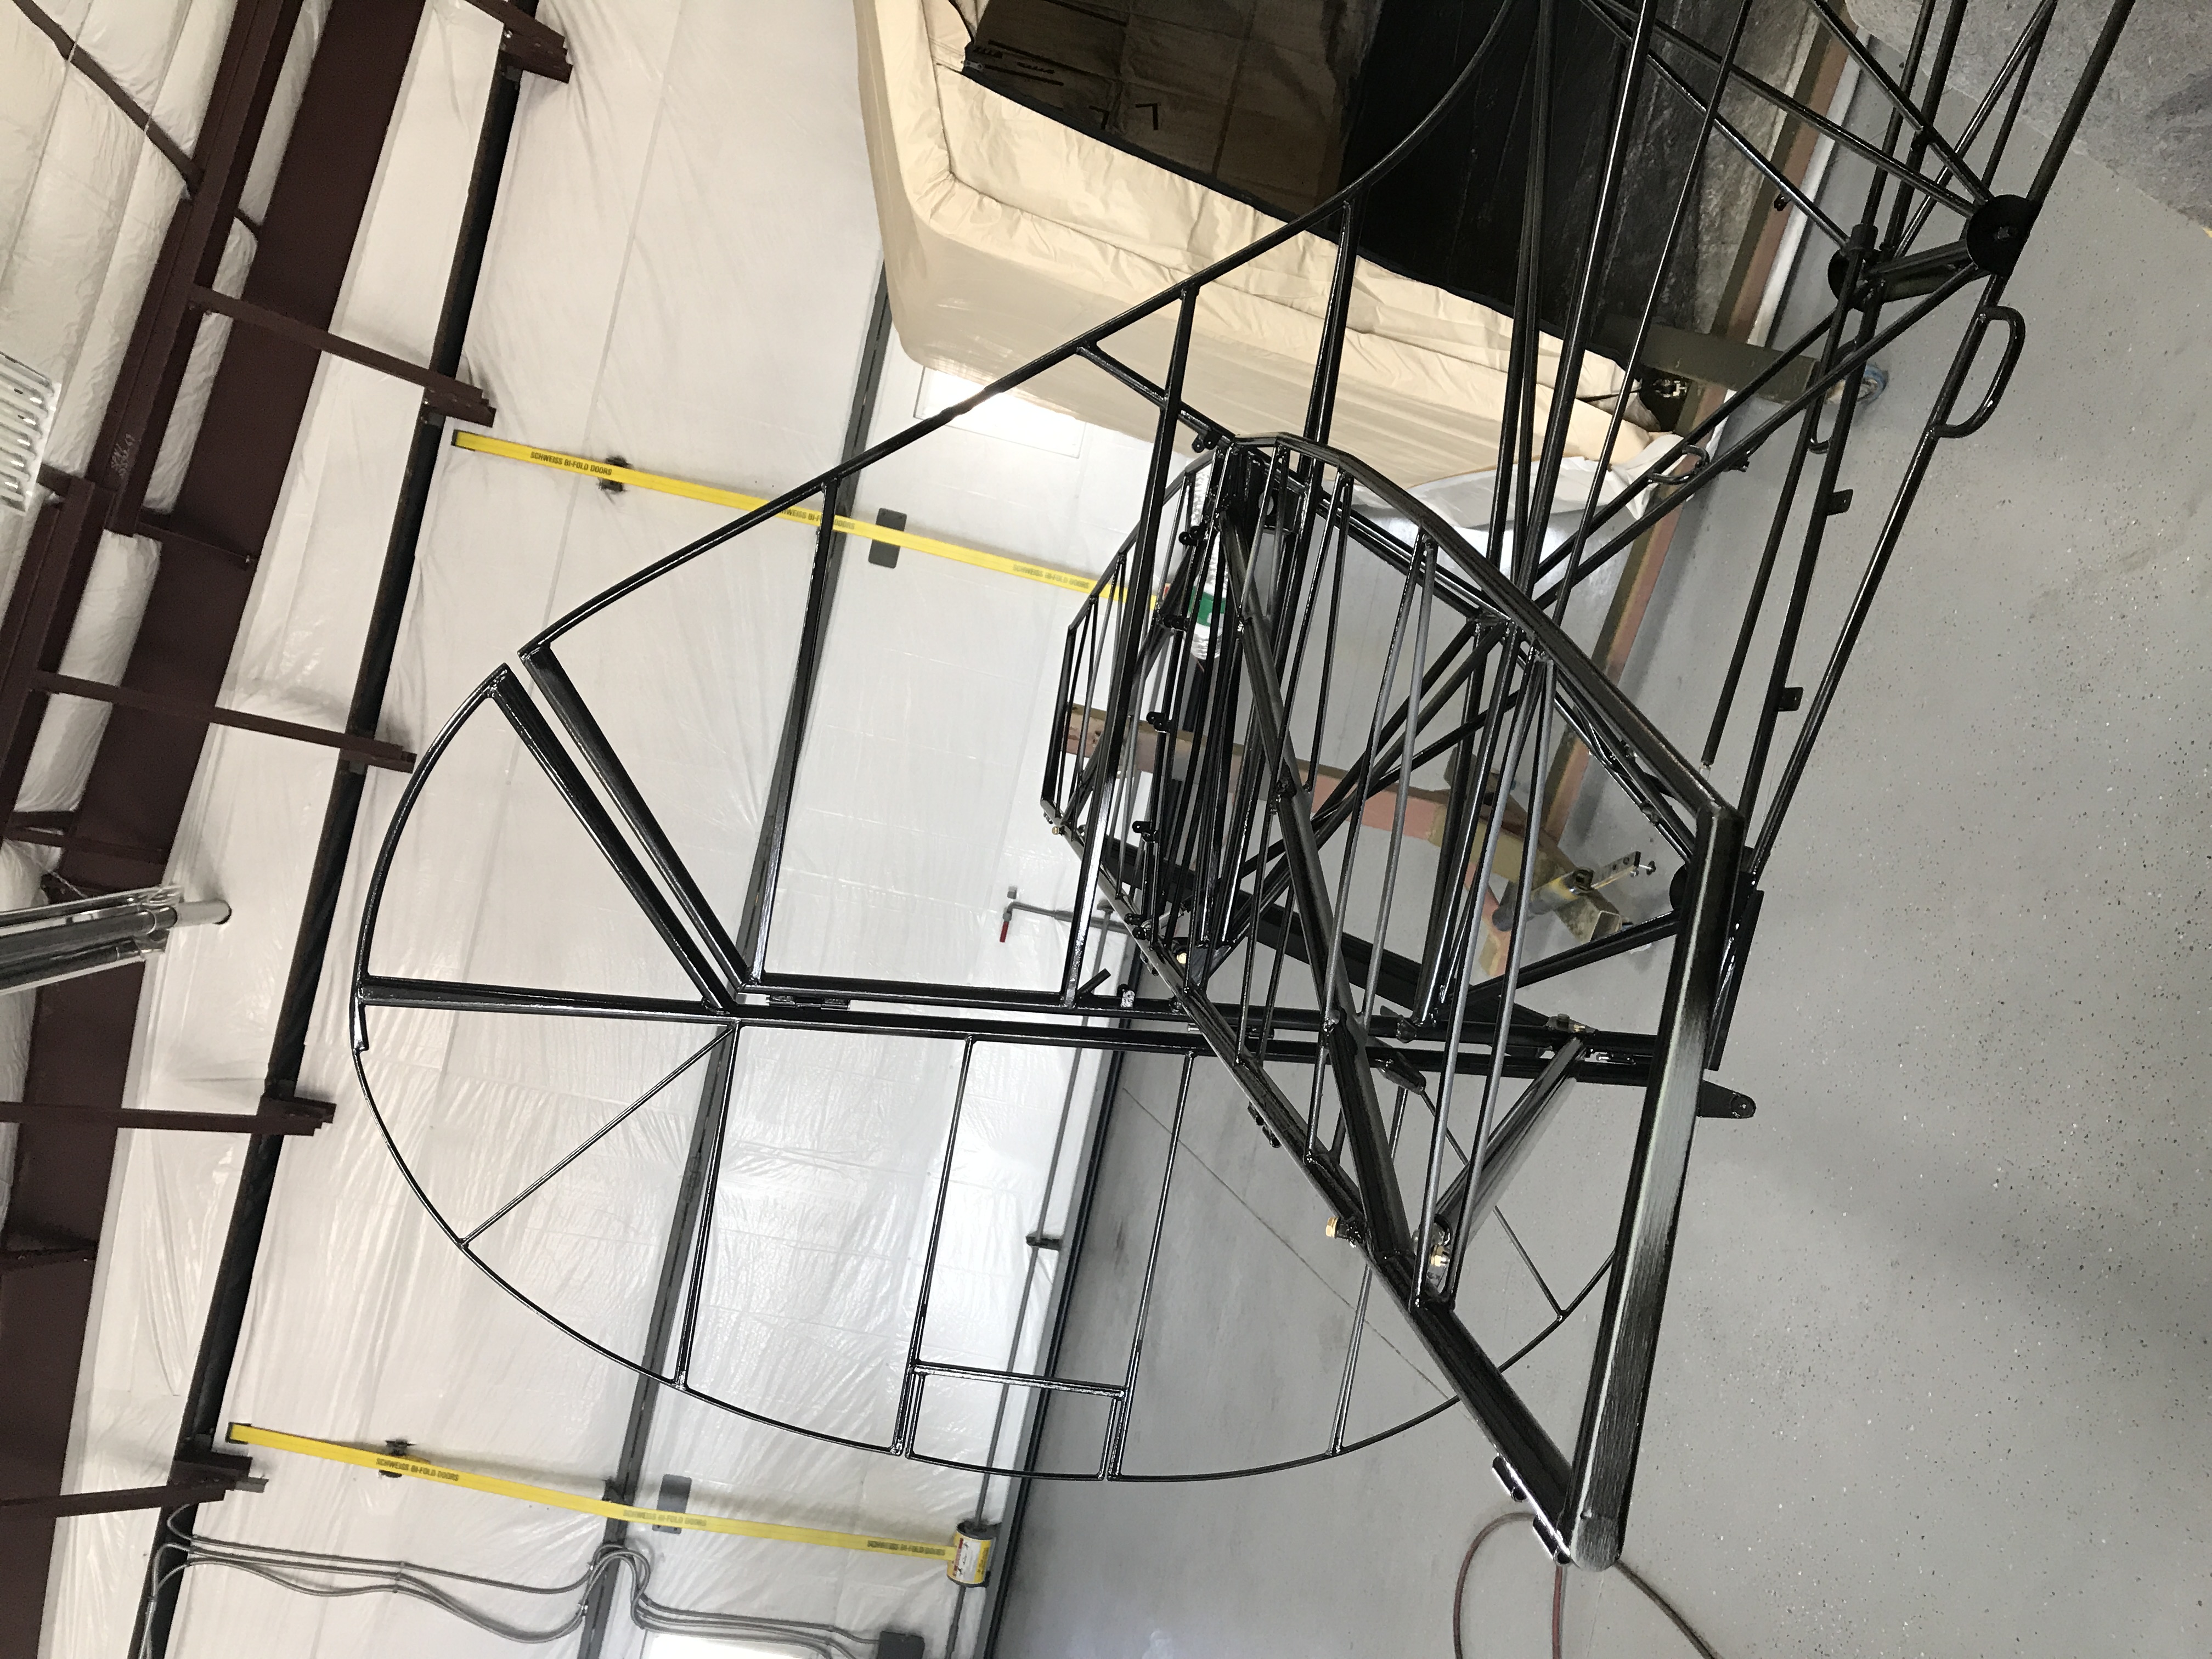
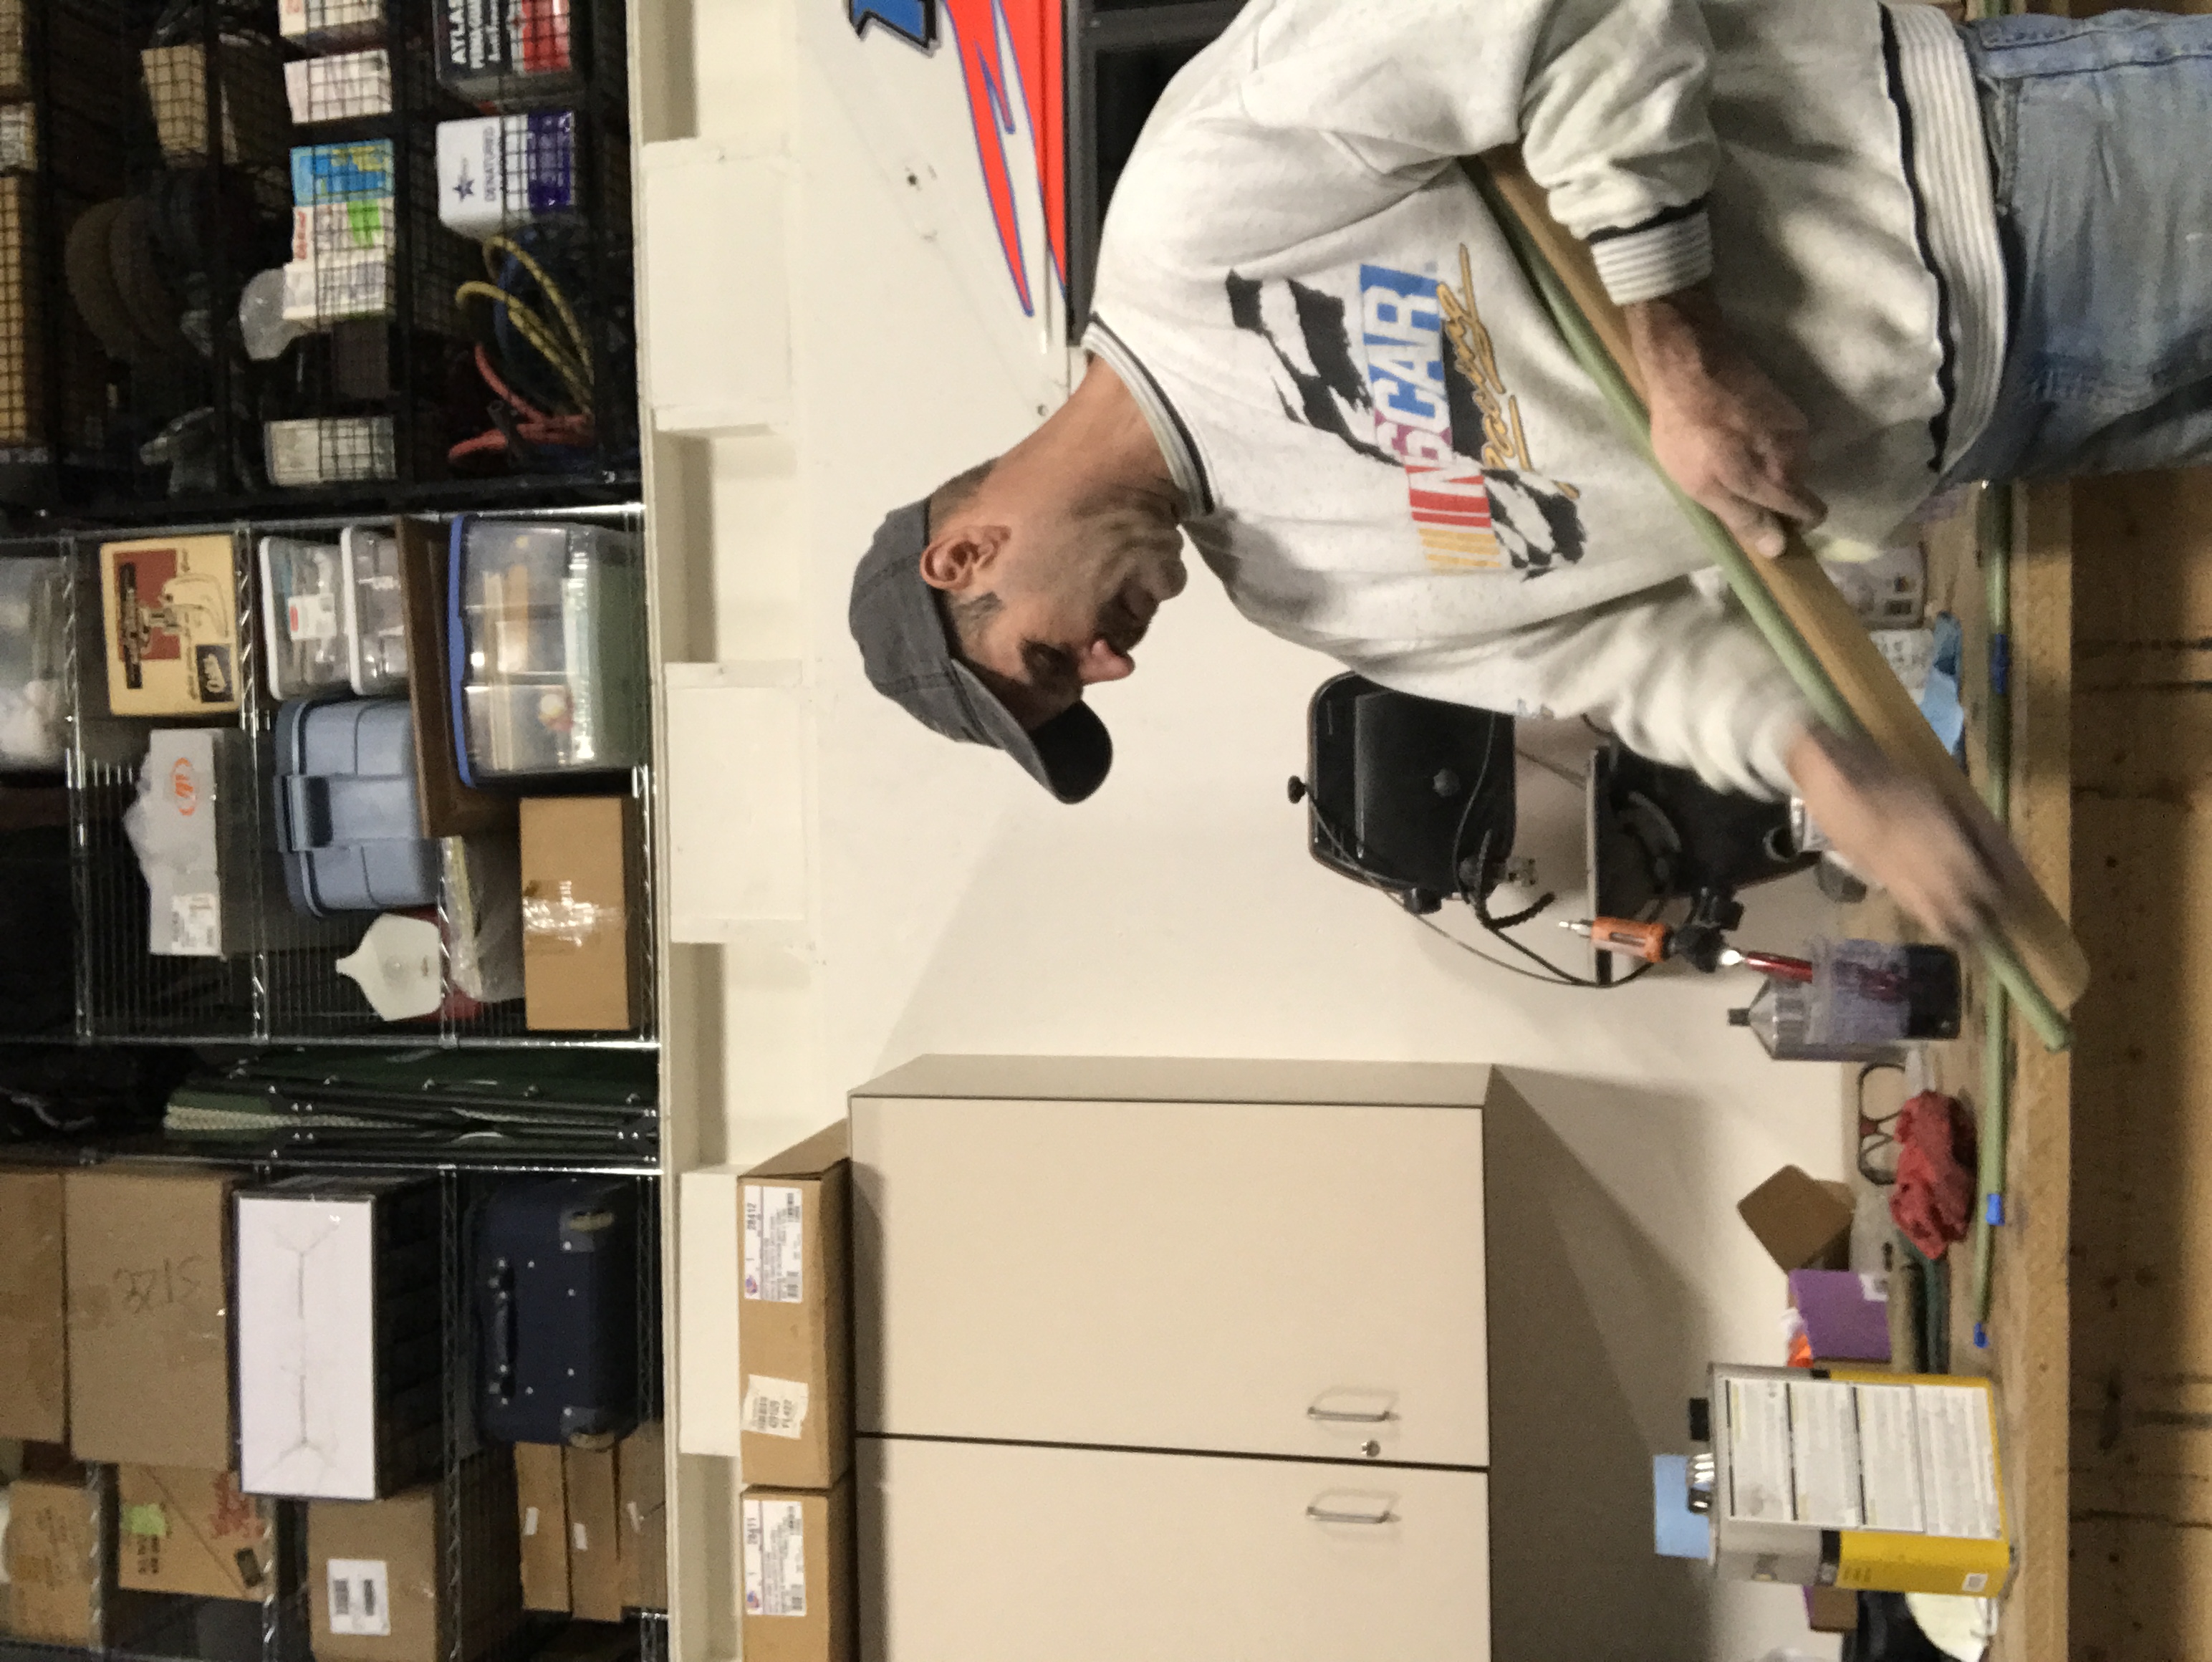
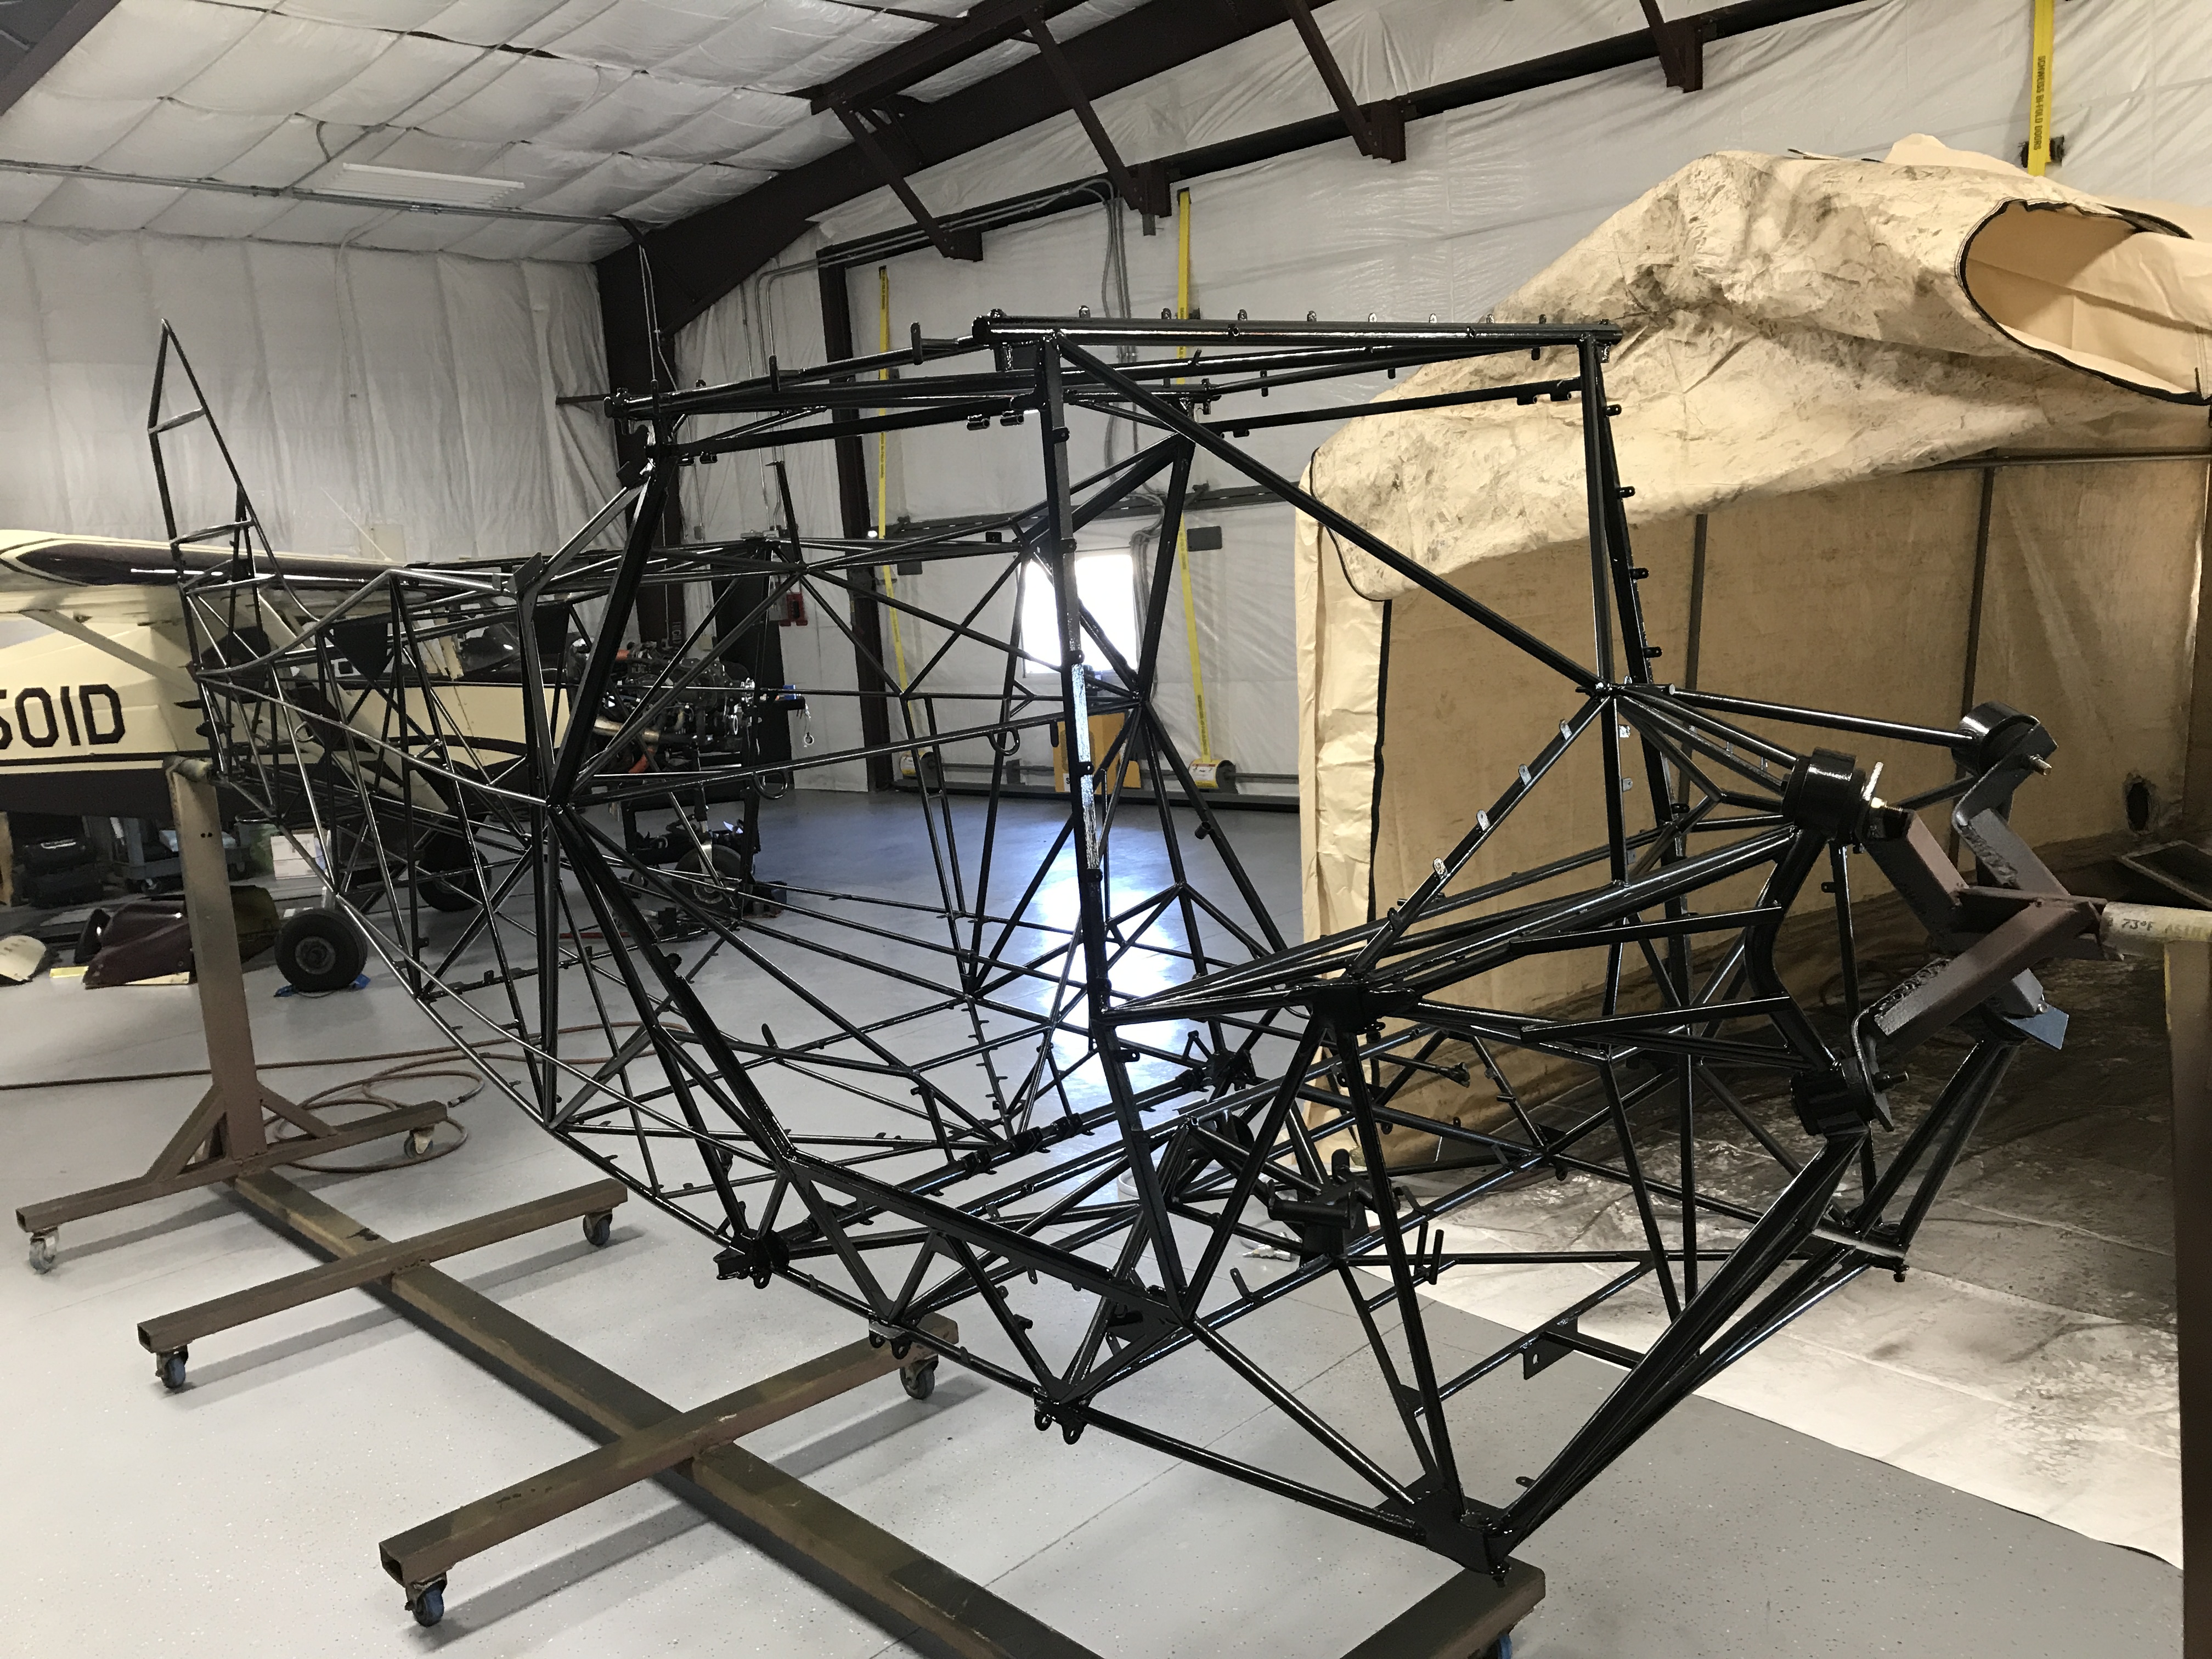
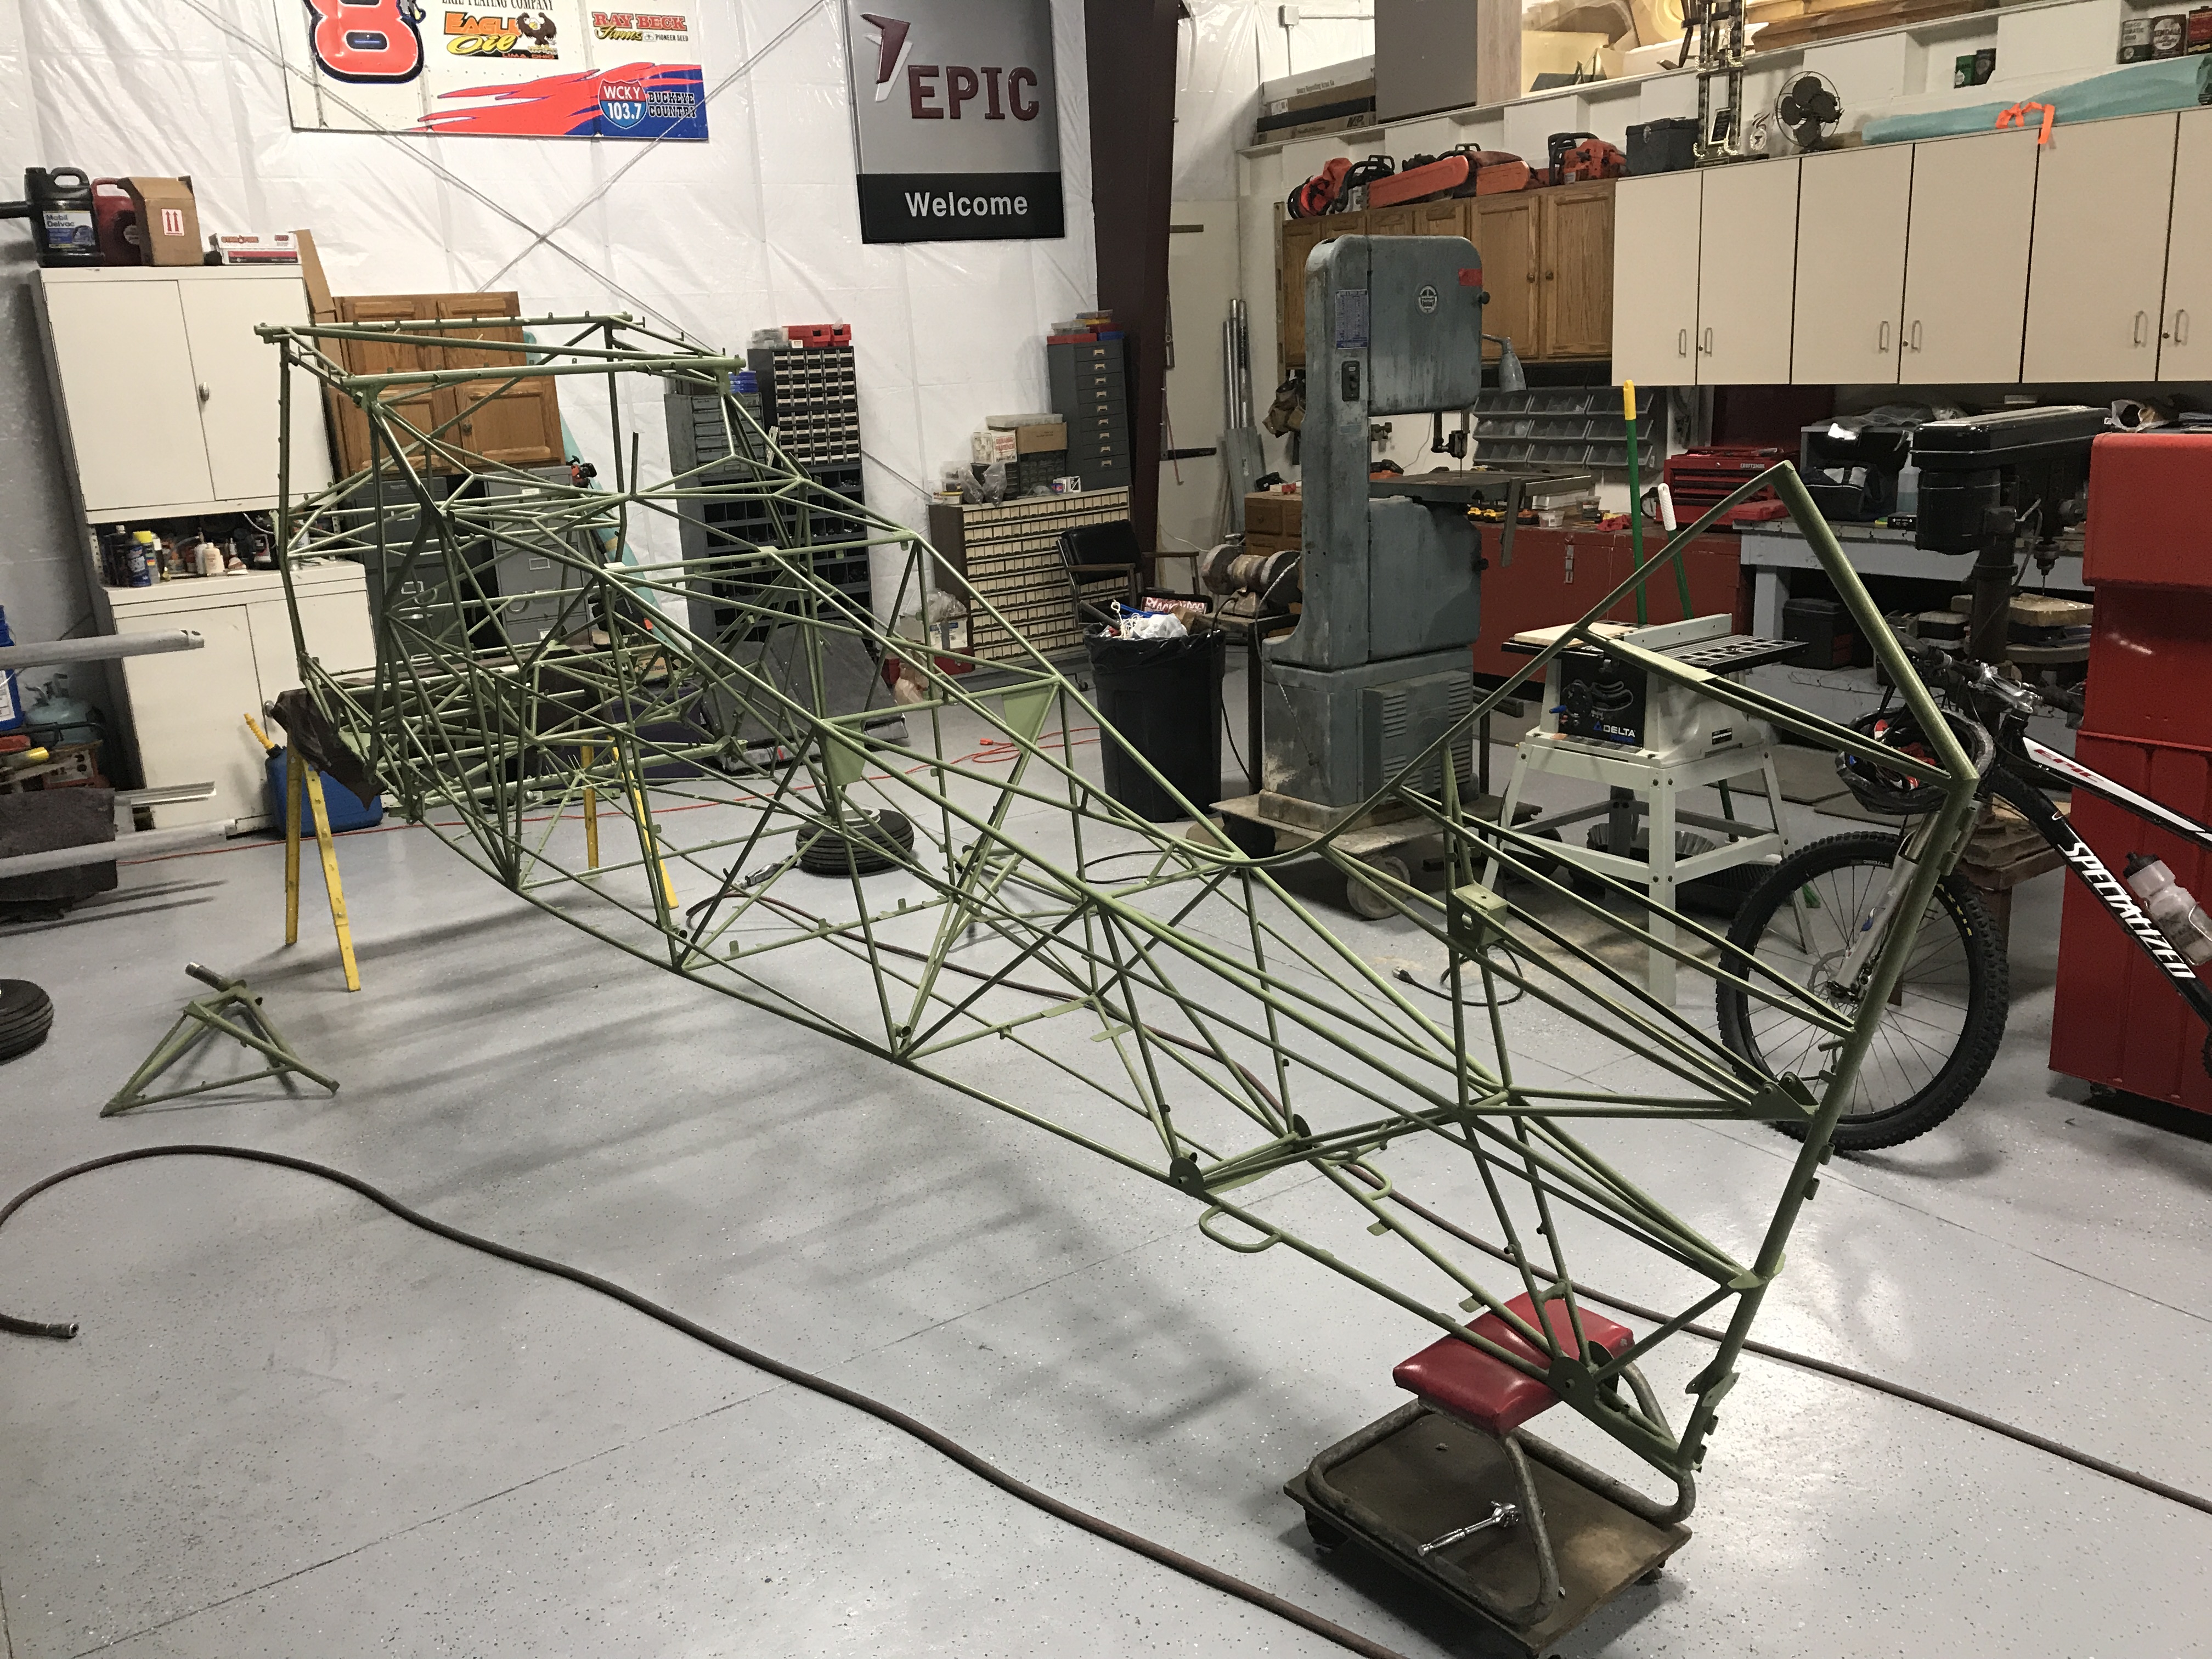
Friday and Saturday this week I primed and painted various parts like door frames and window frames and any other parts that would be visible and not covered with fabric. I should have listened to Ron when he told me to get more lights in the paint booth, I really needed it with my old eyes. Tomorrow, I am going to install more lights! And because I had poor lighting, I missed getting paint on some areas of certain parts, so I had some touch up to do today. Then I began prepping all the other small metal parts which I hope to get primed and painted tomorrow.

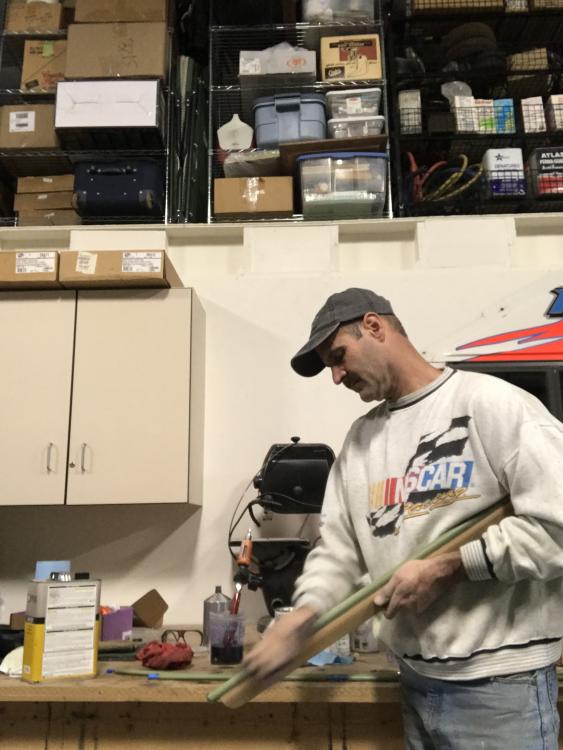
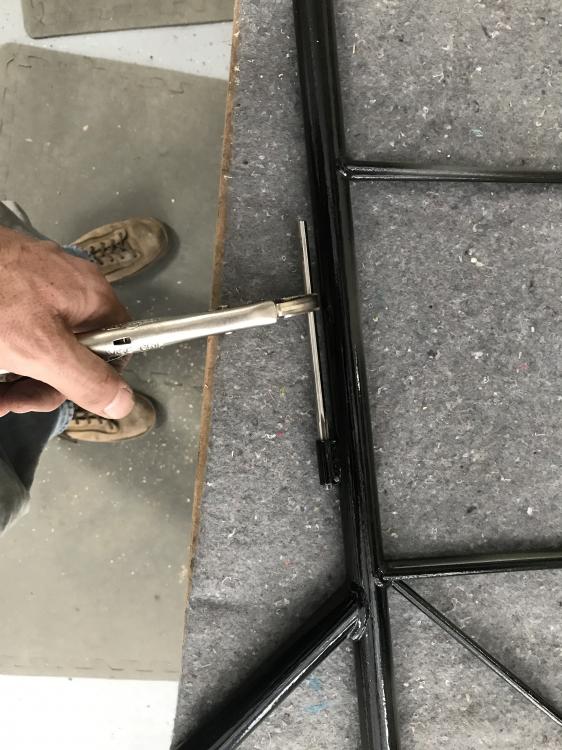
This picture to prove I am doing 51%..................
-
Today I put one more coat on the fuselage. I had major trouble with the primer the previous builder used, it bled through terrible. Luckily after letting it dry overnight the one last coat covered pretty well. I will be spraying primer on all remaining parts to cover the old zink primer the previous builder painted on using a paint brush, which also has caused some considerable sanding on parts that will show and not be covered by fabric. Paint booth works great, but I need a few more lights in it.

-
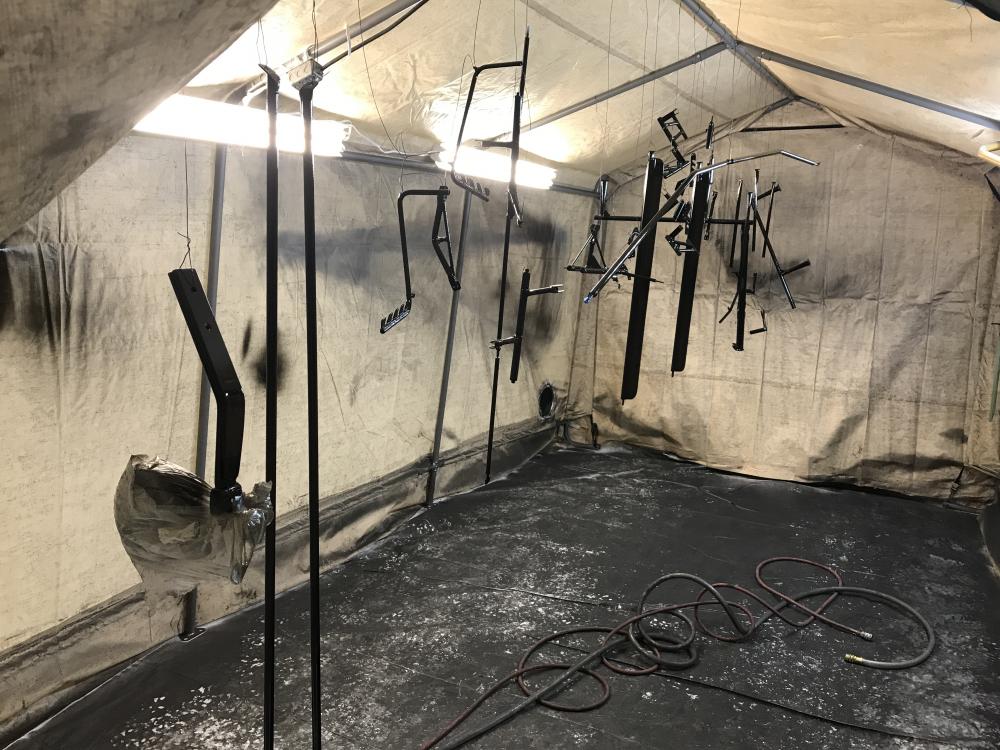
Yesterday I finished the paint booth and painted most of the fuselage. I will hopefully finish it today.

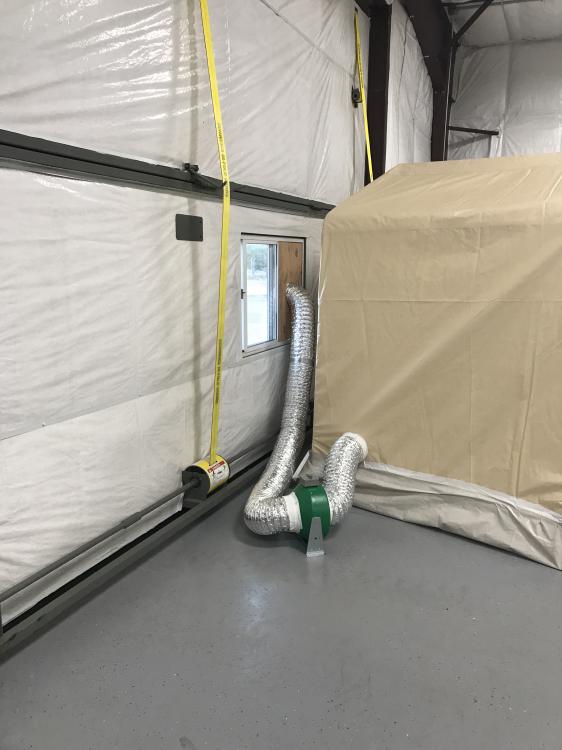
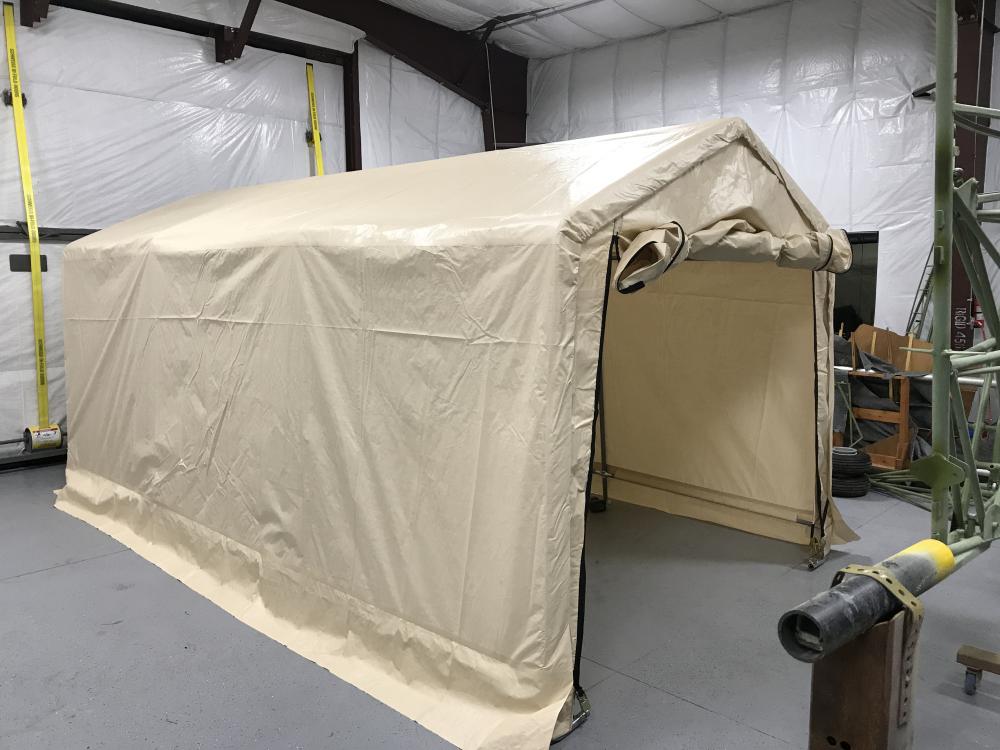
-

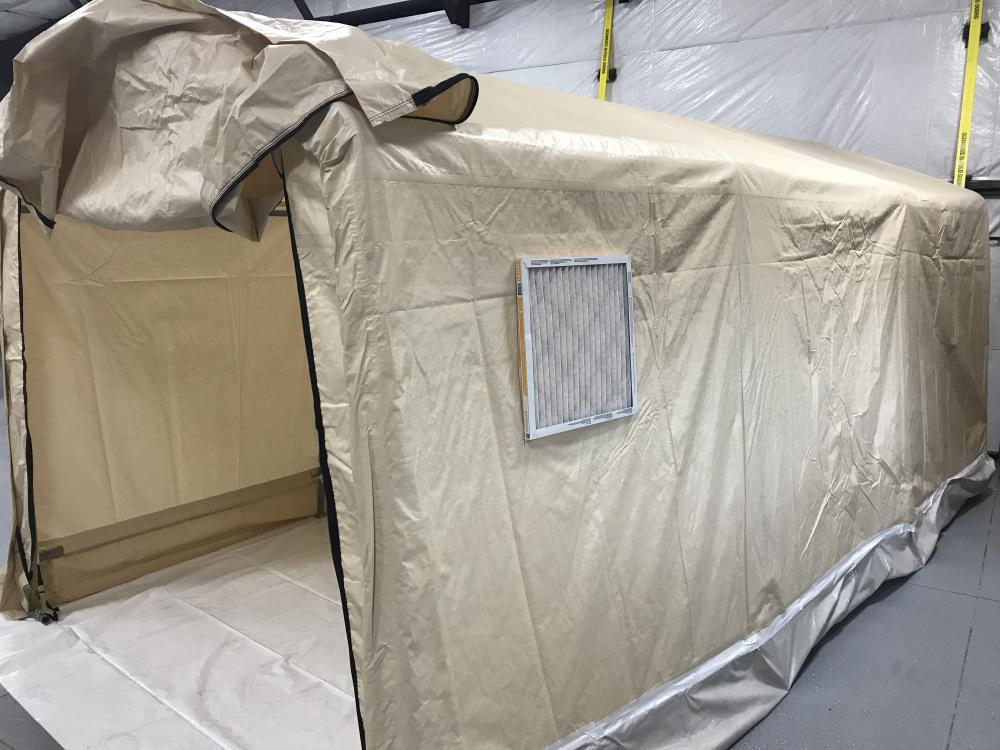
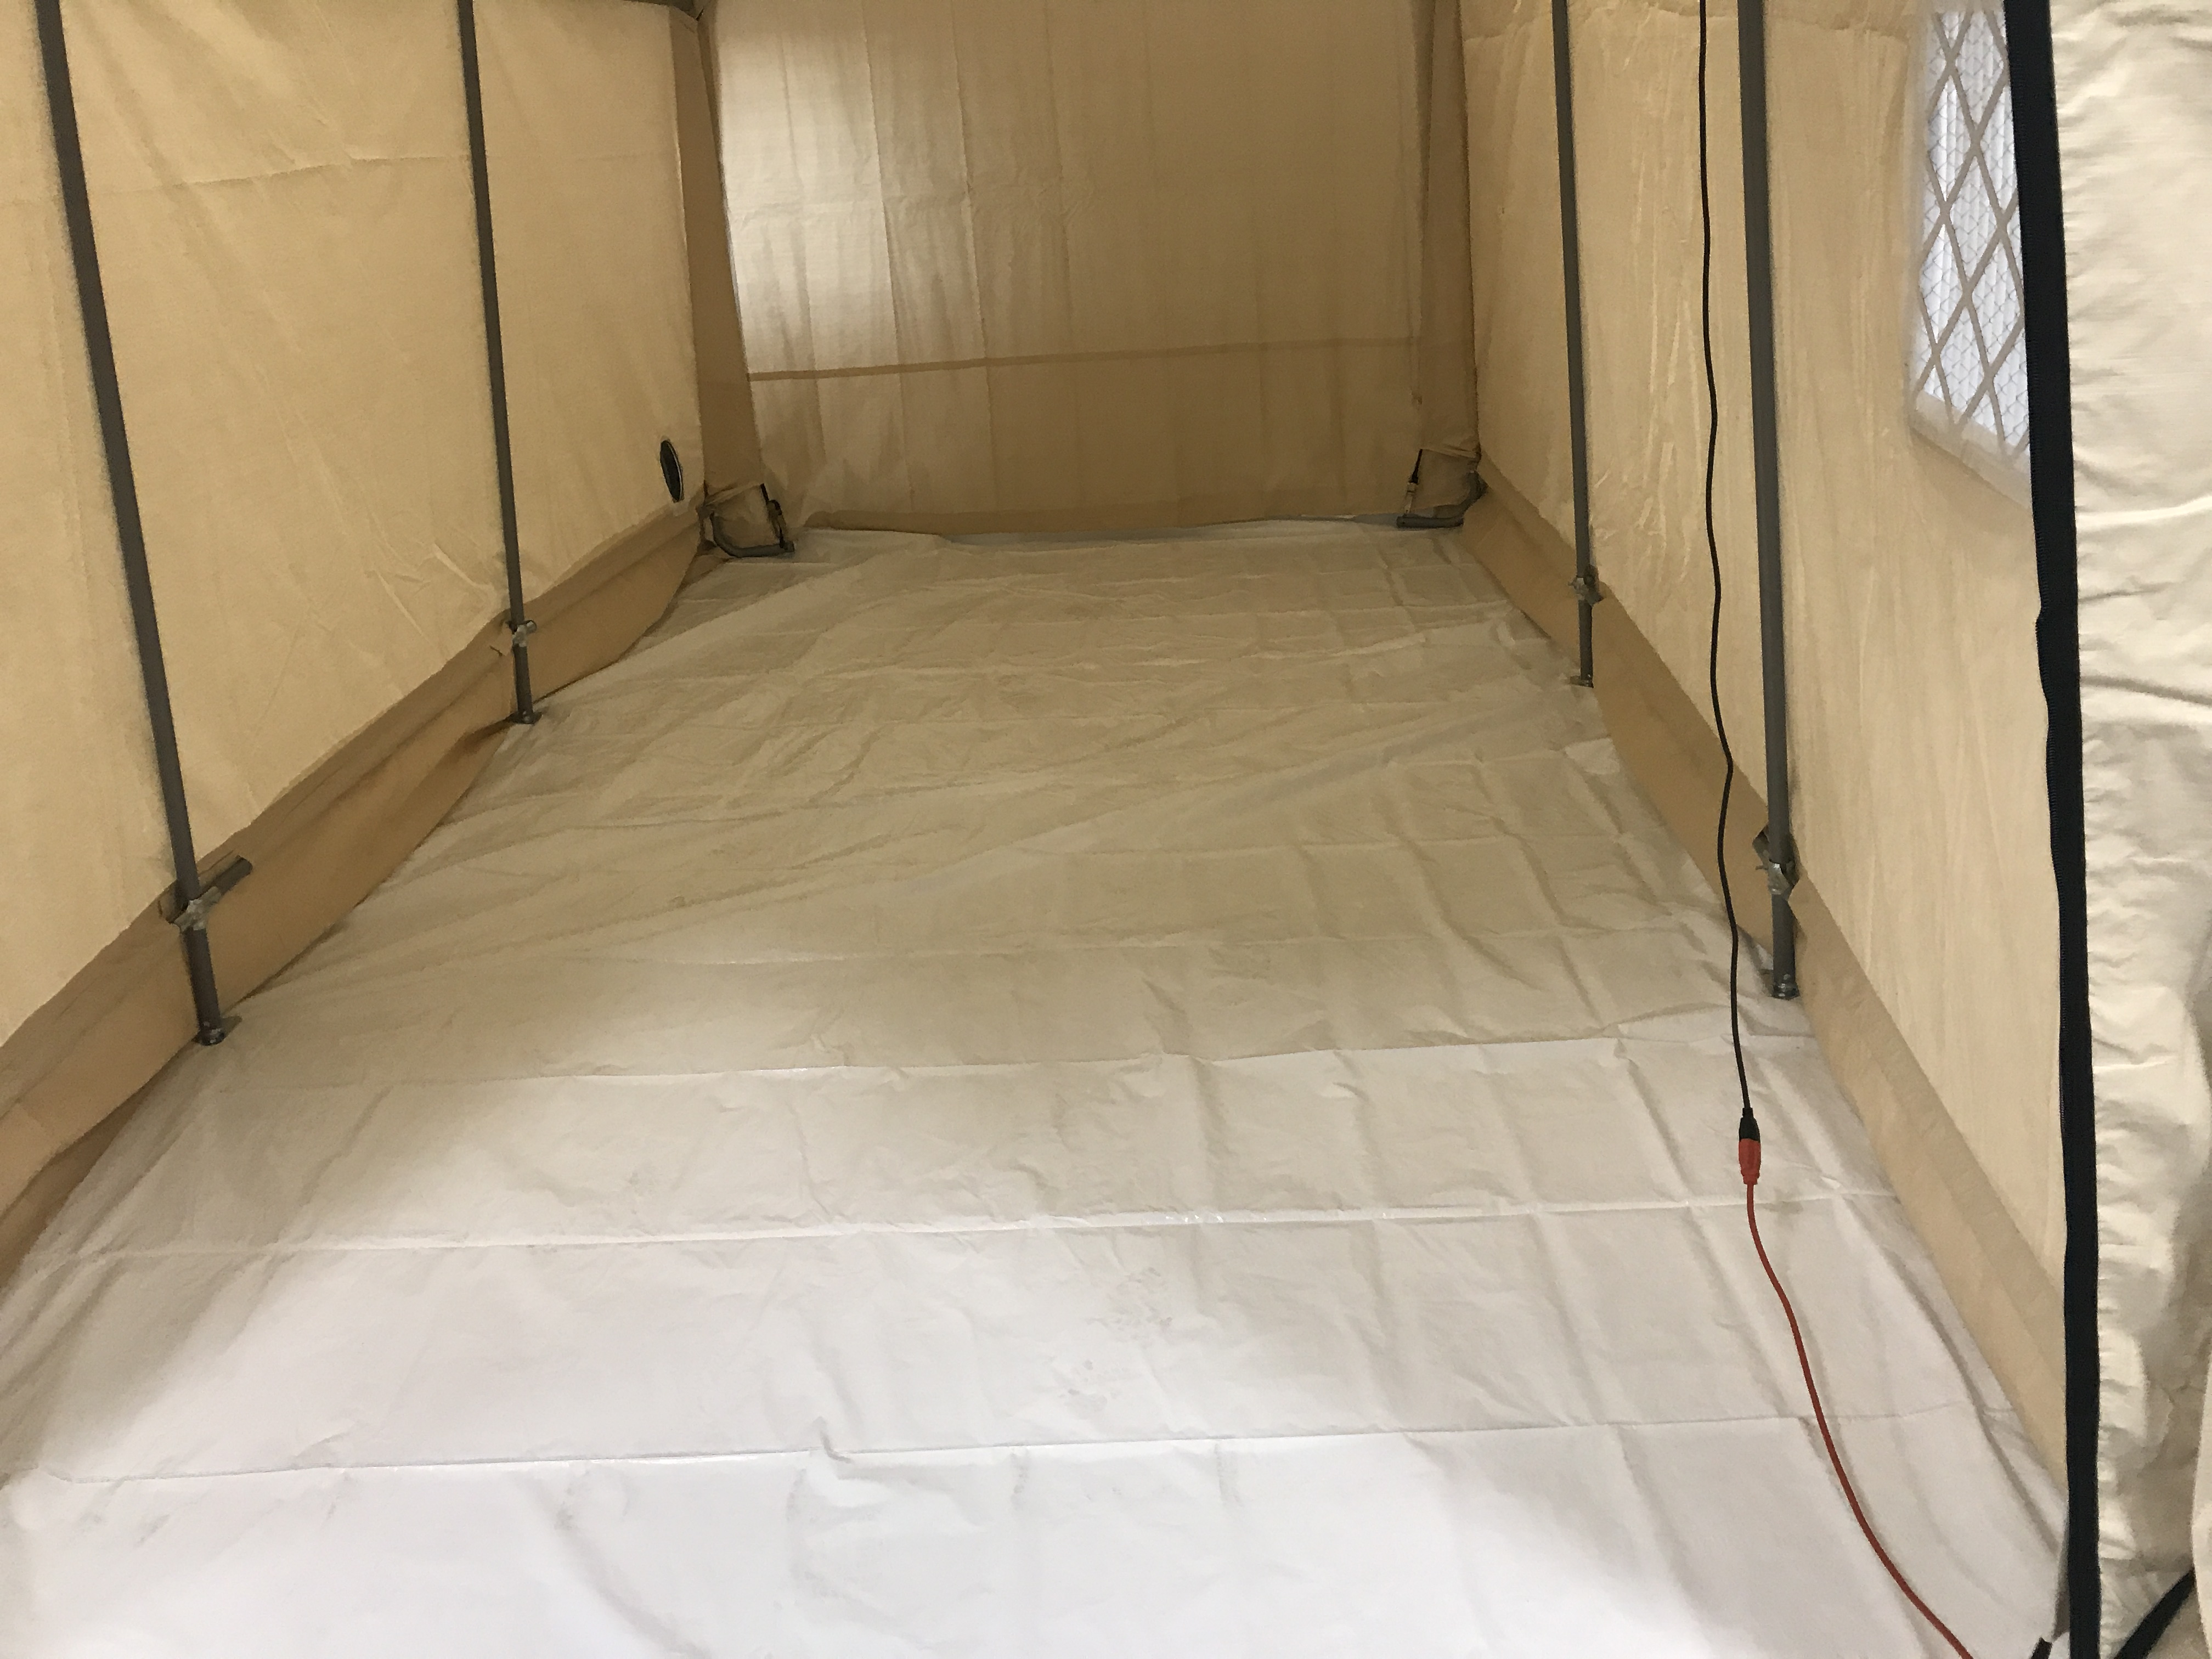
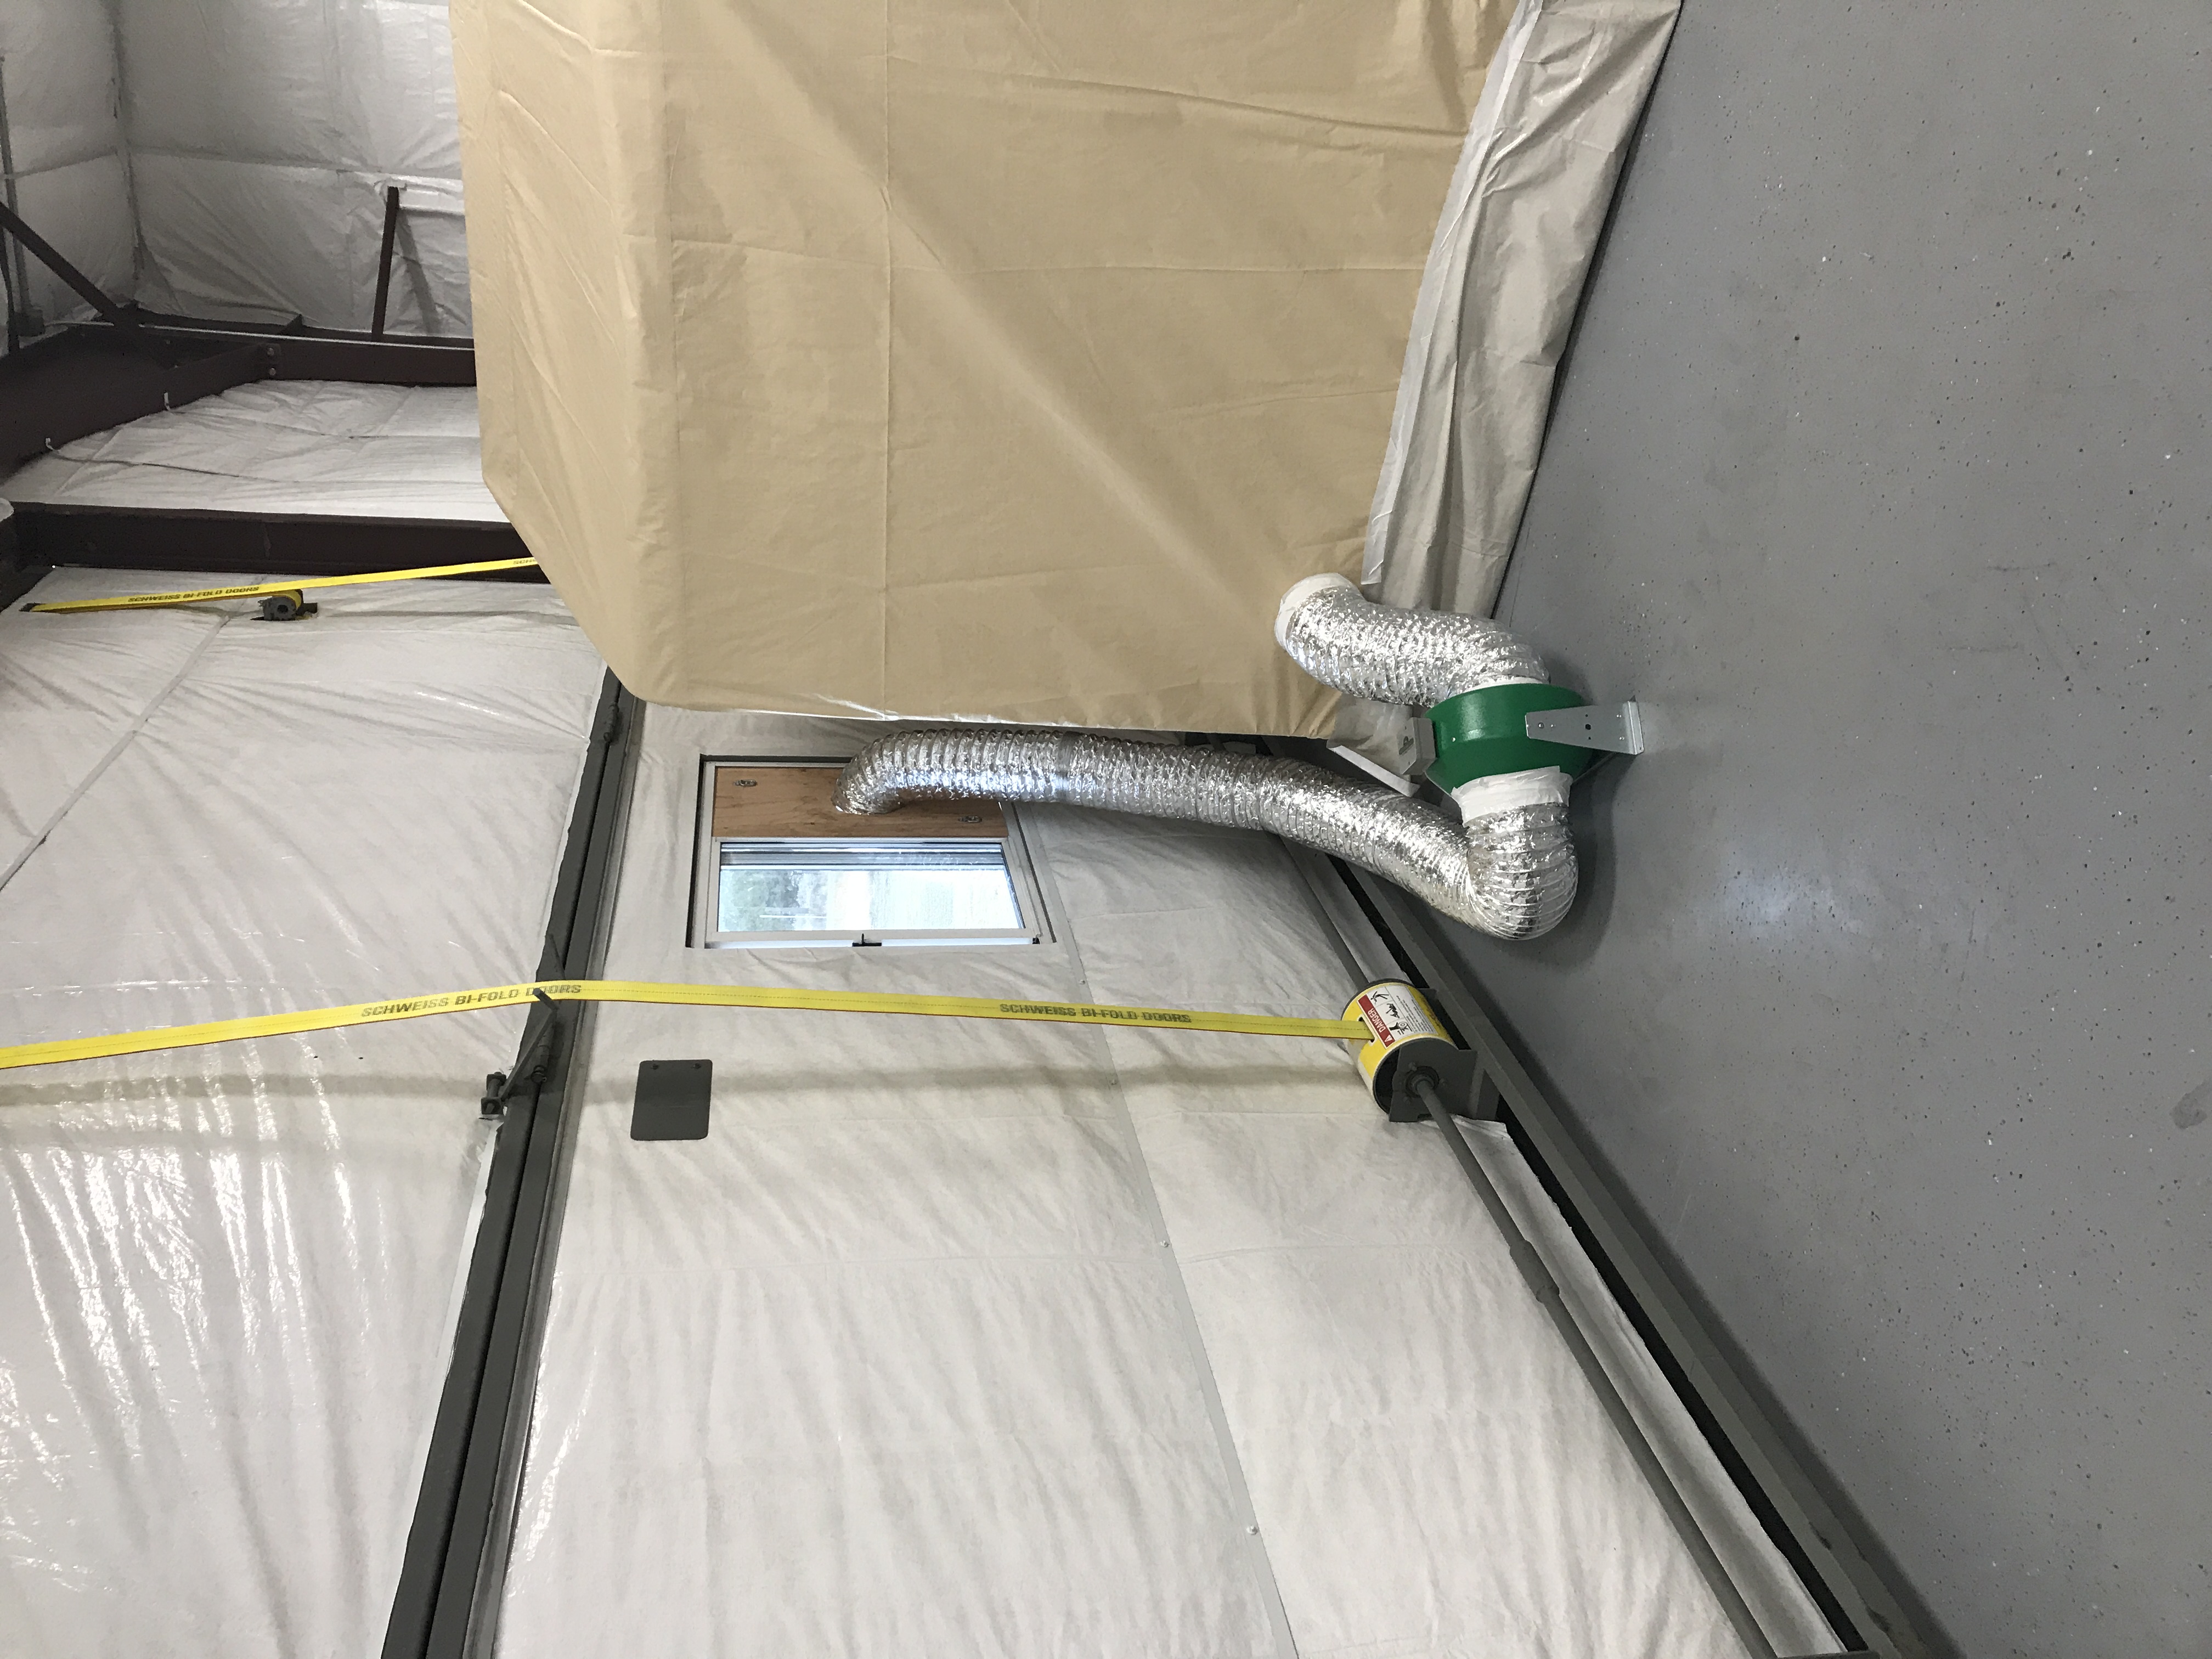
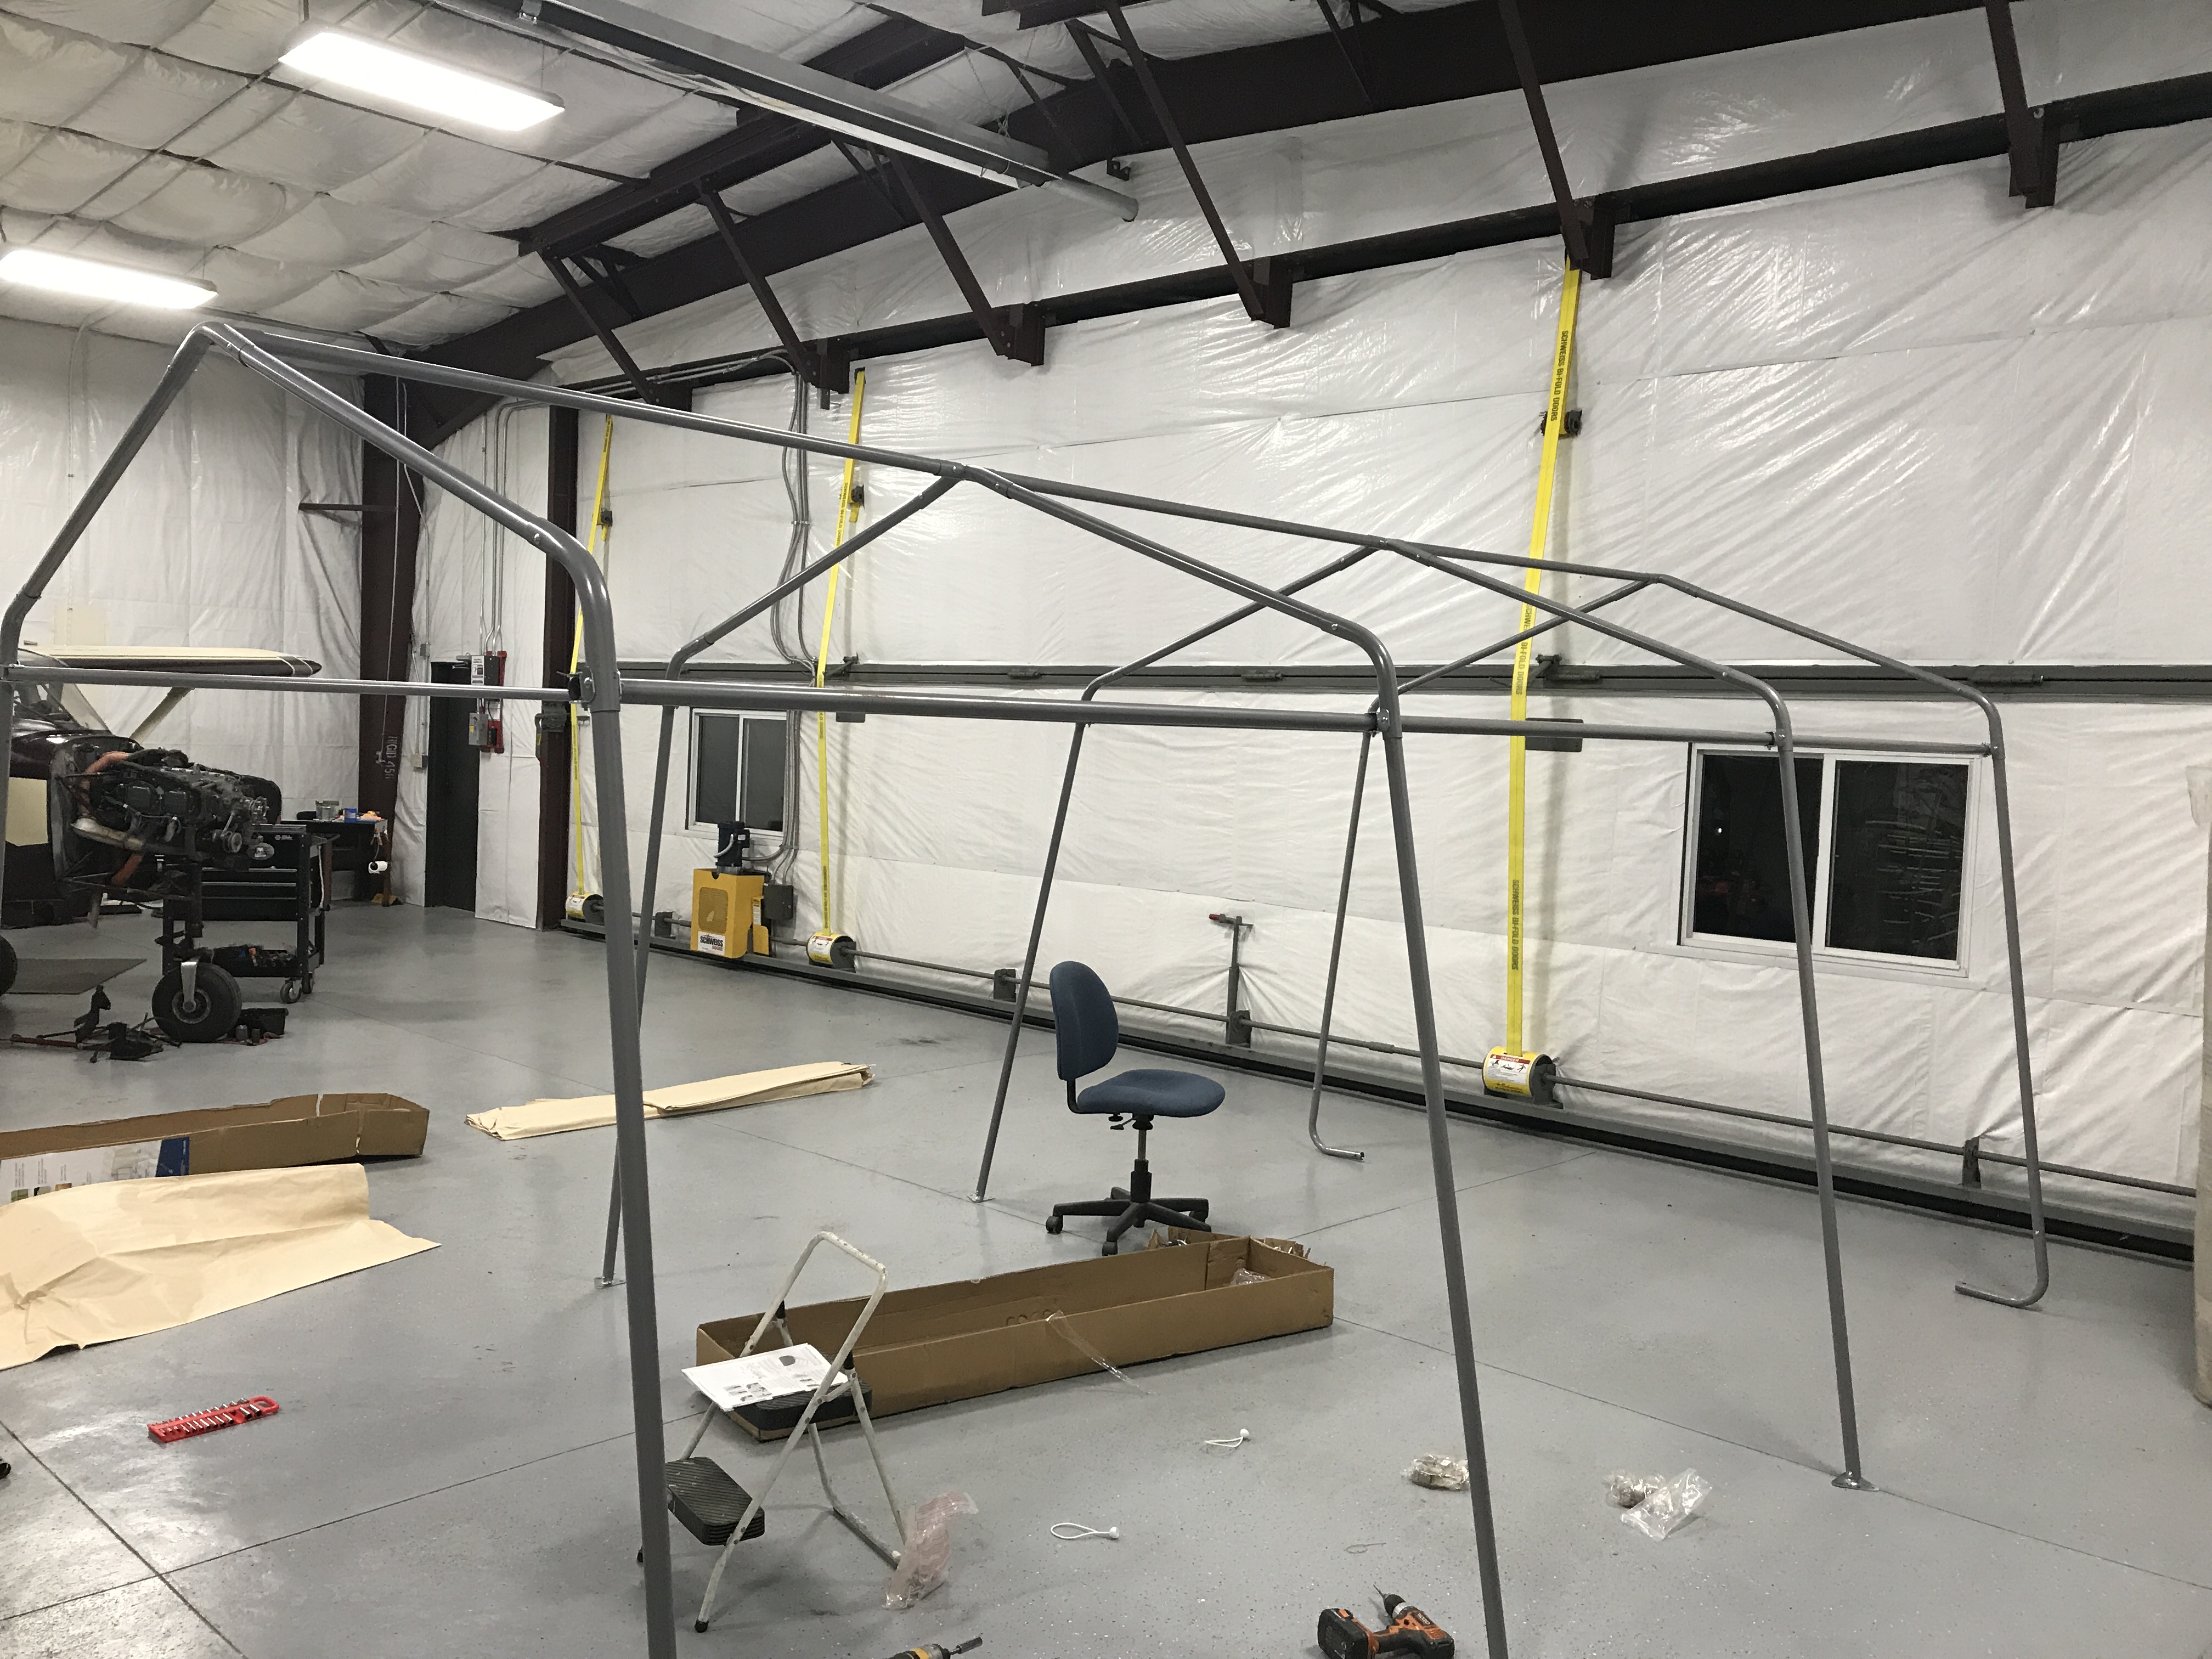
Well, Mr. FedEx brought my paint booth (cheap car port from Harbor Freight) so I got back to work on the Magnum. I hope to put some paint on the fuselage tomorrow if all goes well. Should make a nice, cheap paint booth. I also picked up some reamers today that I had ordered so I can clean some of the holes in the fuselage.


-
Rick, if you have a picture that would be nice. Don't go to a lot of trouble though. I just don't like the way the tabs on the horizontal lines up with the rib in the vertical. Maybe I am being to particular. Trying for a nice finished look. Seems that this has been a problem for a lot of the Magnums, I have looked at a lot of pictures of this access panel, and I'm not liking the finished look. Ron's did turn out well.
Thanks for the pictures Ron! I think I will work on something else for a while :))
-
There is a Magnum kit for sale on Barstormers, FYI! $13,500
-
I am having a problem figuring out how to close the gap between the horizontal stabilizer and the vertical. There are tabs welded on the horizontal stabilizer, but none on the vertical. As Ron suggested, I need to weld tabs for an access cover that should go there. Nowhere in the build manual does it address this, and Ron also said it was a pain to do, especially after the fabric is installed. The measurements between the ribs and the welded tabs does not line up either. Has anyone figured out a way to fix this problem? I want to get all my welding done before painting the fuselage and horizontal stabilizer. You can look at Ron's picture above to also get an idea. Thanks!
-
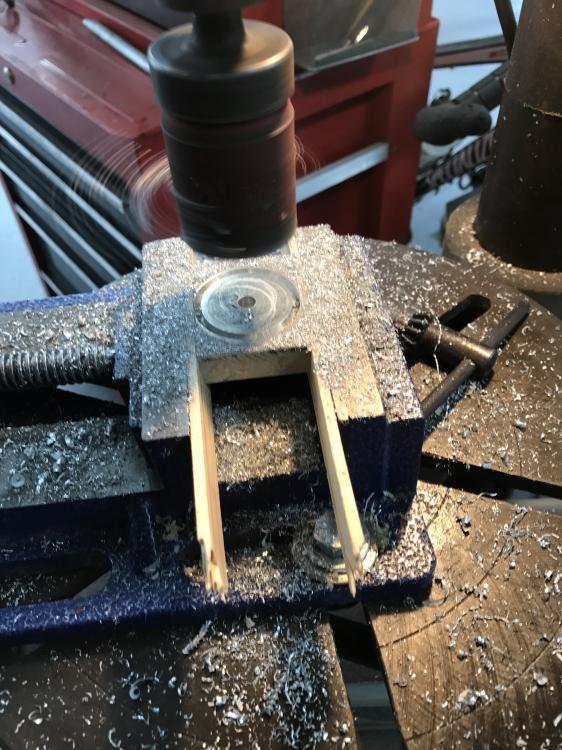
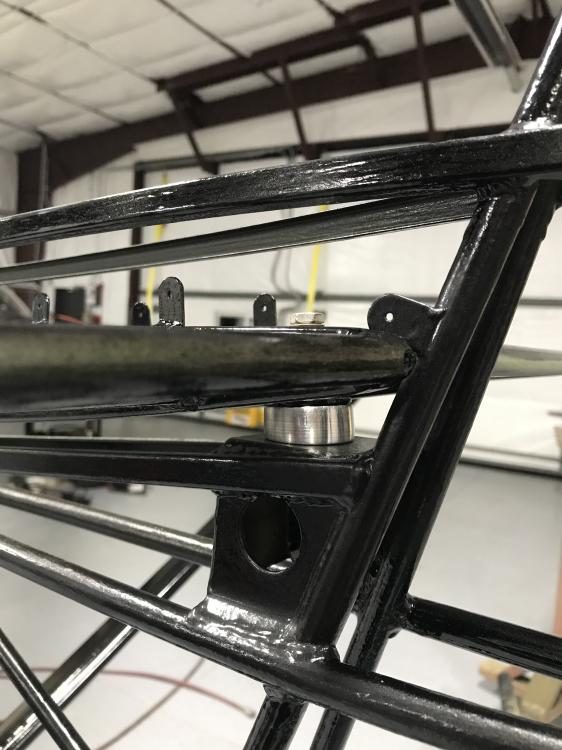
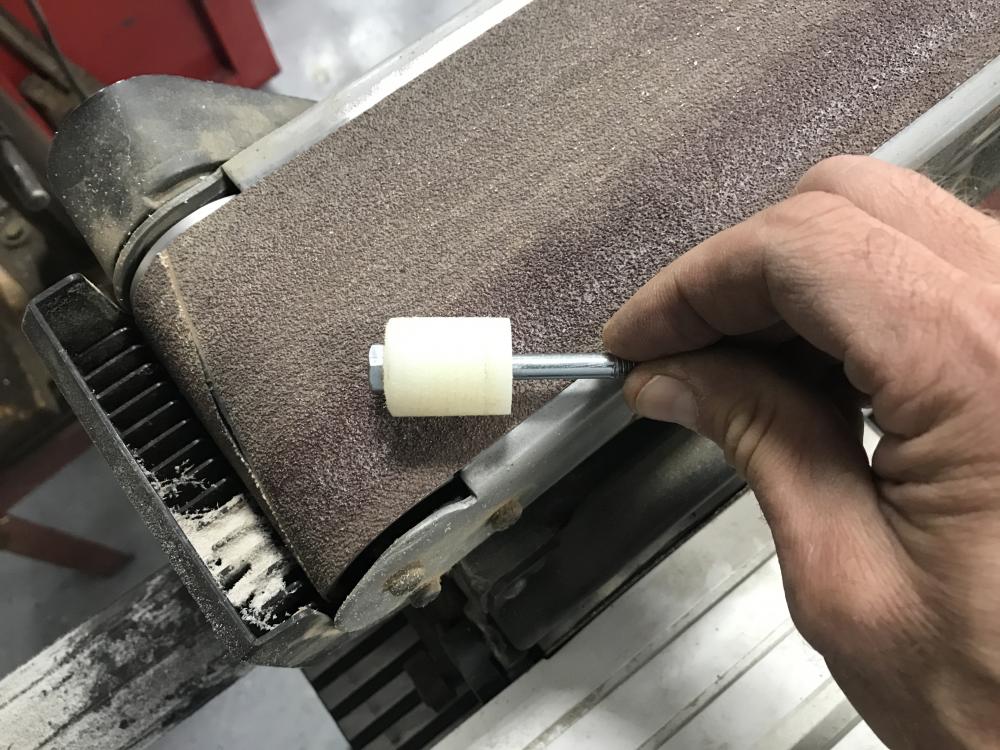
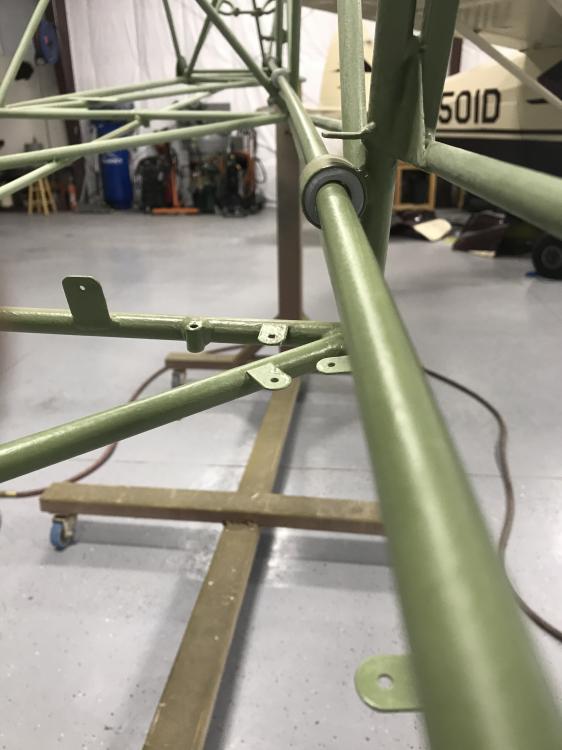
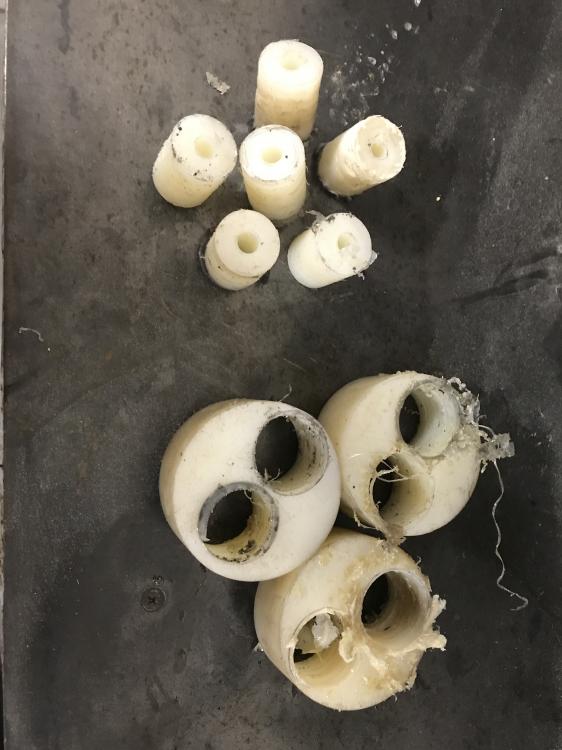
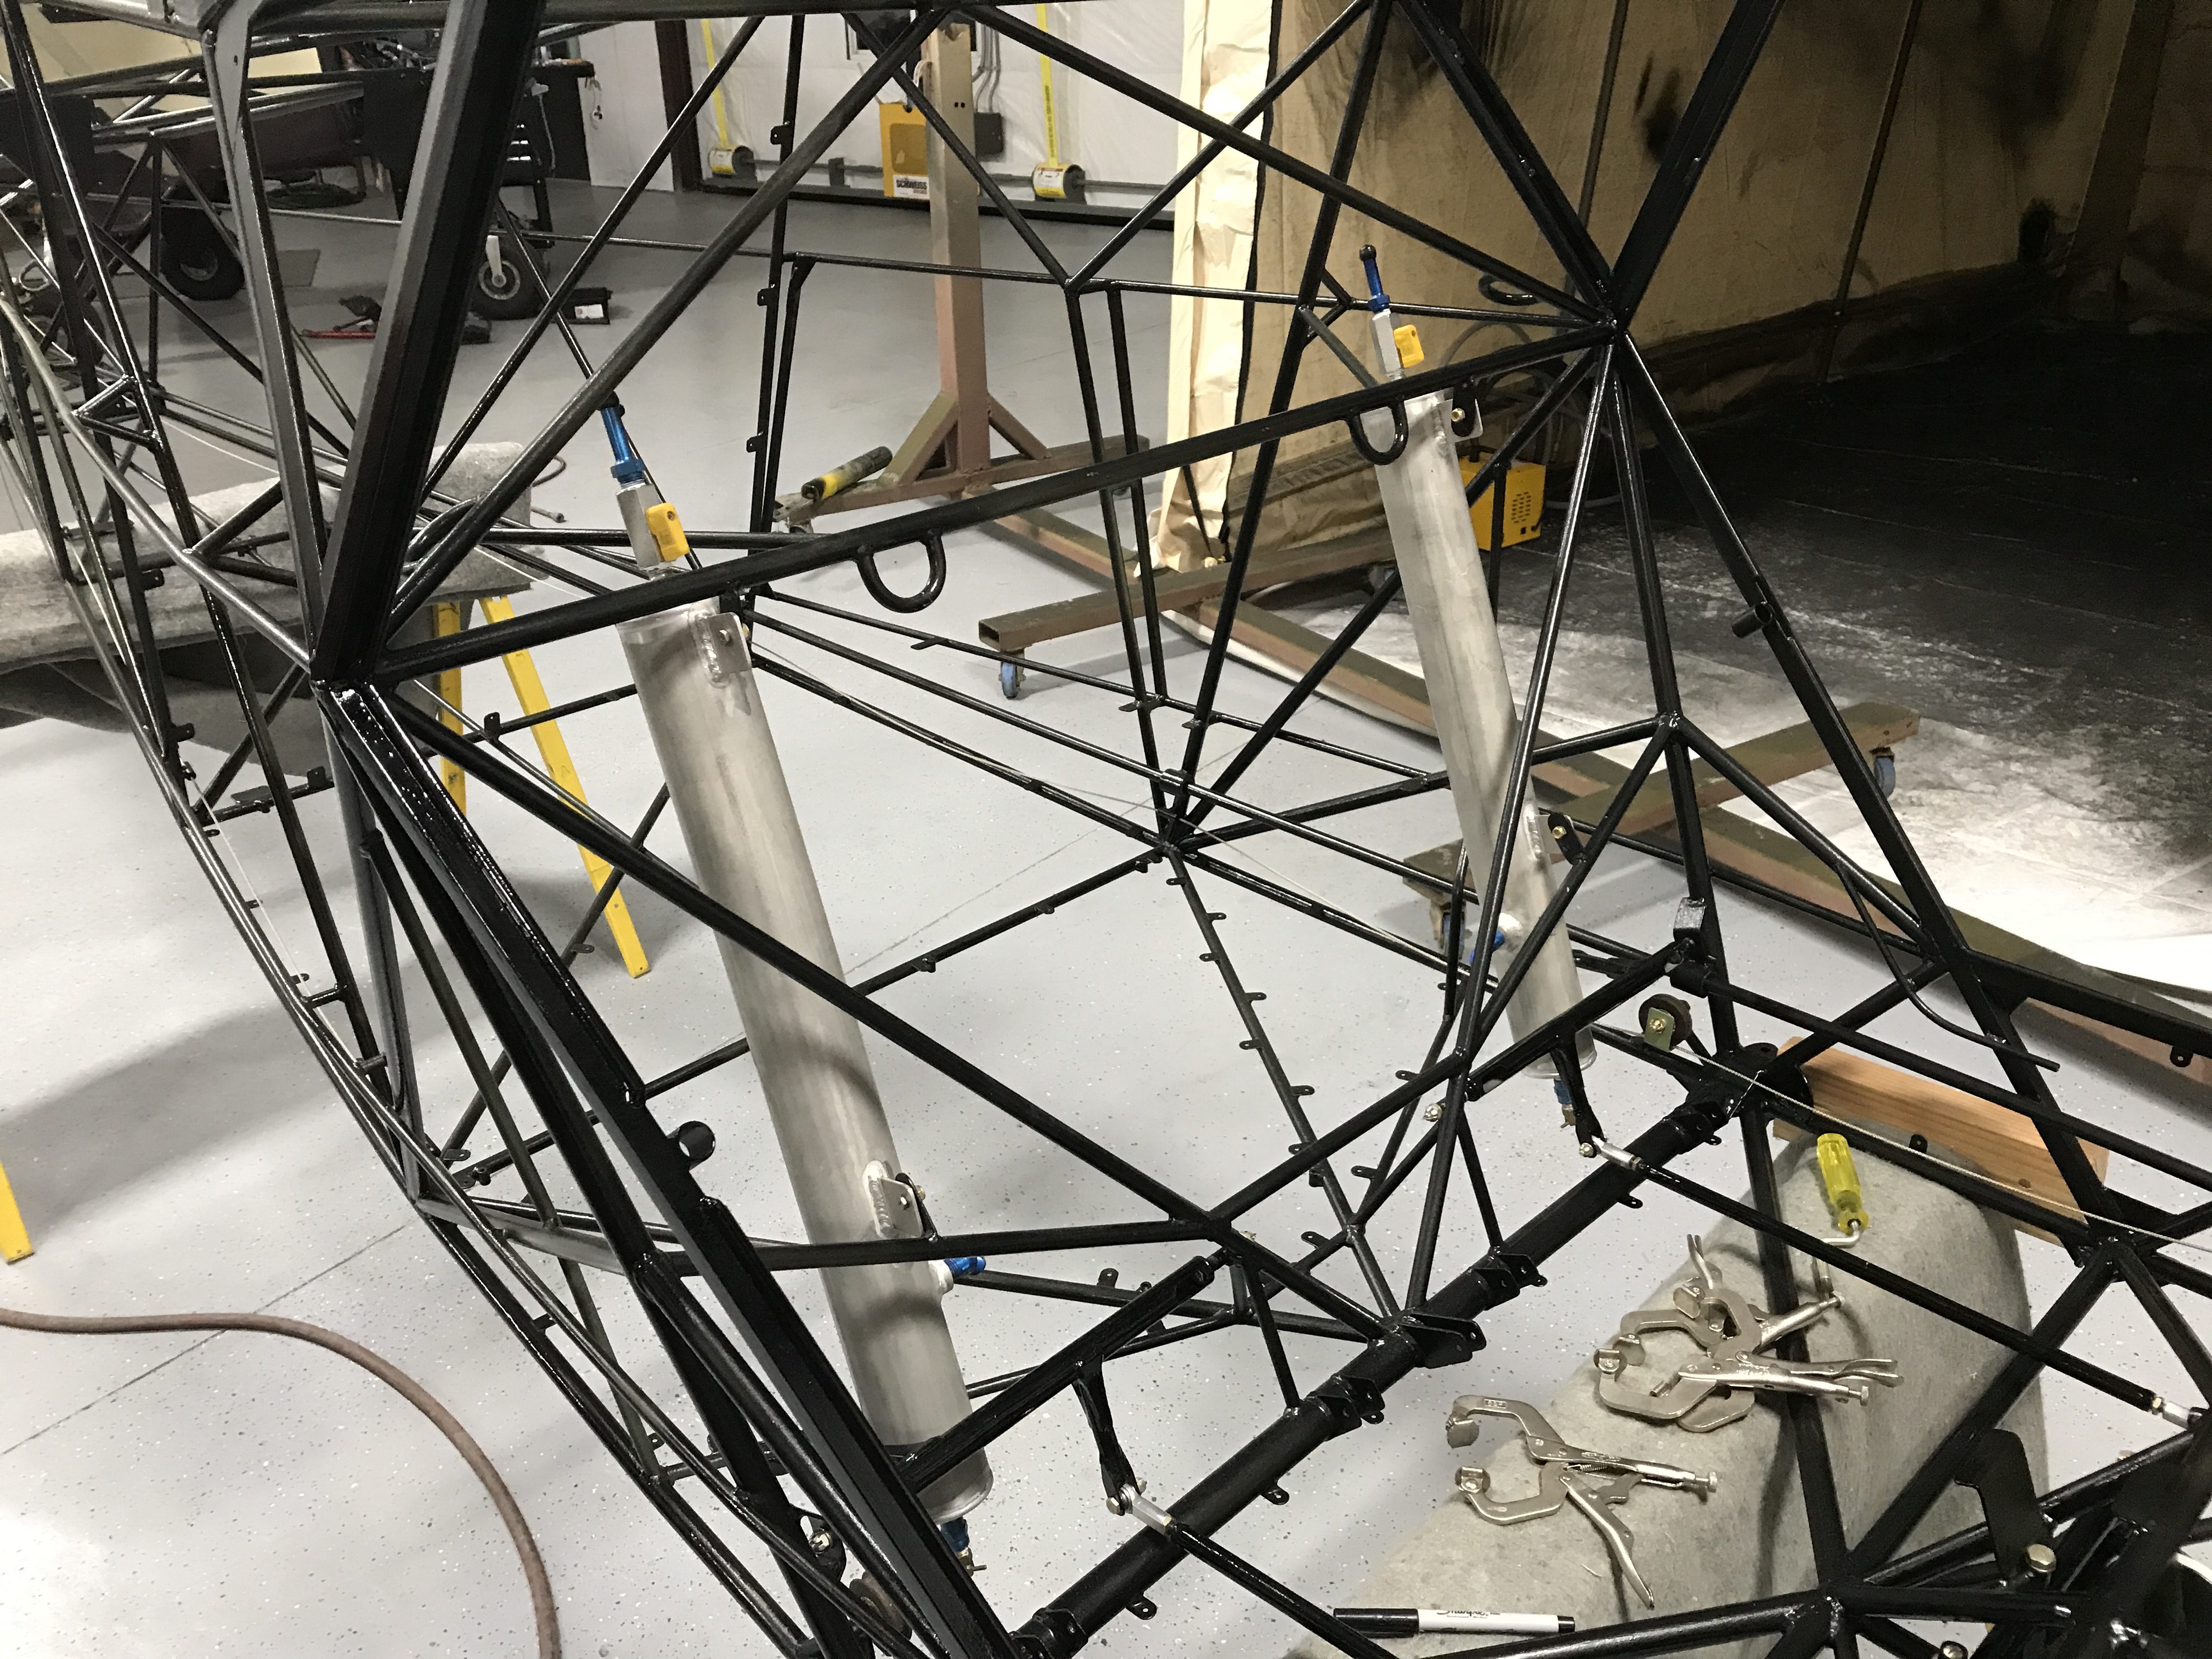
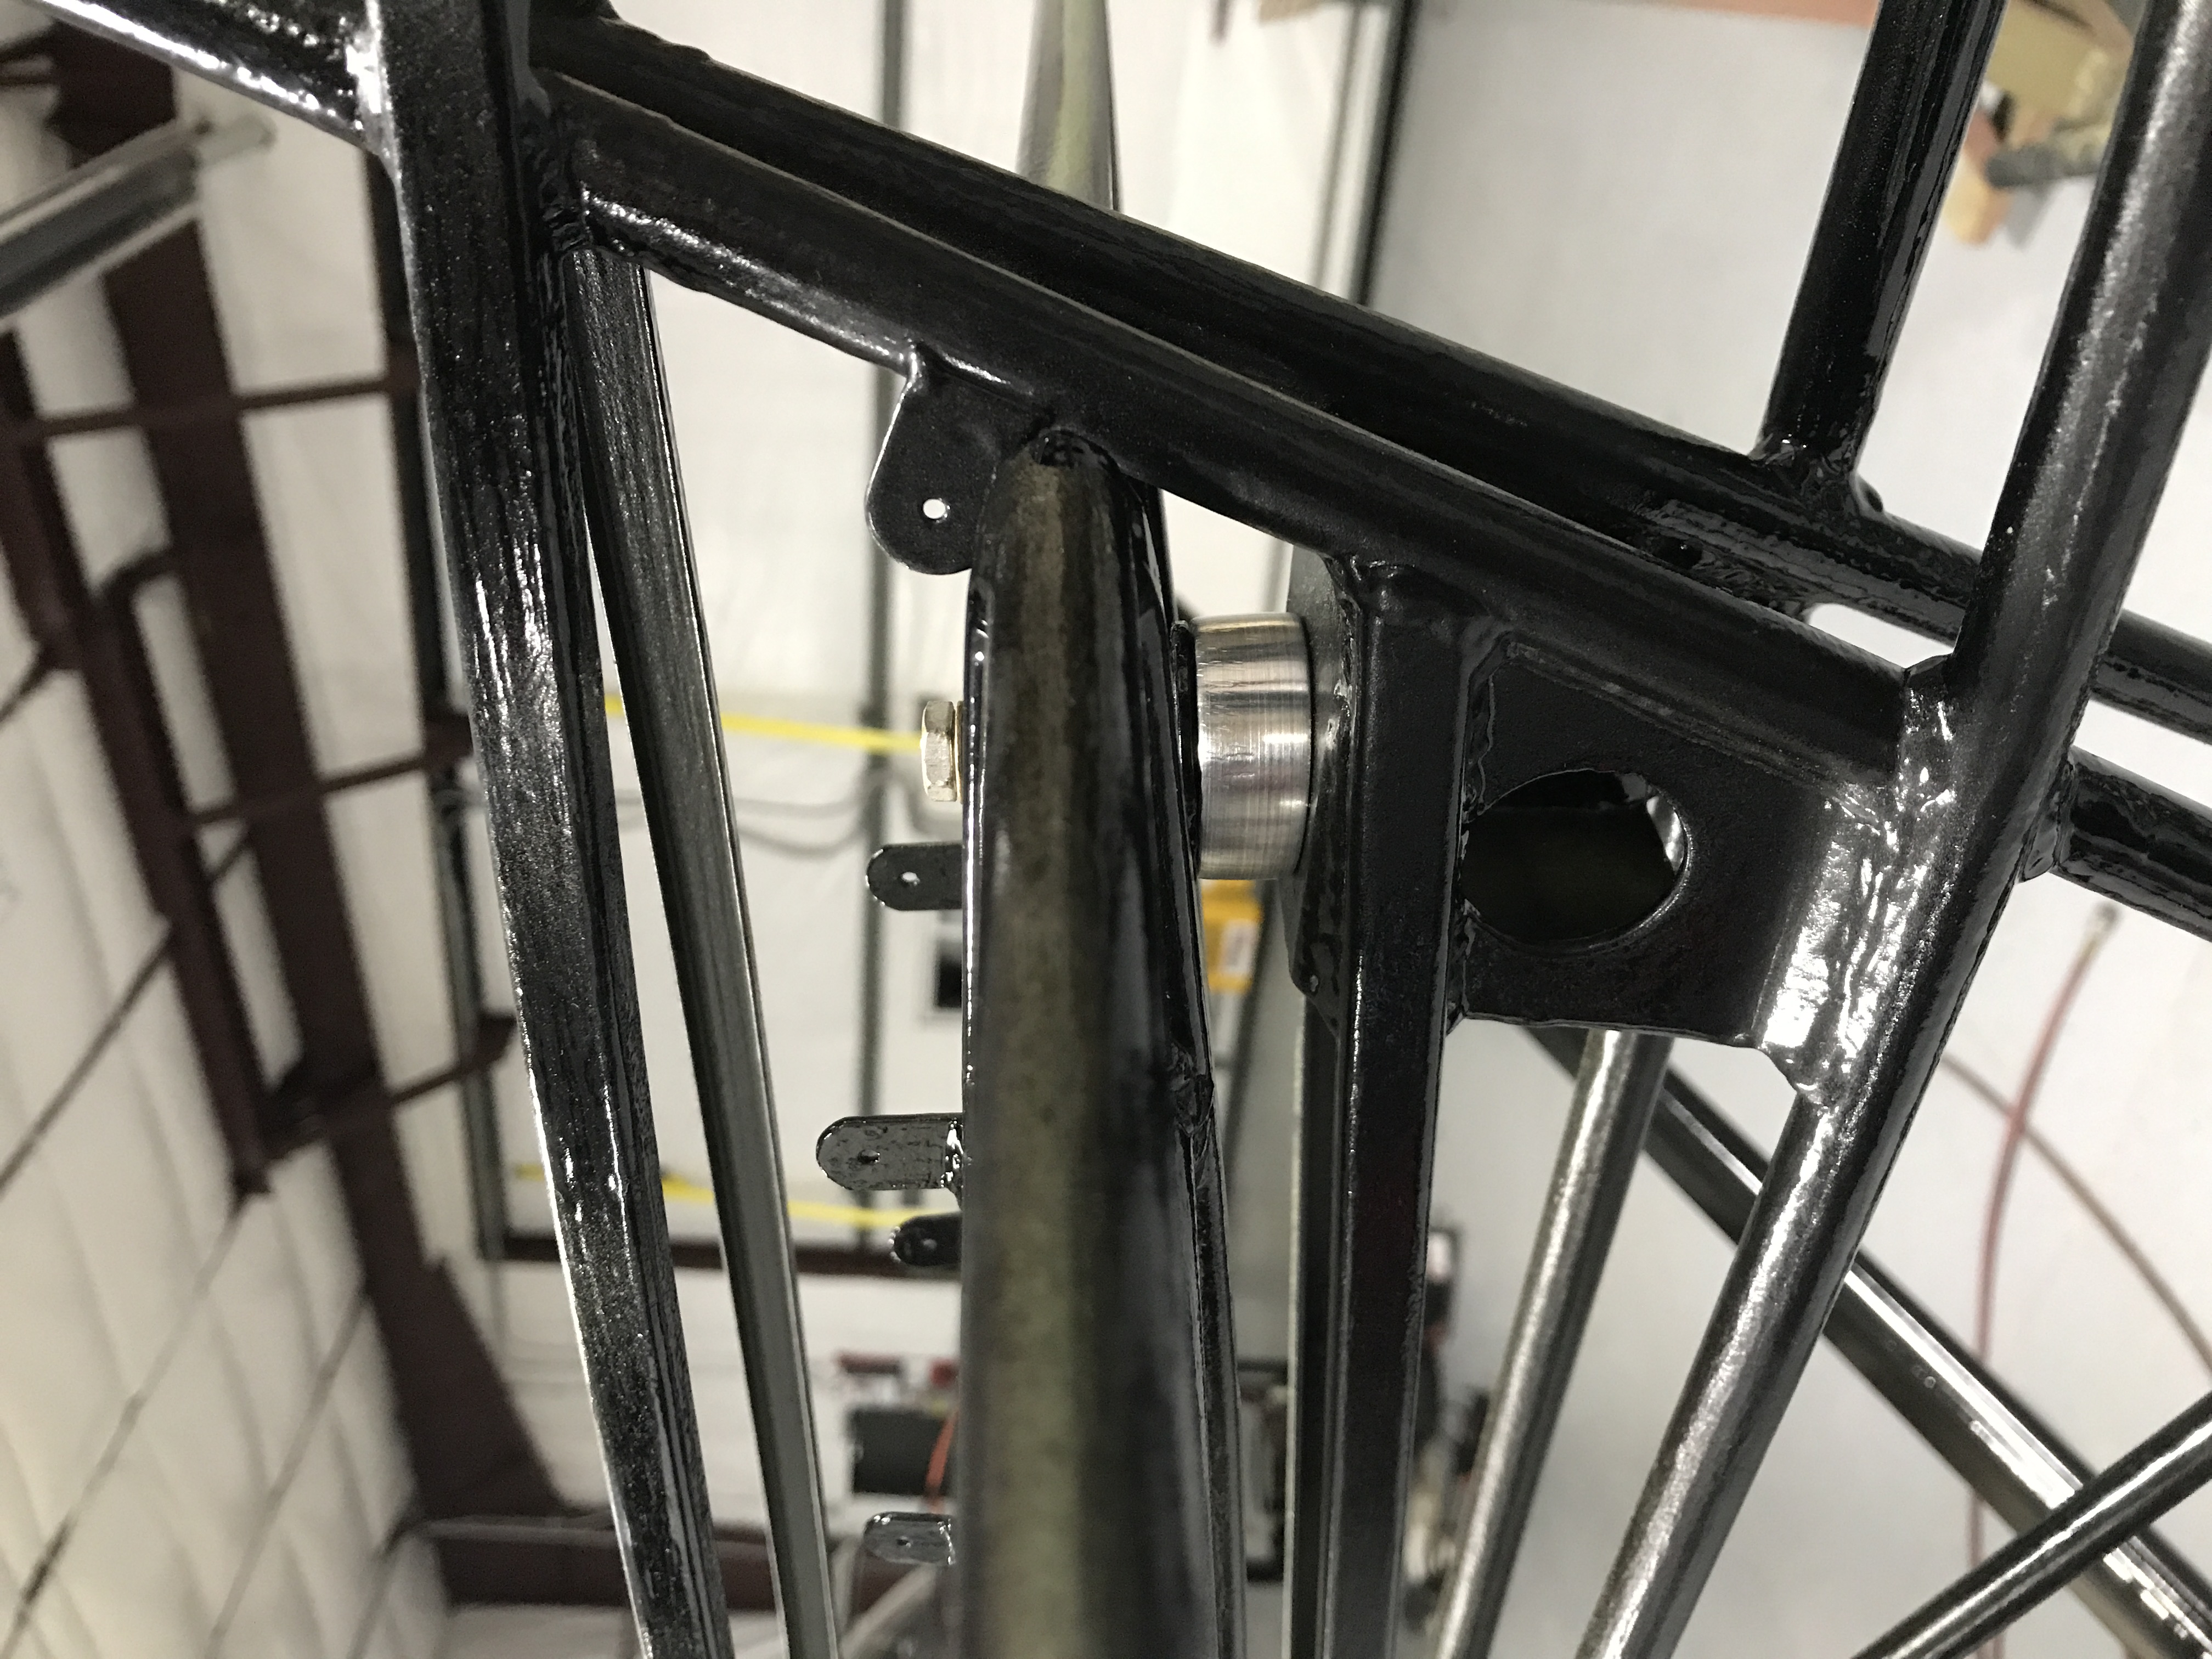
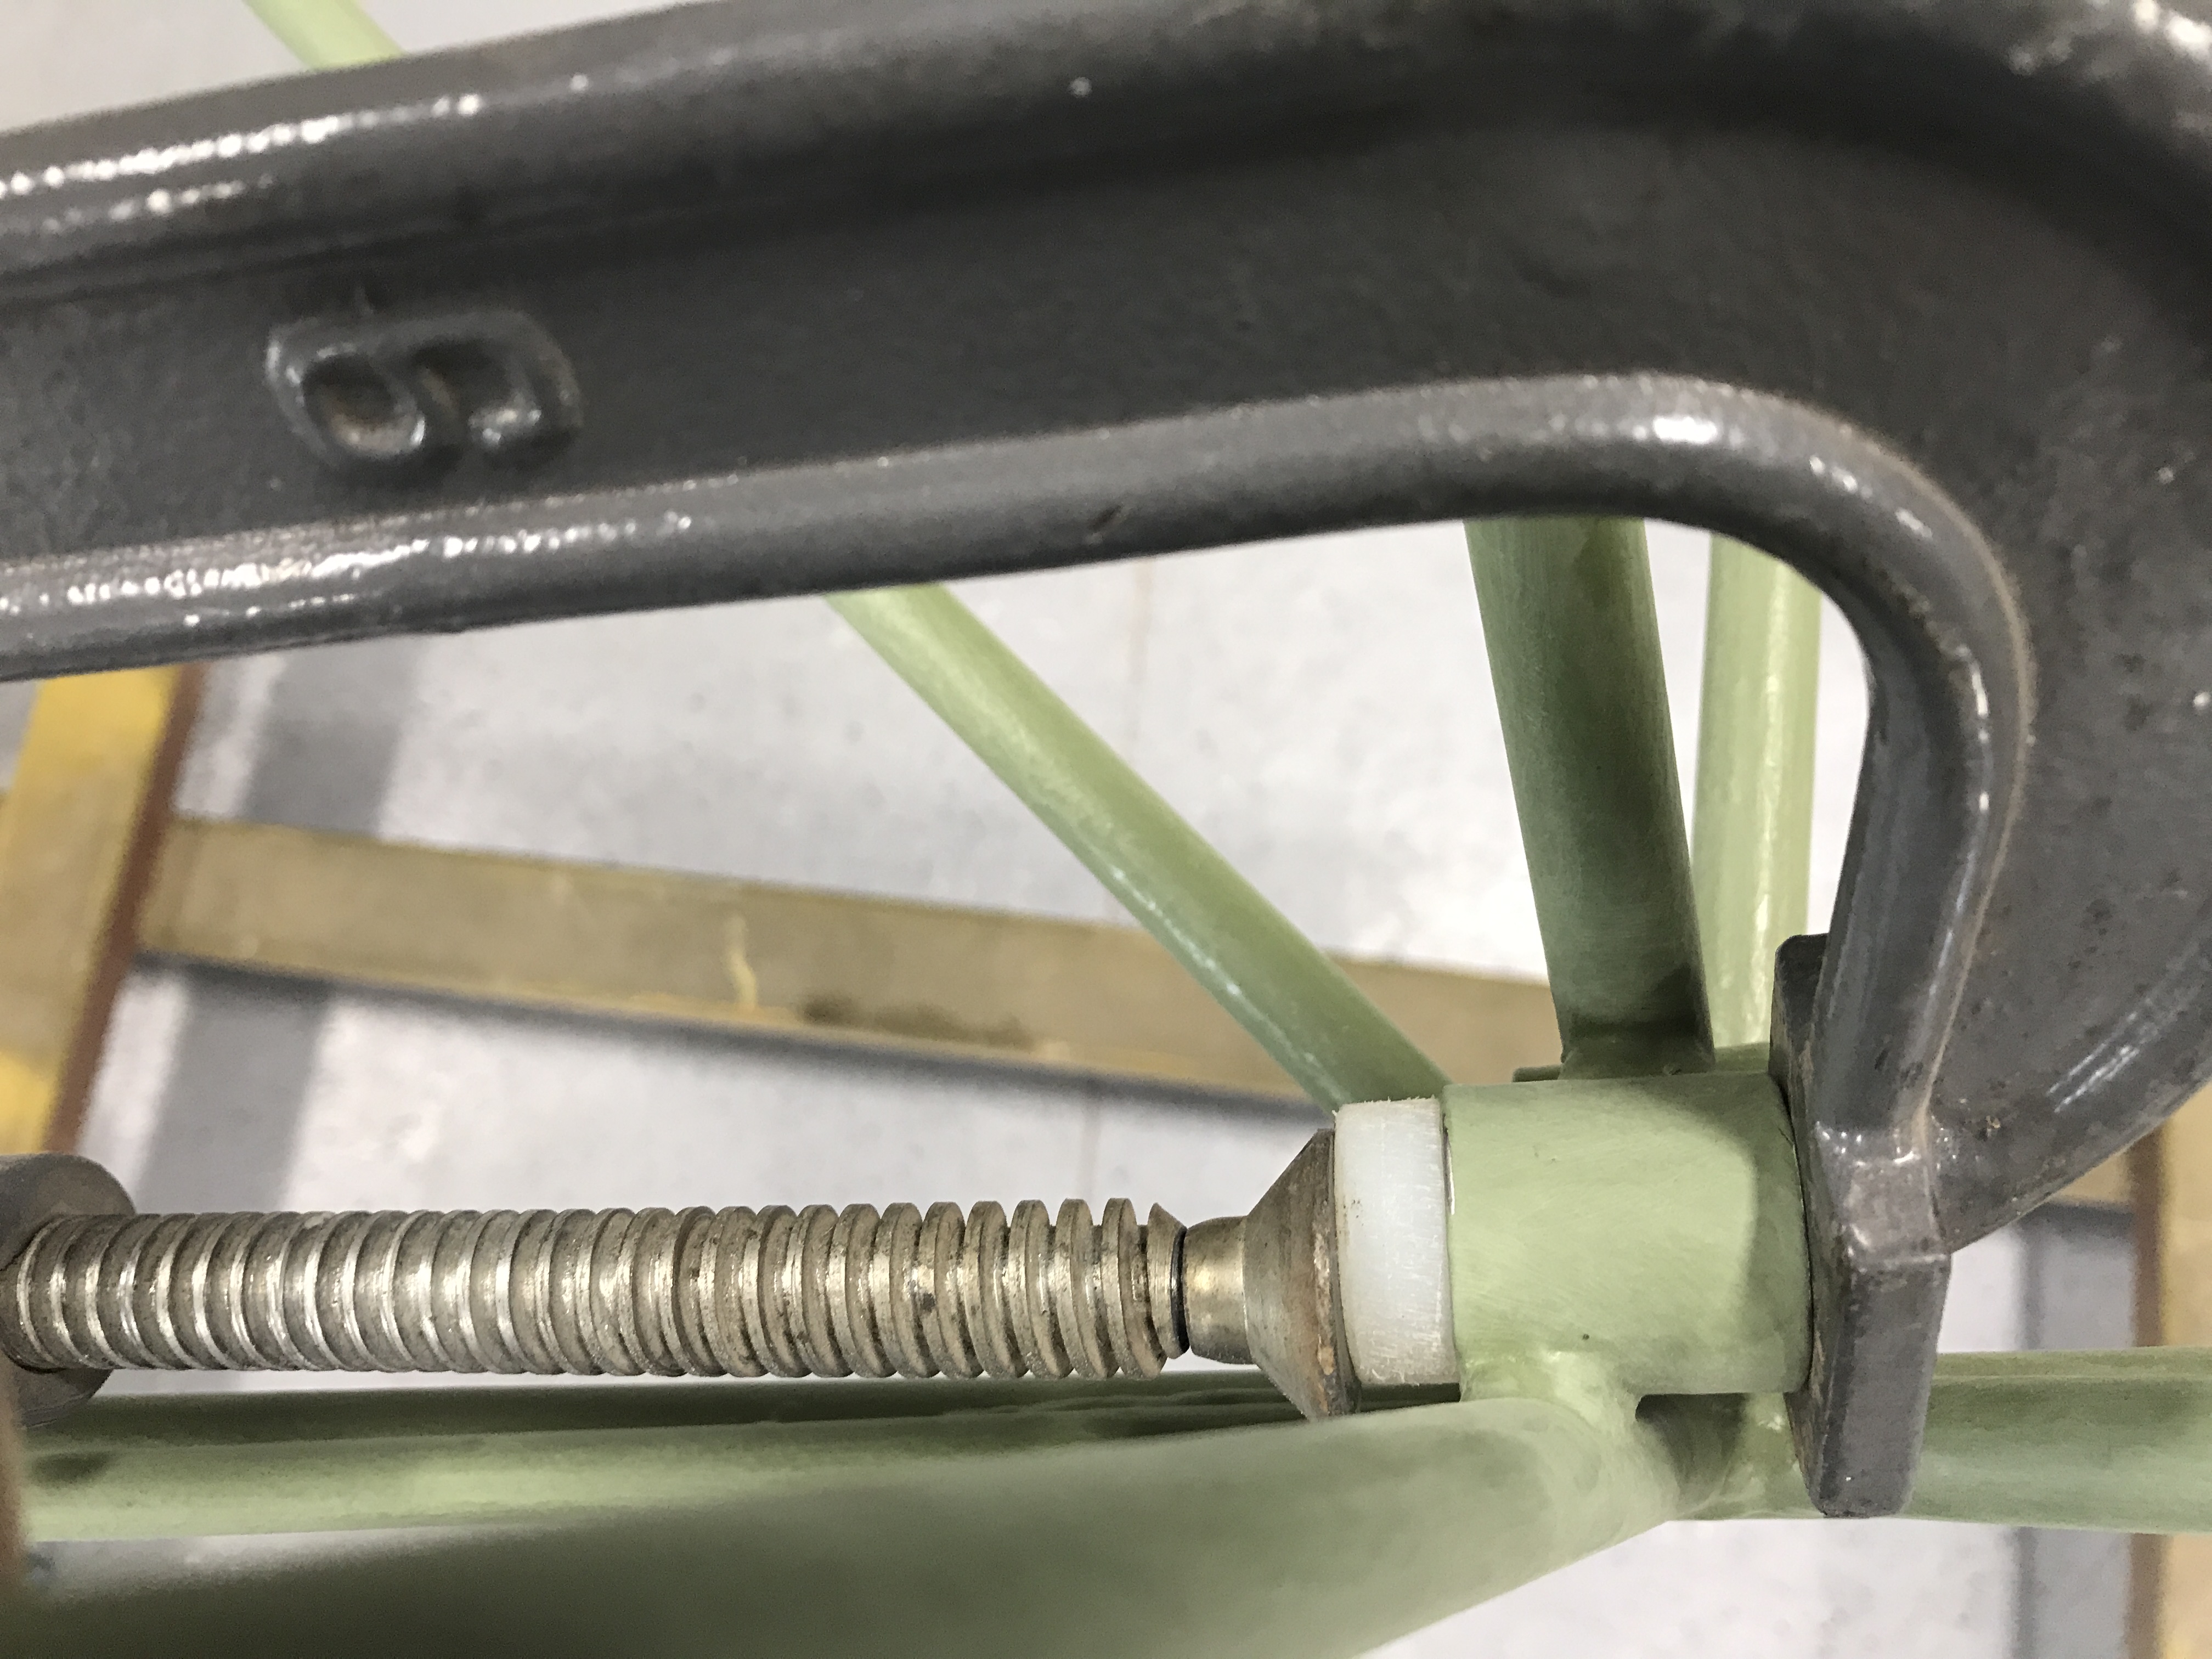
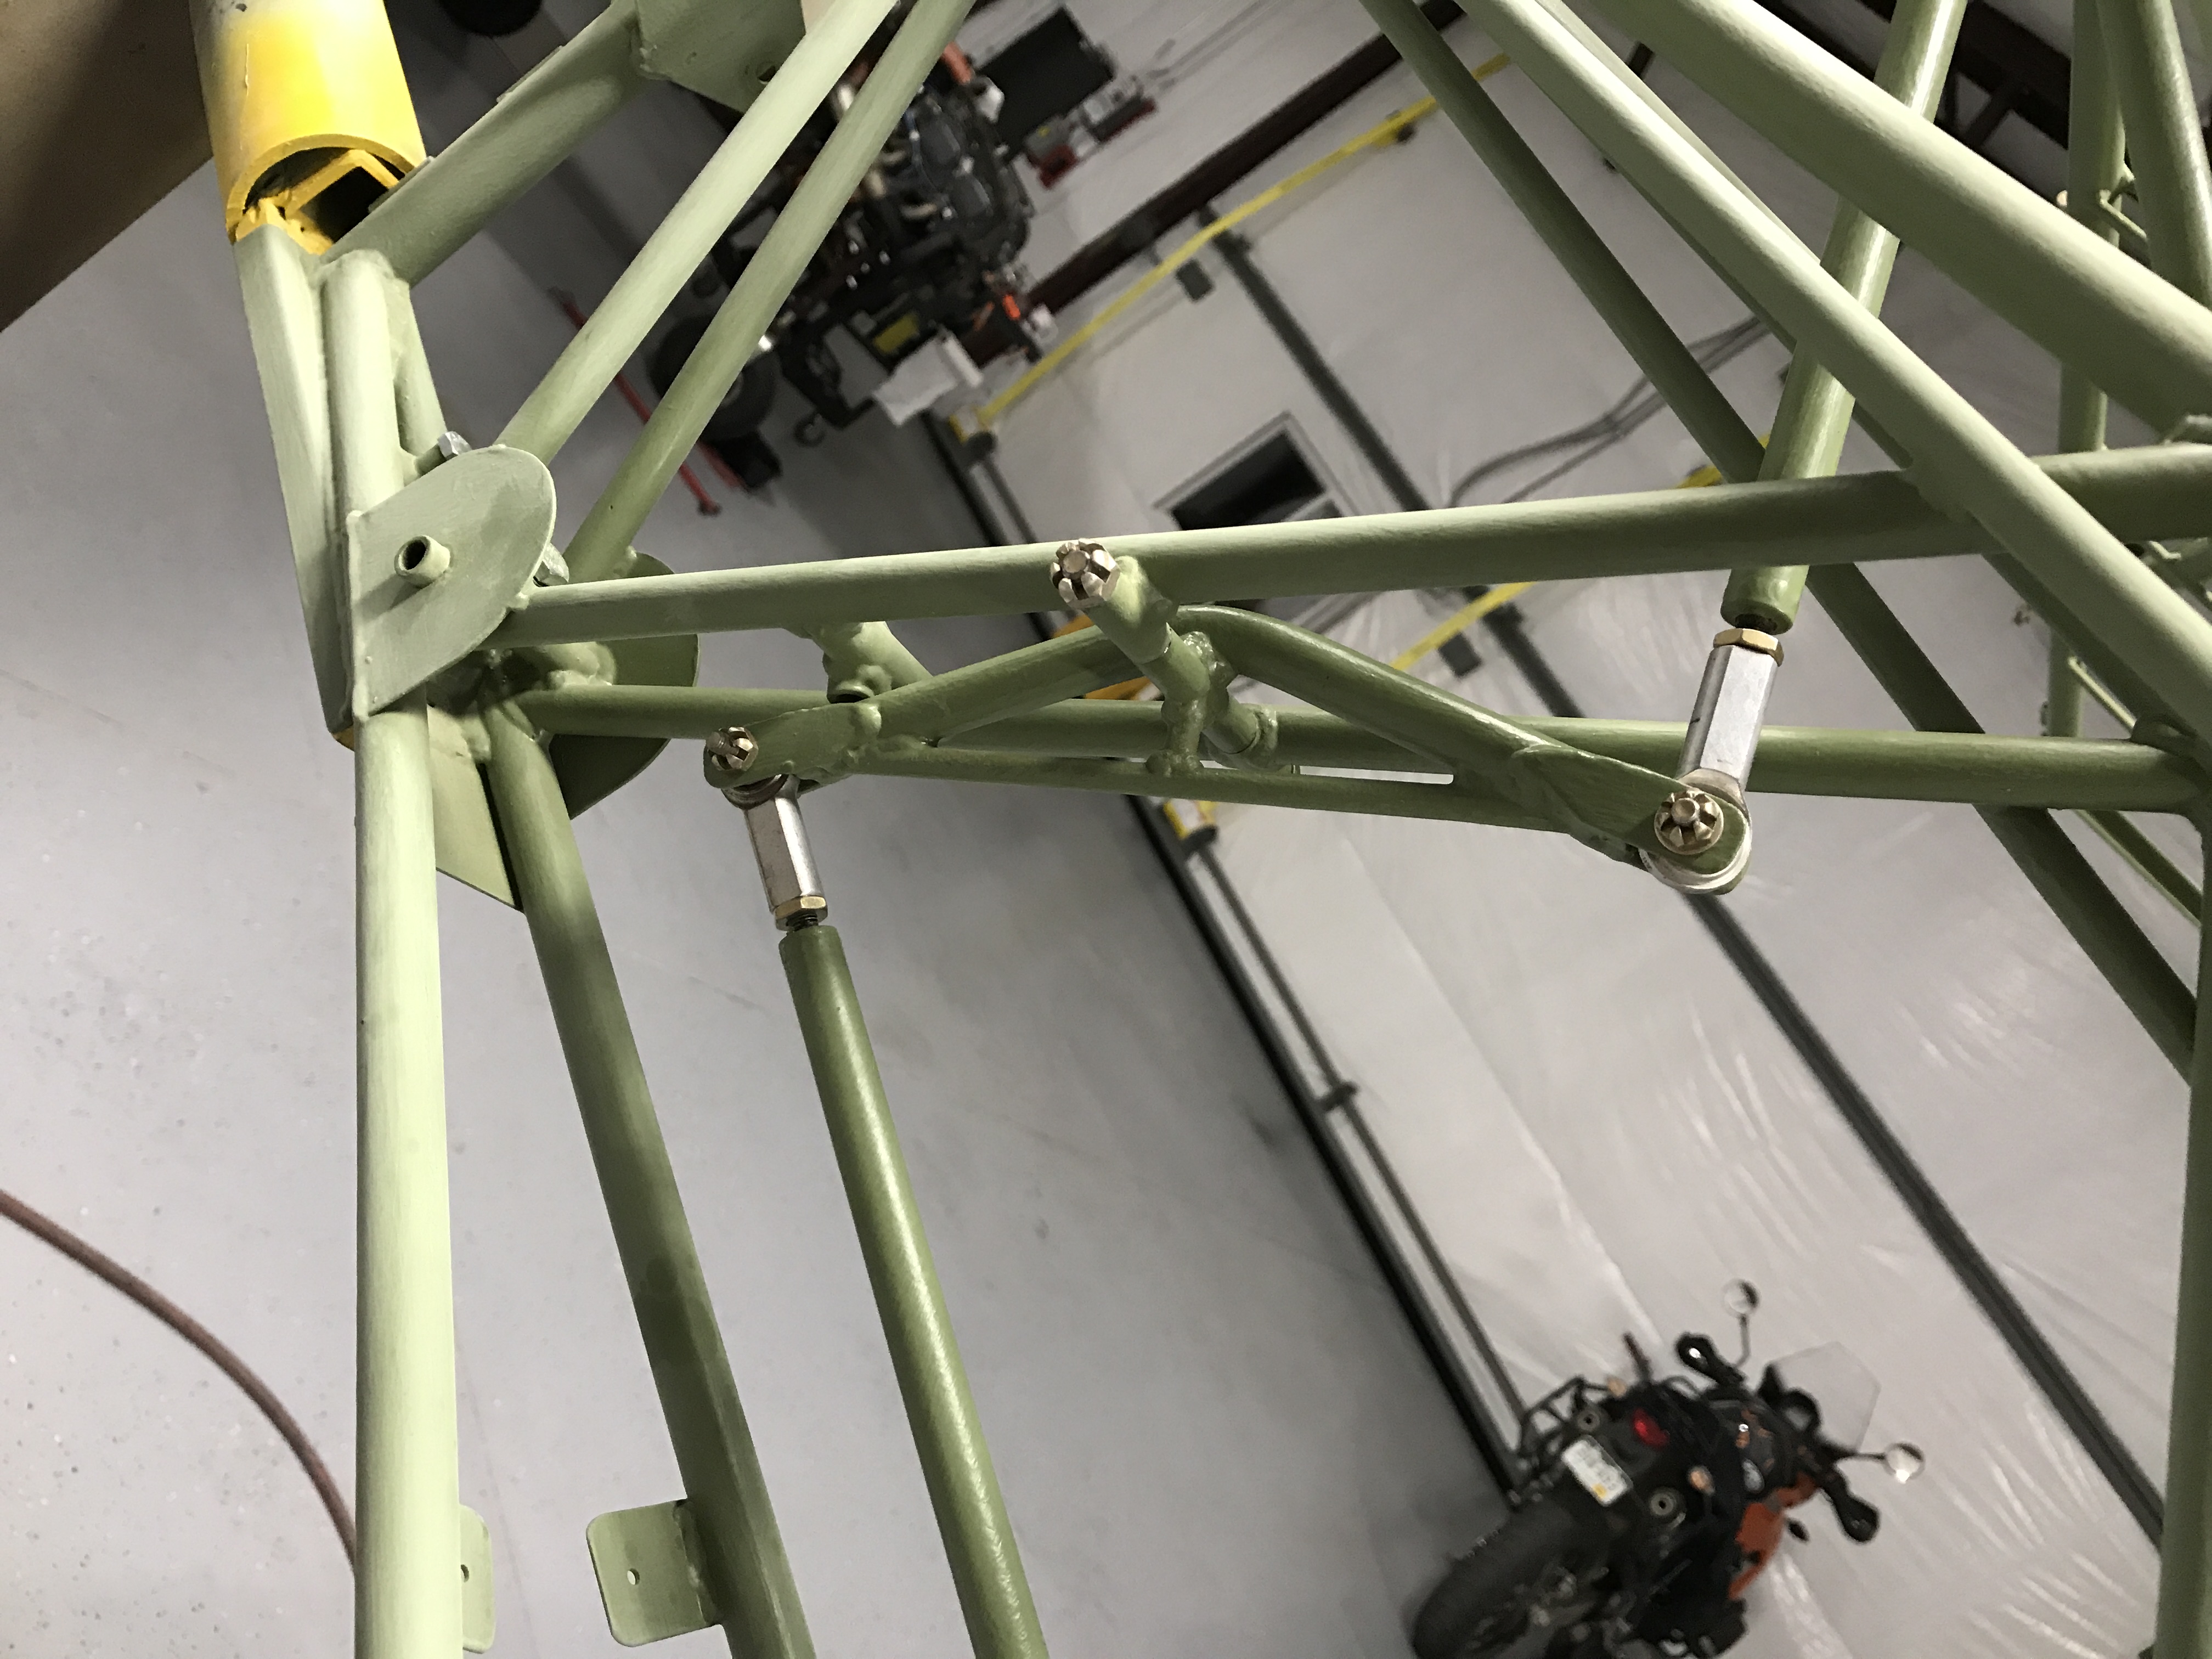
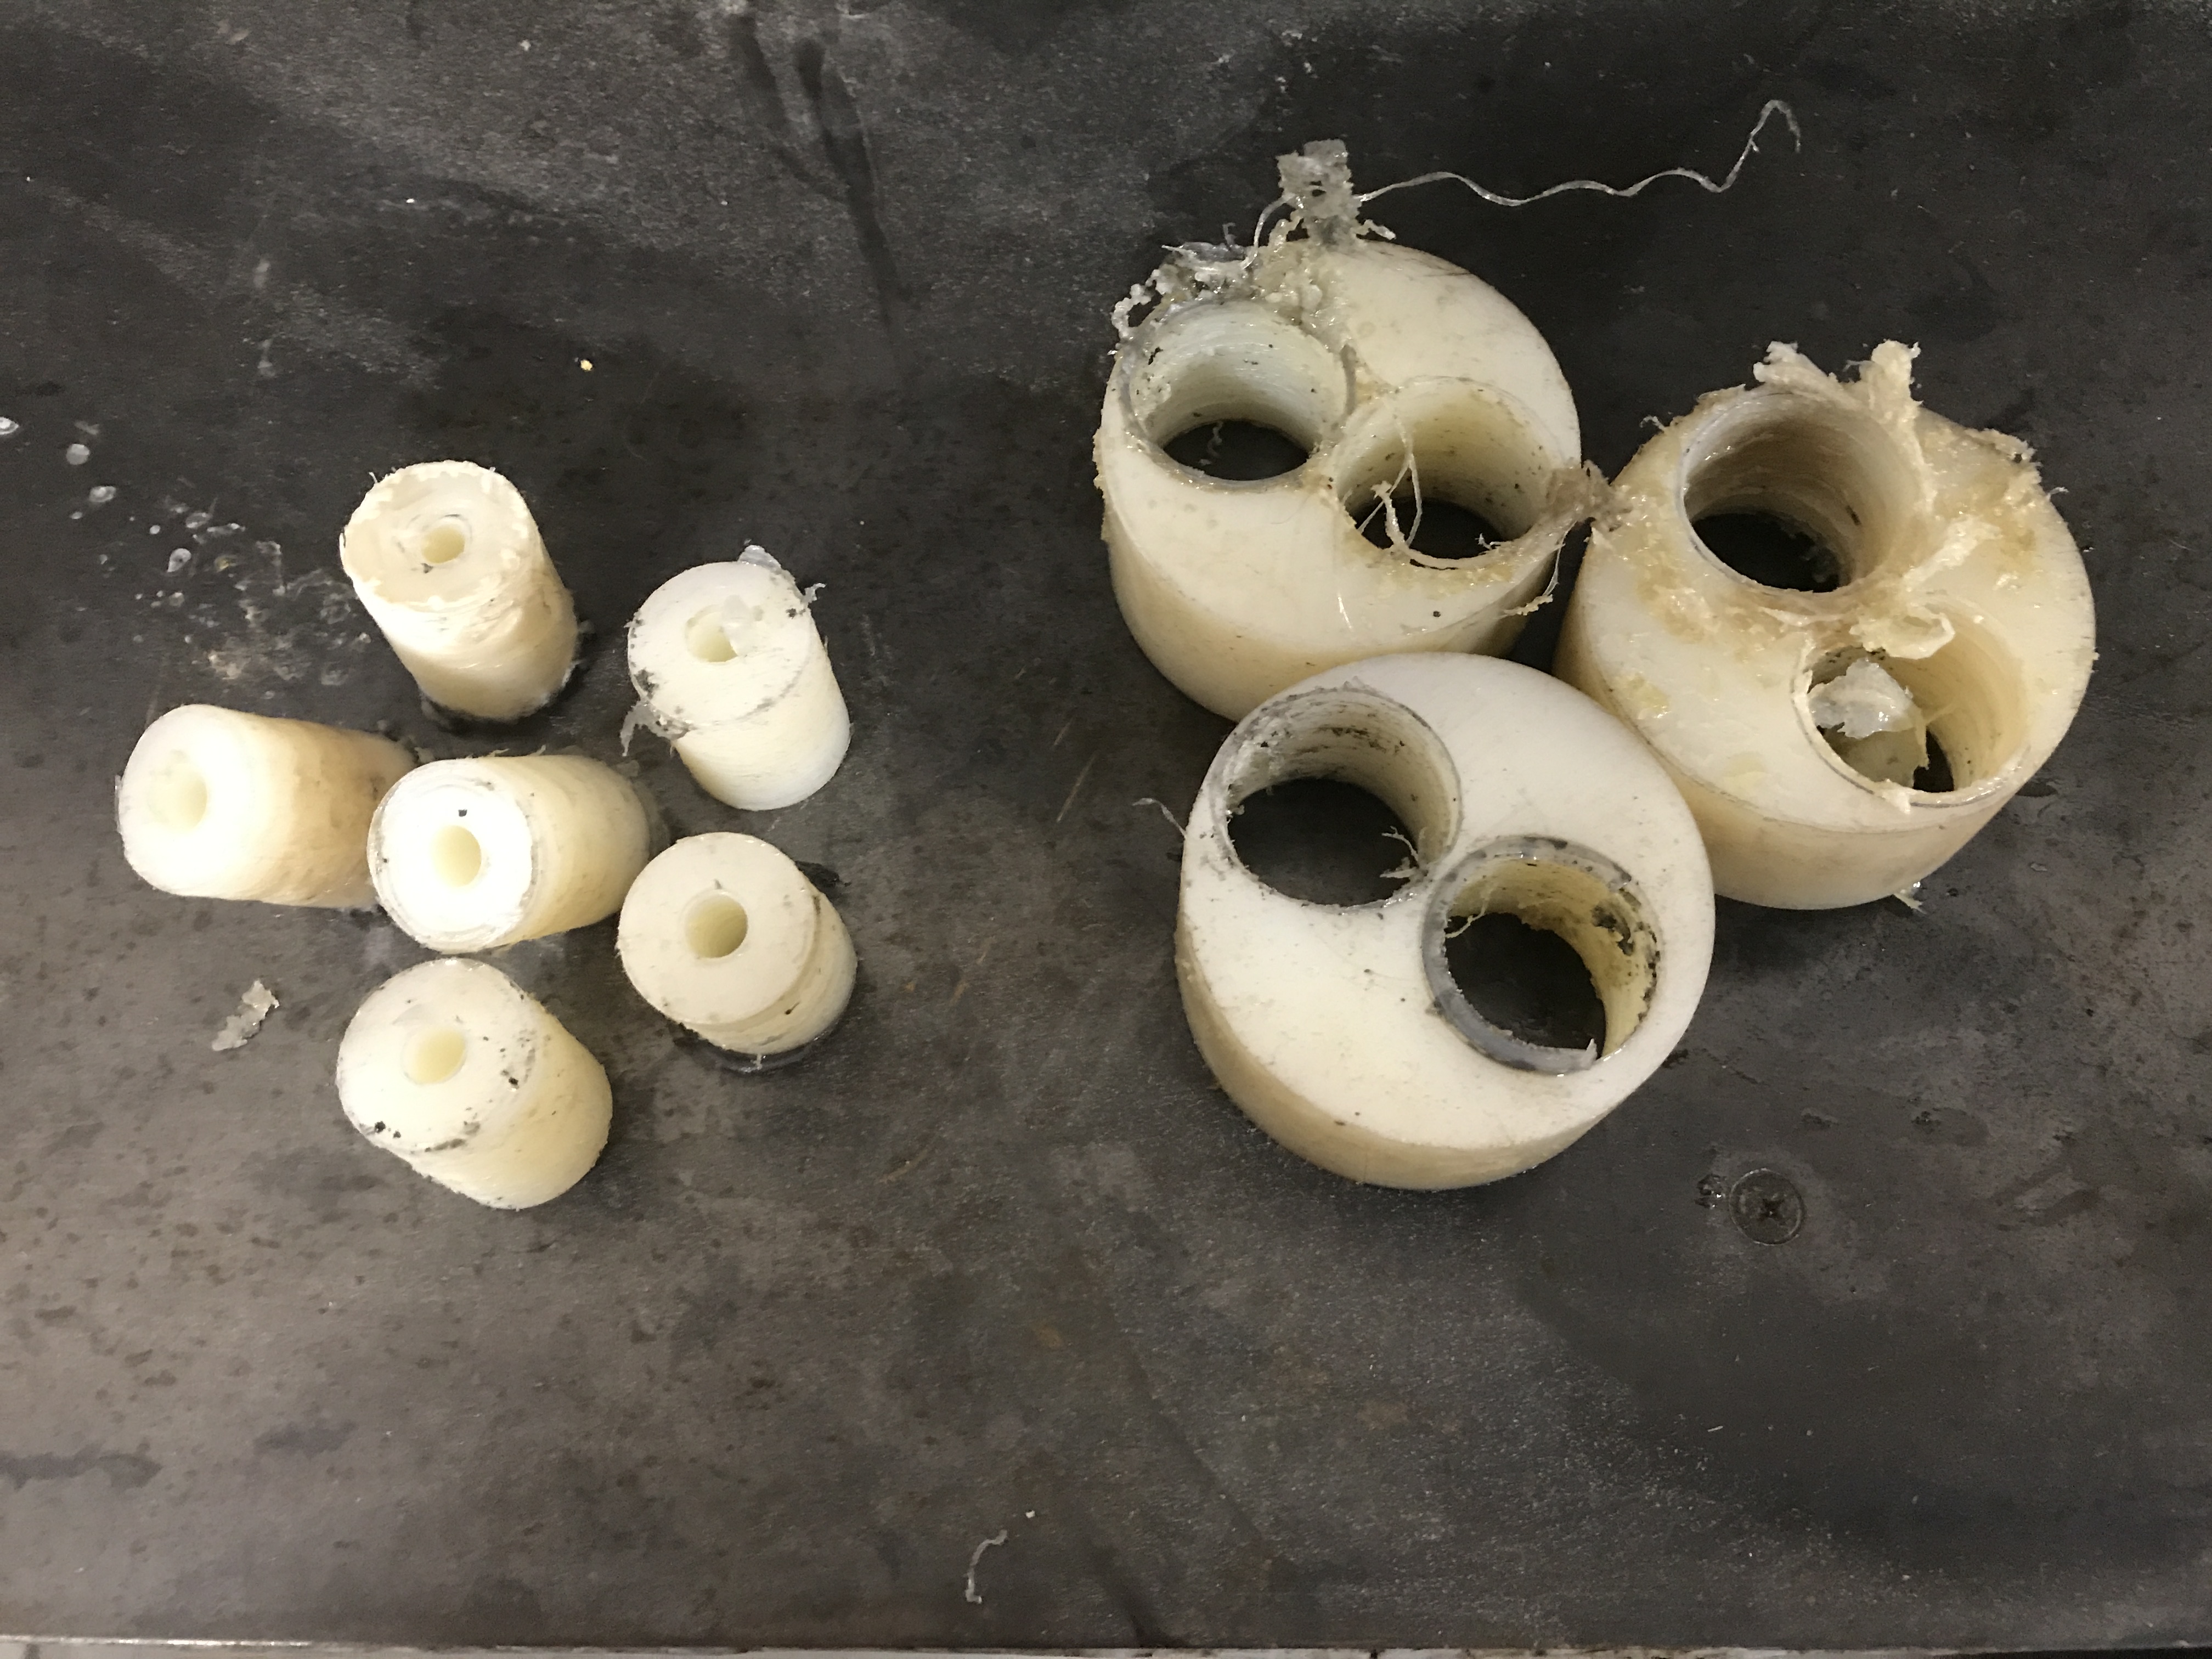
Today I sanded the bushings and pressed them into the fittings. I used a bolt and a belt sander to size them. Used a combination of dead blow hammer and c-clamp to install them. Then I installed the push pull tube and bell crank with linkage for the elevator.


 1 person likes this
 -
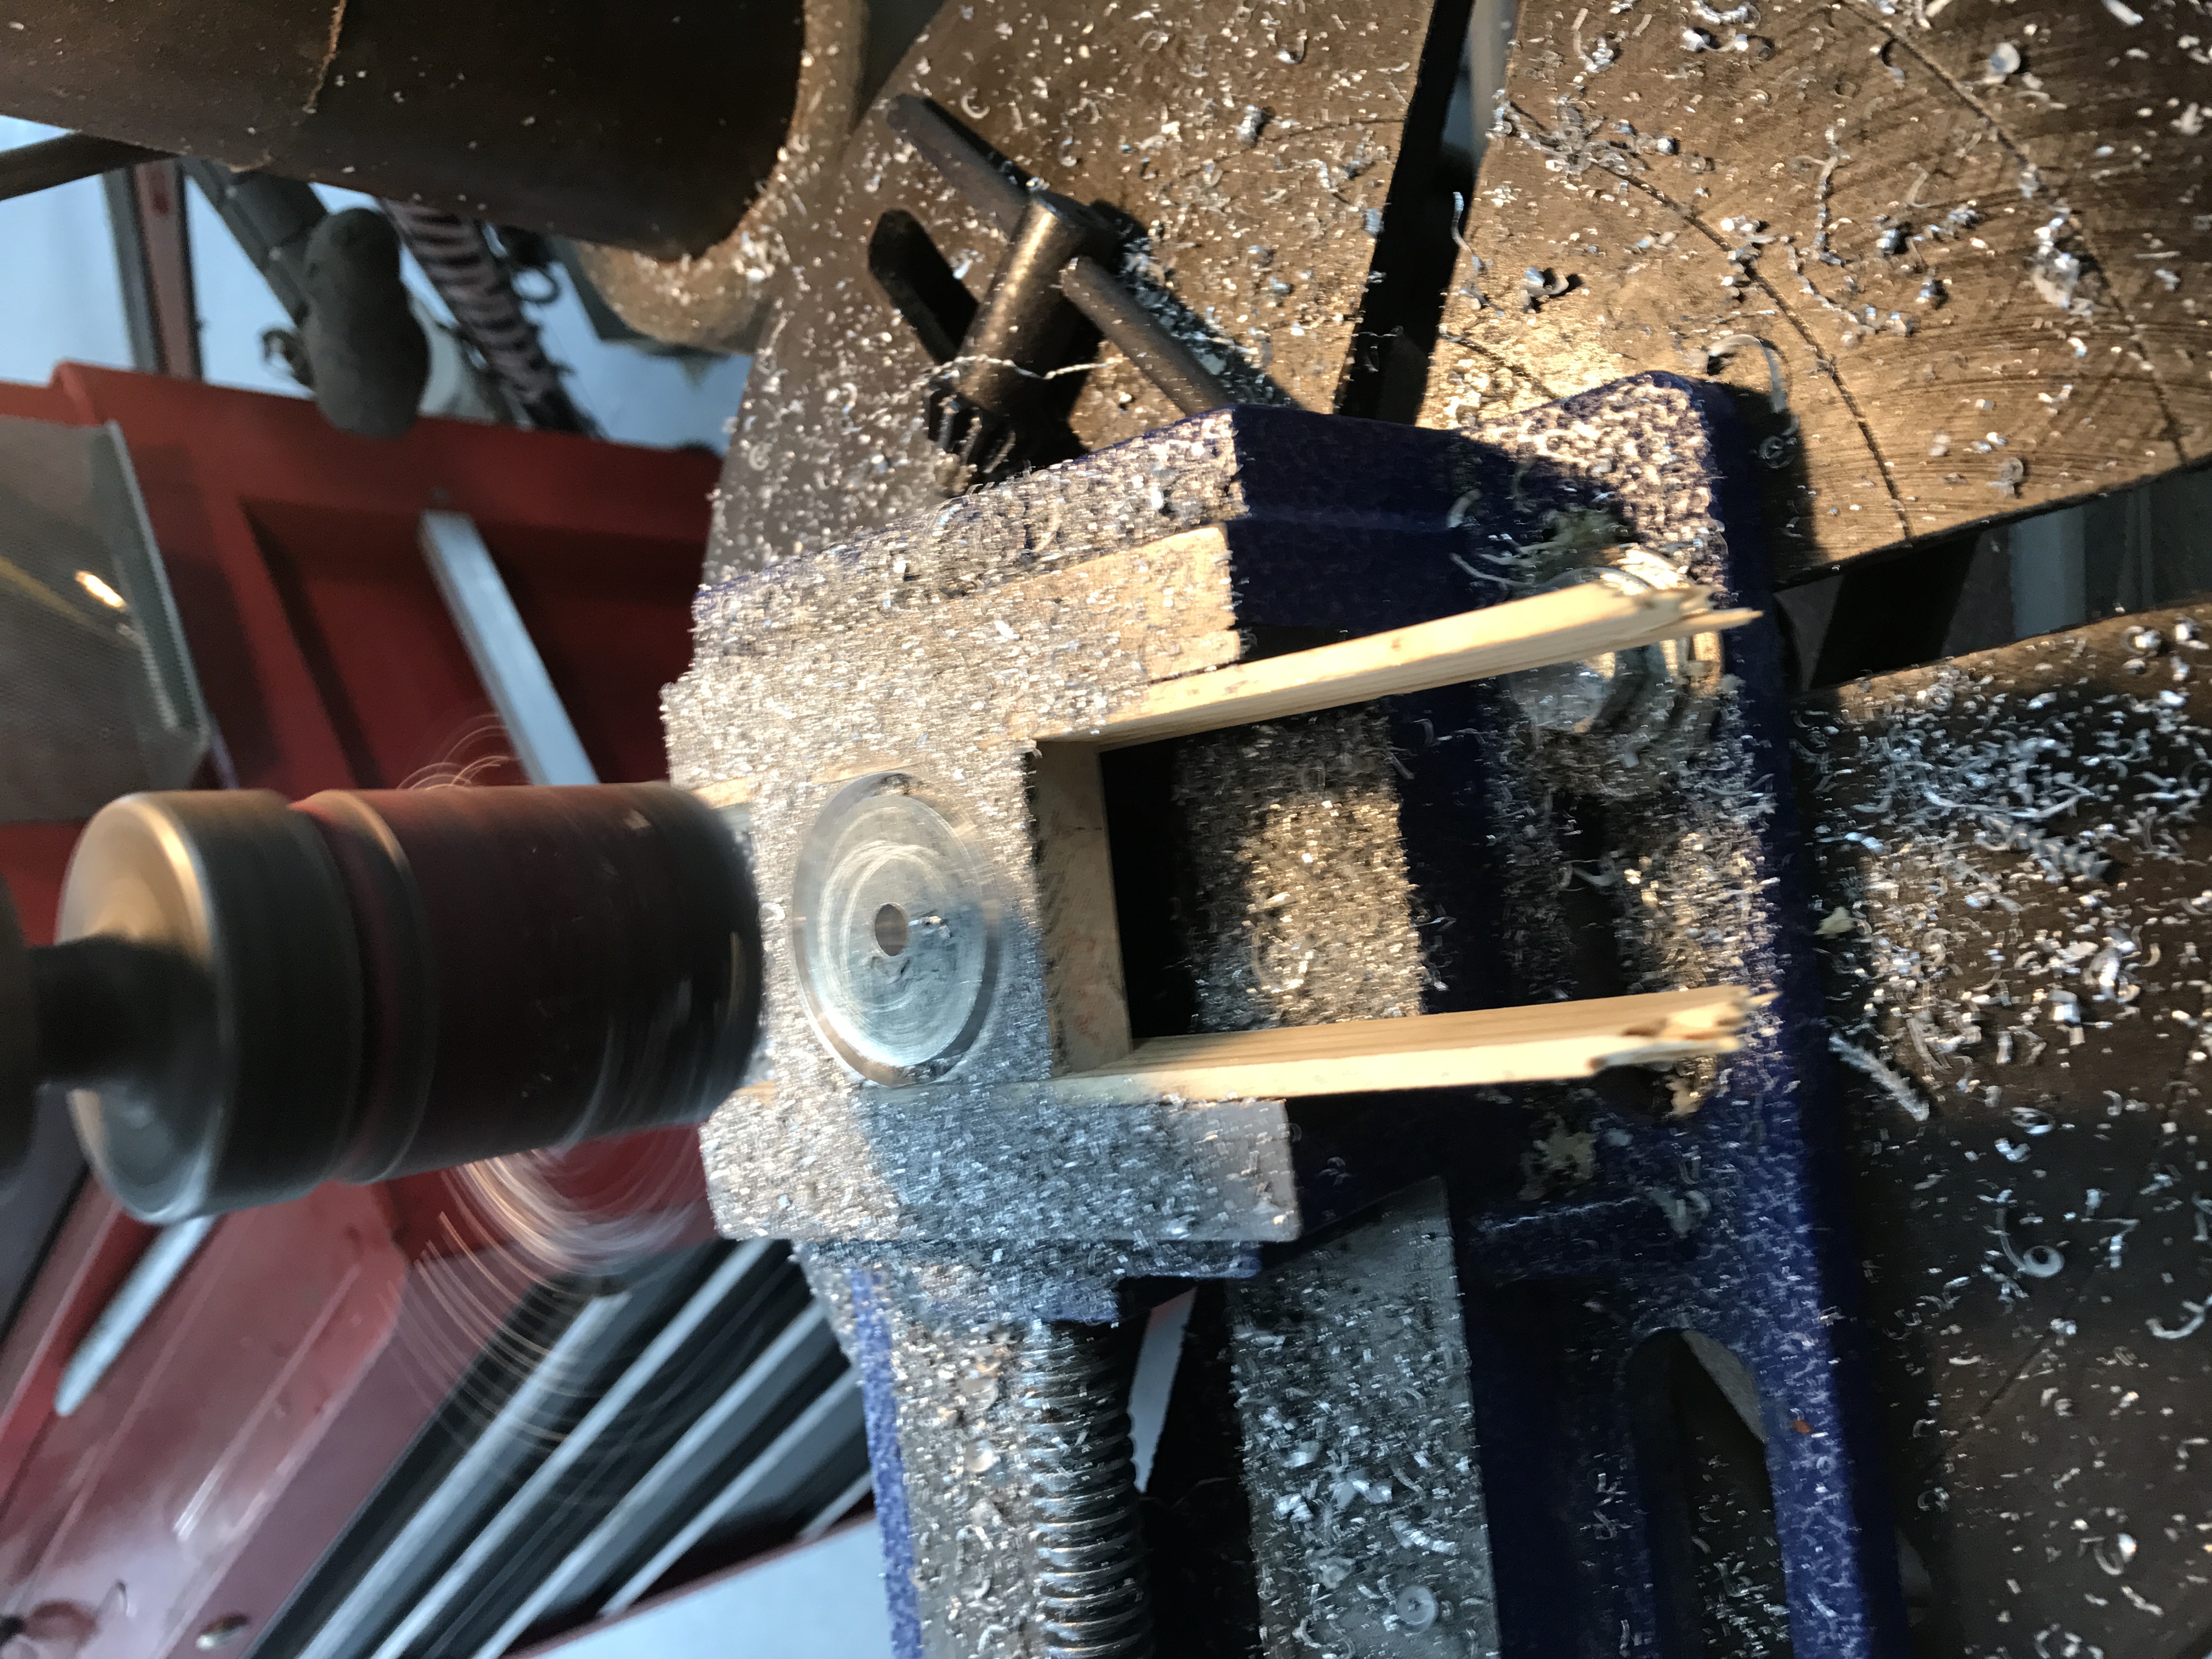
Today's project was to cut the push-pull tube bushings using a 1 1/8" hole saw. Then I will press them into the fittings in the fuselage using a big c-clamp. Then drill to 9/16".
 1 person likes this
 -
Ron,
Thanks for the input, defiantly no tabs there! I'm sure I will be grinding paint of to weld more than once!!
-
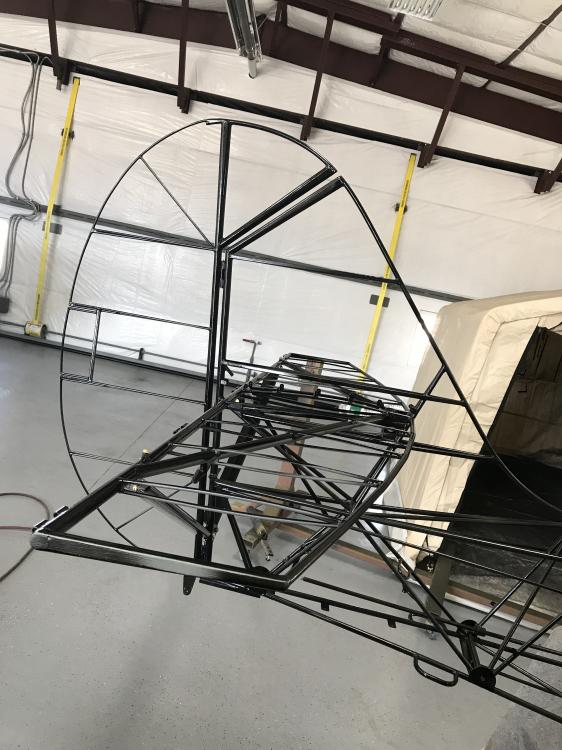
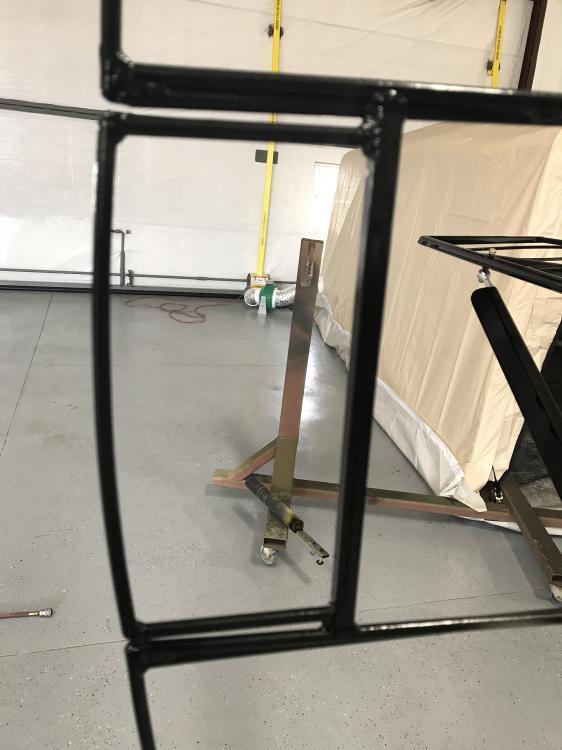
Okay, I am going to add pictures of my build directly to here, additional pictures can be found on the link in the above post however :))
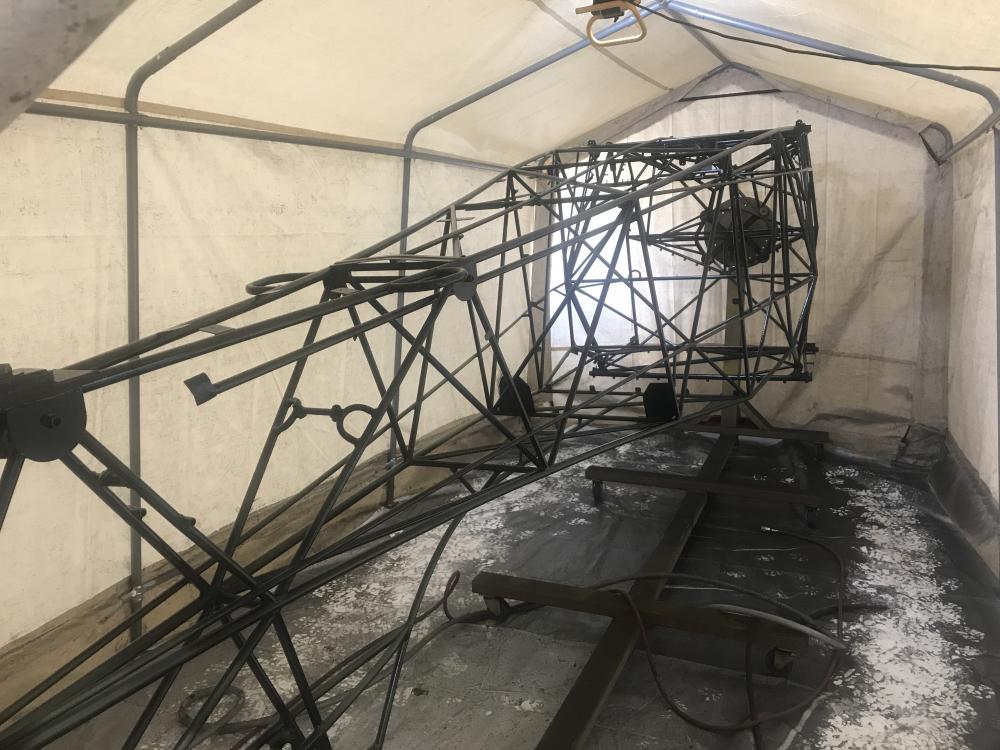
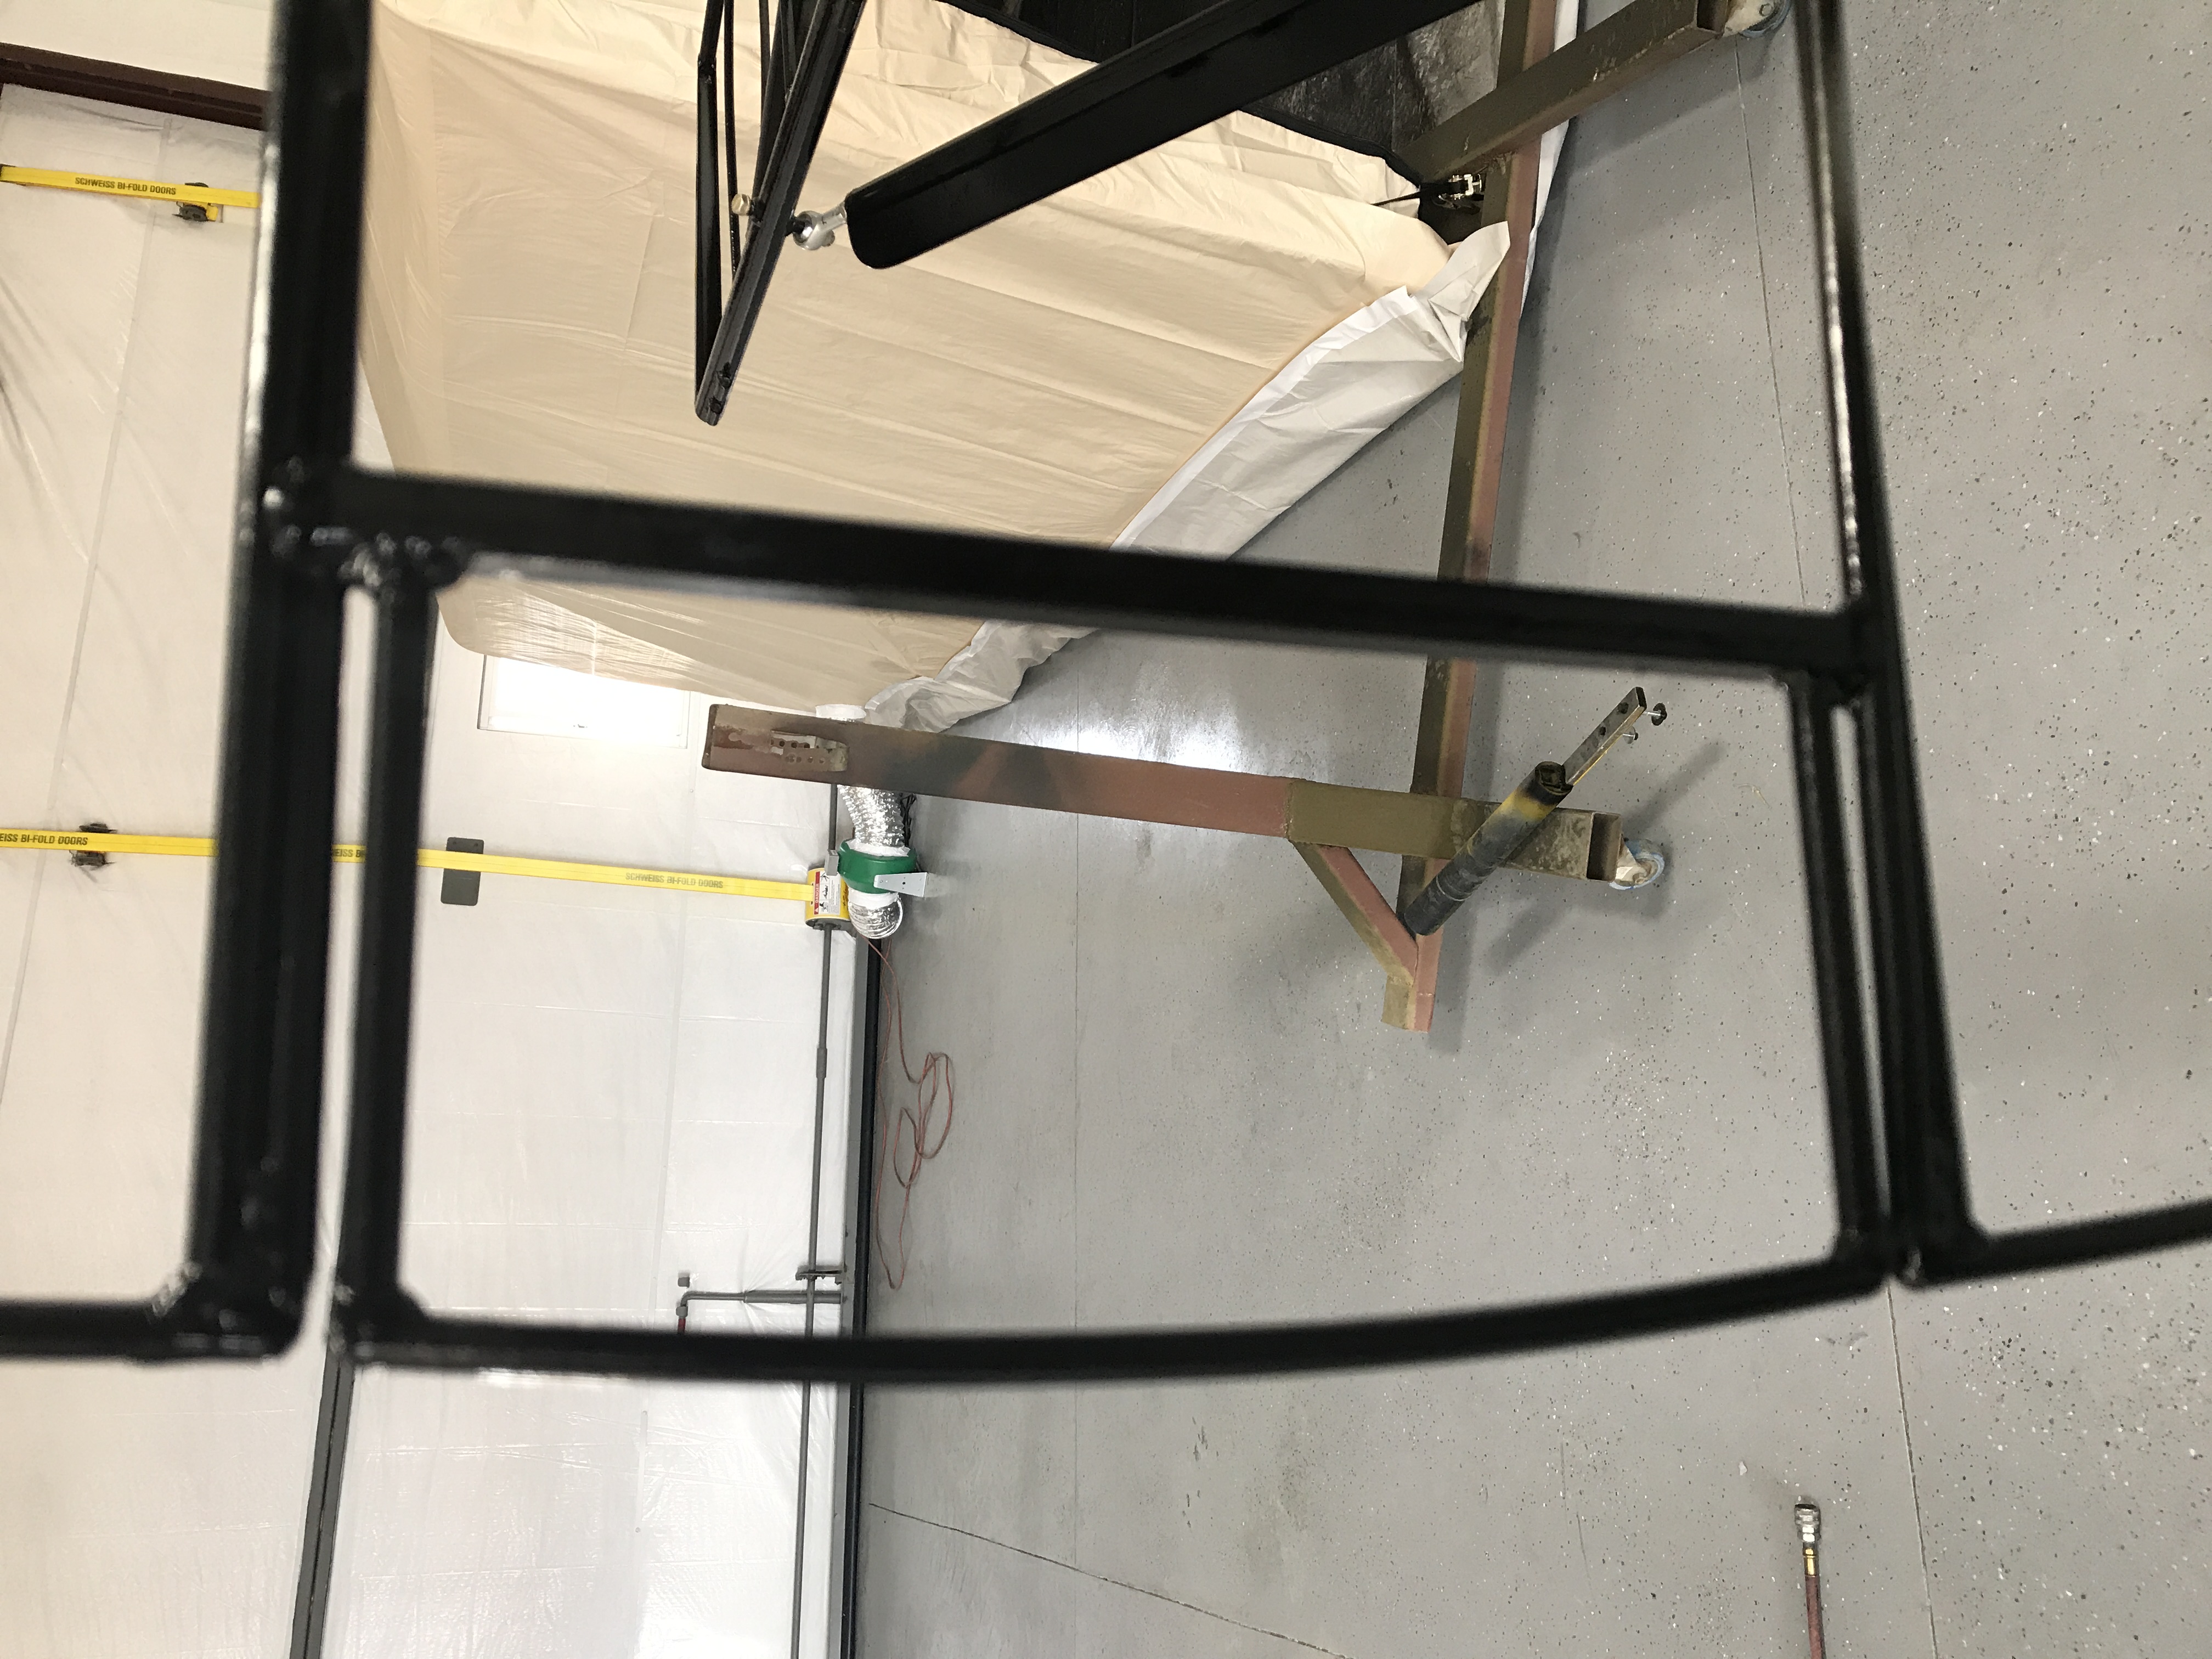
Today I mounted the fuselage to the turntable, then sanded and prepped it for paint. I ended up ordering a garage kit from Harbor Freight to use for a paint booth, it will be here in a few days.
 3 people like this
 -
After some researching, and sticker shock, I am also considering a o-320 160hp. Thanks for the information, I will call and see if he still has his engine. Thanks!
1 person likes this -
Fight it Ed, you can beat it!
1 person likes this -
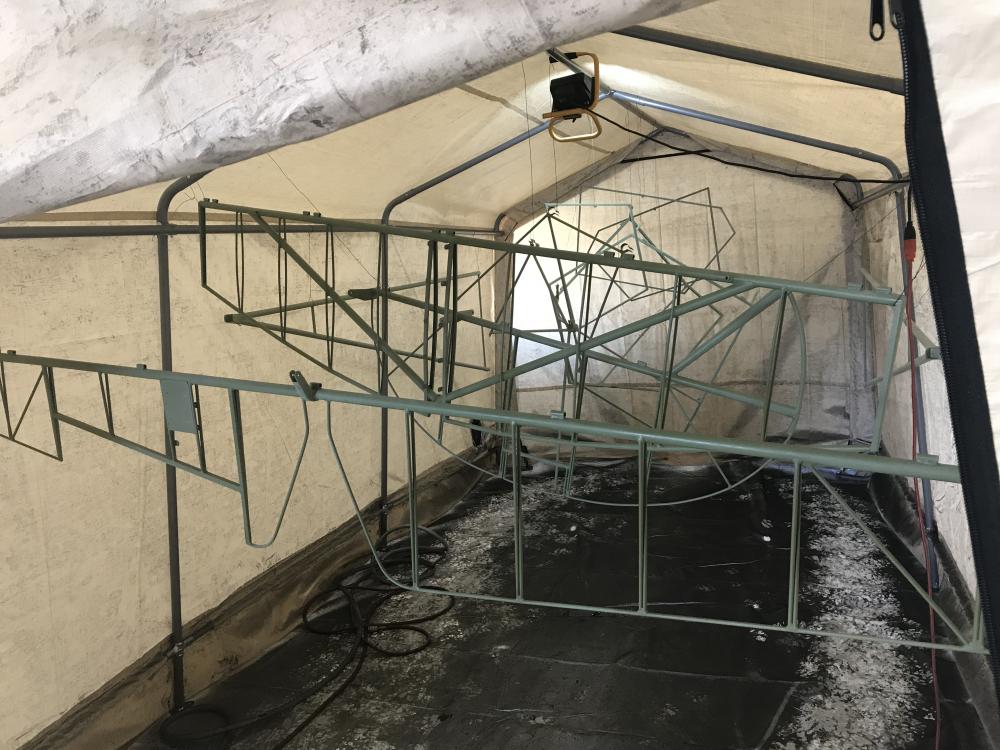
Hello everyone! Well I finally got my hanger done and organized and today I finally got busy working on the Magnum! I am going to try something different, and put a Dropbox link on here so anyone can watch my progress. Bear with me as I try to figure this out, and if it doesn't work, please let me know. Today I took apart the rolling kit I bought to prep it for painting. I also have my new landing gear ordered and will have to do some welding like Ron Davidson had to do (using Steve's gear also). I will be putting the fuselage on a turn table that Ron let me use to do the welding and painting. Tomorrow I hope to get a paint booth built. So below is the picture link for my build:
https://www.dropbox.com/sh/dmj9wxoa0qgzg4u/AAAa1iGpY_KGtFT6R1mcWFo0a?dl=0
 3 people like this
 -
That looks like a good deal for someone, but I am set on a 180hp. Thanks again!
Barry
-
I am located in Colorado, high elevation. That's why I need all the power I can get. Thanks for checking on one for me!
As far as why I want an A1A is because they have a great reputation for durability and is capable of adding a constant speed prop if needed (wanted). I would consider other variants, but the A1A is what my mechanic suggested I get.


Pouring lead into the rudder??
in Avid Magnum
Posted
Ed,
Thanks for the reply, I actually read a post on here earlier today about using 9460 and lead shot. That seems way easier than melting lead and trying to pour it in a small hole etc....
And the tip on how to balance the rudder and elevator is good too, I was wondering how to get the right amount of lead in there!
Thanks again,
Barry