
Barry Cole
Members-
Content count
201 -
Joined
-
Last visited
Posts posted by Barry Cole
-
-
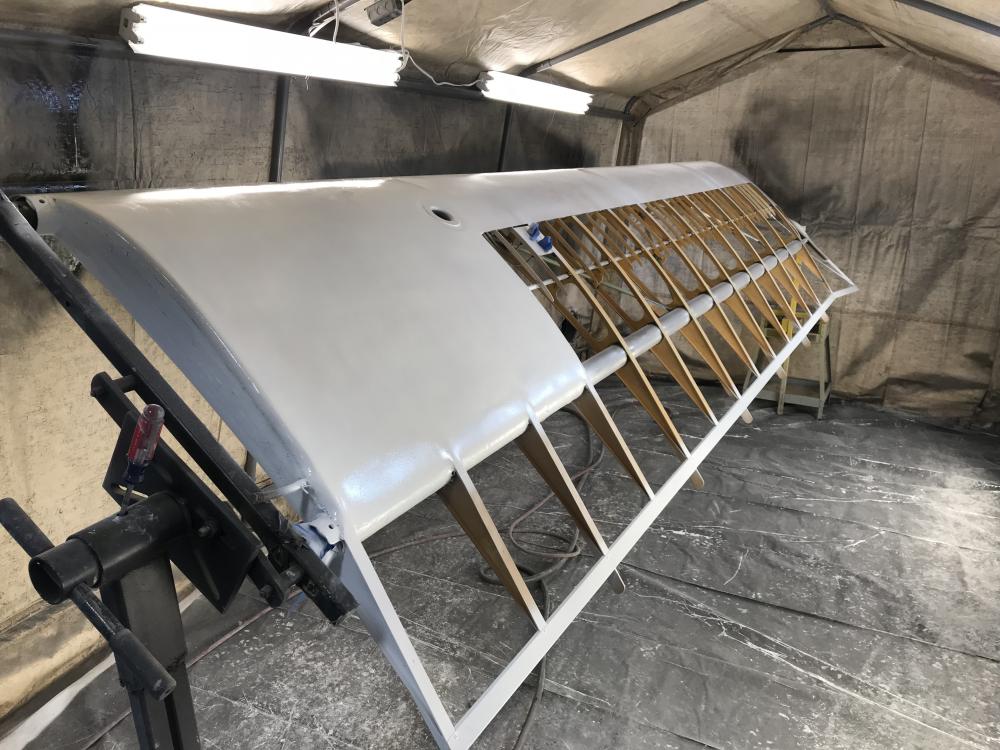
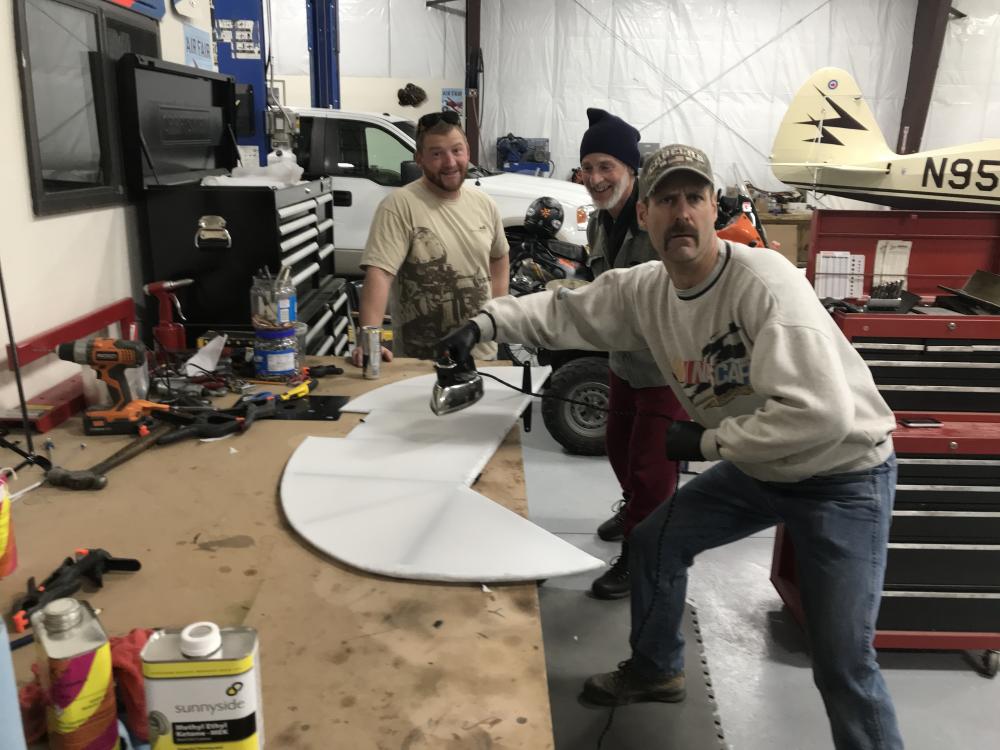
Elevator is done, now on to the wings. Great day thanks to my friend Dave!! Thanks to everyone for providing tips and advise along the way too, you know who you are!
")
-
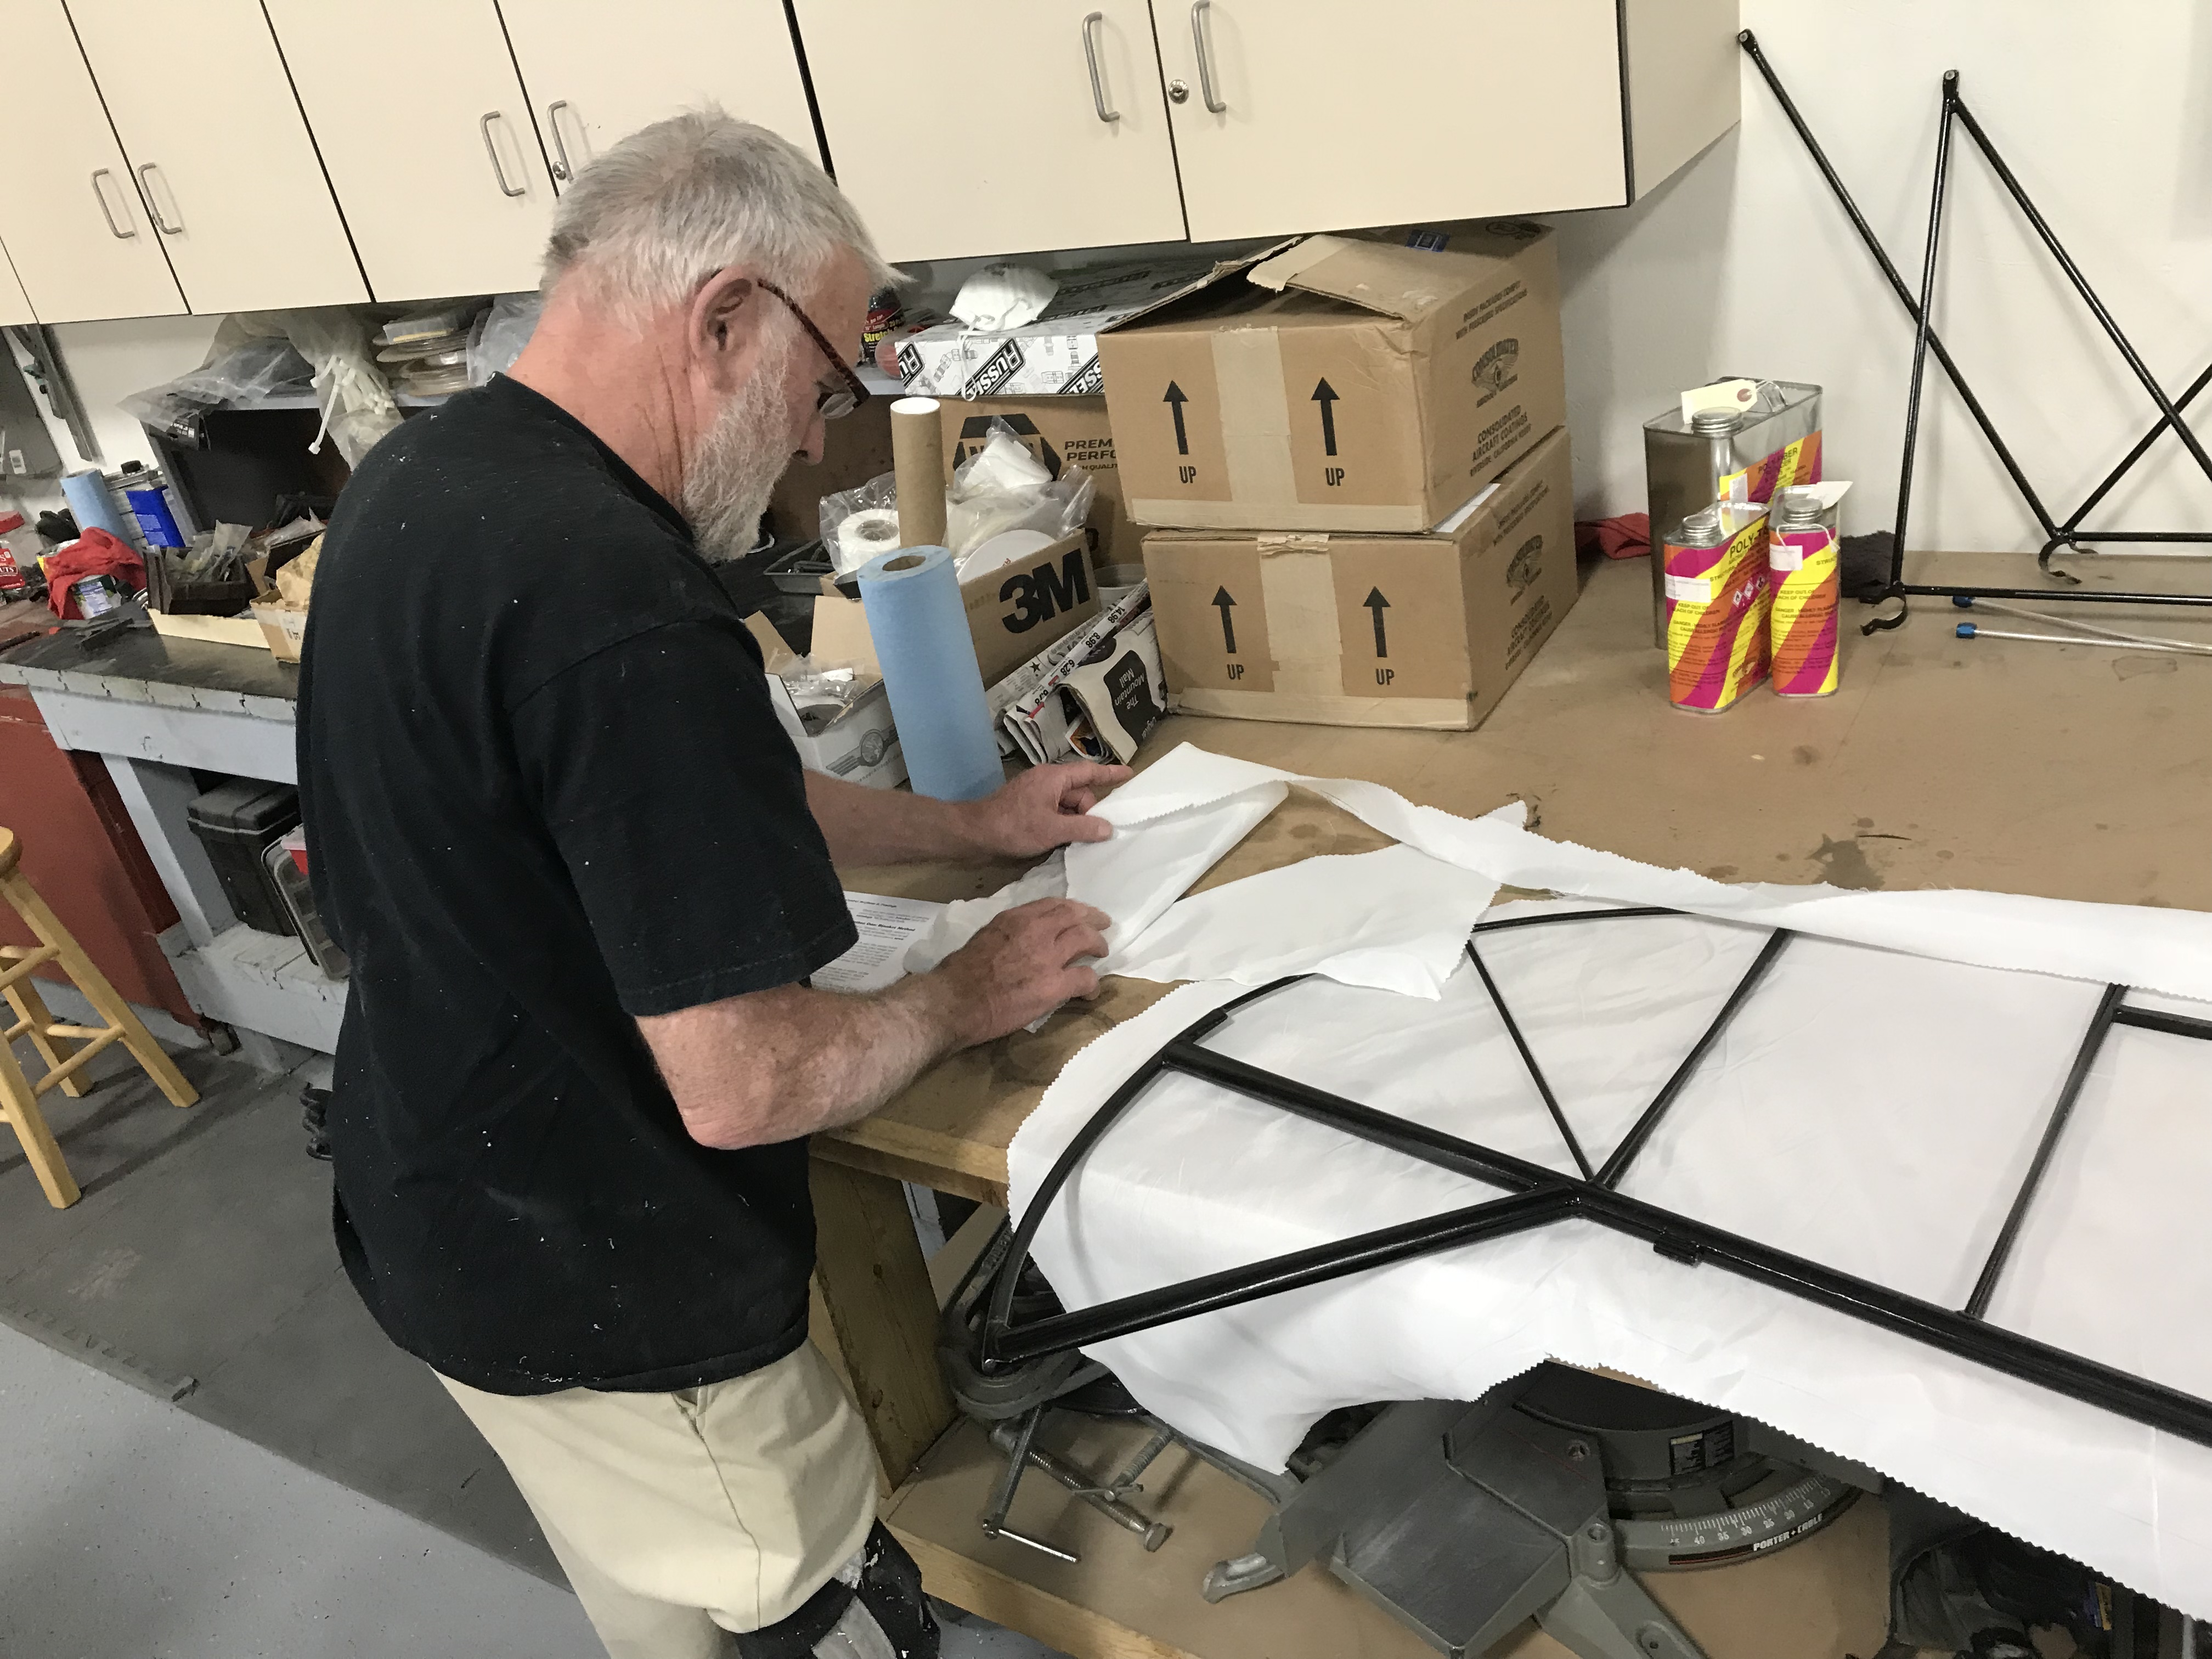
Today we covered the elevator, and got some great tips from Jim that made our day better and a nicer looking end product.
 1 person likes this
 -
Doug,
I would be interested in the drawings for these.
Thanks
Barry
-
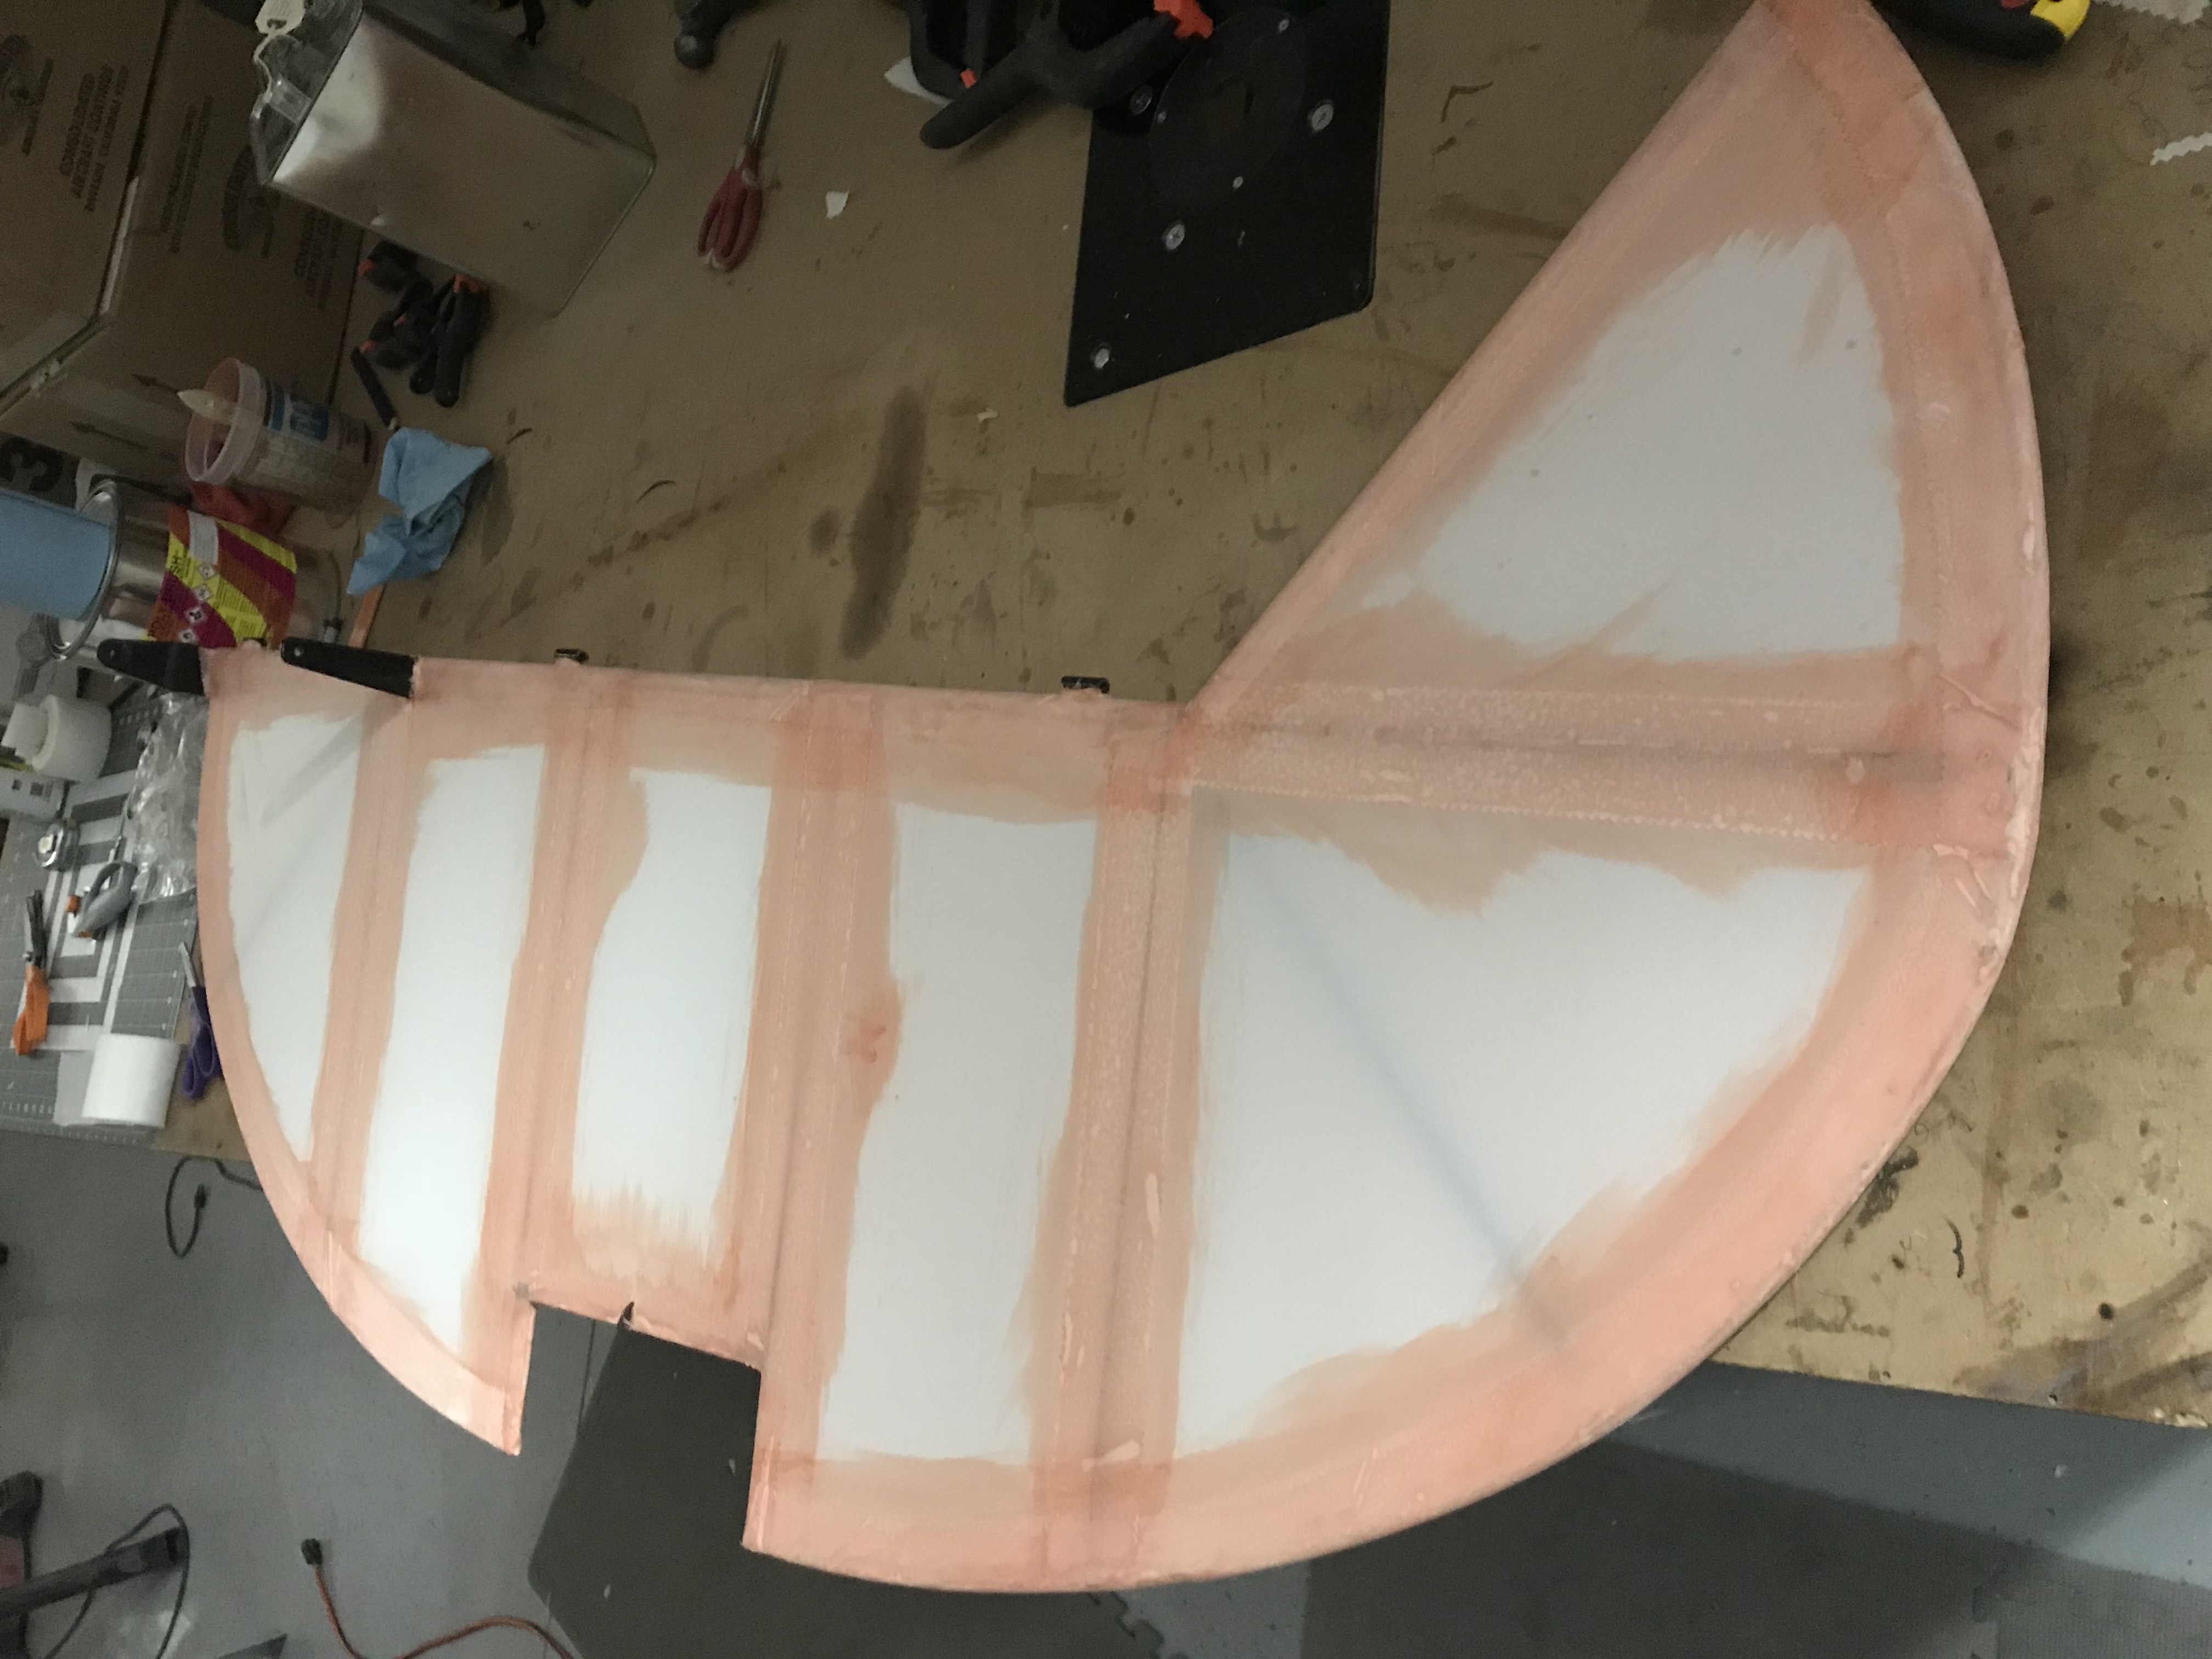
Today we got the horizontal stabilizer mostly complete except for tape.
 1 person likes this
 -
Why do I have such a headache lately?..........
1 person likes this -
Isn't this why they made irons???? The MEK fumes are much better when heated too........
2 people like this -
 1 person likes this
 -
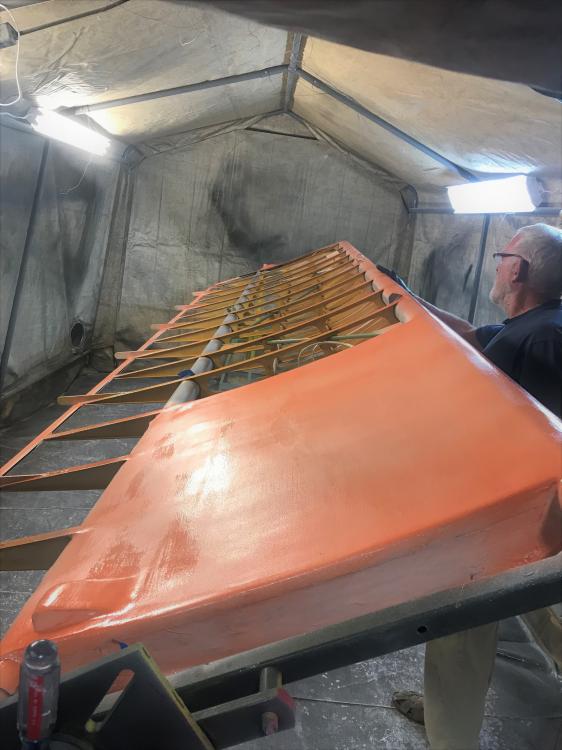
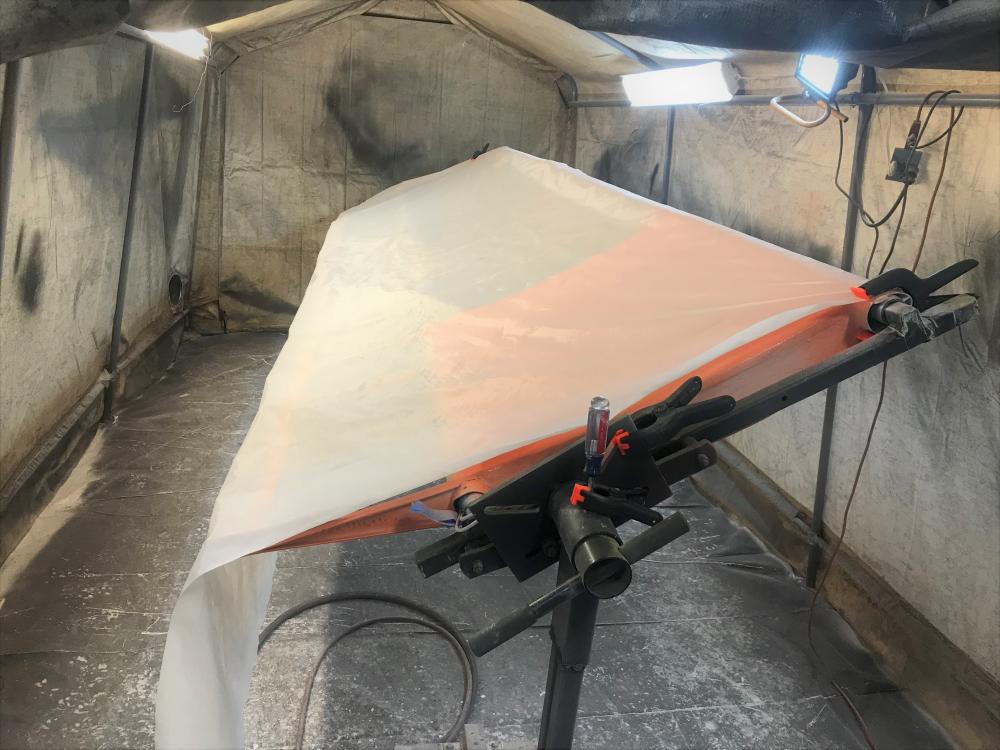
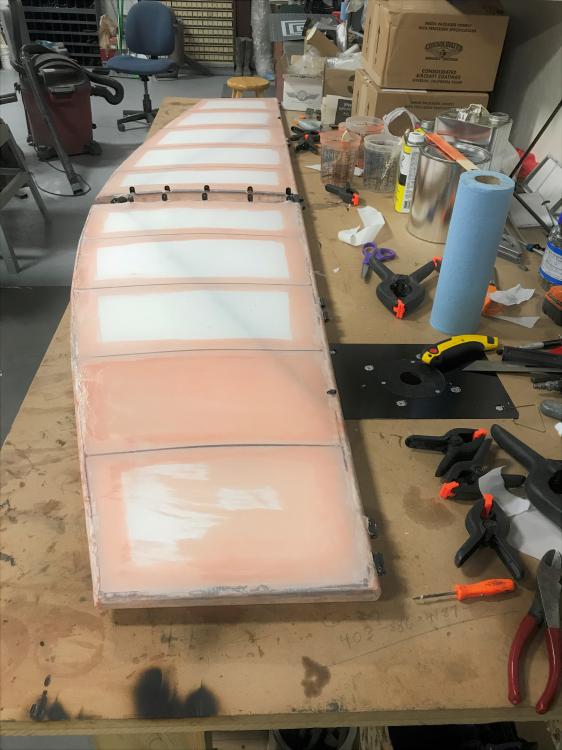
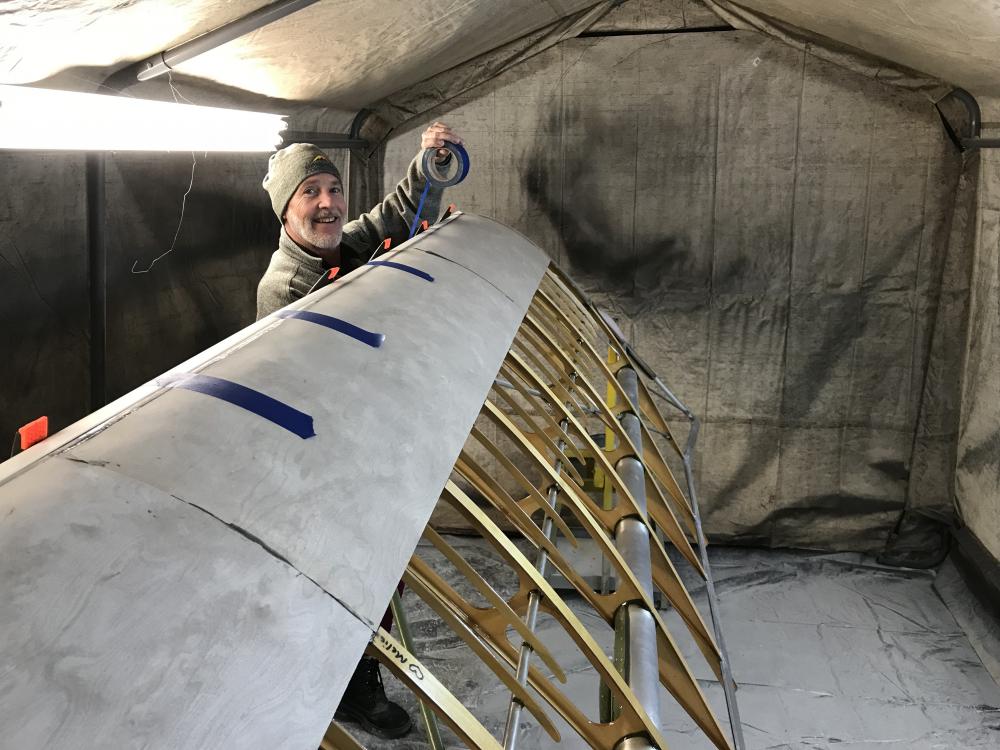
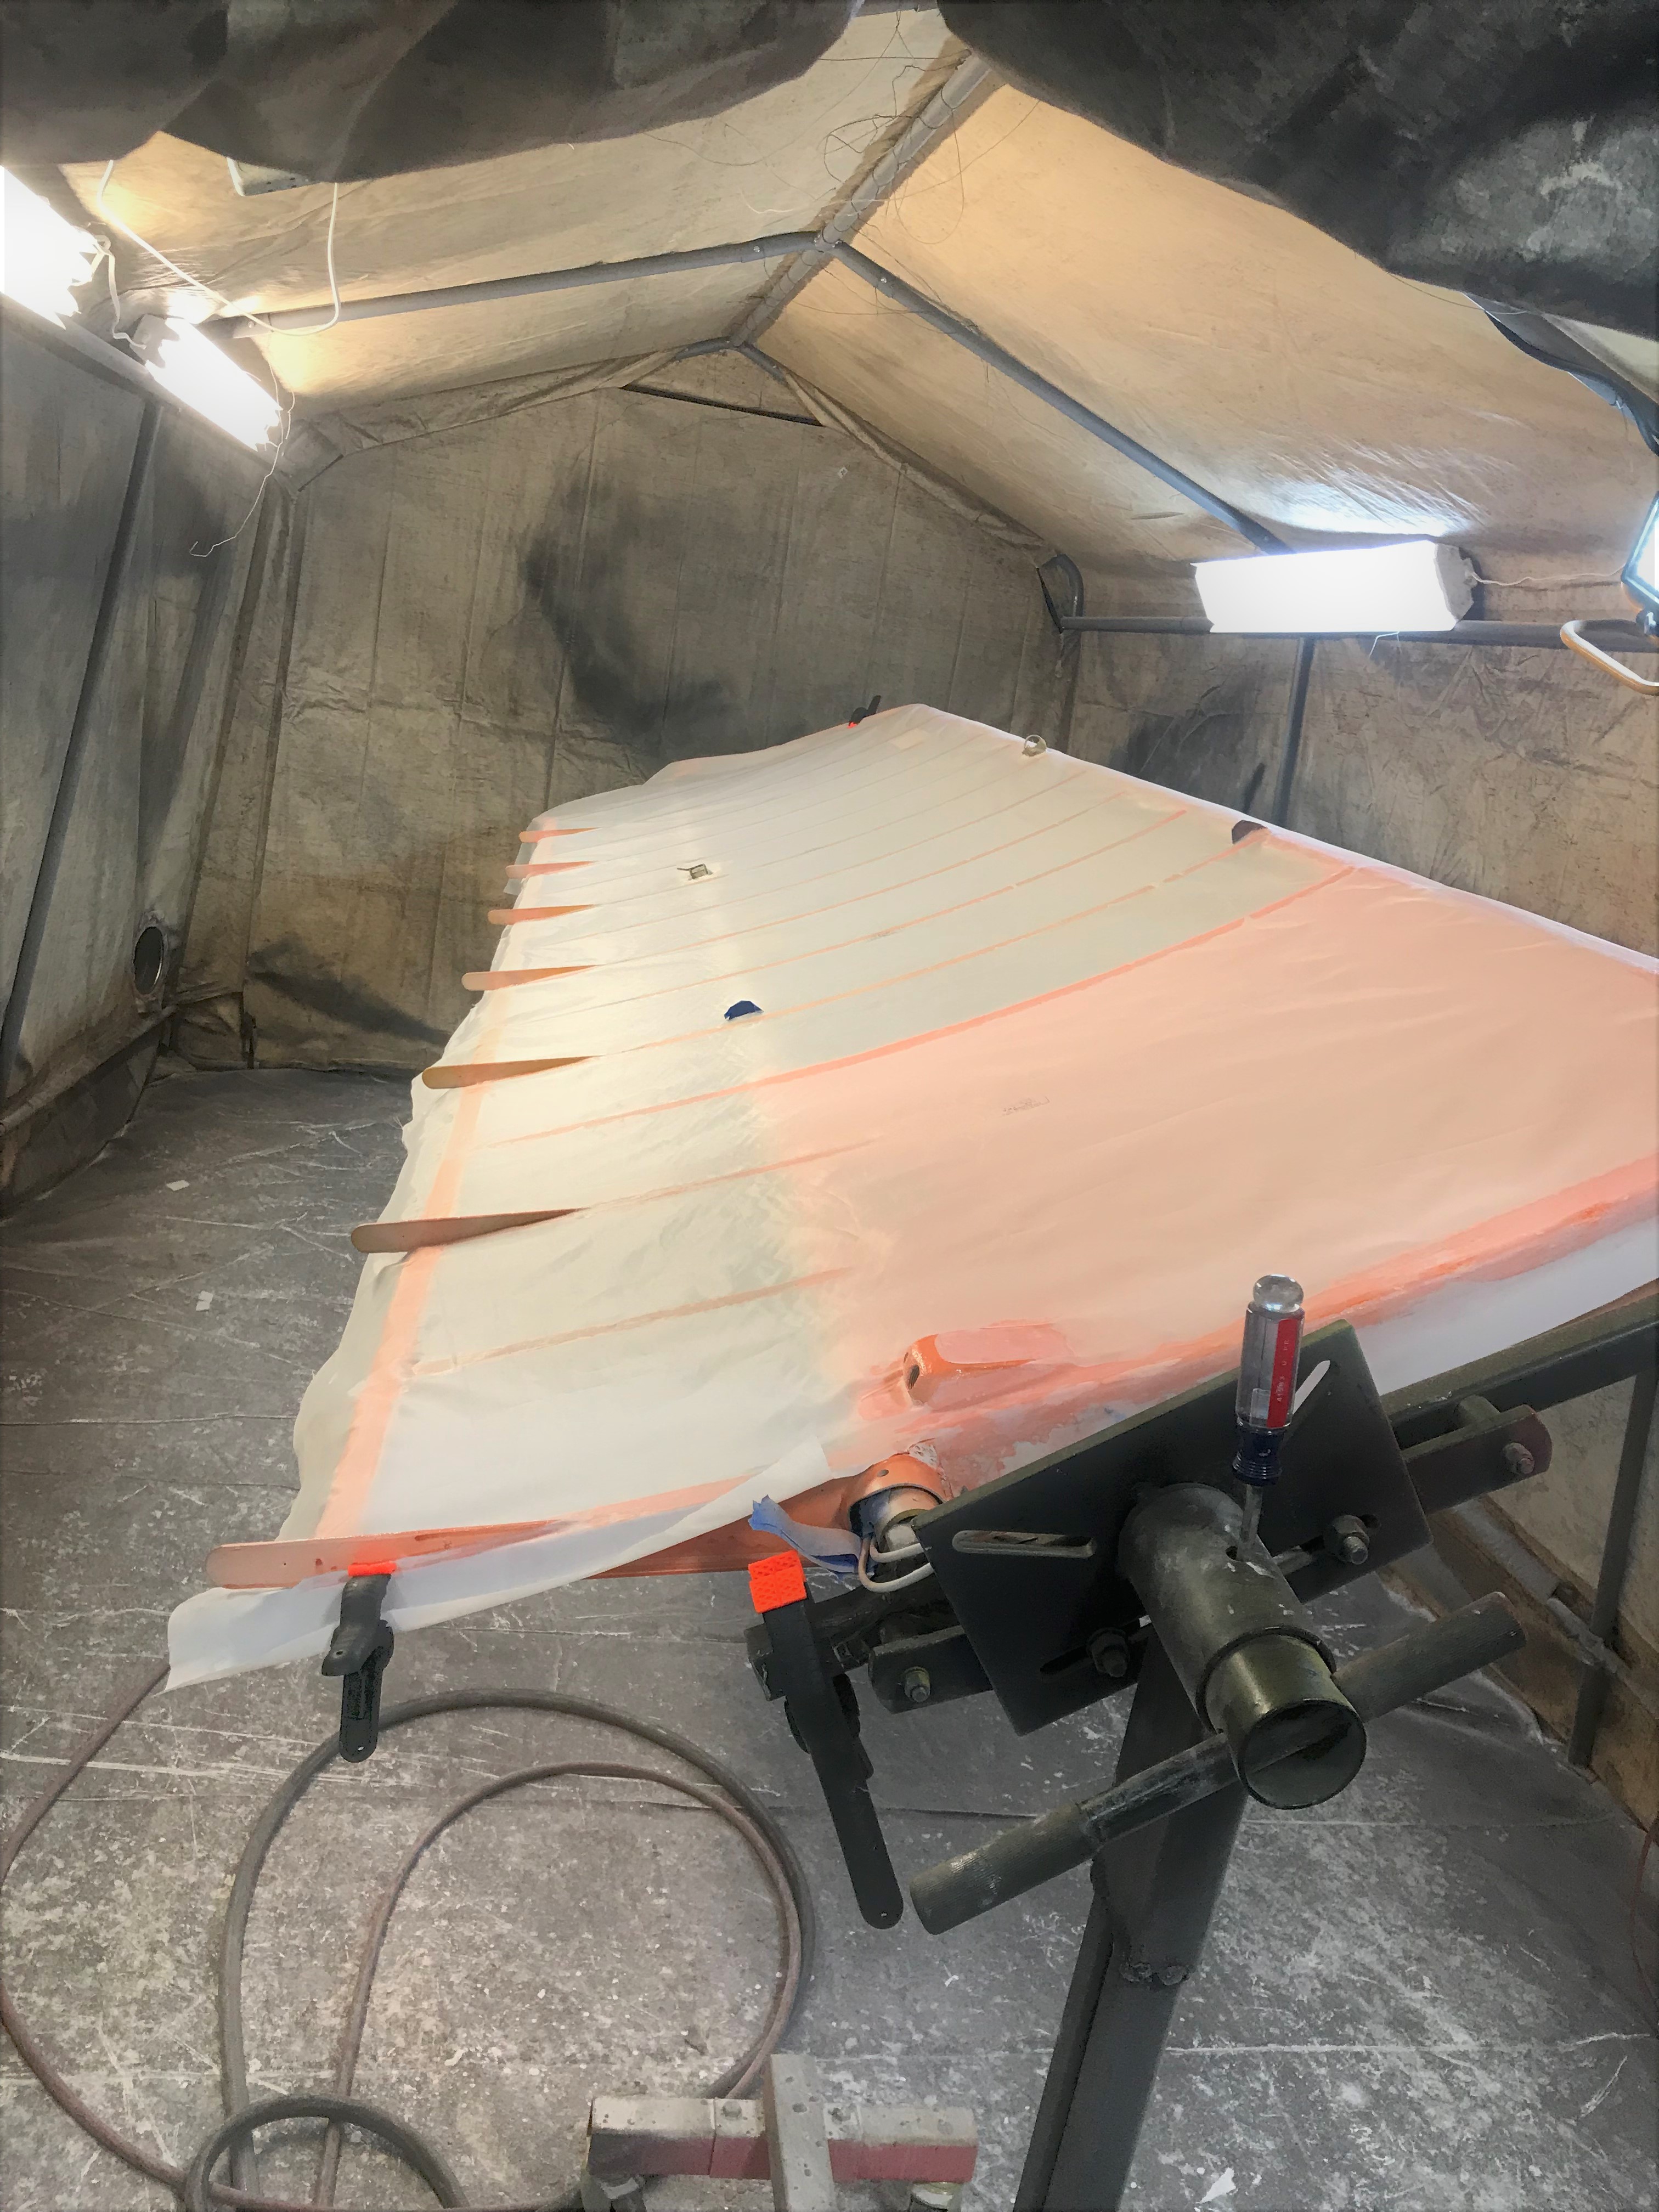
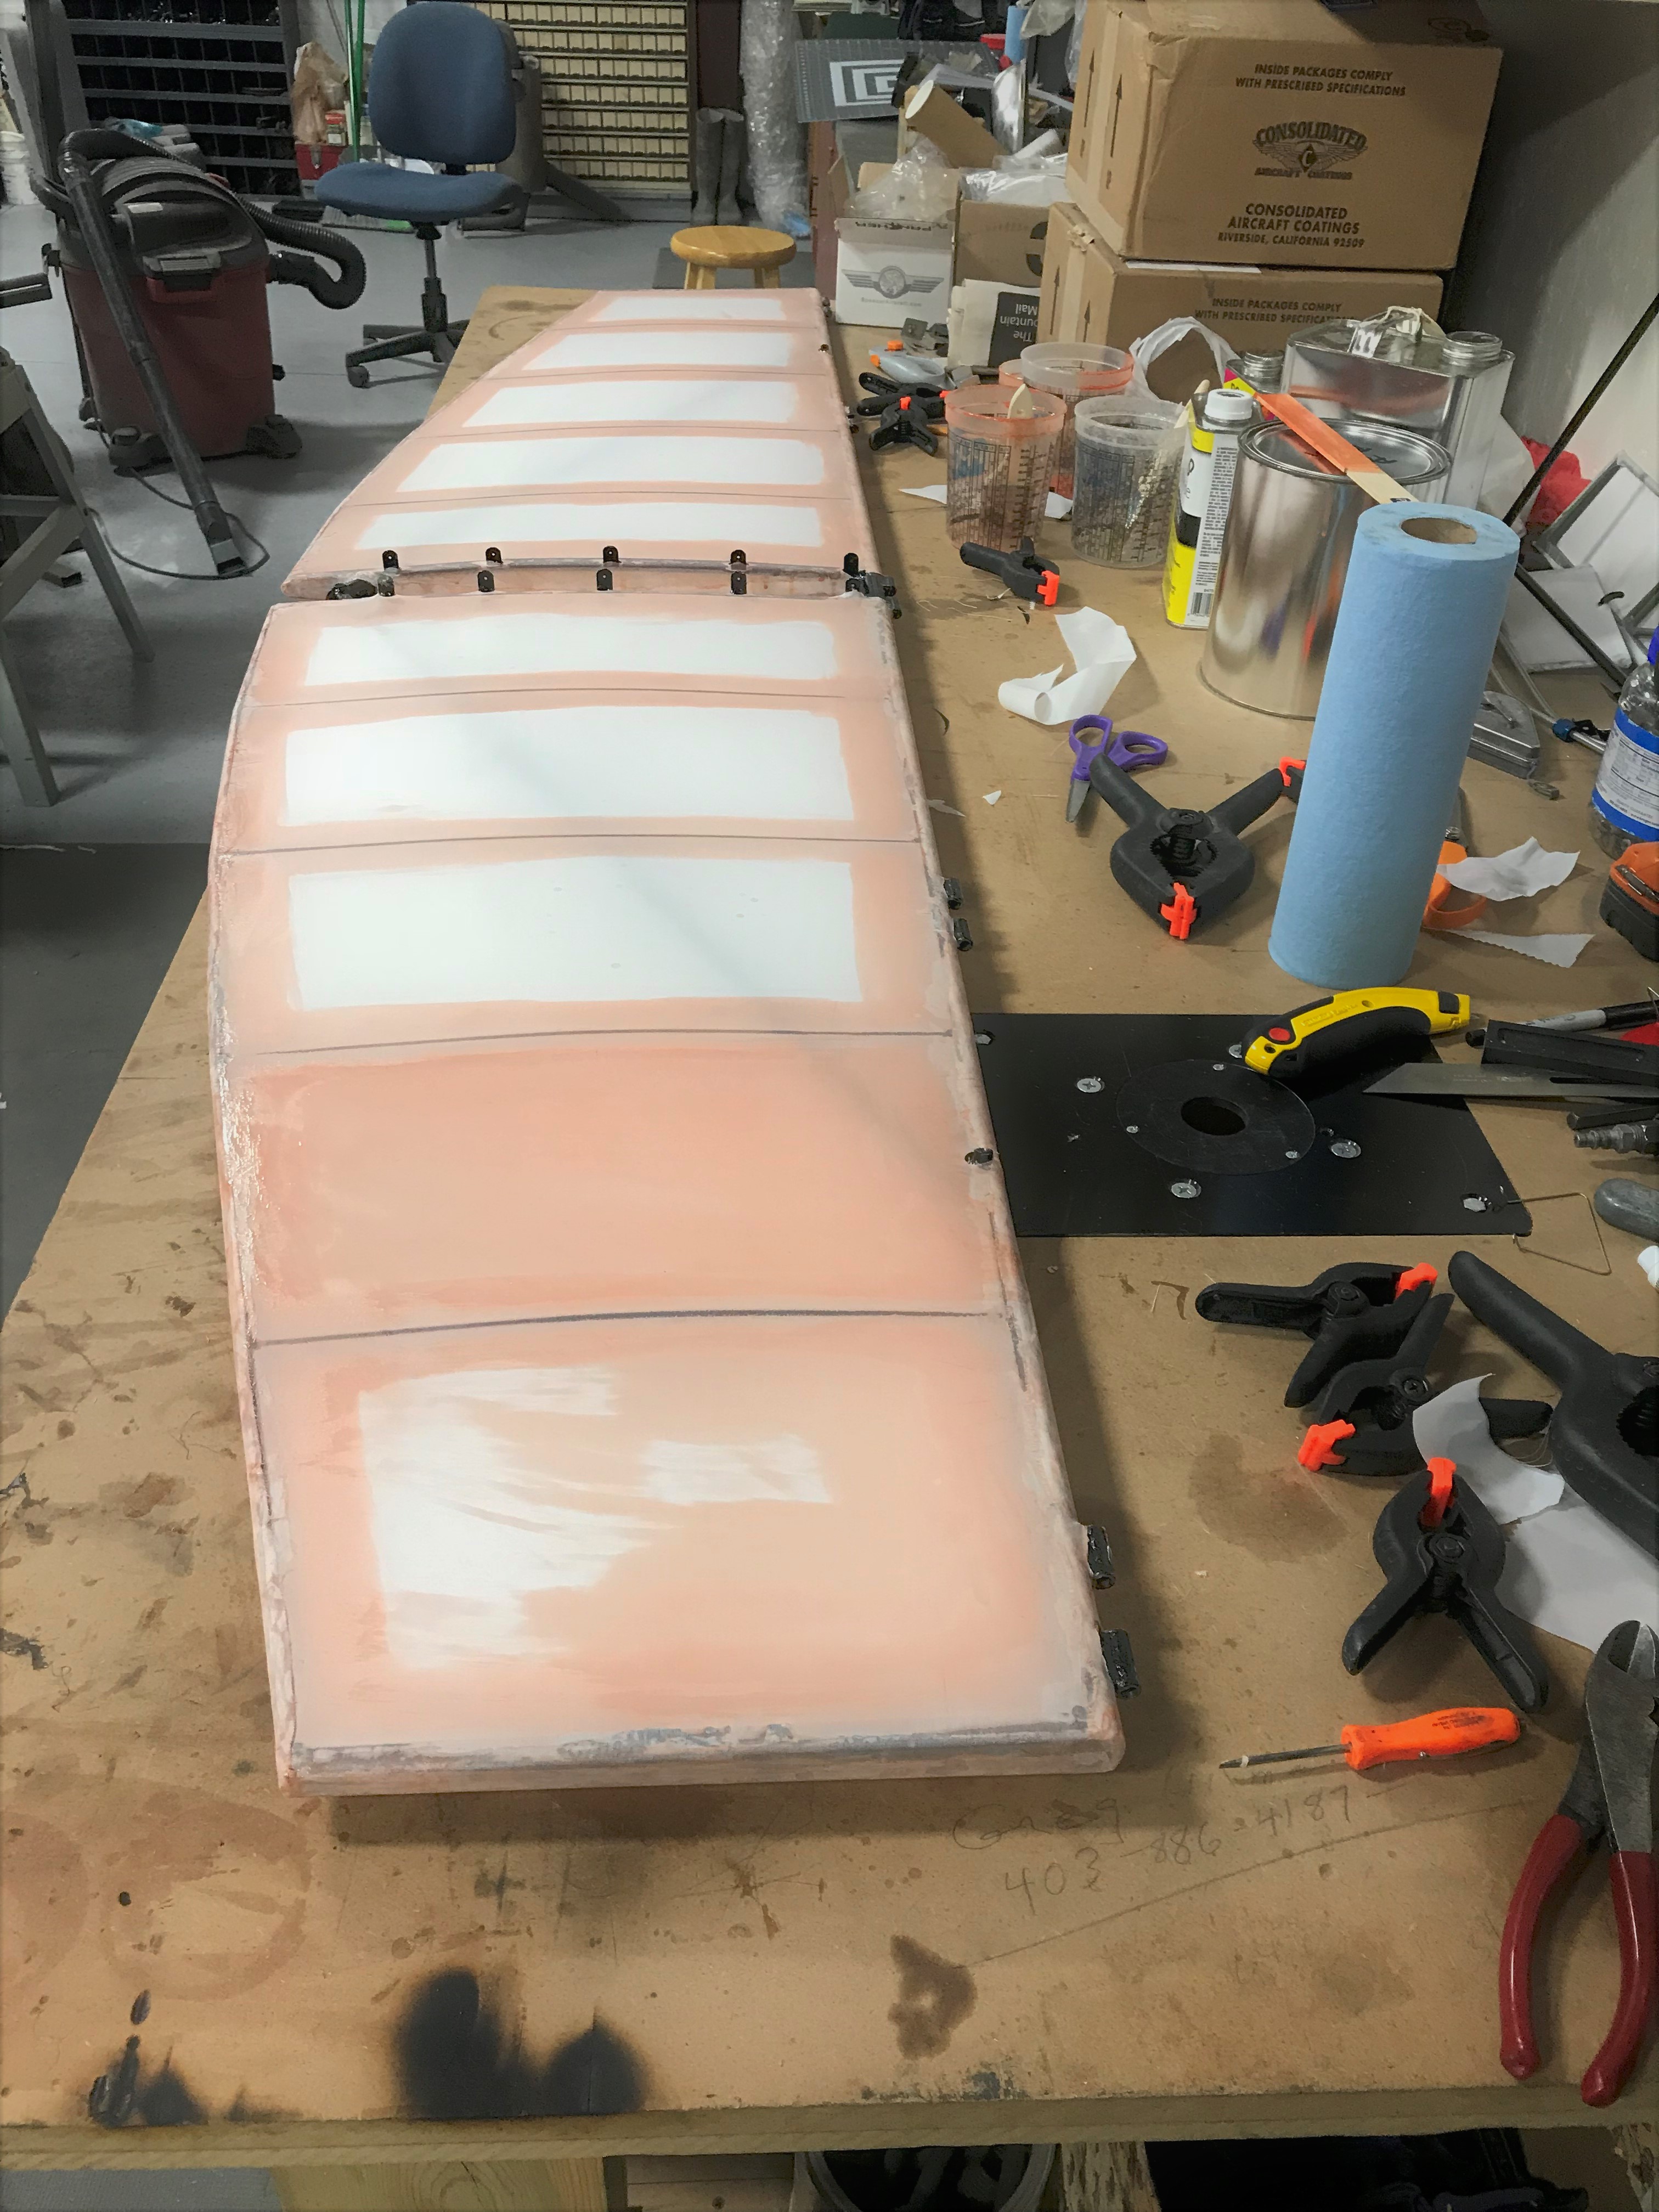
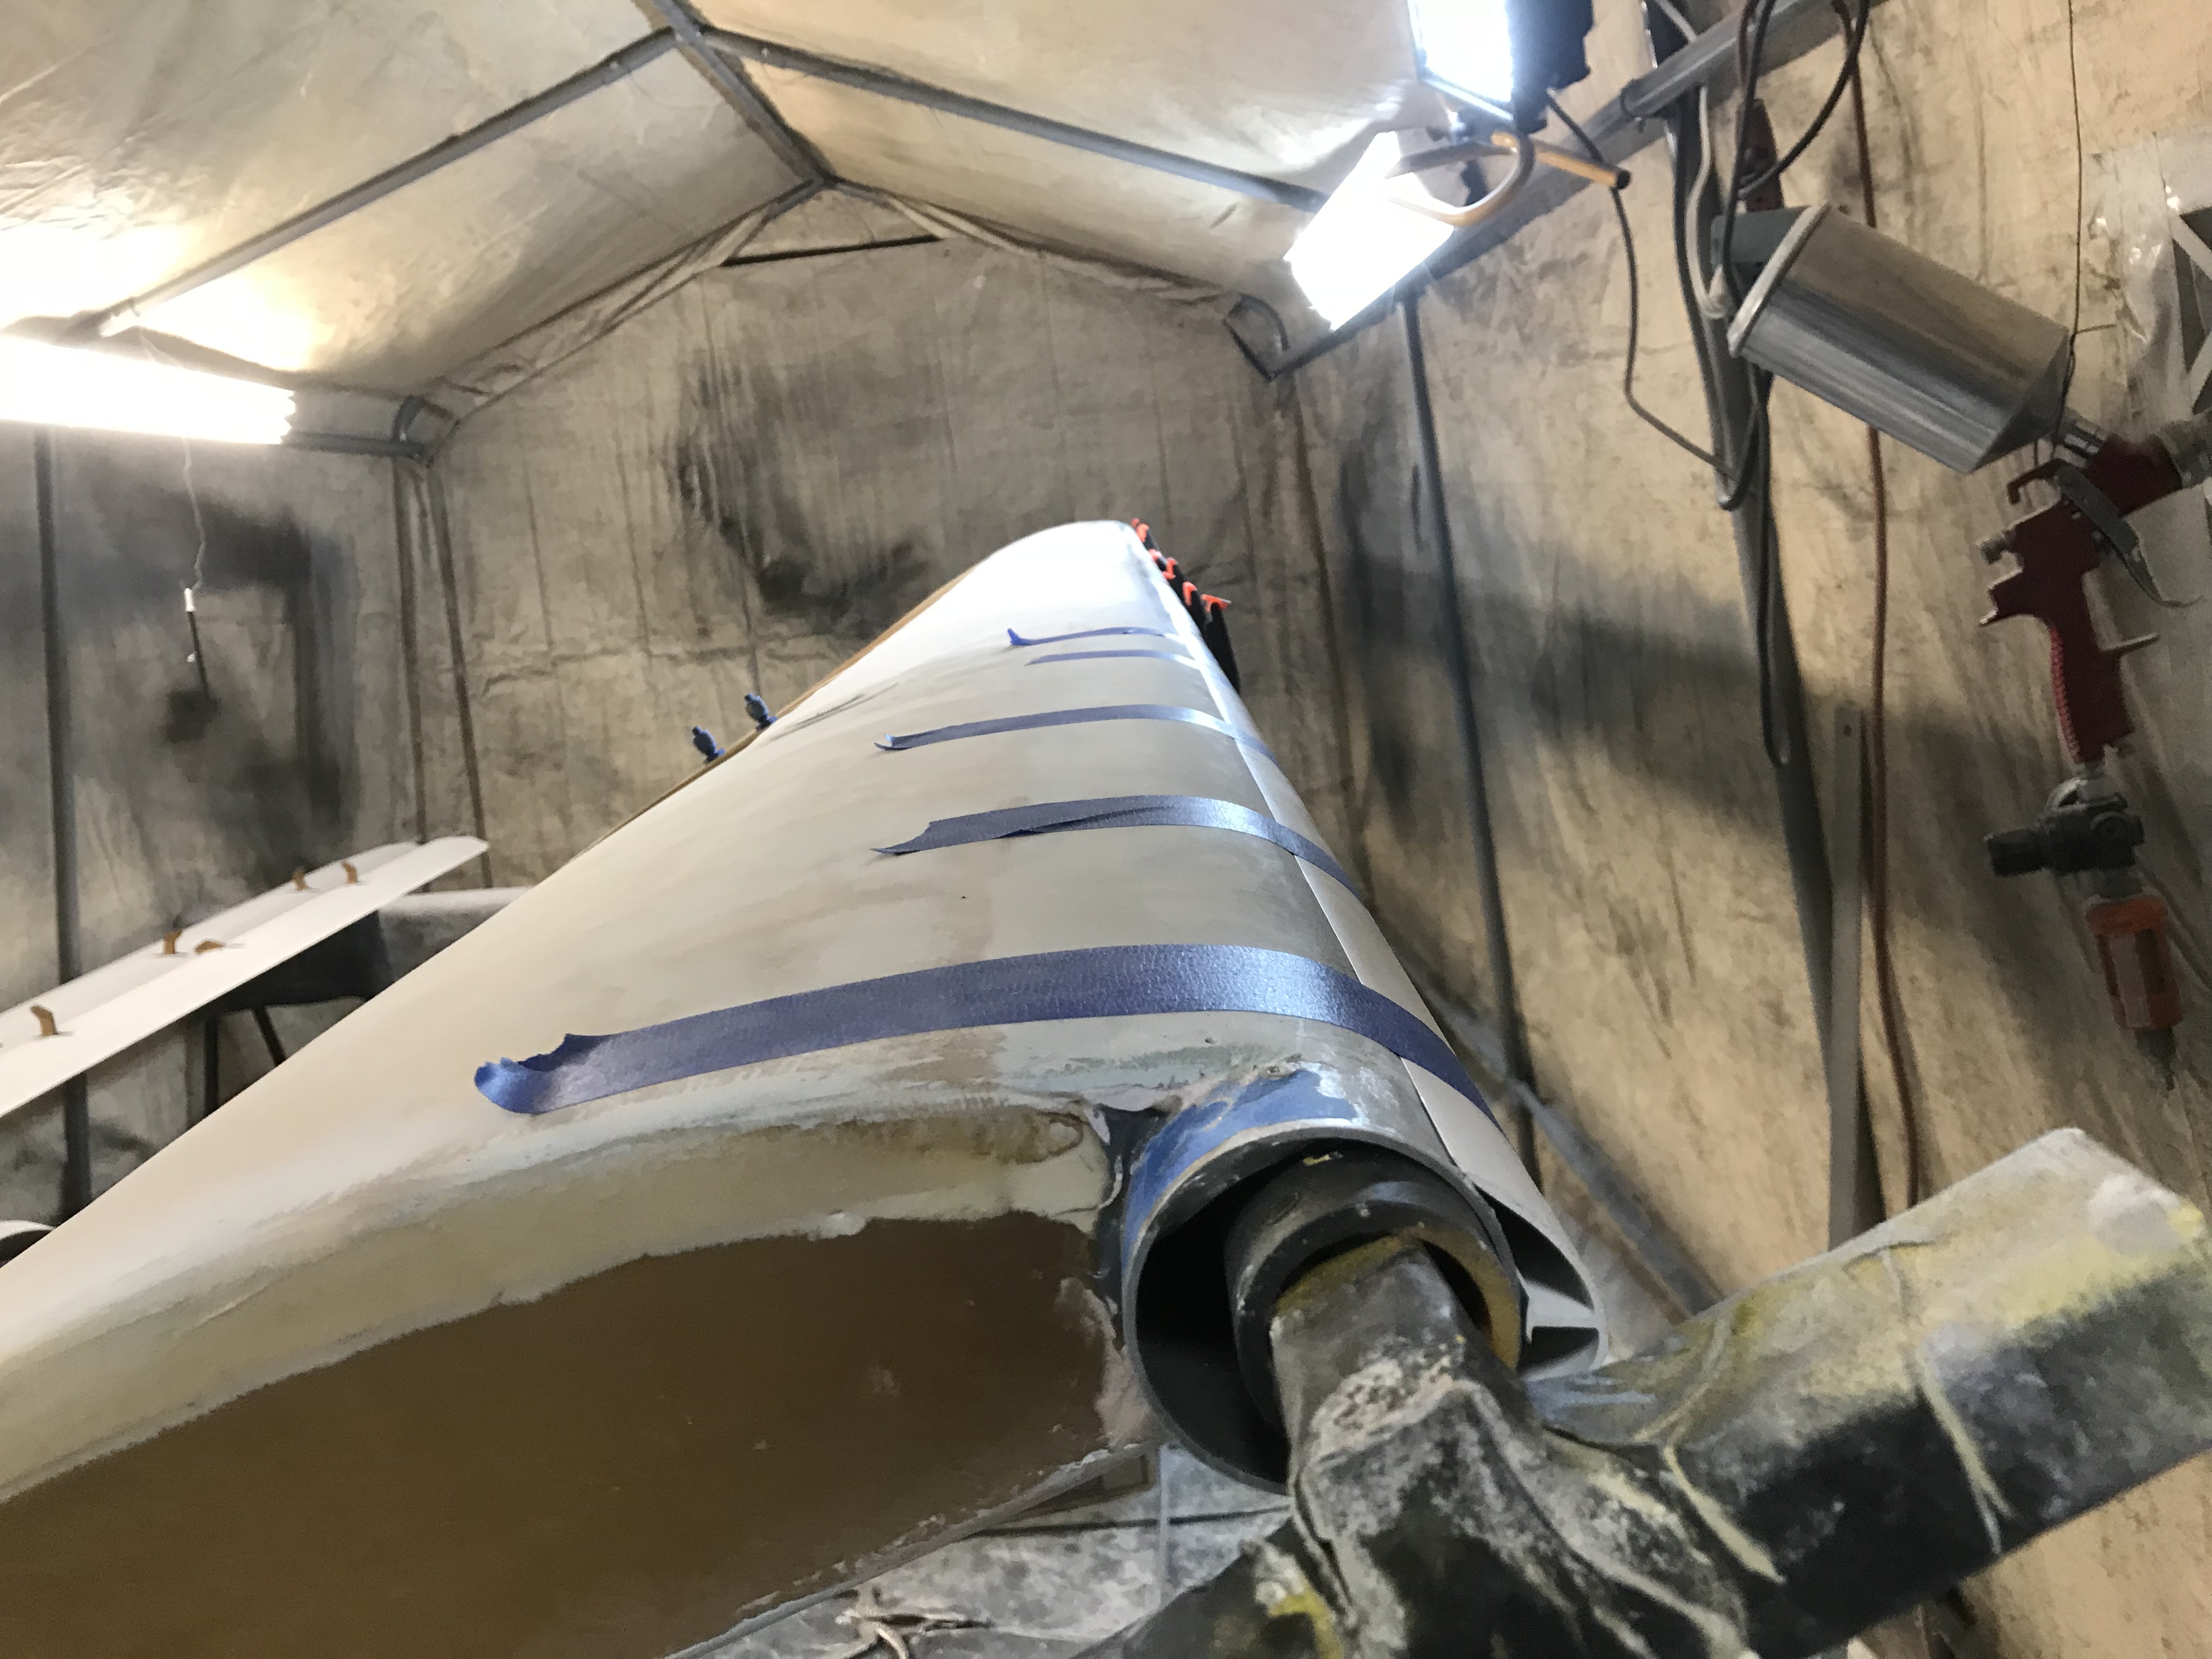
Well, got one wing ready to cover after priming it with Poly Fiber primer. Also covered the rudder with my friend Dave's help who recently went to an EAA covering seminar. Lots of fun seeing progress!

-
Thanks! I'll never do floats where I live, but you are right, now is the time to do it!!
-
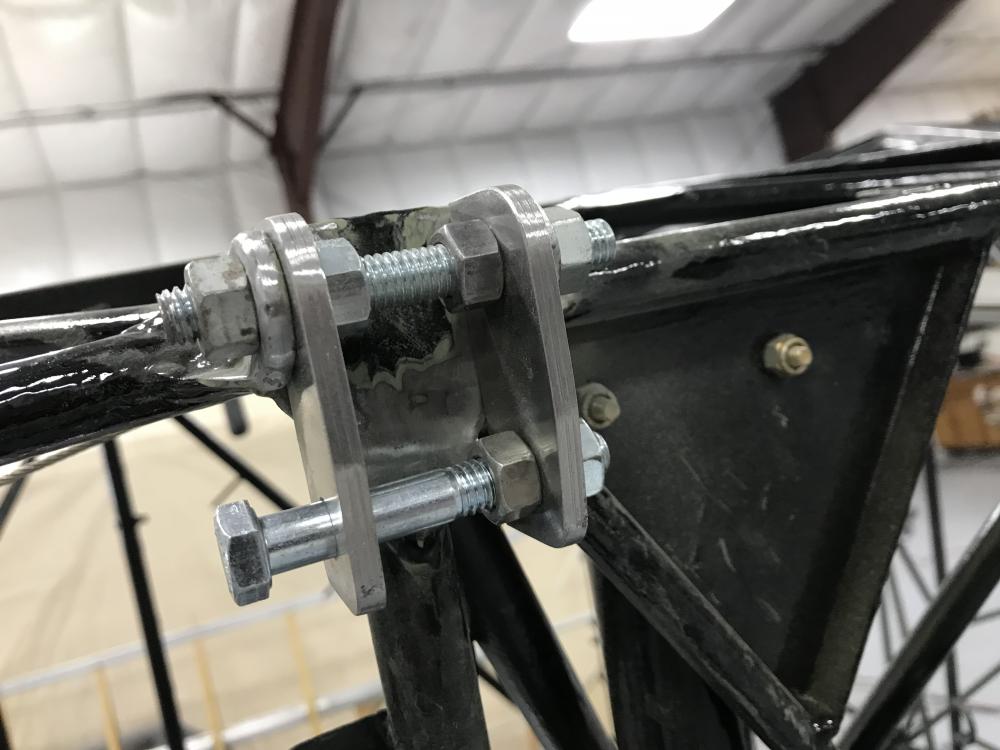
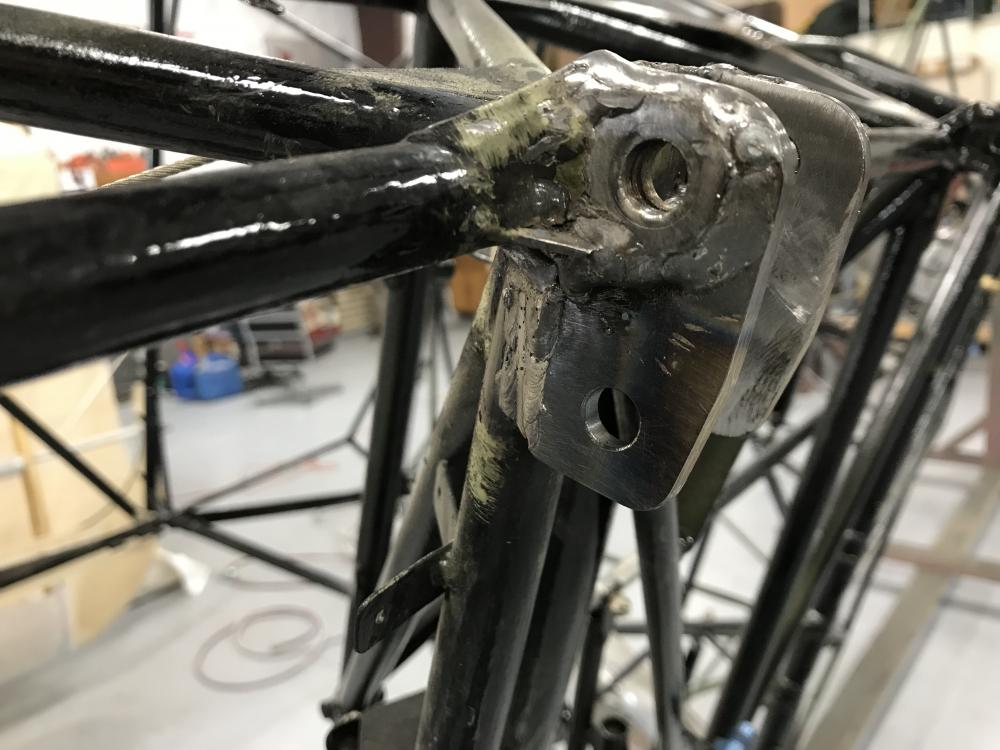
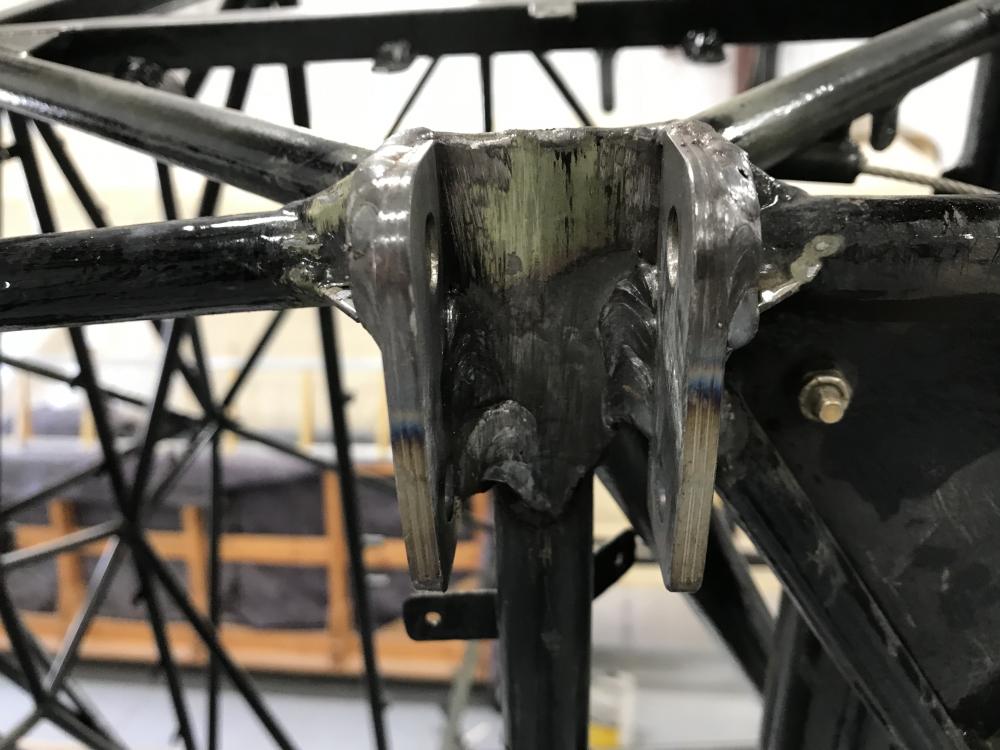
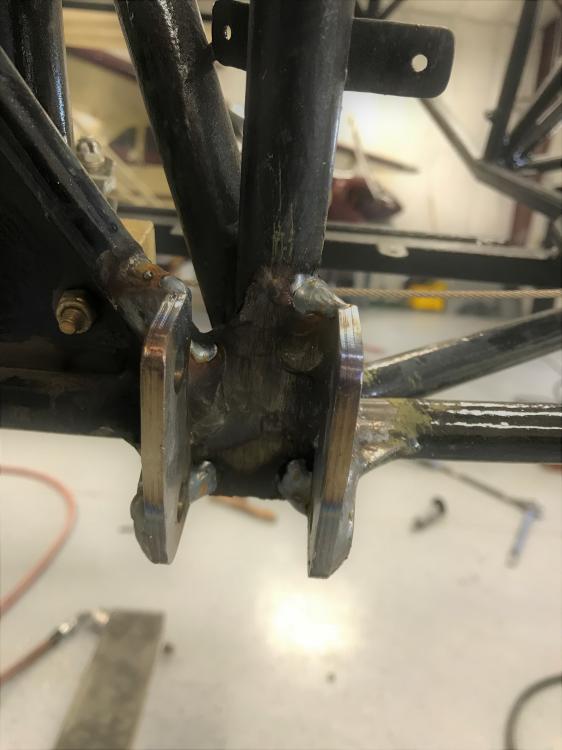
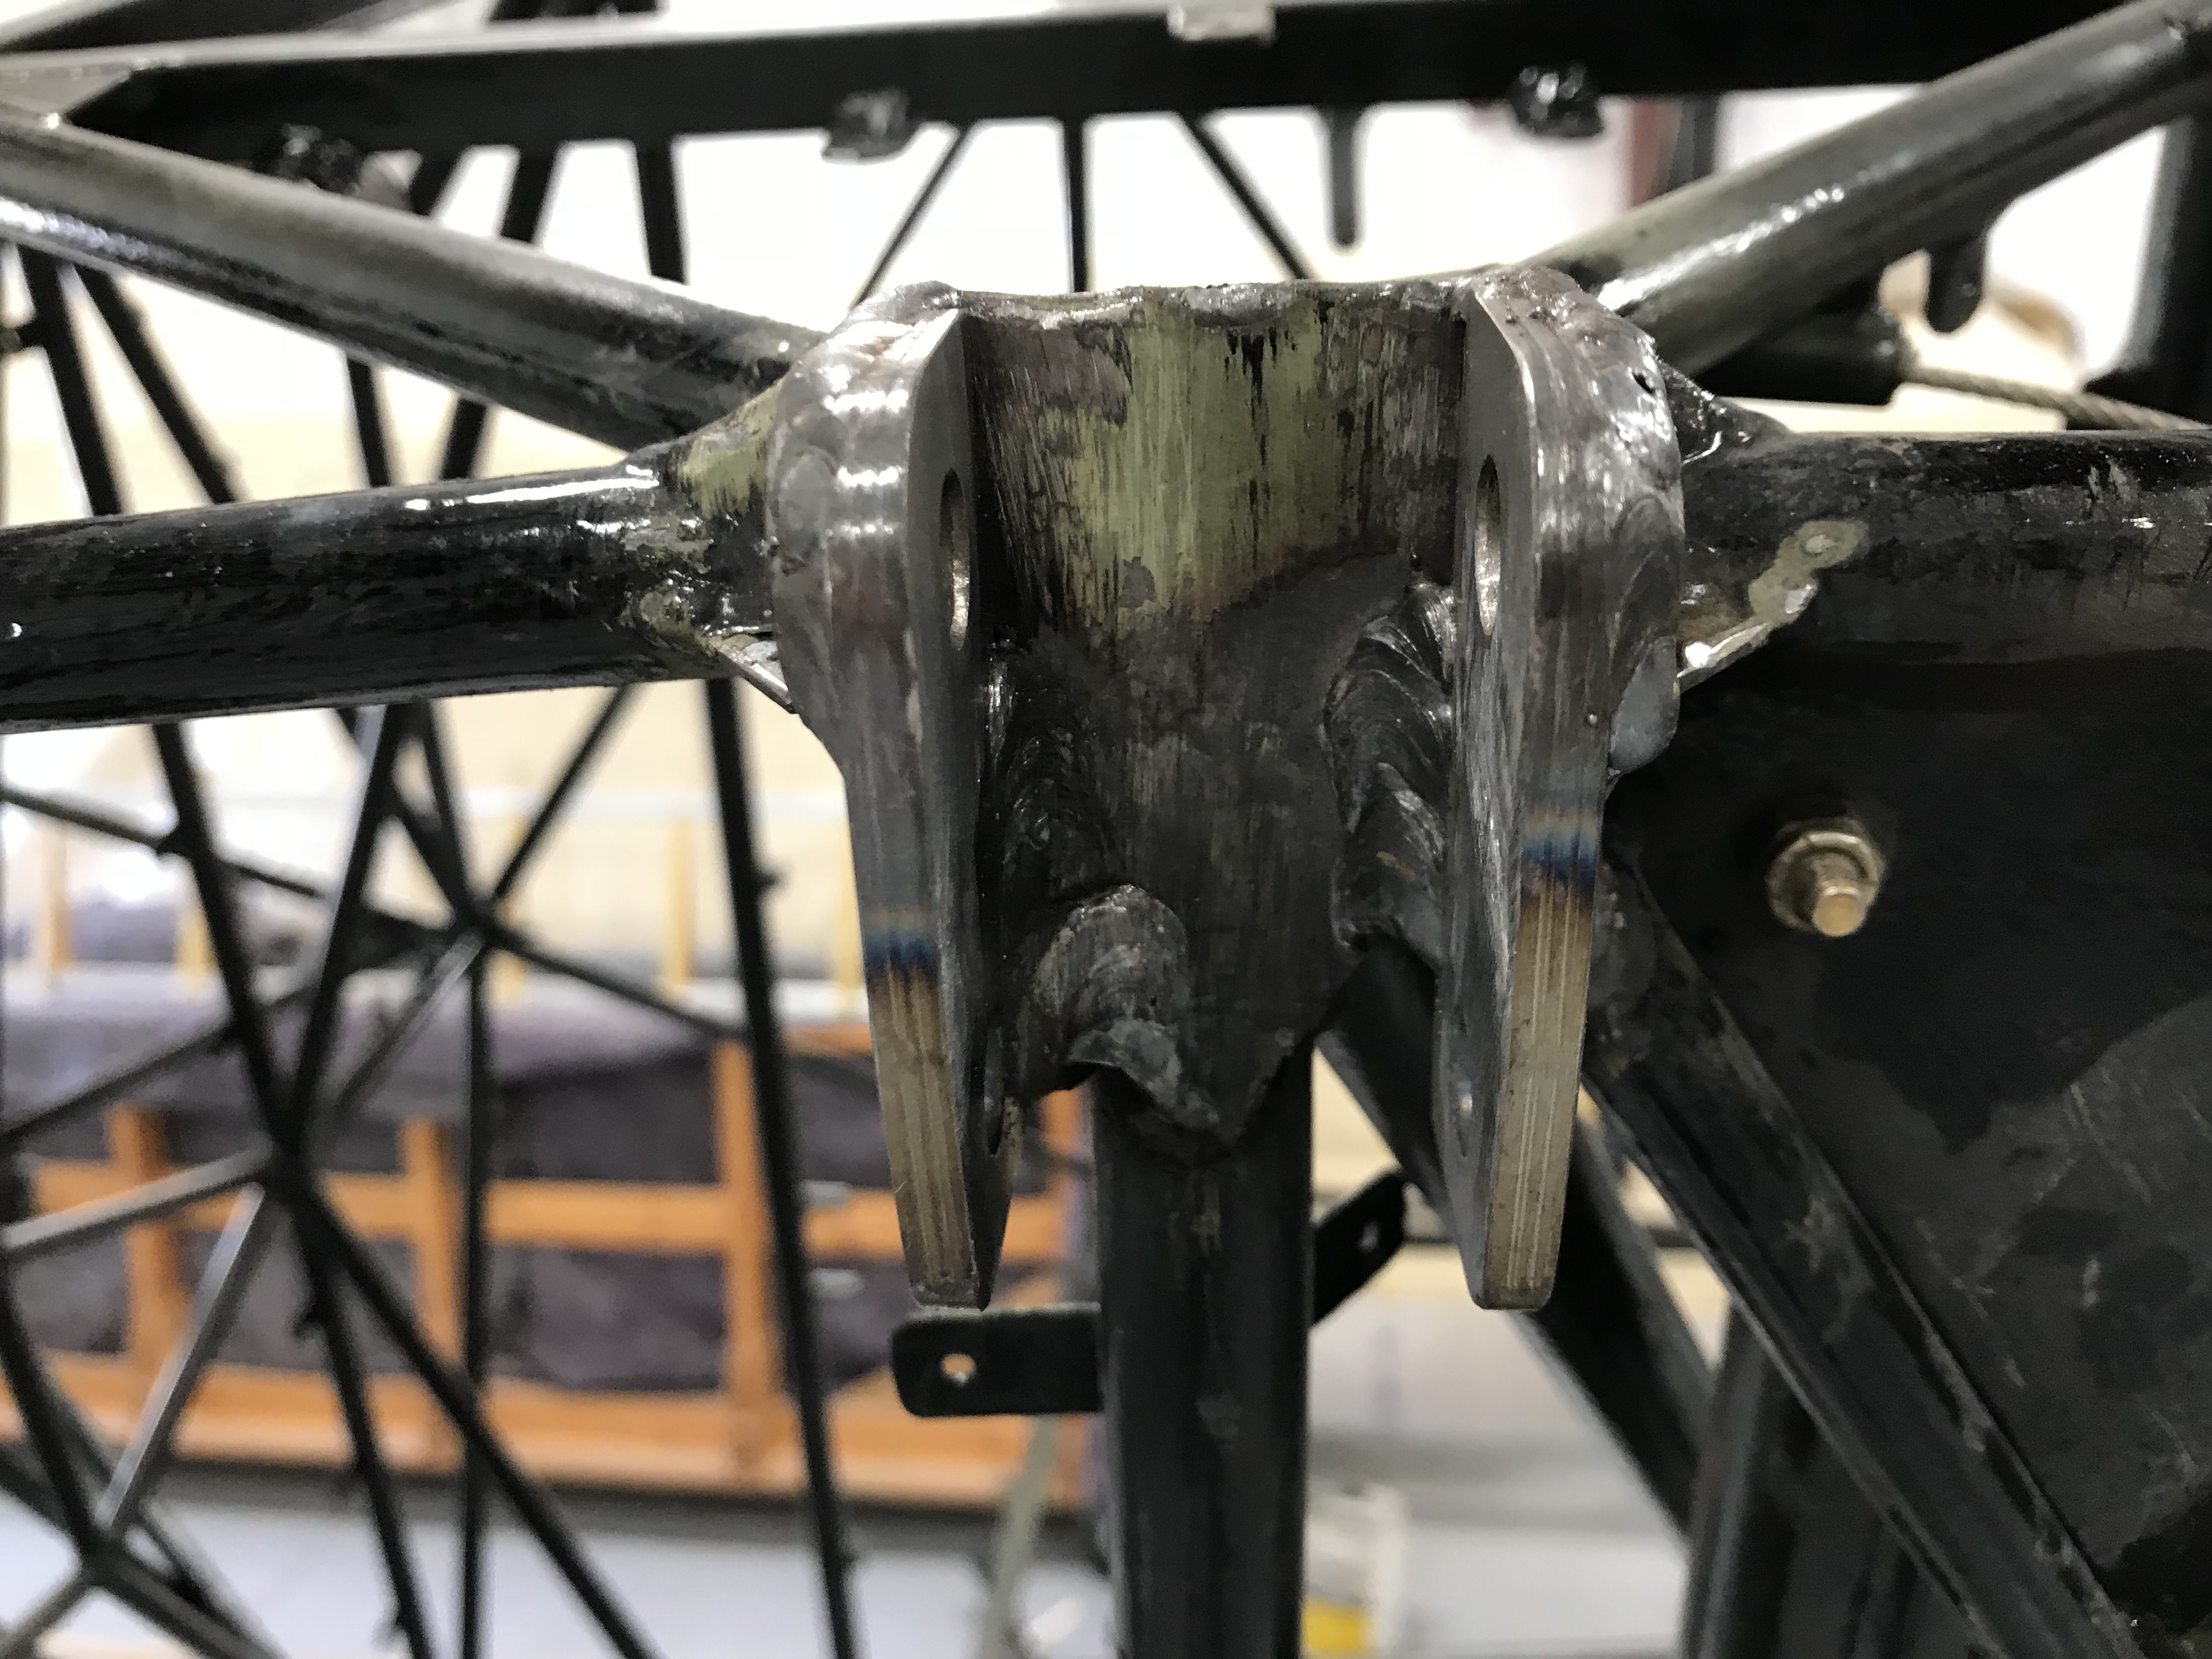
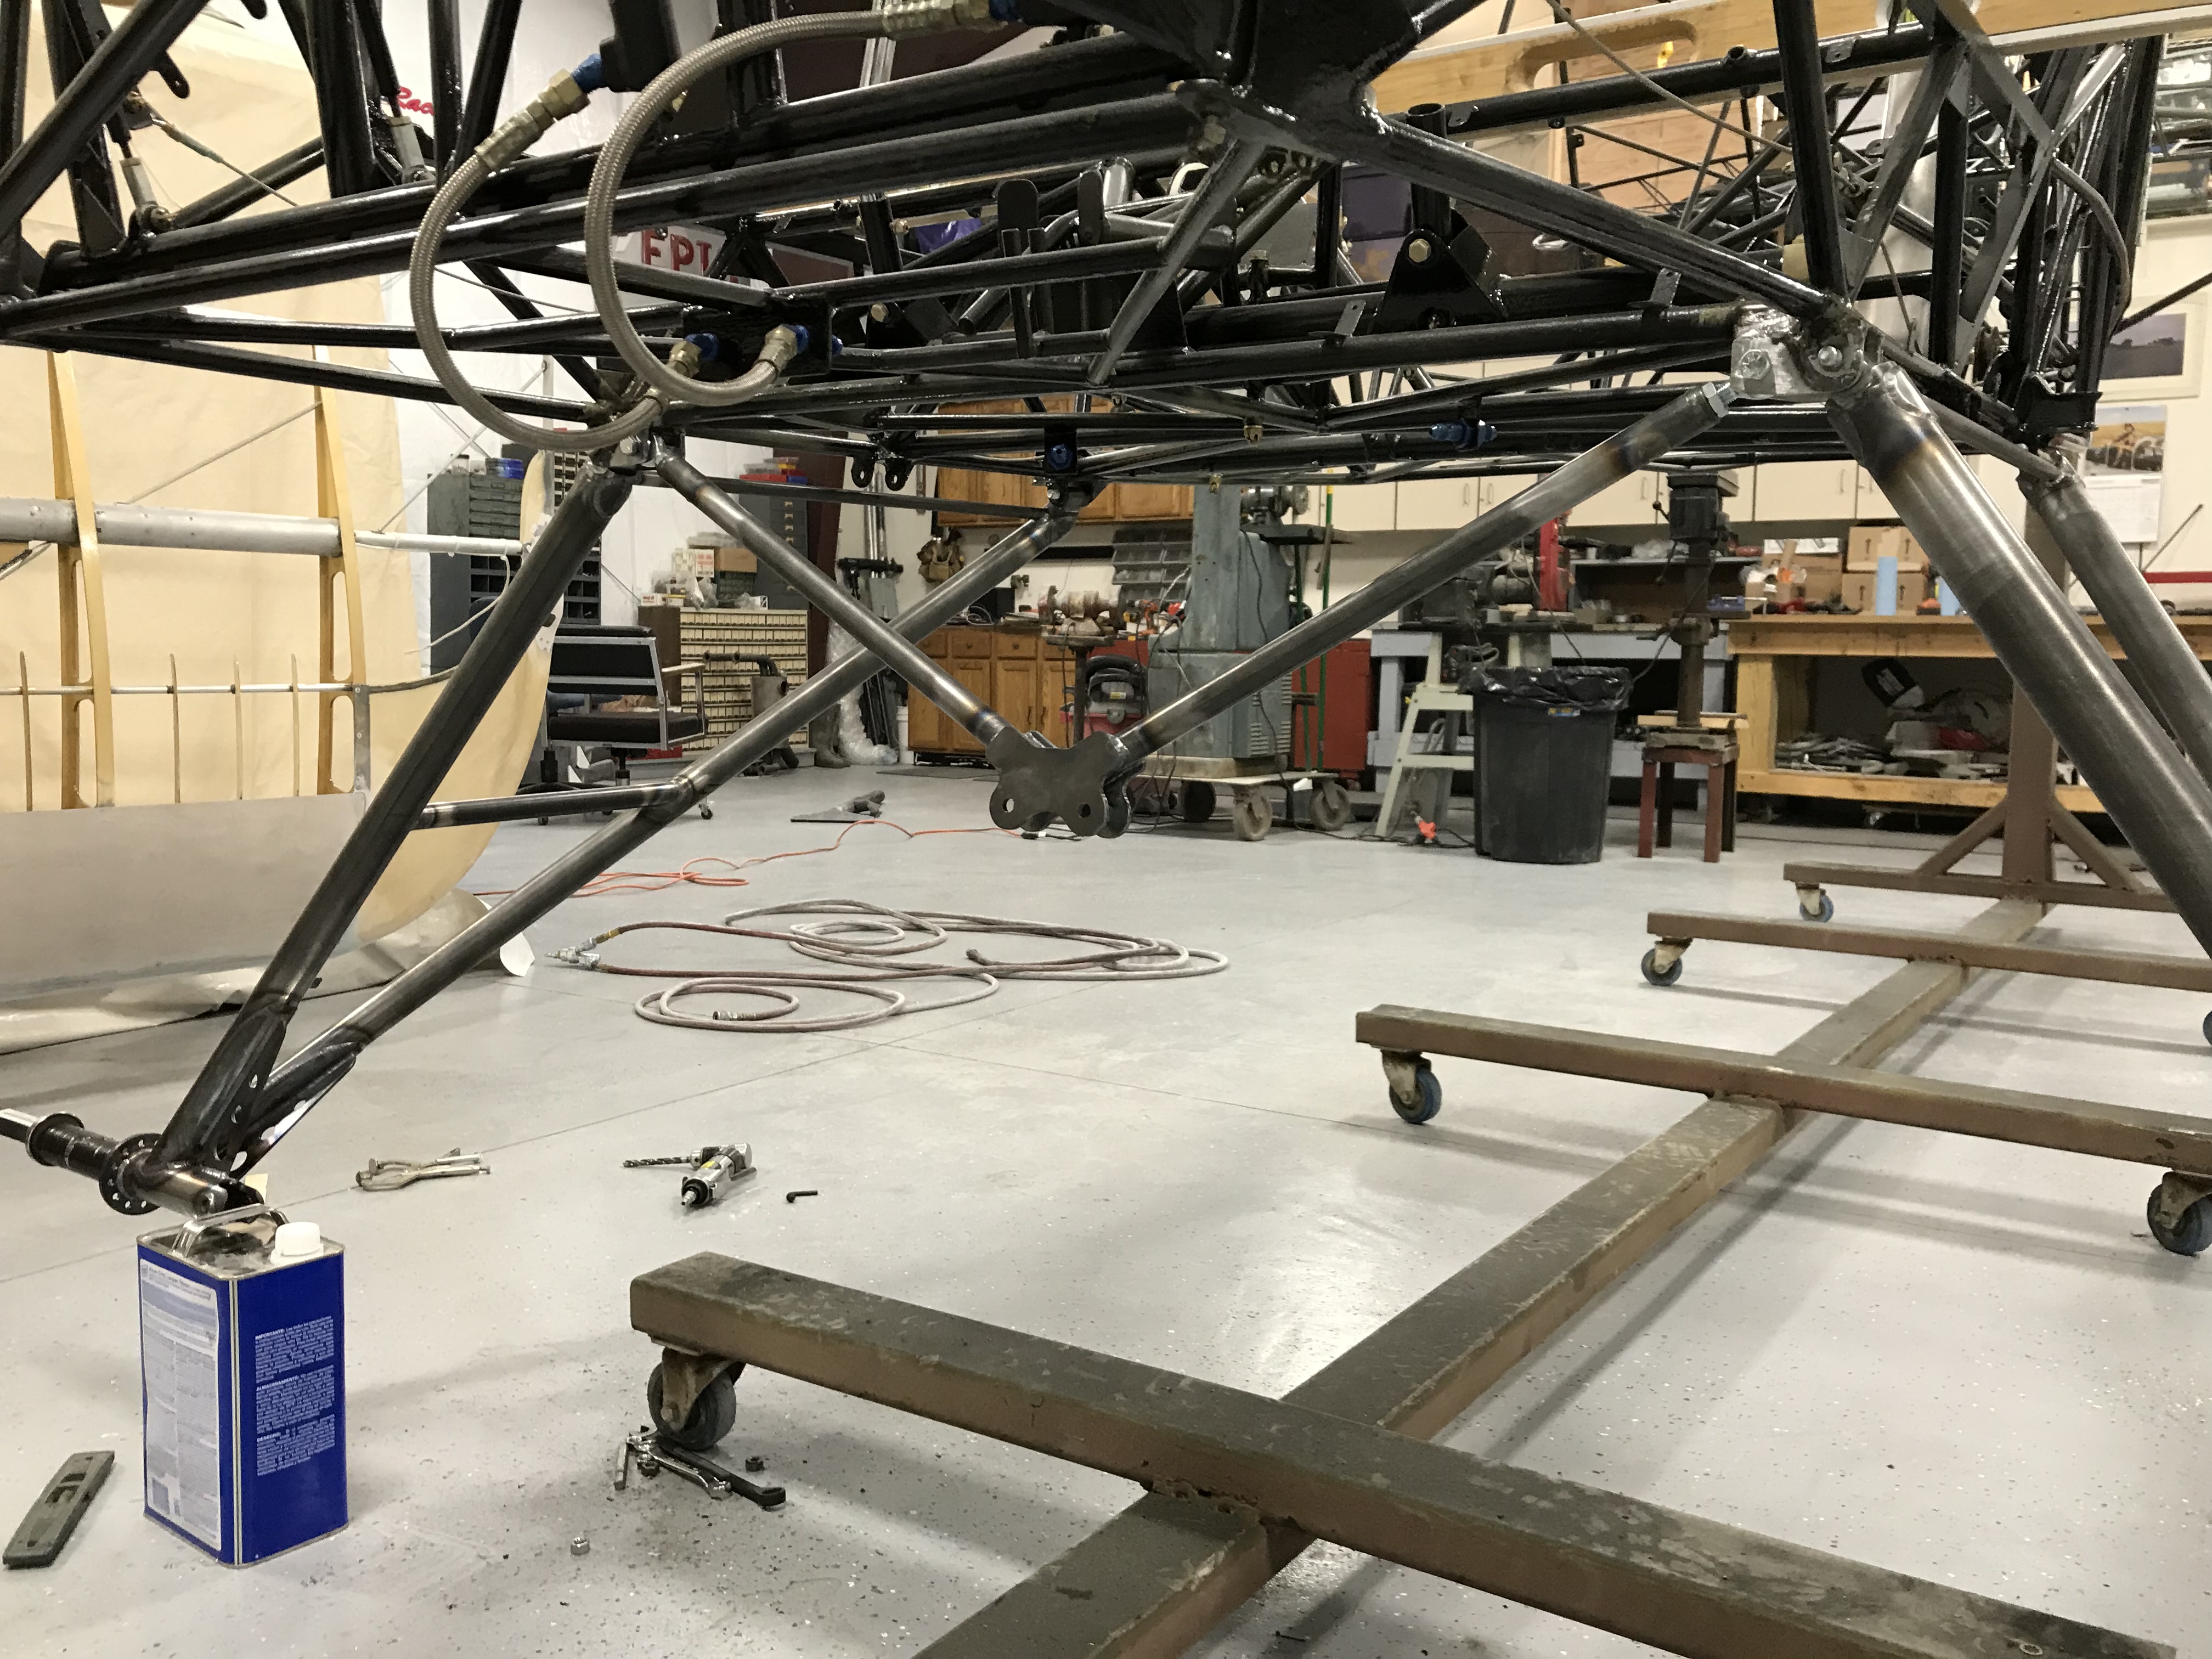
Today I welded the aftermarket landing gear tabs to the fuselage and fitted the landing gear to the tabs. Set the camber and took a some measurements so Steve can finish fabricating the shock system.

-
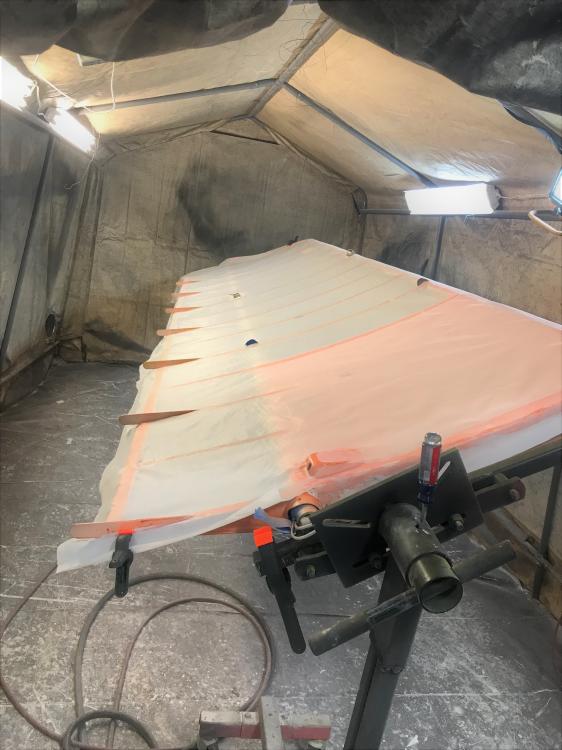
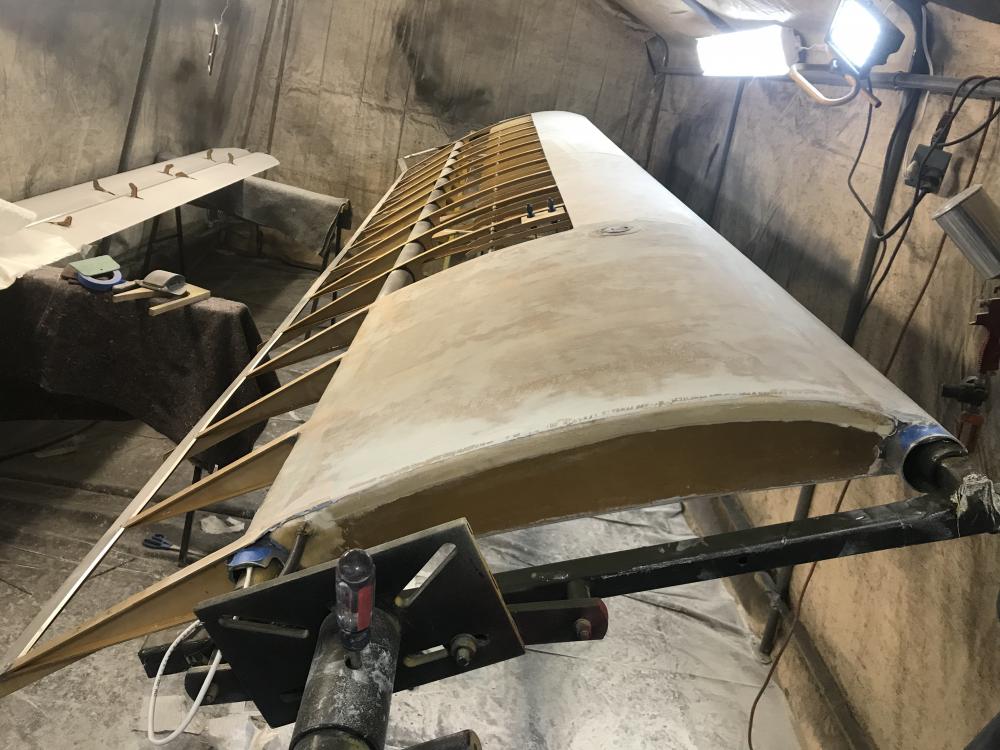
Right wing is now ready for covering. I have decided to prime both wings after talking to Poly Fiber. Low cost and quick to do.
-
Today I installed the plastic leading edge and drained the fuel tank. Thanks for the help Rick!!
 1 person likes this
 -
Today I finished sanding the right tank and installing the plywood leading edge.
-
Can't wait to fly formation!!!
2 people like this -
Ron,
Quick thought. If the engine ran before the rebuild with the mechanical pump, it should now as well. Be sure to double check what ever drives that pump to be sure it is right. Just an old mechanic thinking..........
1 person likes this -
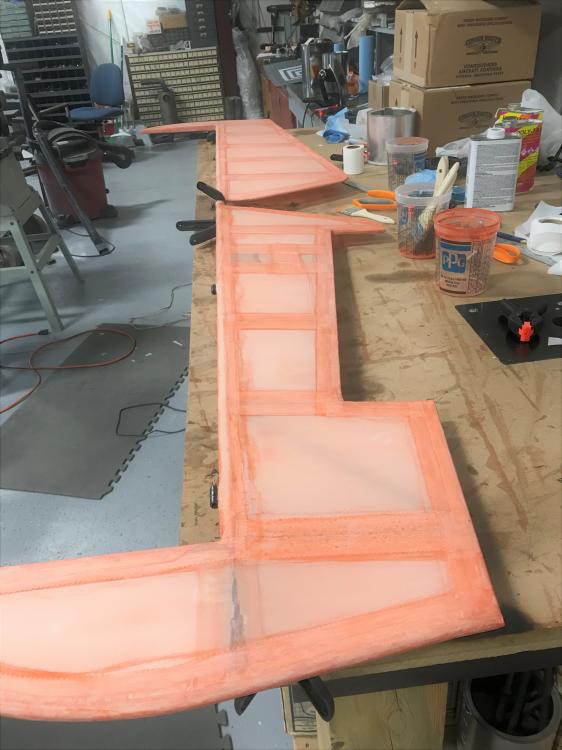
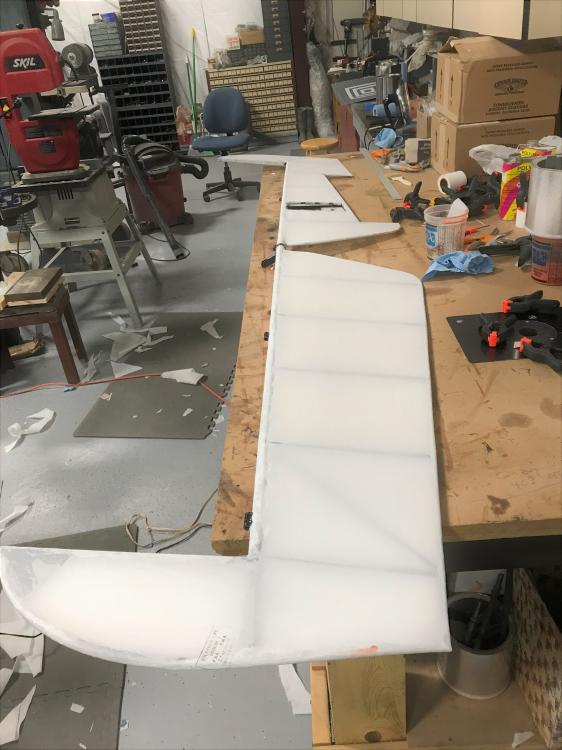
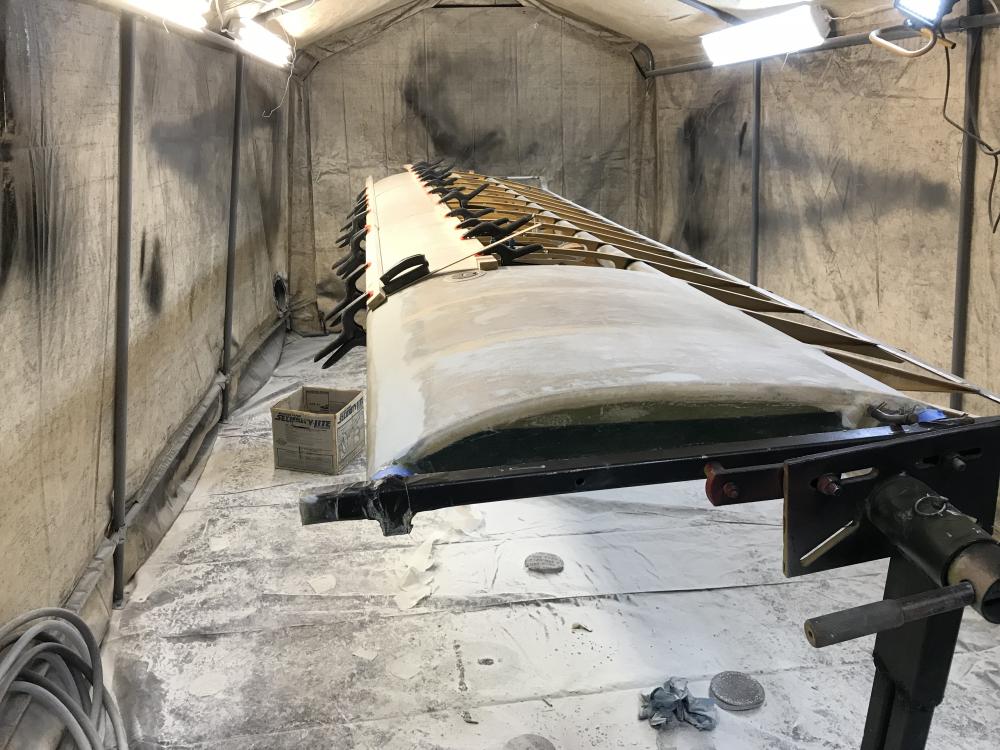
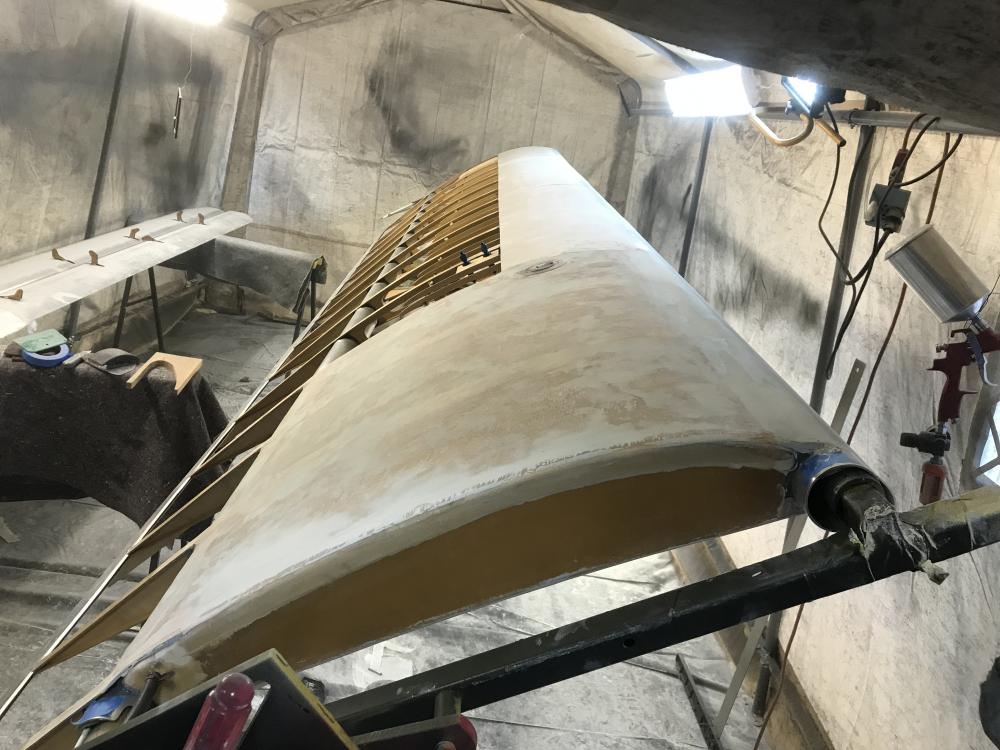
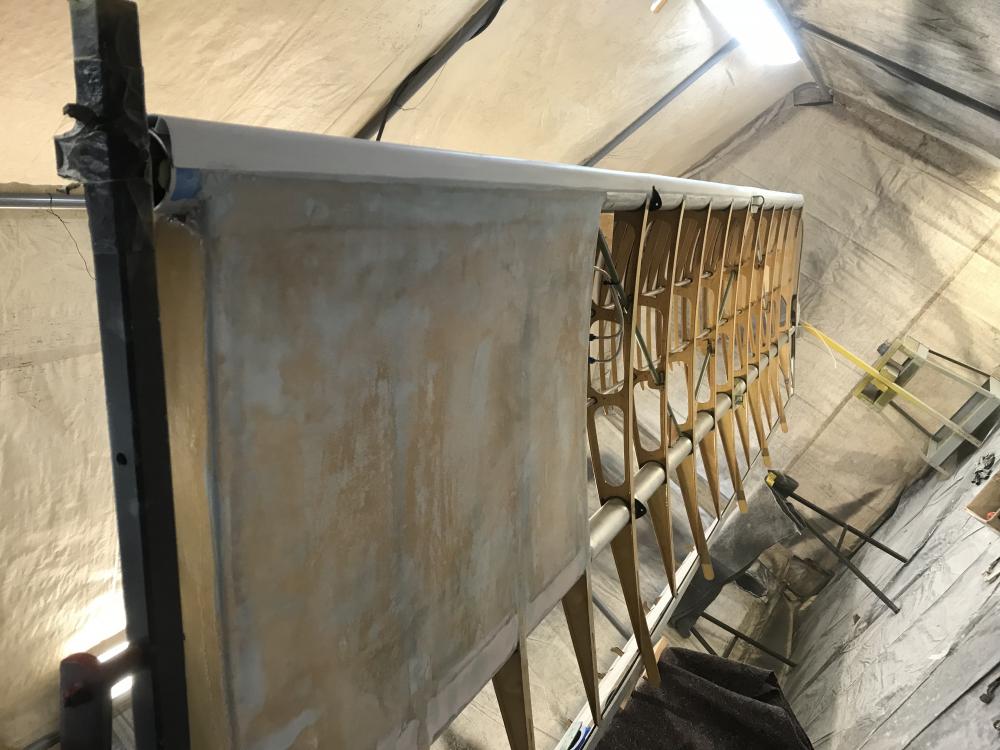
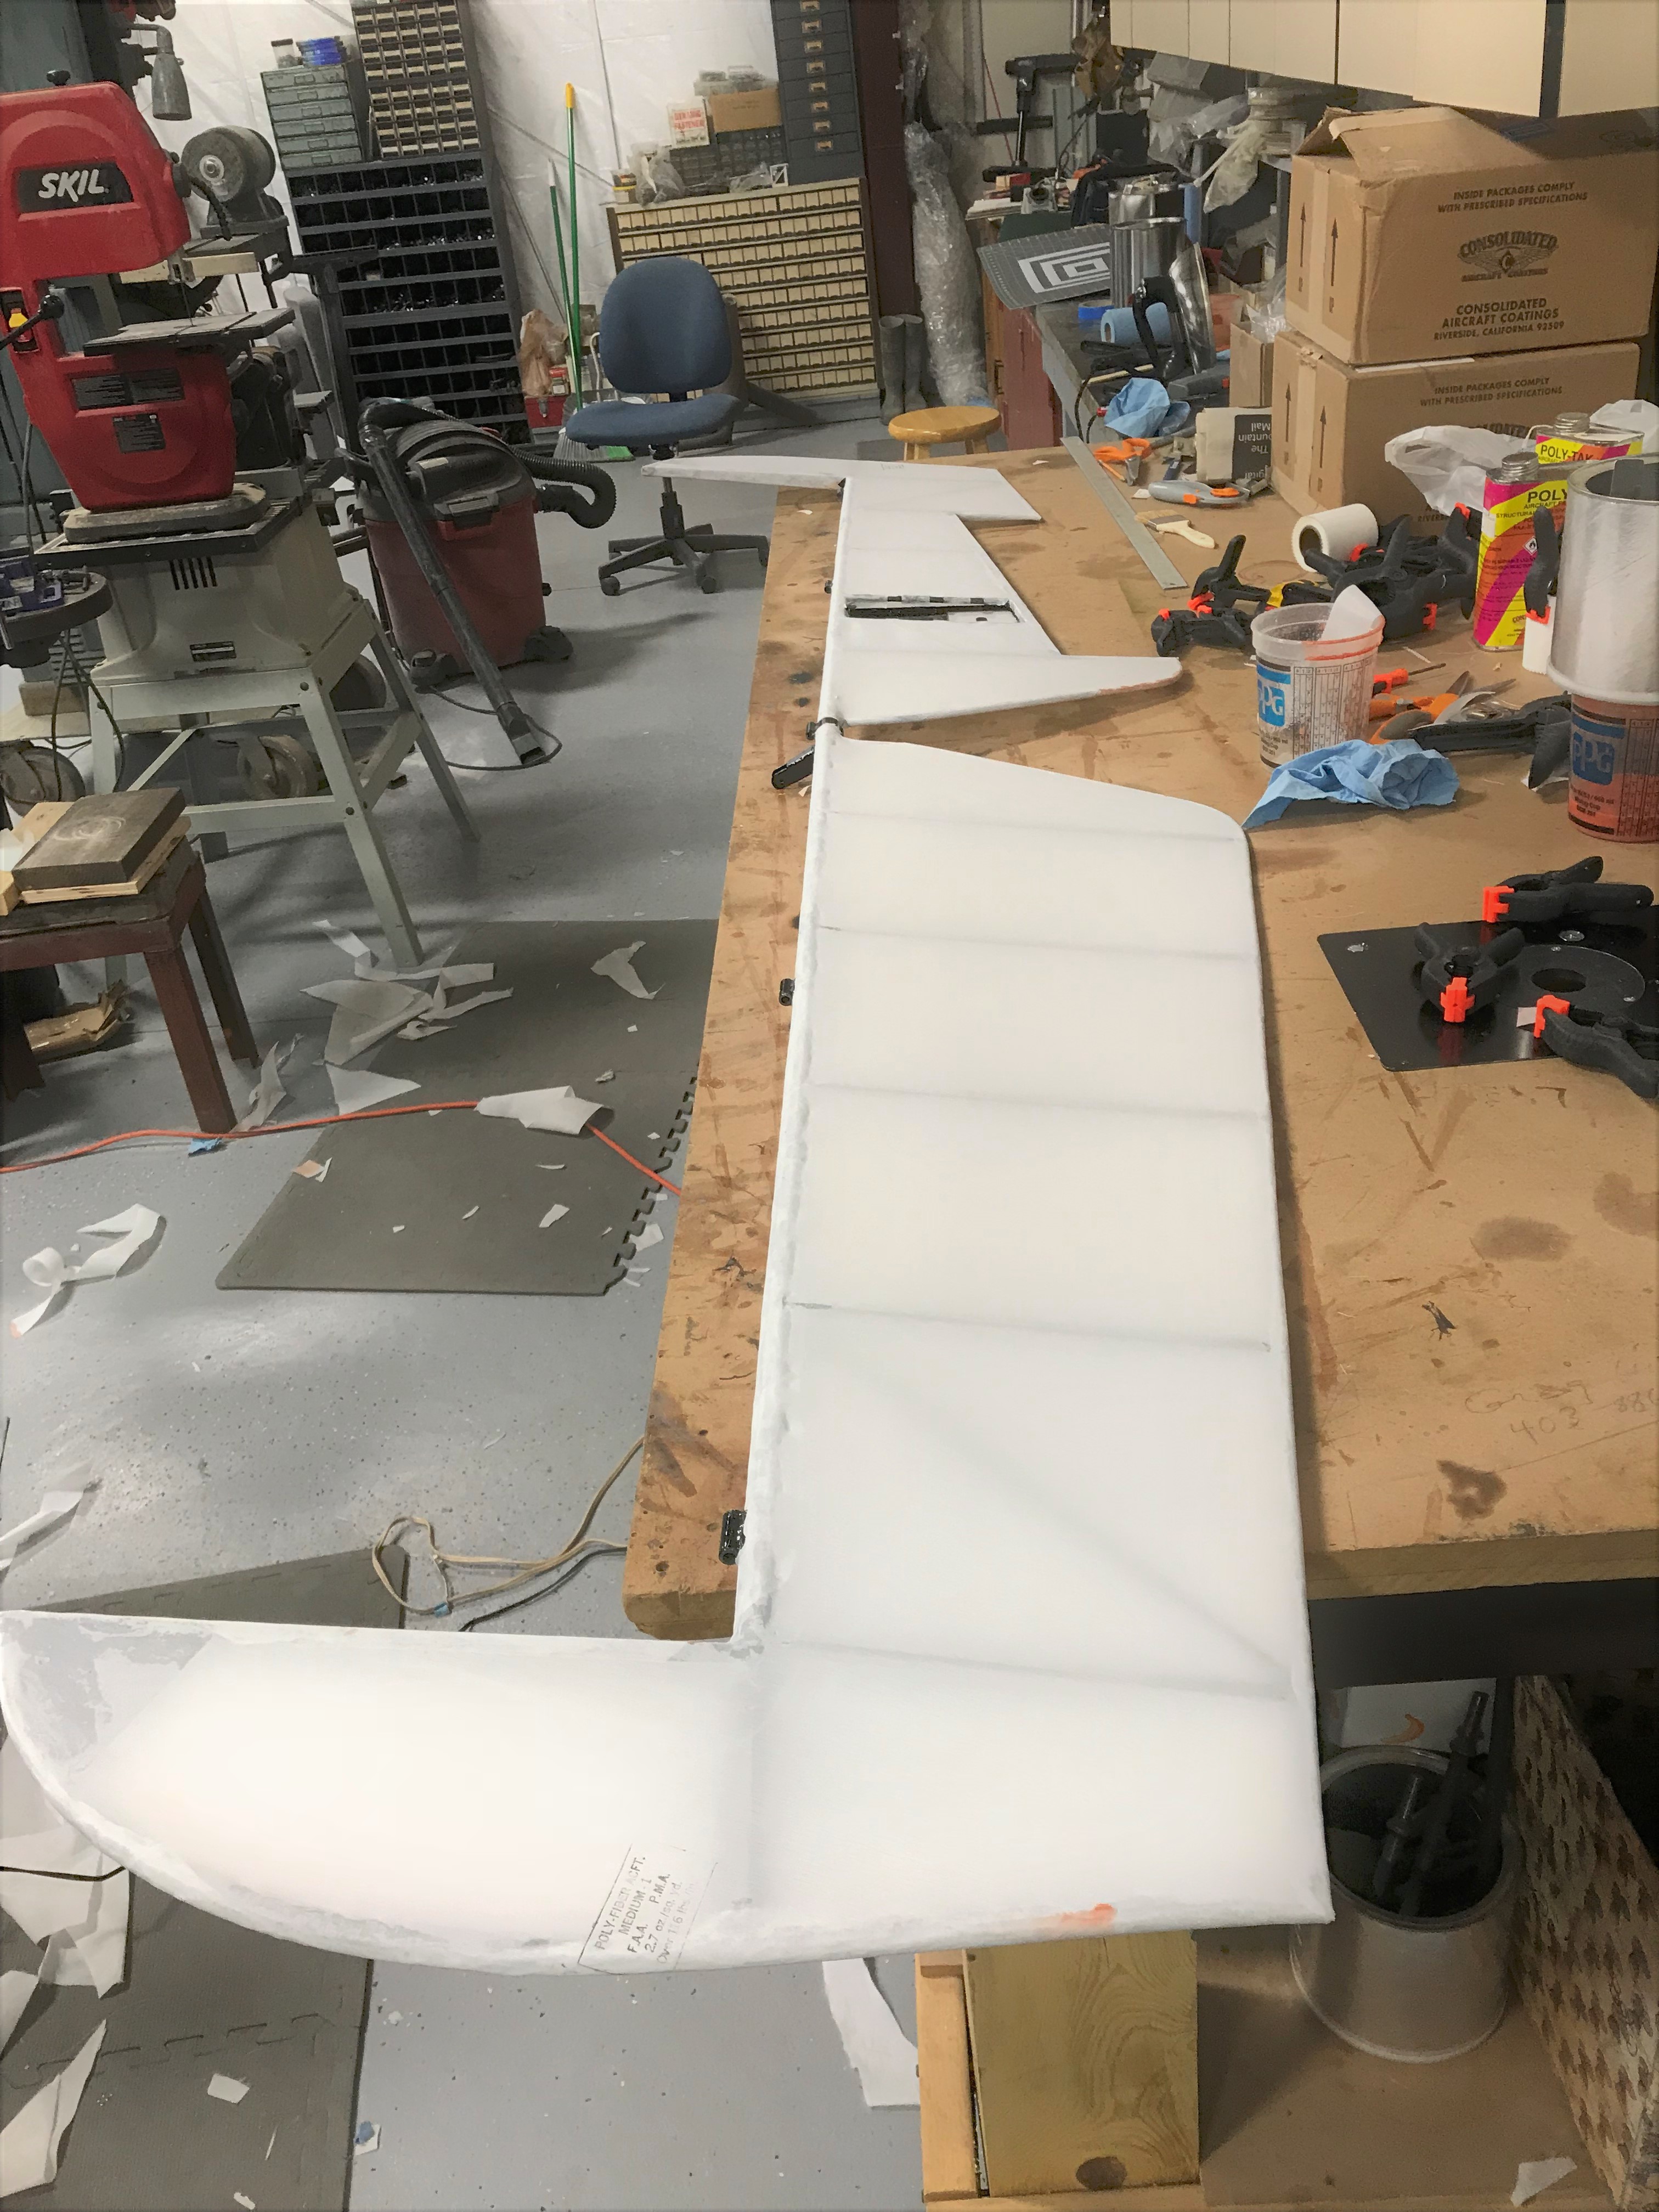
Left wing finished! Ready for fabric. Now I will be doing the same process on the right wing, but making faster progress using some quicker processes that worked well on the other wing.

-
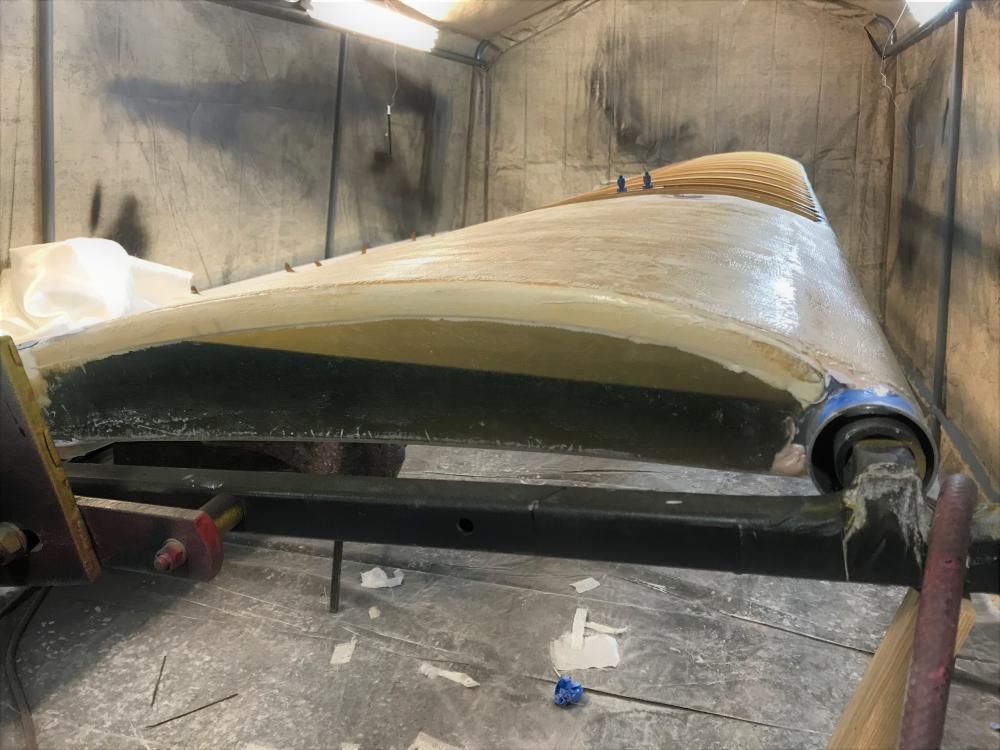
This weekend I filled the rough surface of the fuel tank with light weight auto body filler, then I glued the plastic leading edge on.
 1 person likes this
 -
I used balloons worked great
I also tried the balloon method, bud I didn't like the cracking and popping noises coming from the tank
 . I probably used a bit too much air pressure. Anyway, about 16 hours full of fuel with out any leaks makes me feel good about it.2 people like this
 -
You are going to get me in trouble on the forum...I did pressure test mine
 I taped all of the vent lines and used a technically developed tape and paper towel ball the size of the fuel cap with a tire stem in the center of the tape ball...very technical...go figure, the only leak was in the tape ball, but slow enough that I could spray soap and look for bubbles elsewhere. Used very low pressure, about 3 psi.
But I think the static overnight fuel test is better!
I didn't say which Ron did I ?? Sorry buddy........
1 person likes this -
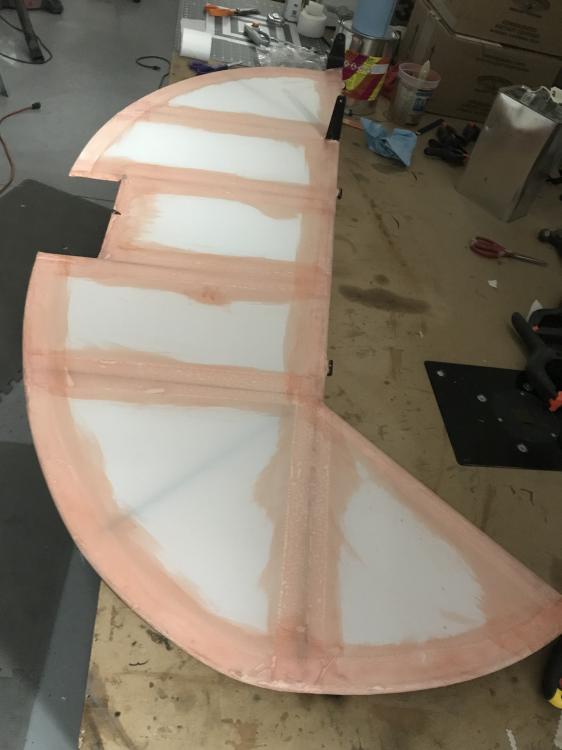
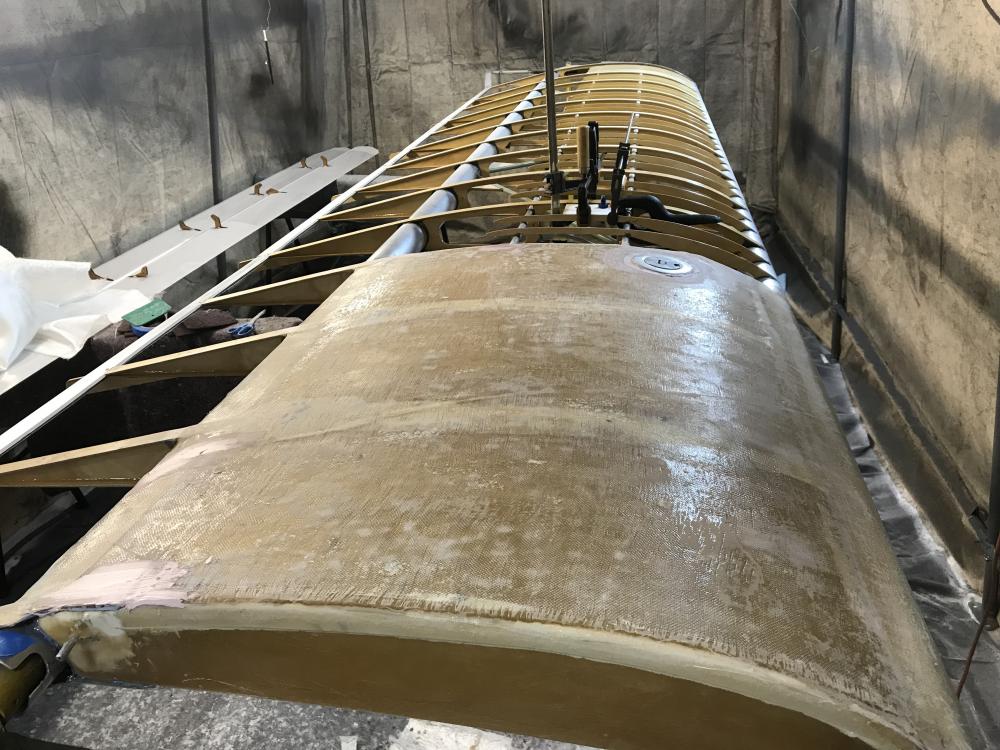
Today I installed the leading edge on the left wing. I used 5 mil plywood from ACS. It was made in Finland. Nice stuff, but pricey............

-
Well, my fuel cell held fuel overnight with no leaks! After trying to come up with a way to air test the fuel tanks, I asked Ron what he did and he just filled the tank with fuel and checked for leaks. Keep it simple stupid method worked great! Now to install leading edge plywood and this one is ready for fabric.
 2 people like this
 -
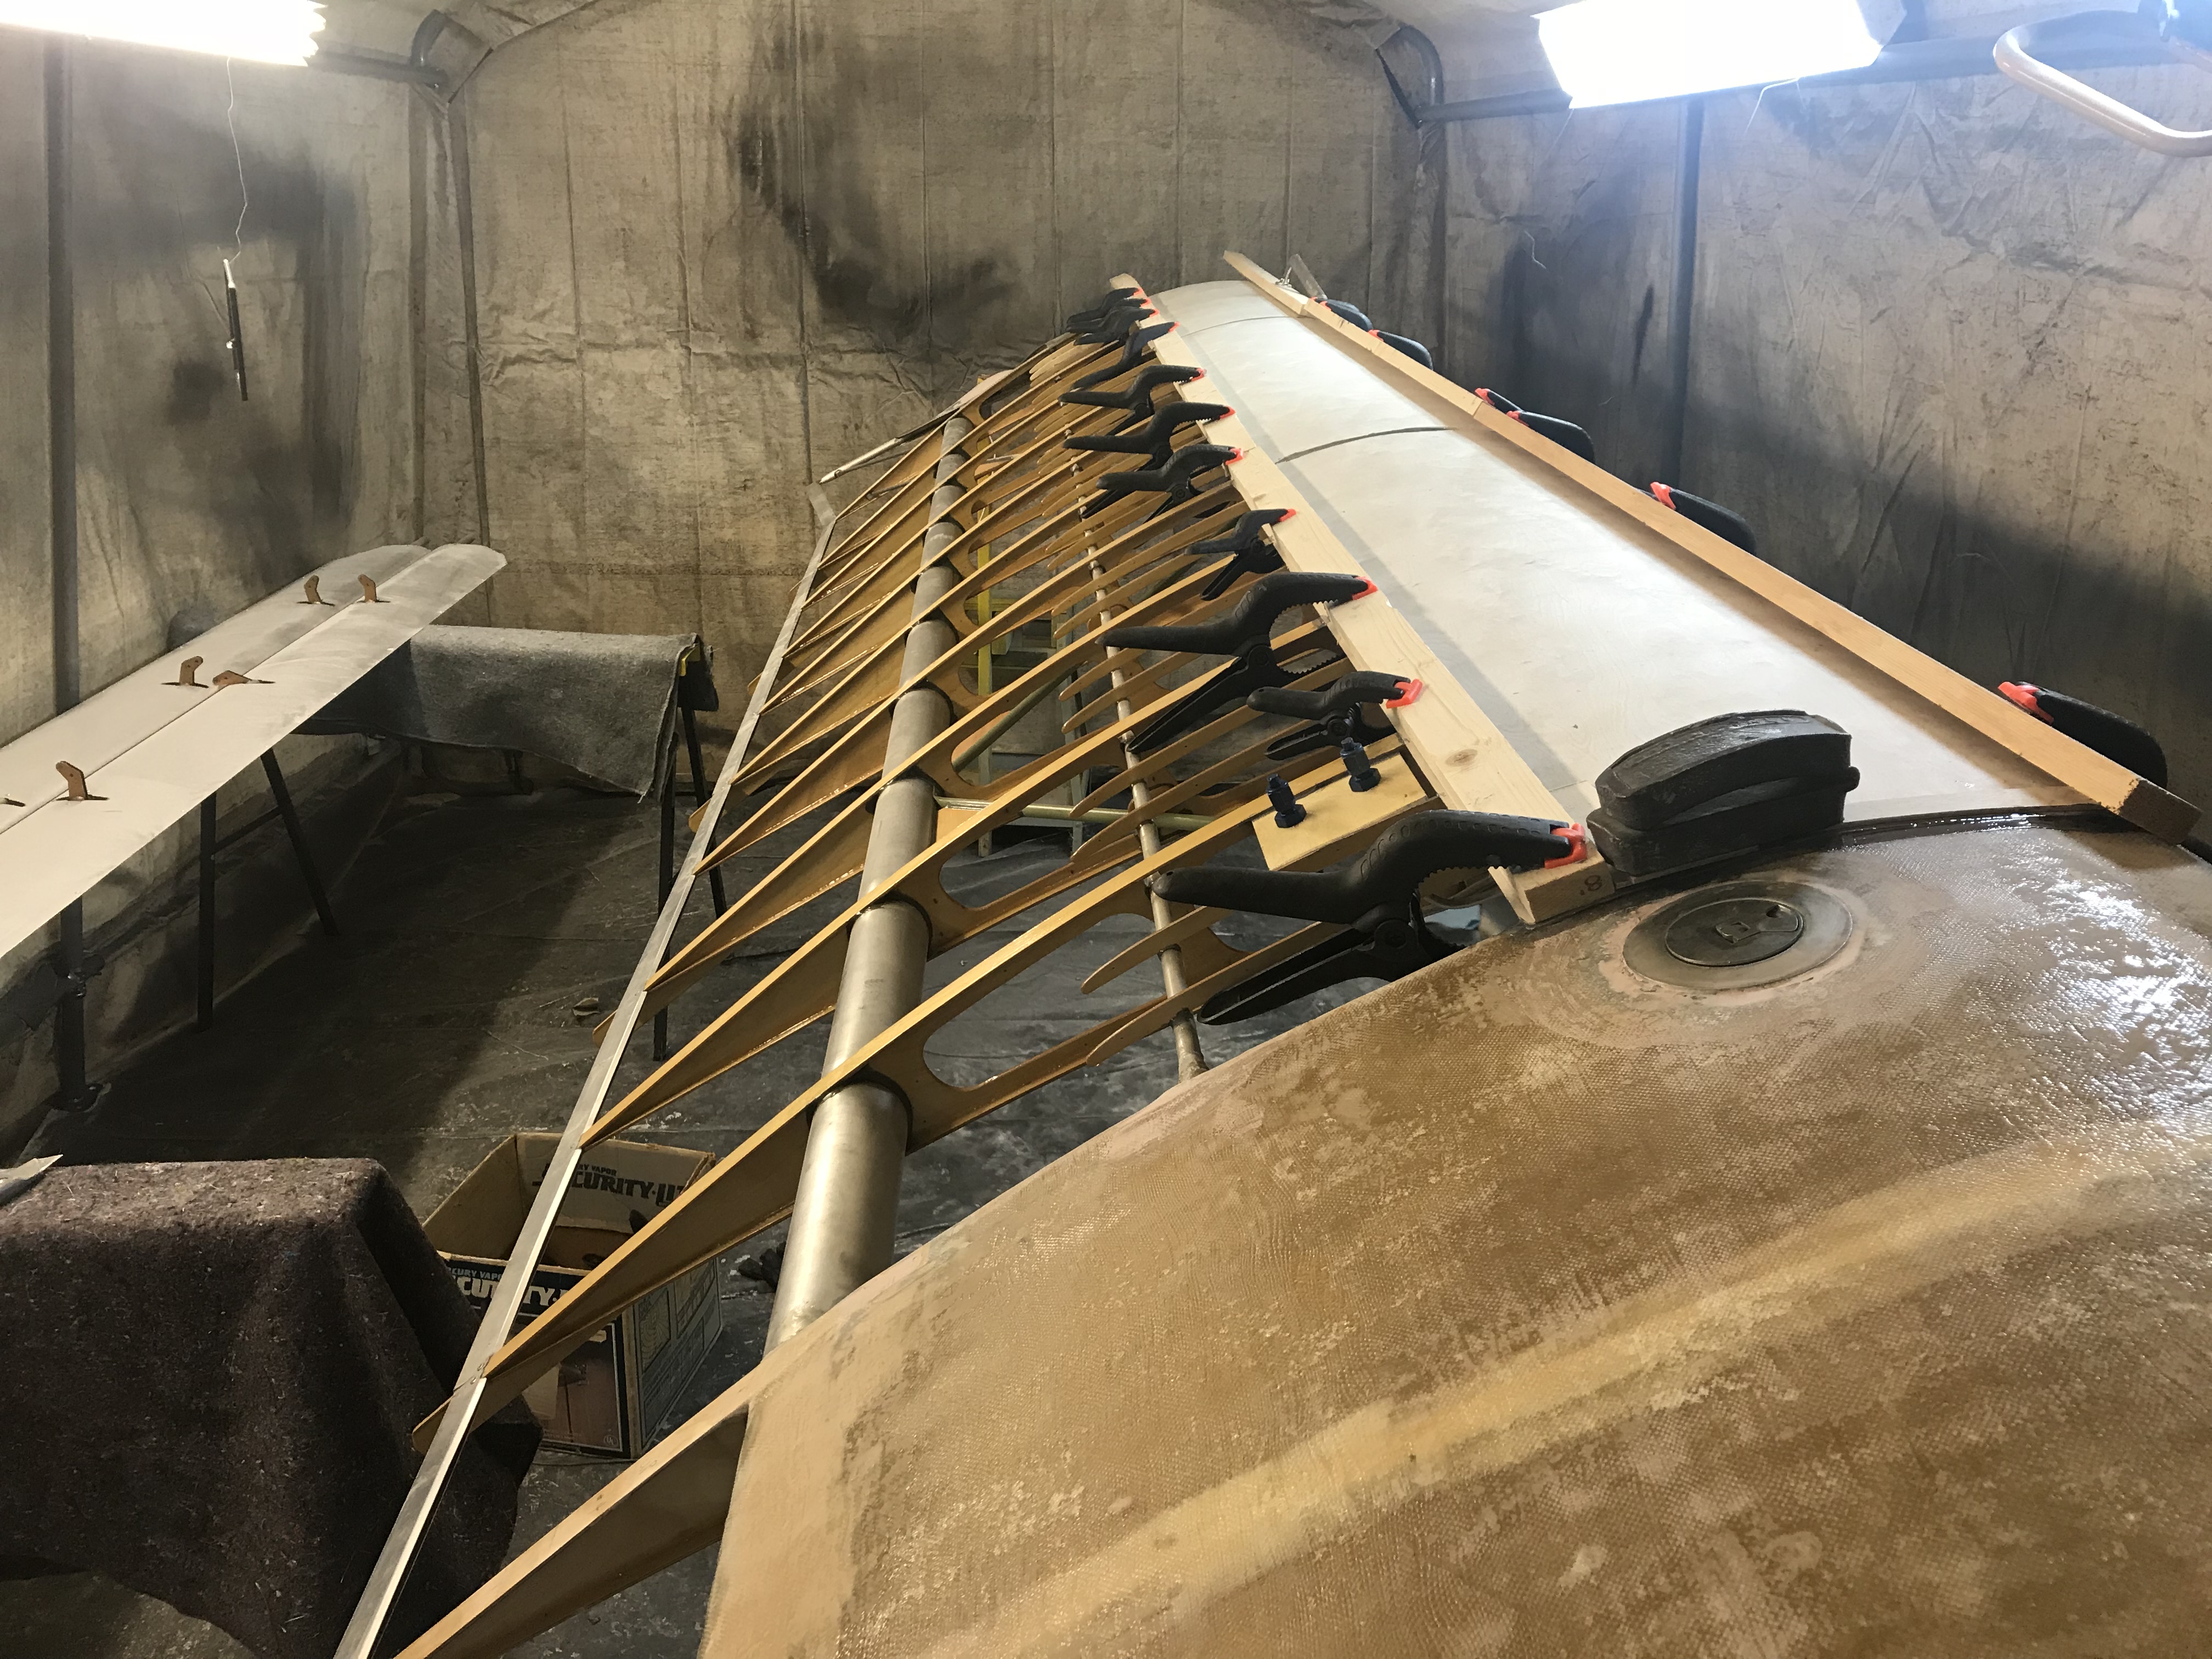
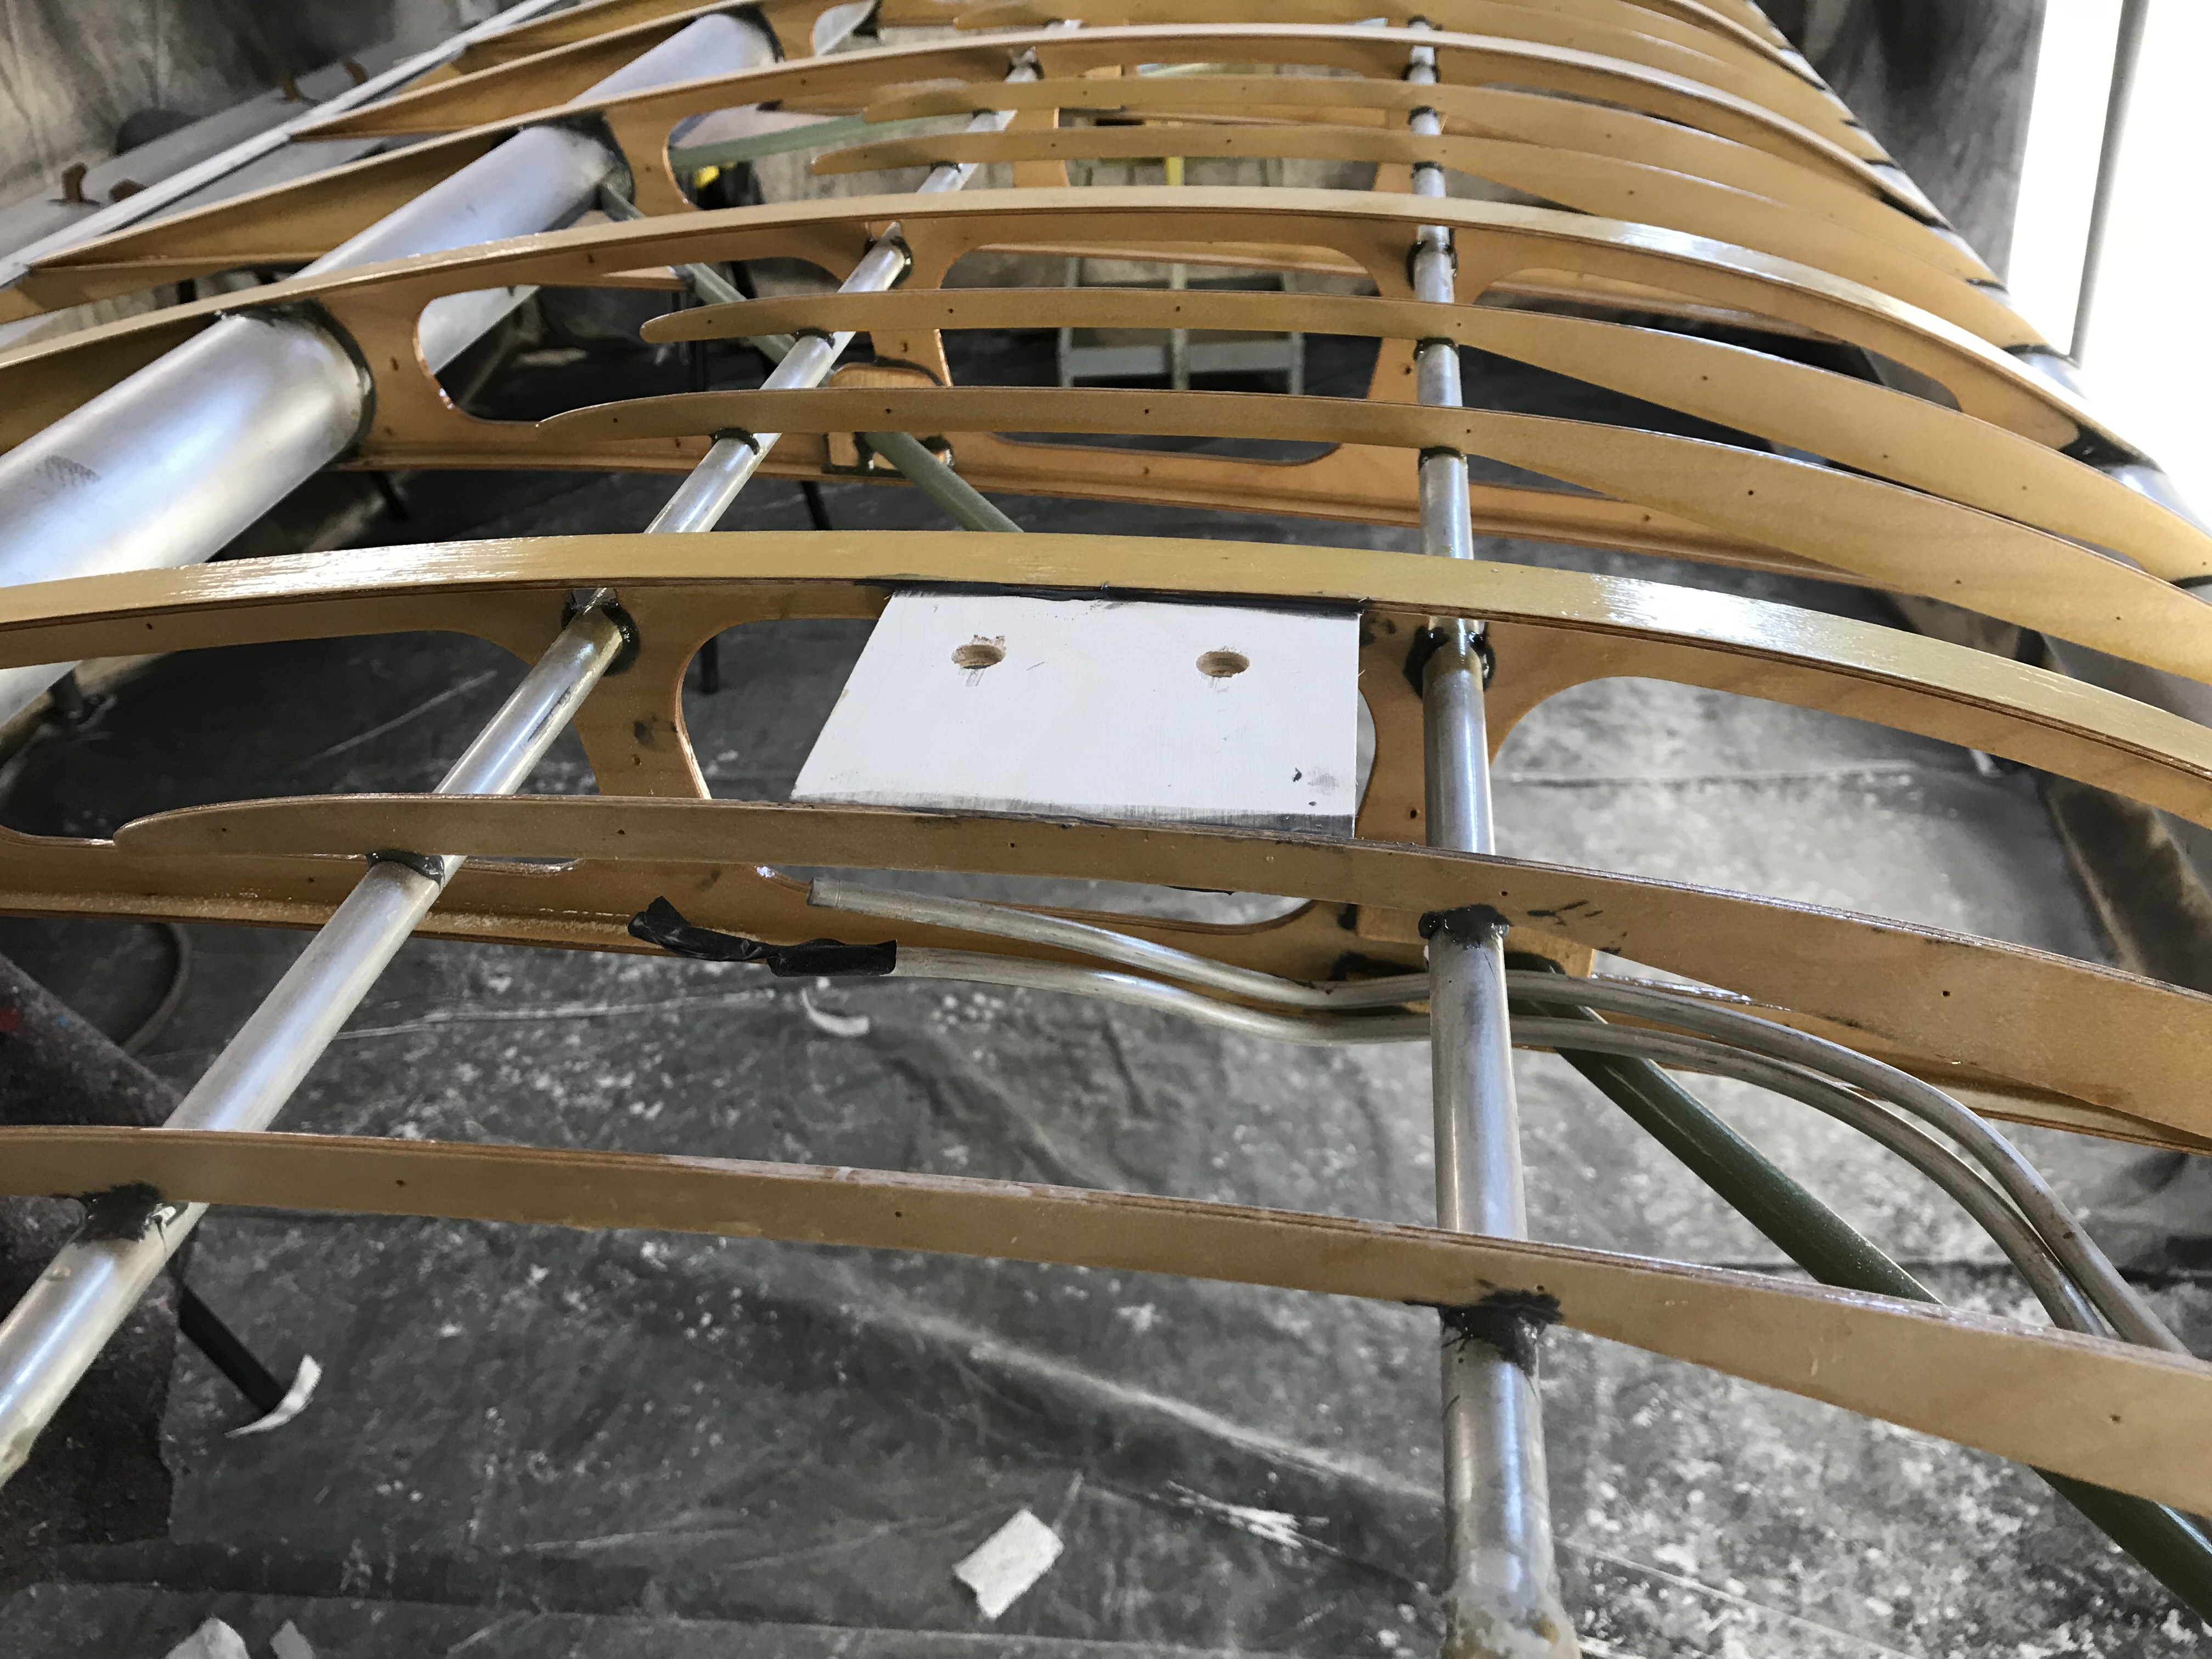
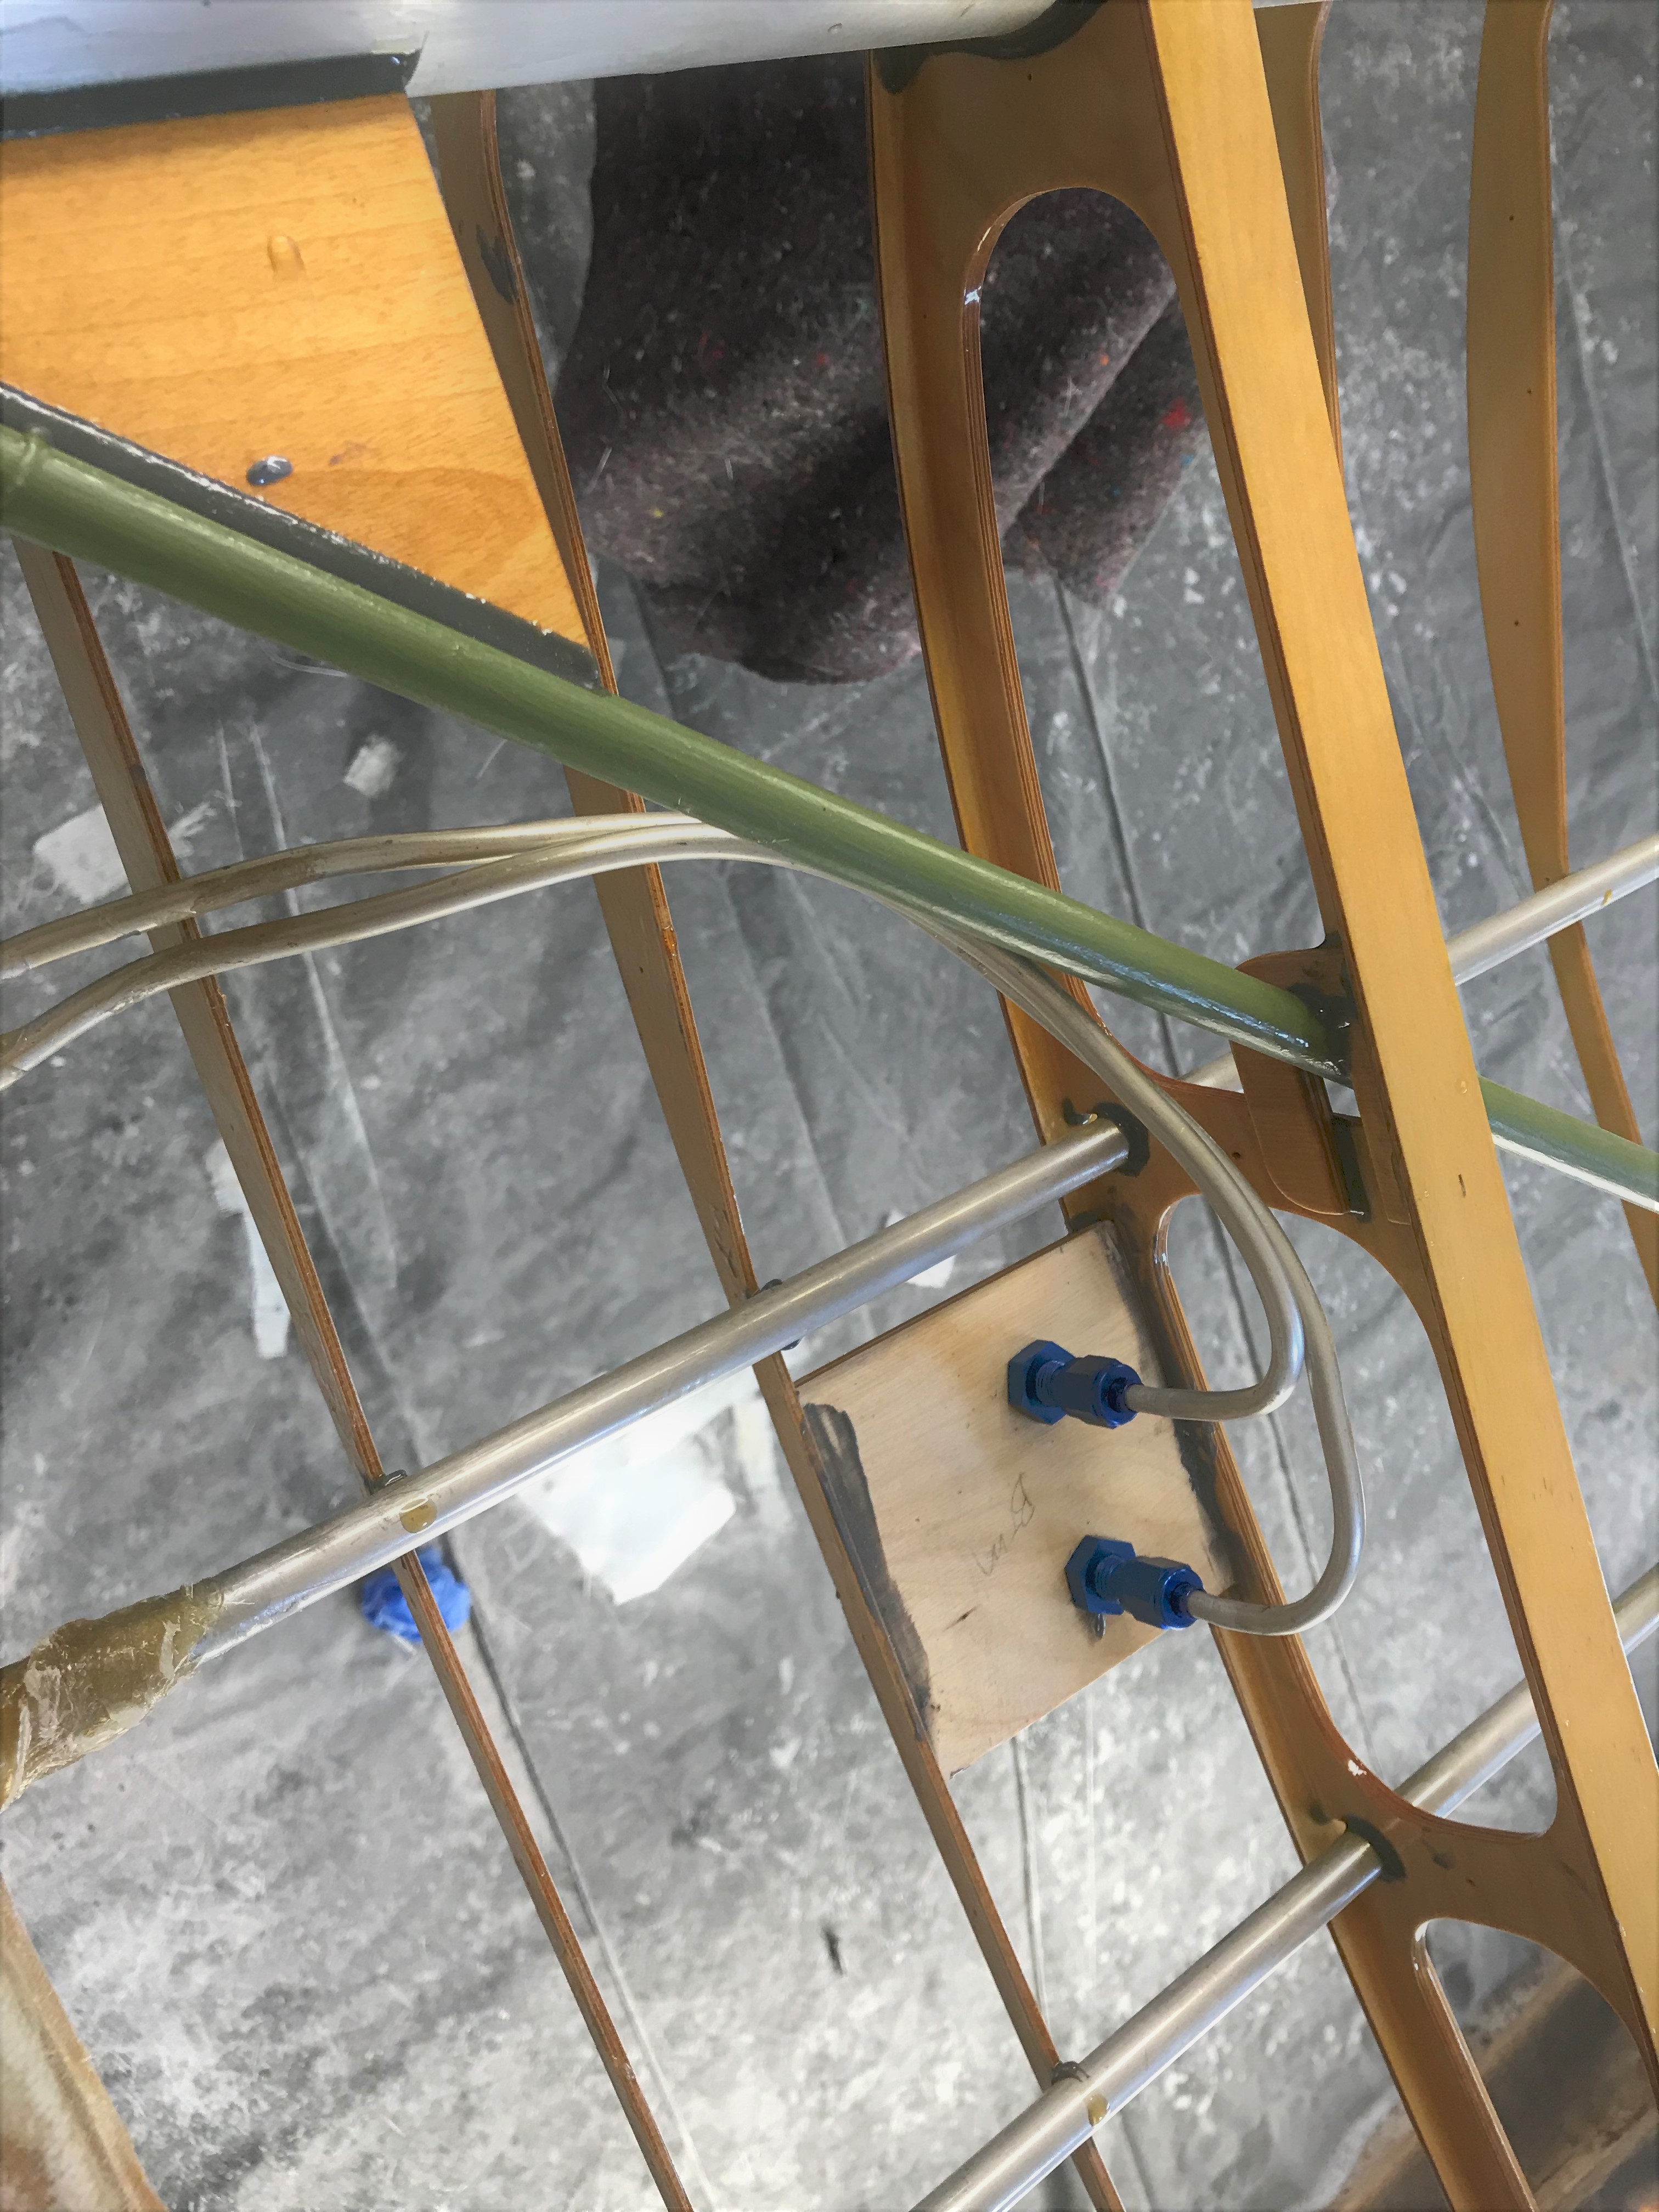
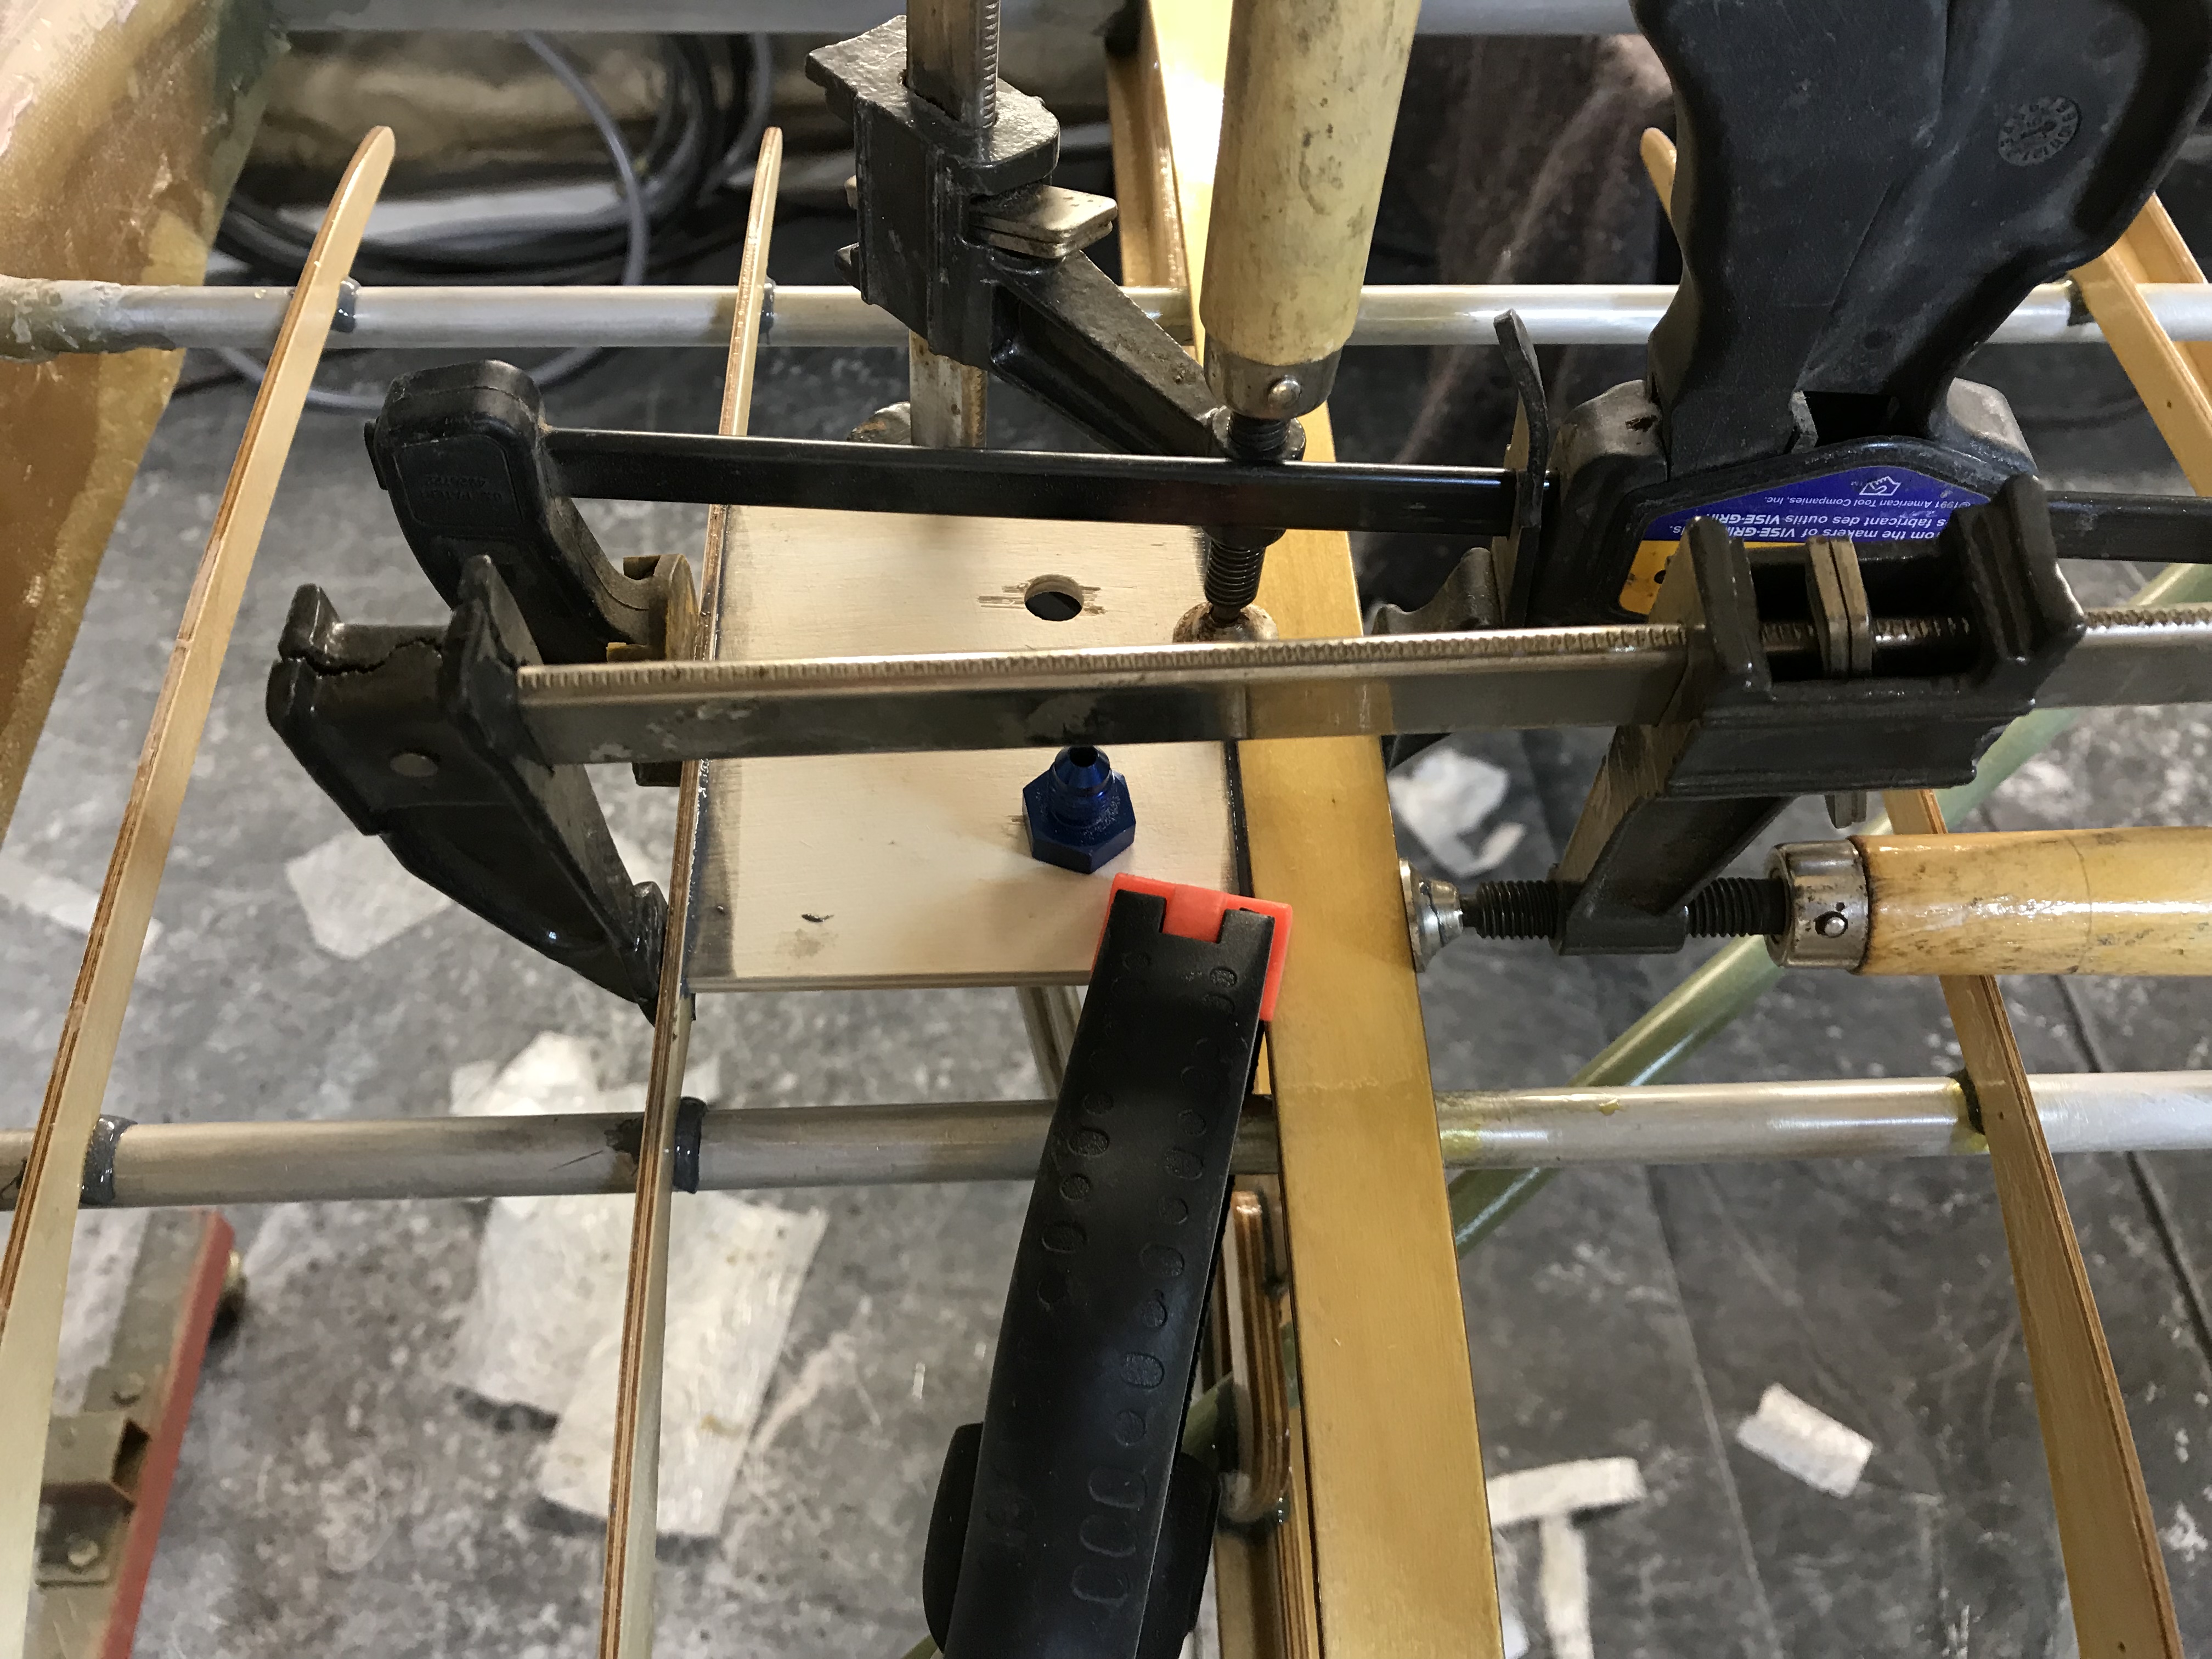
Today, finished sanding the fuel tank. Then mounted fuel vent line fittings and prepped for pressure testing.

 1 person likes this
 -
Today, more sanding, more body filler, more sanding, more filler...........Also made and installed fuel tank vent lines bracket.
 1 person likes this
 -
Thanks Ron, I think resin fumes are what keeps me going some days.............
1 person likes this


Step 2, Build Magnum!!
in Avid Magnum
Posted
Another productive LONG day! Made it to stitching")