
Neloner
Members-
Content count
119 -
Joined
-
Last visited
Posts posted by Neloner
-
-
Wow! You've been busy. I wondered what had happened to you, no posts in I don't know how long. Good to see the progress. JImChuk
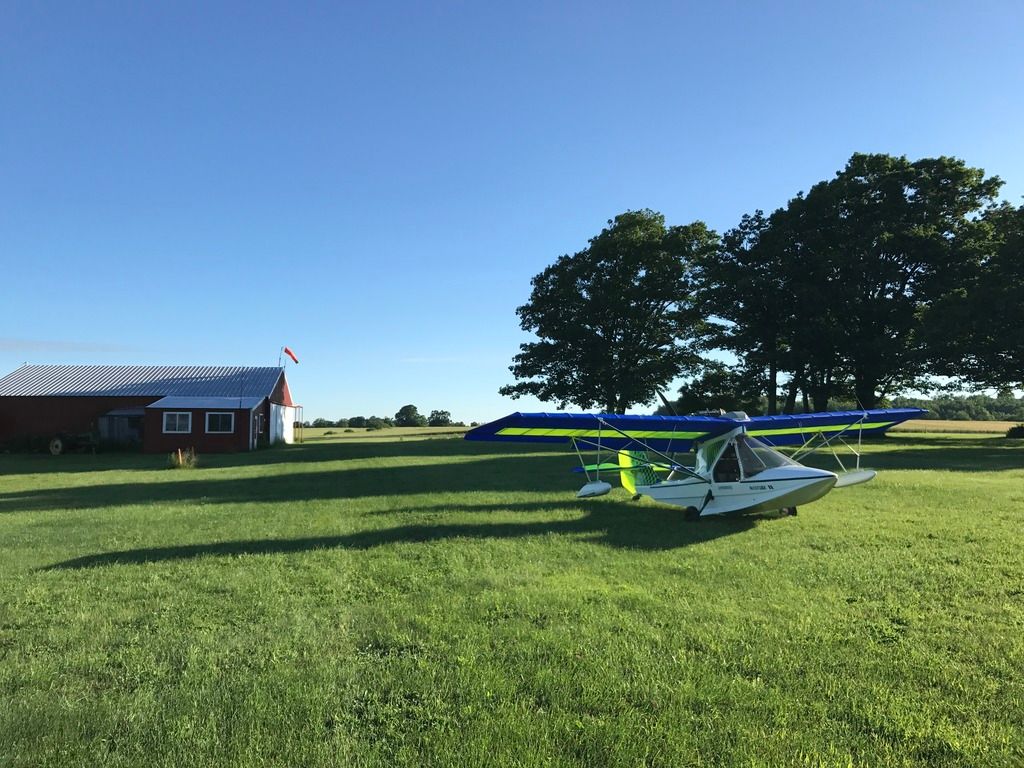
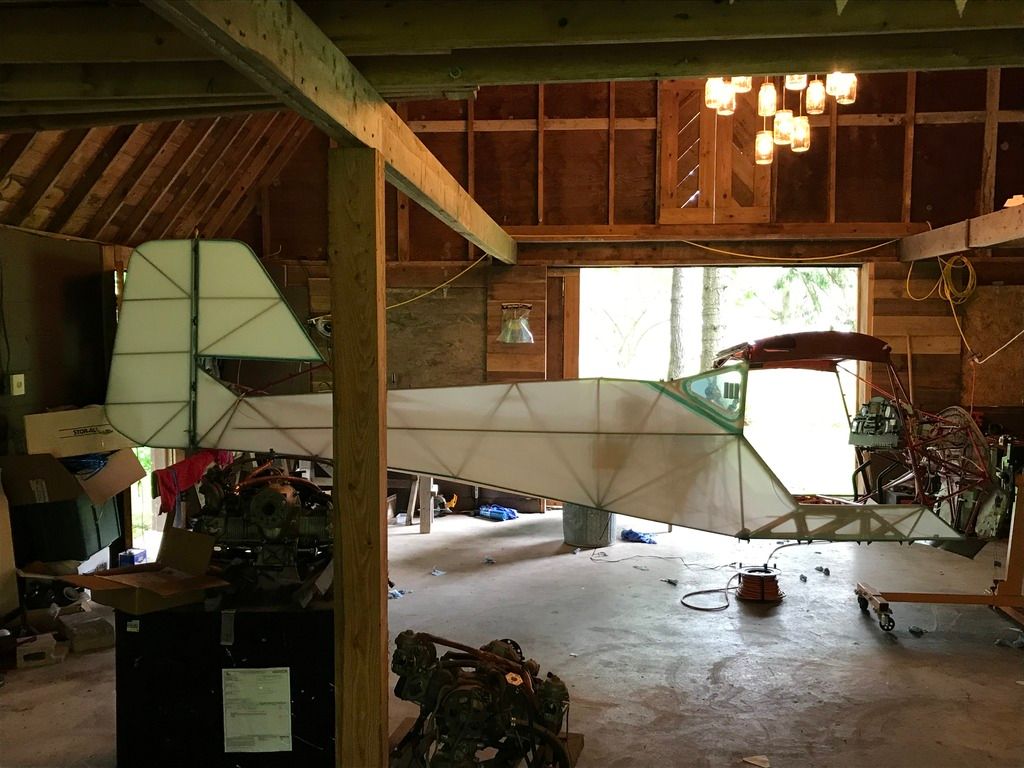
yup, still pluggin along. Project sat for a couple months as I worked on the airport/ barn (hangar). Many trees cut, many steel panels removed. Gotta get it all together because right now I have nowhere to bring the plane once paint is done!


 3 people like this
 -
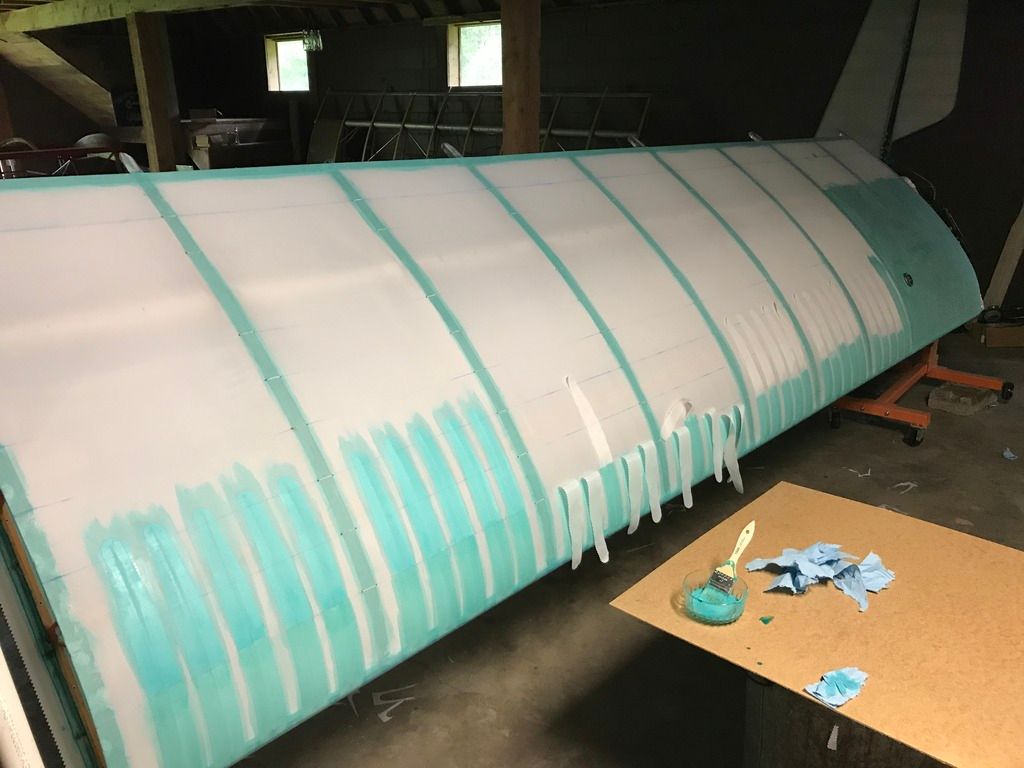
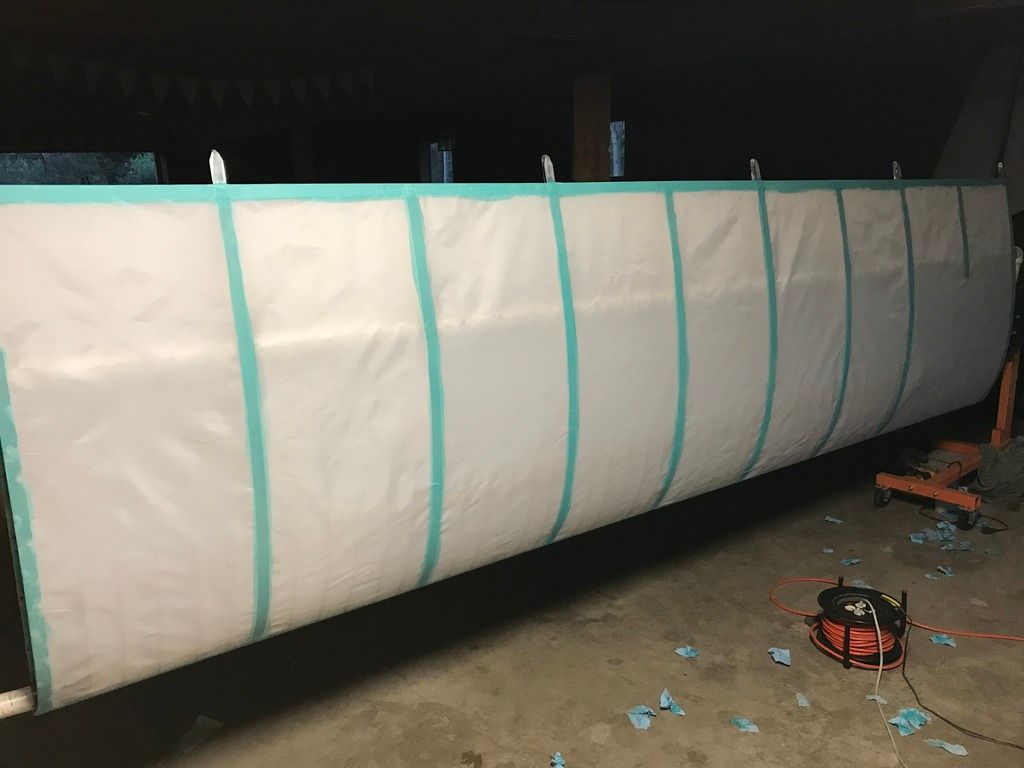
Well it appears photobucket has ruined my thread. O well, progress being made. Wings are painted and coming home tomorrow, new roof going on the hangar amd got a dozer to try to get the strip graded right.


 2 people like this
 -
^Amen. And not so much with stewarts. Waterborne paint is a pain
-
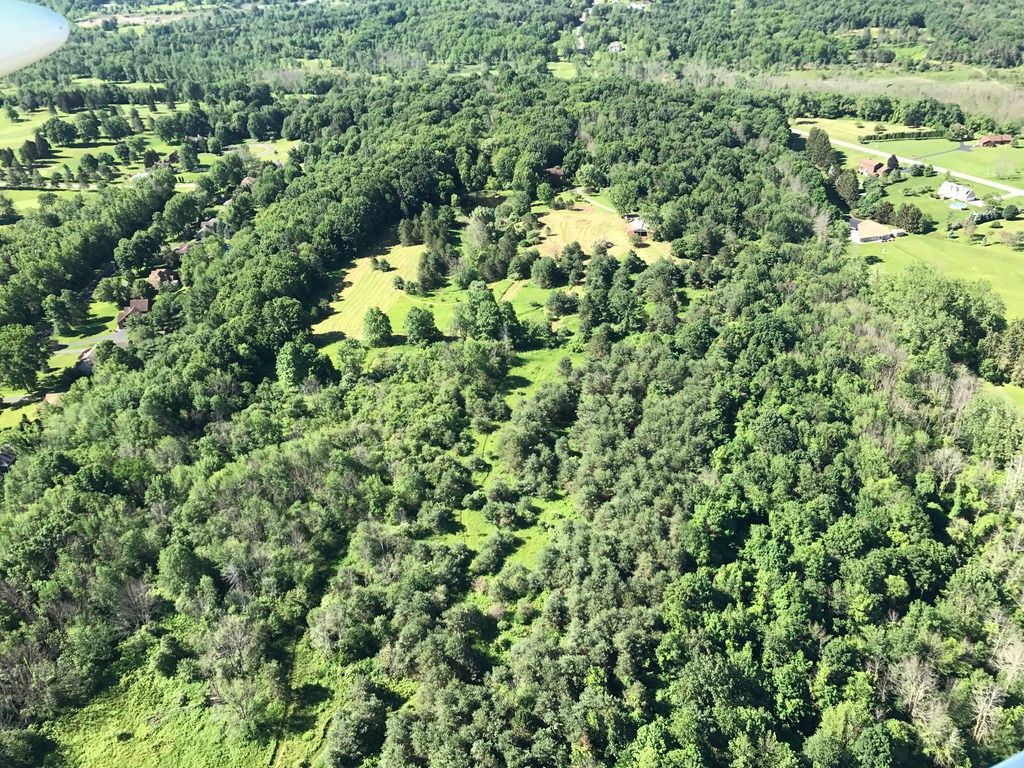
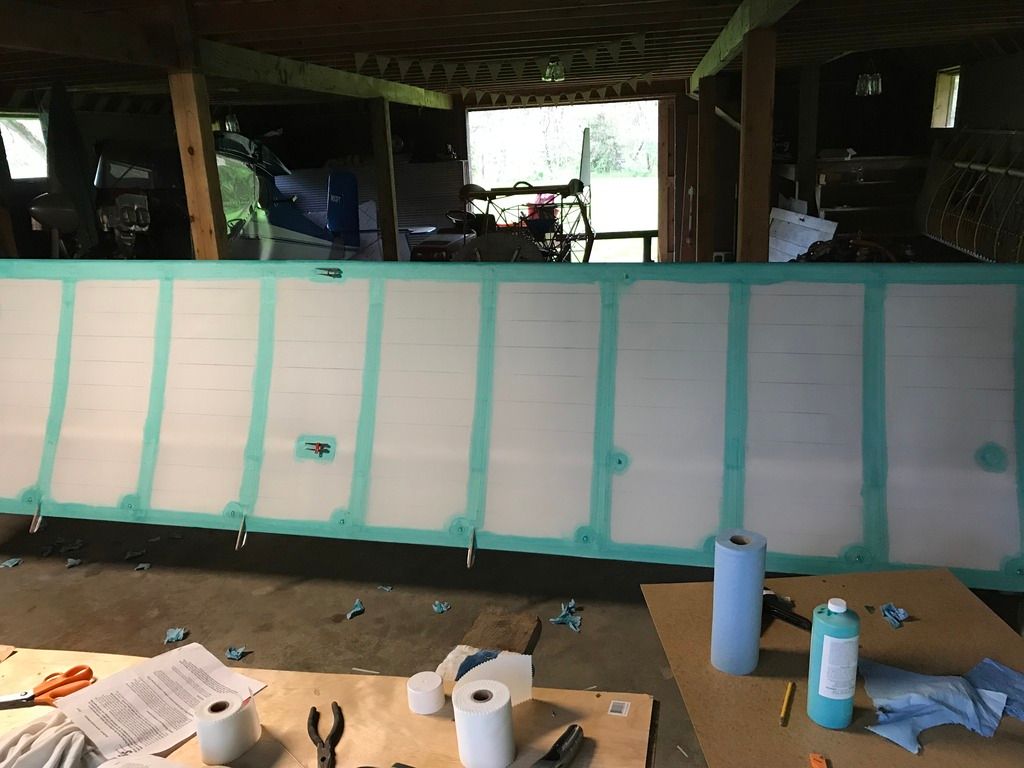
Well life has gotten busy the last few weeks so very little has been done on the kitfox. Trying to change that though and get the final fiselage finishing tapes done this week, then its off to the paint shop for everything. Had some fun the other day though flying another plane and took pictures of the reason life has been so busy lately. You can almost see the airstrip already
-
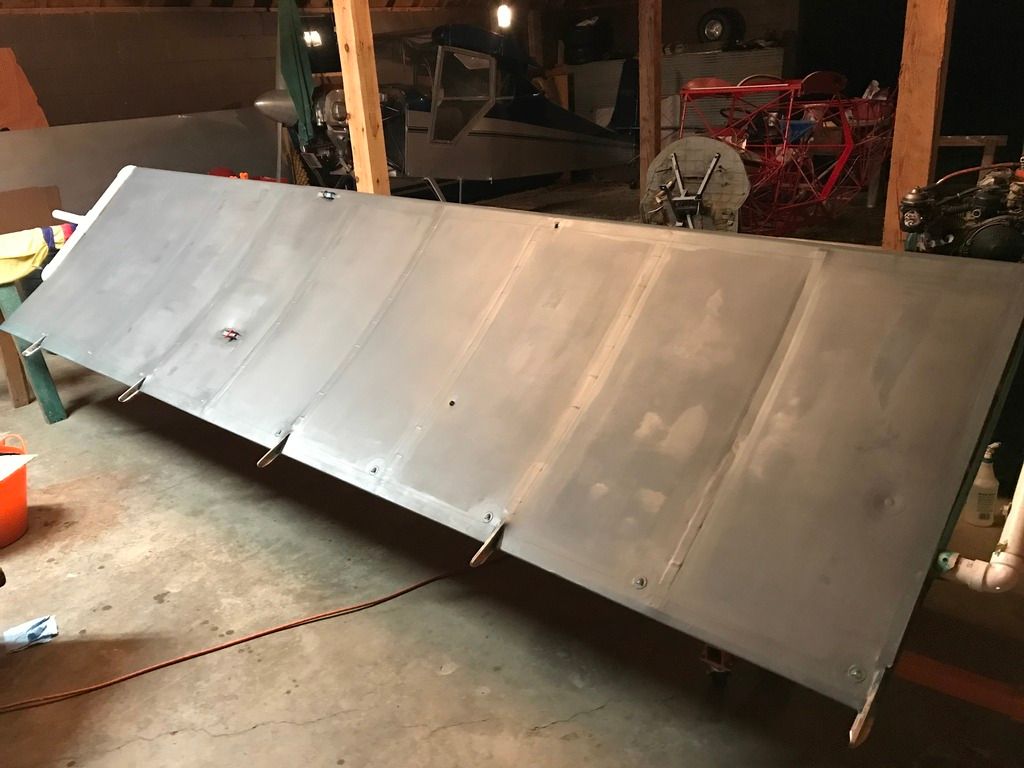
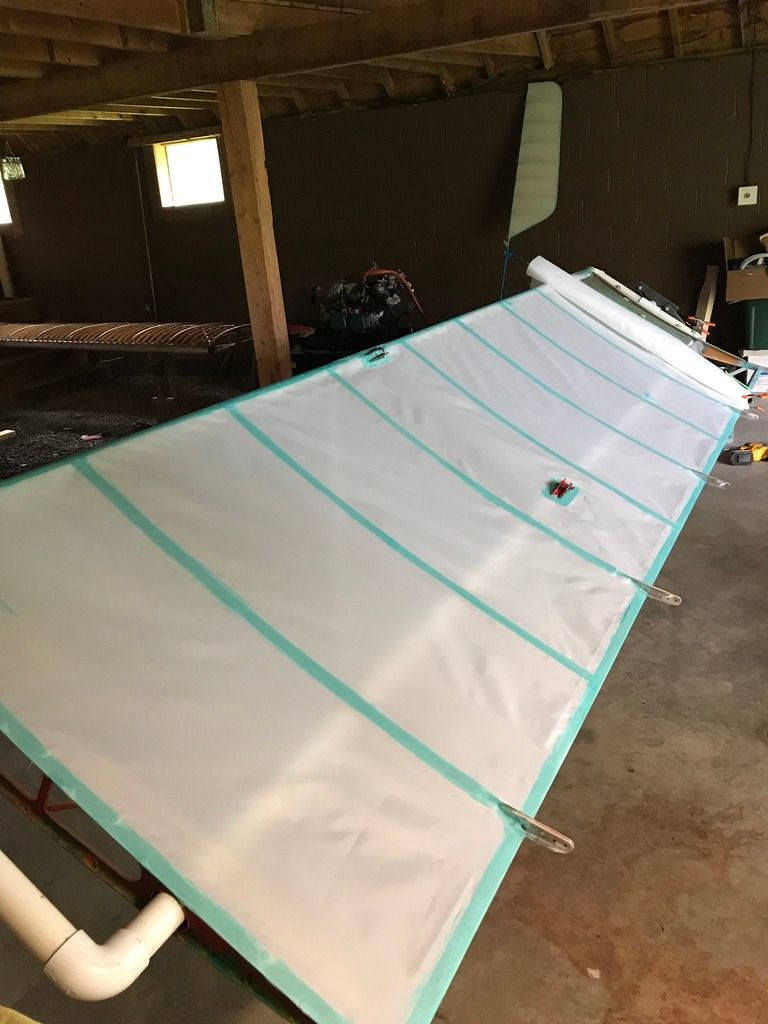
Little bit more progress, ran electric to the new fuel pump and trim tab (still waiting on my new switches to completely get wiring done) got the left side wrapped, and window installed. Also covered the rudder.
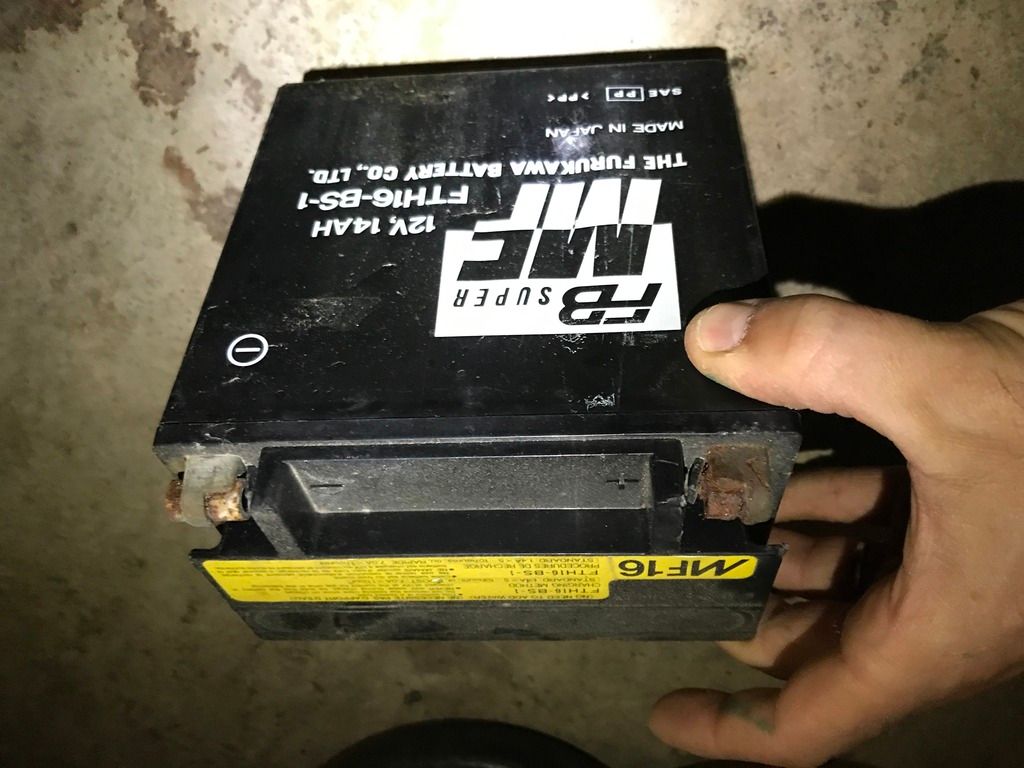
Also going to need a new battery. What is the best route that will fit in the kitfox box? Would like more capacity vs/ lightweight
Also this is for sale if anyone wants it. Sat for a couple years in a climate controlled shop but is in fantastic shape, just needs to be gone through quick and a couple things installed/ replaced. (Filters/ fuel lines etc..)
$13k

-
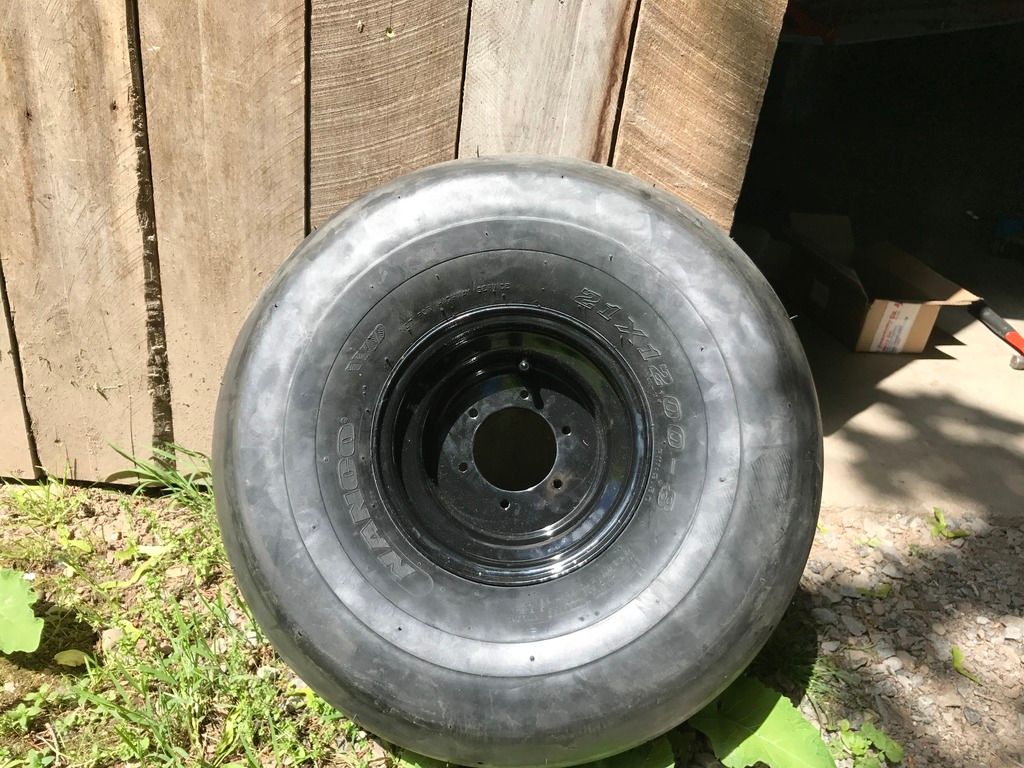
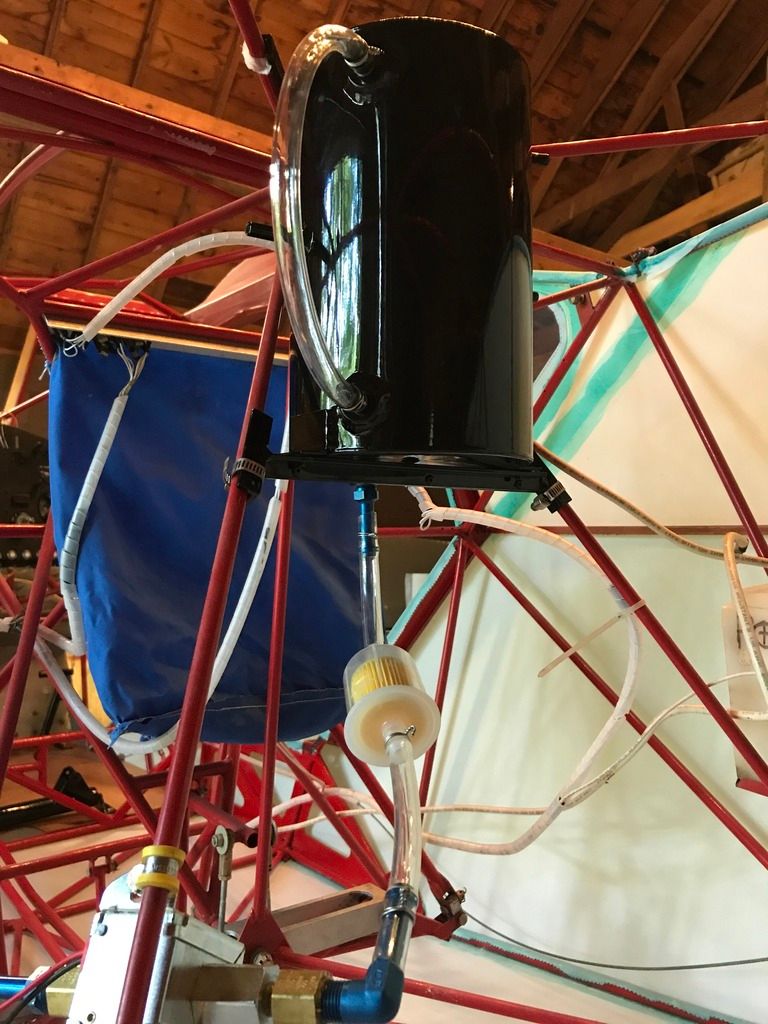
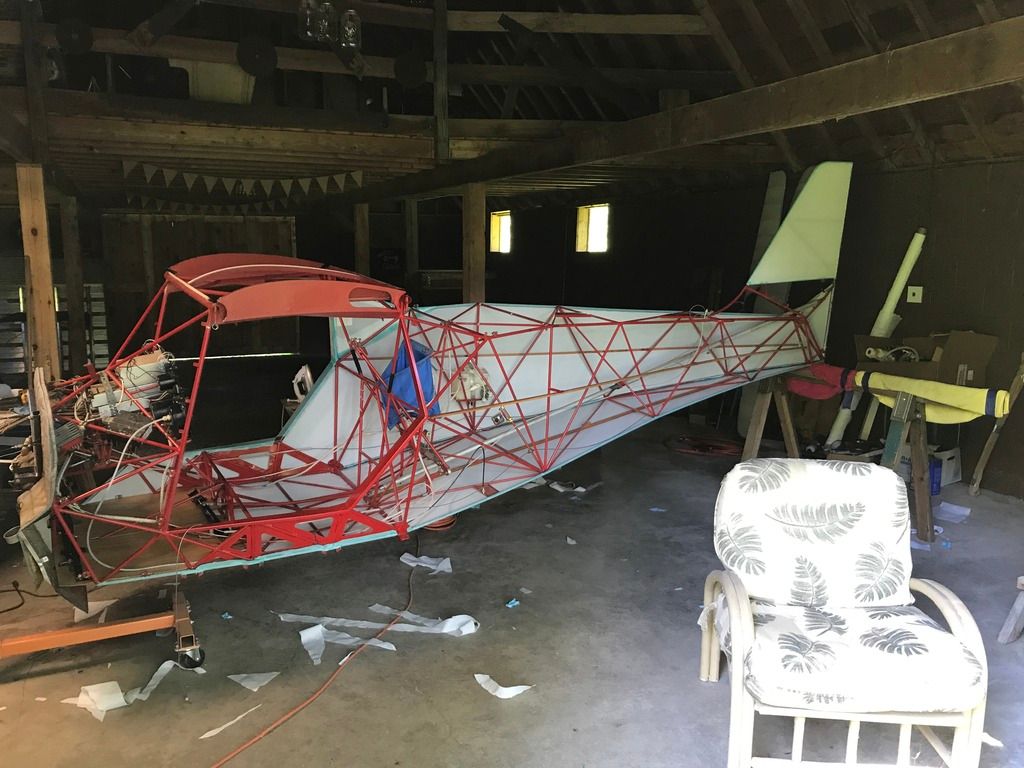
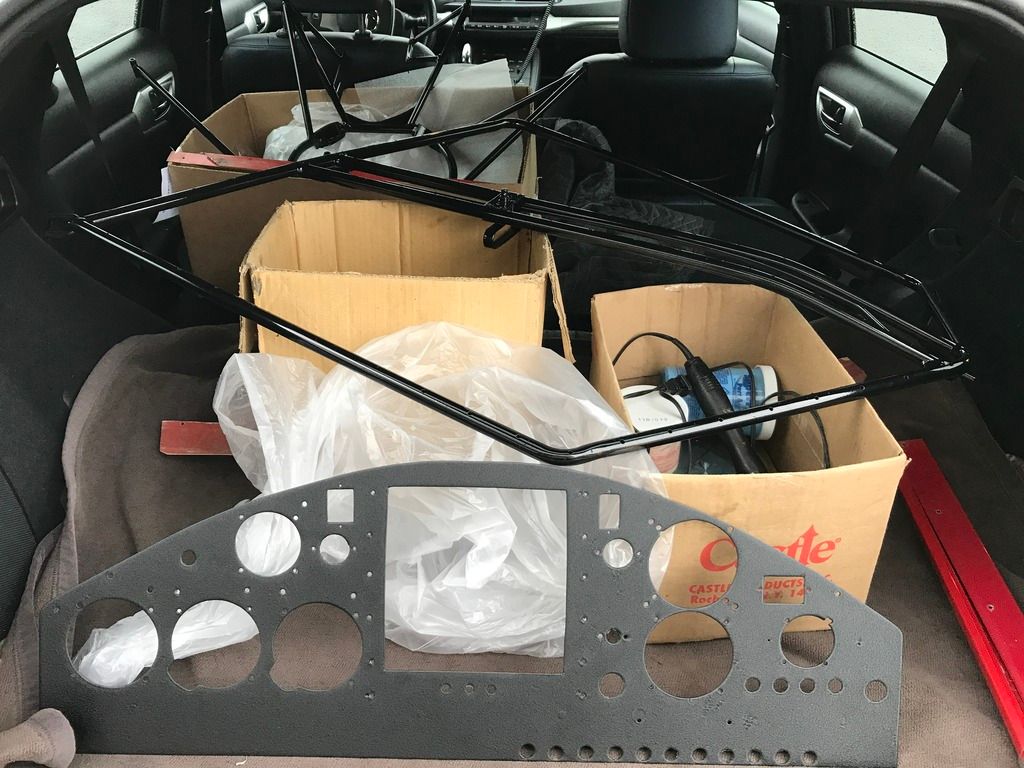
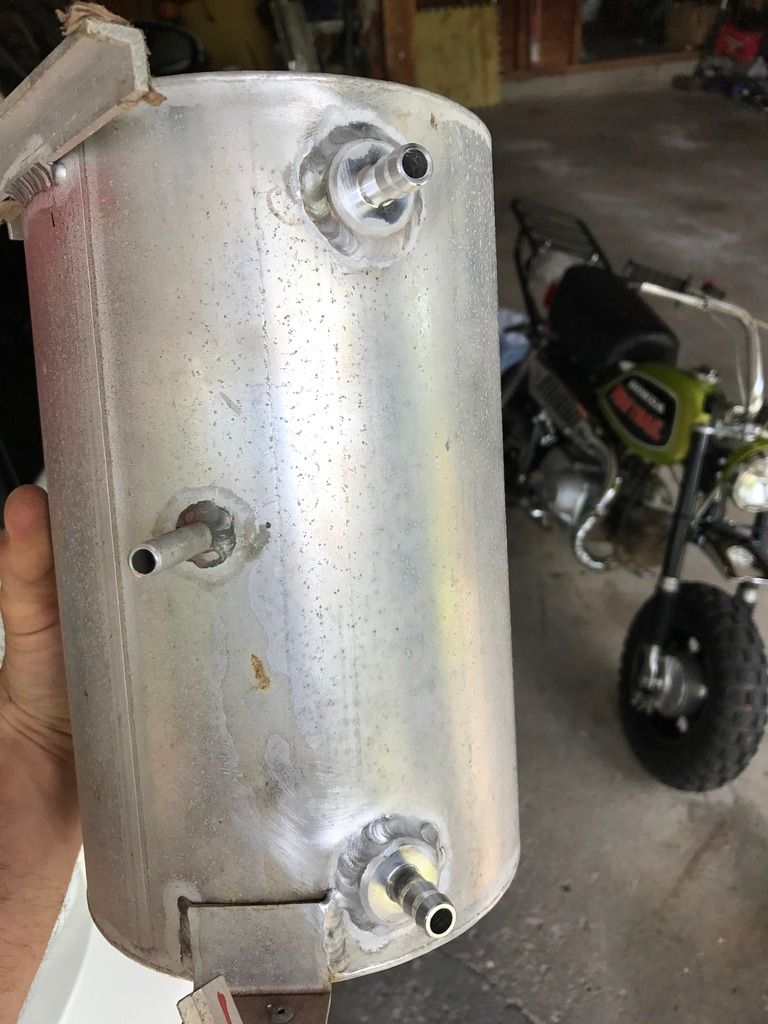
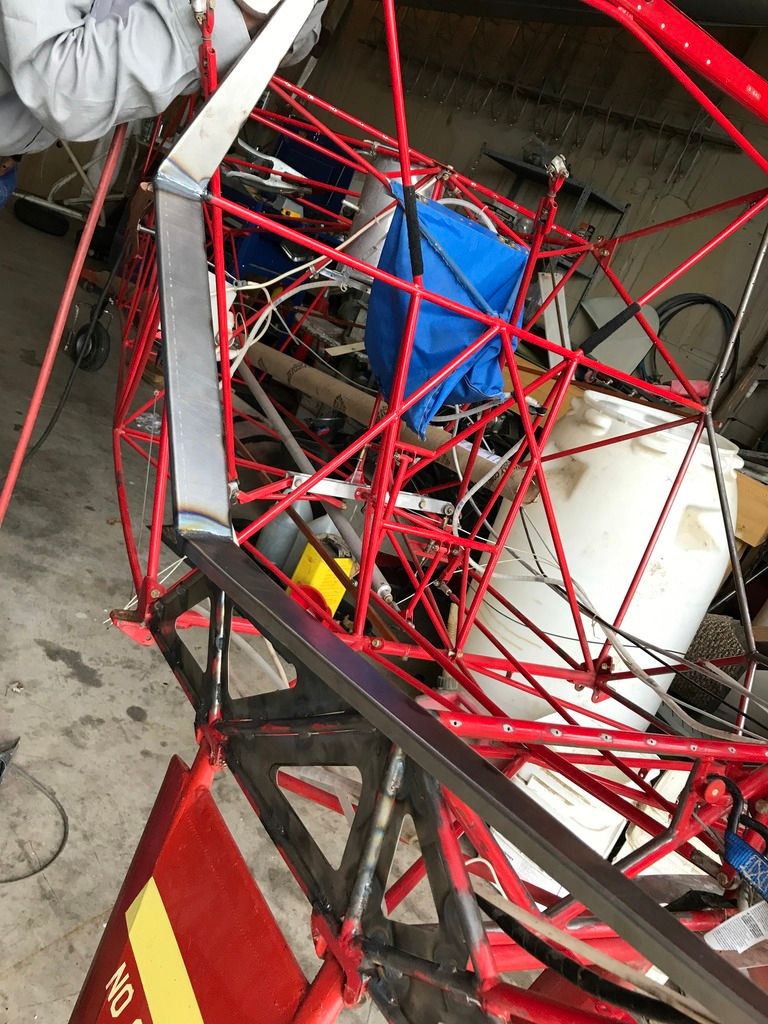
Got a bunch of stuff from Powdercoat yesterday so spent a little while mounting tires and installing the header tank. Ran some fuel lines out of the tank through a filter to the Facet and up to the Valve in the panel. If anyone sees anything done wrong, as always, please chime in. Also installed the sticks back in to the plane and hit some parts that were sandblasted bare with some 2k epoxy primer so they can be painted to match the plane.
-
Looks good. Do you have current draw figure for Facet pump? Square or Round? EDMO
square, 40105. 1 amp I believe
-
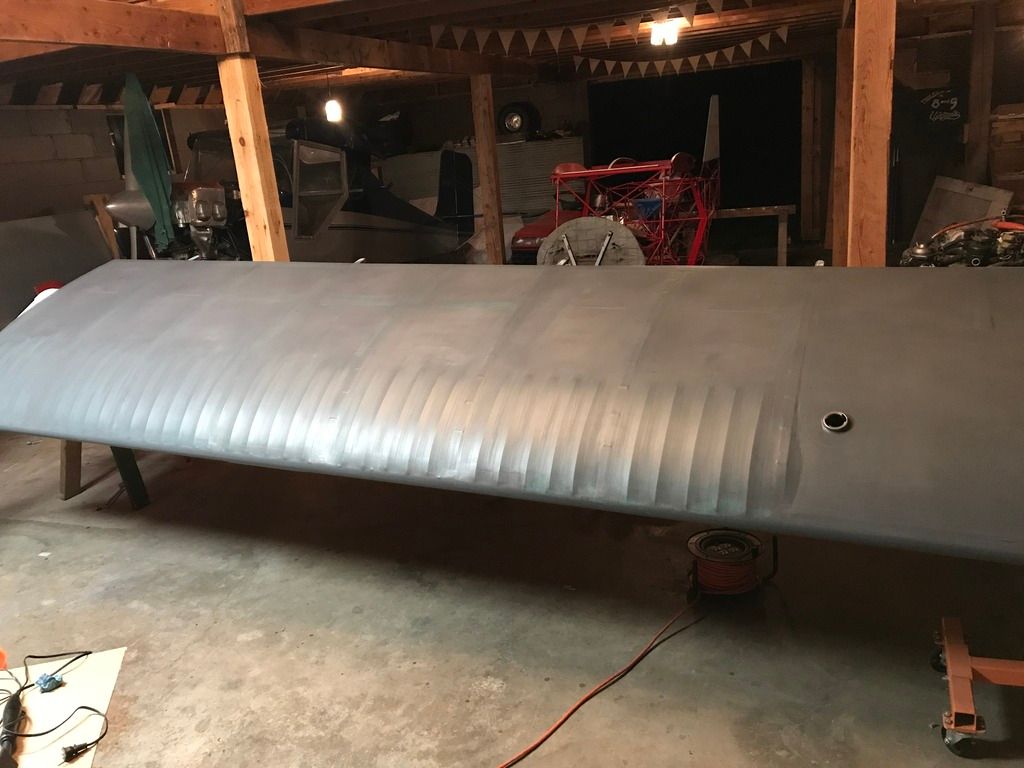
Progress! Wrapped 2 sides of the fuse but waiting on installing the header tank I picked up today from powdercoating to continue. Im getting excited

-
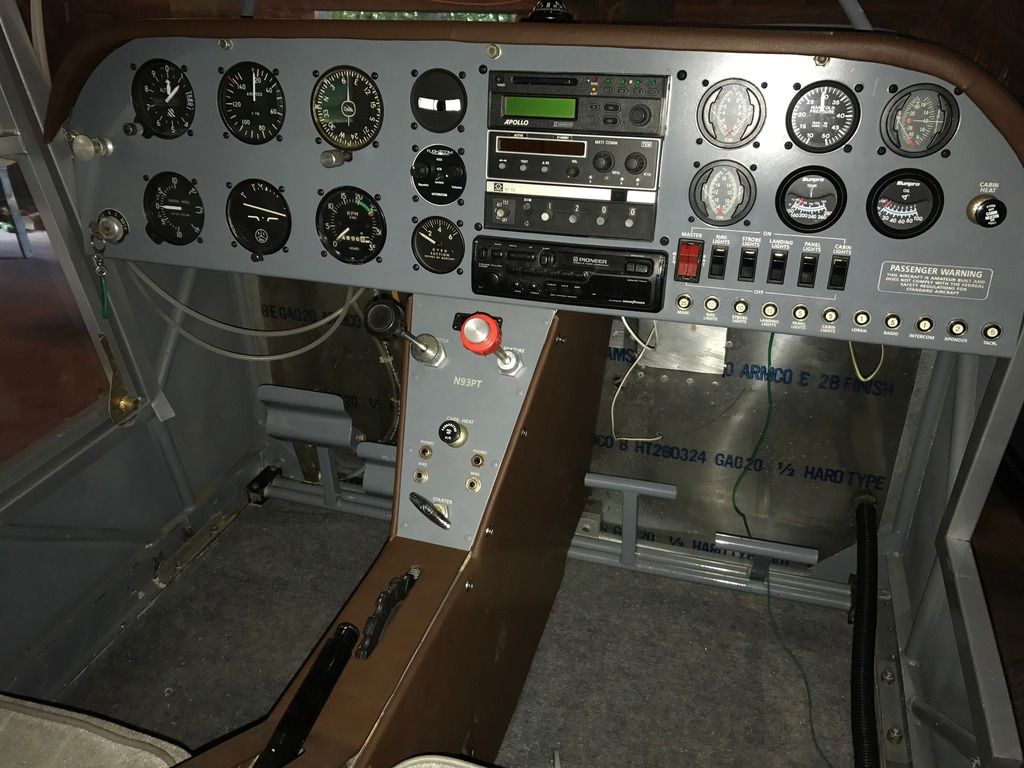
Panel back in. Replaced all the fuses with breakers. Going to install all new switches as well as a couple of these old ones have iffy contacts. Also have to ad onefor the facet fuel pump I added. Luckilly I have the breaker for the no longer used LORAN system to supply power for the fuel pump :). Anyhow progress...


-
Picked up a bunch of powdercoated parts this morning! Had the panel done in crinkle bkack and the rest in gloss black. They are sandblasting a bunch for me as well to paint green like the plane. Paint should be starting soon too!
 1 person likes this
 -
I used to be into fast cars too, until I realized flying is more fun and faster, and less tickets
") 1 person likes this
1 person likes this -
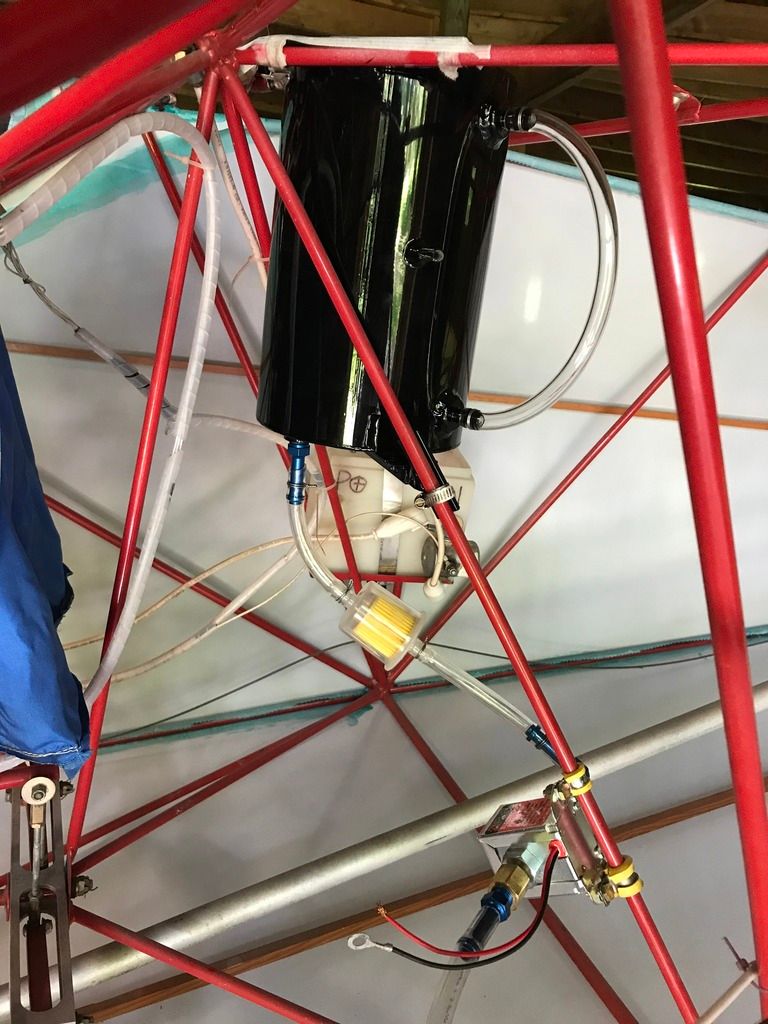
DOH! Good thing I added ports to the header tank today so I can monitor the level in there as well as the wingtanks!
-
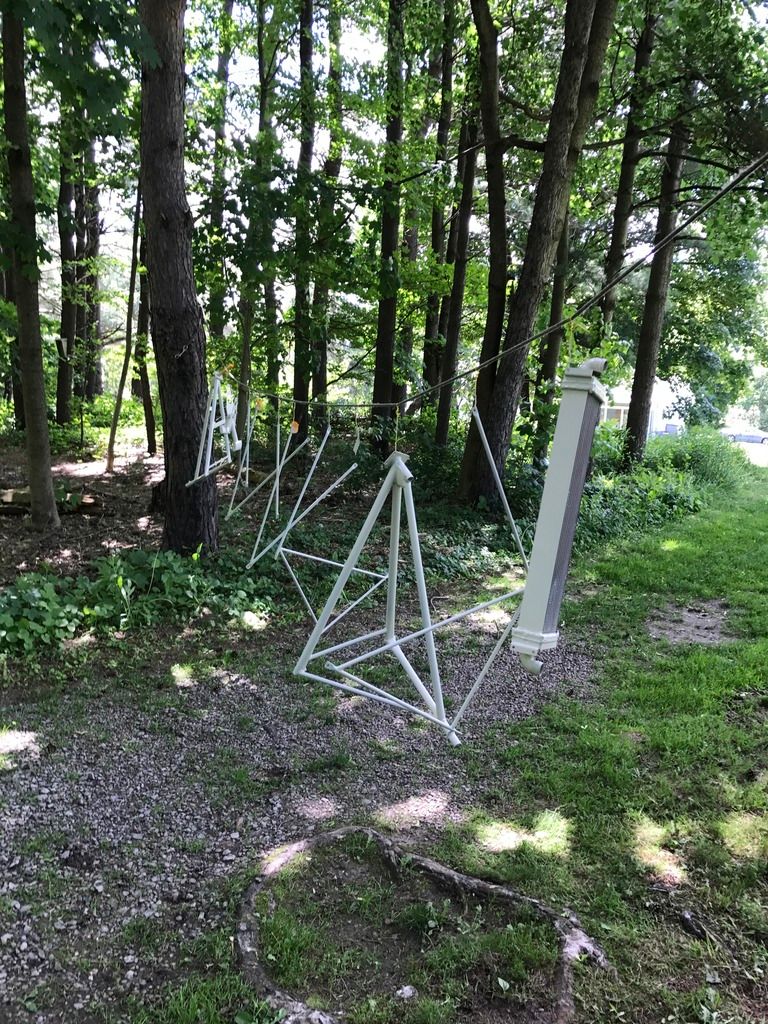
Yea, gotta pluck and burn about 50 10-25ft pines and then get a blade up there for a day or two. Also a 40x70 barn I plan on converting to a hangar at least in one corner. Im going to be a happy guy when its all done!
On another note, how do you post in the for sale section? I have wing tanks, prop/ spinner and some other randon parts Id like to post up
-
Lucky man!
Indeed, really hoping I can get the plane semi-assembled before we move. Probably only a month or so away!
-
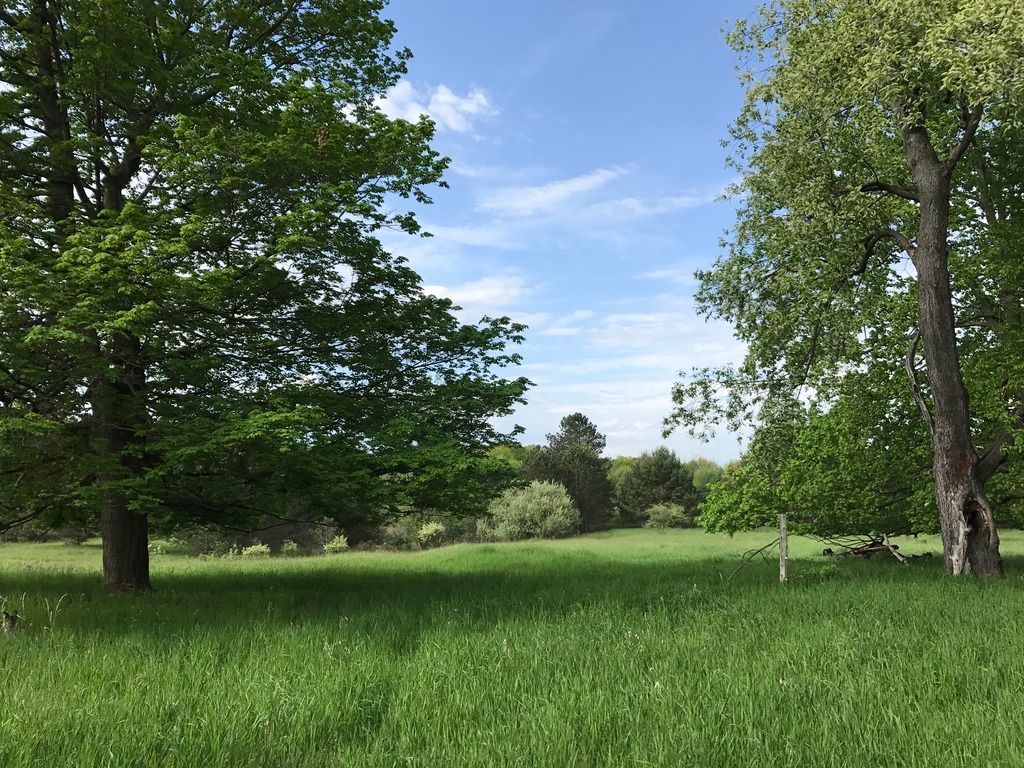
Also, even bigger news, my wife informed me we are purchasing a new property with lots of room for an airstrip! Should be fun, looks lke I could clear a good level 1200 ft strip, although might not need that with a 100hp model3
 4 people like this
 -
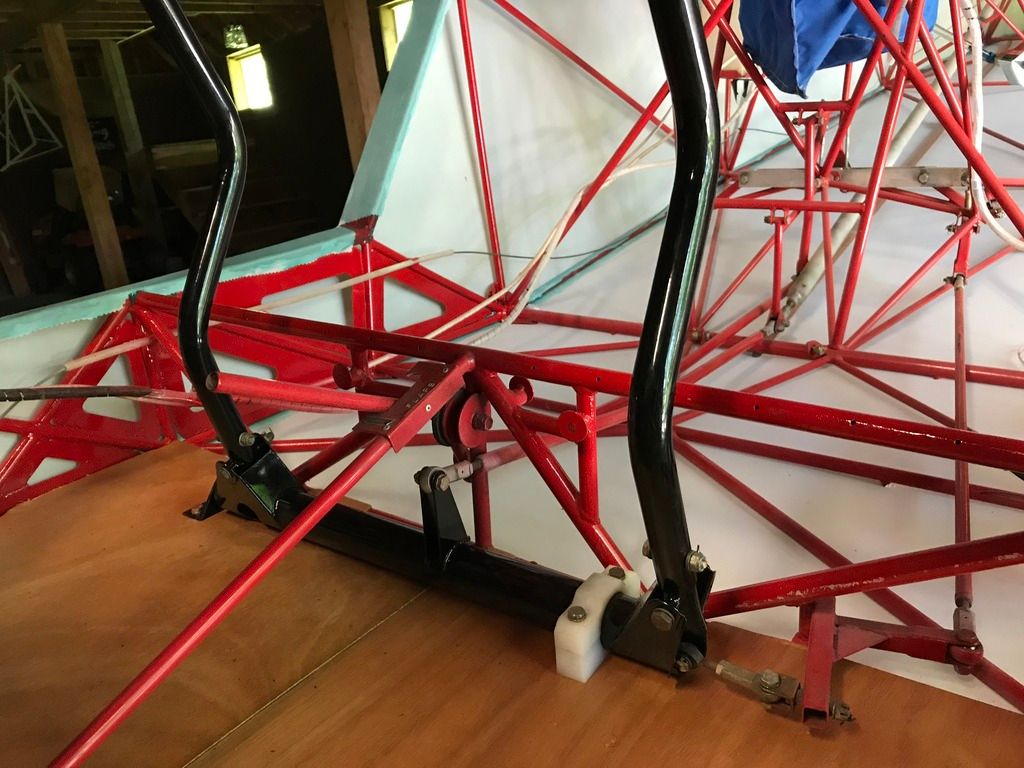
Well second wing does go quicker, but not as much as Id hoped :/. Also got my fuel valves mounted today, the gussets I put on the rear wing carrythrough were the perfect spot!
-
^Yep, thats the servo, DHolly had one and it fits right on. Going to have to play with that and get that side of the elevator covered
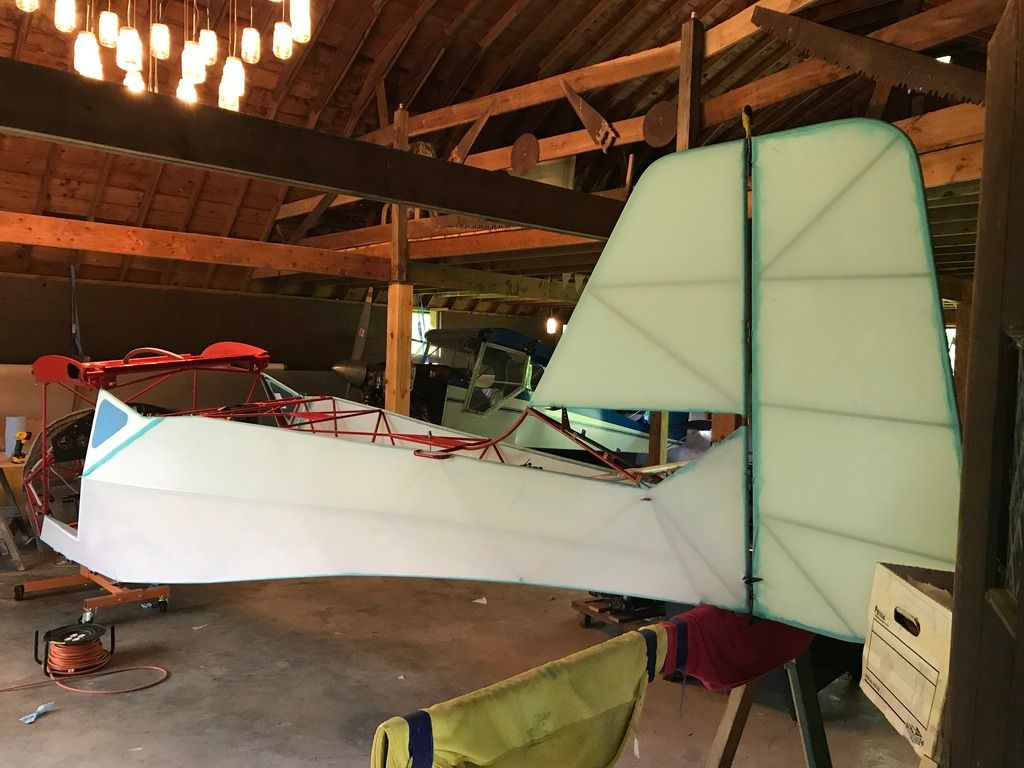
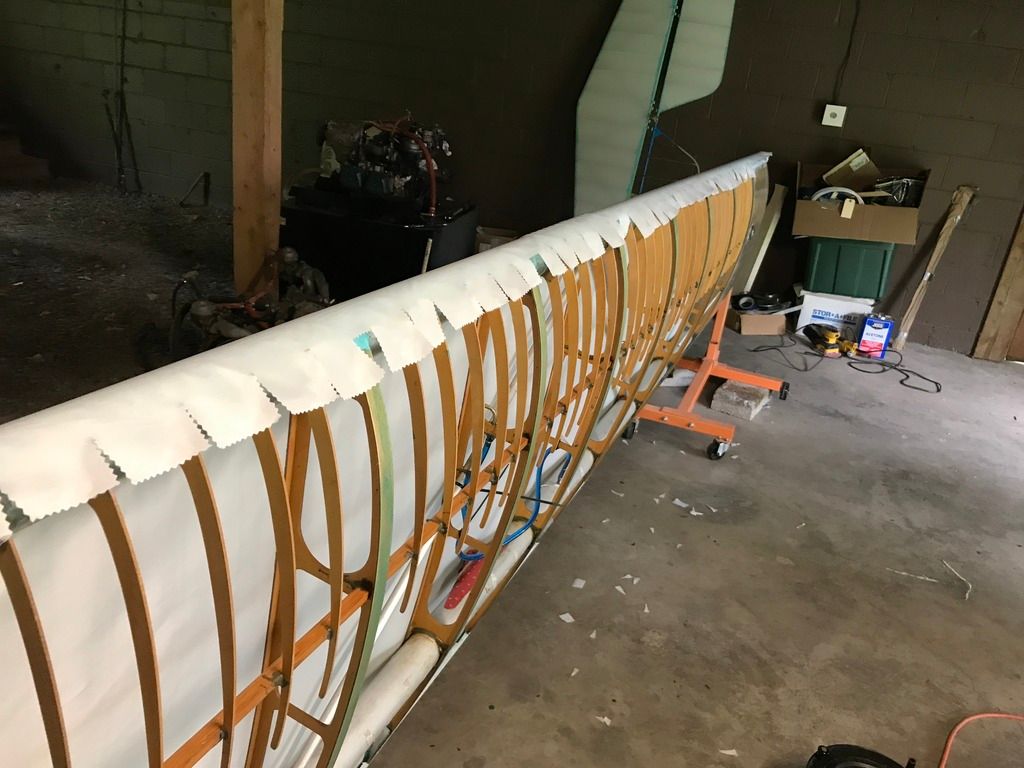
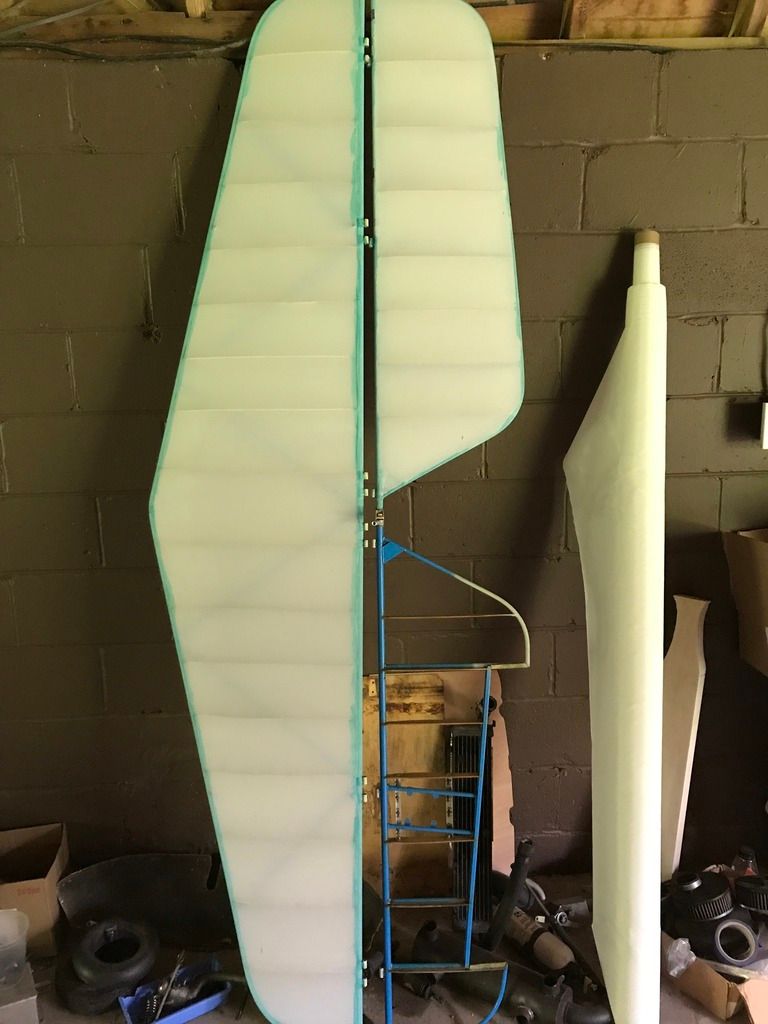
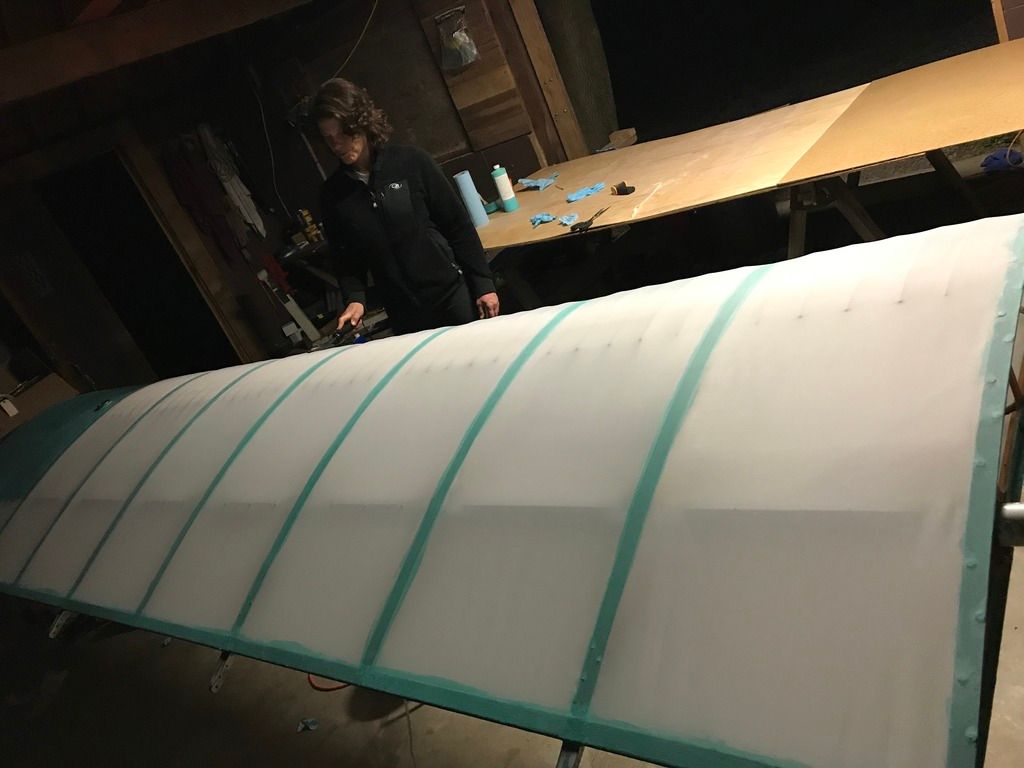
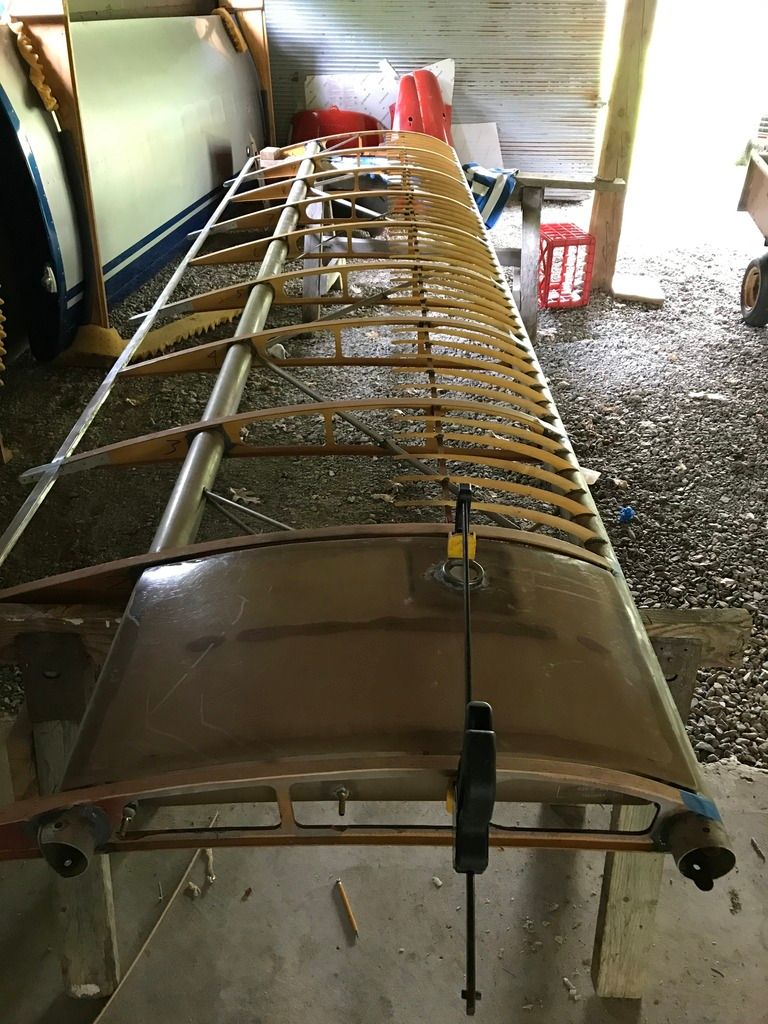
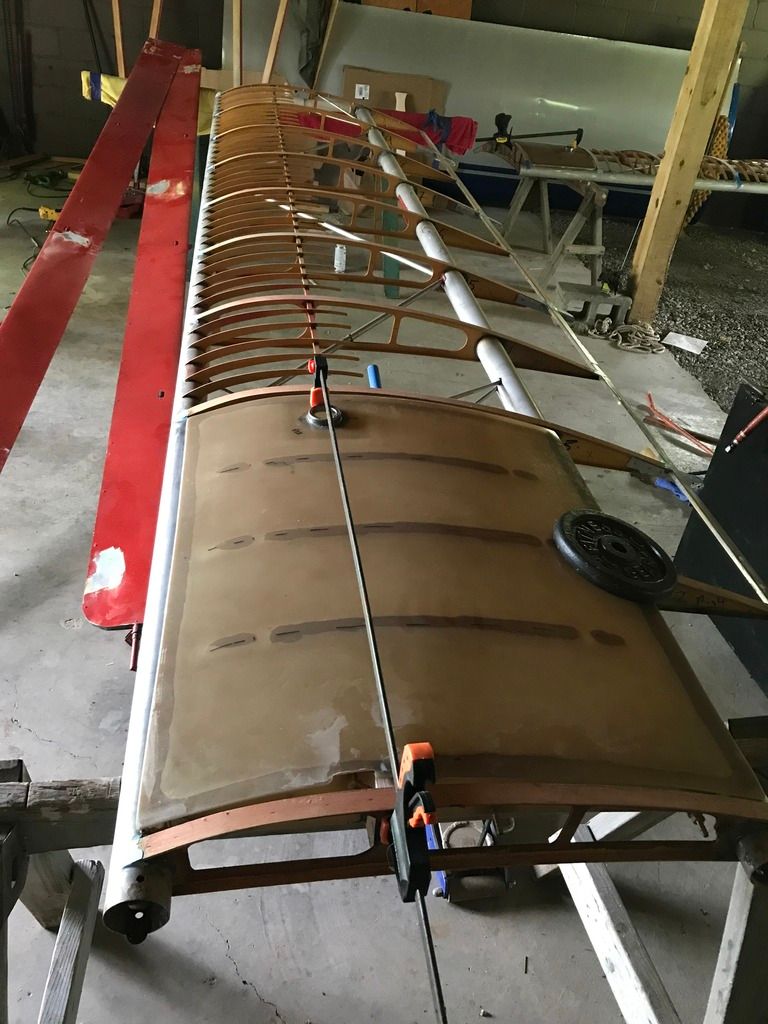
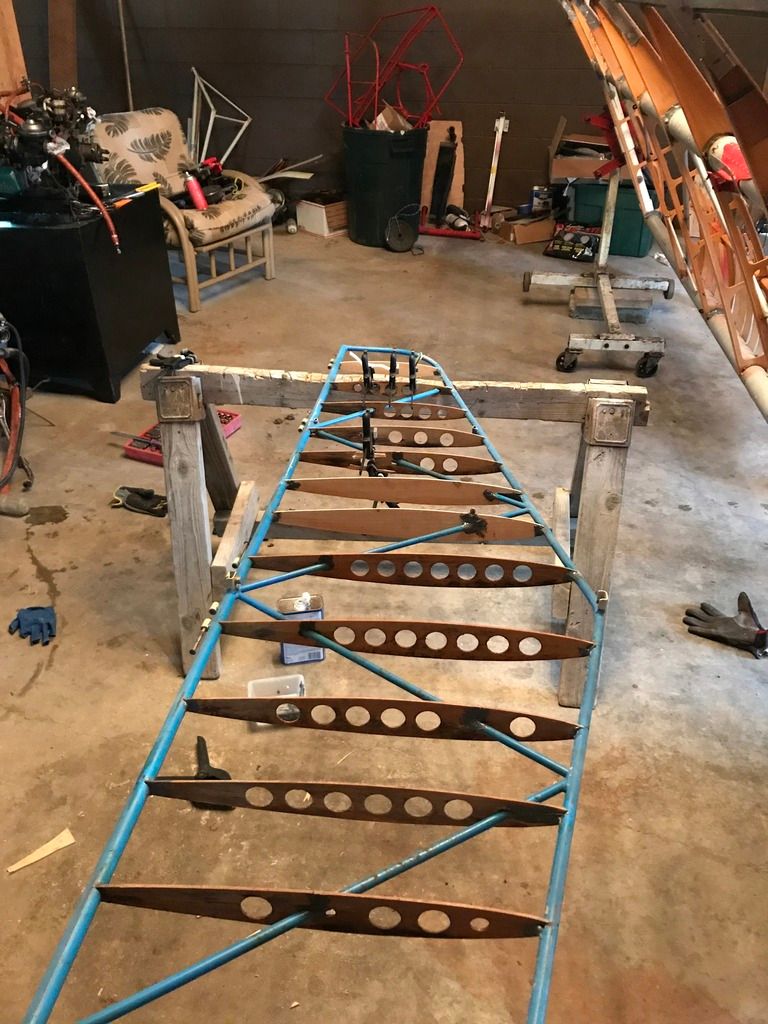
Anyhow, finished the wing. Three long days of learning how to cover, some by trial and error, but it turned out ok. Couple small things Im going to do differently on the other wing but all in all Im happy with my first ceconite wing cover job. Good news is I get to put the other wing on the rack and do it all over again starting tomorrow, Practice Practice Practice. When will it end?

 1 person likes this
 -
Ill buy one!
-
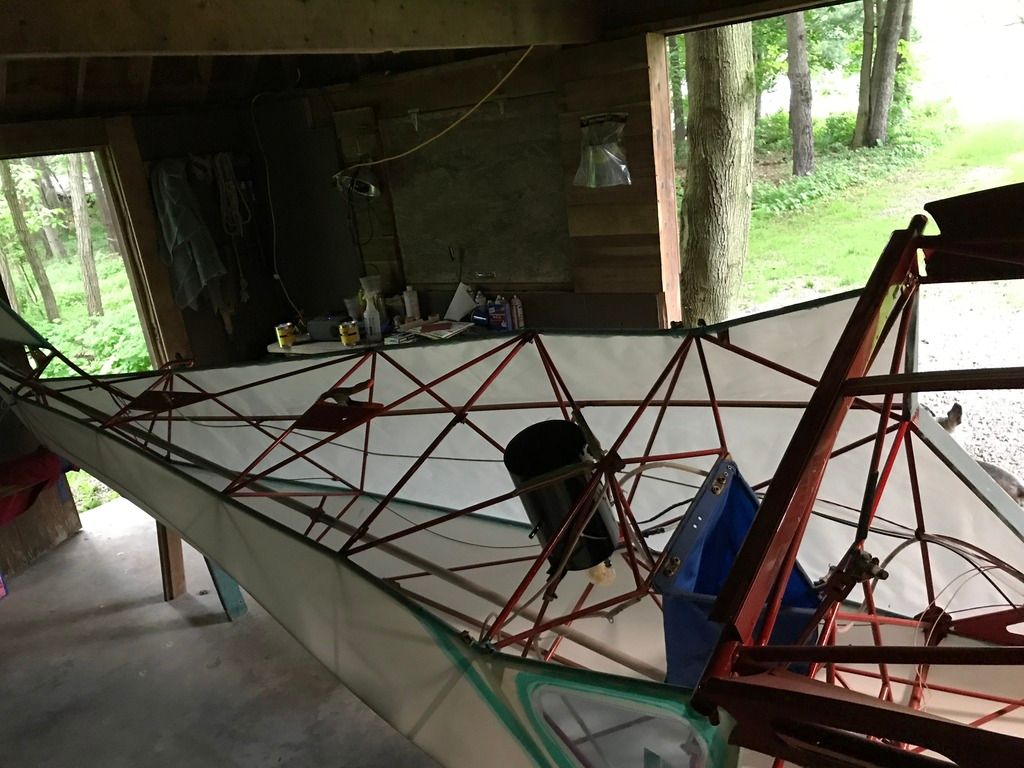
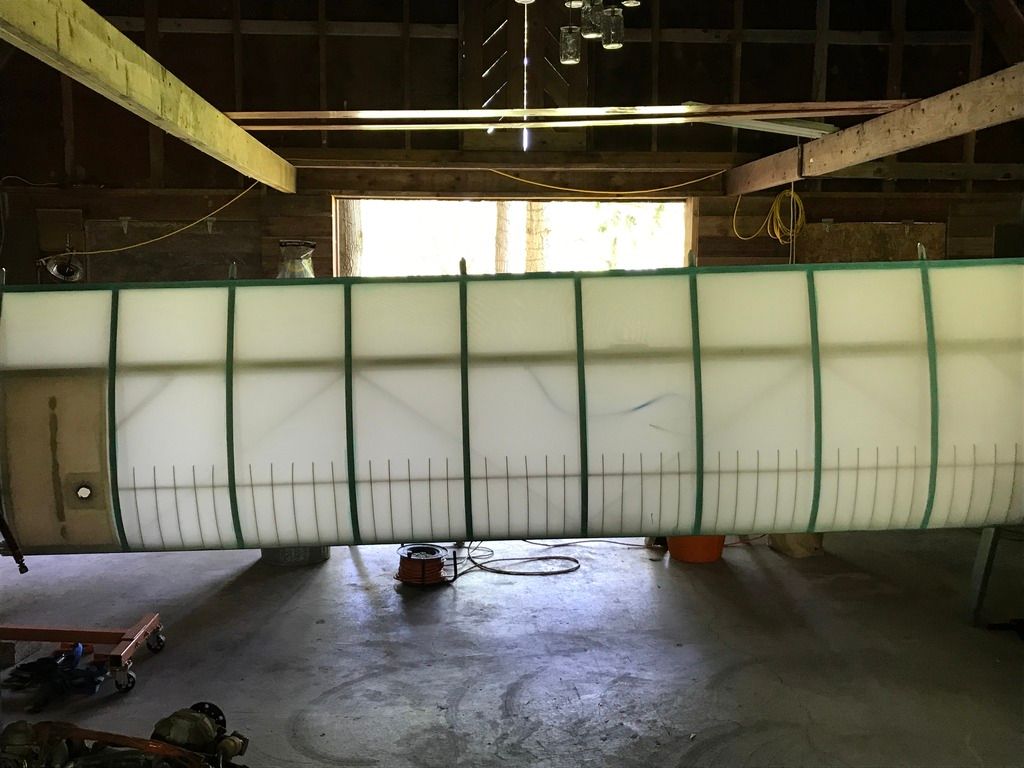
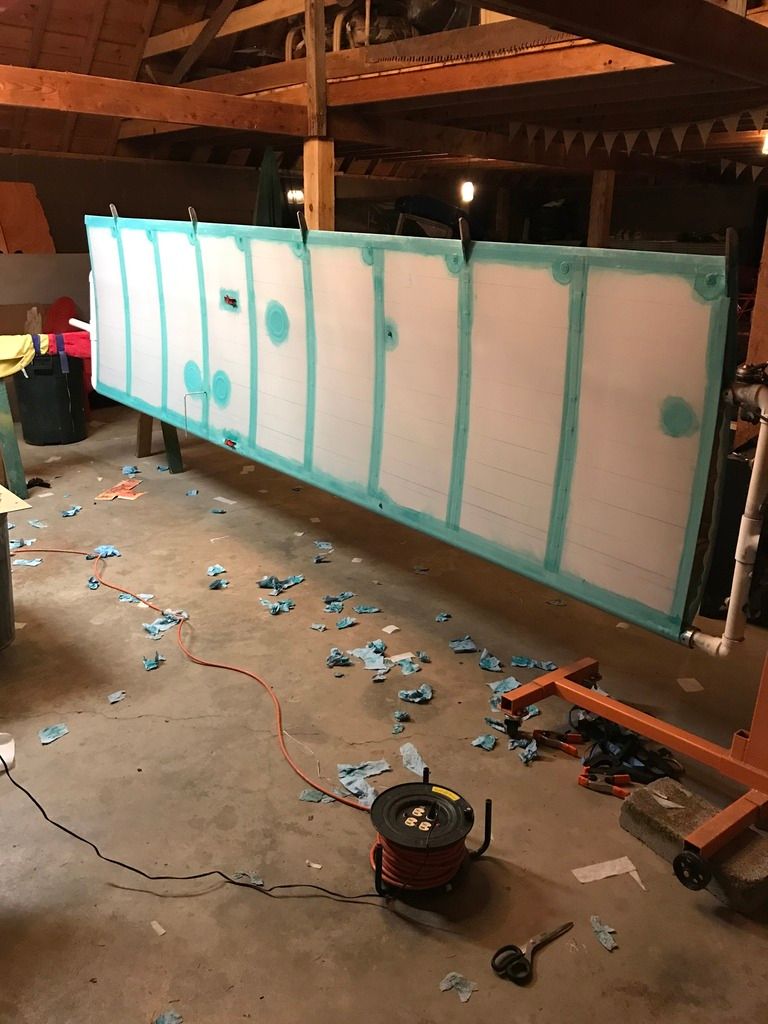
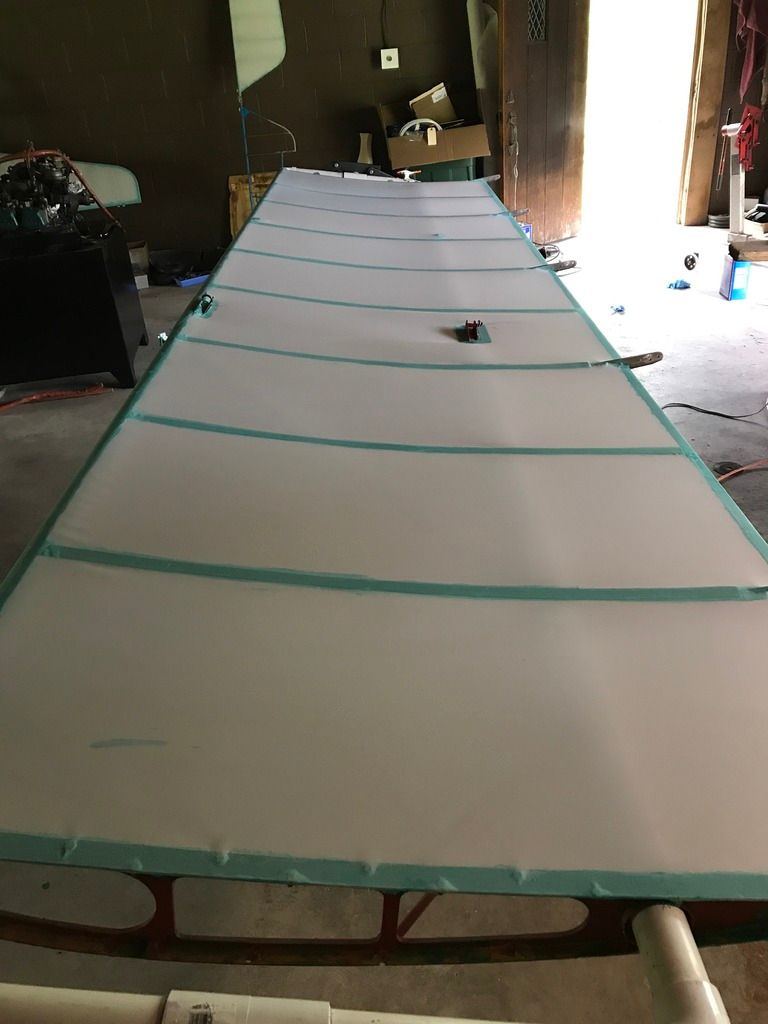
Covering Covering Covering Covering. This step is going to take a bit. Got 2 days into it and only have the horizontal stabilizer, half the elevator and one wing covered up, with no tapes yet. Hoping I can get it done in 2 weeks

-
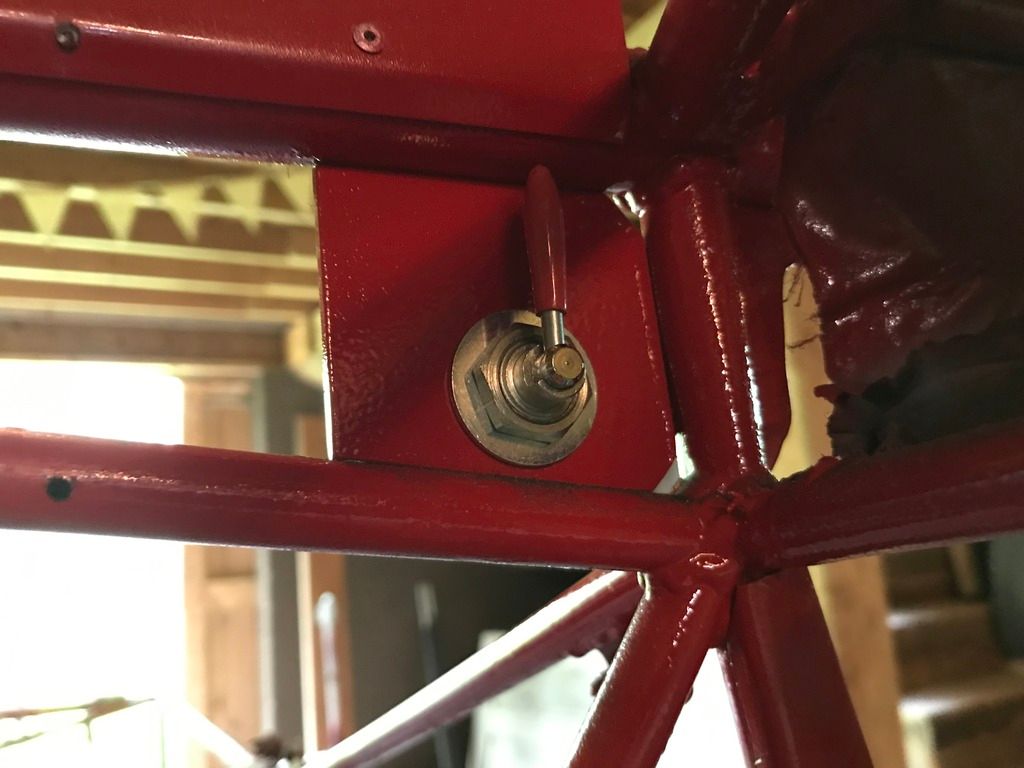
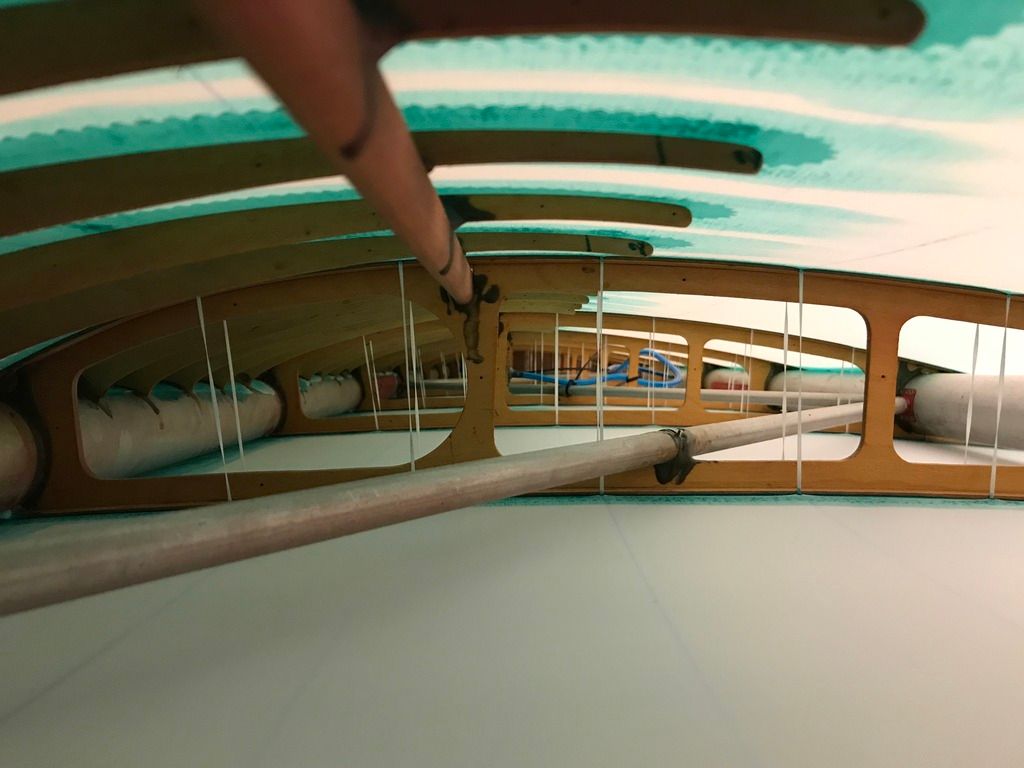
^ Great point about the Flaperon counter weights, I may need to reposition them. Could they go in the center of the wing if the rudder is too long? Also, we thought about adding tubing under the widebody but instead he welded the full way around the joint and then we cut a small piece of 4130 and added it to the outside joint to bridge the gap, effectively making the whole 3 piece widebody one piece, which seems very very strong. Youd really have to be trying if you bent it over.
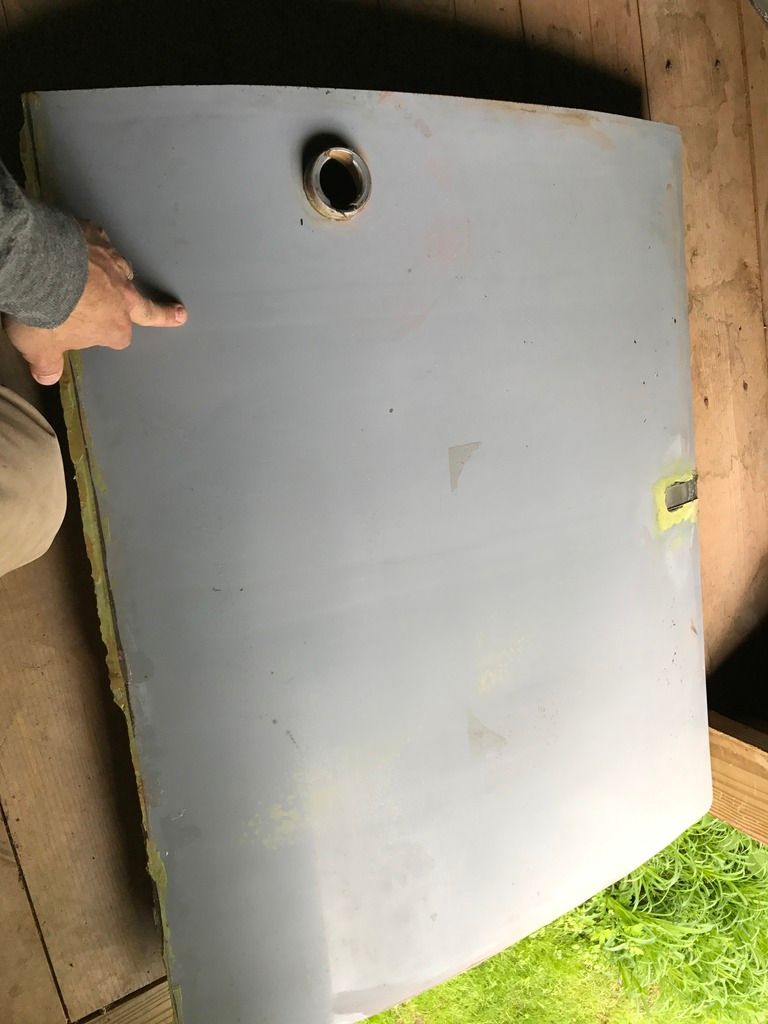
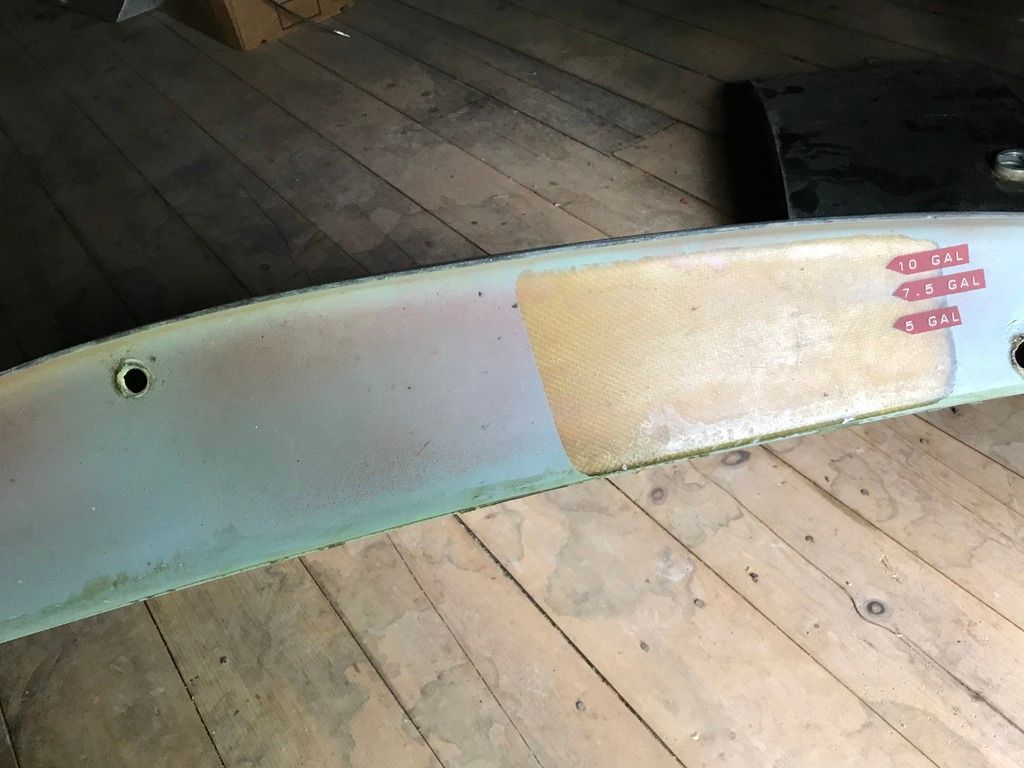
Anyhow, more progress. New wingtanks showed up, and spent yesterday fitting them into the wings. Used the special caulk (739 I think it was) between them and the spars. The one concern I am having is I used a 2 part fuel proof epoxy putty to attach the fittings into the side of the tank. Anyone used something similar to good effect? Tanks were thoroughly rinsed out with acetone and gas before installation.
***Also want to add, does anyone have a Ray allen Servo for the elevator trim, I have the switch and indicator but need a servo. Actually not sure what one to get either as far as amount of travel?
Cleaned the spars well and applyed the rtv739 silicone adhesive caulk. Also fashioned a stiffener block for the innermost rib out of Balsa and Hysoled it in, hence the large clamp
Big tank in, also with a balsa block to stiffen the rib
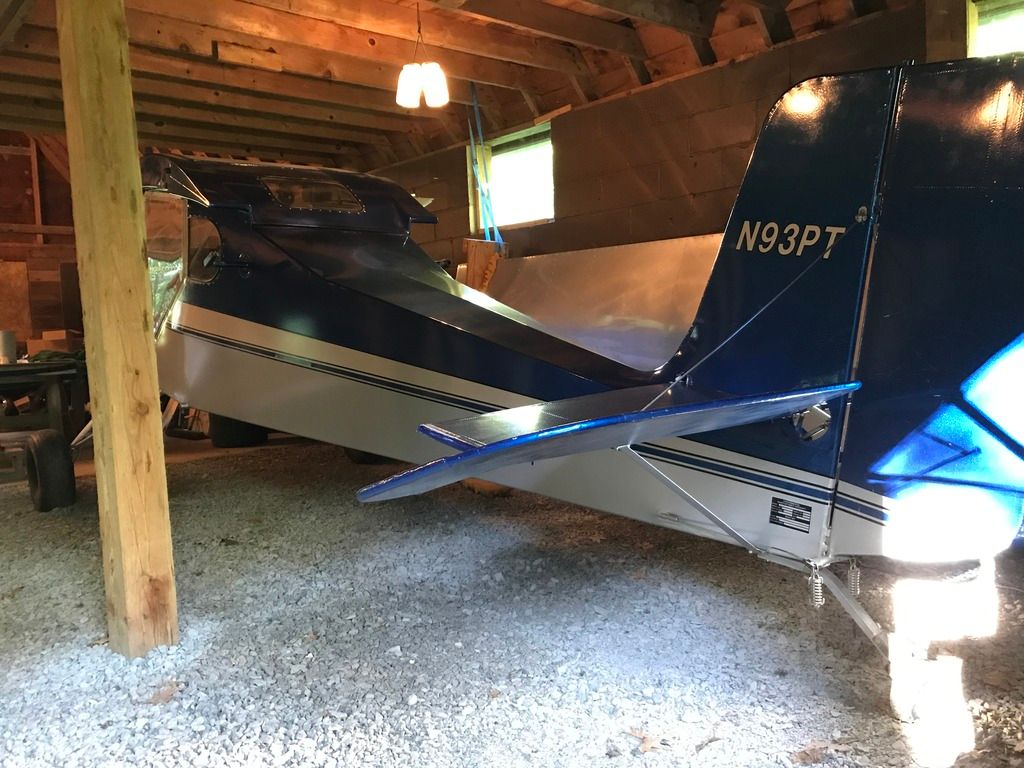
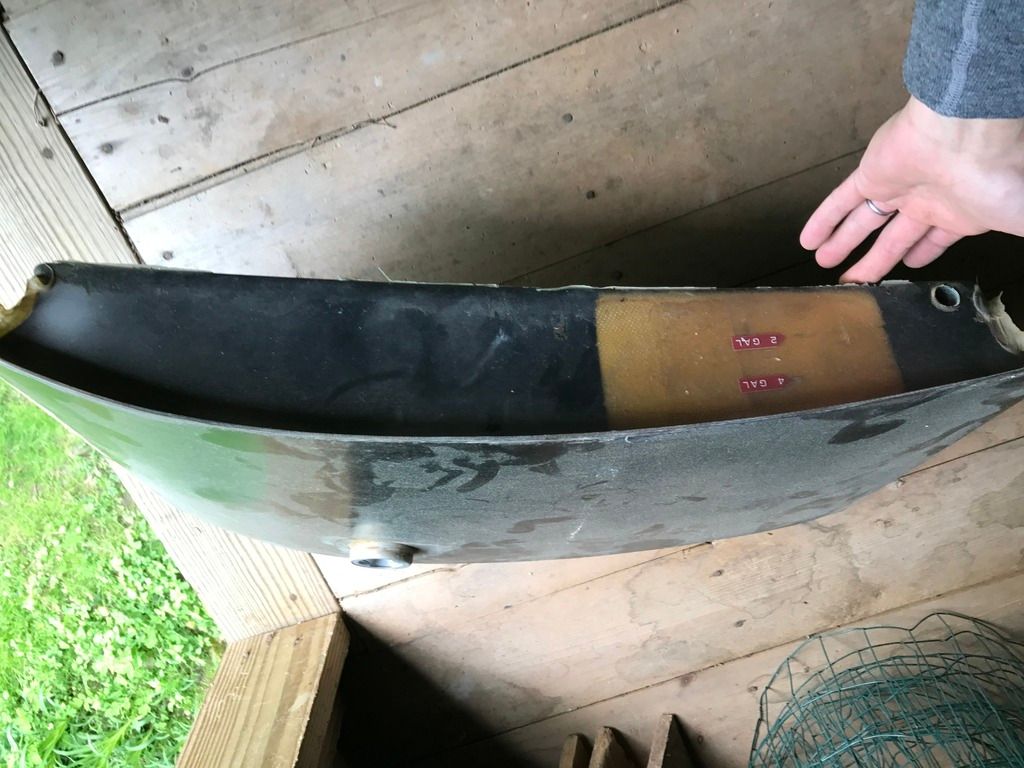
So have my old tanks for sale if anyone needs them. 13 and 6 gallon for a Model 3. Seem to be in fine shape just not the newer ethanol proof resin. Ill be making a thread soon with these and the prop/ old engine.
-
^Hope they make a nice difference!
Spent the day painting. My first time ever using a spray gun, kind of fun!
 1 person likes this
 -
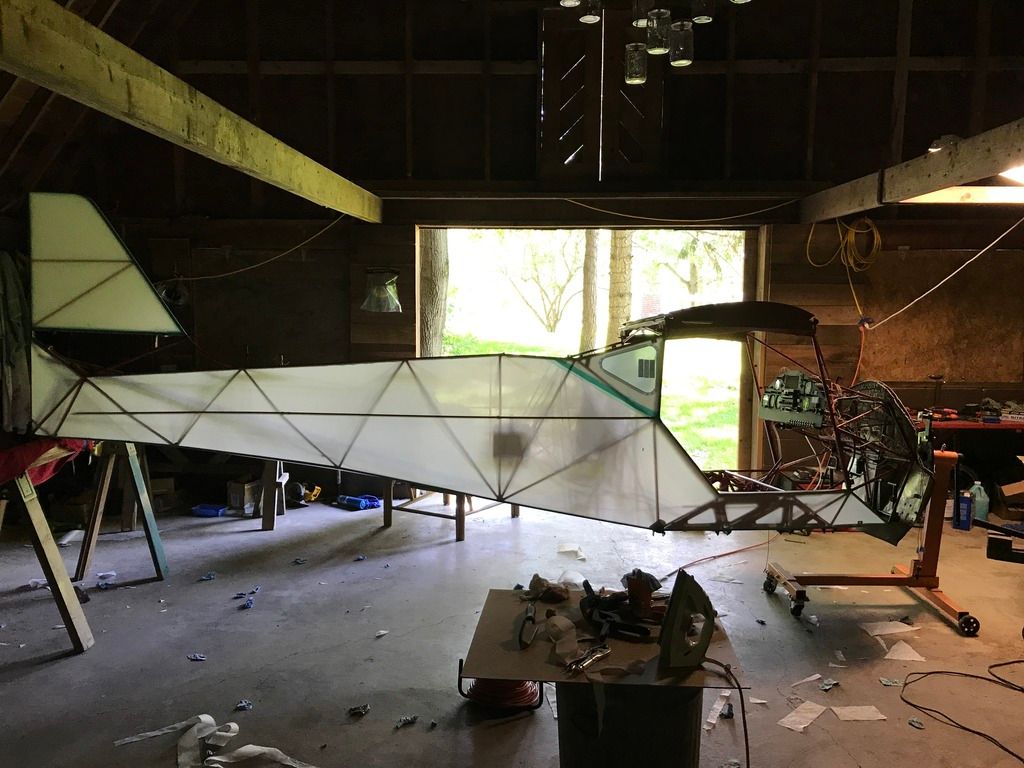
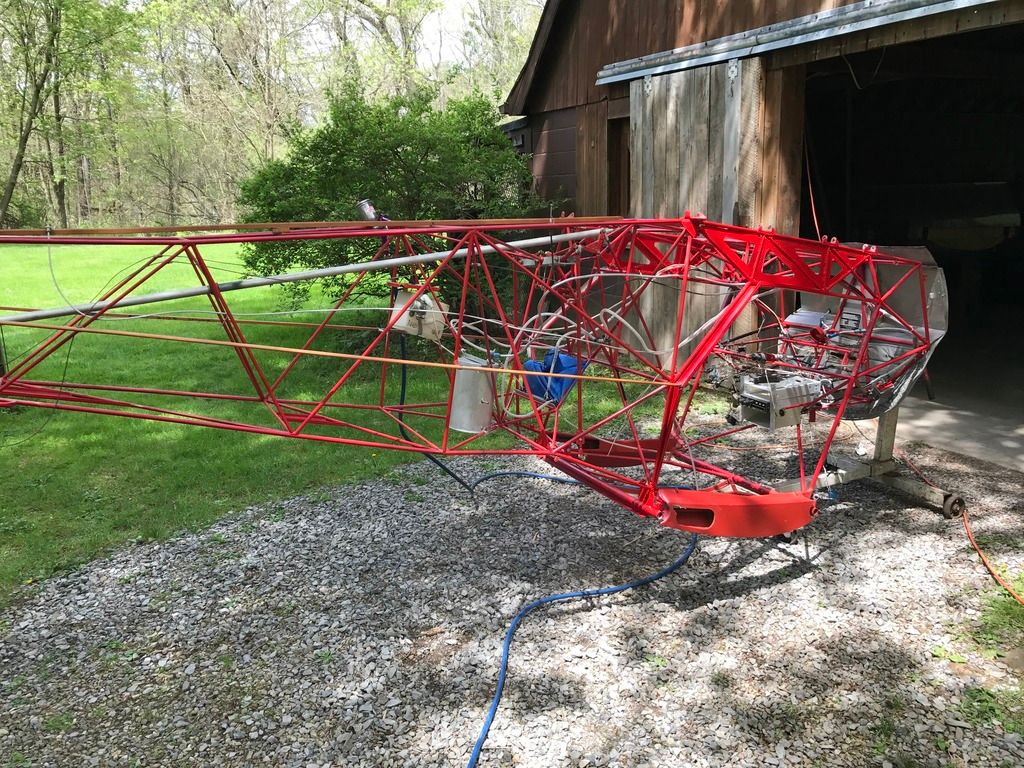
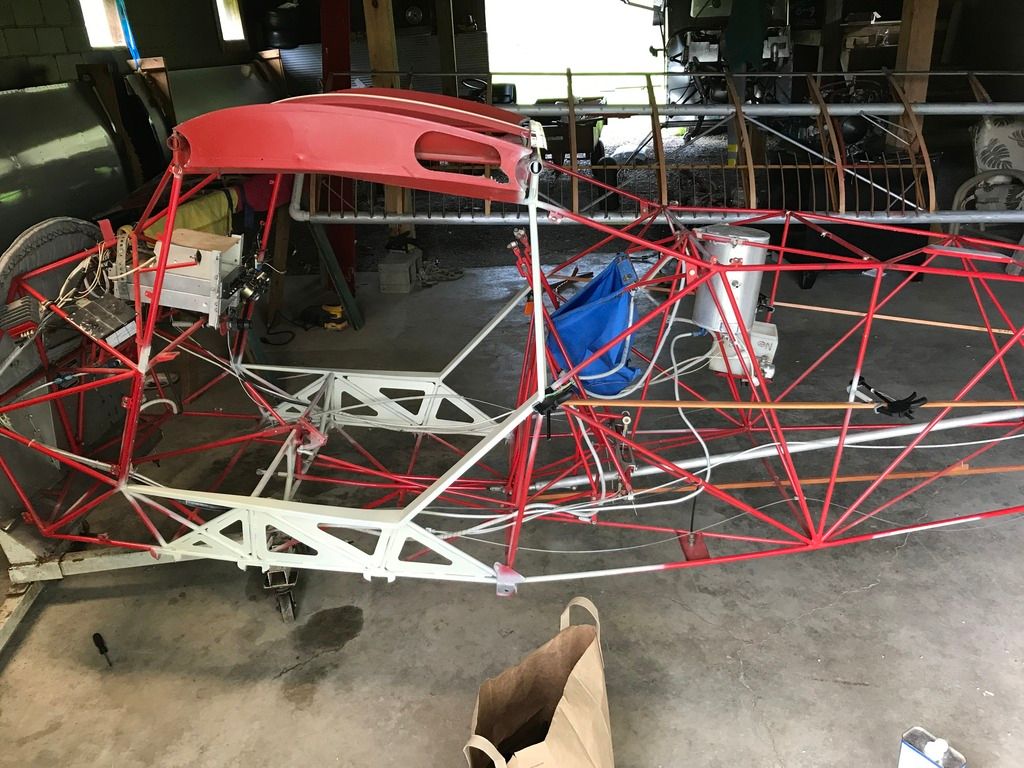
Got the fuselage home, removed and reattached the wooden stringers on the sides, wide body is about 4" wider at the doors and we lengthened the frontmost standoffs about 3.5". Removed the panel, tailwheel, gear, wheels and a bunch of other stuff and brought to the powdercoater yesterday. Today Im hoping to spray the fuselage tubing red and let cure a couple days. New tanks should be here tomorrow. Goal is to have both the wings and fuselage ready to cover by the weekend!
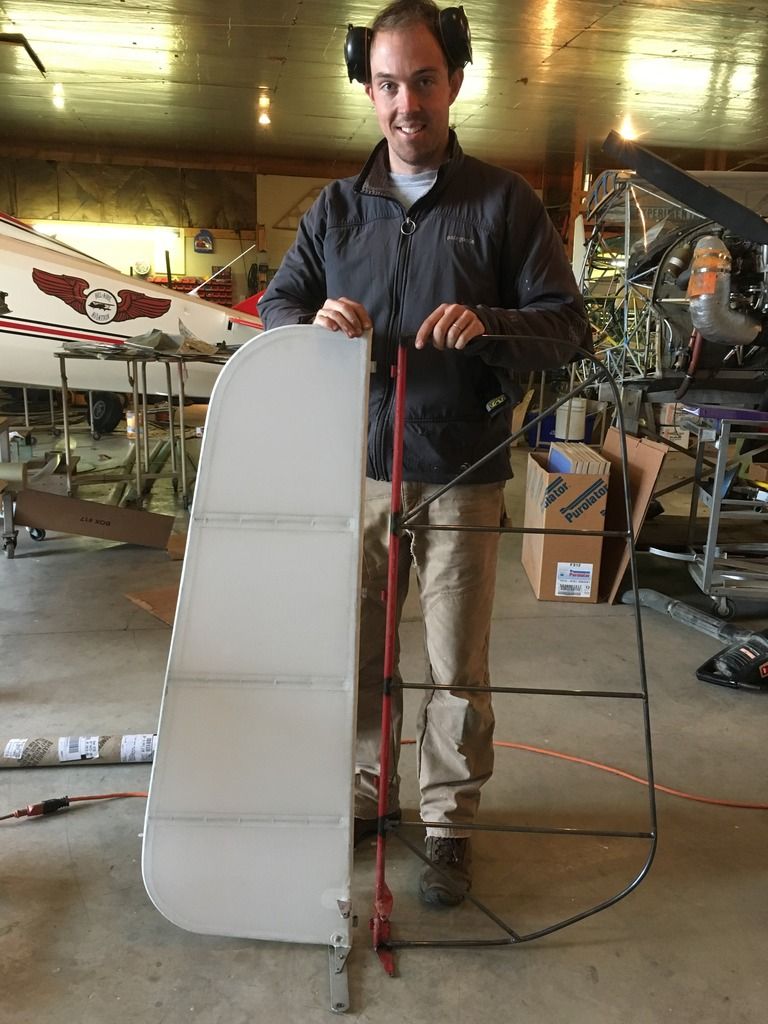
heating up the formalite to fill my new rudders trailing edge for bending
Bent and welded. (Now getting blasted and powdercoated)
There happened to be another kitfox 3 getting recovered there, stock vs. the new one
widebody kit

On the rotisserie!
 1 person likes this
 -
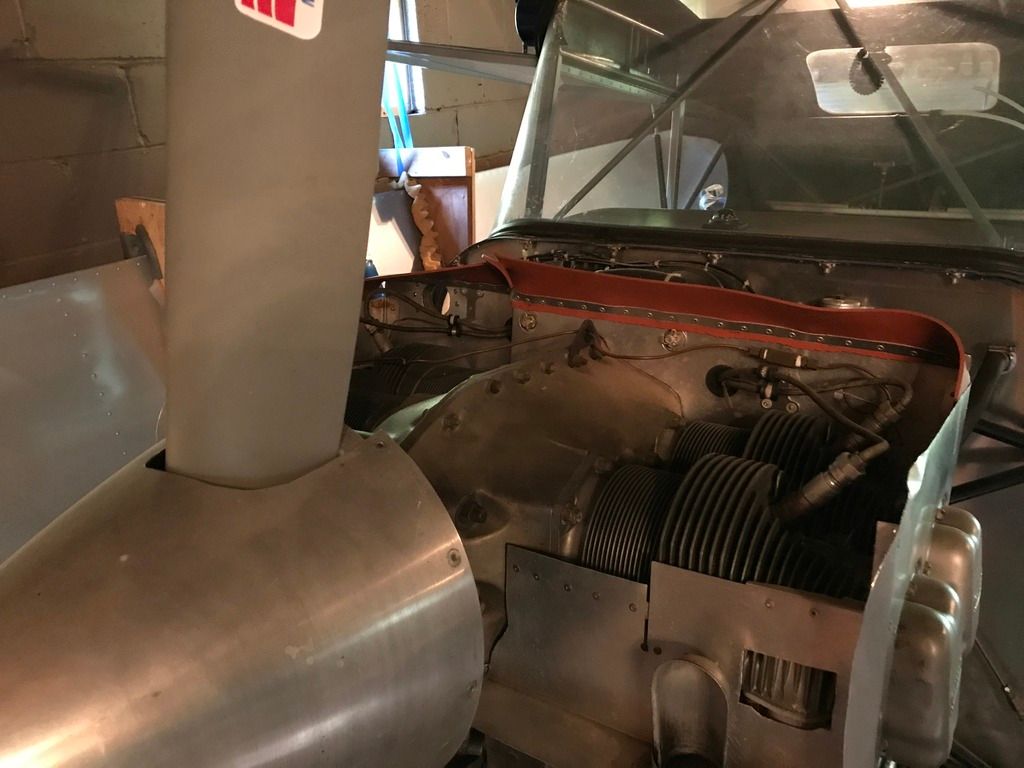
Supercharger bolts on there.


Yes, I like it!
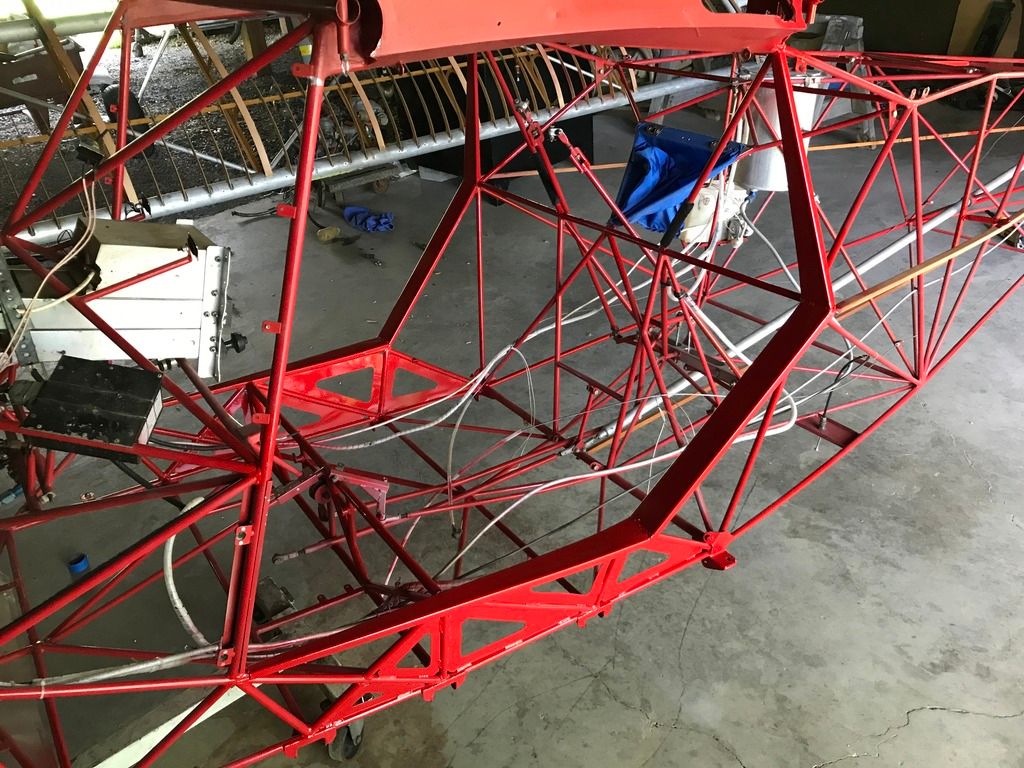
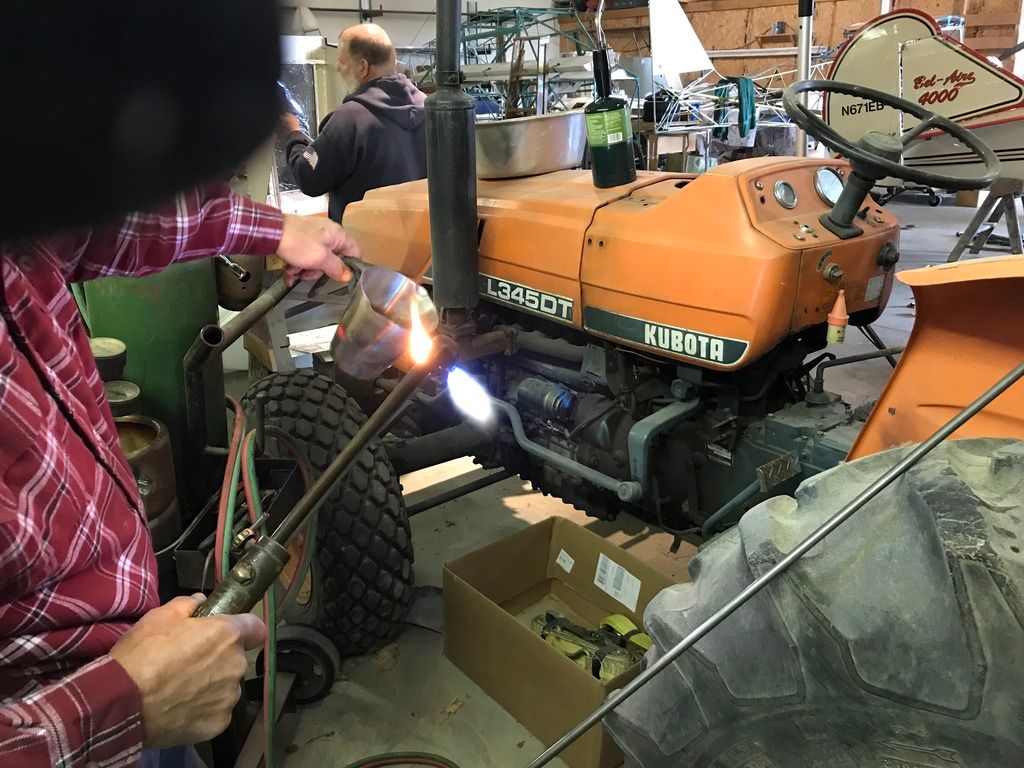
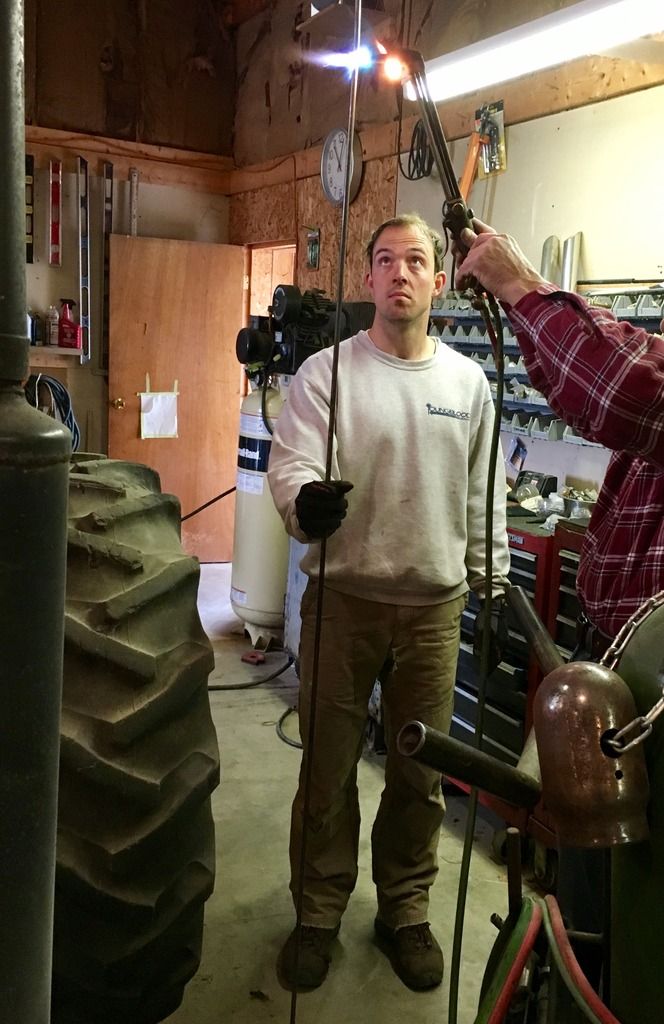
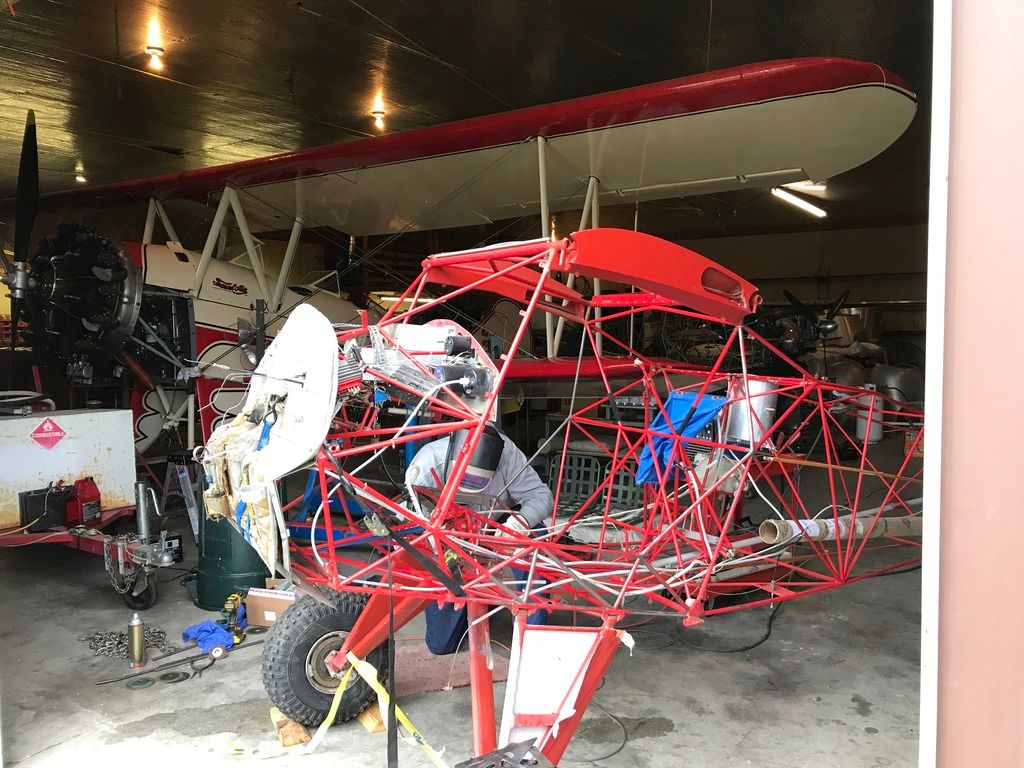
Haven't been good about updating this thread but progress is being made. Welding started yesterday! DHolly introduced me to a couple buddies of his and we had a great day (in a neat hangar) starting the welding. Got all the gussetts on one side done and the wide body spacers/ carrythrough gussetts. We all concurred that .035 sheet does seem too thin for this intended purpose though so fwiw for anyone in the future, if youre going to invest the time to do this Id go thicker for sure. Anyhow going back today to finish up the fuselage/ engine mount/ rudder pedals and fabricate a new rudder with a longer chord.
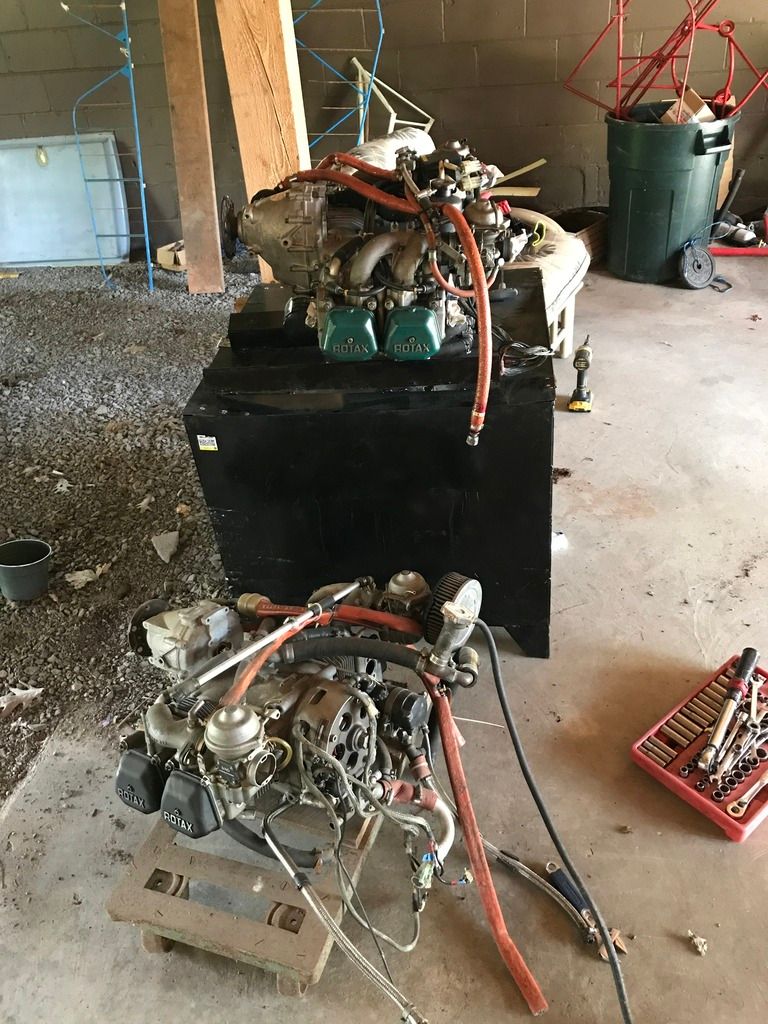
Swapping intake manifolds around and other misc work to prep the engine
Got the speed fairings back on
Repaired/ remade some intercostals on the horizontal stab/ elevator to give it that speedstery look
Welding away
Looking Rooooomy
 2 people like this
 -
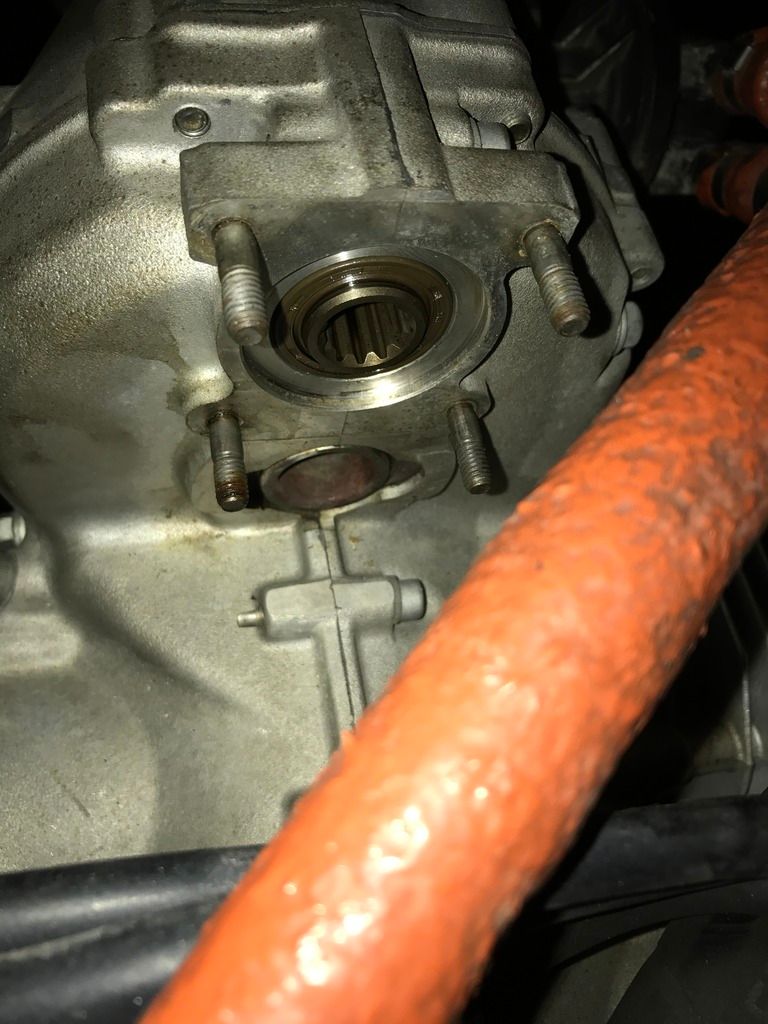
Quick question, what is this auxiliary gear on the back of the gearbox for? Run a pump or something? Im assuming Ill need a cover plate for it


Kitfox 3 Bushplane Project.
in Avidfoxflyers General Hangar
Posted · Edited by Neloner
Roof is on ( still have to do the trim) and strip is muddy! Buddys loaning me a 20 ft disc so I can disk it all up and then drag/ roll it. Got the grade pretty close with the dozer though